
"What can I do with the trimmed off triangles?" That was the question Ana Maria Perna asked in the comment section of my Wildwood Throw Quilt project. I thought Ana's question was such a good one it got me thinking that other quilters may be having the same question. If you are not sure what we are referring to here, it is the fabric triangles produced from trimmed off corners in a quick piecing triangle method. I have used this piecing method in several of my free projects, look for: Wildwood, Kaleidoscope, Trimming the Tree and Prairie Flower.
The large square will have two corners "clipped" into triangles with these smaller squares.
Mark a diagonal line onto wrong sides of the squares that will be made into corner triangles.
This block was used in the Wildwood project and has triangles on just two sides of the large square. This photo shows how to sew directly onto the marked diagonal line.
Trim off the excess fabric, 1/4" away from sewn line.
Save those left-over triangle pieces (if large enough) to make other quilt projects!
For those, big enough but don't know what to do with pieces you will want to square them up and use them to make new blocks for new quilt projects.
Sew a seam on that diagonal, bias edge, press and open up your new triangle set. For the following quilt block examples, all blocks are based on a 2 1/2" triangle set. This is a very nice and useful size and fits nicely into many, many standard block sizes. The pre-cut designer rolls also come in 2 1/2" widths so you can supplement your recycled triangle sets with other prints to have a completely new looking quilt from the original.
If your squared up triangle sets are bigger or smaller then the 2 1/2" example, adjust your block size accordingly by increasing or decreasing the measurements of ALL the pieces in the block. Graph paper is a great, low-tech tool to use in planning out blocks and quilt layouts and dimensions. You decide what size a graph square equals and go from there. Just remember to add the 1/4" seam allowances to the pieces before cutting out fabrics. Here, the 2 1/2" block we are using already includes our seam allowance, but you will still need to add the seam allowances to the other pieces in the block to make the finished block.
Here is an example - all other blocks for this tutorial give the FINISHED block size and are based on a 2" grid system. I don't give individual unit measurements for the blocks, just the finished size, just count by 2 inches to figure all other dimensions. (Add seam allowances.)
Example: The Crosses & Losses block will measure 8" when finished (8 1/2" before sewing all the blocks together.) Here you see (4) 2 1/2" triangle sets, (4) 2 1/2" squares and (2) 4 1/2" Half-Square Triangle sets (HST) needed to make up the block.
For this tutorial, I have chosen blocks that are less complicated and easy to figure up the dimensions for using this 2" grid unit size. I give the most common name for the block, but depending on what region or country you are in, you may know this block by another name or have seen it in a slight variation. There and probably hundreds of blocks that utilize this type of triangle set, but here are a few to get you started...
Of course, the most obvious is a block made from only triangle sets. This would be a great scrap quilt to organize with a quilt group or friends. Determine what size the triangle set should be (so everyone gets the same size) and swap, that way you will all end up with new fabrics for a spectacular charm quilt.
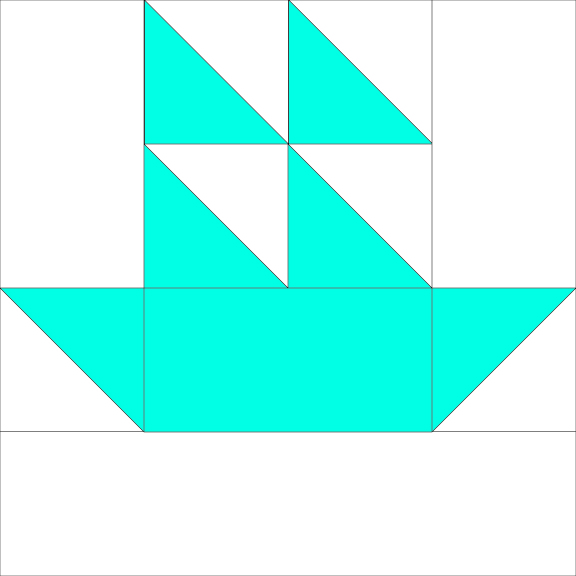
Ship 8"
Blocks like this Ship block can be set with other blocks.
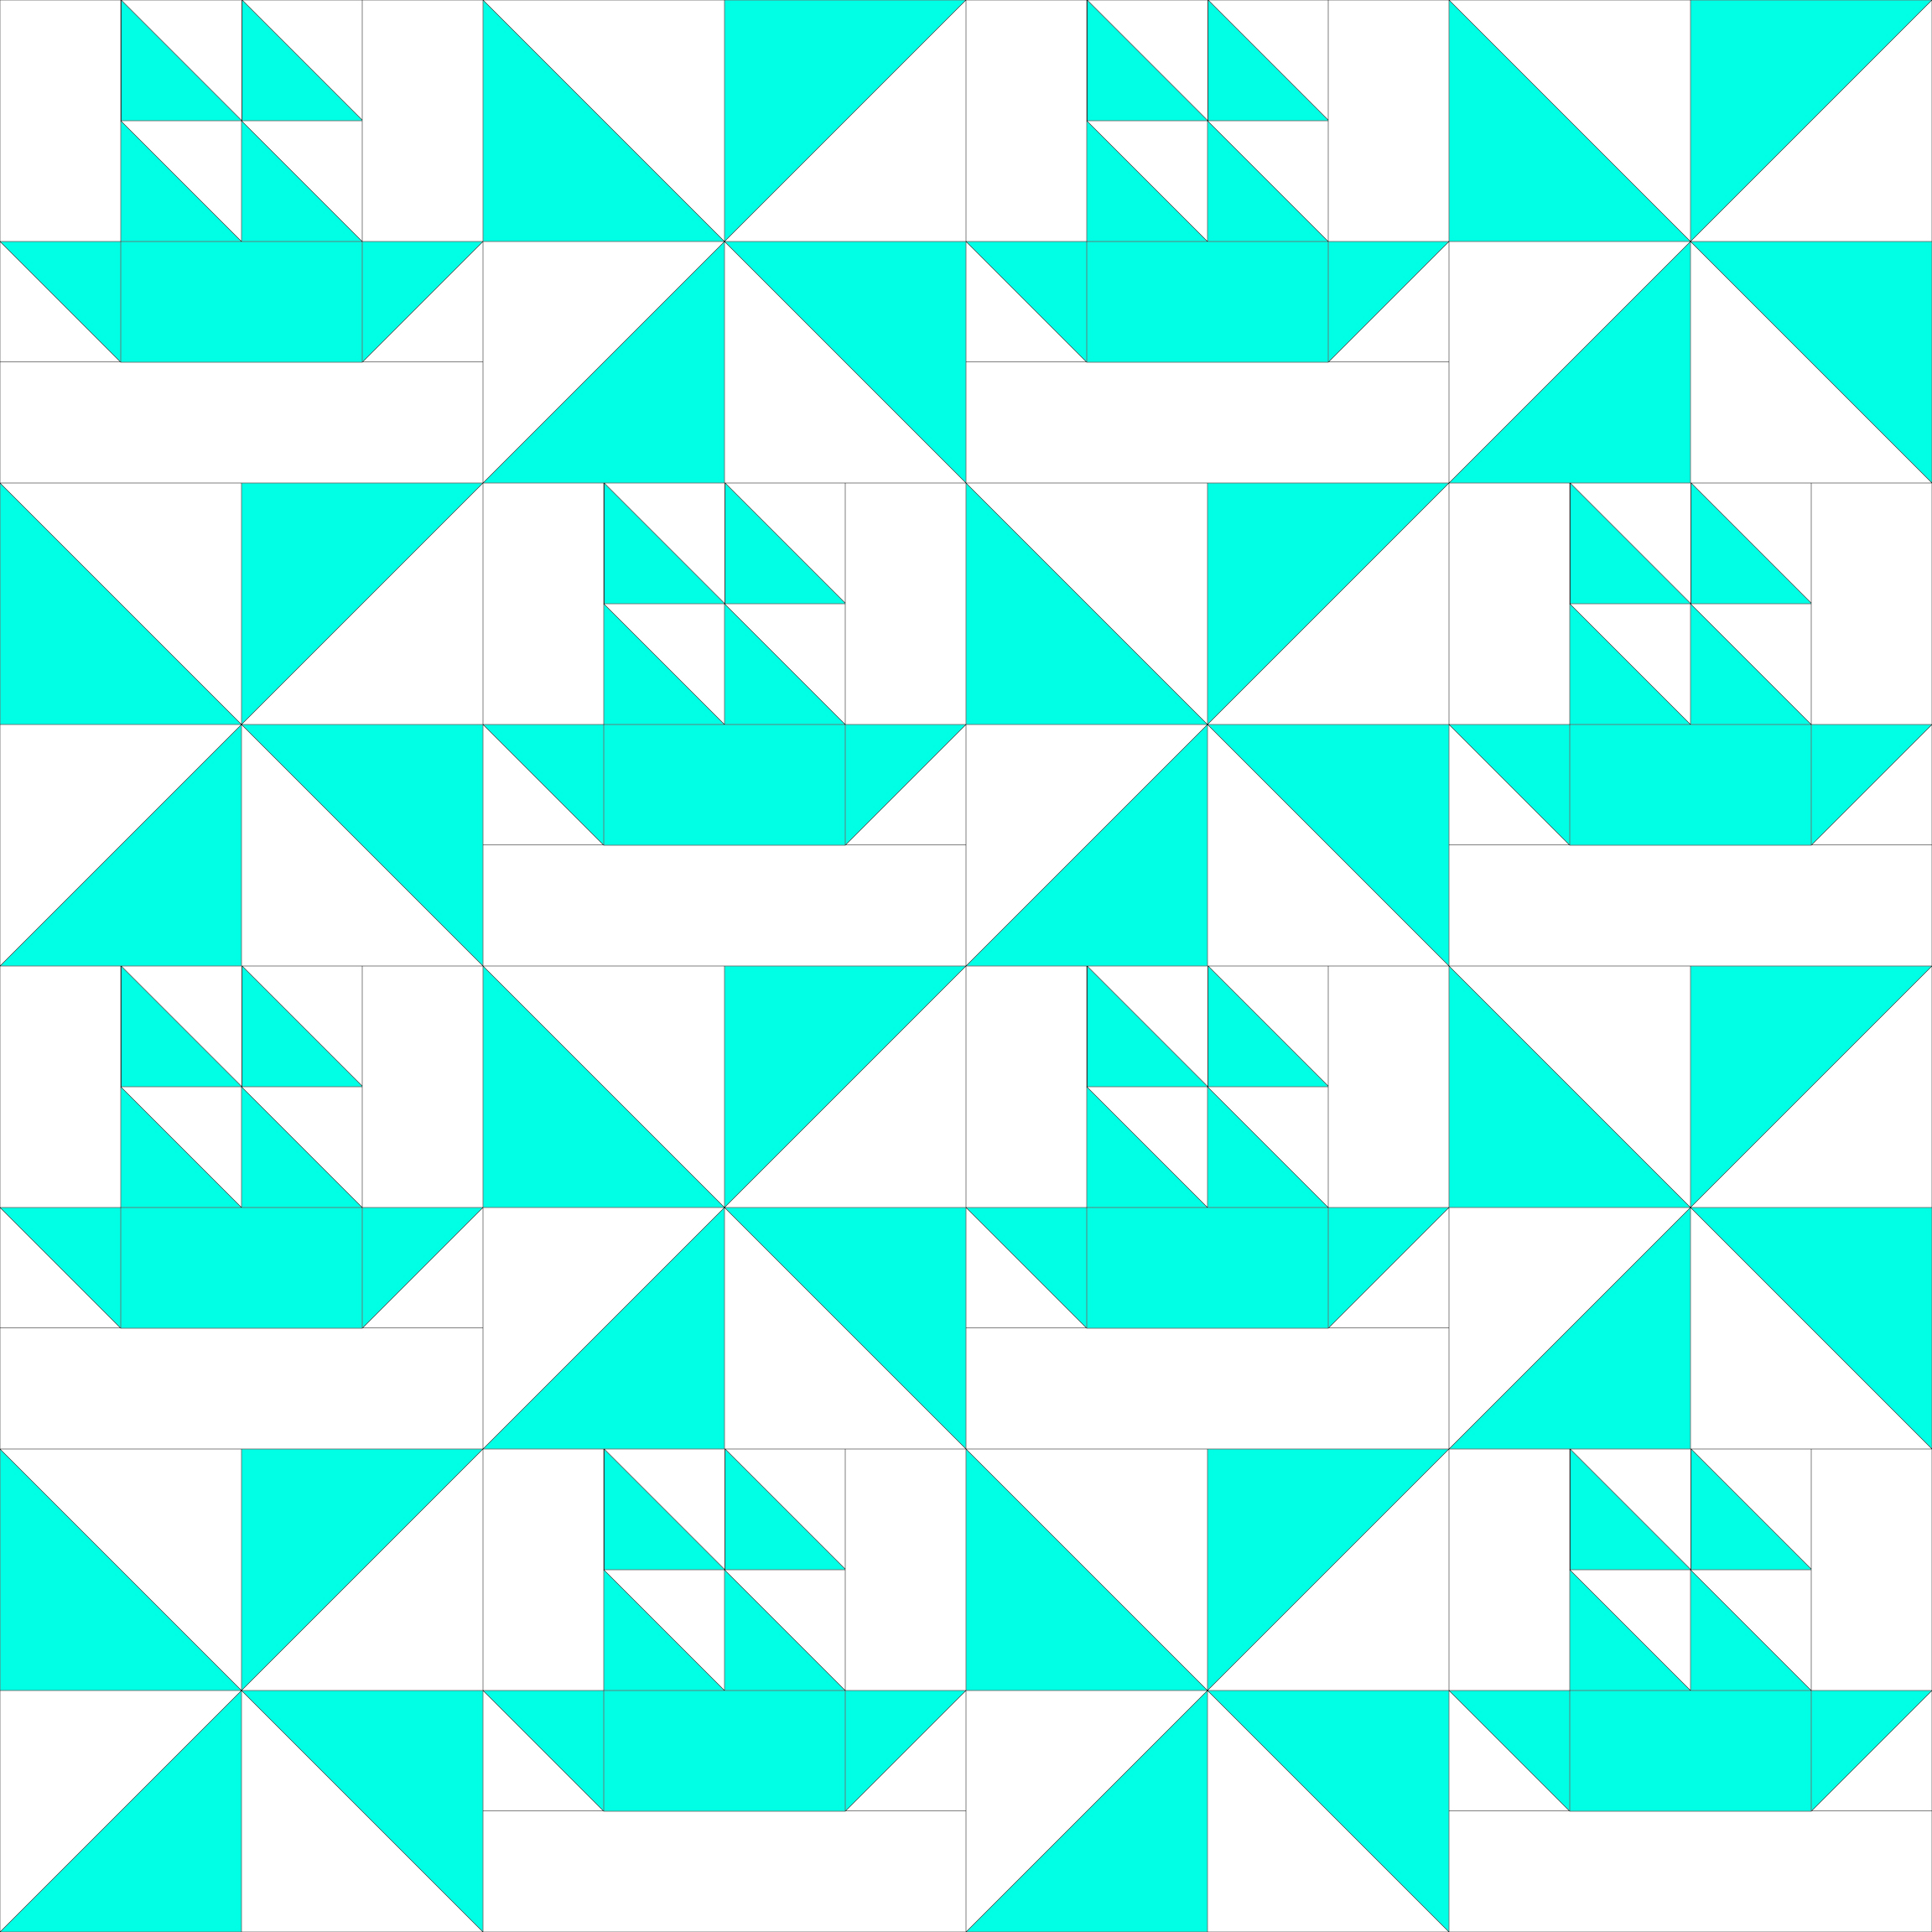
Alt block arrangement
Alternating the Ship block with a Flags block creates a whole new look and stretches the number of triangle sets needed. Don't forget to think about adding sashing, turning a block on-point, alternating with other blocks or just solid pieces of material or making a "strippy" quilt or simply doing a sampler quilt of many different blocks.
Churn dash 6"
Flock 8"
Flower Basket 8"
Friendship Star 6"
The geometry is all there, it is just a matter of turning your pieces this way or that, adding squares, rectangles, larger or smaller shapes and you have a new block. Play around, see what you come up with. I would love to see examples of the blocks or quilt projects you have done utilizing cast off triangle sets. I am sure the other readers would love to see them too! Send me photos and information like the finished block size, triangle set size, etc. so readers can get a better ideas of scale.
Thanks for the great question Ana, happy sewing on all your projects. I hope I have answered your question or at least gotten you jump started with a few ideas on what to do with those left-over triangles.