Signature Butterflies

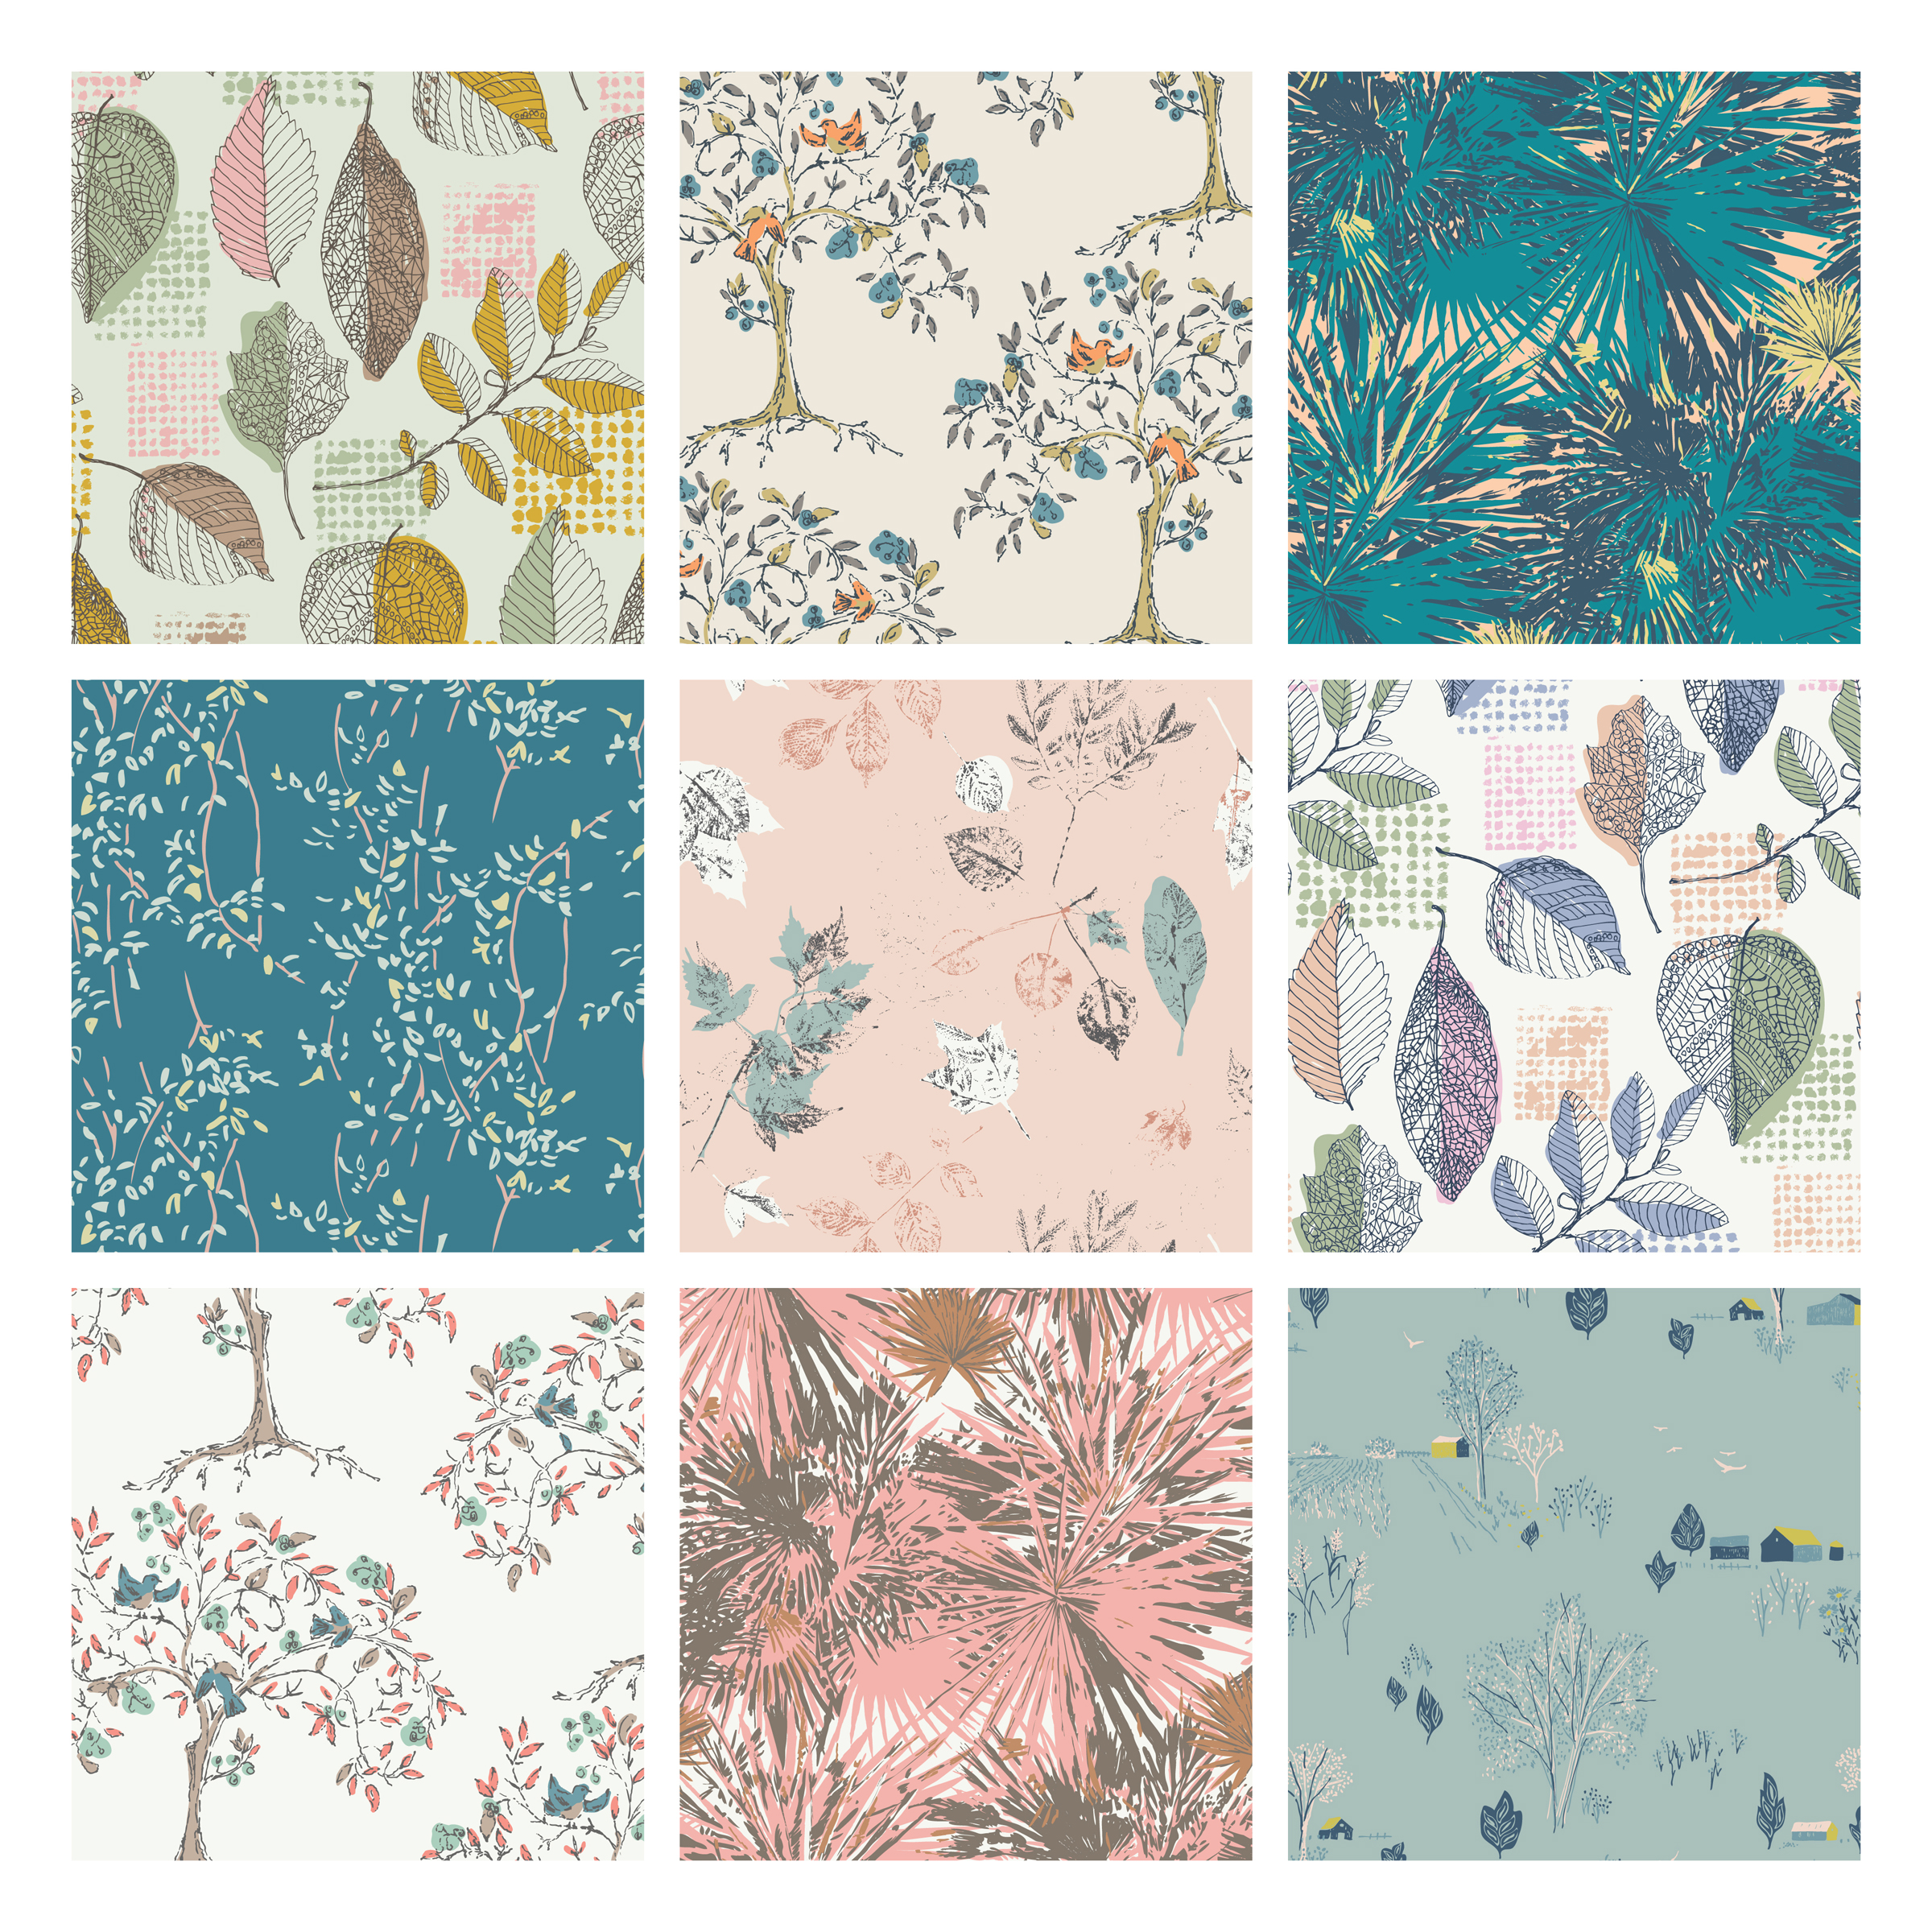
When I was planning my projects for my new Signature fabrics collection for Art Gallery fabrics I created rooms and looks, then designed my sewing around what would fit into those rooms.
One of the looks is what I'm calling the Signature Baby Room. I wanted a gender-neutral room for a baby or young child that loves nature. Using my granddaughter as my model toddler, I knew there had to be butterflies, because she LOVES butterflies!

My original inspiration for making butterflies using fabric came from Kim of Go-Go Kim. Kim has a great tutorial for gluing fabric to paper to hang butterflies in shadow boxes. I wanted to make a bit sturdier butterfly with all fabric and came up with a hybrid of sorts...
Materials Needed for Making Signature Butterflies:
- Signature Butterfly Templates
- Fabric scraps at least 1/4'' larger around than template size
- Heat n Bond Lite iron-on adhesive or similar product like Pellon EZ-Steam one-sided pressure sensitive fusible web (optional, see next item on list)
- Pellon TP970 Thermolam Plus Sew-in fleece (Note: If using a fleece with an adhesive side, omit iron-on adhesive product from the line above)
- Iron and pressing cloth
- Coordinating thread
- Scissors
- Air-solvable marking tool
- Spray paint (optional)
- Frame or shadow box
Making Butterflies
Download the Signature Butterfly Templates and print out at actual size. Check for accuracy using the 1'' reference square on the PDF. Cut out butterfly shapes. Tip: For a more durable template, print onto card stock paper.

On the Pellon Thermolam Plus Sew-in fleece, trace around desired butterfly shapes, leaving at least 1/8'' between shapes. Note: There's no right or wrong side to sew-in fleece but if using a fleece with an adhesive side then draw on the non-adhesive side.
Following the manufactuer's instructions, adhere the iron-on adhesive (Heat n Bond or EZ-Steam type product) to the unmarked side of the fleece. Omit if using a fleece with an adhesive backing.
My butterflies only have fabric on one side and those wishing to do the same can move onto the next step noting that my tutorial images reflect only one side with fabric. But, if you're planning on fabric backing both the front and the back of your butterflies then adhere iron-on adhesive to the marked side of the fleece as well before moving to the next step, leaving the paper backing on until ready to adhere to fabric.

Cut out butterfly shapes.

Following the manufacturer's instructions, fuse the adhesive side(s) of the fleece butterfly shape to the wrong side of desired fabric(s).

Cut out butterfly shape using the edge of the fleece as your guide.
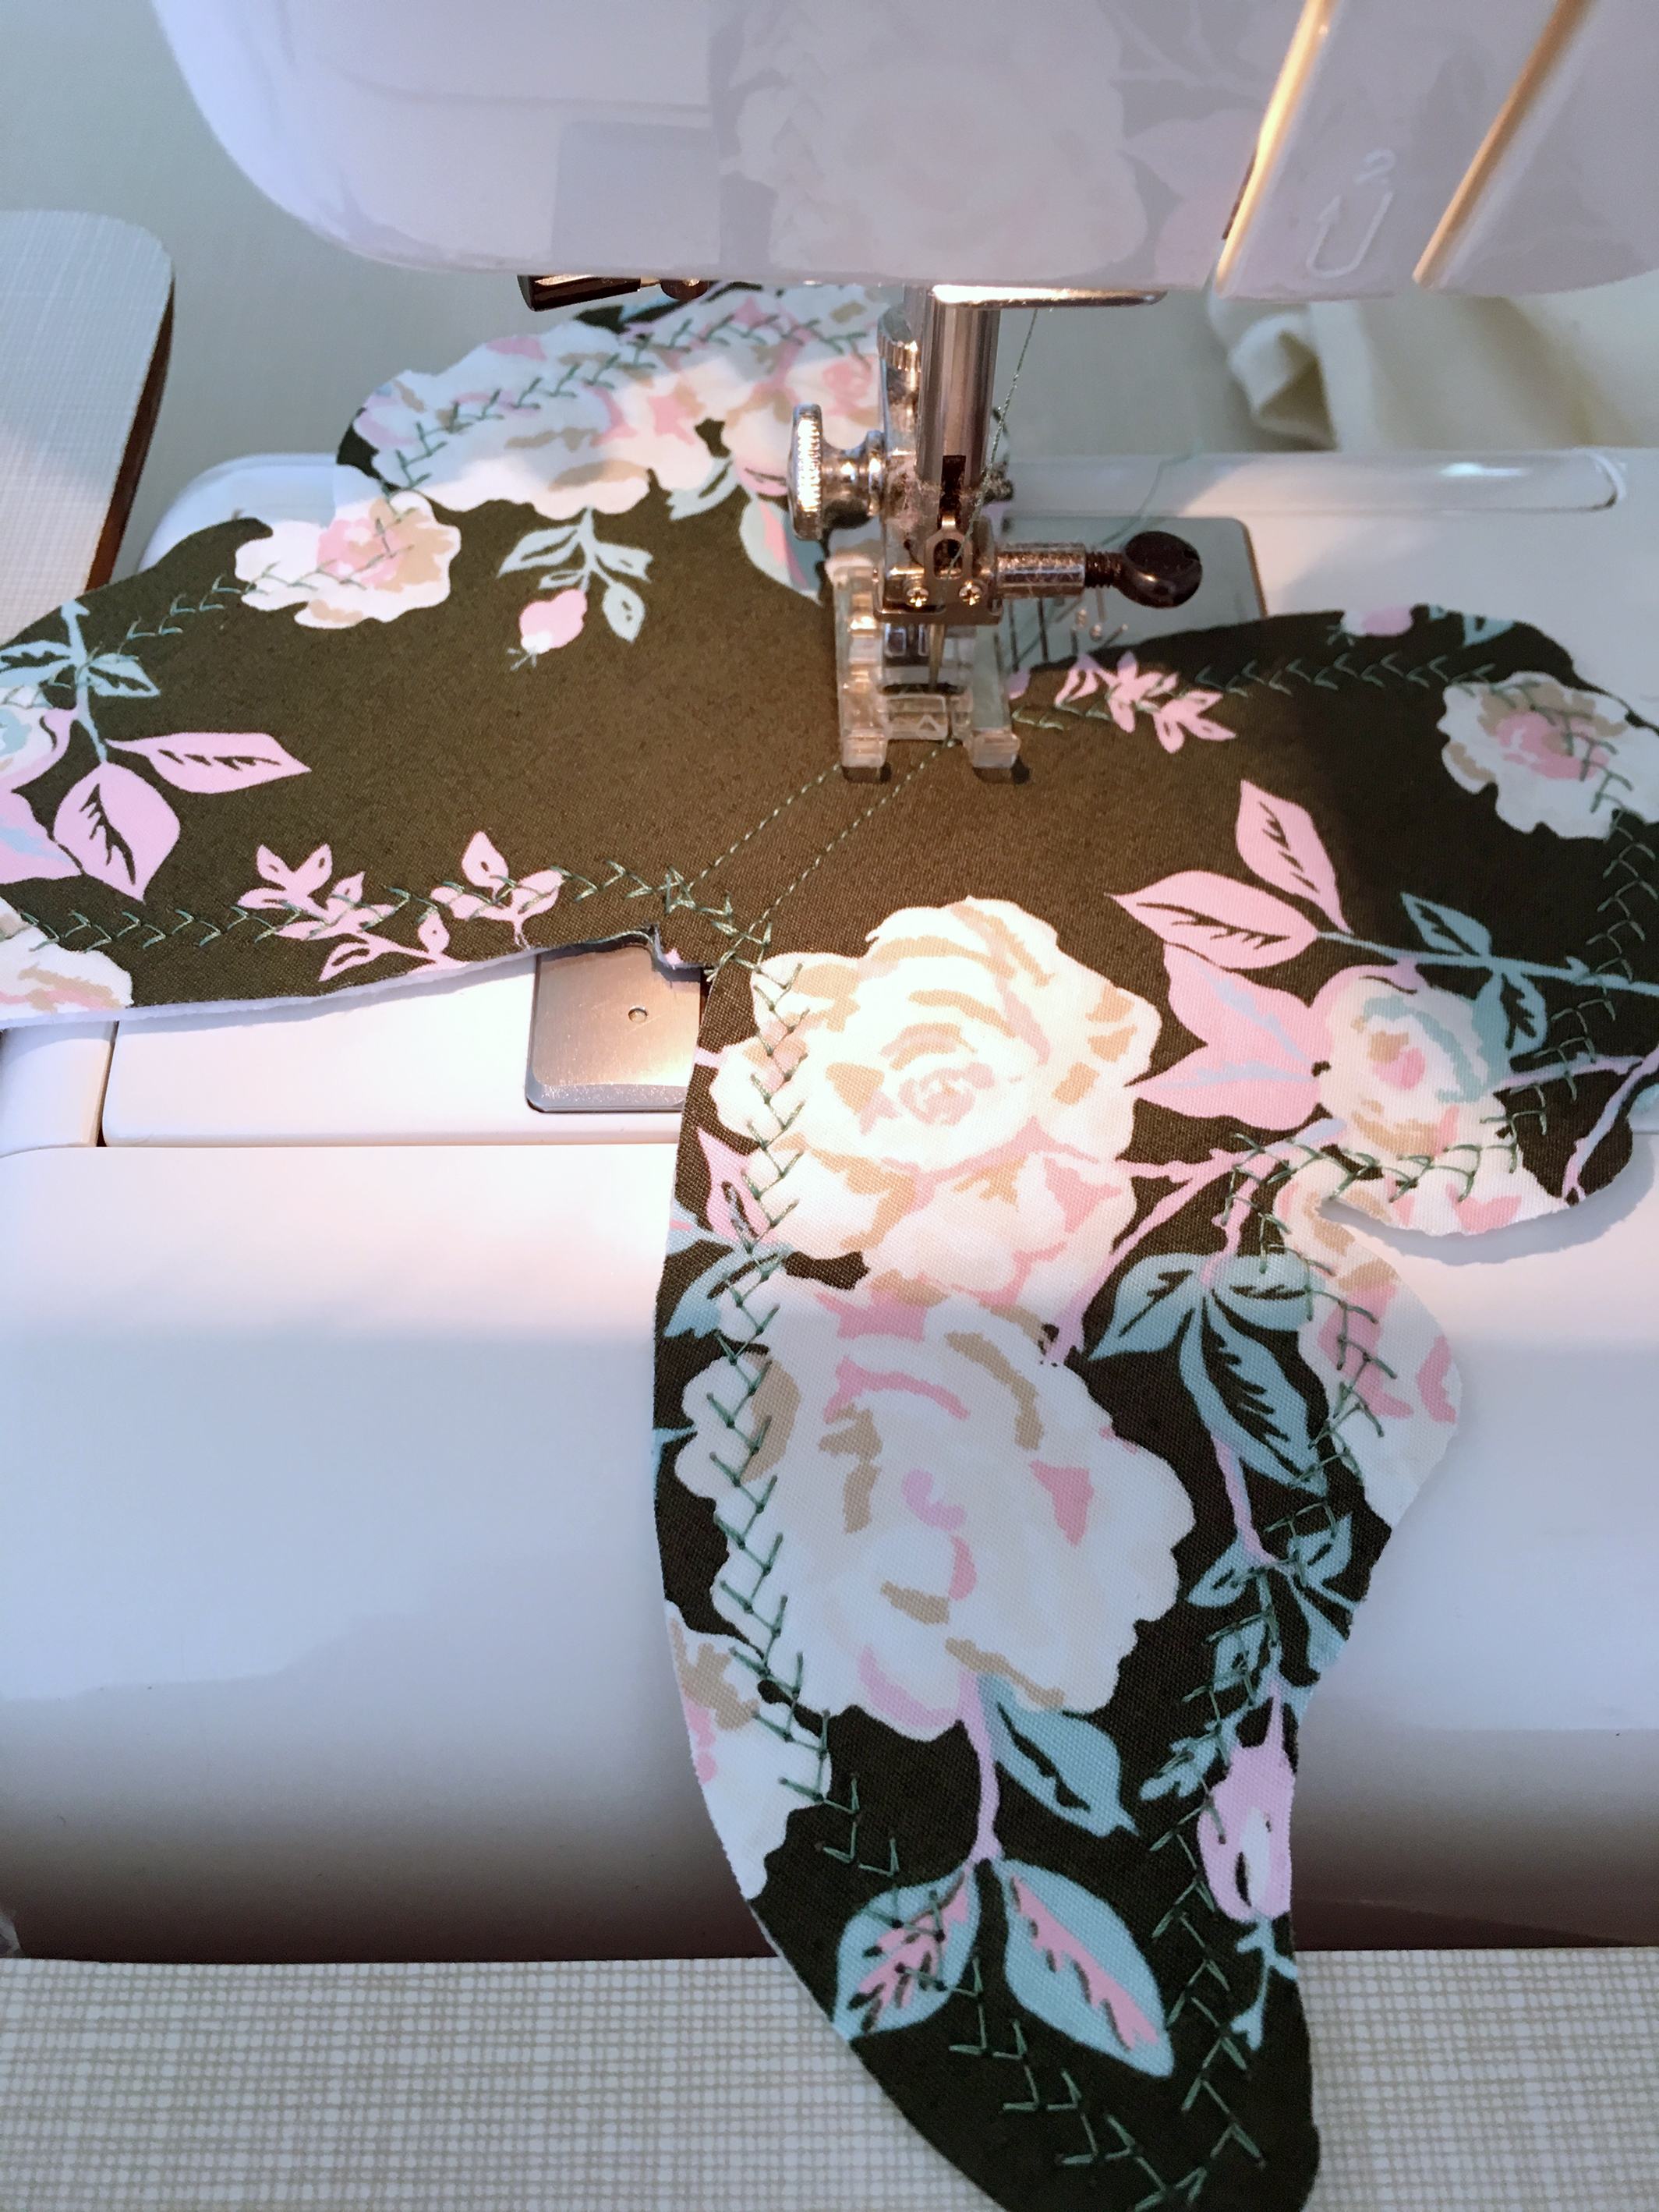
To add even more durability to your butterfly, add decorative stitches around the shape, add details like body shape, or embellish as desired.

I always love playing around with materials and thinking outside the box. Because I wanted to add a bit of bling to my butterflies and include some metallic elements I decided to try spray painting the backs.
Using a piece of cardboard and pin to hold the butterfly in place while I sprayed it I was very pleased how the gold spray paint took on the fleece backing. It didn't change the feel of the fleece and gave a nice gold tipped edge to my creations.

After the spray paint dried, I could go back in and add more dimension to my butterfly by folding and sewing very close the the folded body edges.

Let Your Imagination Soar!
Once know this technique for fusing fabric to fleece and making butterflies, the sky's the limit to what you can create.

My largest butterfly became an unique piece of art when I hand stitched it to the center of a rush placemat from Target.

I used this technique to cover a mirror with fabric faced fleece and simply glued the fleece in place with Aleene's No-Sew Fabric Glue so it's non-permanent and can easily be removed with water in the future.
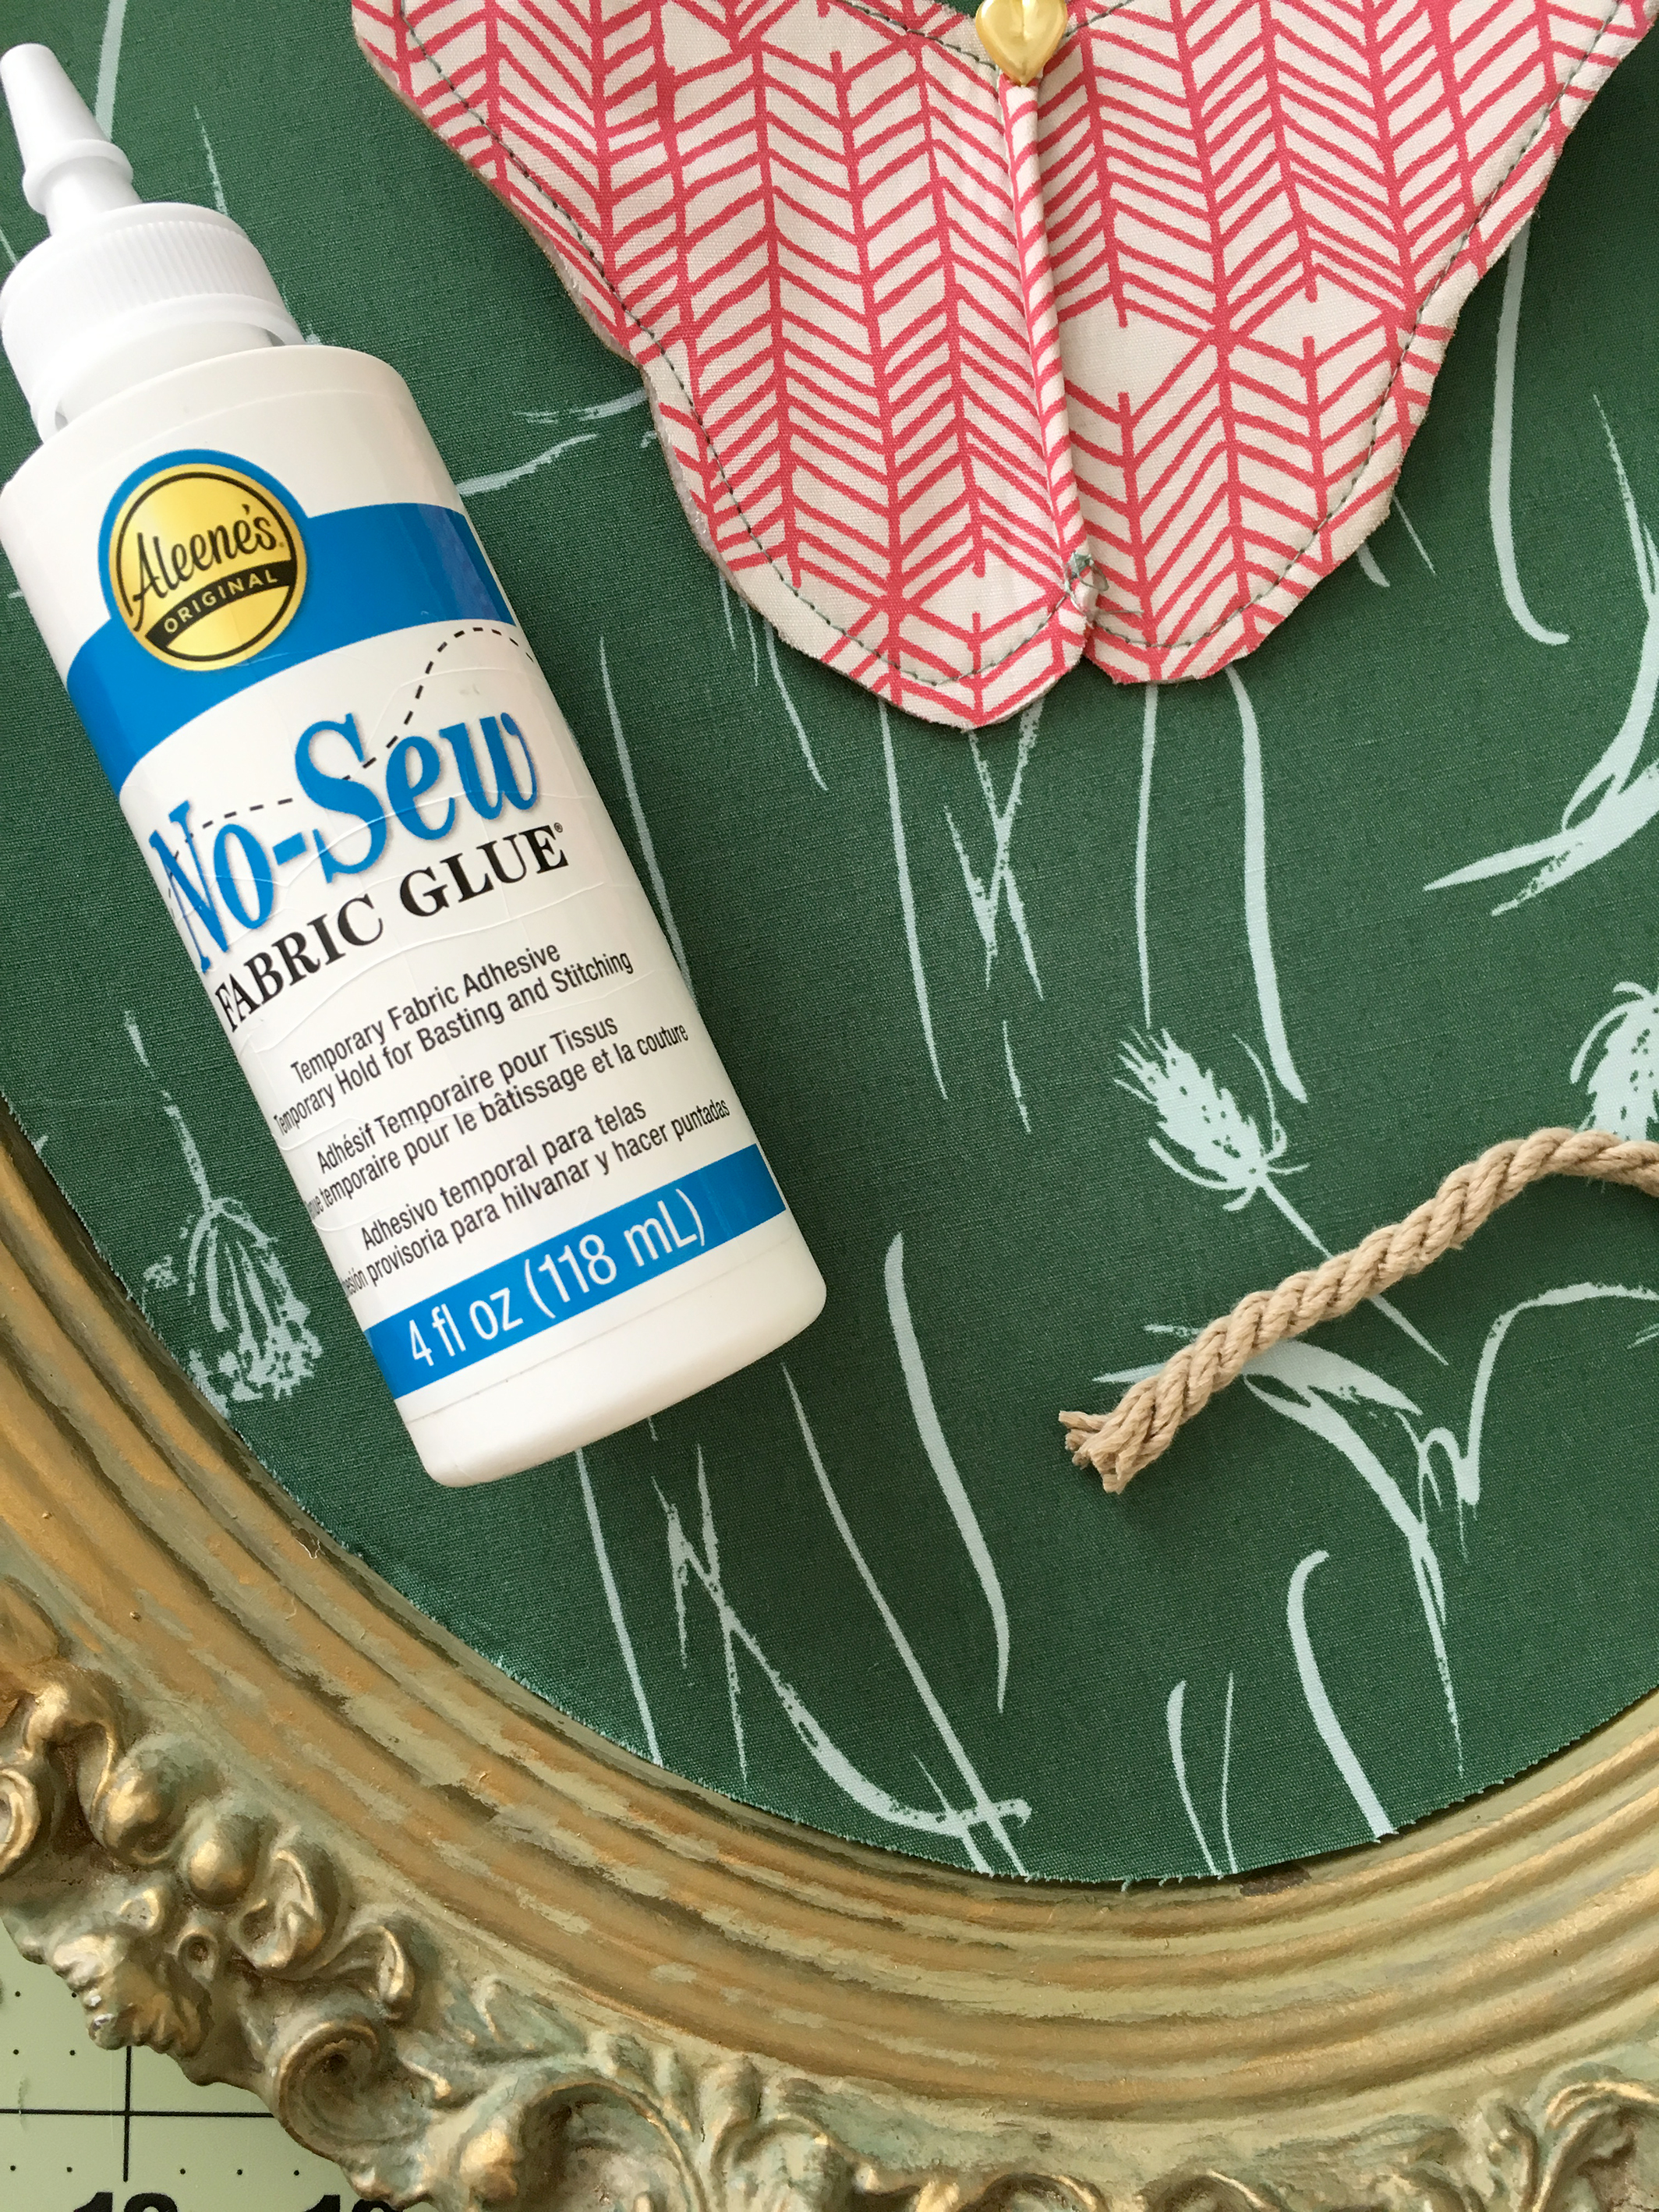
To fill the gaps between my mirror backing and the frame I used fabric glue to attach some Dritz natural-colored Twist Cord to act like decorative molding.

A 3-D butterfly was simply pinned with a decorative straight pin directly to the fabric backing.
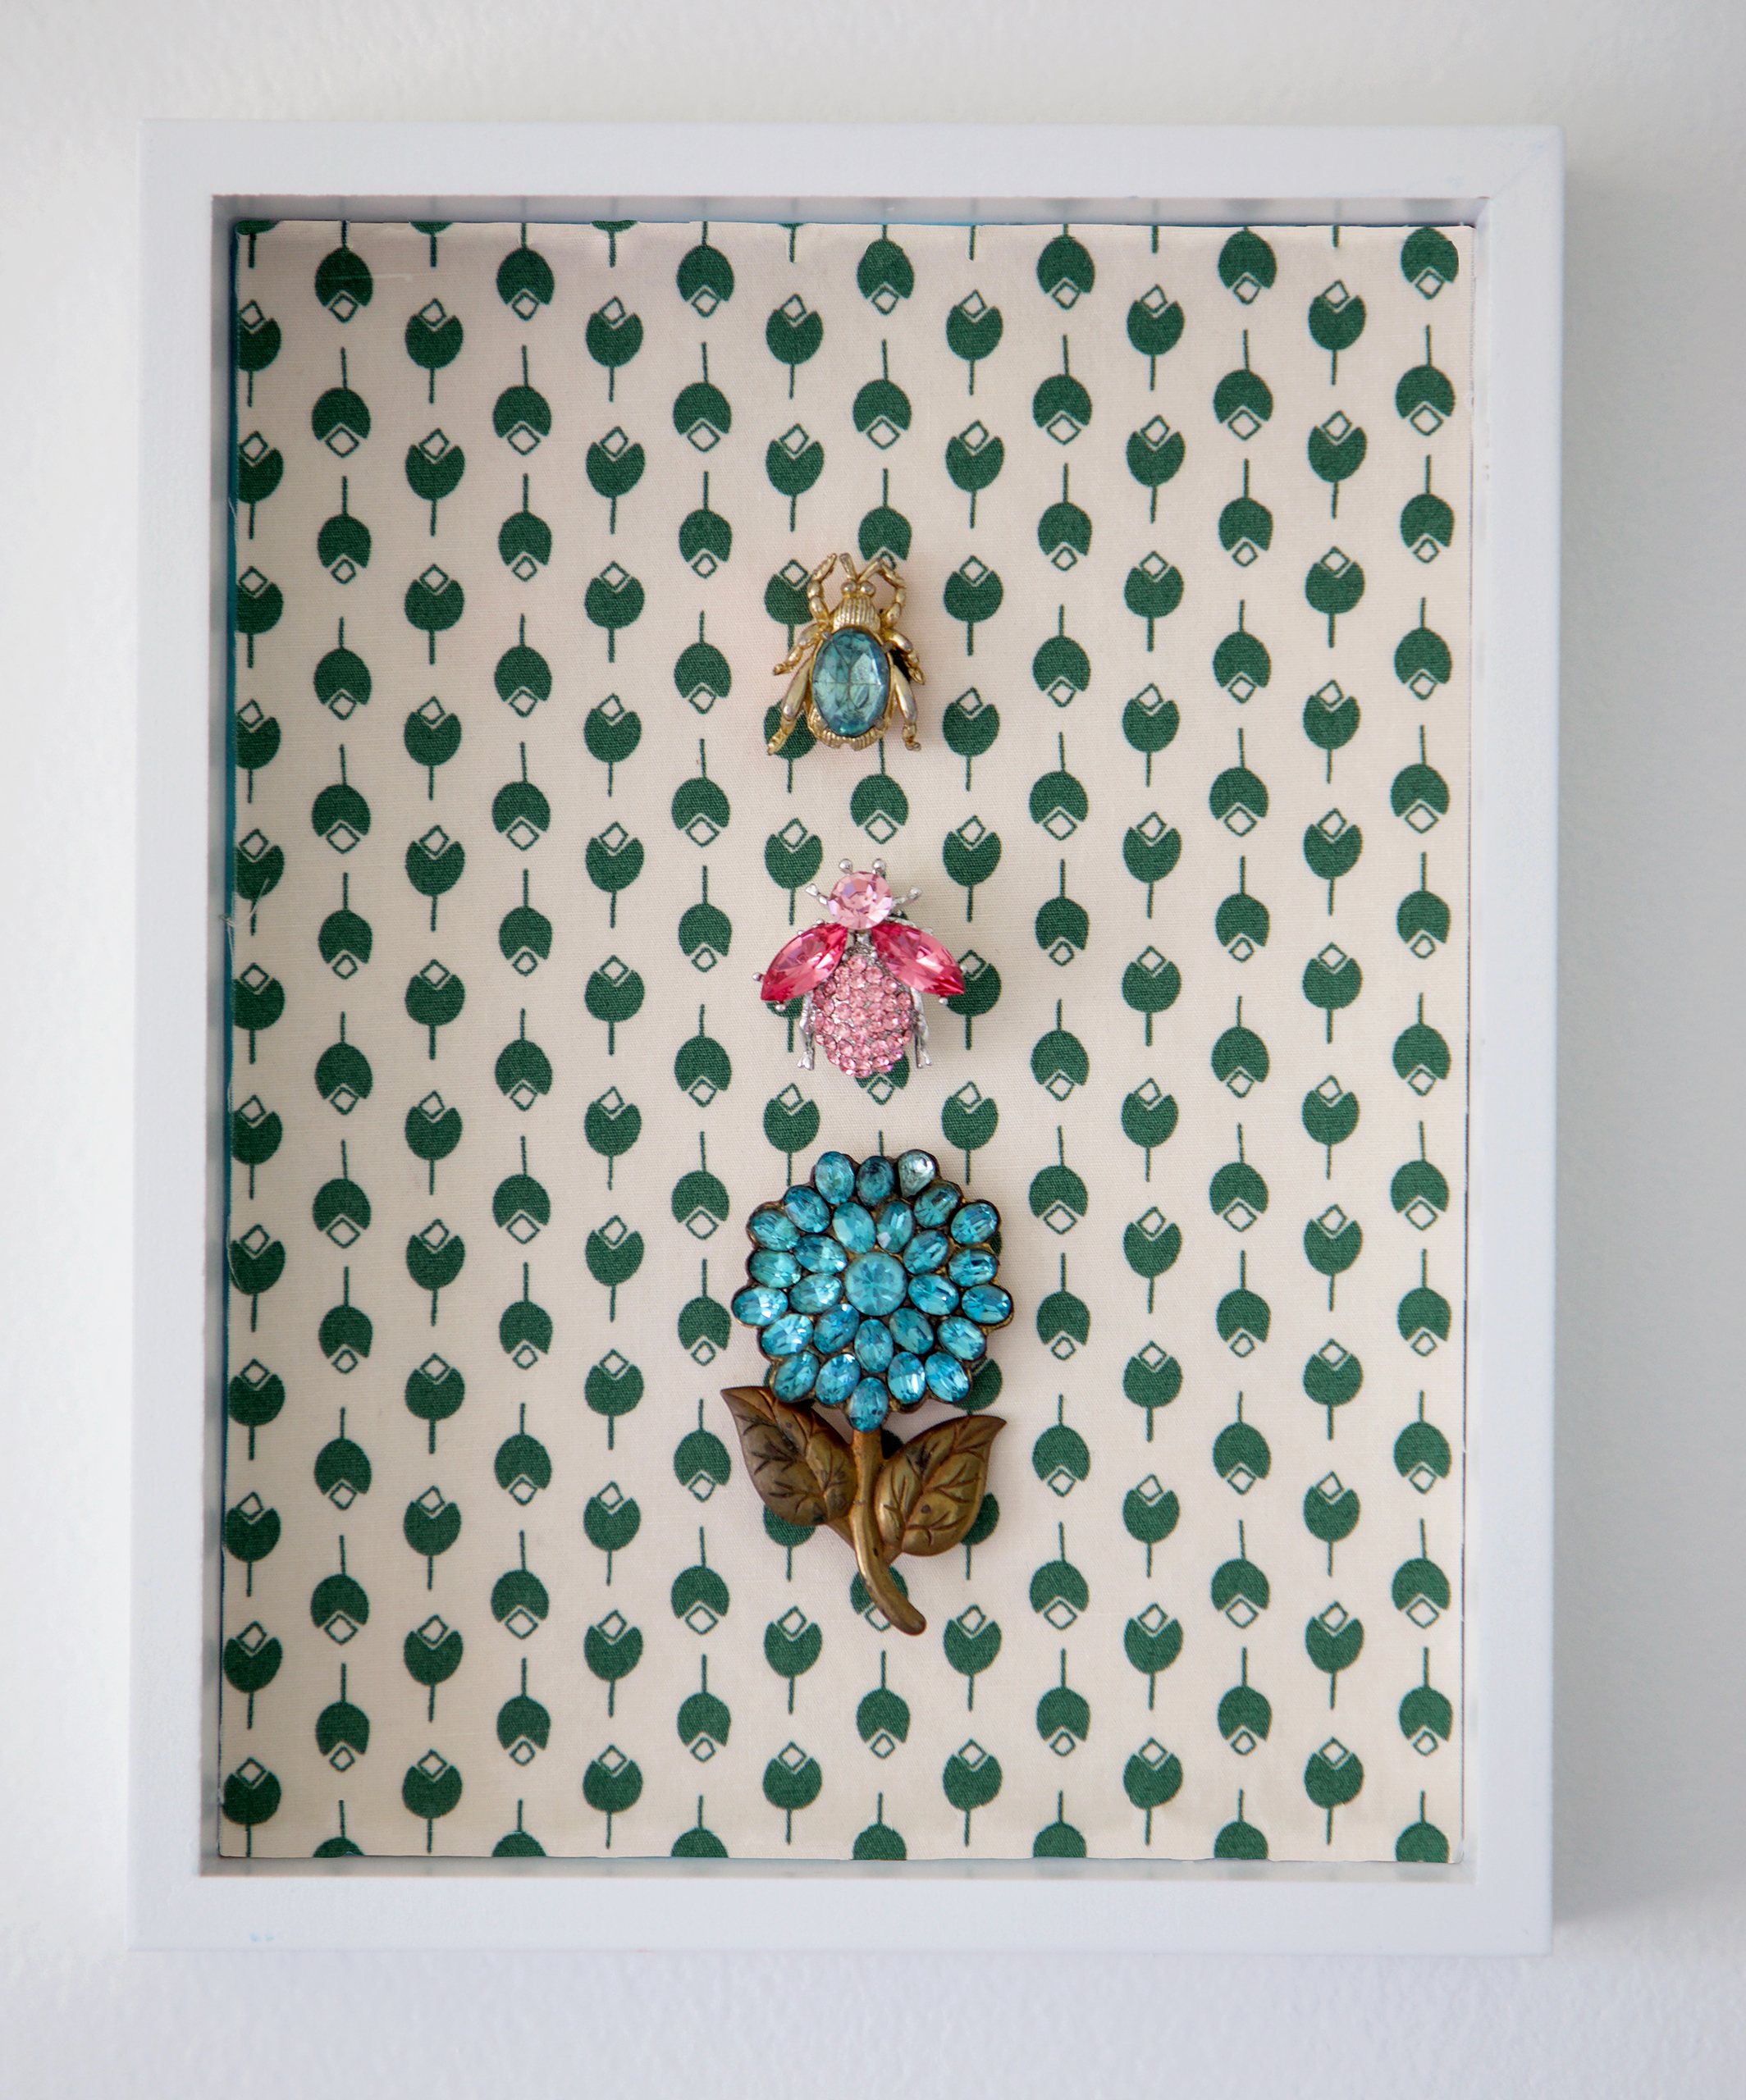
For this bejeweled shadow box I fleece backed fabric in the same technique as in the above projects and cut a backing size to fit a dollar store shadow box frame that had a saying printed on the backing. The opaque quality of the fleece blocked out the saying on the picture. Before hot gluing the fleece back fabric to the frame I pinned vintage brooches to the fabric for a one-of-a-kind, nature-inspired wall art.
Hoop Art

For a more traditional way to create art for your walls and bring nature inside is to use prints from my Signature and embellish them with embroidery and appliqué. For my Hoop Art I fussy cut a bouquet from my Extempore Celebration print and appliquéd a dragonfly, bee, and butterfly from the Small World Sprightly print.

Starting with an over-sized square each I sandwiched the following materials: Extempore Celebration right sides up on top, Hobb's Tuscany Silk batting in the center, and a Pure Element solid right side out on the back. I embellished the main print with embroidery and quilting stitches then added needle turn appliquéd cut outs from the Small World Sprightly print with blanket stitch edge detail.
Once all the needle work was done, I re-stretched the art in the hoop, secured it tightly with the screw at the top, then trimmed the edge of the fabrics even with the edge of the hoop.

I hope this gives you some new ideas for how to customize and create art for your home. So many more things can be done with these techniques--I hope you'll give it a try!