Table Scraps

Table Scraps

Stacked Strips Runner 1.jpg

Okay, that blog post title was funny, wasn't it!!?? What did you think I was going to blog about, composting? No, silly, this post is about using up those left over fabric strips to make something beautiful for your table!

Stacked Strips Runner 2.jpg

I definitely have a thing for quilted table runners--they're just fun and fast to make, plus quick for changing up the look of your table for the different seasons. 

Stacked Strips Runner 3.jpg

This is my second time making my Stacked Strips Table Runner. See the original tutorial with instructions, HERE. I stitched this one exactly the same as the first, with 2"-wide strips but the finished size of this second runner is larger and finishes out at 18" x 84". The beauty of this pattern is you can easily customize the size to fit your table. 

Stacked Strips Sewing.jpg

The fabrics used in this runner are all Art Gallery Fabrics and include prints from all six of my fabric lines. Here's the list: Pure Elements solids, AGF linen, Gossamer, Sketchbook, Coastline, Tapestry, Bountiful, Signature, and Ink Outburst from Woodland Fusions.

Stacked Strips Runner 5.jpg

The other variation I made from my original pattern was to utilize Quilt As You Go (QAYG) when sewing the strips together. By doing this, not only was I assembling the runner top, but I was quilting the runner as I sewed the strips!

Stacked Strips Runner QAYG.jpg

Using QAYG for a table runner is a great way to try this method on a small project. I used my favorite Tuscany Silk Blend batting and AGF linen for the backing to give the runner a nice weight and feel. To learn how to sew the QAYG method for quilts and other projects check out my dear friend and sister AGF designer Maureen Cracknell's QAYG Craftsy class

Stacked Strips Runner 6.jpg

This was really fun to make and since I had some strips left at the end, I decided to make some matching coasters!

Stacked Strips Coasters 2.jpg

My coasters finish at 4-1/2" round and I trimmed the strips to 1-1/2" wide to start with so the scale would be better proportioned. You could even start with 1" wide strips if you wanted even more fabrics in the coaster.

I used the same strip assembly method of sewing strips short ends together before trimming to the desired size and sewing together QAYG-style to a batting and backing foundation.

Stacked Strips Coasters Assembly 1.jpg

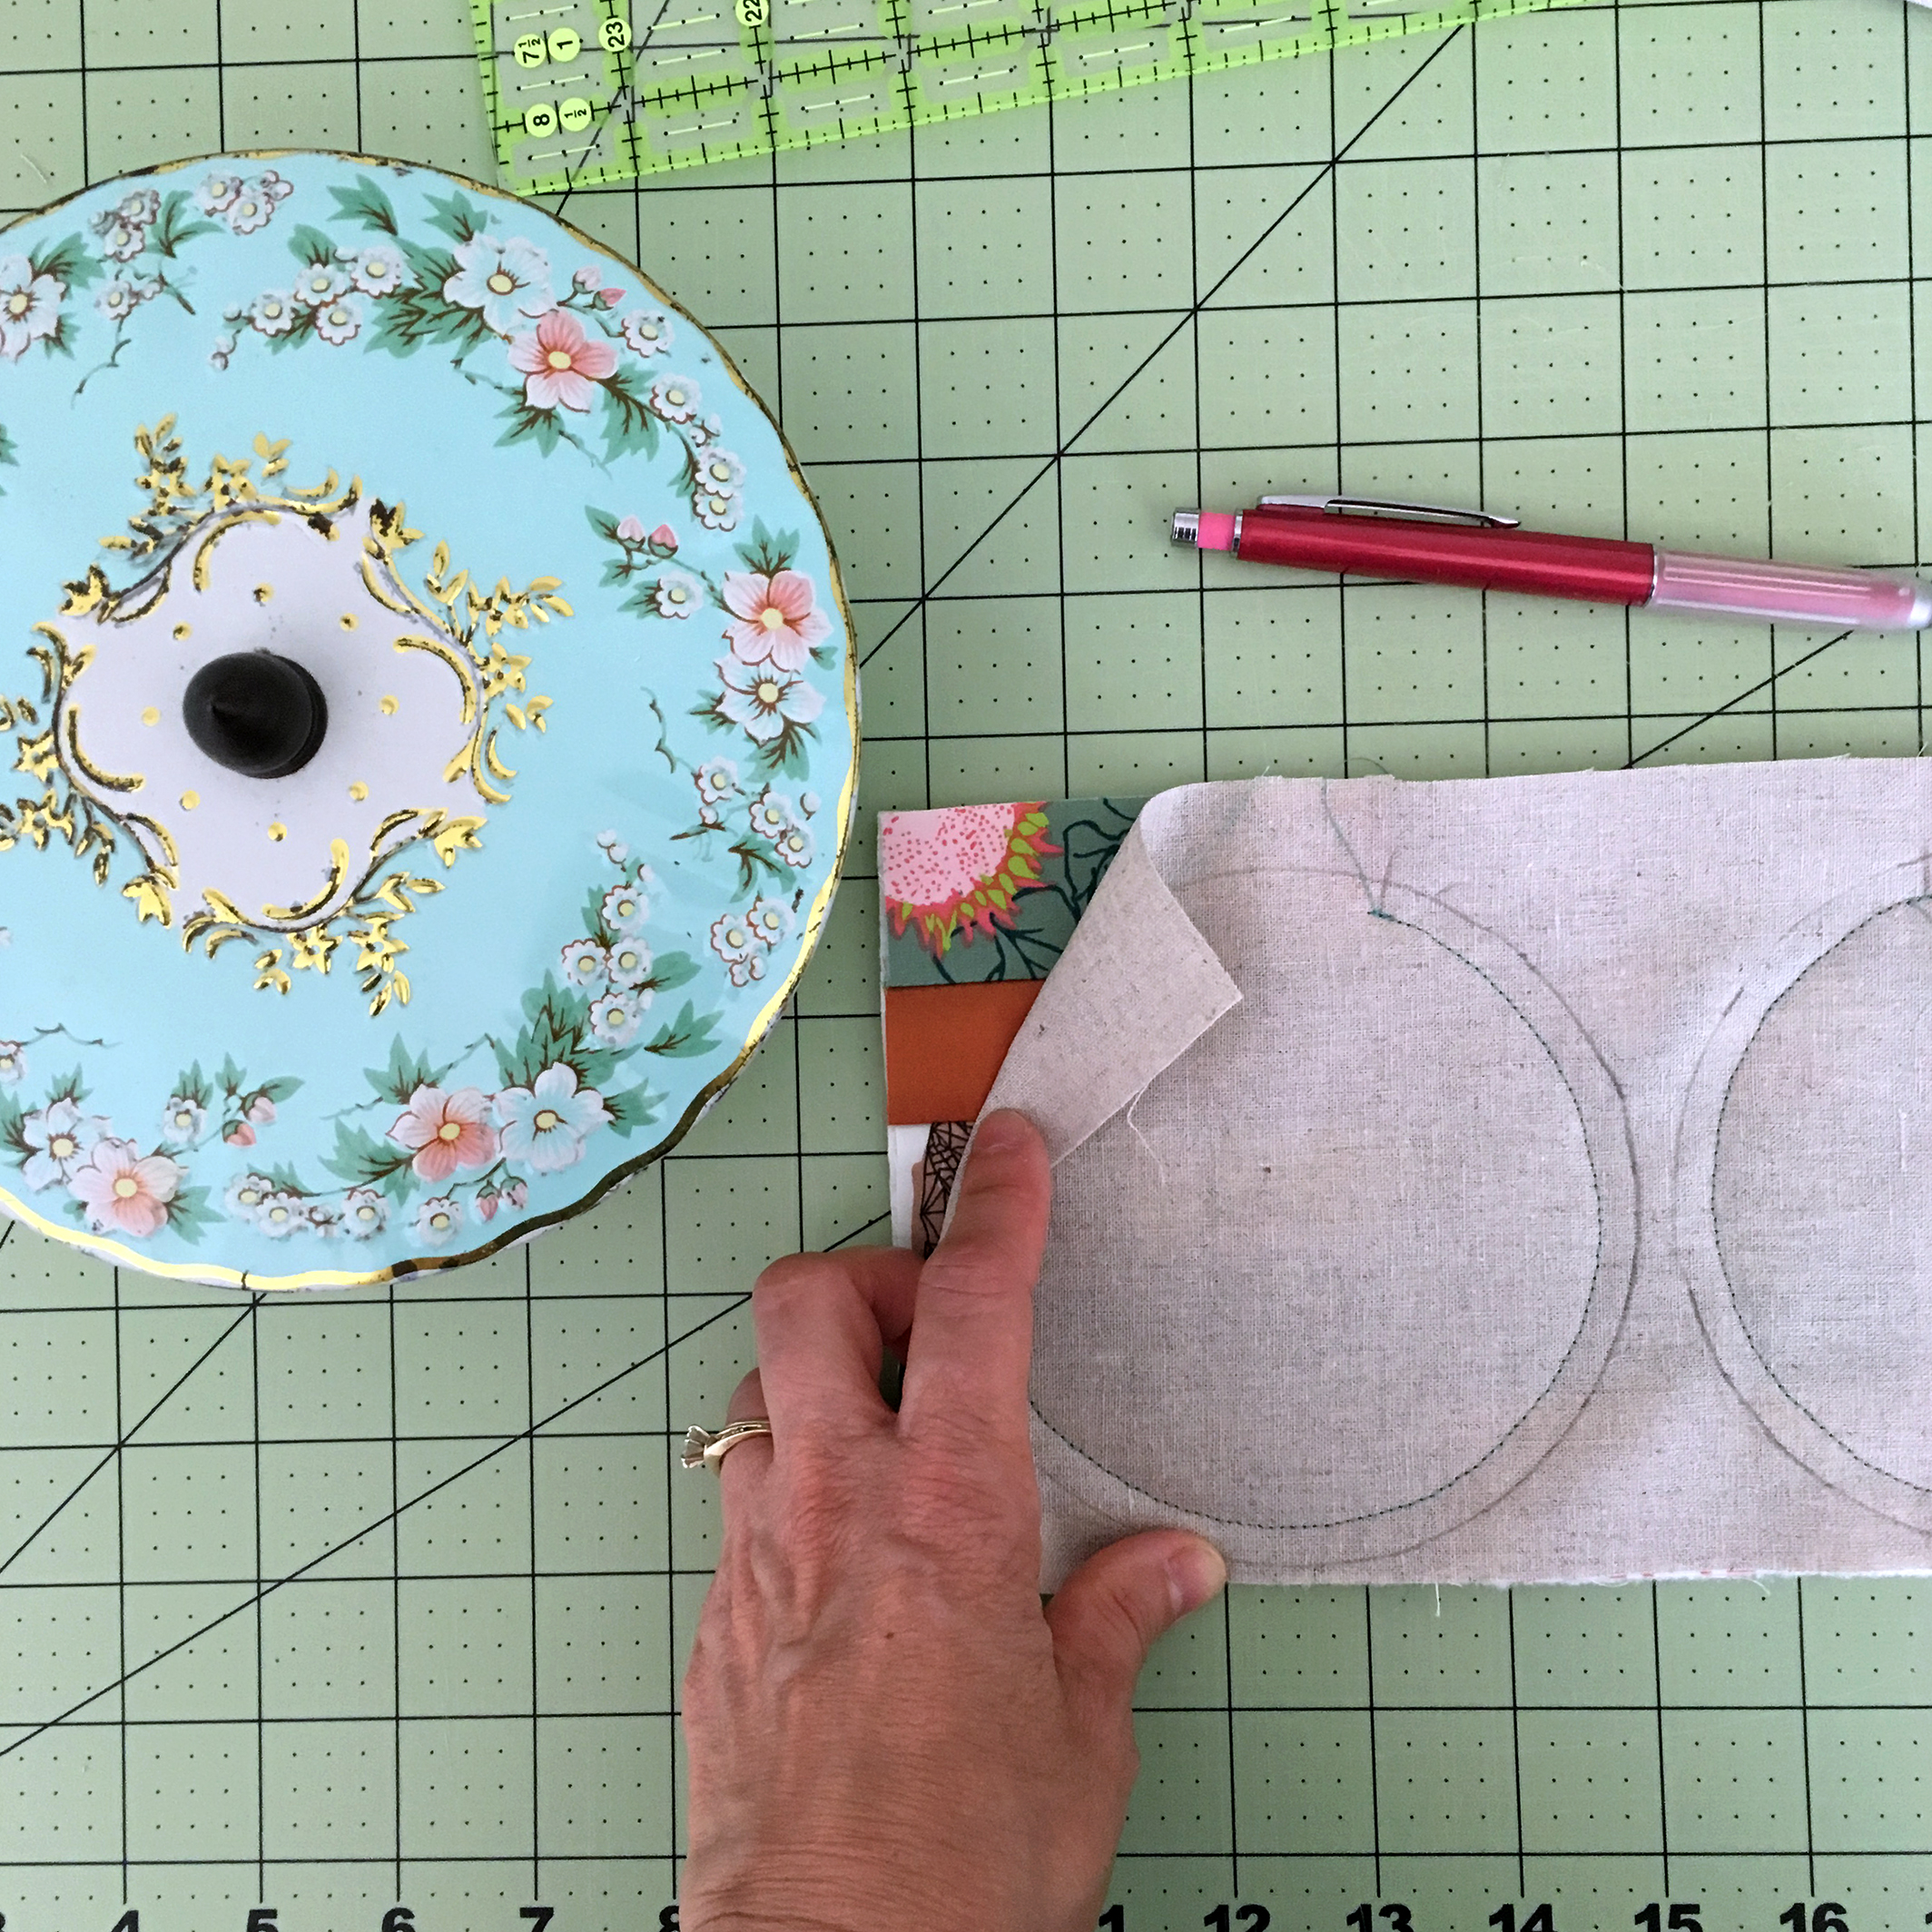
After I had the strips sewn into a large enough piece to cut out 5" circles from, I placed another piece of linen, right sides together with the QAYG piece and marked out circles with the bottom of a tin that was the right size. 

I sewed a 1/4" inside the drawn line, back stitching at beginning and end, and leaving and opening for turning. 

Stacked Strips Coasters Assembly 2.jpg

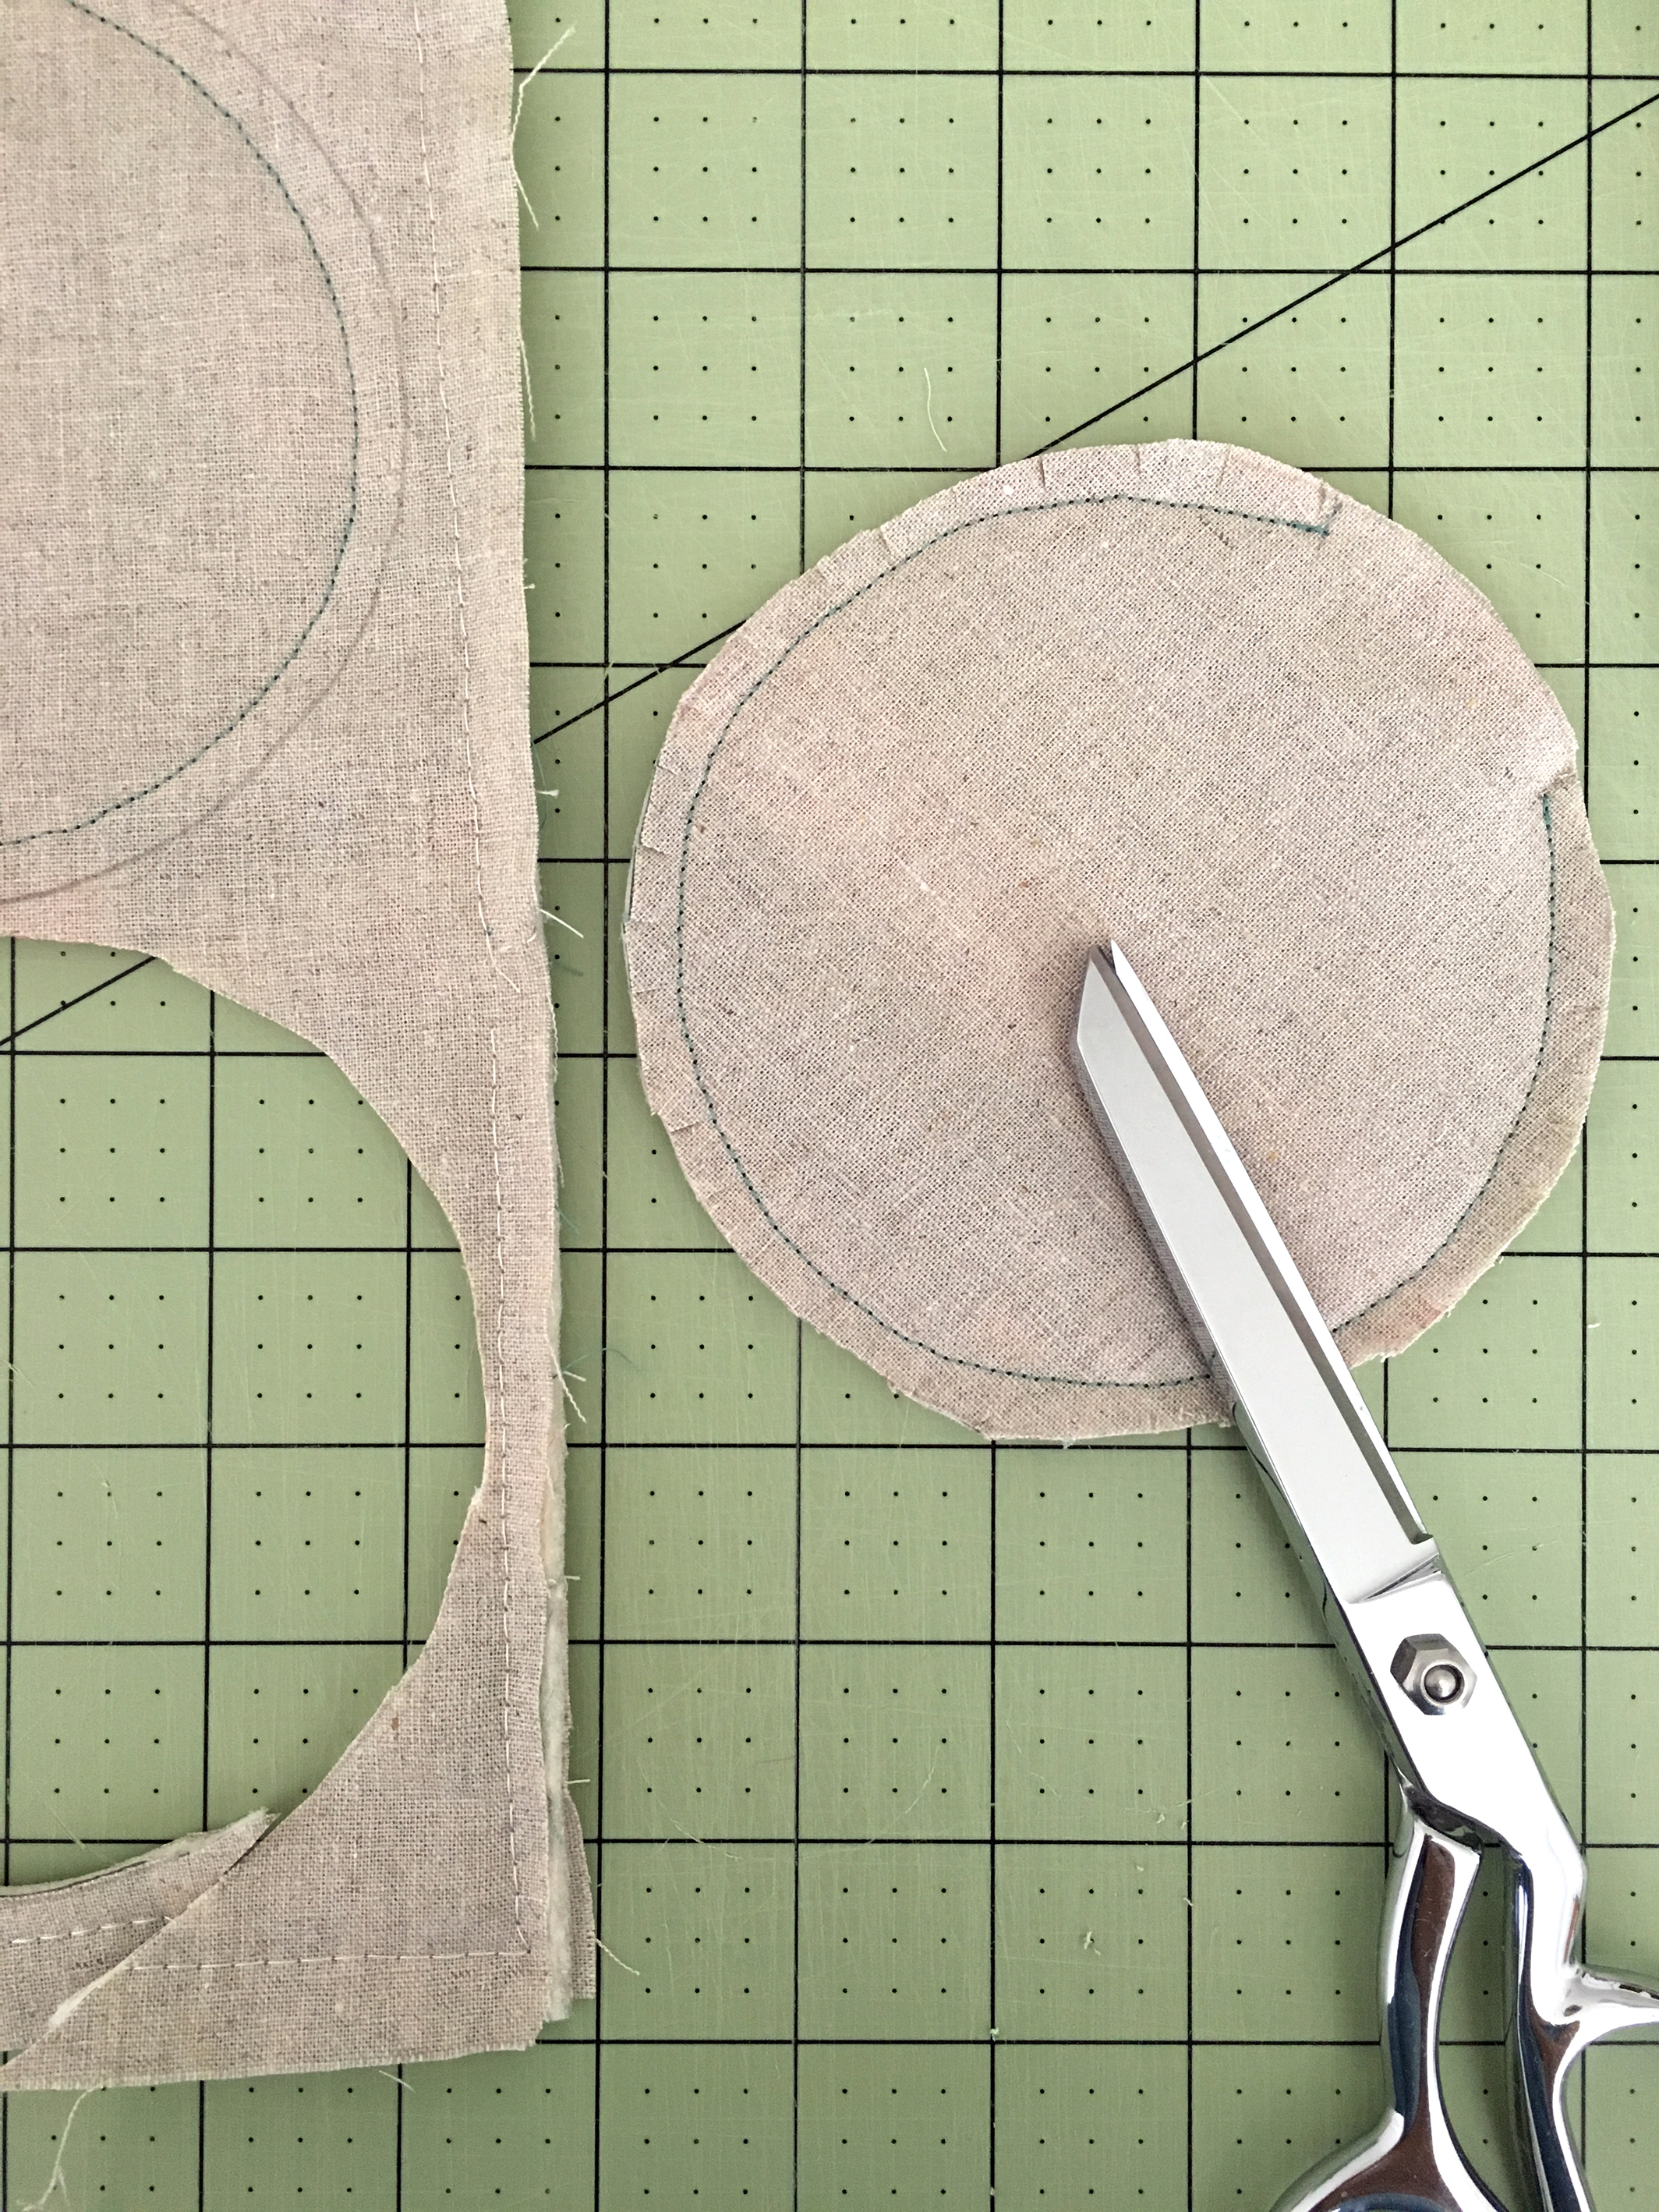
Cut out on the drawn line. Clip curves and turn right side out through the opening. Turn opening under 1/4" and press. Blind stitch opening closed by hand. 

Stacked Strips Coasters 1.jpg

I did not do any additional quilting or stitching to my coasters once turned. This method has four layers: patchwork top, batting, and two layers of linen. 

Stacked Strips Coasters 4.jpg

I think next time I try this I will make some placemats. It's really very addictive and I'm sure we all have a bunch of left over fabric scraps begging to be turned into something useful and beautiful!

My Signature Sampler Week #6

My Signature Sampler Week #6

MSS Sawtooth.jpg

Hello sampler makers and welcome to my latest sew along! This week's block is another of my favorites and I'll give you instructions on how to turn the original Sawtooth half block from the Community Sampler sew along into a full block for this quilt. 

My Signature Sampler Banner copy.jpg

The My Signature Sampler is based off block instructions from the Sewcial Bee Sampler (SBS), Community Sampler (CS), AGF Quilt Block Collection (AGF), and the blocks from the Quilter's Planner 2018 magazine (QP). If you have different favorite blocks and would rather include them in your quilt, please feel free to make this sampler with your own signature-style. 

If you're just joining in on the fun, take a look at my first post for this sew along and pick up the quilt layout and color book page to start planning your sampler!

If you need extra help with your patchwork or would like to learn how to control the direction of your prints in half-square triangle units and other piecing techniques, visit my Tutorials page for lots of great tutorials all in one place. Also, when making any Sewcial Bee or Community Sampler blocks you can access the original blog posts for each block and find additional tips and tutorials for piecing. If needed, just use the search bar at the top of the this page on the right and simply type in the block name.

Don't forget our blocks will be set on-point so if you have a fussy cut center, cut it on-point for best results. Note: I don't recommend cutting any other pieces of the blocks (other than a center square on-point for fussy cutting) because it will create bias edges along the outside of the block and increase chances of distortion. Keep any bias edges in the center of the block.

MSS Sawtooth.jpg

For week #6, I've chosen to make the Sawtooth block from the Community Sampler sew along. For that quilt we only needed a half block so we'll need to change some of the cutting instructions to get it up to a full block. Here's what you'll need...

Sawtooth Cutting.jpg

Using the original Sawtooth instructions as a guide for placement and orientation I'm using the same A, B, C, D fabric placements as reference. You can make any changes you'd like for number of and placement of fabrics.

CUT

  • Fabric A
    • (4) 4'' squares
    • (2) 3-1/2" squares
  • Fabric B
    • (4) 4" squares
  • Fabric C
    • (2) 3-1/2" squares
  • Fabric D
    • (1) 6-1/2" square

ASSEMBLY

From the 4" squares, make a total of 8 half-square triangle (HST) units. See Two-at-a-Time Half-Square Triangle tutorial.

Once the the HST units are trimmed to 3-1/2" square you can assemble the block (see above photo).

Noting placement and orientation, stitch two HST units between two 3-1/2'' squares to make one outer row. Make a total of two rows in this manner. 

Stitch two HST units together and then stitch to the side of the 6-1/2" square. Stitch the remaining HST units together and stitch to the remaining side of the 6-1/2" square to make the middle row. Join the rows to complete the block. 

MSS Week #6.jpg

I've already been adding my setting triangles to my finished blocks as I make them. I'm using a combination of my Perennial print from Printemps Fusions and Untamed Beauty Daybreak from Signature as the background setting of my quilt. Since this block is in the center of my quilt I have it set in just the Untamed Beauty Daybreak print. 

The setting triangles are made by cutting a 9-1/2'' square on the diagonal to make two setting triangles. Be mindful of print direction, if applicable. See Community Sampler Week #13 for block setting instructions. 

Bonus Borders

My Signature Sampler with optional boarders on top and bottom - 68" x 85" finished size

My Signature Sampler with optional boarders on top and bottom - 68" x 85" finished size

As promised I am sharing an additional border option with you! I apologize for not thinking of this in the original quilt plan but since I sewed ahead and could see the blocks together the idea came to me on the fly and I'm loving the addition not only to the finished size of the quilt but the added interest of this chevron border detail. 

My Signature Sampler with optional boarders - 85" square finished size

My Signature Sampler with optional boarders - 85" square finished size

Am I right?!!? Now to decide if I do just the top and bottom or the full quilt....!

So, this adds some additional material needs and of course extra piecing. Download the Added Borders suppliment PDF for an updated material list requirements for adding the borders on two or all four sides. Of course, this changes the finished sizes of your quilt and depending upon the option chosen, the backing, batting, and binding requirements for the different sizes are given in this suppliment.  

GIVEAWAY

Every Friday when I reveal a new block to My Signature Sampler, I'll also be posting the weekly giveaway. This sew along is being sponsored by the most amazing companies and have generously donated incredible prizes to share with you. 

OUR SPONSORS

THIS WEEK'S GIVEAWAY SPONSOR IS: The Fat Quarter Shop

fqslogo.png

The Fat Quarter Shop was founded in 2003 by Kimberly Jolly. An avid quilter, Kimberly began her shop as a side business while still working a corporate position, cutting, packing and shipping right out of her house during evenings and weekends. From the very beginning, she was committed to delivering top-notch service for every single order and customer. As the Fat Quarter Shop's reputation grew, Kimberly decided to make it a full-time operation. Her husband Kevin joined her not long after, and with his help, lots of hard work, and a tireless commitment, the store began to grow. Over the past few years a few more people have joined the staff! As a team, they continue to branch out with the best fabrics, exclusive kits, quilt clubs, BOMs, and more. And they will always be driven by the passion that Kimberly founded the store upon, which is always giving you the best products and service!

SHOP  *  PINTEREST  *  TWITTER  *  BLOG  *  FACEBOOK  *  YOUTUBE 

MSS Signature Atmospheric.jpg

For this week's My Signature Sampler giveaway, our friends at Fat Quarter Shop are giving one luck winner this 10-pc fat quarter bundle of my Art Gallery Fabrics Signature collection in the Atmospheric color way! 

Signature Atmospheric 2.jpg

Giveaway Now Closed. Congratulations to Rosemary B.

Note: This giveaway is open to EVERYONE! If you're a "no reply" or anonymous commenter, please remember to include your email address in your comment--you can't win if I can't get a hold of you!

1. Simply leave a comment here under this post for your first comment entry.

2. Follow Fat Quarter Shop on any of their social media platforms (see links above). Just let me know that you did by making a separate comment here to record that entry. (Separate comment-second entry). 

3. My followers get a third entry! If you follow me via subscribing to my posts, on Pinterest, and/or Instagram, just let me know by making a separate comment here to record that entry. (Separate comment-third entry).

4. Help spread the word!! I know that many of you already do, so I thought it would be nice to add that as another way to enter! Spread the word about the My Signature Sampler sew along on YOUR instagram, Facebook, Twitter, or on Pinterest by pinning any of my pretty images in this post. (Separate comment-fourth entry) 

That’s FOUR possible entries! Enter now through Monday, July 30th! The winner will be picked at random around 4pm Eastern. I will post the name of the winner on this post once they've been notified and responded to my email.

Don't forget to enter into this same giveaway on Instagram by posting images of your sampler inspiration, sampler fabric pull, or blocks. Use the official #mysignaturesampler hashtag every time you post your My Signature Sampler makes (to a public account) and you're automatically entered into the weekly IG drawings as well! See my Instagram giveaway posts @sharonhollanddesigns for full details. 

Happy sewing!

Sharon

Endless Summer

Endless Summer

Endless Summer Nibble 4.jpg

It's such an honor to be part of Mathew Boudreaux aka Mister Domestic's blog tour! Mathew launched his first fabric collection, Loved to Pieces for Art Gallery Fabrics this spring and I couldn't be happier for him!

Mathew's a power house of positive energy and brilliant sewing ideas. He's lovable and personable and you can't help but have a smile after watching his engaging You Tube videos!

LTP Blog Party Banner.jpg

Here's the amazing line up of designers for his tour:

Mister Domestic’s Loved to Pieces Blog Party

Monday July 16: Amanda Woodruff of A Crafty Fox

Tuesday July 17: Sharon Holland of Sharon Holland Designs

Wednesday July 18: Angela Wolf of Angela Wolf Pattern Collection

Thursday July 19: Brittany Jones of Brittany Jones

Friday July 20: Sharon McConnell of Color Girl Quilts

Saturday July 21: Elina Temmes of Elina Temmes

Monday July 23: Meghan Buchanan of Then Came June

Tuesday July 24: Nicole Daksiewicz of Modern Handcraft

Wednesday July 25: Cristy Stuhldreher of I Love You Sew

Thursday July 26: Kate Basti of Quilt with Kate

Friday July 27: Courtney Davis posting at Melly Sews

Sunday July 29: Mimi Goodwin of Mimi G Style

Monday July 30: Kim Niedzwiecki of Go Go Kim

Tuesday July 31: Tara Curtis of Wefty Needle

Wednesday August 1: Saija Kiiskinen of Saija Kiiskinen

Thursday August 2: Jodi Godfrey of Tales of Cloth

Sunday August 5: Brett Lewis of Natural Born Quilter

Monday August 6: Karen Tripp of The DIY Addict

Tuesday August 7: Tracy Martin of Tracy Bug Creative

Wednesday August 8: Sharon Burgess of Lilabelle Lane Creations

Thursday August 9: Maureen Cracknell of Maureen Cracknell Handmade

Friday August 10: Kylie Gersekowski of Little Moo Designs


Endless Summer Nibbles 3.jpg

With the wind of his daughter Helena’s love at his back, Matthew created Loved To Pieces. Helena's love for flowers and Mathew's love for paper piecing fused into a world where florals and EPP geometrics play against an array of blue tones with touches of vibrant pinks and subtle greens.

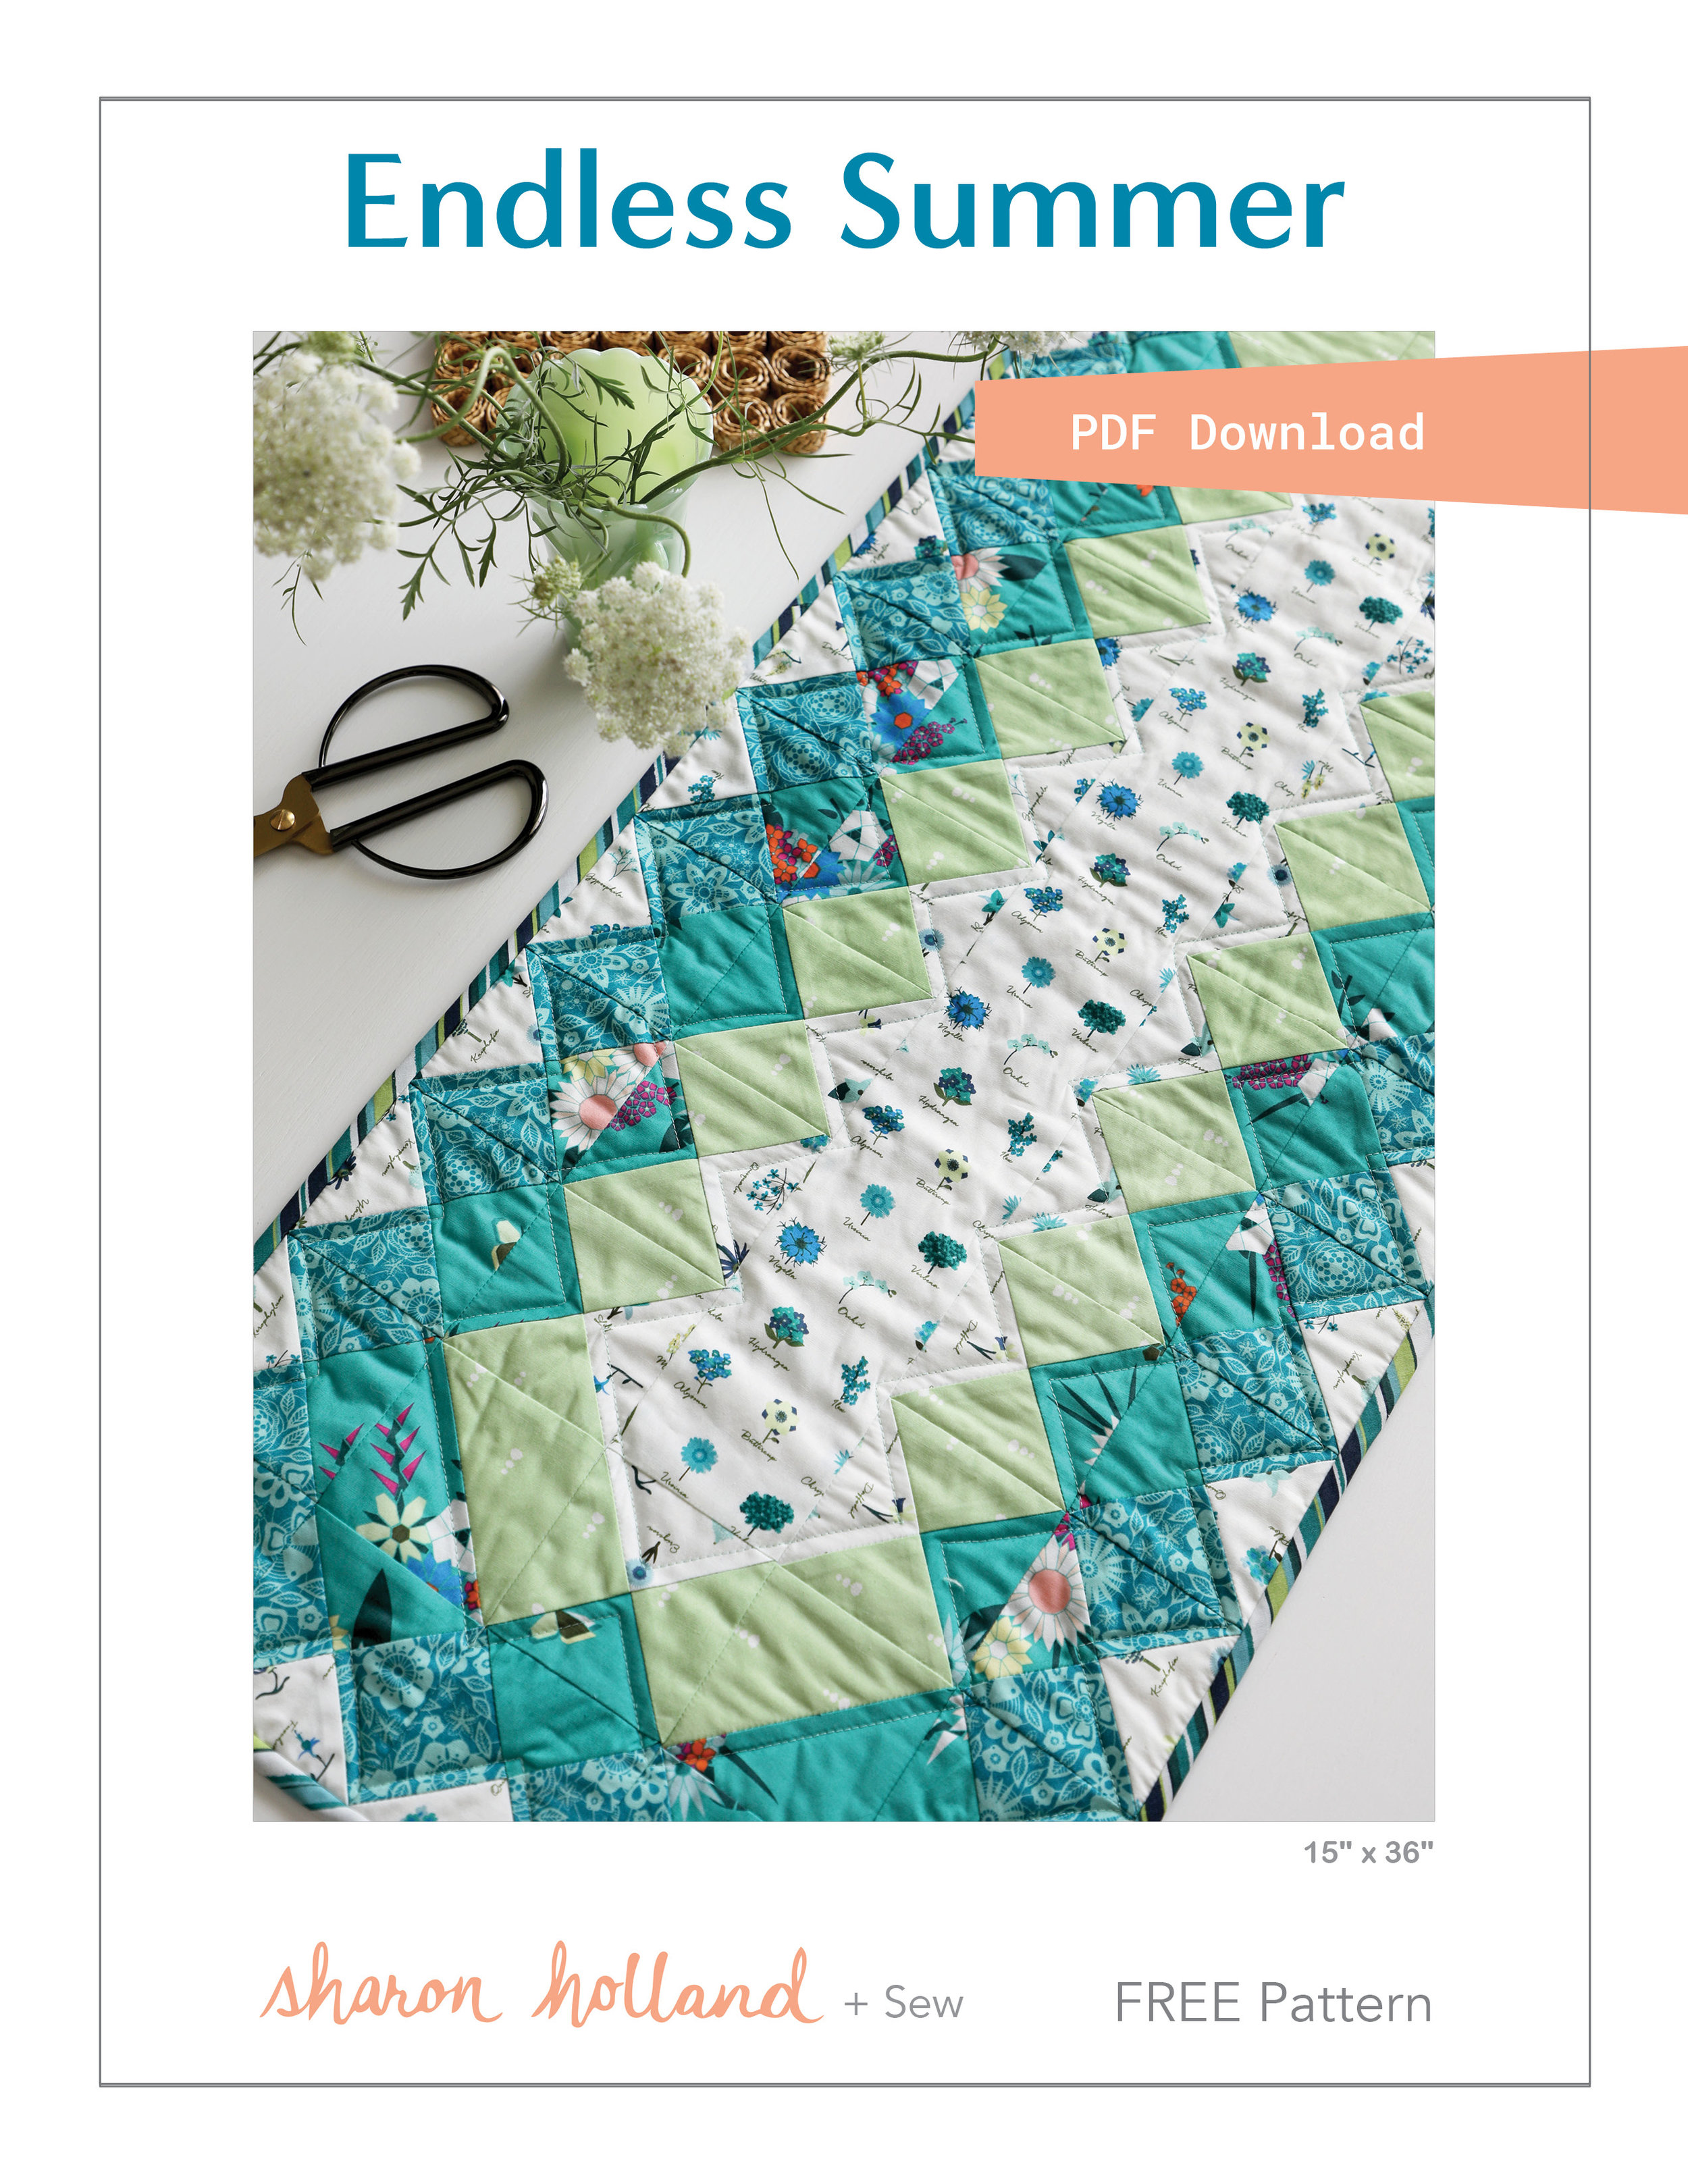
To signify the eternal love that's woven into every fiber of this collection I chose to make my Endless Summer table runner that I designed and first published in July/August 2013 Quilt-it...today magazine. 

Endless Summer Table Runner.jpg

This runner is made from half-square triangles and quarter-square triangles and the overall effect is as if it's been woven and a nod to Mathew's amazing woven fabrics sewing projects. There's a lot of pieces but once you make the units you're ready to put the runner together so it actually goes together pretty quickly. If you need extra help with HST and QST triangles, take a look at my tutorial for them HERE.

To share the love, this is now a free pattern for you to download from my Free Patterns page

Endlesss Summer Nibbles 1.jpg

I adore using a striped print for binding, don't you? To get the maximum effect, it's best to cut a striped binding on the bias. For a tutorial on how to cut and attach regular and bias binding, see my How to Bind a Quilt tutorial.

Endless Summer Nibbles 2.jpg

I really love the colors in Mathew's collection and these cool greens and aqua's are scrumptious and made me feel like I was in a Mediterranean getaway! You better believe I ate those props after the photoshoot!

Endless Summer backing.jpg

I didn't have enough left over of the striped print to cover the back so I added my Woodblock Splendid print for AGF to each end, giving this runner a second look if flipped over.

The machine quilting is kept very simple because I didn't want to take anything away from the pretty prints. I followed the overall shape of the radiating rings which was plenty of quilting to use on the Hobbs Tuscany Silk Batting that's the perfect thickness for a table runner. 

Endless Summer table 1.jpg

Be sure to follow along on the blog tour and on Mathew's blog and @MisterDomestic Instagram as he'll be having weekly drawings for Loved to Pieces fat quarter bundles and loads of sewing inspiration. 

Happy sewing,

Sharon

Signature Bedroom

Signature Bedroom

Signature Soho Bedroom wall.jpg

Today I'll be taking a closer look at the Signature fabrics Soho bedroom I put together for a photo shoot to show off my new Signature fabric collection for Art Gallery Fabrics. This room was another mock-room setting I put together in my studio and I had so much fun sewing and decorating for this scene. See the Signature Baby Room posts Part 1 and Part 2.

Tracery Rose Quilt reduced.jpg

For this mock-room to make sense, it had to tell a story. I wanted something fun and flirty, just like the fabric collection so I came up with the idea to create a Soho loft bedroom from a 20-something girl who loves sewing, flowers, vintage finds, and a little bit of bling. 

Signature Fabrics Bedroom 1.jpg

I didn't want a fussy bed frame so I put the mattress and box spring directly onto the rug-layered floor and stood two same-size, narrow boxes on end. You can't see the boxes because they're covered with a wood boards that made a temporary bench of sorts that I could use as my headboard/shelf. This created the perfect look for my bed and kept everything low and modern. 

Signature Fabrics Bedroom 2.jpg

The quilt on the bed is called Tracery Rose and is an adaptation of the Tracery quilt pattern from my Utility-Style Quilts for Everyday Living book (Landauer 2017). I wanted layers of fabrics with texture and vintage charm as well as doable DIY projects that my creative girl would want to make for her room. 

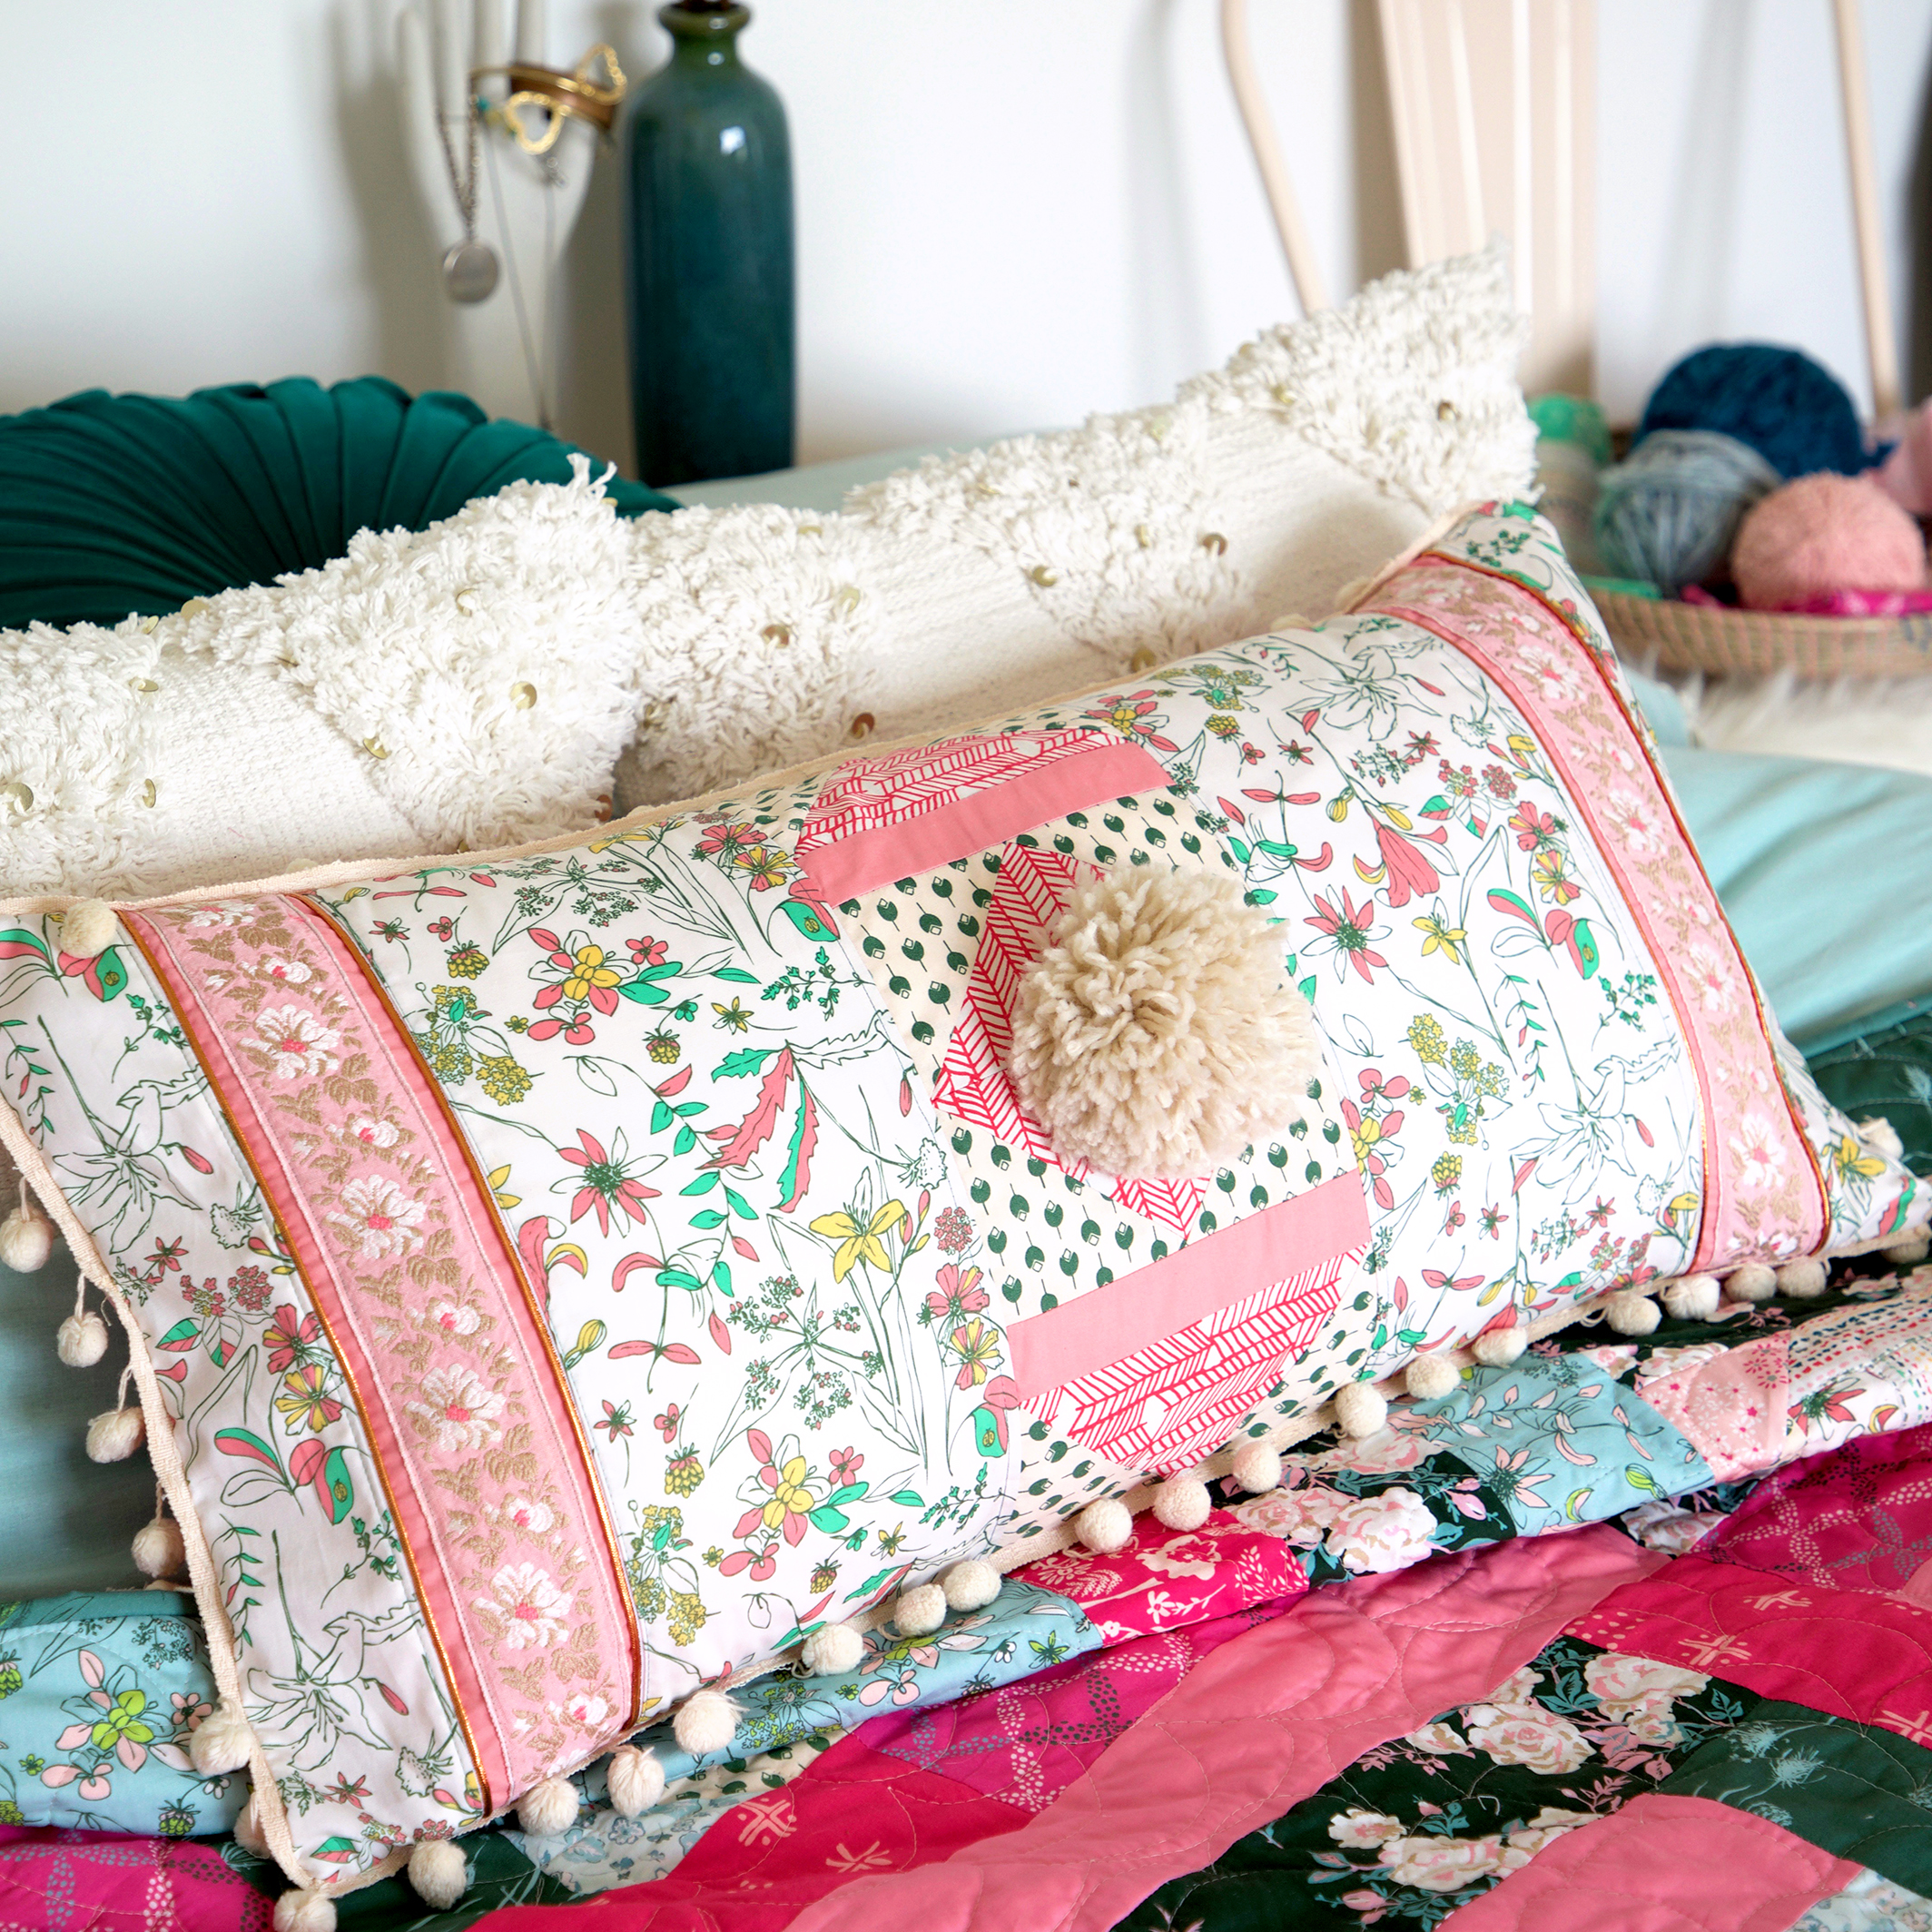
Find a tutorial for the fun Fabric Fringe Wallhanging on one of my earlier posts as well as instructions for the Improv Boho Pillow tutorial. These are both great projects to get the kids involved in sewing something for their room.

Signature Pillow 1.jpg

Crafty touches include vintage pompoms, my grandmother's Singer sewing machine on the desk, knitting yarn in the Bucket Bag tote (another free pattern on this site), Art Roll Up caddy for knitting needles or other art supplies (see Free Patterns page), thrifting treasures of vintage jewelry and furniture, and of course florals to bring the garden inside.

Signature Craft Girl.jpg

Pile on the layers and let the photo tell a story! I can just image my younger self busy working on crafts in my room and rearranging and decorating my space with pretty things.

Signature Fabrics and yarn.jpg

This photo of the basket with yarn and fabric is one of my favorite shots because of all the yummy textures, layers, and colors. I had the last minute idea to throw a piece of faux fur on the chair seat and that added a bit of glam to the look plus more texture and interest!

AGF Signature Sewing.jpg

This petite desk's was something I picked up at a garage sale almost 20 years ago! I painted it gold after I bought it and it's normal spot is as a nightstand by my bed. Because I wanted to bring in different metal elements into my Soho bedroom like gold, copper, and silver I thought it would make the cutest sewing table for this scene. The sewing machine was my grandmother's and it still works like a dream. I have it as a backup machine and don't sew with it much but it's comforting to know it's here with me when I need it. 

The chair is another garage sale find and it has a big hole in the caned seat. I've hidden the hole with a piece of faux fur to repeat the look on the other side of the room. 

Signature Kimono.jpg

Although I am obsessed with so many of my sewing makes for the two mock-up rooms, the project that's gotten the most wear is my Signature Extempore Rayon kimono. This garment was an easy make for a non-garment sewer like me and AGF rayon is the perfect fabric for a flowie cover up like this. I used Simplicity pattern 1108 and chose the cropped cut because I'm only 5'2'' and it's a good proportion for my frame. 

AGF Signature Rayon Kimono.jpg

I hope you enjoyed this look into some of the photos that went into the Signature Look Book and my styled photo shoot. Are you getting lots of inspiration? What would you sew with these prints--quilts, clothes, or something else?