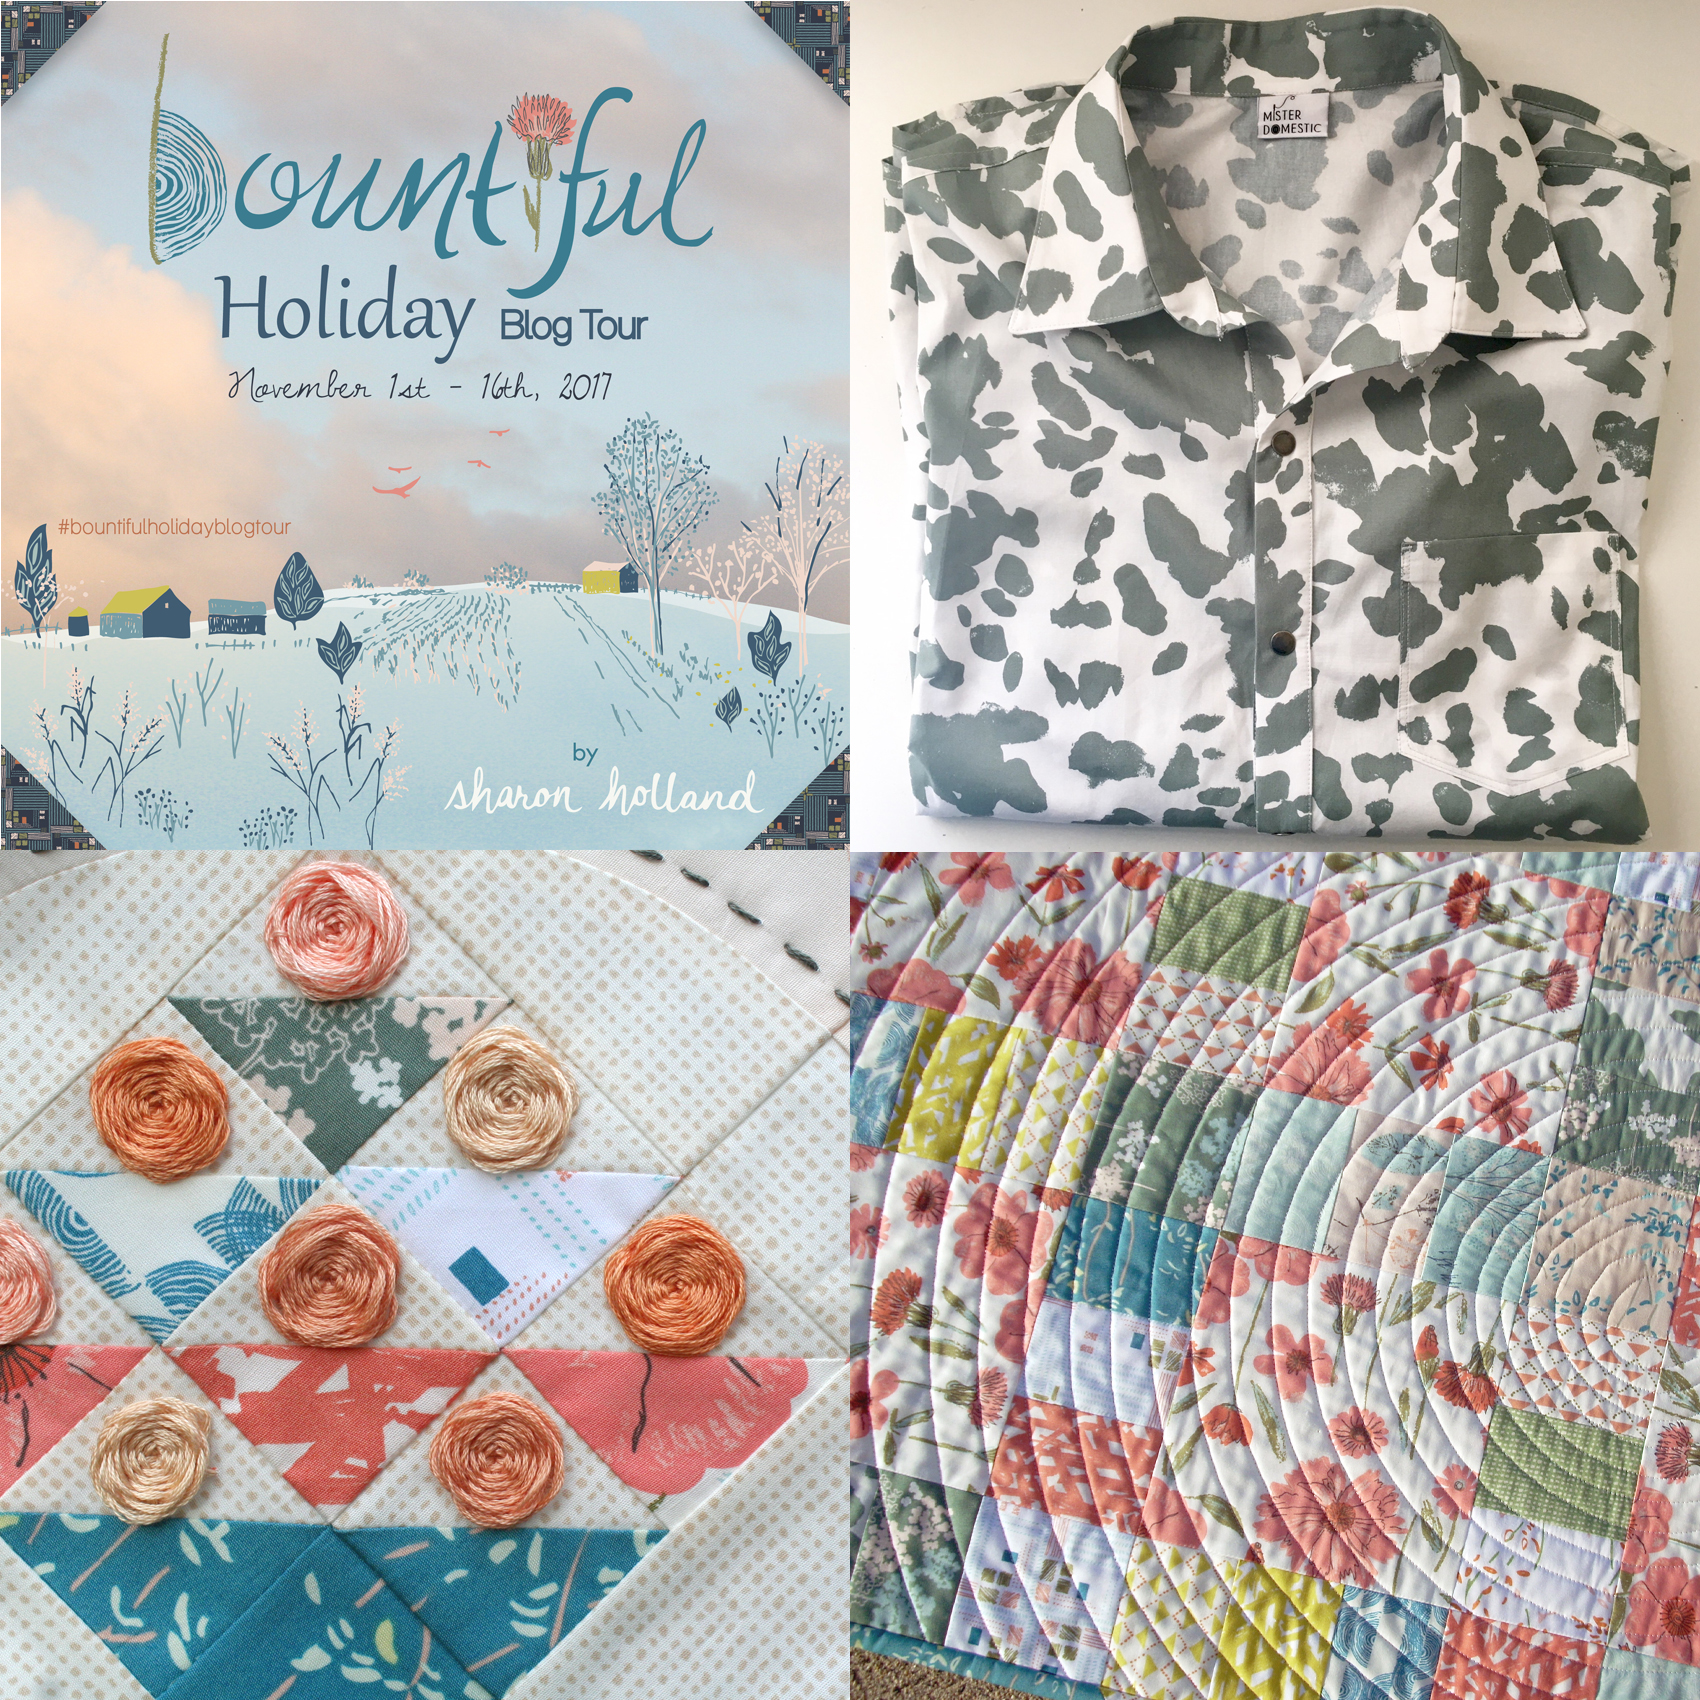
Gather Round - Bountiful Holiday Blog Tour

Today's my stop on the Bountiful Holiday Blog Tour and I'm excited to share the new Gather Round free pattern with you!
Every year, Thanksgiving comes around and I wish I'd thought ahead to organized a holiday sewing blog tour. Well, this year I was on the ball and planned way ahead. In fact, this tour has been in the making since my spring Bountiful tour! Some of the makers on that spring tour are also taking part in our holiday tour with the addition of some new bloggers as well. It's been a spectacular tour so far and I love the variety of projects geared toward gift giving, decorating your home for the holidays, or fast and fun sewing projects for any time of the year.
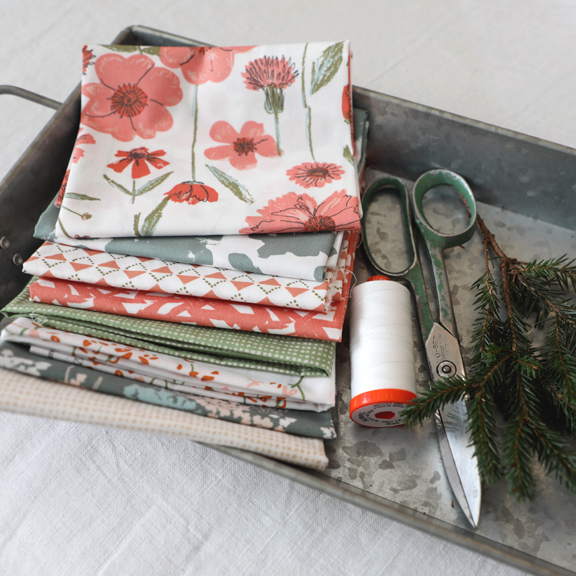
For my tour post and new free project, I selected Bountiful prints from both the Plant and Harvest color ways that create a winter Christmas feeling. For this project you will need fat quarters of 4 light and 4 dark prints, 1-1/2 yards backing, and (6) 18'' squares of Hobbs Thermore batting (affiliate link). The full material list with fabric sku numbers are listed on the PDF instructions.
I used 8 different prints in my placemats and mixed and matched for 6 different combination placemats. If you'd prefer a more unified look to your mats simply reduce the number of fabrics and up the yardage on each print so the total yardage is still the same. For example: To make 6 placemats you will need a total of 1 yard light print and 1 yard dark print. The backing and batting remain the same for 6 mats.

Download my free Gather Round pattern from my Free Patterns page. You'll find 24 free patterns there which are also great gift ideas for everyone on your sewing list.
I must confess that the last few years I've not decorated for Christmas--life has just been too busy. The extent of my decorating is displaying the Christmas cards I receive from friends and family and switching out the quilted table runner from my fall runner to a more wintery looking runner. For me, I prefer to spend my time with my kids and cooking.

When I was thinking up what sort of project I wanted to share with you for my tour I wanted to make sure it would do not only double-duty for me, but for you as well. By making placemats, not only did I get a new look for my holiday table this year but we all get to enjoy a very useful (and quilty) project.
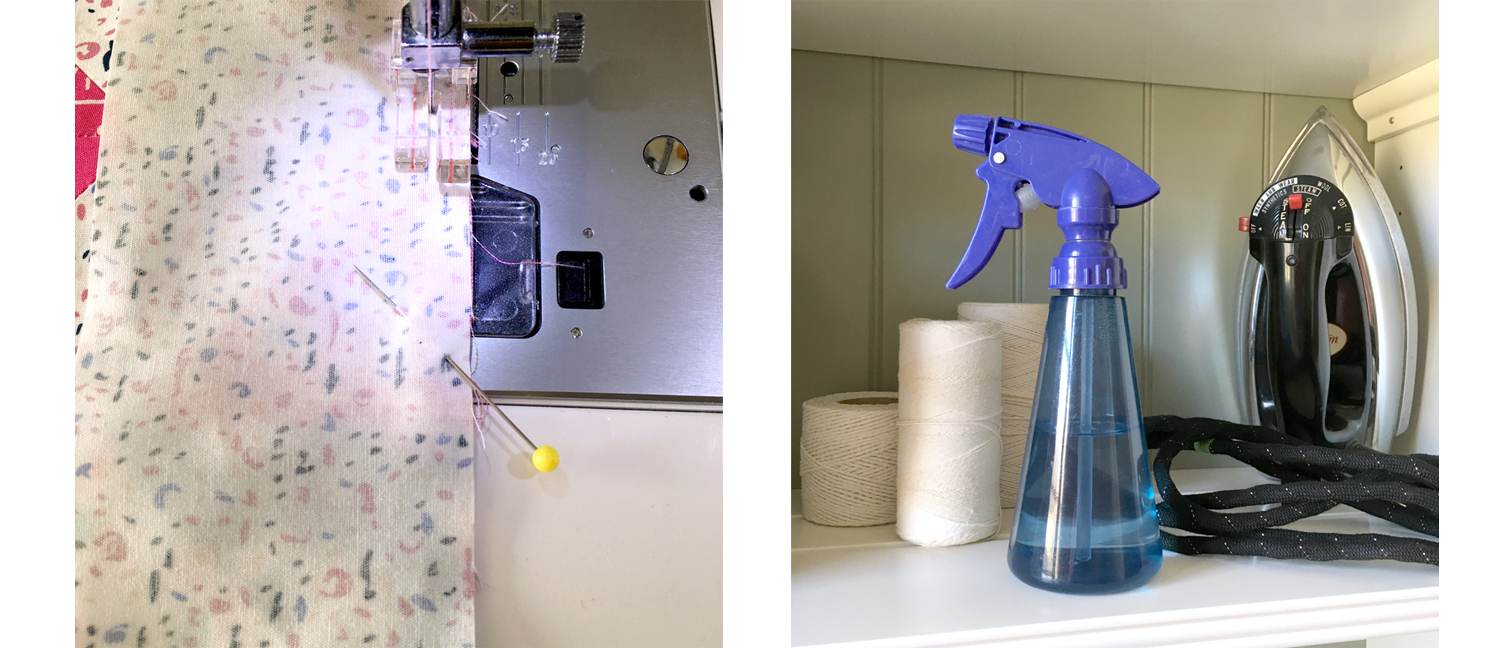
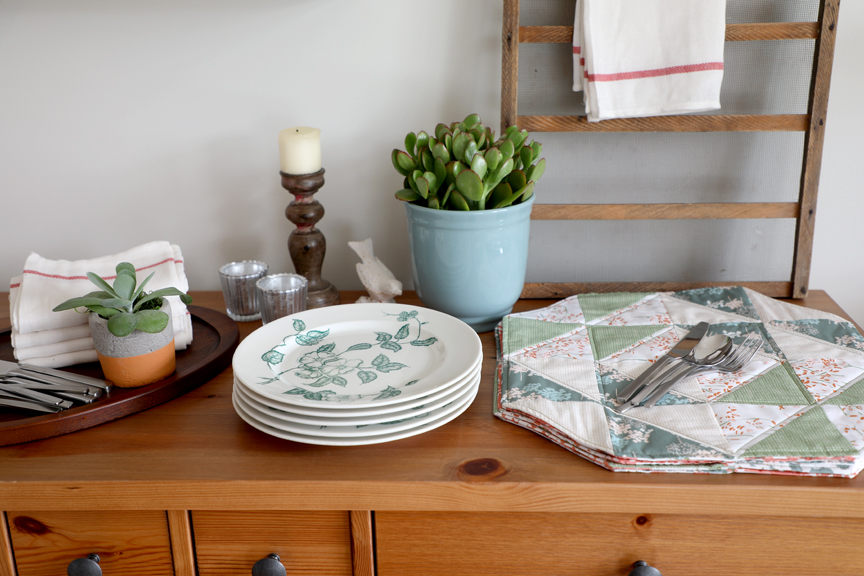
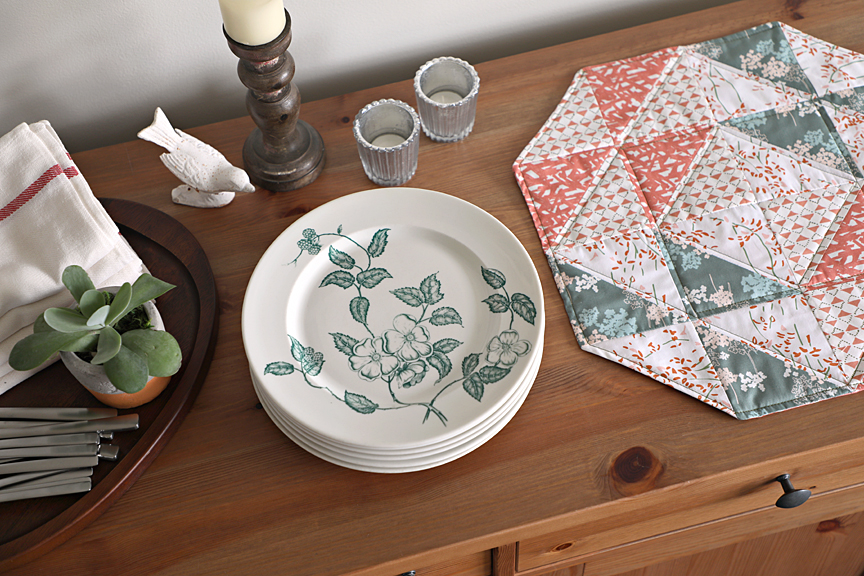
I like a round placemat because you can fit a lot of people around a table and not have mats edges overlapping. My Gather Round mat isn't round but is such a fun shape without messing with curves. Simple half-square triangles (HSTs) and a pillow case turned edge make these really fast to put together. I used a wonderful product from Hobbs Batting for the batting. It's called Thermore (affiliate link) and is perfect for placemats in many ways. The ultra-thin polyester fiber is not bulky at the seams and dishes won't rock or wobble. Because I turned the layers rather than bound the edges, it was nice not to have extra bulk at the seam and there's no need to clip the corners on this project when using this batting. Quilting can be 6-8 inches apart and the batting will still hold up in the laundry. It's very easy to quilt through by machine or by hand. This product would be great for T-shirt quilts, bags, clothing, and of course quilts like baby quilts that get a lot of use and laundering.
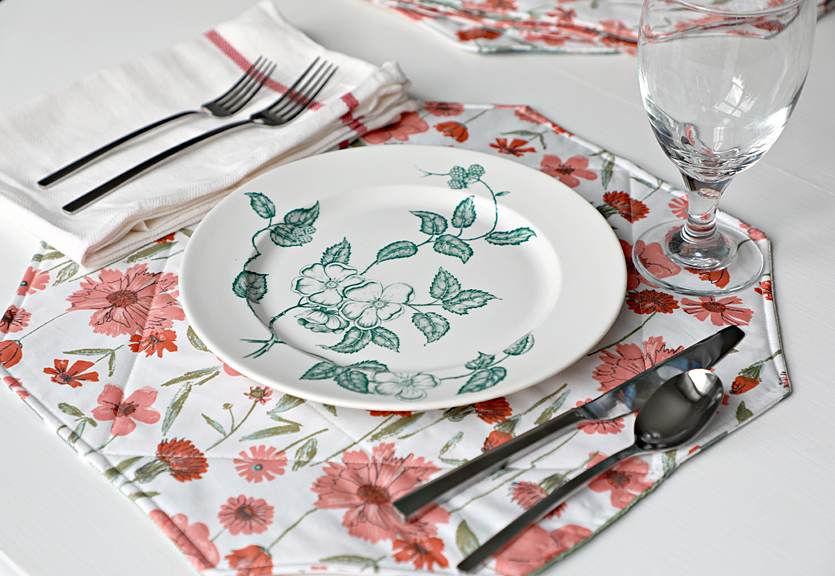
I decide to use my Perennial Renewal print from my Bountiful fabrics for the backing on all 6 mats. Now my placemats have a whole new (second) table setting option. I love how my vintage dishes look in this clean farmhouse table setting. I'm going to get a lot of use out of these next month!

I chose to do minimal quilting on my mats. My top thread is the beautiful Aurifil 2887 green in a 28-weight thread so it really shows up on the front of the mat. I used a 50-weight 2021 white Aurifil thread in my bobbin to give the top stitch a little more definition between stitches and the white thread will blend in with the backing for a cleaner finished, whole-cloth look to the back of the mats.

I had a lot of fun photographing these mats and now have a strong desire to do some holiday decorating!
I can't wait till my kids get home for the holidays and we can gather around our table (which is getting too small these days for the growing family) and share laughs, food, and time together.

Thank you for visiting my blog and all the love and support you've shown me (and my fabrics) this past year. I hope you're enjoying the Bountiful Holiday Blog Tour and pay visit to all the talented designers that have already shared their projects and the rest that will follow me. Peta Peace of She Quilts A Lot shared a fabulous free pattern yesterday to make a beautiful kitchen towel, mitt, and hot pad set that would be so difficult to give away so plan on making two sets! Friday Heather Andrus of Quilt Story will be hosting the tour and she's stitched up a must make for a little girl on your holiday sewing list.
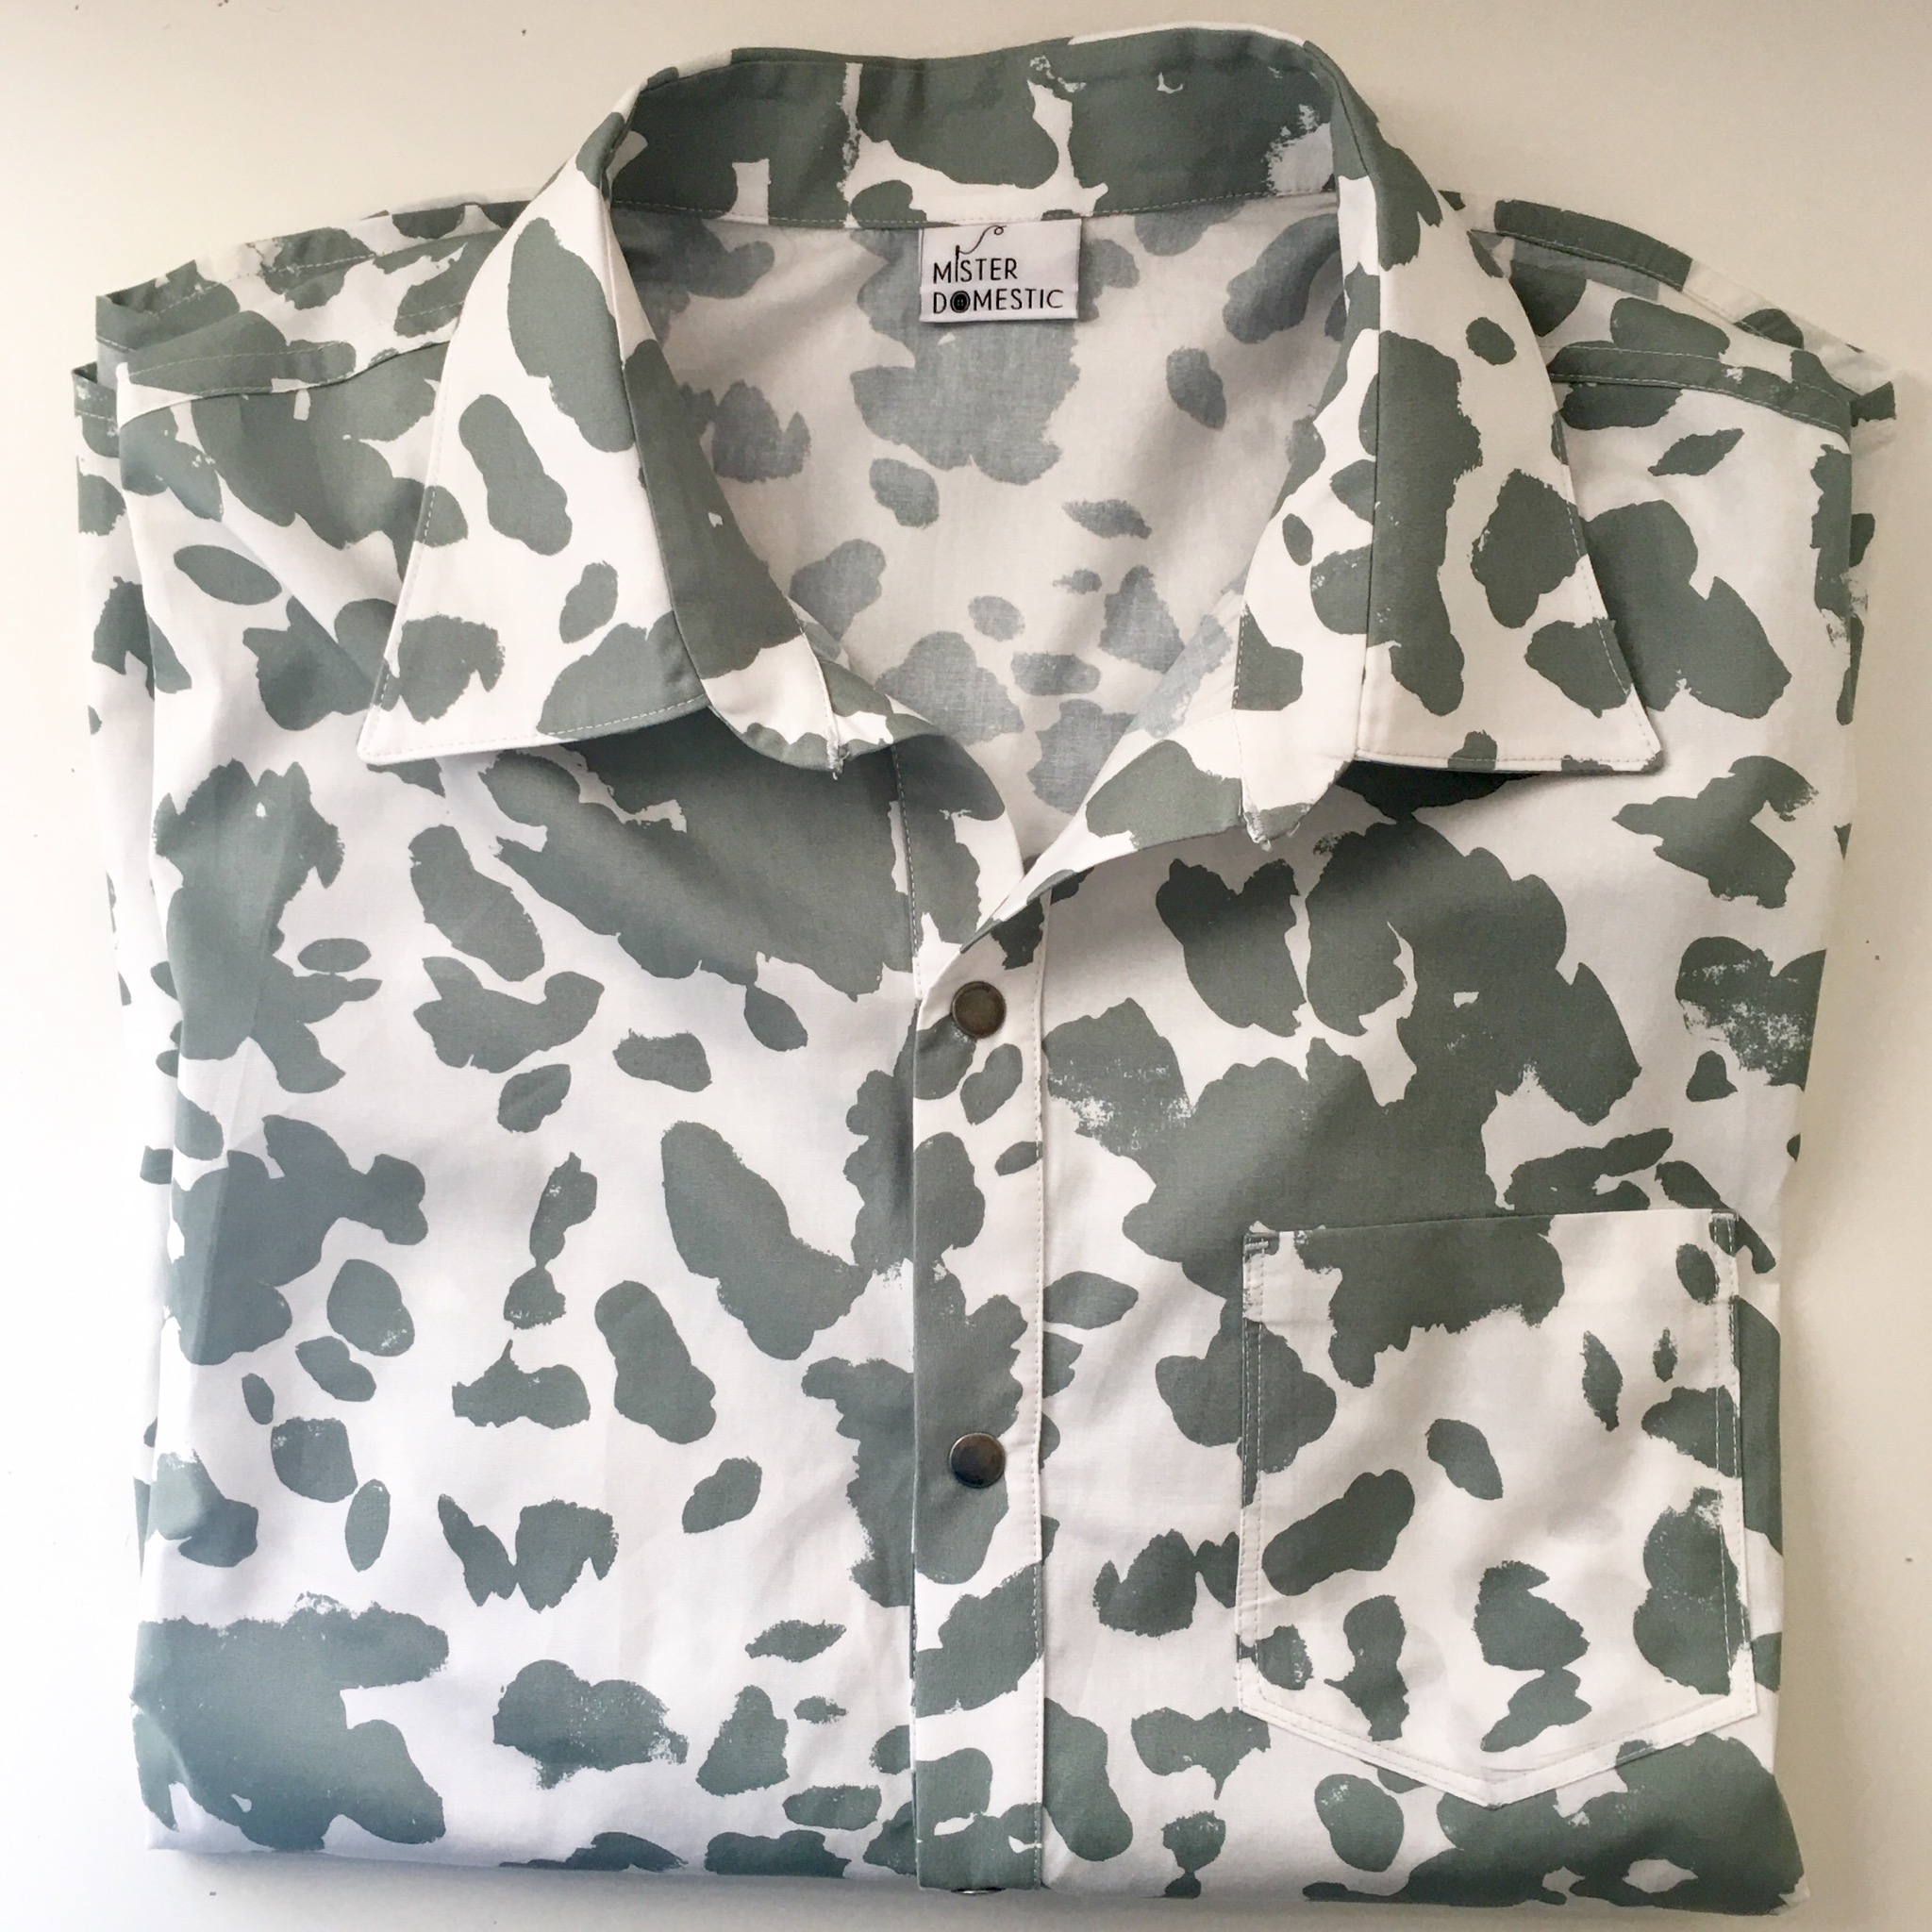
11-01 Mathew Boudreaux Mister Domestic
11-02 AnneMarie Chany Gen X Quilters
11-03 Brooke Sellmann Silly Mama Quilts
11-06 Blair Stocker Wise Craft Handmade
11-07 Silvia Sutters A Stranger View
11-08 Peta Peace She Quilts A Lot
11-09 Sharon Holland Sharon Holland Designs
11-10 Heather Andrus Quilt Story
11-13 Maureen Cracknell Maureen Cracknell Handmade
11-14 Anjeanette Klinder Anjeanettek
11-15 Alexis Wright My Sweet Sunshine Studio
11-16 Katie Skoog The Simple Life Company
If you're an Instagram user and follow my IG feed, I'll have daily postings and links to the Bountiful Holiday Blog Tour Makers and their projects and it will also be easy to follow along by searching the hashtag #BountifulHolidayBlogTour. I hope to see you following along on that platform as well as visiting and getting to know these amazing blog tour Makers.
There will a giveaway at the end of the blog tour. My generous sponsor for this tour is the Fat Quarter Shop and they're giving away a 10-pc Bountiful Harvest colorway fat quarter bundle. On November 17th, 2017 I'll post the final weekly recap post along with all the details on how to enter into the Bountiful Harvest fat quarter bundle giveaway. You'll have a chance to enter right here on the blog (on the that final post, so be watching for that) and also on Instagram.
Every time you share a tour image along with the #BountifulHolidayBlogTour hashtag, to your public Instagram account, you'll automatically have your name put into the hashtag pool and automatically be entered into the drawing. So share and repost those Instagram images by the Bountiful Holiday Blog Tour Makers often and use that hashtag (hint, hint)!
A blog winner and an IG winner will be drawn on Monday November 20th. All this information will be given again at the end of the tour but thought you'd like a head's up :)

For more Bountiful fabrics project inspiration, check out the Art Gallery Fabrics virtual Look Book!