Guest on American Patchwork and Quilting Podcast

Graphic courtesy of American Patchwork & Quilting Podcast
It's always a big honor when Pat Sloan of American Patchwork and Quilting asks if you want to be on her radio podcast - um, of course, YEESSSS!!!!!
I love talking with Pat, she's so knowledgeable about this industry and genuinely a wonderful person. This is my second time on her show--I could talk with her all day long!. Listen to my first live podcast interview on episode #336 which aired April 10, 2017 where Pat and I talk about fabric design and style of quilts.
The new episode #373 will air March 19, 2018 sometime after 4 pm Eastern on Patchwork and Quilting Radio.
Or on Pat Sloan's website under Radio Shows.
Episodes can also be heard at the All People Quilt magazine's website.

Photo by Sharon Holland
In new episode #373 interview, Pat and I talk about my Utility-Style Quilts for Everyday Living quilt book for Landauer Publishing and what it means to create a utility-style quilt as well as the behind the scenes makings that went into the book and it's photography.

Bobbin quilt from Utility-Style Quilts for Everyday Living quilt book. Photo by Sharon Holland.
There's so much that goes into a craft book. Of course, first and foremost is a concept for the book then comes the making of the projects and writing of the manuscript. For me it snowballed into even more...

Goose Chase from Utility-Style Quilts for Everyday Living quilt book. Photo by Sharon Holland.
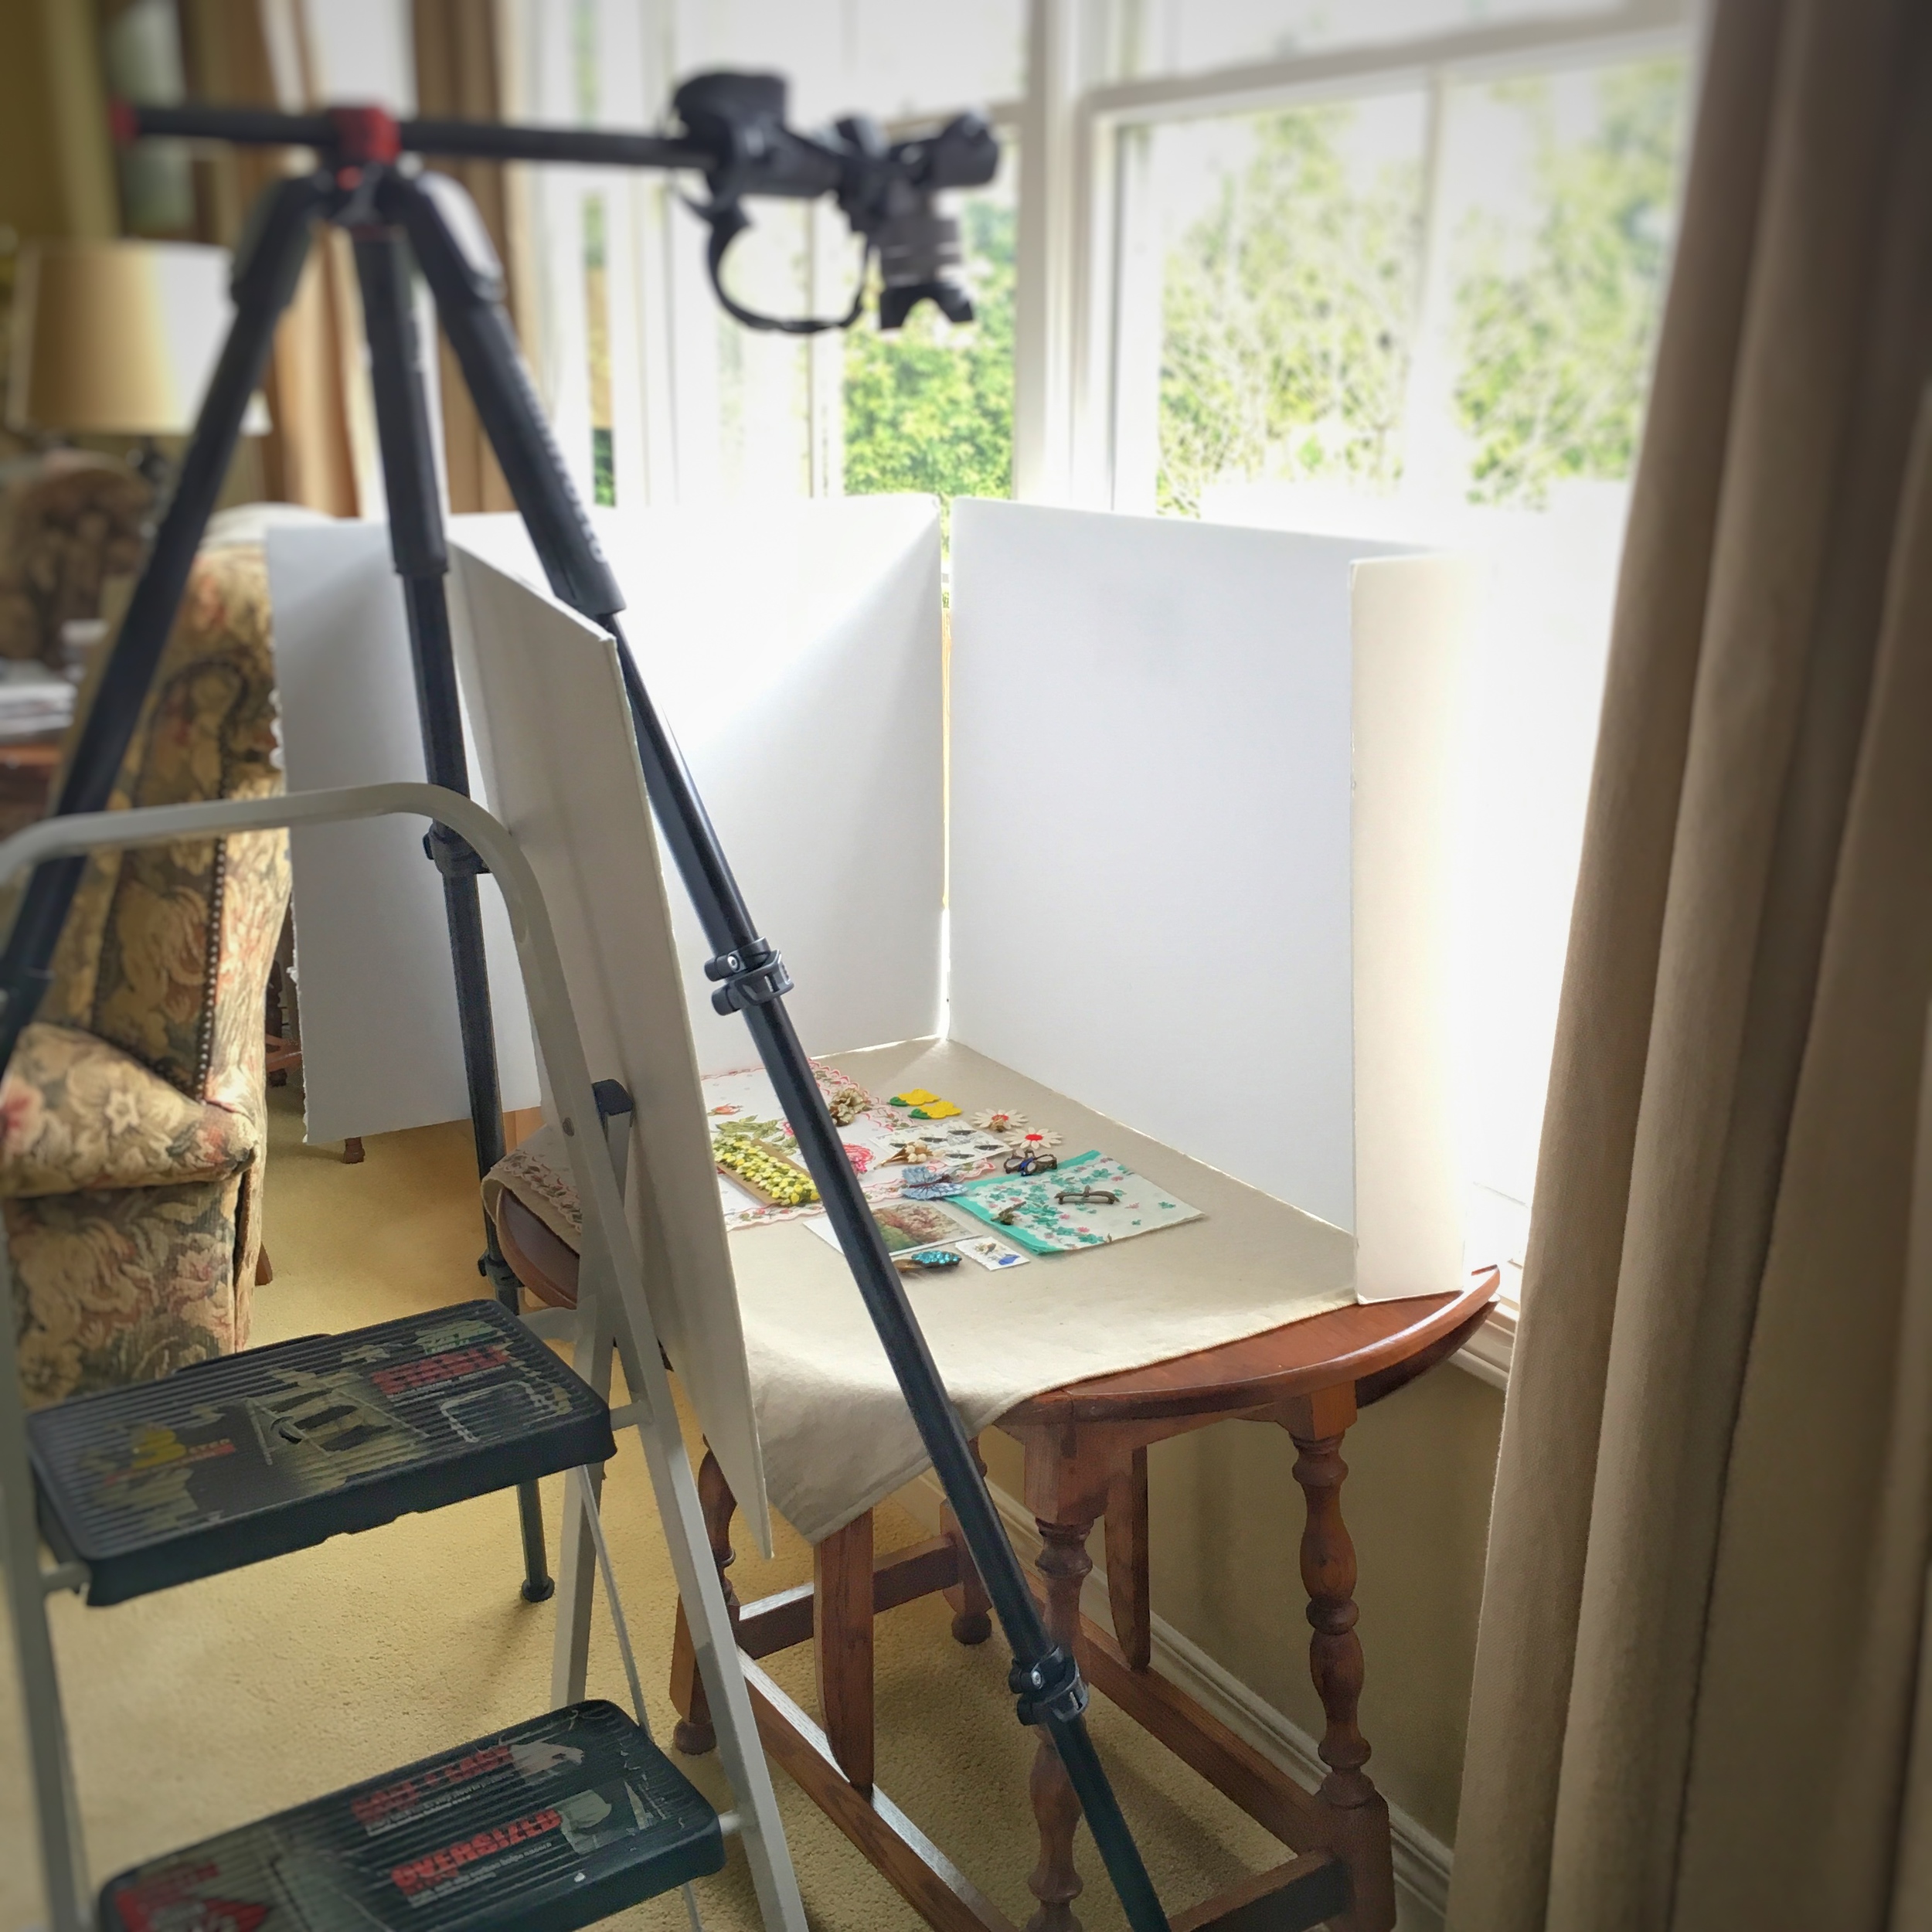
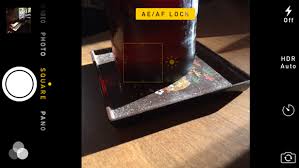
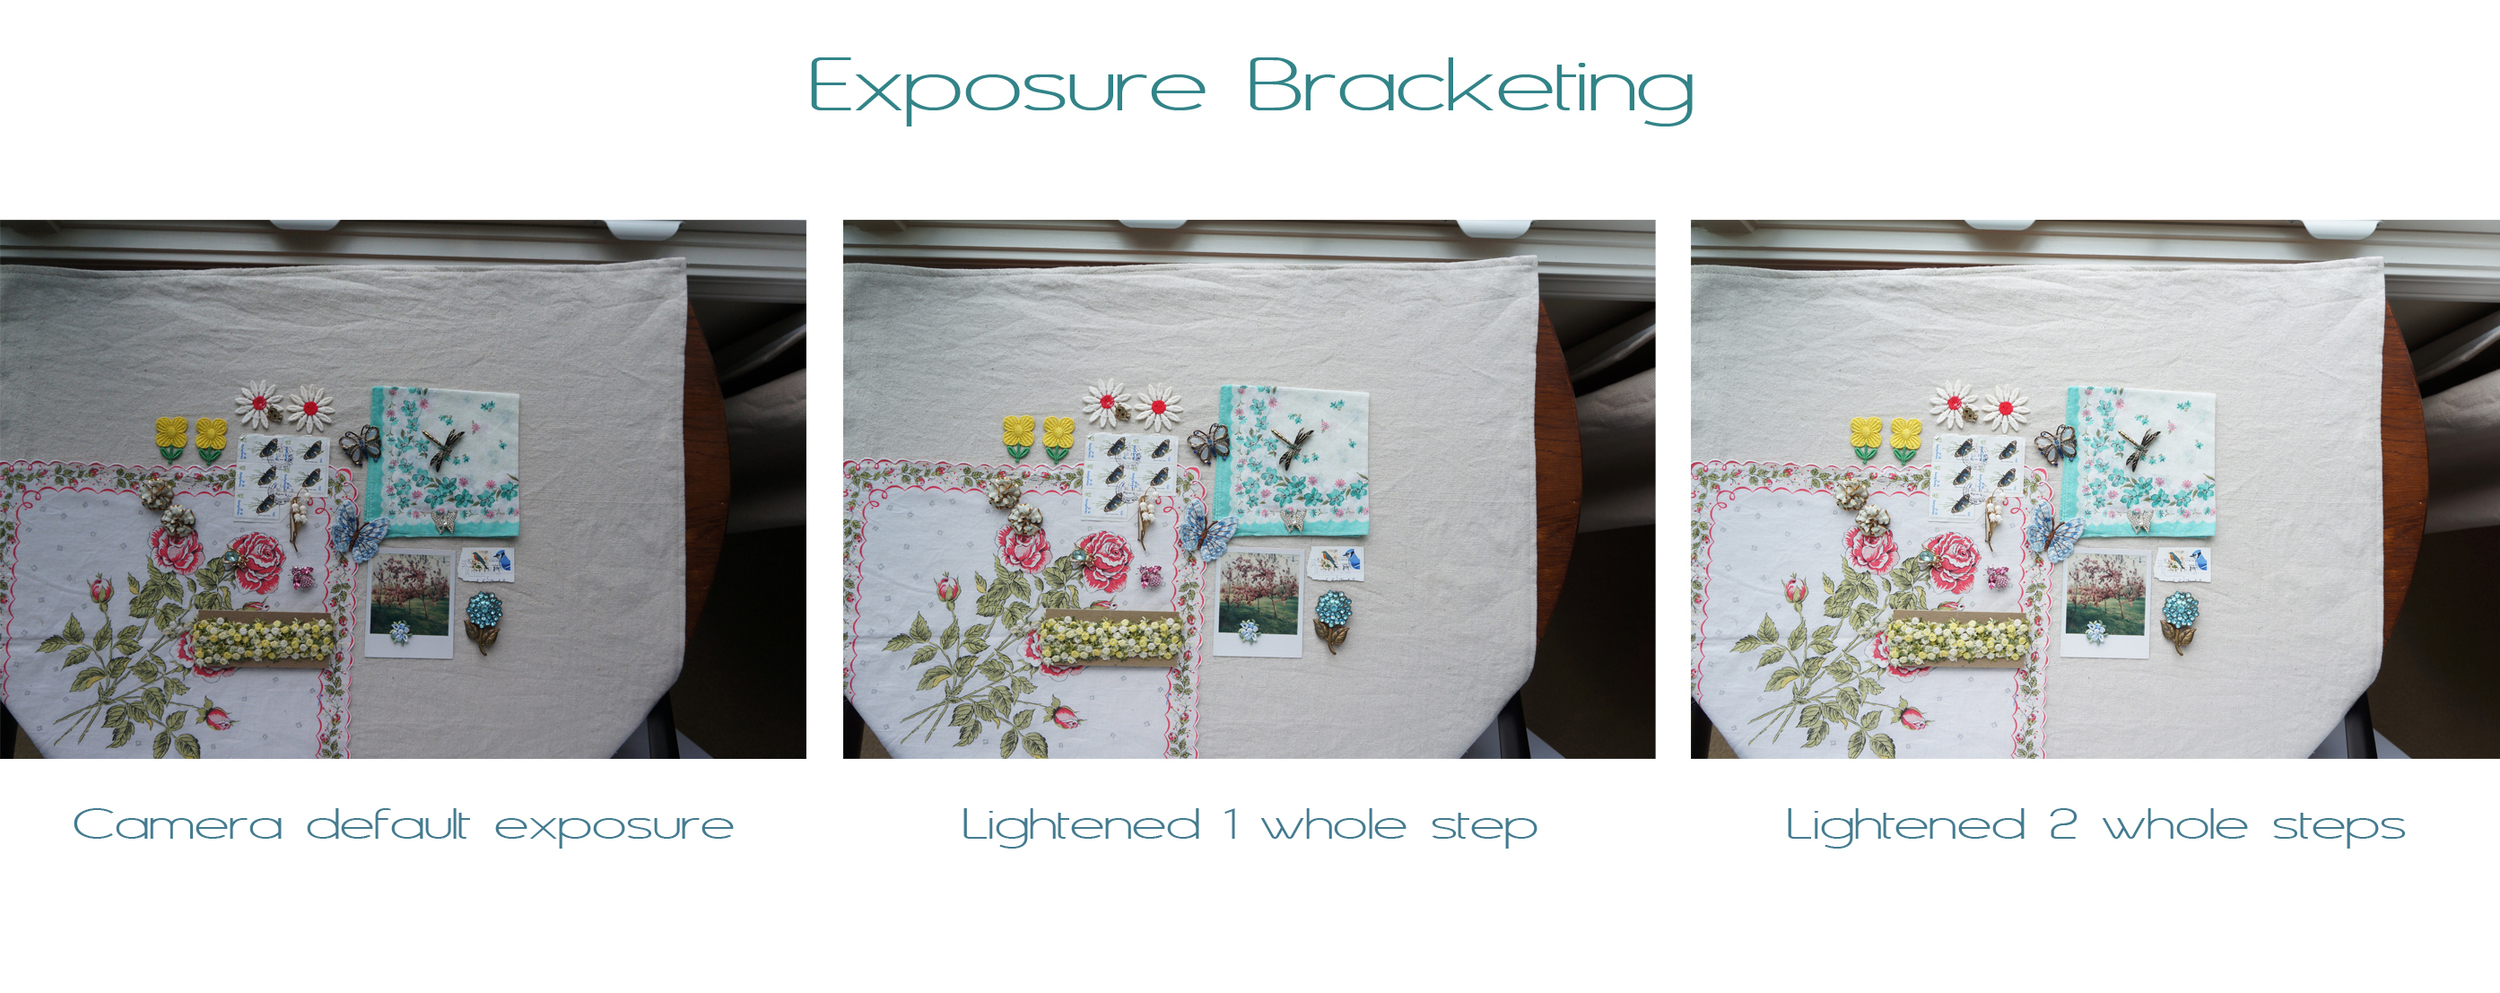
I soon found myself behind the camera shooting the type of life-style photos I wanted depicted in my book. Really, the behind the camera is a happy place for me in my multi-passionate career--I just wish I had a bit more time then was given to meet the 2-week press deadline.
I found surprising and creative solutions for capturing the look I wanted for this book and thank goodness for my wonderful friends that let me trash their homes to get that perfect shot! Hear more on that behind the photos on the podcast interview with Pat.

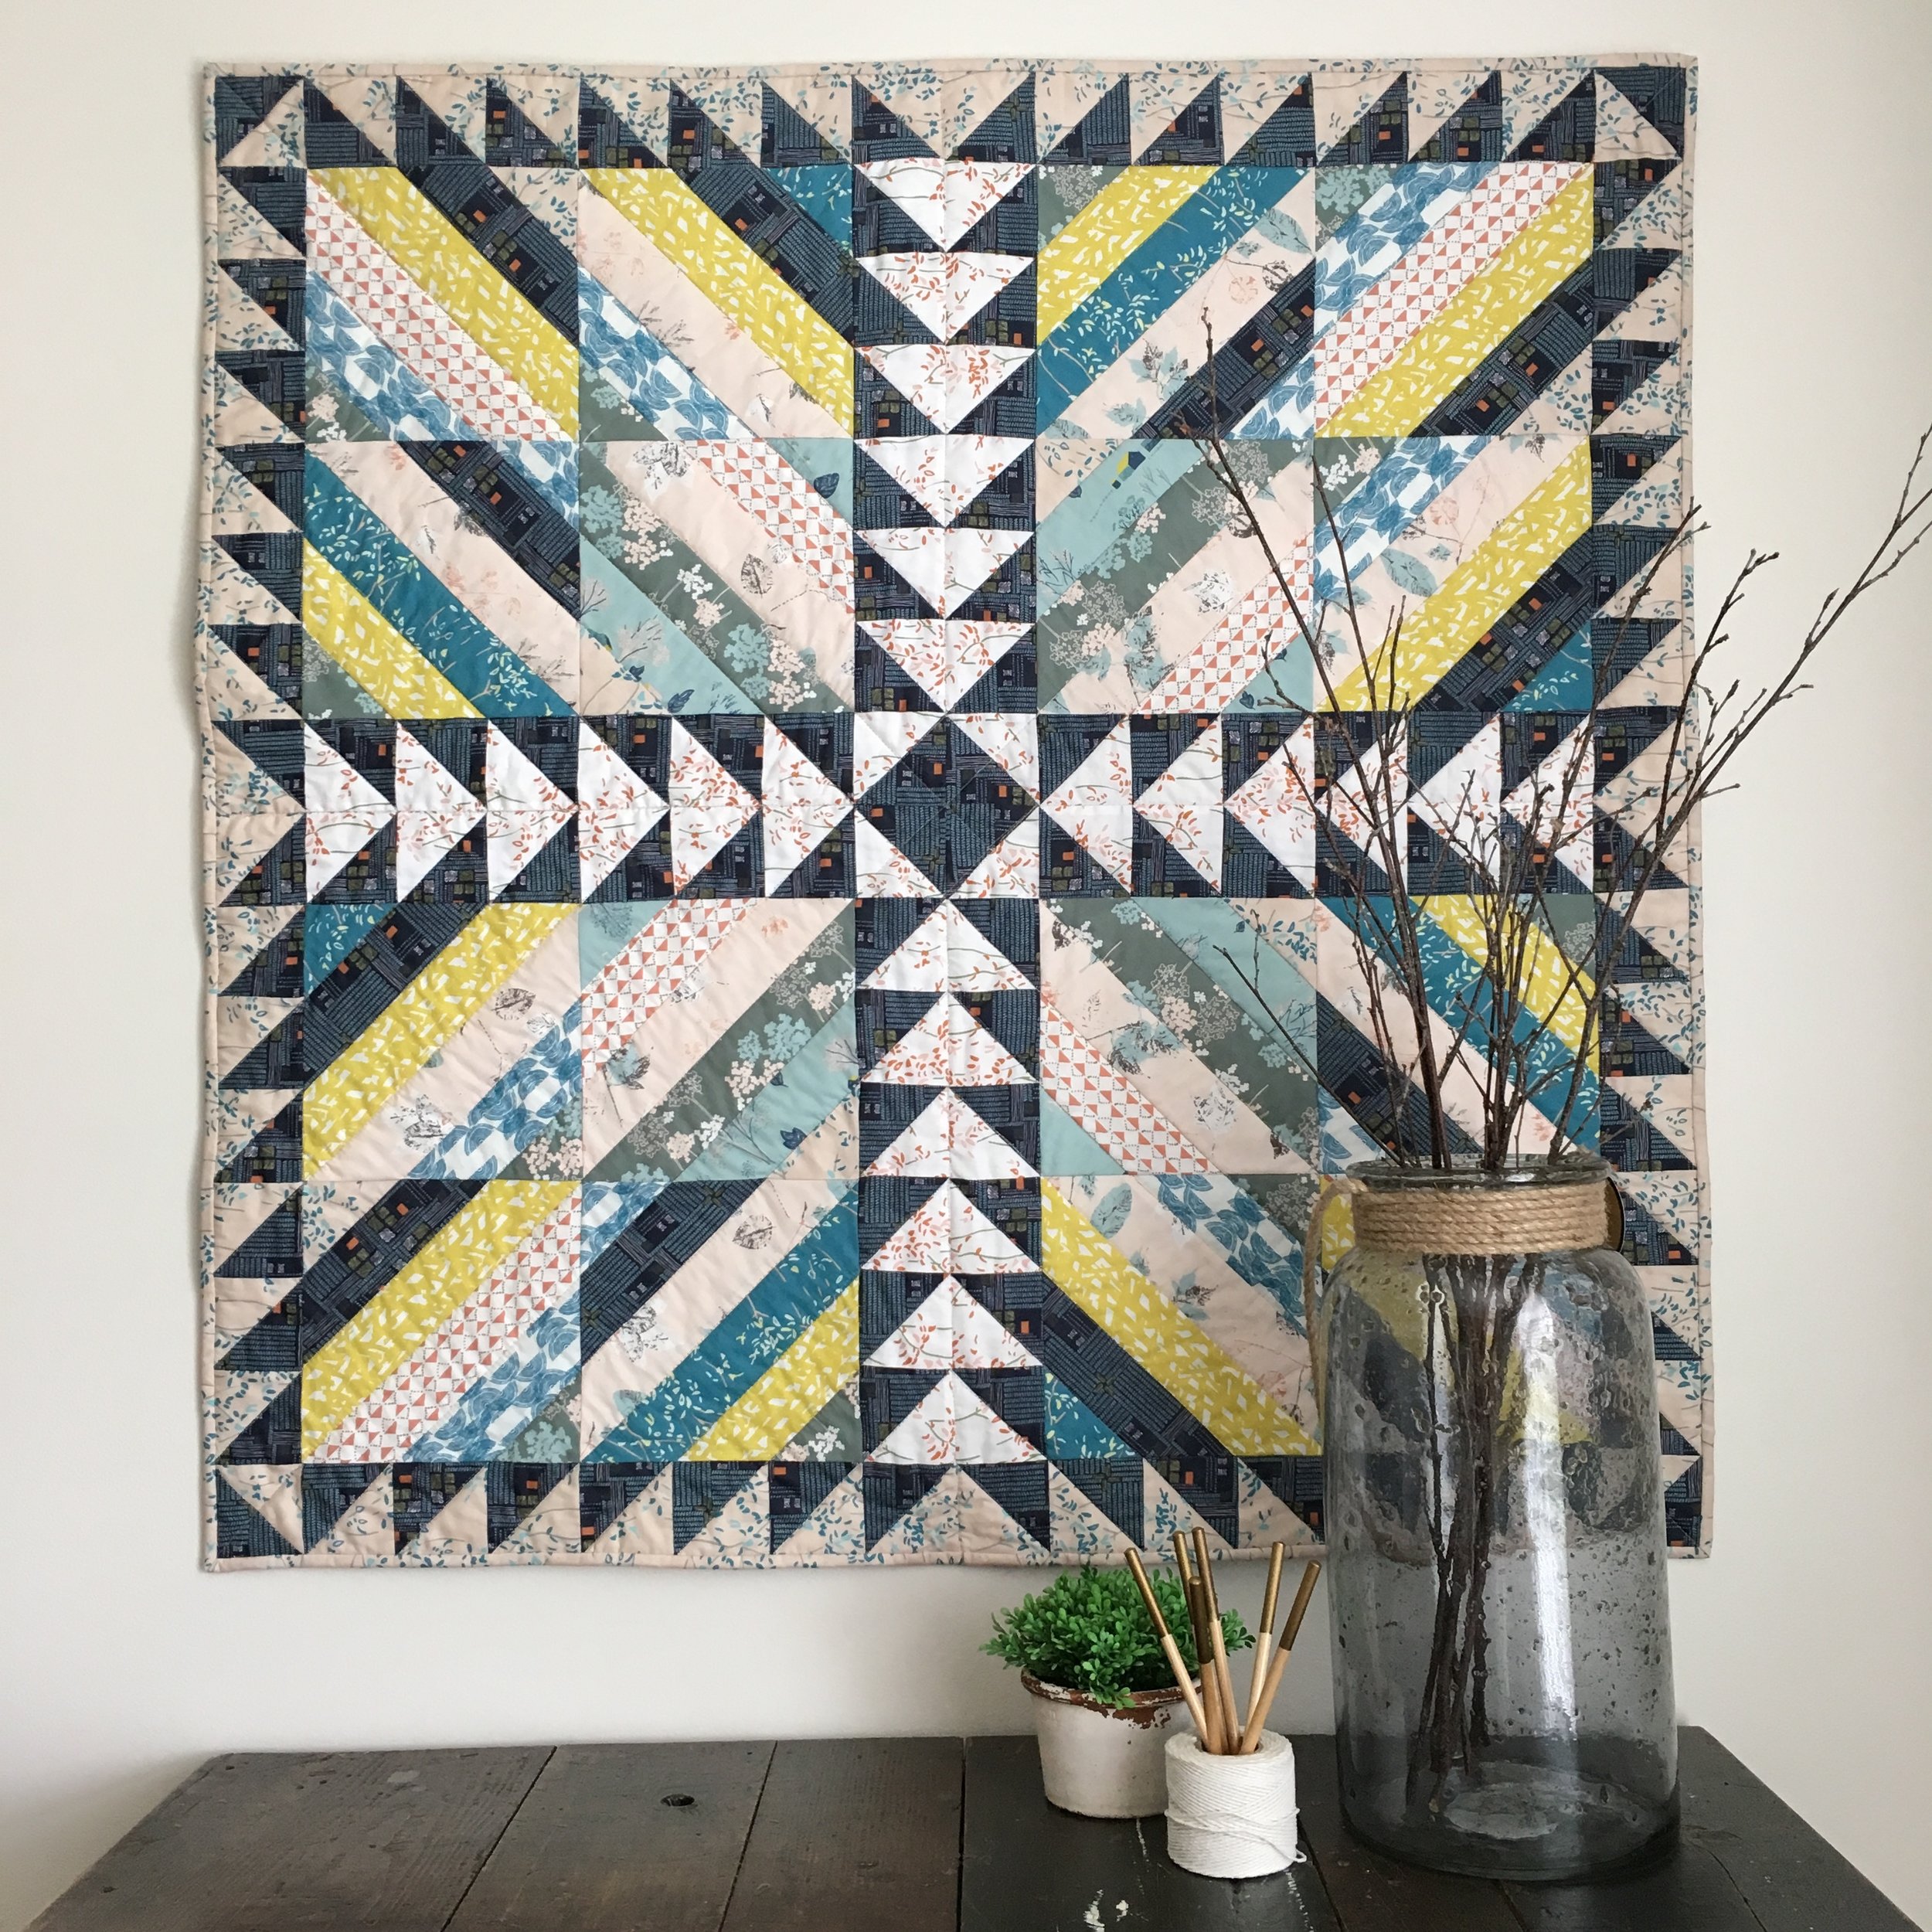
Star Crossed from Utility-Style Quilts for Everyday Living quilt book. Photo by Sharon Holland.
I like to give each quilt a personality before I even begin and by doing so, it also helped me streamline how the quilt was to be photographed. Star Crossed has a tween-girl storyline for me and was a fun quilt to style. Pat and I talk more about my process behind selecting which fabrics to use in my quilts and how I came up with the different utility quilt looks for my book.

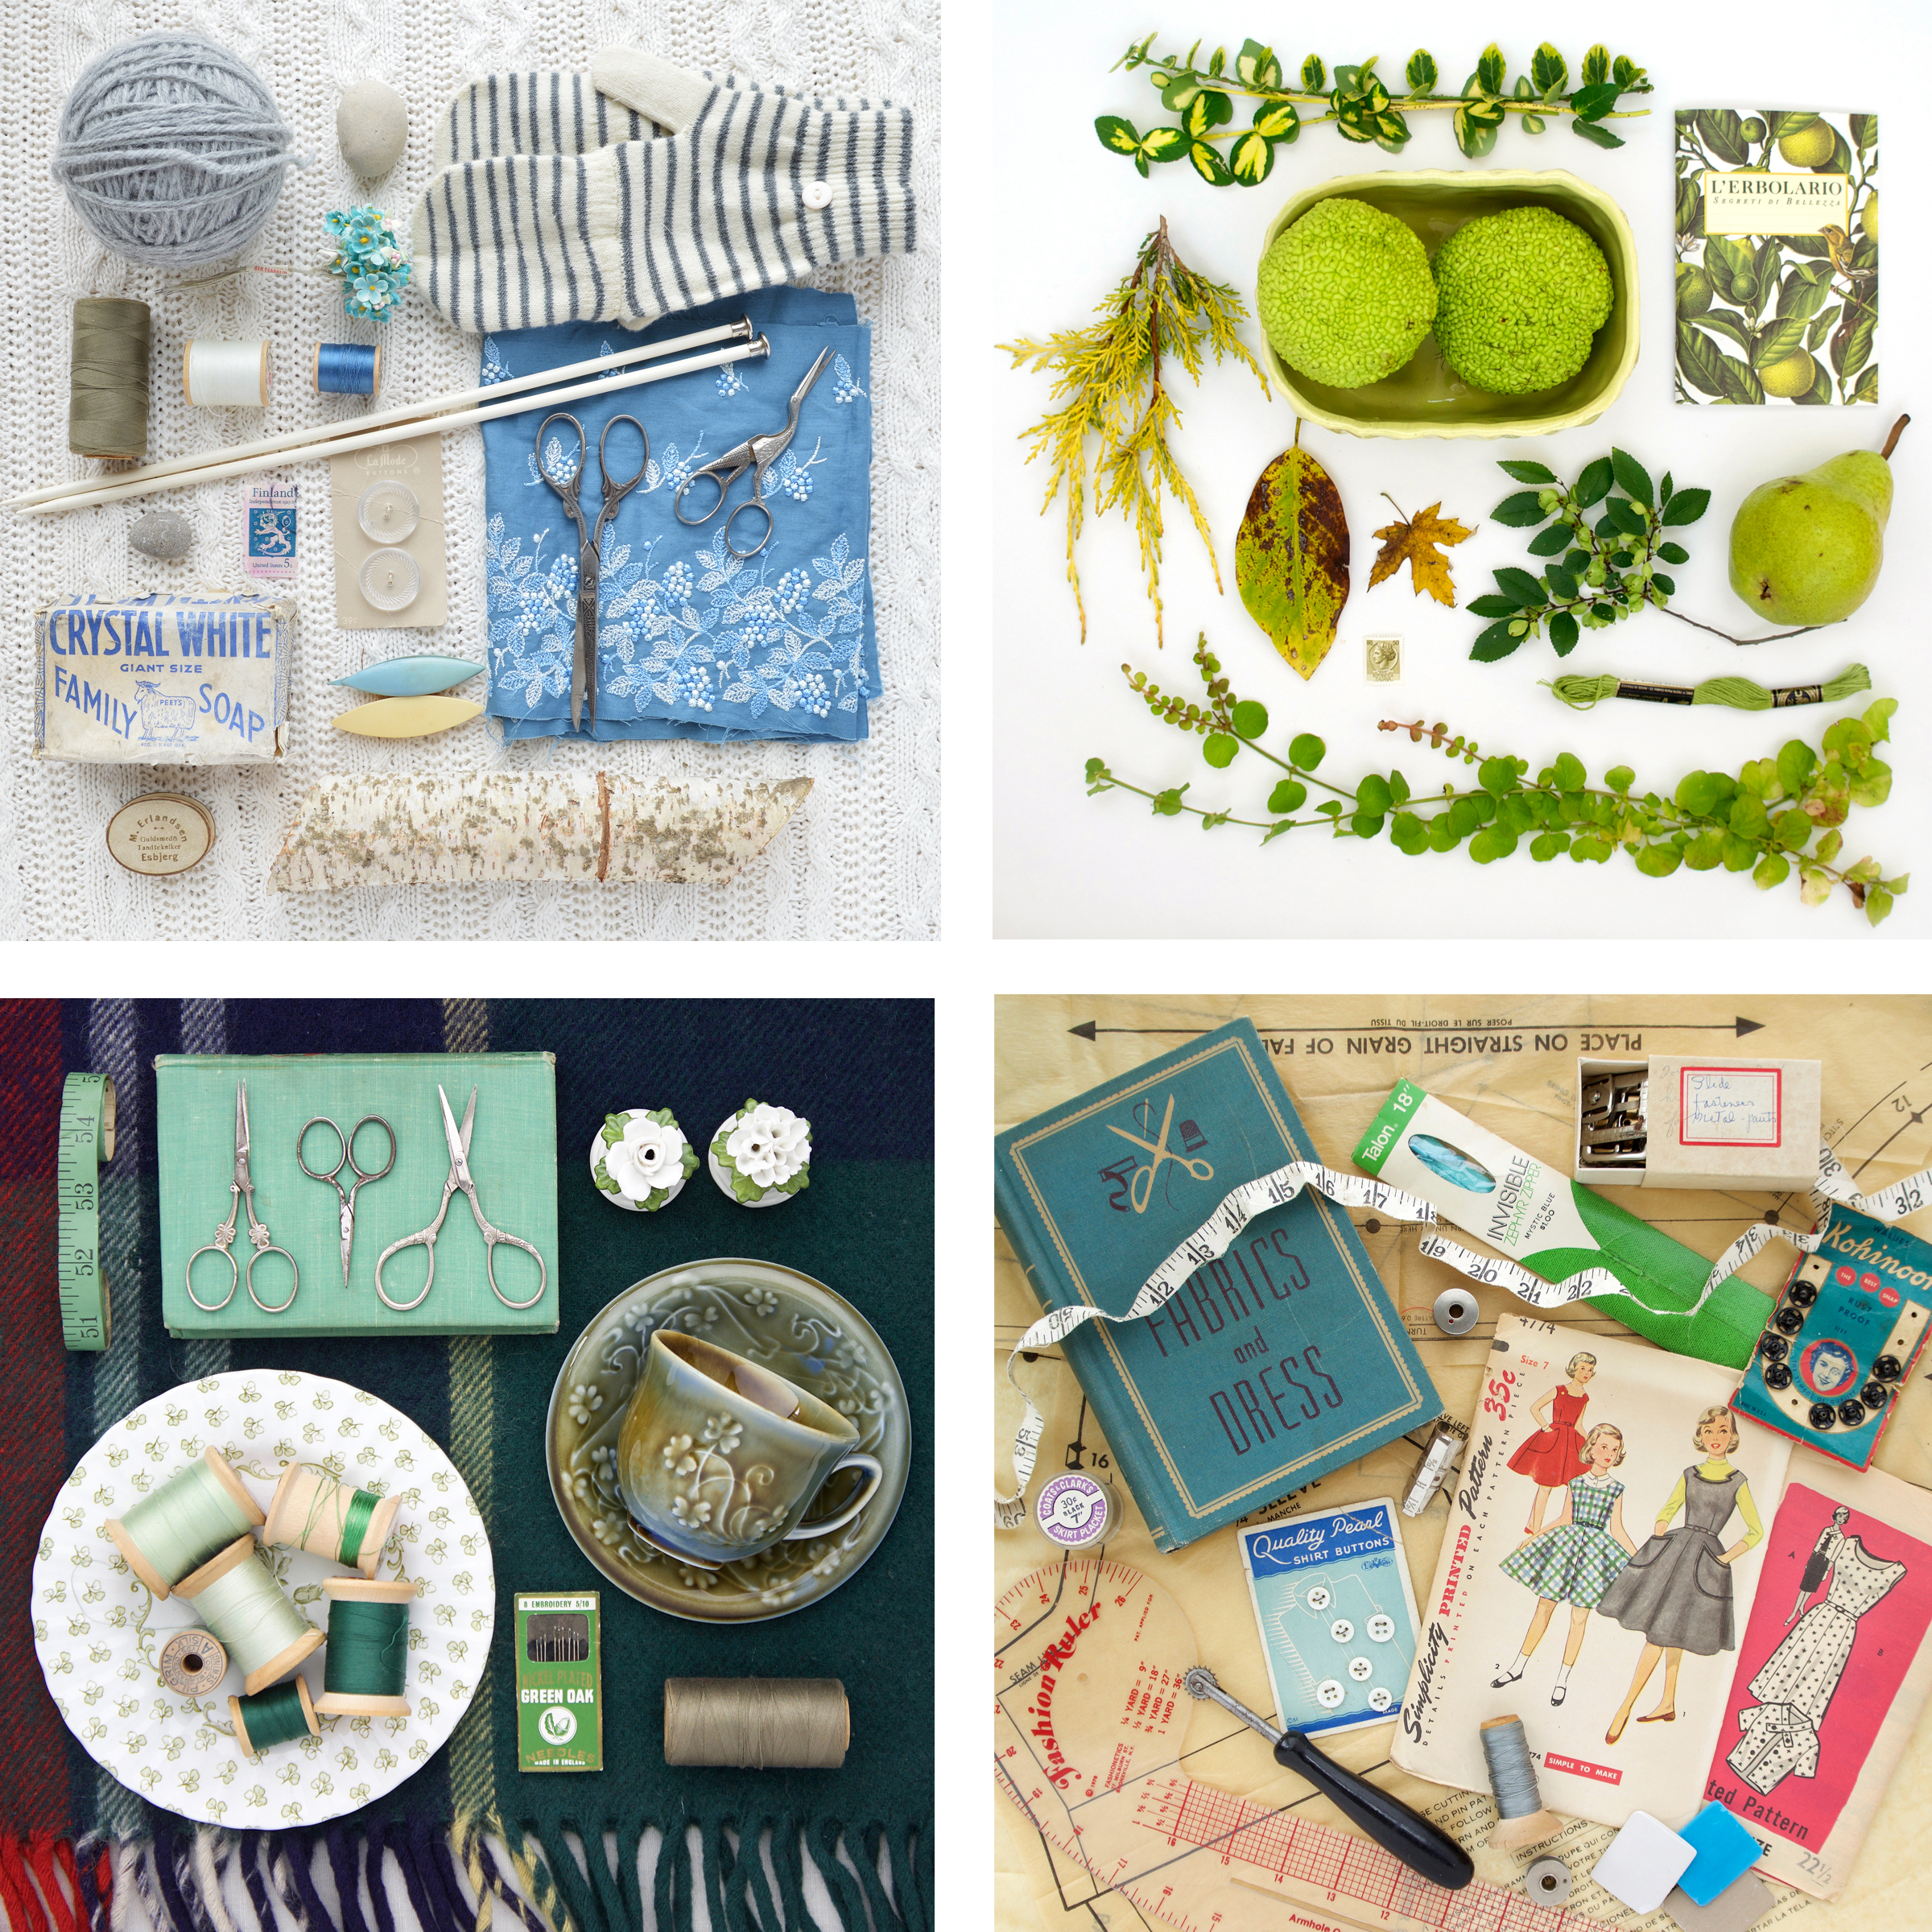
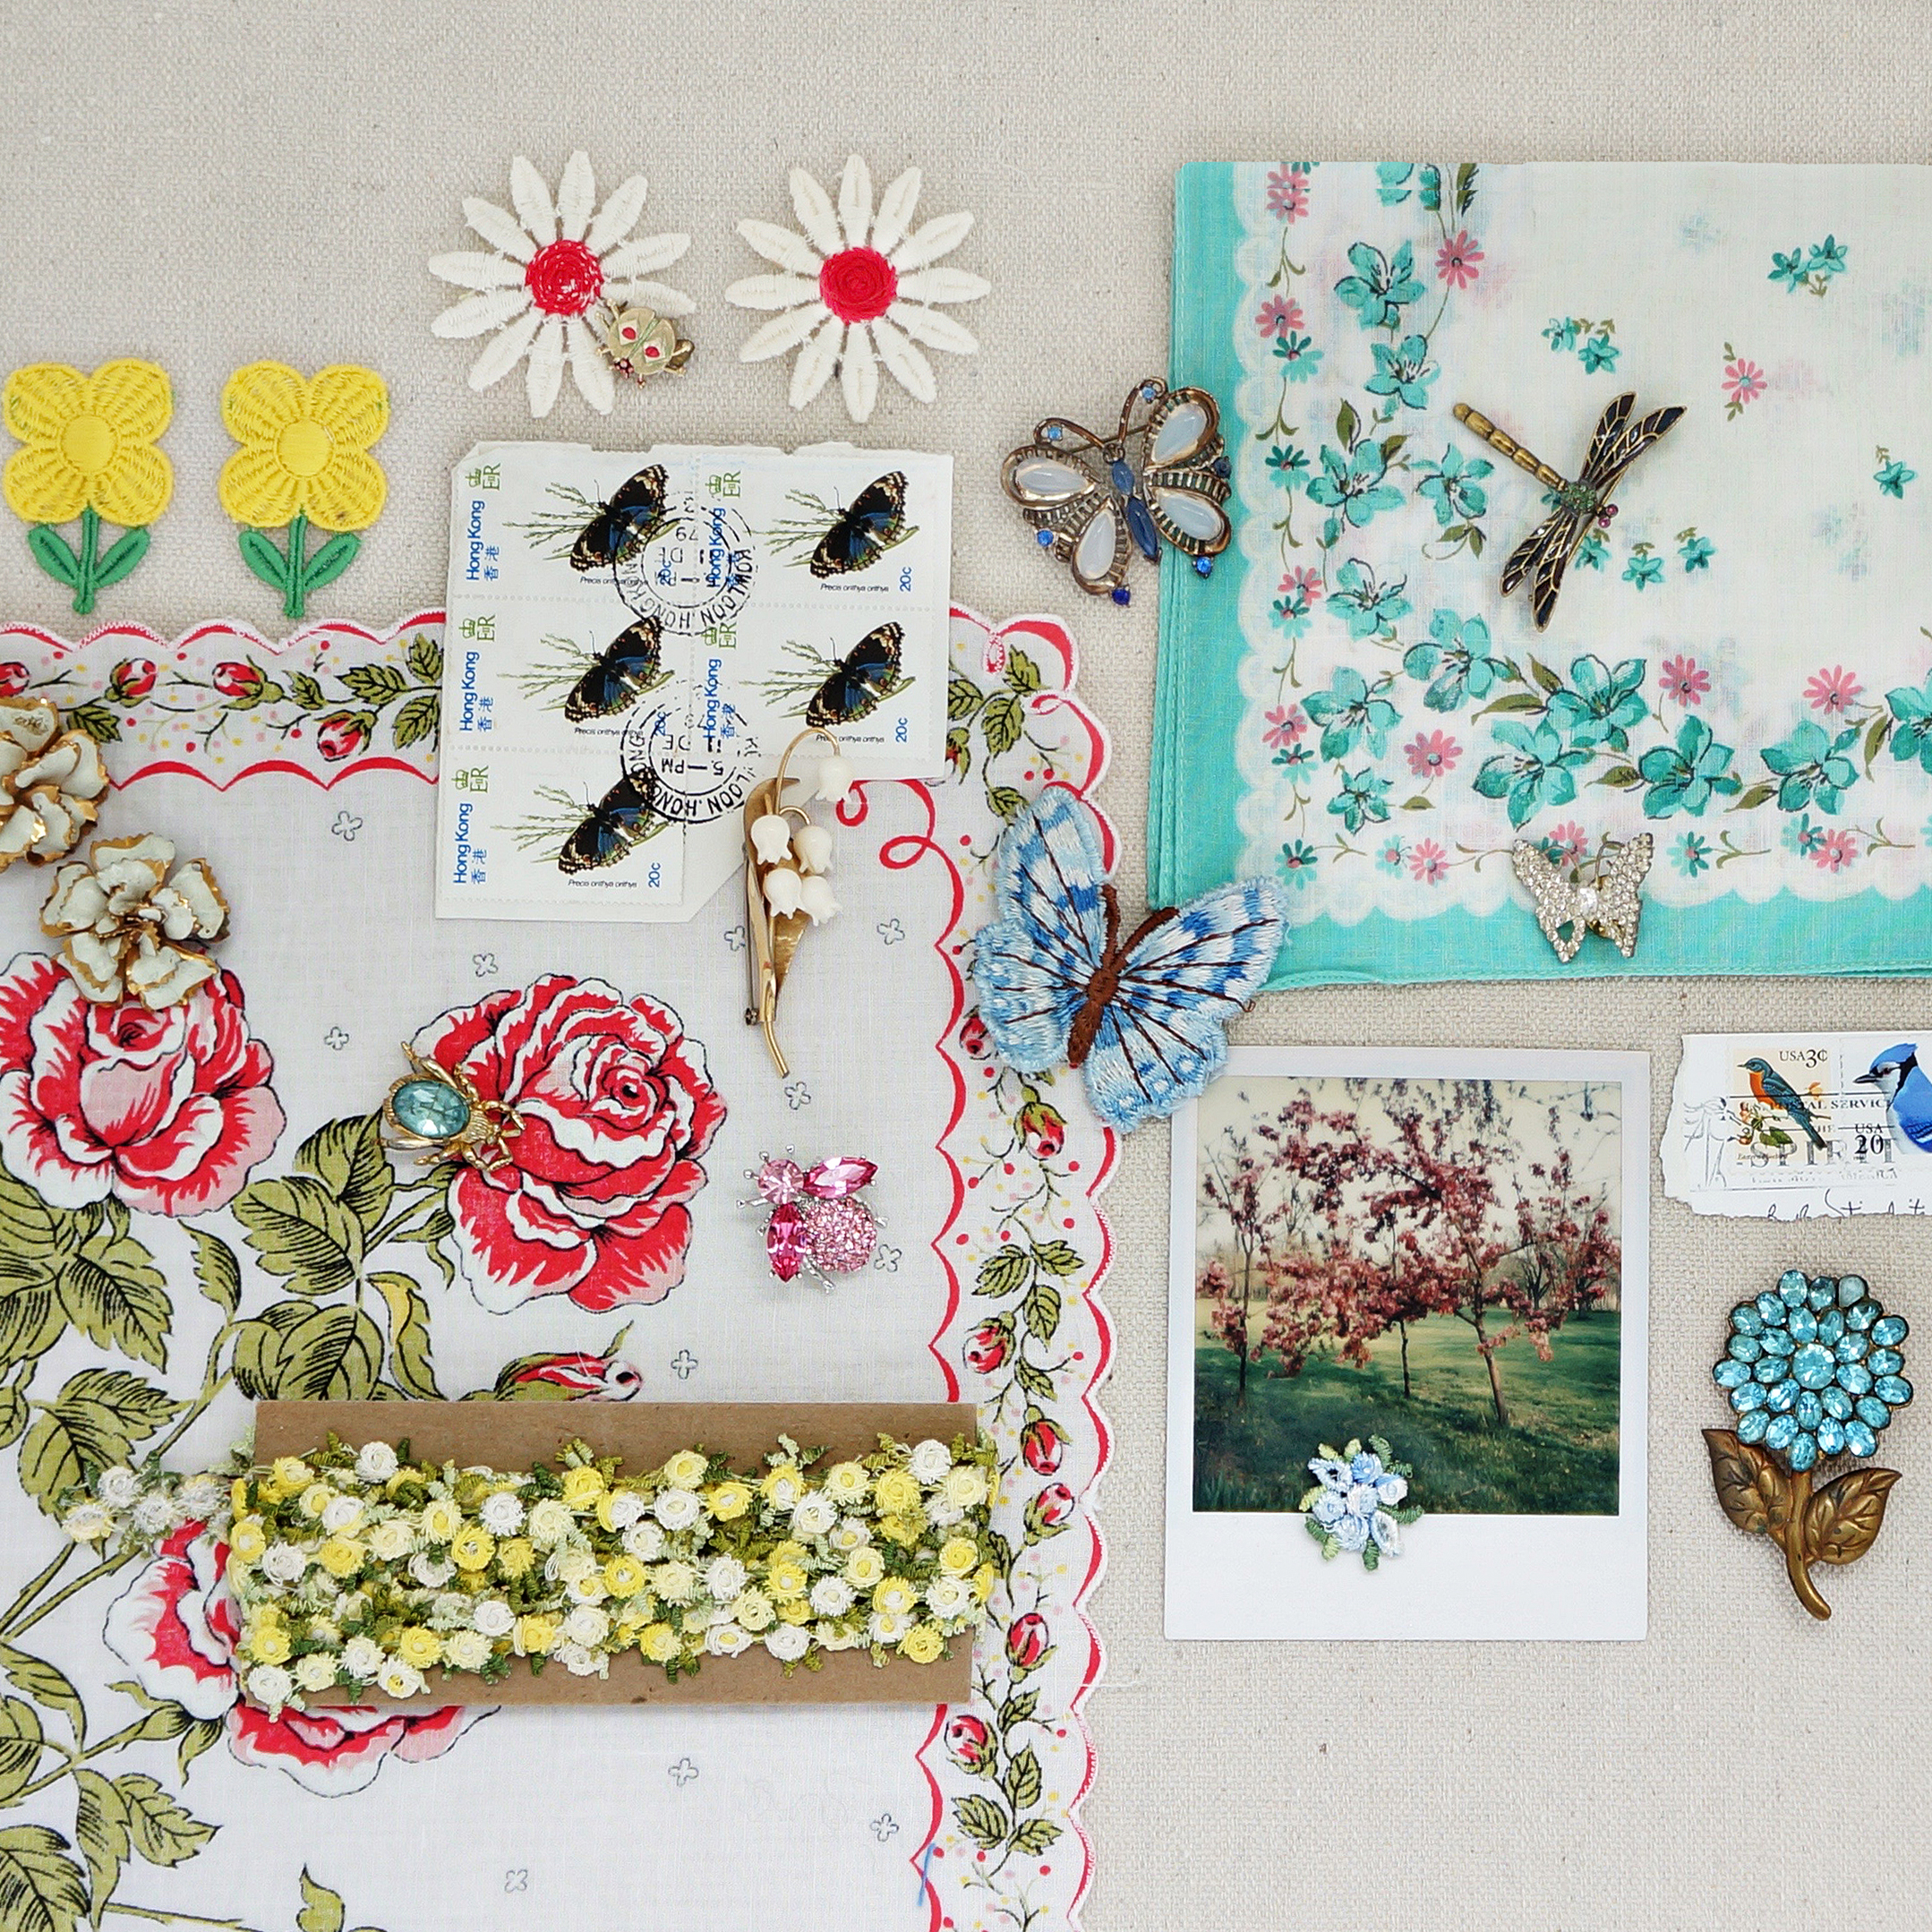
Fabric stack photo by Sharon Holland
When you listen to the podcast interview, I tell Pat my concept behind this book and how I want to encourgage quilters to find their voice and make beautiful quilts that give you permission to use them everyday and love them to pieces.
This book is geared toward the beginner but a seasoned quilter will love the quick-make quilt projects and the freedom to explore design. Basically, this book is an excuse to go through your fabric stash and have fun sewing!
I had a ton of fun digging into my stash of fabrics for my 12 quilt projects in my book. Many of the fabrics used are vintage gems I've been holding onto for a long time and I'm so happy they are now in quilts that I can use and enjoy rather than the fabrics being stashed away in a closet.
See what others are sewing using the patterns in my book by searching the hashtag #UtilityStyleQuiltsforEverydayLiving on Instagram!