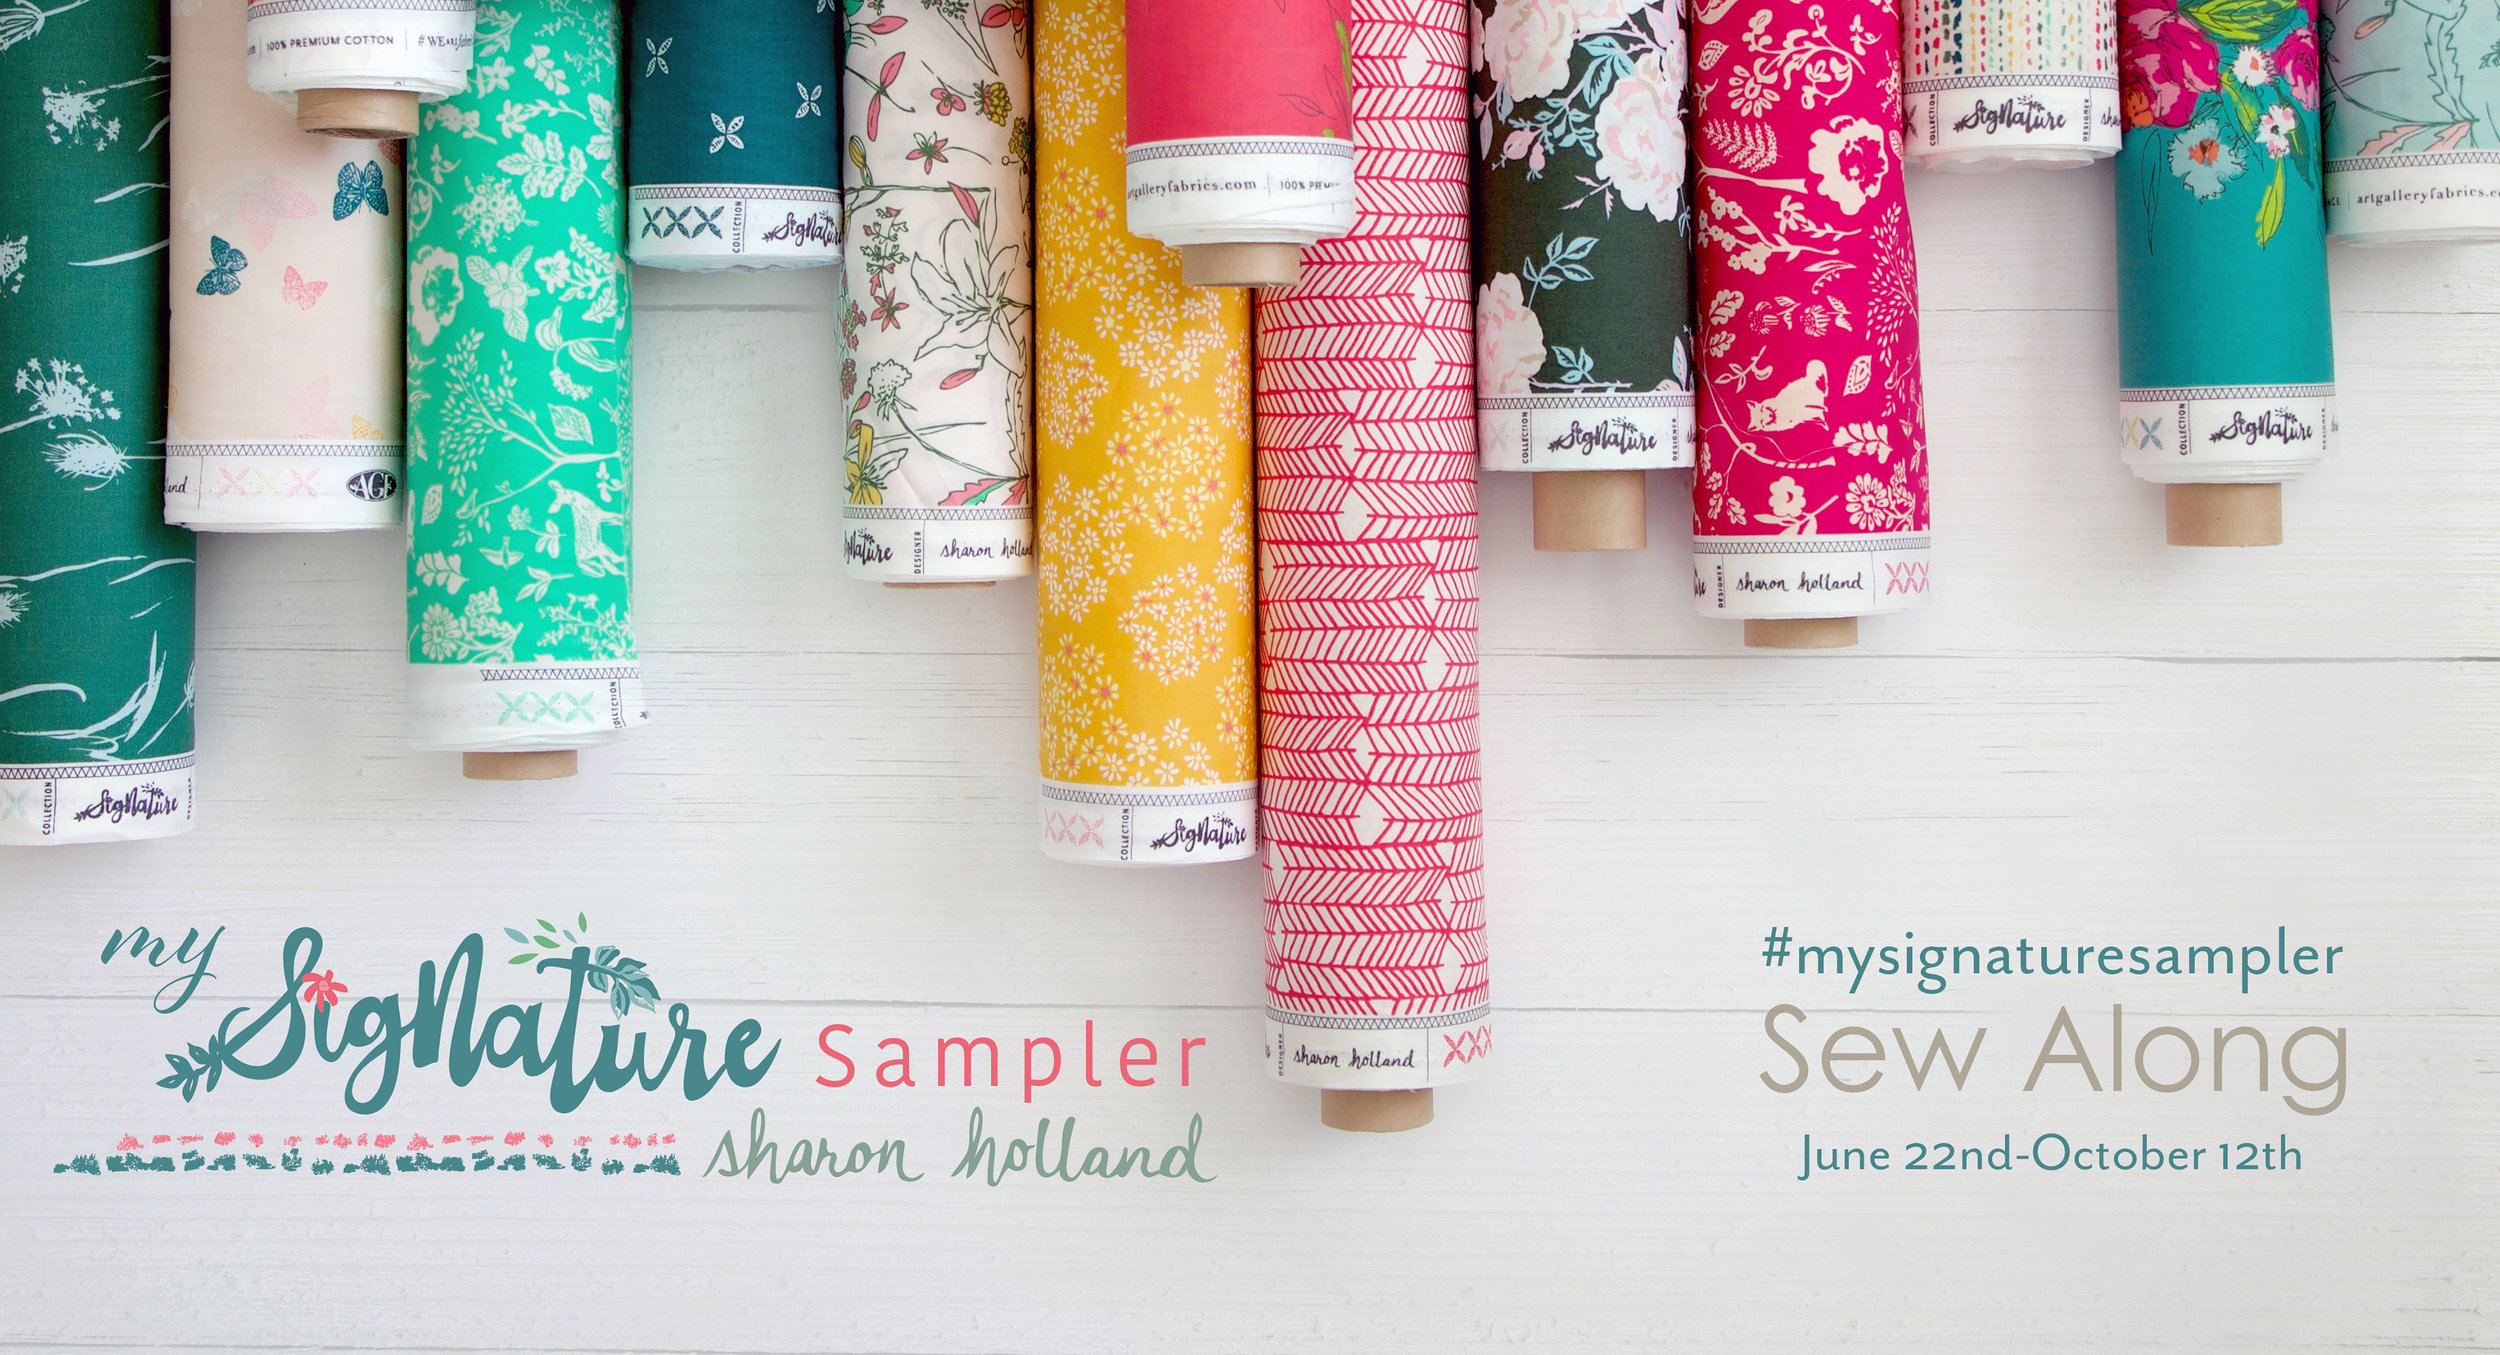
My Signature Sampler Week #5
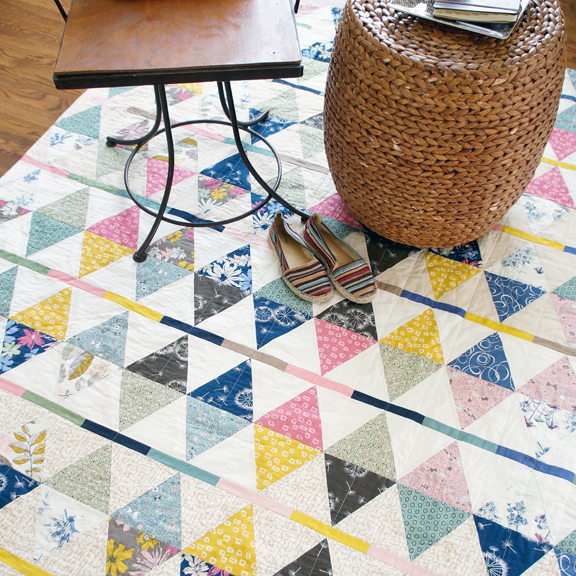
I've had a good and productive week, how about you? I actually finished sewing ALL the blocks for my sampler! I even got so far as to photograph all the blocks, but not so far as to get them all set in the setting triangles--next week, hopefully. That's a good feeling to have my work stockpiled for me and know I'm that much ahead--that's the beauty of this sew along, you can work at whatever pace fits your time and schedule.
The good news is that because I've been able to sew ahead I came up with a brilliant idea for an optional border treatment I can't wait to share with you next week. You're going to love it--I sure do!
Since this event is built off past sew alongs I've co-hosted with Maureen Cracknell with the addition of other published block resources you can and are encouraged to work at a pace that feels right for you. Each week when I make a Friday post, I'll provide links to the various blocks I put into my sampler along with any variations to the original block instructions.
Block instructions from the Sewcial Bee Sampler (SBS), Community Sampler (CS), AGF Quilt Block Collection (AGF), and the blocks from the Quilter's Planner 2018 magazine (QP) will be used in this sampler. If you have your favorite blocks and would rather sew different blocks than me, please feel free to make this sampler your own.
If you're just joining in on the fun, take a look at my first post for this sew along and pick up the quilt layout and color book page to start planning your sampler!
Remember, you can always refer back to the Sewcial Bee Sampler and Community Sampler blog post tutorials the accompanied each past sew along block by using the search bar at the top of this blog. There you will get additional information on how to piece each block or technique.
If you need extra help with your patchwork or would like to learn how to control the direction of your prints in half-square triangle units and other piecing techniques, visit my Tutorials page for lots of great tutorials all in one place. Don't forget our blocks will be set on-point so if you have a fussy cut center, cut it on-point for best results.
Note: I don't recommend cutting any other pieces of the blocks other than a center square on-point because it will create bias edges along the outside of the block and increase chances of distortion. Keep any bias edges in the center of the block.

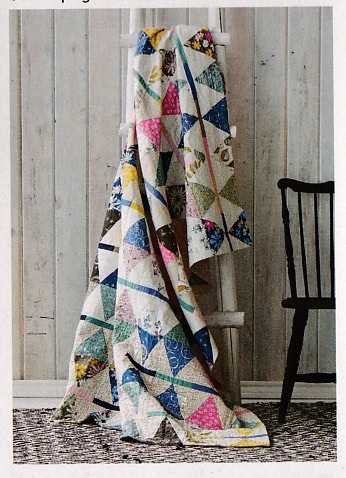
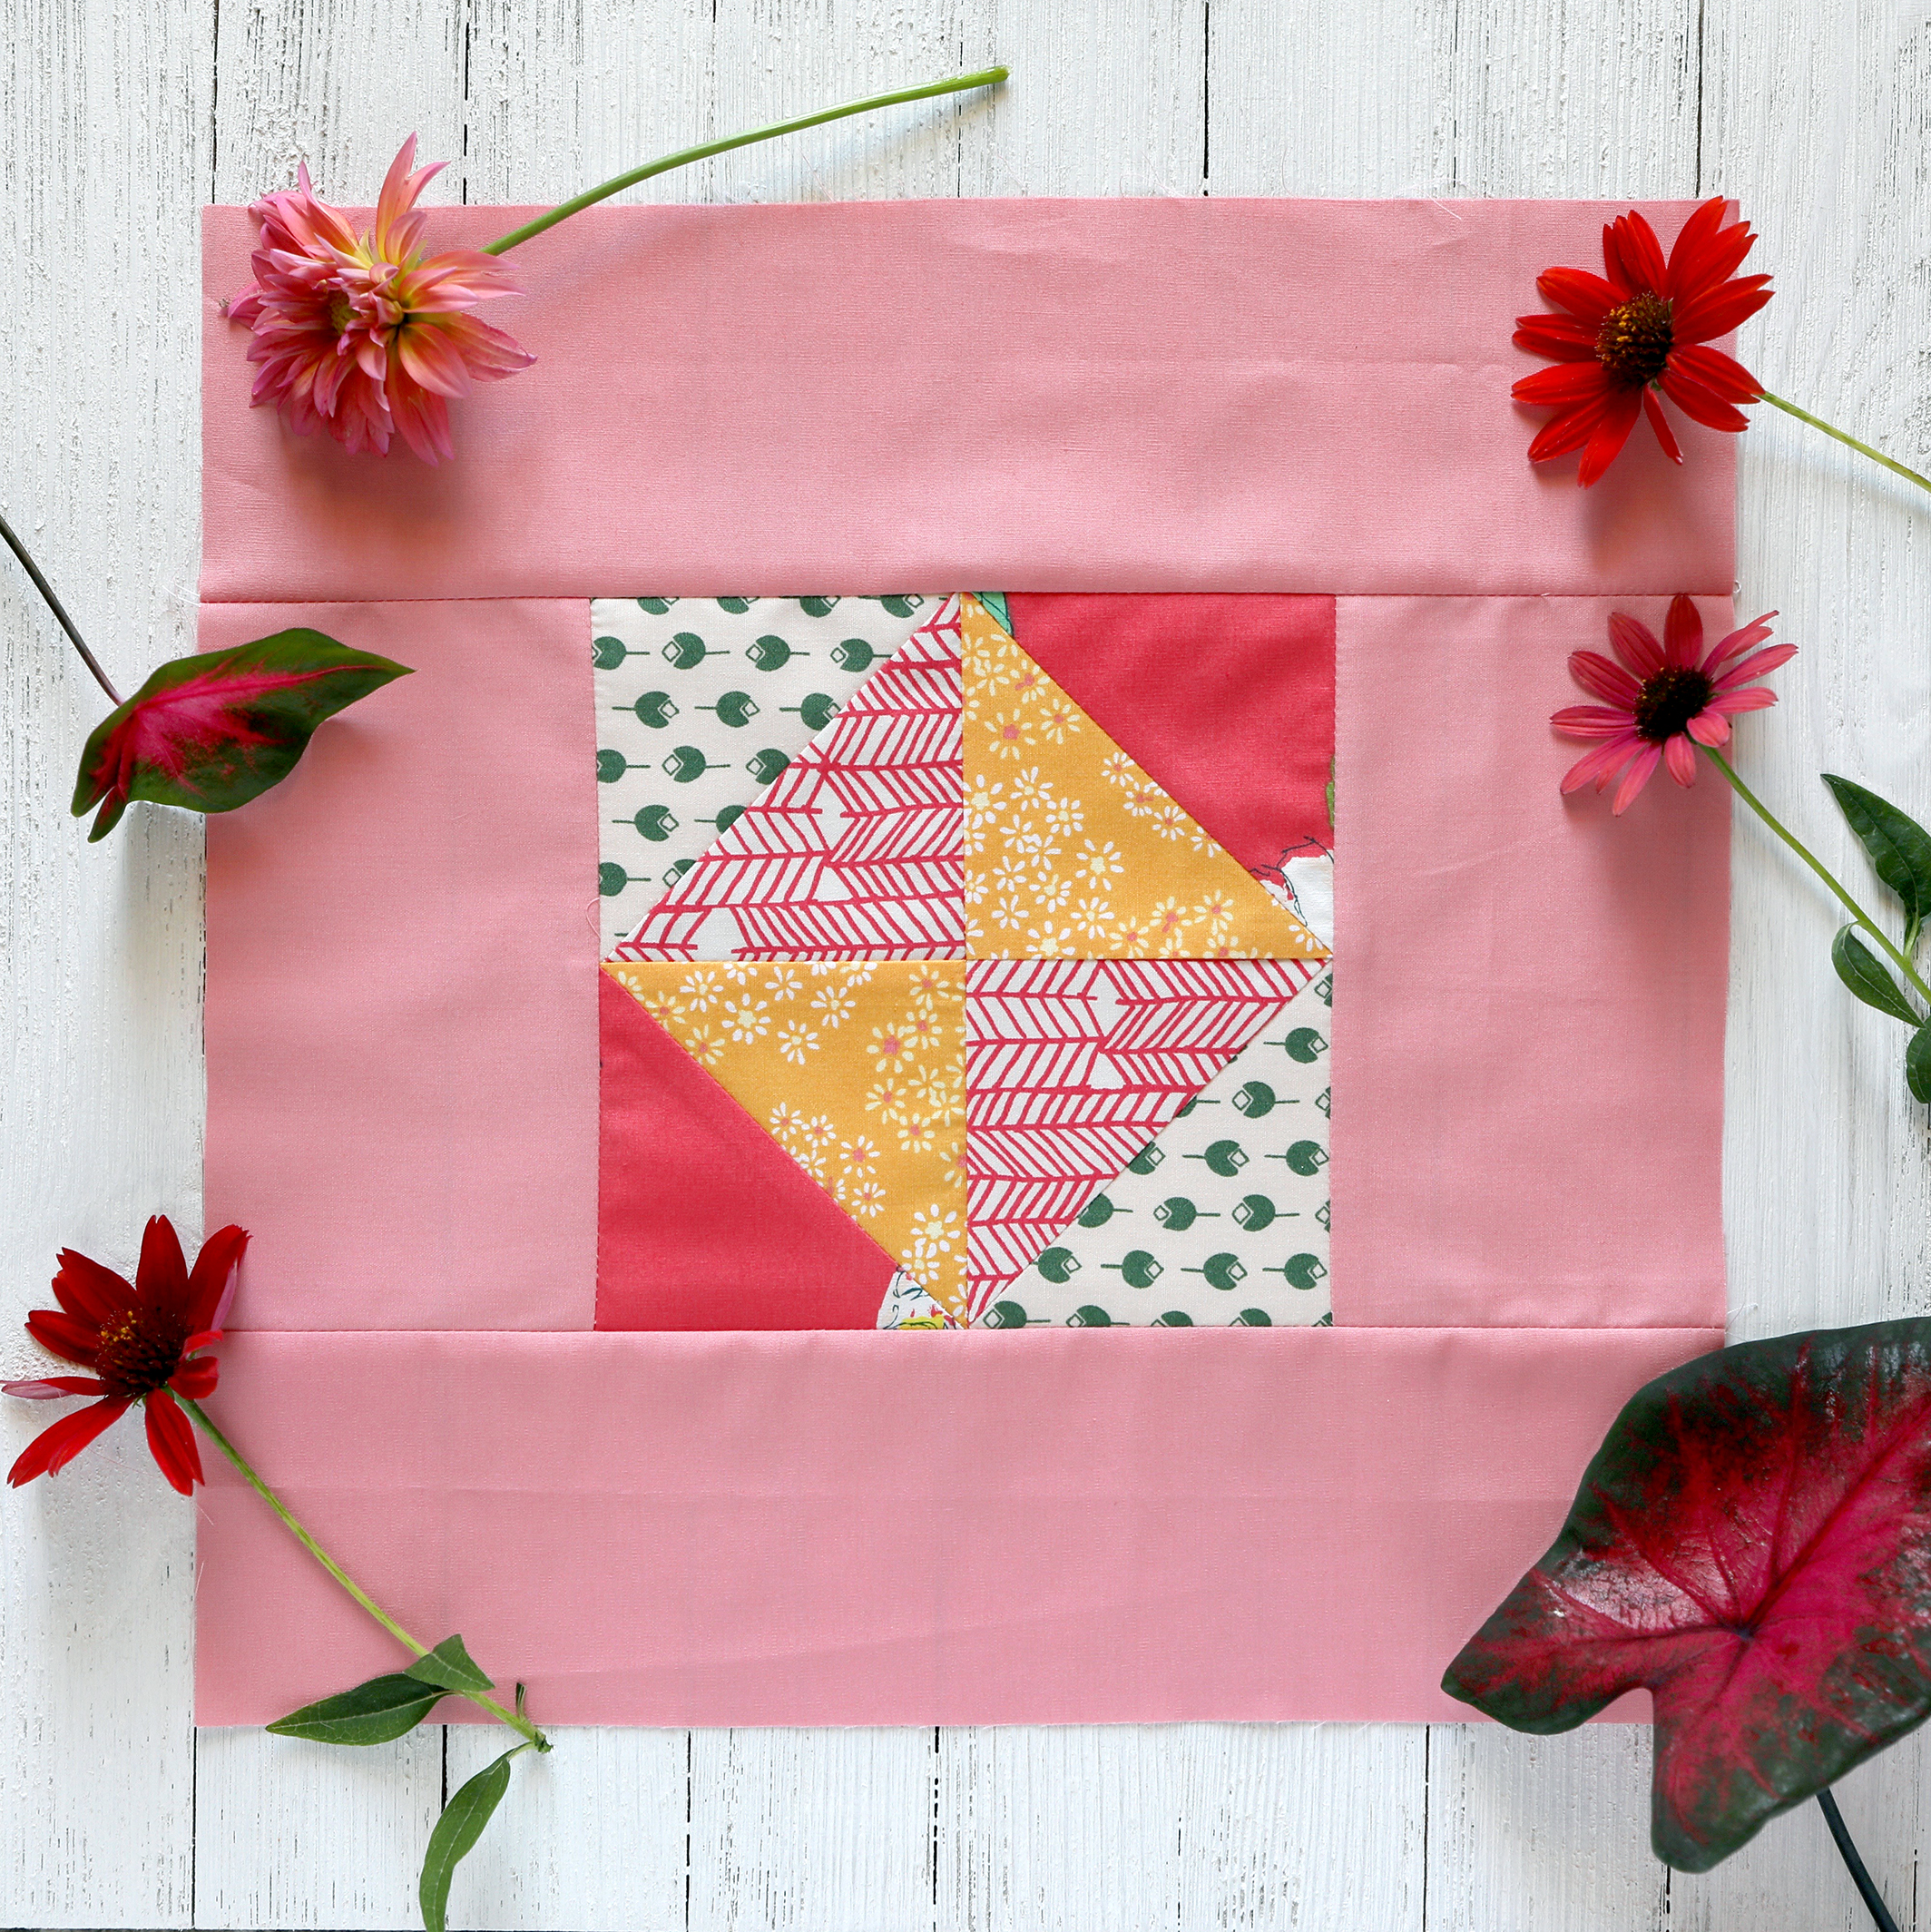
For week #5 of the My Signature Sampler, I've chosen to sew the Broken Dishes block from the Sewcial Bee Sampler sew along I co-hosted with Maureen Cracknell last year.
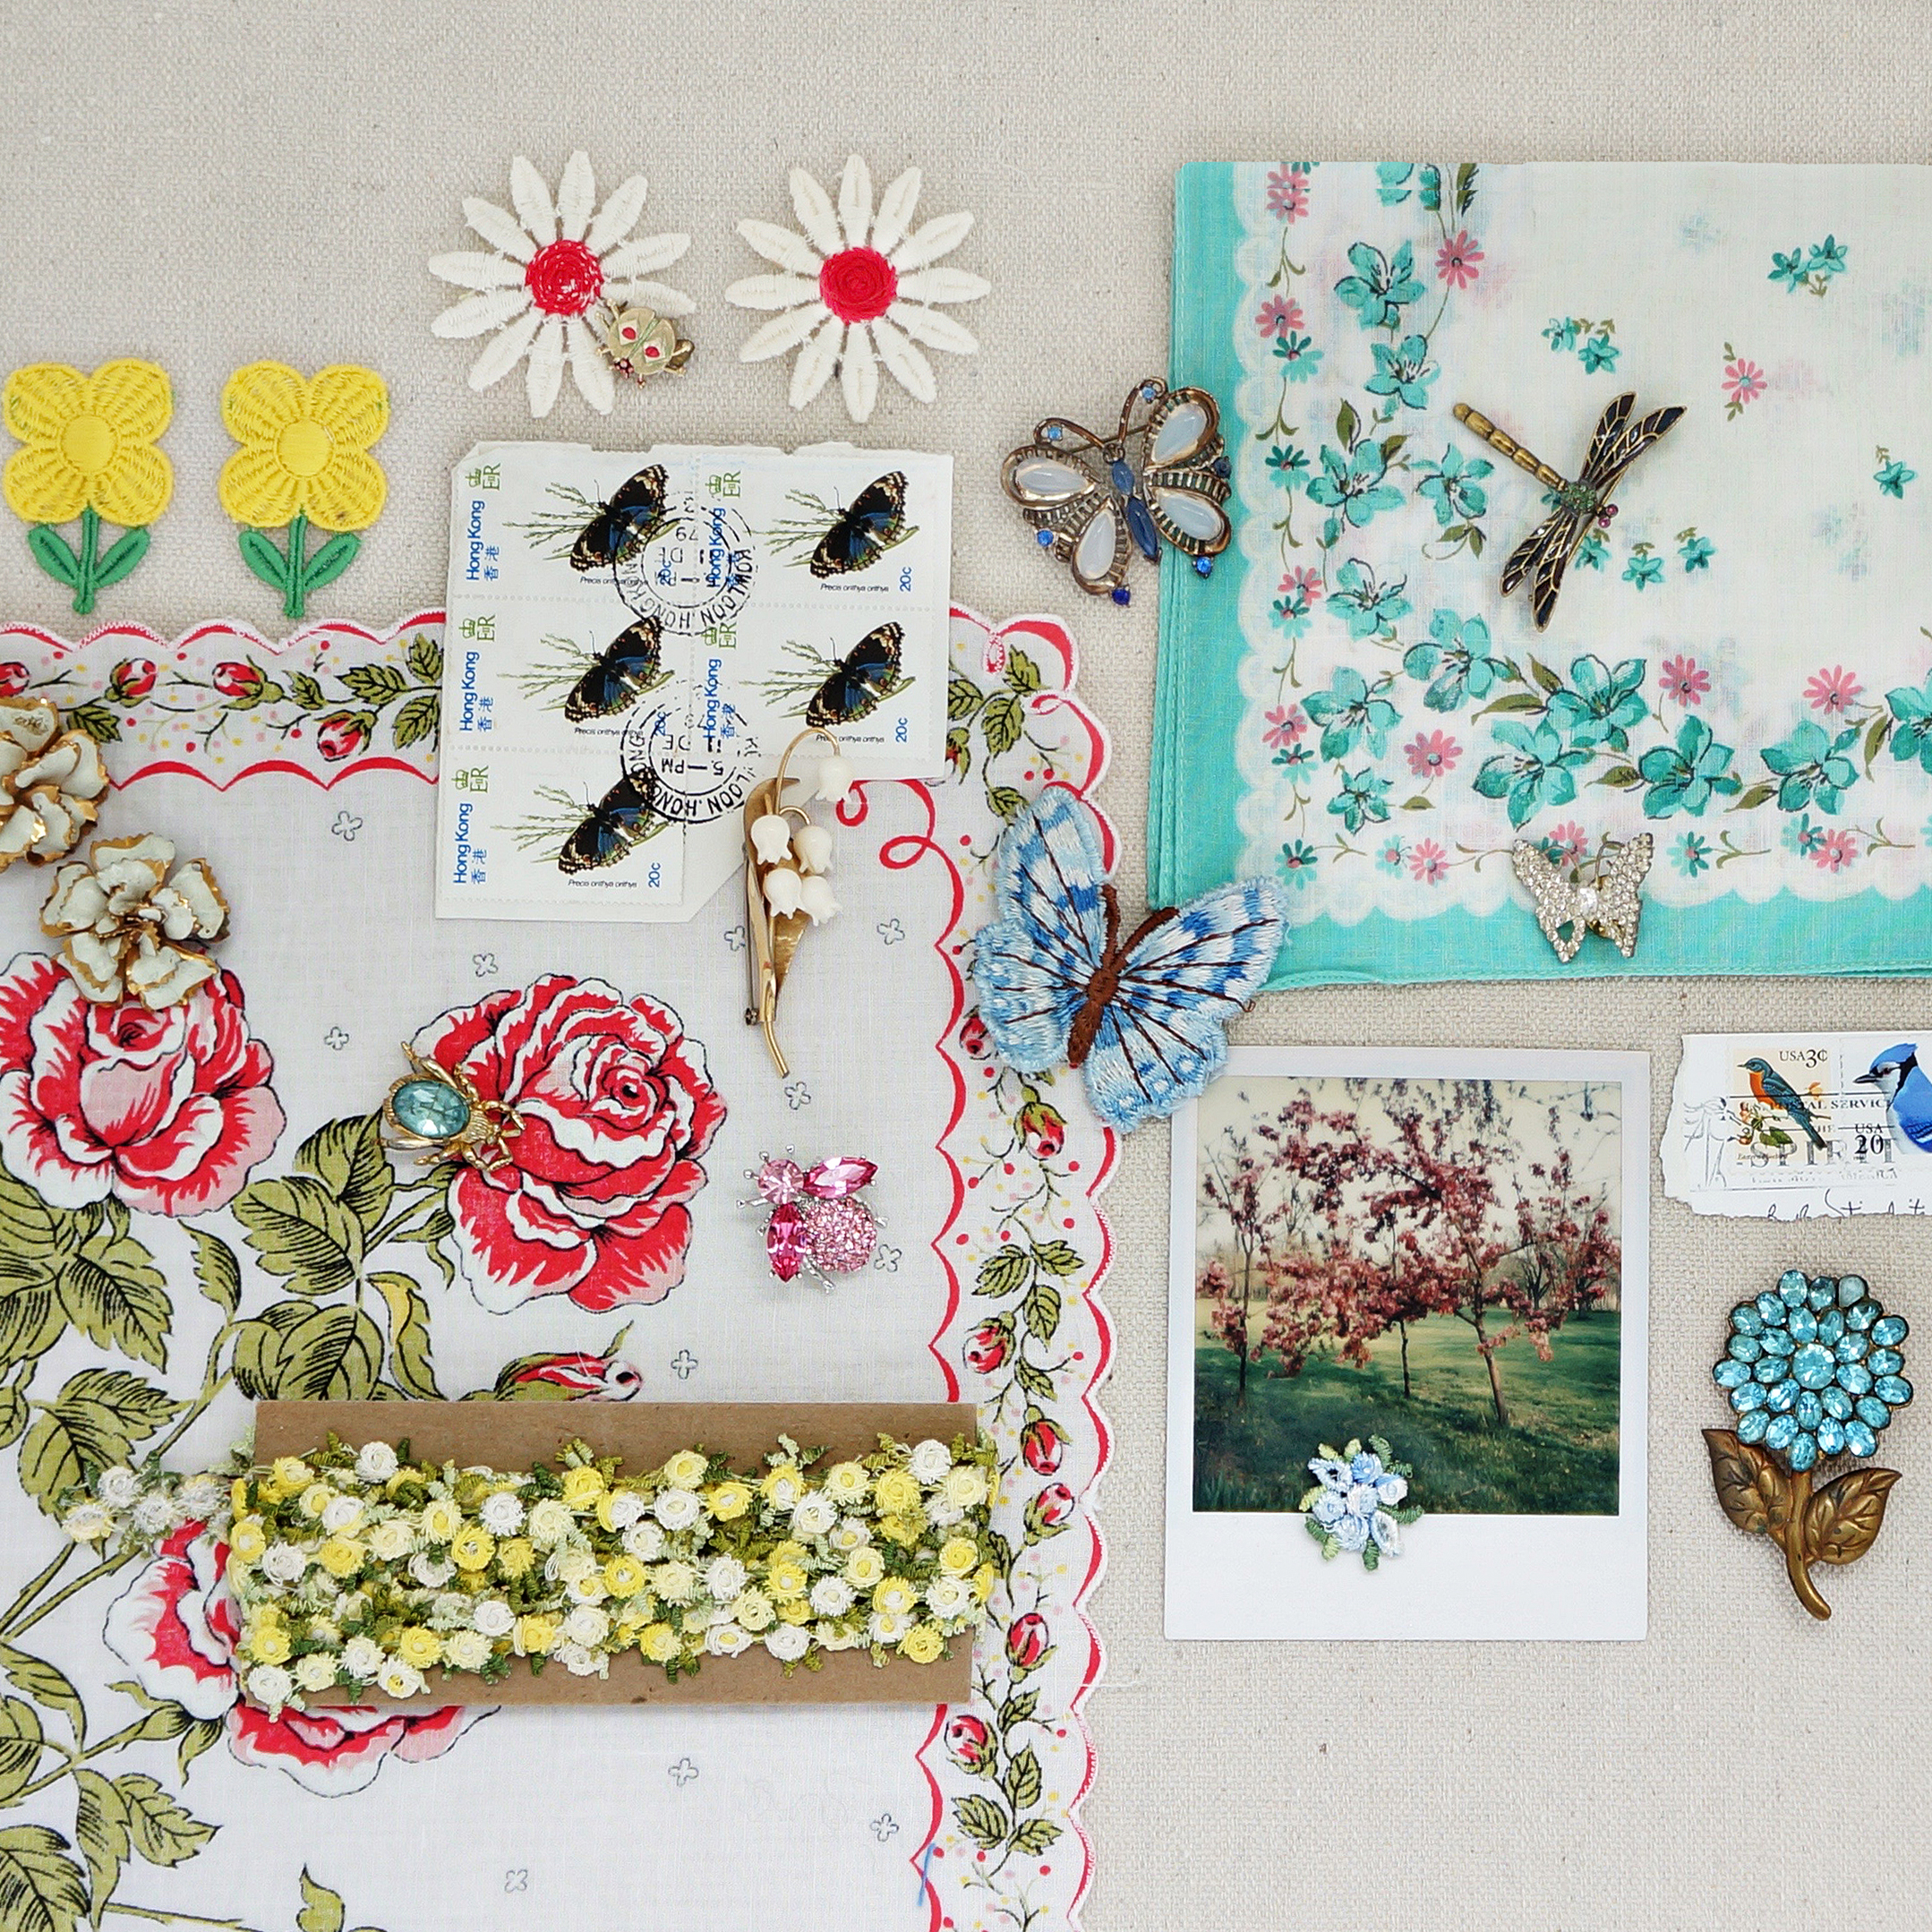
I've used prints from my Signature fabric collection from Art Gallery Fabrics and AGF Pure Elements solids for my blocks. This fabric collection and sampler quilt has me feeling like I'm in my garden when I'm sewing and I'm loving each new block more than the last.
For stock lists of online shops that carry my Signature and other AGF collections, visit my Fabrics page or the Where to Buy page on the Art Gallery Fabrics site.
For a tutorial and link to this block, follow along on the original blog post HERE. If you're wanting to sew with half-square triangle (HST) units that can be trimmed down to the desired size, then check out the SBS Extras post with HST cutting charts and tips for rounding up for larger pieces.

To help me to remember to remind you that these blocks will be set on-point AND to get ahead on things I've decided to start adding my setting triangles to my finished blocks. I'm using a combination of my Perennial print from Printemps Fusions and Untamed Beauty Daybreak from Signature as the background setting of my quilt.
The setting triangles are made by cutting a 9-1/2'' square on the diagonal to make two setting triangles. Be mindful of print direction, if applicable. See Community Sampler Week #13 for block setting instructions.
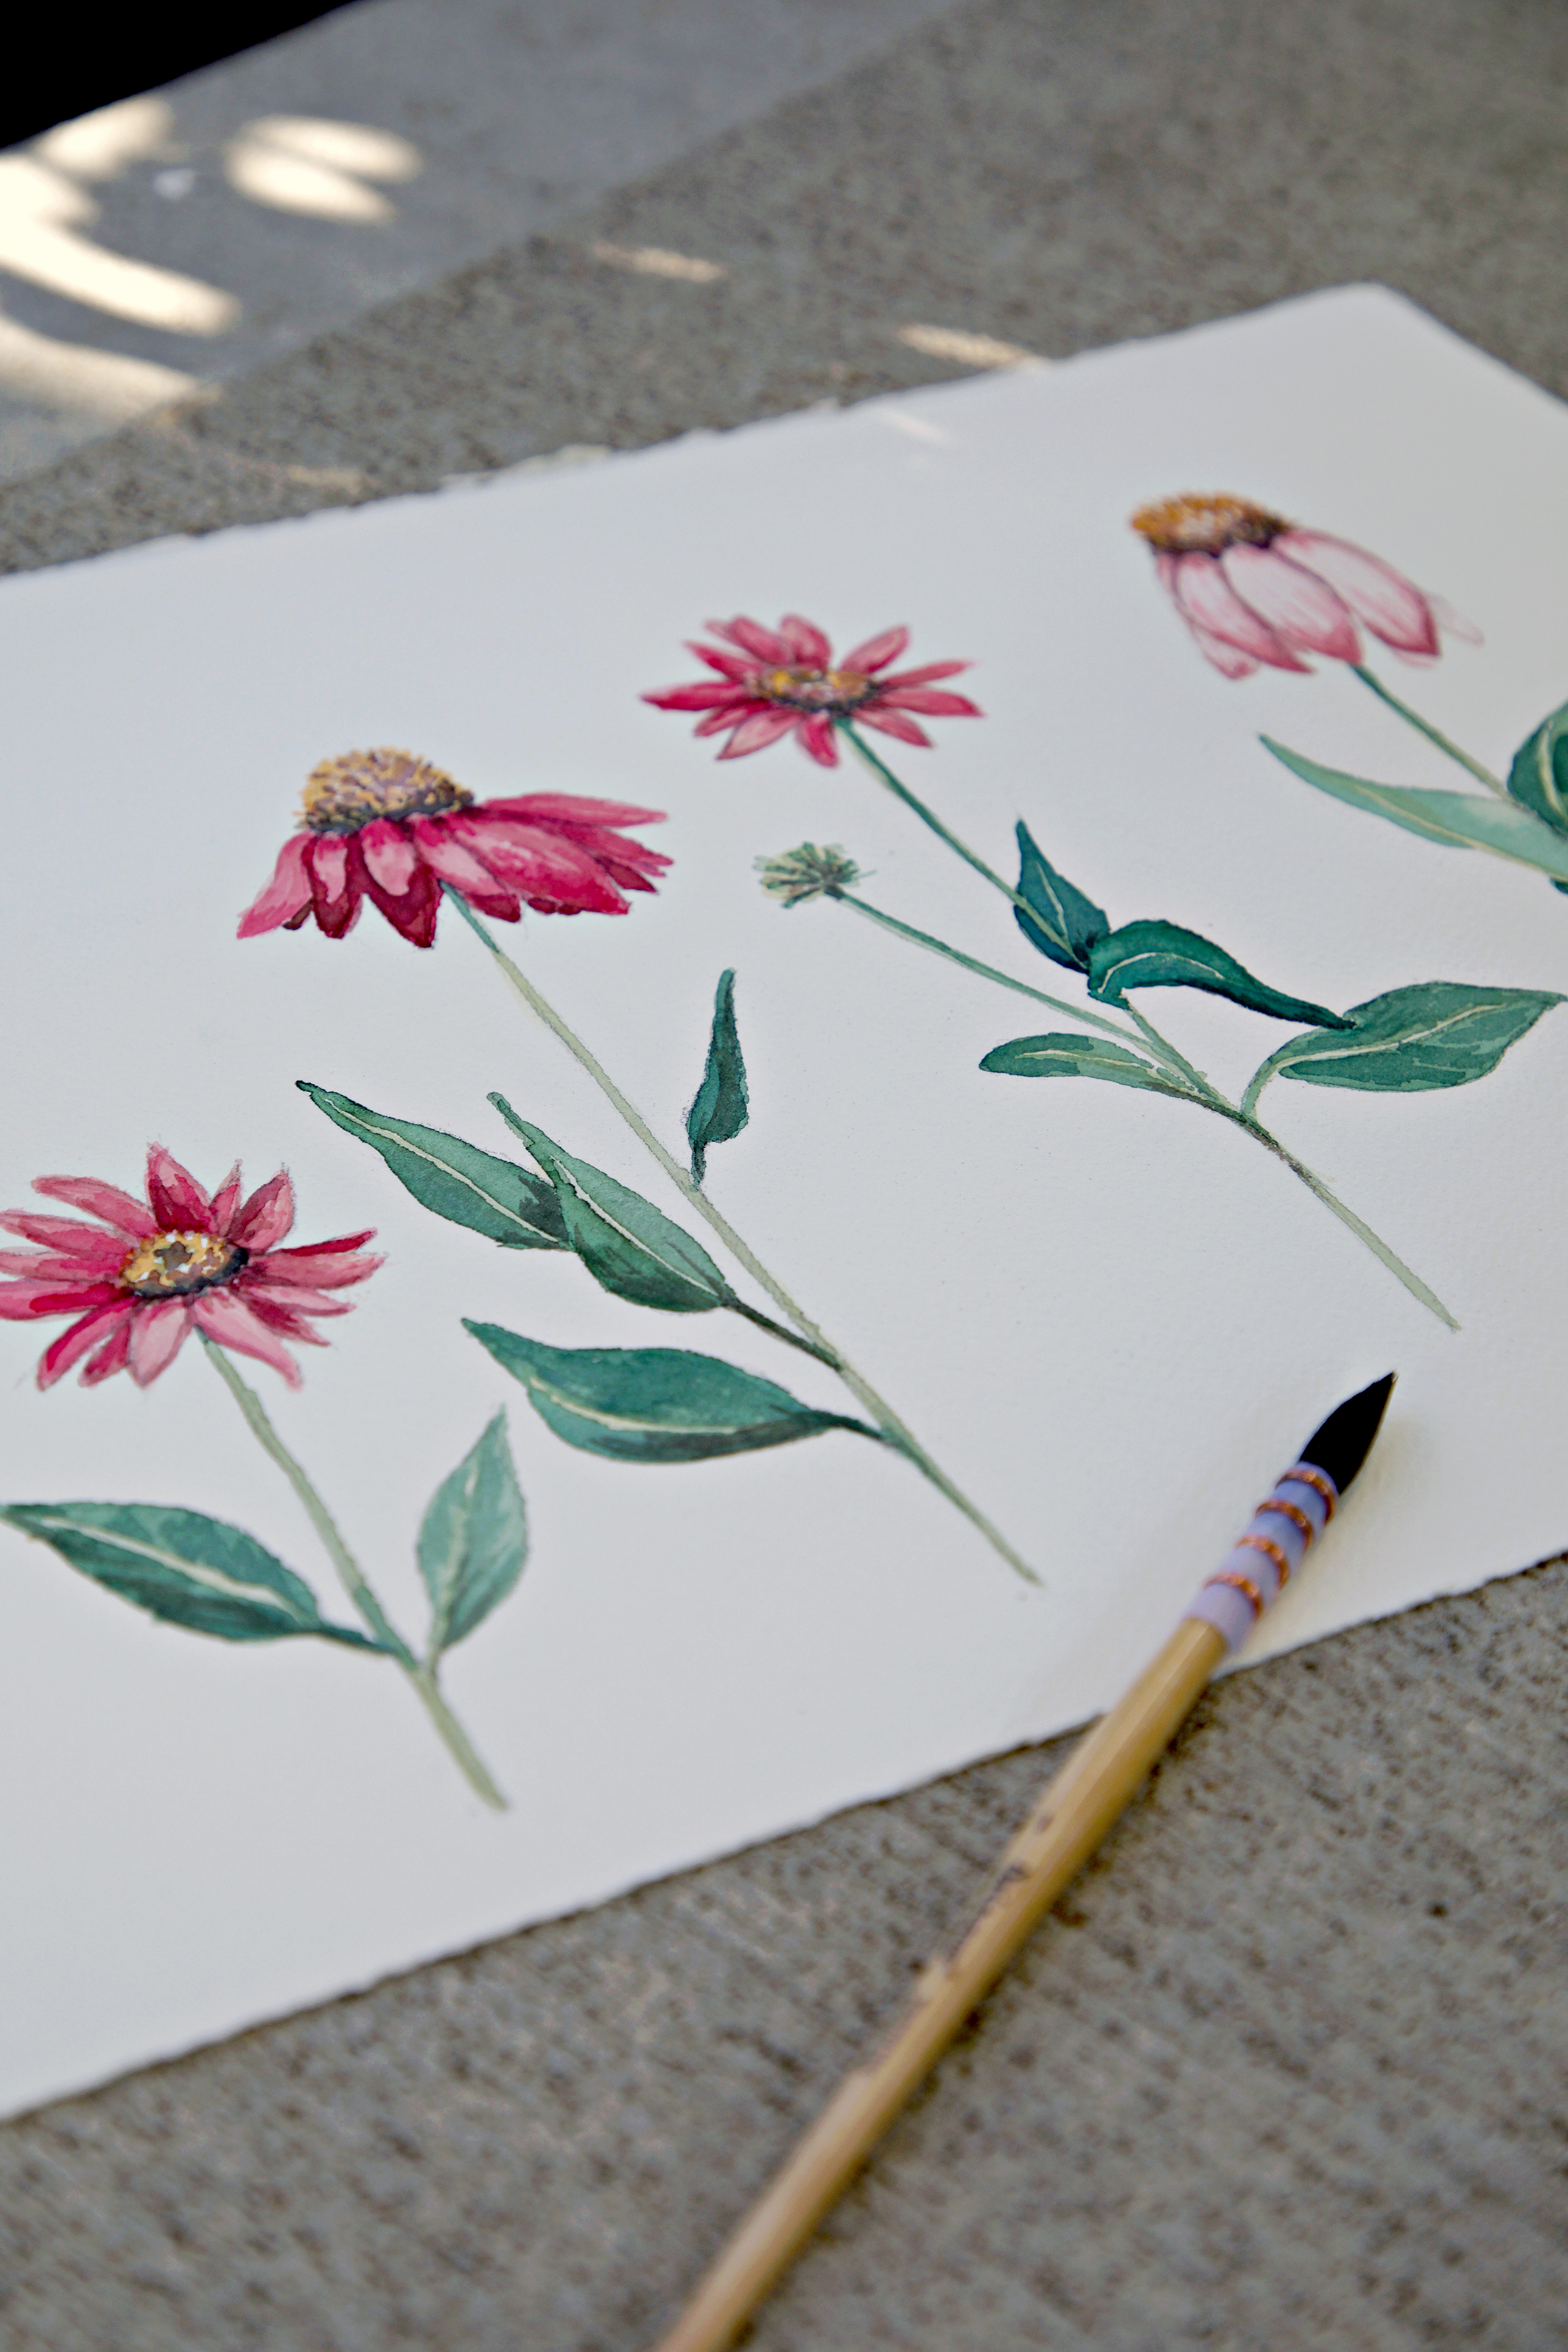
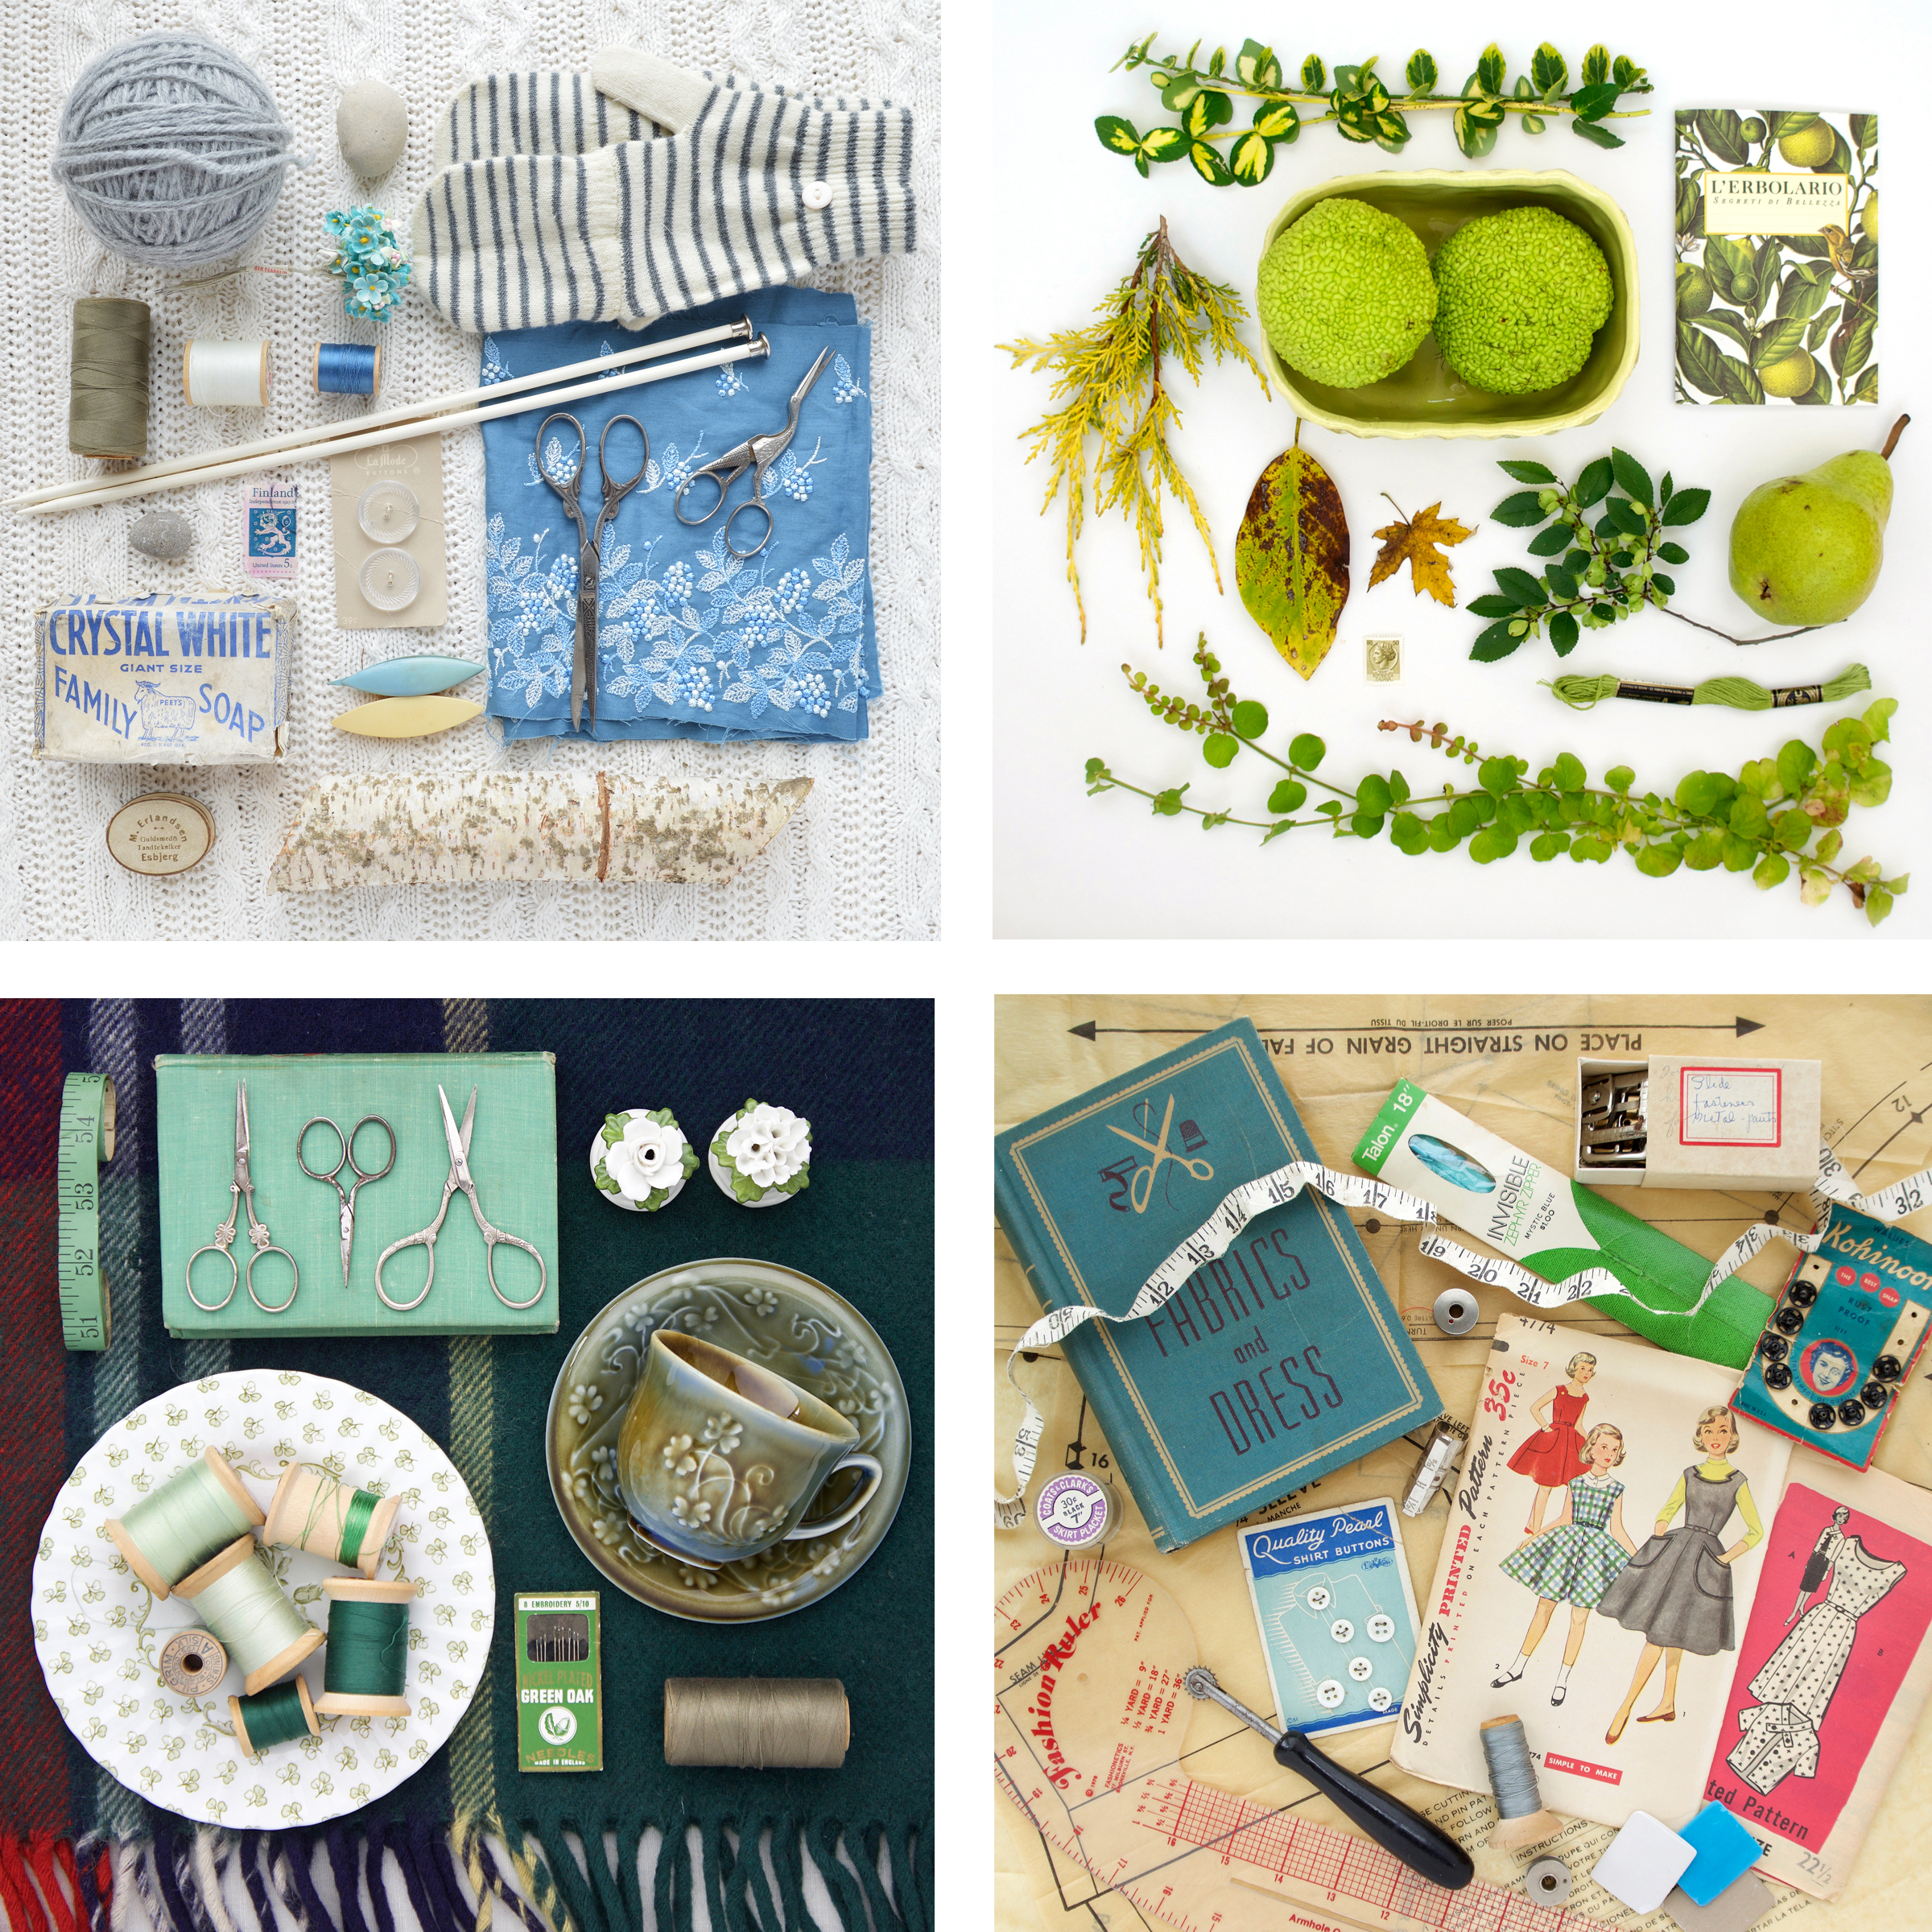
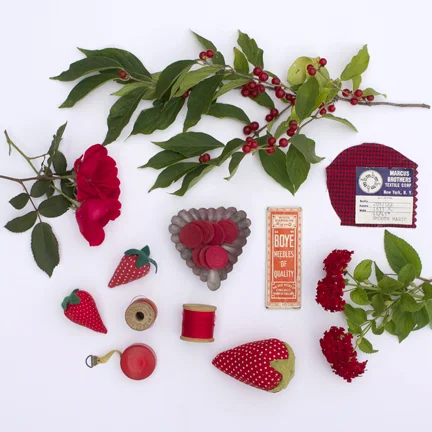
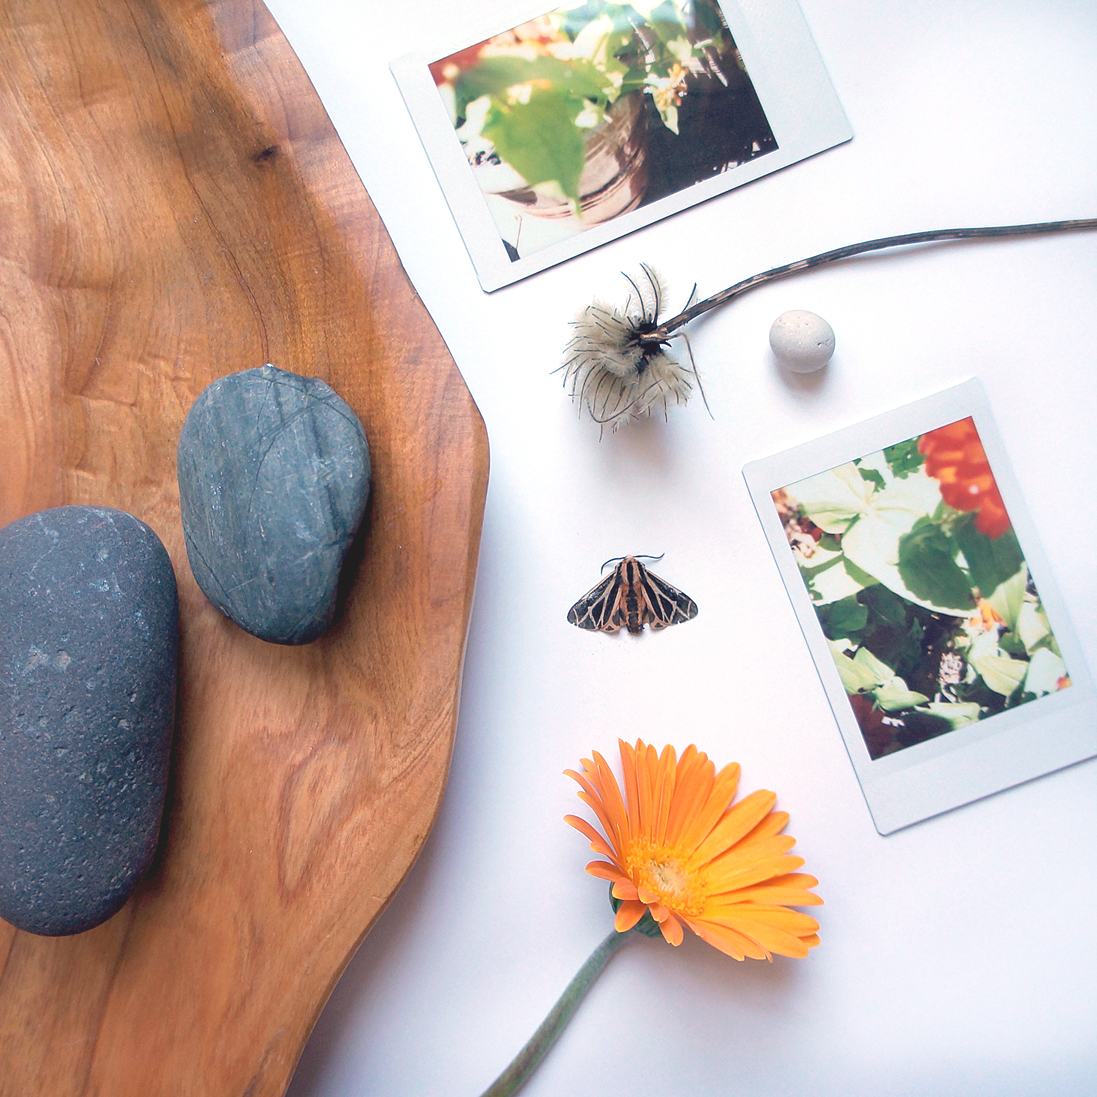
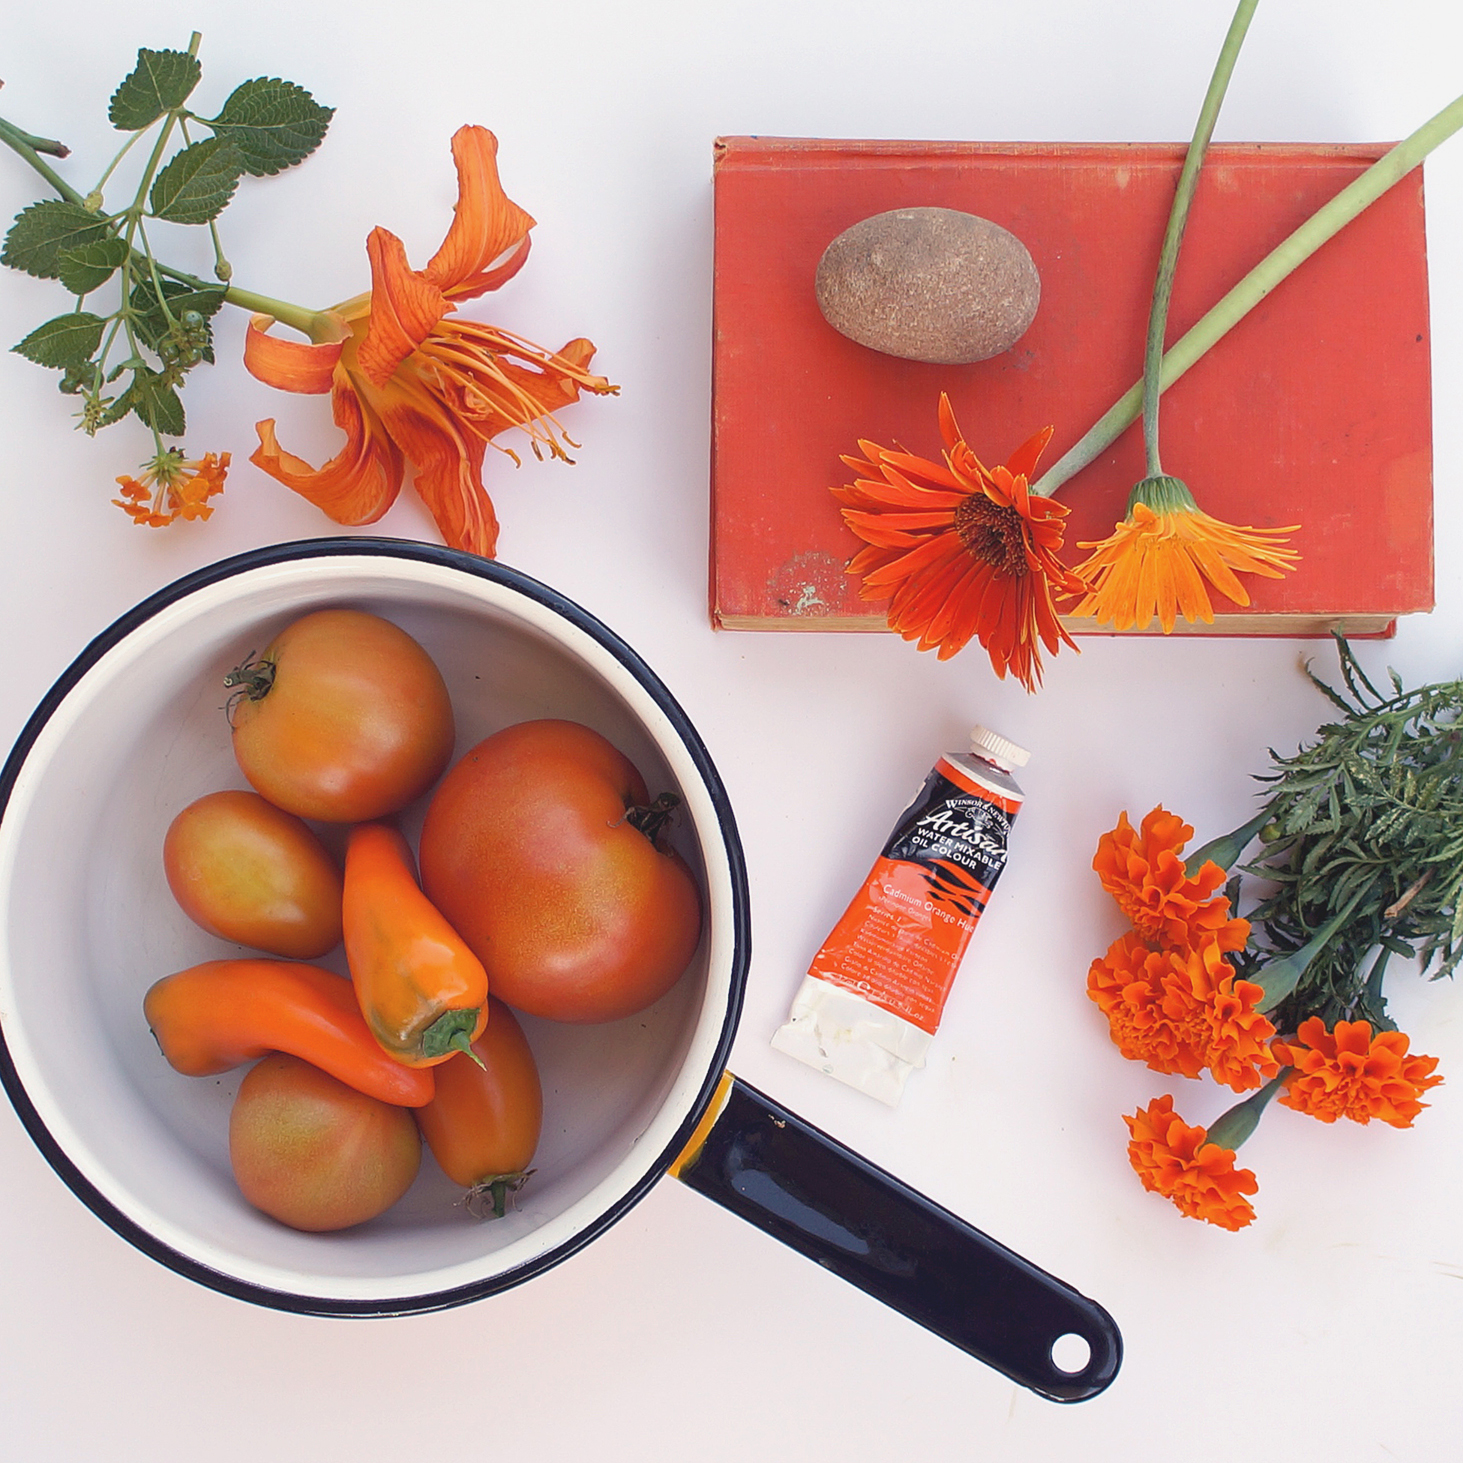
Coneflower Study by Sharon Holland
The real reason I didn't get all the blocks set into the setting triangles was because I took time away from sewing to paint! I've been waiting all year to get back to painting and my schedule is finally freeing up (because I've not taken on new projects out side of my own to-do list) and want to devote my undivided attention to artwork.

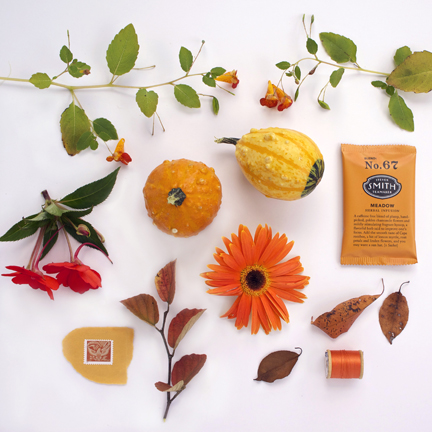
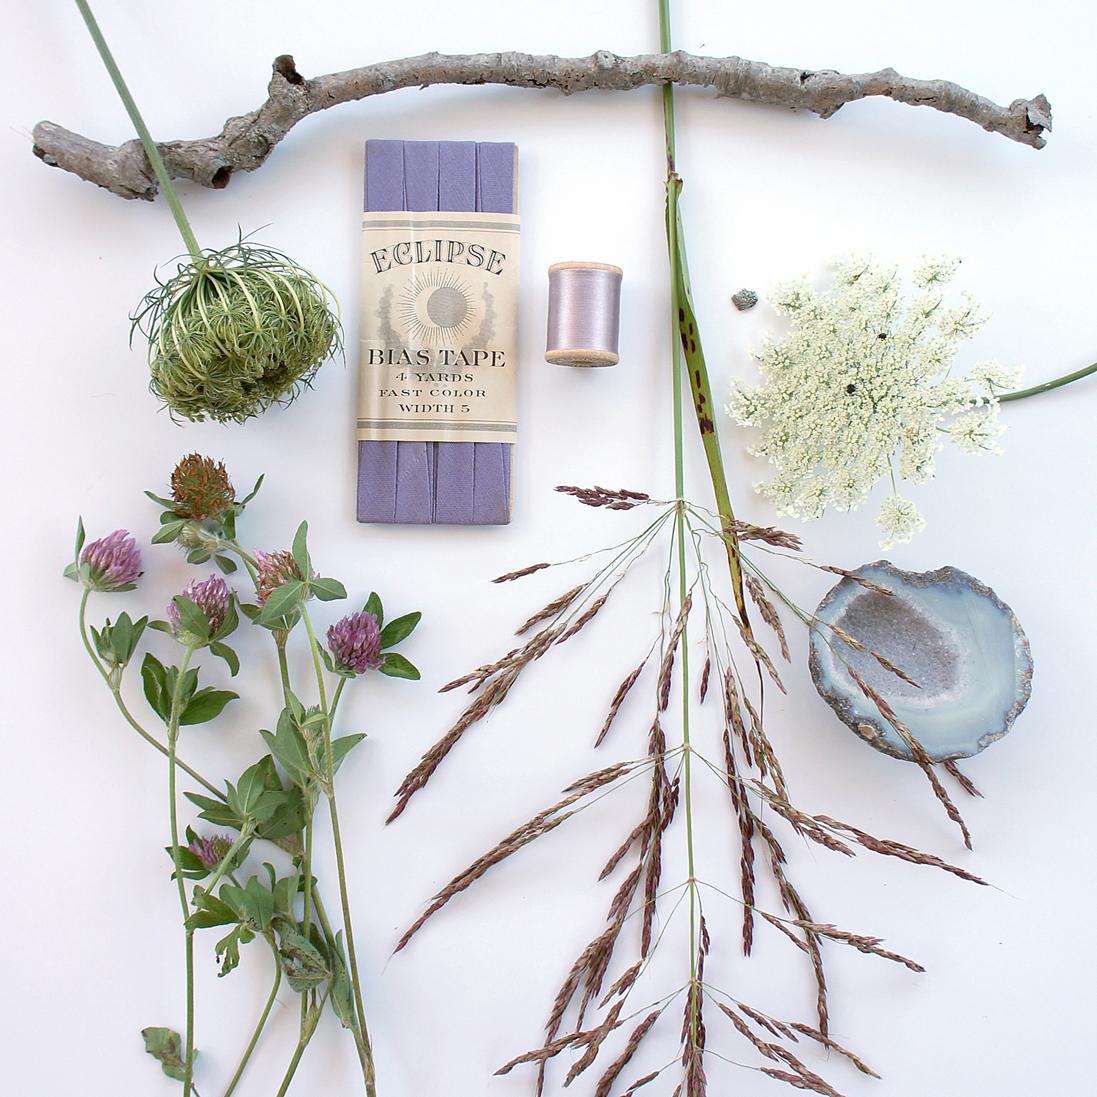
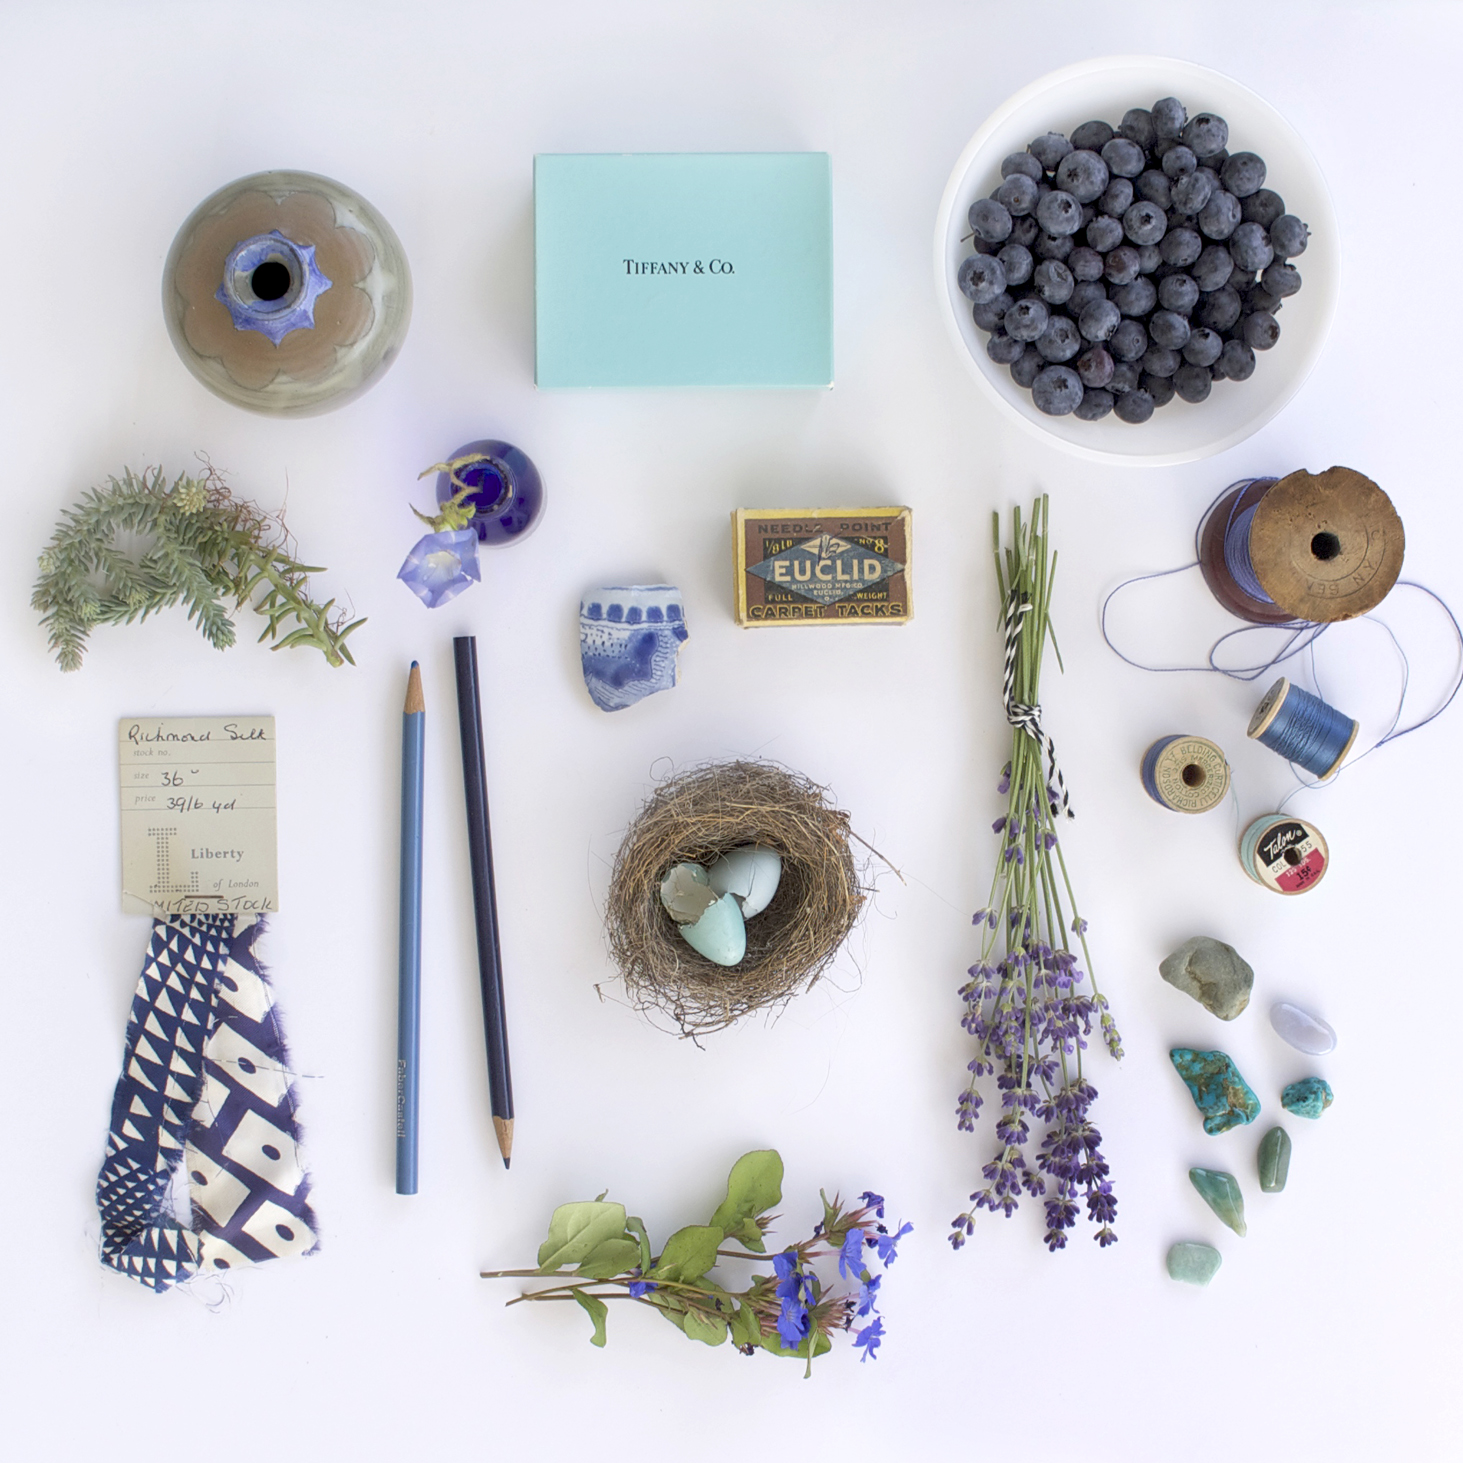
Clover Study by Sharon Holland
Who knows, maybe we can all be sewing with fabrics from these botanical studies sometime next year!
GIVEAWAY
Every Friday when I reveal a new block to My Signature Sampler, I'll also be posting the weekly giveaway. This sew along is being sponsored by the most amazing companies and have generously donated incredible prizes to share with you.
OUR SPONSORS

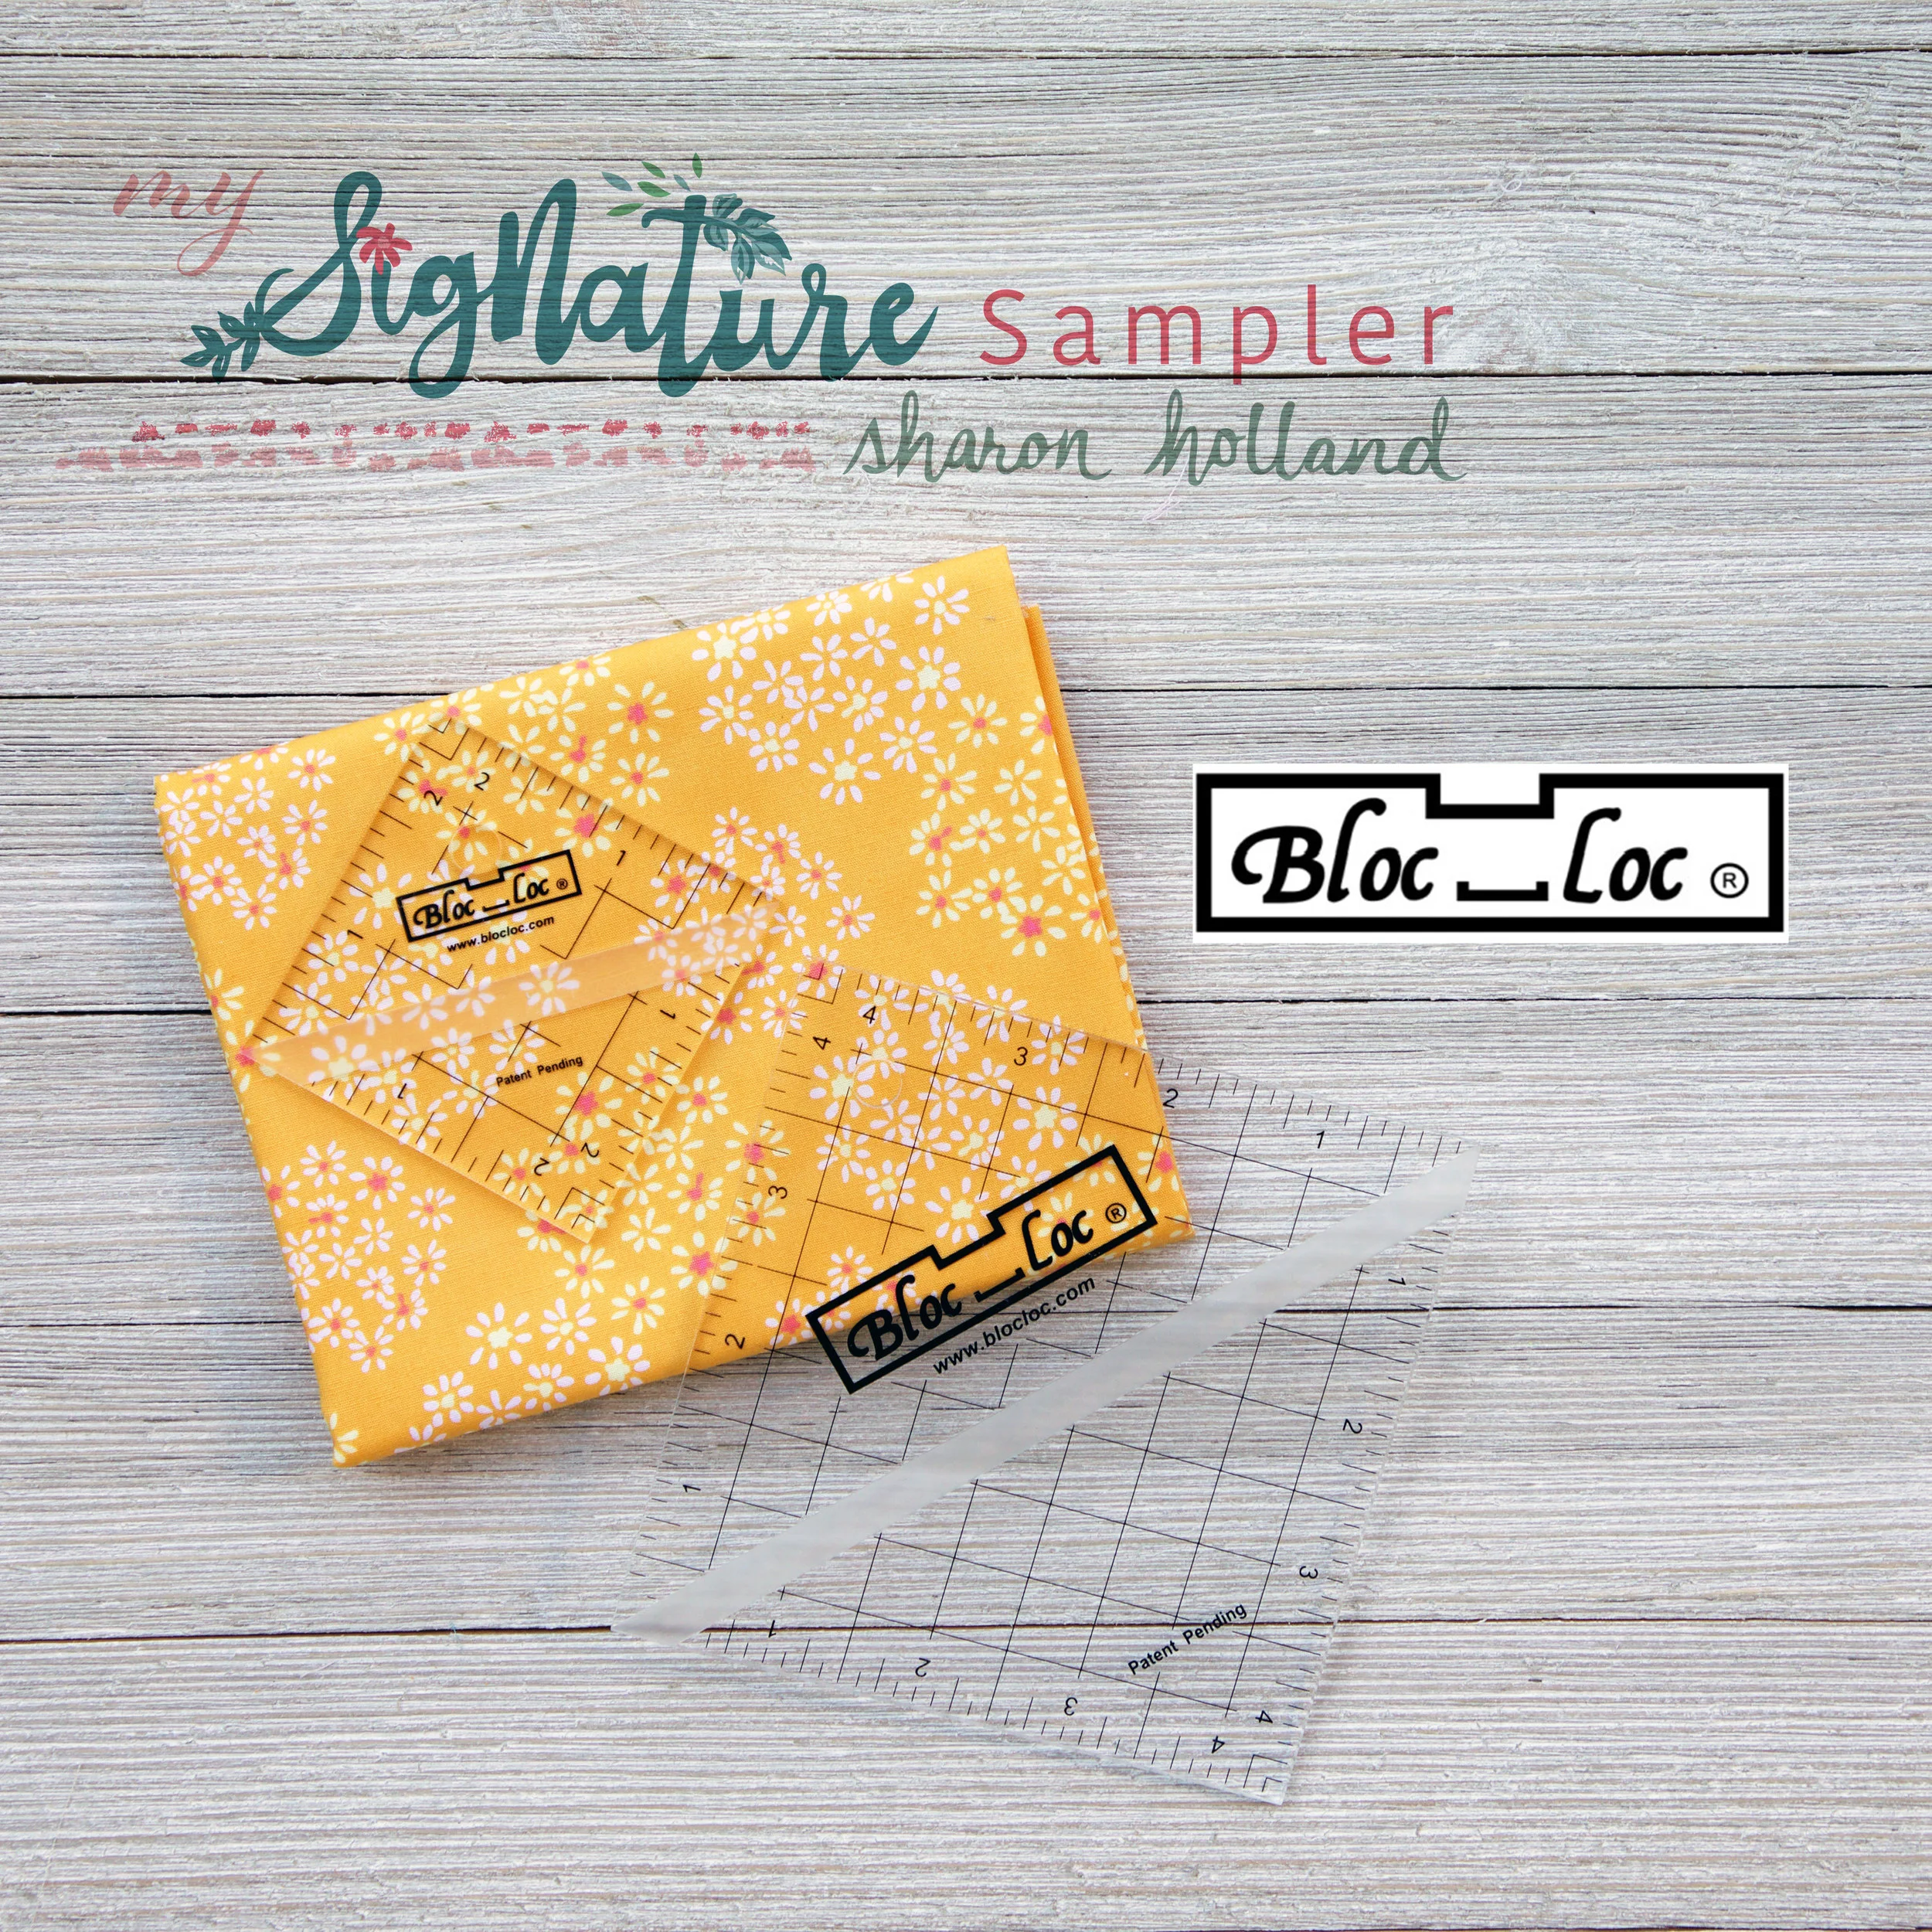
THIS WEEK'S GIVEAWAY SPONSOR IS: Bloc_Loc

Bloc_Loc was created by husband and wife team, Paul and Janna. Paul, an Australian, was an aircraft maintenance engineer and Janna, and American, is a quilt designer and author of Courtship Quilts; Inspired by the Victorian Language of Flowers, published by Martingale & Co 2005. Now based in Loveland, Colorado, Bloc_Loc manufacturers, distributes, and sells their own patent pending products which are new and innovative. Their rulers are made of the highest quality materials by the old-fashioned standard of making products and are built tough enough to last from one generation to the next!
Shop Rulers * Follow on Facebook * Follow on Instagram
WE HOPE YOU ENJOY VISITING BLOC_LOC RULERS
For this week's My Signature Sampler Giveaway, Bloc_Loc is offering the winner a set of two rulers that coordinate with the sizes of units used in most of our blocks. This week's prize will be a set of Half-Square Triangle rulers consisting of the useful 2-1/2" and a 4-1/4" square sizes. Be sure to visit Bloc_Loc for wonderful video tutorials on how to use all their products.
Giveaway Now Closed. Congratulations to Denise!
Note: This giveaway is open to EVERYONE! If you're a "no reply" or anonymous commenter, please remember to include your email address in your comment--you can't win if I can't get a hold of you!
1. Simply leave a comment here under this post for your first comment entry.
2. Follow Bloc_Loc on any of their social media platforms (see links above). Just let me know that you did by making a separate comment here to record that entry. (Separate comment-second entry).
3. My followers get a third entry! If you follow me via subscribing to my posts, on Pinterest, and/or Instagram, just let me know by making a separate comment here to record that entry. (Separate comment-third entry).
4. Help spread the word!! I know that many of you already do, so I thought it would be nice to add that as another way to enter! Spread the word about the My Signature Sampler sew along on YOUR instagram, Facebook, Twitter, or on Pinterest by pinning any of my pretty images in this post. (Separate comment-fourth entry)
That’s FOUR possible entries! Enter now through Monday, July 23rd! The winner will be picked at random around 4pm Eastern. I will post the name of the winner on this post once they've been notified and responded to my email.
*Don't forget to enter into this same giveaway on Instagram by posting images of your sampler inspiration, sampler fabric pull, or blocks. Use the official #mysignaturesampler hashtag every time you post your My Signature Sampler makes (to a public account) and you're automatically entered into the weekly IG drawings as well! See my Instagram giveaway posts @sharonhollanddesigns for full details.
Happy sewing!
Sharon