New Fabric Collection!

New Fabric Collection!

Everlasting Collection.jpg

Spring is an exciting time of year with trees leafing out, flowers blooming, and the weather warming up for spending time outdoors. I’ve been anticipating spring even more than usual because my newest fabric line, Everlasting for Art Gallery Fabrics will be available in May at your local quilt shops and favorite online retailers.

Everlasting Fabric Rolls 2.jpg

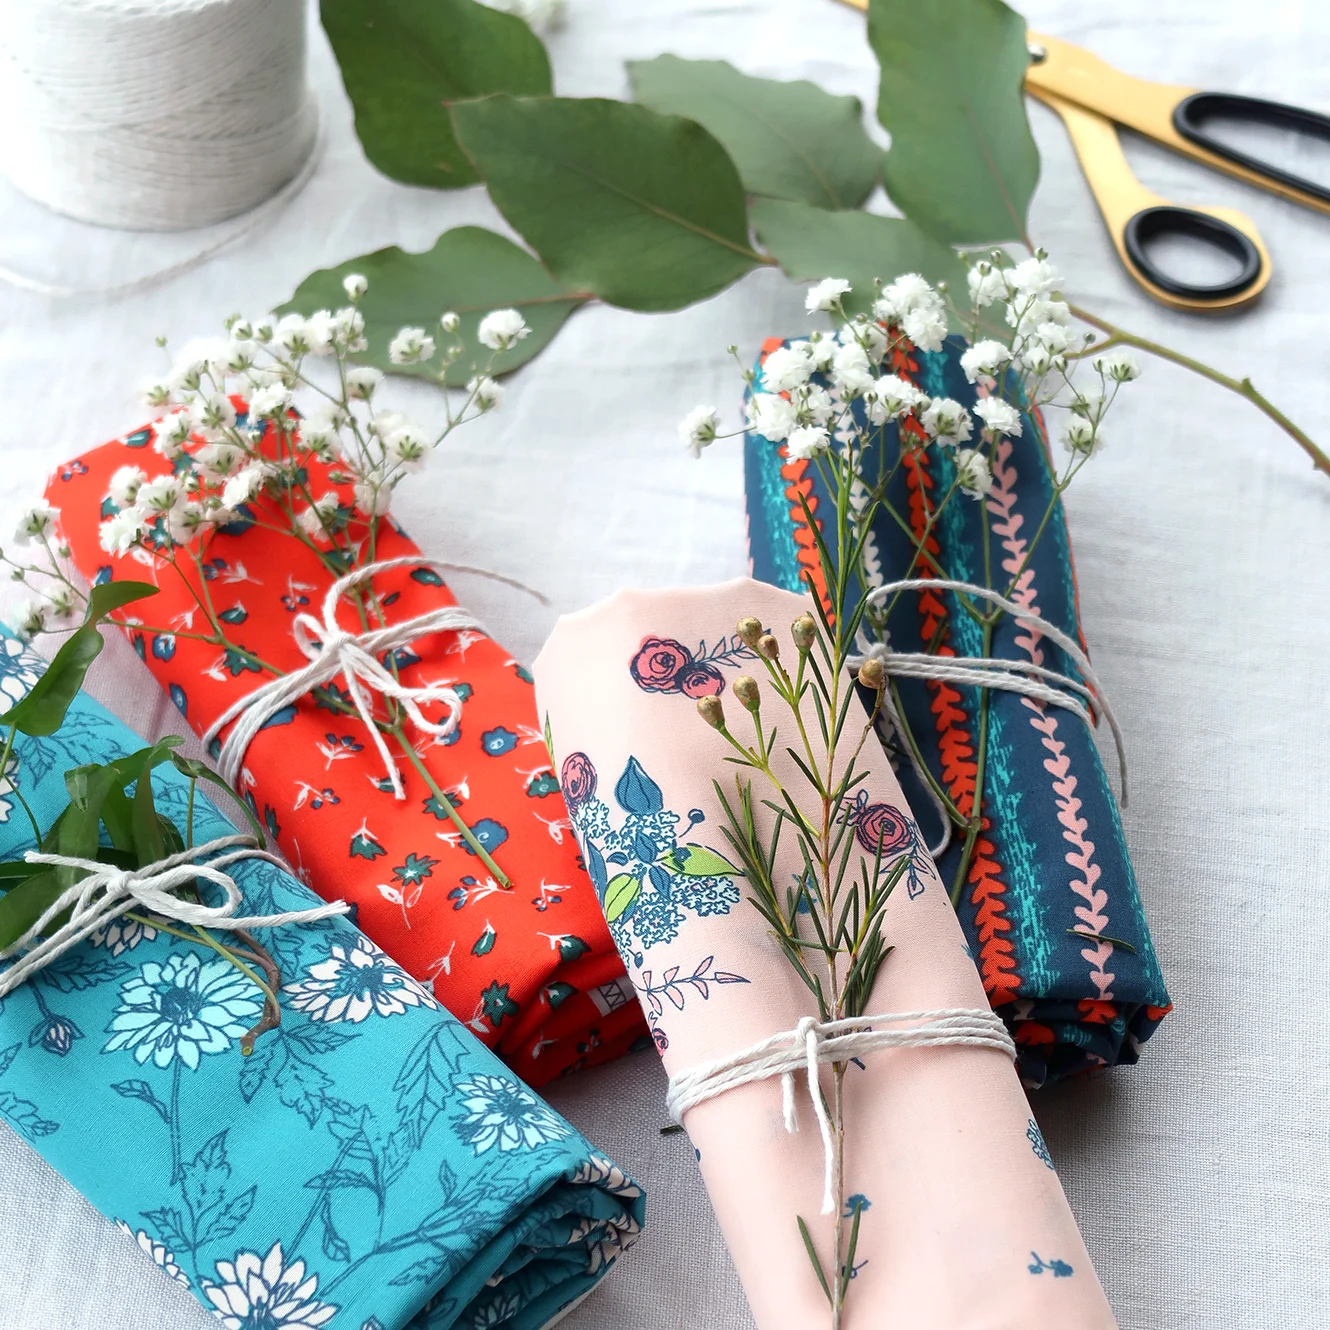
Everlasting is my seventh collection for Art Gallery Fabrics and it tells the story of love, marriage, and family.

The summertime palette or navy, coral, blush, and teal pull at my heartstrings as I associate this collection with my daughter, Anna. As my only girl, Anna and I have had a special bond. She has a creative mind, is a nurturing mother, is smart, positive, and has a tender soul. Sometimes I see myself in her mixed together with the other important women in my life, my mother and grandmother but mostly she’s her own person and I love her dearly. I’m so proud of the woman she’s become.

Photo credit: Red Tree Photos

Photo credit: Red Tree Photos

Everlasting has a classic elegance to the prints that were inspired by my daughter’s wedding. The colors for her wedding were navy and sunflower yellow. The bridesmaids, groom and groomsmen all wore navy. Anna’s bouquet was simple, ivory roses and the other flowers and colors came from seasonal wildflowers.

Photo credit: Red Tree Photos

Photo credit: Red Tree Photos

My daughter wore my mothers 1959 wedding dress and the cut of this dress couldn’t have been any more perfect for my daughter’s classic yet modest style. See more about this collection and the other spring collections in the AGF Fabric Collections | May-August 2019 Look Book.

Sharon Holland_Garment Illustration Still.jpg

Just as it would be hard to image a wedding or springtime without flowers, I can’t image a fabric collection without floral prints. Joyful blooms and fresh picked wildflowers make this collection feel like you’ve stepped into a summer garden party.

Wedding Reception_Sharon Holland.jpg

Rather than calling my Everlasting collection a mini collection (because there’s only 10 quilting cotton prints in one color way) I think of this collection as being an intimate gathering. 

Everlasting Low Volume Prints.jpg

Everlasting has all the things needed for stitching beautiful quilts from the large floral hero print, medium scale prints in coordinate colors, and beloved, low volume blenders. Think of this fabric line as a marriage ceremony with only close loved ones in attendance.

There’s three knits and one rayon prints—perfect for summer garment sewing!

Everlasting Fabrics 2.jpg

In just a few short weeks, the Everlasting LookBook will be published for inspiration viewing and quilt shops will have these prints in stock for your next make. Let your local shop know you’d like them to carry Everlasting from Art Gallery Fabrics and as online stores start listing their inventory I’ll be adding links to those shops on my Fabrics page.

Diamond-Cut Quilt_Sharon Holland.jpg

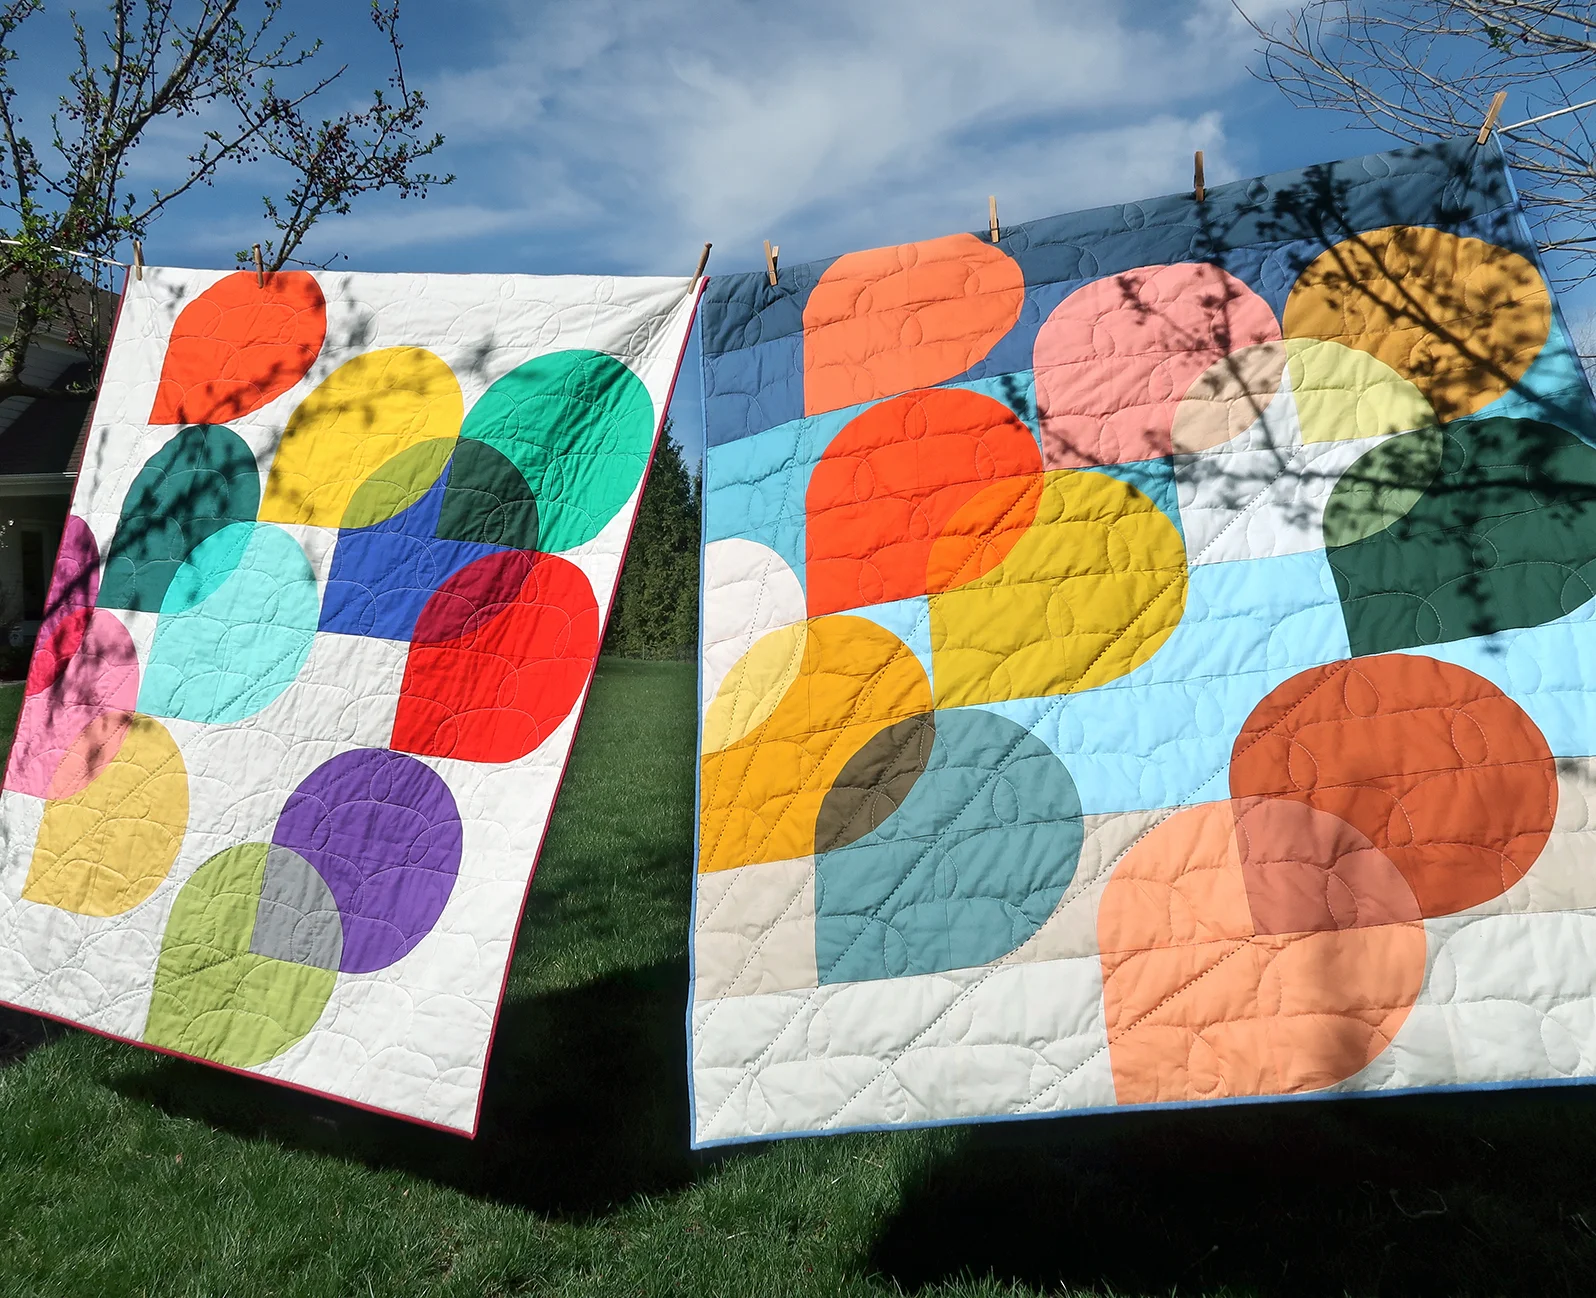
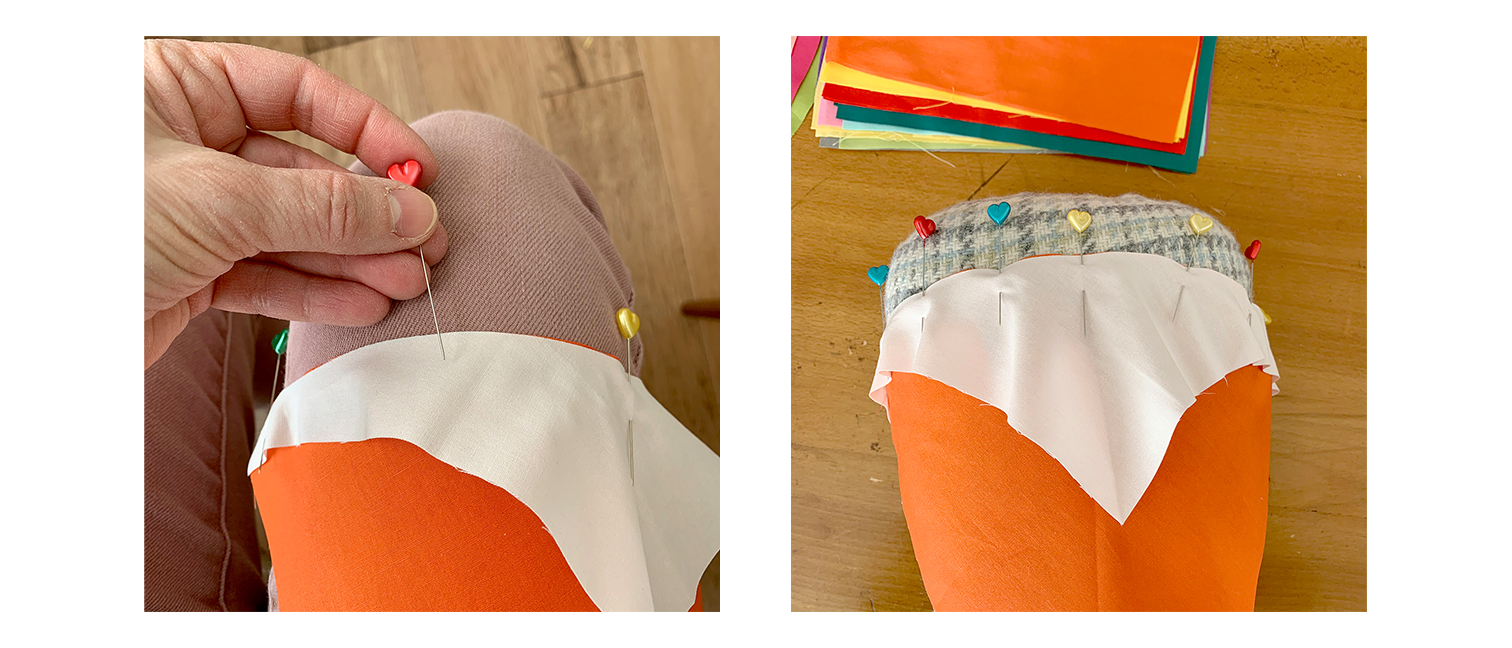
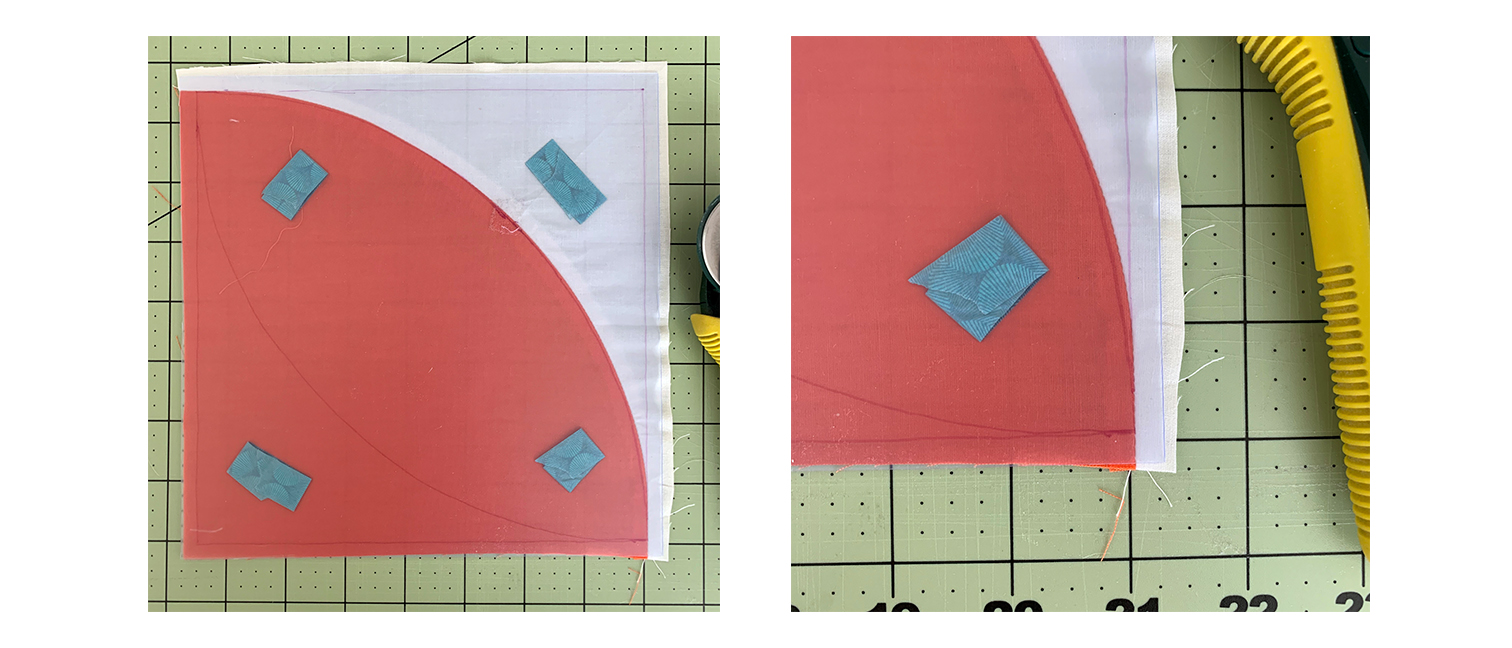
Meanwhile, myself and a bunch of other super talented makers will be busily stitching up beautiful and inspirational projects from Everlasting prints. Here’s a peek at a new quilt pattern I’m working on called, Diamond-Cut. I can’t wait to show you more!

Hold Tight Sew Along Week #4

Hold Tight Sew Along Week #4

Hold Tight Sew Along Week 4.jpg

It’s the fourth and final week of the Hold Tight Sew Along where I’ve been sharing tips and tutorials to bring your quilting skills to a new level. No longer will curved piecing hold you back from stitching a quilt with curves! 

If you don't have the pattern already, you'll want to purchase the Hold Tight PDF pattern from my Shop page or from our friends at Fat Quarter Shop who now carries this pattern along with the Hold Tight quilt kit. If you’ve just discovered this blog or only just heard about this sew along, there’s still plenty of time to join in on the fun as the blog post for the sew along will remain up to access any time. To get up to speed, take a look at the Week #1 posting dedicated to color selection and working with colors like a designer.

Hold Tight Sew Along Banner web.jpg

The Hold Tight Sew Along tutorials are useful to anyone working with fabric and patchwork regardless what quilt is being made. In addition to my written posts, I’ve adding skill-building demonstration videos to further your learning experience. I’ve added a new video dedicated to hand quilting and adding the “strings” embellishment to this quilted quilt before binding. View video support Weeks #1 through #4 on my Sew Along page. All the videos will stay a permanent feature to resource in the future.

These blog posts serve to supplement the instructions but don't provide the detailed pattern information that you'll find in the PDF available for purchase. The Hold Tight pattern will have your material list, cutting requirements, full-size templates, and be fully illustrated. My supplementary blog posts are just that, supplementary and meant to guide you along as you sew and give general patchwork sewing information for anyone sewing curves.

Hold Tight Quilt Top.jpg

Quilting

If you’re a beginner or just in need of a refresher on how to baste your quilt top, machine quilt, and add the binding, check out the Finishing blog post I had written for the Sewcial Bee Sampler quilt. Since I cover the way I put together my quilt sandwich and how I go about machine quilting in the Sewcial Bee Sampler post I won’t go over that identical information here but instead add information specific to the Hold Tight quilt such as batting selection, the machine quilting design I used on both of my Hold Tight quilts, and hand quilting the string embellishment.

Two Hold Tight Quilts.jpg

To help illustrate how different batting lofts look in a finished quilt I decided to use the exact same quilting design on both of my Hold Tight quilts.

The white background quilt on the left has a Hobb’s Tuscany Silk batting inside and the ombré quilt on the right has Hobb’s Tuscany 100% Polyester batting inside. I love both of these battings but they have completely different properties.

Here’s what I love about both of these products:

Both preform beautifully with quilting stitched up to 4” apart.

Both have a beautiful drape, light weight (no heavy quilt to wrestle with when stitching), and easy to handle.

Both are excellent for hand stitching and machine quilting.

There’s no shrinkage with Tuscany Polyester and only 3%-5% with Tuscany Silk (but I’ve noticed very little after laundering).

I’ve had no issues with laundering these battings and set my machine to Delicate Cycle, Cold Water wash and rinse, and low heat (delicate) drying.

The Tuscany Silk is similar to a cotton batting for stitch definition and feel but without the weight. The Tuscany Polyester is a high loft for a puffier look and is light as a feather (great for kids and extra snuggly quilts).

You can read further direct from the source at Hobb’s Batting plus take a look at their handing Quilting Products Batting chart to know what’s the best batting for your needs.

2 Hold Tight Quilts Close.jpg

I decided to do a very simple quilting stitch on these two quilts. The original Hold Tight quilt is filled with Tuscany 100% Polyester batting but has a dense, overall quilt design (see quilt below) so the quilt doesn’t puff as much as with the simple, looser machine quilting (see quilt on the right, above). It just depends on the look and feel you want to achieve.

Hold Tight draped.jpg

To stitch the loose Looping Scallop design you will need to do a little prep work of marking a horizontal line across the middle of the block rows.

Hold Tight Quilting-02.jpg

By dividing the block rows in half horizontally you’re making guides for two Looping Scallop quilting lines per block row. Stagger the two Looping Scallops in alternating rows as seen in the illustration above. I freeform stitched my Looping Scallops and they look in real life about as wonky as they do on my illustrated drawing.

For one horizontal row of Looping Scallops I used the block seam lines as my guide where I would make the loop. On the next row, that seam line was my midway point between loops that I eye-balled to land in the middle of the block.

I worked from the bottom of the quilt up, as I wanted the scallops to give a bit of a cloud illusion and this felt the most natural for me in creating the loops. You can work from the top down if that feels more comfortable to you. If you’re not sure about eye-balling where the loops and scallops are to be stitched, then draw out the machine quilting design or make a little mark at the midpoints for reference so you have more of a guide to follow.

Hold Tight Quilt Quilting.jpg

Once your quilt has been quilted and before you add the binding, you’ll want to add the hand stitching to create strings on the ends of the balloons. I’ve put together a helpful video all about Hand Quilting and you can find it on the Sew Along page with the other Hold Tight Sew Along videos.

I used all 6 strands of 6-ply Aurifil floss for my hand quilting thread.

Hold Tight Art Class Quilt on line.jpg

All of my Hold Tight quilt use Art Gallery Fabrics Pure Solids for the top. The white background quilt I’m calling the Art Class color way and you can see the full list of fabrics used on week #1 of the Sew Along. For the backing I had to sneak in a print and used Sporangia Plaid print from my Art Gallery Fabrics Signature collection as the perfect compliment to the colorful front.

Hold Tight on Ladder 2.jpg

For the Ombré Desert color way I mixed it up a bit and made a gradient background to simulate the sky. Read about the colors that went into making this top along with the color inspiration for the quilt on week #2 of the Sew Along.

Hold Tight Ombré Desert on line.jpg

The backing for the Ombré Desert color way is Destination Aerial from my Tapestry collection for AGF. It was the perfect shades of blues and peaches!

Hold Tight on Ladder 4.jpg

I lucked out with the perfect (although a bit windy) day for photography and love how the blue of the sky looks with these quilts. The balloons look as if they will fly away!!!

2 Hold Tight Quilts.jpg

I can’t wait to see your finished Hold Tight quilts, there’s so many possibilities for coloring and even the finishing options make this quilt look completely unique. Be sure to tag me @sharonhollanddesigns when posting to social media and don’t forget to use the hashtag #holdtightsewalong to be entered into our final giveaway that will be drawn from the Instagram hashtag pool on Monday, April 15 (see below for more details).

HoldTightSewAlong Sponsor.jpg

Let’s give a huge shout out of thanks to our fine sponsors and their generous giveaway prizes. I personally love the people behind these companies, their quality products, and their dedication to serving makers like you.

Thank you to our friends at Dritz Sewing, the Fat Quarter Shop, Hobbs Batting, and Omnigrid have generously sponsored the Hold Tight Sew Along.

This Friday, April 12th will be our last Hold Tight Sew Along giveaway on Instagram. By using the hashtag #HoldTightSewAlong on Instagram every time you post sew along photos to a public account (private account posts don’t show up in hashtag pools) your IG account is automatically entered into the weekly sew along drawings! Ideas for what to share include your sew along progress, the “I’m a maker” sew along badge found HERE, your fabric pull, blocks, and finished quilt.

Be sure to follow me on Instagram @sharonhollanddesigns so you never miss a thing!

THIS WEEK'S GIVEAWAY SPONSOR IS FROM The Fat Quarter Shop

FQS Giveaway.jpg

You may need to be restocking your solids stash after this sew along so what better way add some color to your fabric cabinet than with a chance to win this giveaway! One lucky IG winner will be sewing with this beautiful 15-piece Art Gallery Fabrics Summer Sun Pure Elements fat quarter bundle generously offered by the Fat Quarter Shop.

AGF Summer Sun.png

Don't forget the giveaways for this sew along are held on Instagram (not on the blog) and winning names are randomly drawn from the posts in the hashtag pool. By posting images of your Hold Tight color inspiration, fabric pull, blocks, or quilt. Use the official #holdtightsewalong hashtag every time you post your makes (to a public account) and you're automatically entered into the weekly IG drawings! See my Instagram Friday giveaway posts @sharonhollanddesigns for full details. 

Hold Tight Sew Along Week #3

Hold Tight Sew Along Week #3

Hold Tight Sew Along 3A Sq cover.jpg

Welcome to Week #3 of the Hold Tight Sew Along where I'll be sharing tips and tutorials to bring your quilting skills to a new level. No longer will curved piecing hold you back from stitching a quilt with curves! 

If you don't have the pattern already, you'll want to purchase the Hold Tight PDF pattern from my Shop page or from our friends at Fat Quarter Shop who now carries this pattern along with the Hold Tight quilt kit. If you’ve just discovered this blog or only just heard about this sew along, there’s still plenty of time to join in on the fun and take part in the sponsored giveaway prizes for each week of the event. To get up to speed, take a look at the Week #1 posting dedicated to color selection and working with colors like a designer.

Hold Tight Sew Along Banner web.jpg

The Hold Tight Sew Along tutorials are useful to anyone working with fabric and patchwork regardless what quilt is being made. In addition to my written posts, I’ve adding skill-building demonstration videos to further your learning experience. The videos support Weeks #1 through #3 and you’ll find these helpful videos on my Sew Along page. All the videos will be available on Week #1 of the sew along for those wanting to work ahead and will stay a permanent feature to resource in the future.

These blog posts serve to supplement the instructions but don't provide the detailed pattern information that you'll find in the PDF available for purchase. The Hold Tight pattern will have your material list, cutting requirements, full-size templates, and be fully illustrated. My supplementary blog posts are just that, supplementary and meant to guide you along as you sew and give general patchwork sewing information for anyone sewing curves.

Hold Tight Piecing.jpg

Even though I’ve labeled this pattern an intermediate skill level quilt pattern, I firmly believe that even a confident beginner can tackle curved patchwork with ease because you’ve completed the following:

  1. You’ve printed out the PDF instructions and templates to 100% scale (not borderless) onto US letter size paper and because you’ve cut your fabrics true to size (see Hold Tight Sew Along Week #2 post).

  2. You’re sewing with an accurate seam allowance. As with any patchwork sewing its imperative to stitch with an accurate 1/4” seam allowance. Take a moment to read the Seam Allowance section on my Perfect Patchwork tutorial.

I’ve prepared bonus videos for this week’s tutorial and you’ll find the Hold Tight Sew Along Week #3 parts 1 and 2 are extremely helpful for pinning, sewing, press, and squaring up your blocks. Find all the Hold Tight Sew Along videos on my Sew Along page.

Sewing Curves

Sewing Curves 1.jpg

First image: To begin, find the center of an A and B shape and finger press a crease. With the largest A shape on the bottom (right side up), pin midpoints with the smaller B shape, right side down, on top.

Second image: Align a short, squared end of the B shape to the corner (straight) edge of the A shape and pin. Repeat on the other side.

Sewing Curves 2.jpg

Place the pinned pieces over your knee or a pressing form to help the curved pieces align. Place additional pins at equal distances so the curved edges match.

Sewing Curves 3.jpg

Using an accurate 1/4” seam allowance, stitch with a short (2.4-2.6) stitch length. Slowly sew the seam along the curve with the sewing machine needle in the down position. By having the needle lowered into the fabric when the machine is stopped this allows the presser foot to be raised and holds the fabric in place without loosing the needle position.

Remove pins as you sew. Avoid pulling or pushing the pieces to be sewn so as not to stretch the bias curved edges. Continue to check that the raw edges are matched and lift presser foot to reduce any bulk in fabric before lowering and continuing to stitch.

Sewing Curves 4.jpg

Once two pieces have been sewn together, finger press the seam open. Press block in an up and down motion (not side to side) to avoid distorting the block.

Note: For this quilt I recommend pressing the seams open because it will be easier to assemble the quilt top and avoid bulky seams.

If you’re piecing a B/B/C block where three shapes are sewn to make a block, press the first seam open before proceeding to stitching the second seam. Once a block(s) are pieced, proceed to Squaring the Blocks.

Squaring the Blocks

Hold Tight Template Cutting 2.jpg

Use the Block Trimming Template found in the PDF and make a plastic template. Transfer all markings onto the plastic. See Week #2 blog post. I’ve added in some extra wiggle room into the Hold Tight blocks and they’ll need to be trimmed exactly to size for quilt assembly. Tip: Use rolled Washi tape to hold the plastic template in place while cutting. This also allows the template to easily be rotated when trimming a different side.

First image: For an A/B, align the square edge of the Block Trimming Template to the right angles of the A shape (lower left) as this piece will have the least amount of distortion from sewing.

Use the curve marking of the Block Trimming Template to match template with the curved seam on the block.

Second image: Before trimming the block to size, take a moment and make sure the seam allowance area of the Block Trimming Template is covering fabric on all sides and that the curve(s) of the template and block match and seam allowances are true. Trim sides as necessary to square the block.

Hold Tight Template Trimming 3.jpg

When trimming a B/B/C block, use both curve markings on the Block Trimming Template (see second image where the curved markings have been highlighted in black). Align template to block curves and double check that seam allowance is correct on all sides before trimming.

HoldTightSewAlong Sponsor.jpg

A sew along’s a lot more fun with sponsors and giveaways, right!? Our friends at Dritz Sewing, the Fat Quarter Shop, Hobbs Batting, and Omnigrid have generously provided the Hold Tight Sew Along with products I know you’ll love! 

Every Friday I’ll be posting weekly a giveaway on Instagram. By using the hashtag #HoldTightSewAlong on Instagram every time you post sew along photos to a public account (private account posts don’t show up in hashtag pools) your IG account is automatically entered into the weekly sew along drawings! Ideas for what to share include your sew along progress, the “I’m a maker” sew along badge found HERE, your fabric pull, blocks, and finished quilt. Be sure to follow me on Instagram @sharonhollanddesigns so you never miss a thing!

THIS WEEK'S GIVEAWAY SPONSOR IS FROM Hobbs Batting

Hobbs Giveaway.jpg


I’m so excited for this week’s giveaway. Our friends at Hobbs Batting are offering batting prizes for two winners. We’re holding a giveaway here on the blog (see entry details below) and another winner drawn from the #holdtightsewalong Instagram hashtag pool.

logo-tuscany.jpg

The lucky winners will be able to select three, throw-size batts of their choice from the following fine quality Hobb’s Tuscany brand battings. I personally love the Hobb’s Tuscany batting collection and found it to be the best batting for handling, drape, stitch definition, and quality.

Tuscany Poly

Tuscany Unbleached Cotton

Tuscany Bleached Cotton

Tuscany SUPREME Cotton

Tuscany Cotton/Wool

Tuscany Wool

Tuscany Silk


Giveaway now Closed. Congratulations to Margaret Swan!

Note: This giveaway is open to EVERYONE! If you're a "no reply" or anonymous commenter, please remember to include your email address in your comment--you can't win if I can't get a hold of you!

1. Simply leave a comment here under this post! (First comment entry).

2. Follow Hobbs batting on one of their social media platforms *  Blog  *  Instagram  *  Facebook  *  Just let me know that you did by making a separate comment here to record that entry. (Separate comment - second entry). 

3. My followers get a third entry! If you follow via subscribing to my posts, through Bloglovin (or other service), or on Instagram, just let me know by making a separate comment here to record that entry. (Separate comment - third entry). 

4. Help spread the word!! I know that many of you already do, so I thought it would be nice to add that as another way to enter! Spread the word about the Hold Tight Sew Along on YOUR instagram, facebook, tweet, pin, blog post, etc... (separate comment - fourth entry). 

That’s FOUR possible entries! Enter now through Monday, April 8th! The winner will be picked at random around 4 pm Eastern. I will post the name of the winner on this post once they've been notified and responded to my email.

Don't forget the giveaway for this week is also held on Instagram for an additional chance to win and will be randomly drawn on Monday. The winner is randomly drawn from the posts in the hashtag pool. By posting images of your Hold Tight color inspiration, fabric pull, blocks, or quilt. Use the official #holdtightsewalong hashtag every time you post your makes (to a public account) and you're automatically entered into the weekly IG drawings! See my Instagram Friday giveaway posts @sharonhollanddesigns for full details and don’t forget to tag me too! 

Hold Tight Sew Along Week #2

Hold Tight Sew Along Week #2

Hold Tight Sew Along 2 Sq cover.jpg

Welcome to Week #2 of the Hold Tight Sew Along! For this blog post, and the following two posts, I'll be share tips and tutorials to bring your quilting skills to a new level. No longer will curved piecing hold you back from stitching a quilt with curves! 

If you don't have the pattern already, you'll want to purchase the Hold Tight PDF pattern from my Shop page or from our friends at Fat Quarter Shop who now carries this pattern as well as Hold Tight quilt kits. These blog posts serve to supplement the instructions but don't provide the detailed pattern information that you'll find in the PDF available for purchase. The Hold Tight pattern will have your material list, cutting requirements, full-size templates, and be fully illustrated. My supplementary blog posts are just that, supplementary and meant to guide you along as you sew and give general patchwork sewing information for anyone sewing curves.

Hold Tight Sew Along Banner web.jpg

From March 20 until April 10, 2019 I'll be breaking down the key components of the Hold Tight baby quilt pattern into four manageable tutorial blog posts. These tutorials will be useful to anyone working with fabric and patchwork regardless what quilt is being made. In addition to my written posts, I’ve adding skill-building demonstration videos to further your learning experience. The videos support Weeks #1 through #3 and you’ll find these helpful videos on my Sew Along page. All the videos will be available on Week #1 of the sew along for those wanting to work ahead and will stay a permanent feature to resource in the future.

If you’ve just discovered this blog or only just heard about this sew along, there’s still plenty of time to join in on the fun and take part in the sponsored giveaway prizes for each week of the event. To get up to speed, take a look at the Week #1 posting dedicated to color selection and working with colors like a designer.

Hold Tight Ombré Desert closeup.jpg

I’ve just finished a top for my third Hold Tight quilt! To give myself a color palette challenge I decided to find a color palette inspiration from Pinterest and let that determine the look of this quilt.

Colour Crush from Love Print Studio Blog

Colour Crush from Love Print Studio Blog

I fell in love with this terra cotta, coral, clay, forest green, and golden palette and knew that Art Gallery Fabrics carried so many Pure Solids in these ranges that coming up with a palette based on this Love Print Studio mood board would be a snap!

Hold Tight - Ombré Desert Color Way.jpg

The morning of my fabric pull I was walking the dog and marveling at the blue sky when it dawned on me that an ombré background would be an awesome addition to this already earthy, southwestern-looking color palette—was I right???!!! My top is all pieced and am waiting for some Hobbs Poly-Down batting to arrive so I can quilt it. I’ve decide to use my Art Gallery Fabrics Destination Aerial print from my Tapestry collection as the backing and it could be any more perfect!

Hold Tight - Ombré Desert Color Way List.jpg

As promised, I want to share the fabric selection information with you. Now, be warned that doing an ombré background you’ll need to double the amount of background fabric for this quilt because of the size and odd shapes of the pieces create a lot of waste and left over fabrics. I used six gradient fabrics for horizontal rows of color with the two middle blues being used in two horizontal rows. Altogether you’ll need 25 colors (or 27 if each background row is a different gradient) to make a Hold Tight quilt with an ombré background. The rest of the yardage is unchanged.

Cutting Templates and Fabrics

The Hold Tight PDF pattern comes with the full-size templates which already include the seam allowances. Be sure when printing out your PDF pattern that you set you printer to 100%, no scale. Select a US letter paper size and deselect any borderless option (no borderless). Each template page has a 1” square reference square to check for printing scale accuracy. It’s extremely important you print the templates to true size.

Hold Tight Templates 1.jpg

With a permanent marking tool, trace the shapes onto heavy template plastic. I highly recommend Dritz Heavy Duty Template Plastic. Transfer shape letter information, grain line arrow. When tracing the Block Trimming Template, include the seam allowance and curves onto your template. Cut templates out with household scissors. Learn more about creating templates from the Hold Tight Sew Along Week #2 video found on my Sew Along page.

Hold Tight Templates 2.jpg

Refer to the PDF pattern for strip cutting information and number of pieces to cut. Let template straight edges and grain line marks help you to align the templates onto the fabrics for cutting. A 28 mm rotary cutter is highly suggested for cutting around curves. Use the extra guides of rotary cutter rulers when working on straight edges.

Tip: To help hold the template in place while cutting, roll Washi tape onto itself to make double-sided tape. Adhere the rolled tape onto the back of a template shape in 2-4 places. Fabric can be rotated for cutting ease without disturbing the template position and the taped template can be reused several times before the tape looses it stickiness.

Hold Tight Template Cutting 1.jpg

When cutting the B shape pieces, utilize the straight edge of the strip to cut the first shape then rotate the template to make the second cut which leaves an oval shaped scrap. For more demonstrations on cutting see Week #2 video.

Unfortunately, curved patchwork comes with waste pieces. If you plan to do additional curved sewing like trying your had at my free Orange Peel Table Runner these waste pieces can be cut down into smaller sizes and used. Start a bin of castoff curves for that next project.

Hold Tight Template Cutting 2.jpg

Stitching, pressing, and squaring up of a finished block will be covered next week and also in Week #3 Sew Along video Part 1 and 2 but I put this image here to show the importance that the template markings play in creating the Block Trimming Template.

HoldTightSewAlong Sponsor.jpg

A sew along’s a lot more fun with sponsors and giveaways, right!? Our friends at Dritz Sewing, the Fat Quarter Shop, Hobbs Batting, and Omnigrid have generously provided the Hold Tight Sew Along with products I know you’ll love! Every Friday I’ll be posting weekly a giveaway on Instagram. By using the hashtag #HoldTightSewAlong on Instagram every time you post sew along photos to a public account (private account posts don’t show up in hashtag pools) your IG account is automatically entered into the weekly sew along drawings! Ideas for what to share include your sew along progress, the “I’m a maker” sew along badge found HERE, your fabric pull, blocks, and finished quilt. Be sure to follow me on Instagram @sharonhollanddesigns so you never miss a thing!

THIS WEEK'S GIVEAWAY SPONSOR IS from DRITZ Sewing and Omnigrid

HTSA Dritz_Omnigrid Giveaway.jpg
Dritz Shower Rings Repurposed.jpg

If you’re wondering why I selected Dritz Shower Curtain Rings to be part of this giveaway package it’s because I love using everyday object in new ways and find this size shower ring to be so handy for keeping template pieces together, organizing swatch cards, note cards, bobbins, keys, etc. Anytime you can organize your work area is a good day, right?

Please note that this giveaway package is for US residence only (sorry, international friends, due to overseas shipping costs I’m asked by our sponsor to keep this giveaway US only.)

Don't forget the giveaways for this sew along are held on Instagram (not on the blog) and winning names are randomly drawn from the posts in the hashtag pool. By posting images of your Hold Tight color inspiration, fabric pull, blocks, or quilt. Use the official #holdtightsewalong hashtag every time you post your makes (to a public account) and you're automatically entered into the weekly IG drawings! See my Instagram Friday giveaway posts @sharonhollanddesigns for full details.