That Handmade Touch Book Hop

That Handmade Touch Book Hop

That Handmade Touch by Svetlana Sotak

That Handmade Touch by Svetlana Sotak

I’ve been following the work of Svetlana Sotak for years now and am in love with her clean, practical, handmade aesthetic. When I heard she had a new book out I was excited to get my hands on a copy and be part of her book blog hop! Follow along on the hop via her Instagram feed at: @sotakhandmade

Soft Storage Bucket from That Handmade Touch by Svetlana Sotak

Soft Storage Bucket from That Handmade Touch by Svetlana Sotak

The book is called That Handmade Touch and is a Lucky Spool publication. It was so hard to pick just one project to make because honestly, I want to sew everything in this book but I needed to leave projects for the other blog hop makers to sew so I decided to sew the Soft Storage Bucket because:

  1. It’s so darn cool

  2. I can always use more pretty storage baskets

  3. I’ve always wanted to work with leather handles and try adding rivets

That Handmade Touch by Svetlana Sotak

That Handmade Touch by Svetlana Sotak

Never having added rivets to a project before was the only part of this project that made me nervous. Sewing up the bag was a snap and the instructions and illustrations were easy to follow. I think it took all of a half hour to make the bag and another 4 days to get the nerve to add the rivets!

Soft Storage Bucket 1.jpg

Turns out, it was really no big deal to use the pre-cut leather and rivets—look for the affiliate product links at end of post. For the fabrics, I used the Sand Bar canvas from my Art Gallery Fabrics Coastline collection on the exterior of the bag and AGF Crosshatched Textured Denim for the lining.

Soft Storage Bucket 4.jpg

This bag is just the perfect size and there’s so many uses for a bucket bag like this; toys, throw blankets, craft supplies, shopping, and the list goes on. I also like the fun option of rolling the top edge down to reveal the interior print or having it up for a taller bucket bag or easy-carry tote.

Soft Storage Bag 4.jpg

Don’t you just love the antique gold rivets with the leather!!!??? The leather adds the perfect accent for the coastal-look of this bag. I plan to make more of these to use as gifts for the upcoming holiday season—their roomy enough to fill with fun items and useful beyond just being the wrapping.

Yo-Yo Pillow

Yo-Yo Pillow

Signature Yo-yos Pillow.jpg

The final installment in my pillow series is this fun Yo-Yo Pillow. Yo-yos and pillows made from yo-yos are nothing new but it's something I've not seen done for awhile and there may be lots of new sewers out there that don't know how to make them.

Making Yo-yos.jpg

Yo-yos are hand stitched from circles of fabric. I used a 6'' diameter circle to make mine but you can use whatever size you'd like. The smaller the starting circle, the smaller your finished yo-yo will be. They shrink considerably once stitched up and my finished yo-yos measured around 2-1/2'' across.

Yo-Yo Pillow

Materials needed to make an 18'' square finished pillow

  • For front foundation and backing: Two 18-1/2'' squares for 1/4'' seams Lapped Zipper Back or two 19'' squares for 1/2'' seams Hidden Zipper back
  • For yo-yos: Sixty-four 6'' diameter fabric circles
  • One 14'' invisible zipper
  • Aleene's No-Sew Fabric Glue
  • One package 1/4'' -wide Dritz Wash Away Wonder Tape
  • Zipper foot attachment
  • Needle and thread
  • Embroidery thread and needle
  • Marking tool and ruler
yo-yos pink-01.jpg

Knot the end of a length of thread. Hiding starting knot on the wrong side of the fabric, turn circle edge 1/4'' under to wrong side while hand basting a running stitch 1/8'' from edge. Leave thread in needle and do not knot end when basting stitch reaches the starting knot. 

Pull loose thread end to gather, forming a yo-yo. The gathered edge will be pulled to the center. 

yo-yos pink-02.jpg

Flatten the yo-yo, centering the gathered closure. Secure thread with a double knot and hide thread inside the yo-yo. Make a total of 64.

signature yoyos.jpg

There's a few ways you can connect your yo-yos for a pillow top. One way would be to stitch the yo-yos together with tiny stitches along the edges at four points like a compass then attach the connected circles to the pillow top. 

Another way would be to blanket stitch the yo-yos to the pillow foundation (leaving the appropriate 1/4''-1/2'' seam allowance around the edges of the foundation for pillow assembly.

I chose a middle road and "X" stitched my yo-yos directly to the foundation at four points. 

Signature pillow assembly.jpg

Since I only had an 18-1/2'' square piece of Art Gallery Fabrics Apricot Sunrise Smooth Denim I needed to take care not to stitch my yo-yos in the 1/4'' seam allowance area. I used the 1/4'' mark on my Omnigrid ruler as a guide. 

Since my yo-yos aren't perfectly sized and I wasn't sure if the amount made would fit my pillow foundation I wanted to have all the yo-yos in place before I started sewing. To keep my yo-yos in place without pinning, I put a dab of Aleene's No-Sew Fabric Glue on the back of each yo-yo and worked from the outside edges of the foundation in toward the center.
Signature pillow assembly 1.jpg

Once all in place and working on a flat surface, I hand stitched the yo-yos to the foundation with 3-ply strands of Aurifloss embroidery thread. Tip: Leave the side of the yo-yo nearest the foundation raw edge unstitched until after pillow is assembled. By leaving these sides free, the edge yo-yos can be folded in toward the center of the pillow durning assembly and stay free of the seam allowance area.

yo-yo Signature fabrics.jpg

Stitch at four points and secure on back with double knots. 

hand stitching.jpg

Assemble the pillow using either my Lapped Zipper Back or Hidden Zipper tutorials.

I finished my pillow with a lapped zipper back in Signature fabrics Extempore Gala canvas.

Lapped Back Zipper.jpg


After the pillow has been assembled, go back and finish hand stitching the edge yo-yos to the pillow. Insert an 18'' square pillow form.

Signature Yo-yo Pillow 3.jpg

Hand stitching yo-yos is a great take along pastime and perfect for lazy summer days of relaxing, mindless sewing on the go or just sitting at home. 

Signature Yo-yo Pillow 2.jpg

I hope you enjoyed these pillow projects. I've still more projects to post here before the Signature Look Book is published so come back and visit real soon for more summer sewing ideas. 

Signature Bucket Bag

Signature Bucket Bag

BG0A6186.jpg

This month my sixth fabric collection, Signature for Art Gallery Fabrics hits the shops. I couldn't be more excited to share this collection with you in the form of new, free projects!

As the industry gathers in Portland, Oregon this weekend for the Spring Quilt Market, I'm staying home and opted out of displaying my new collection at the show. My decision not to go stemmed from several reasons. One, my second grandchild arrived in April and I took a break from work to go lend a hand. That put me way behind in my normal market prep sewing but I wouldn't have missed being present for the birth for the world! 

Two, I decided, in advance that if I stayed home I would finally remodel my sewing/guest room in my house and turn it into a proper studio space so I could stage different photography scenes for my projects. I was actually able to remodel my room and buy some new props for less than it would have cost me to go to the show and now I can bring you more and better displays here from home. 

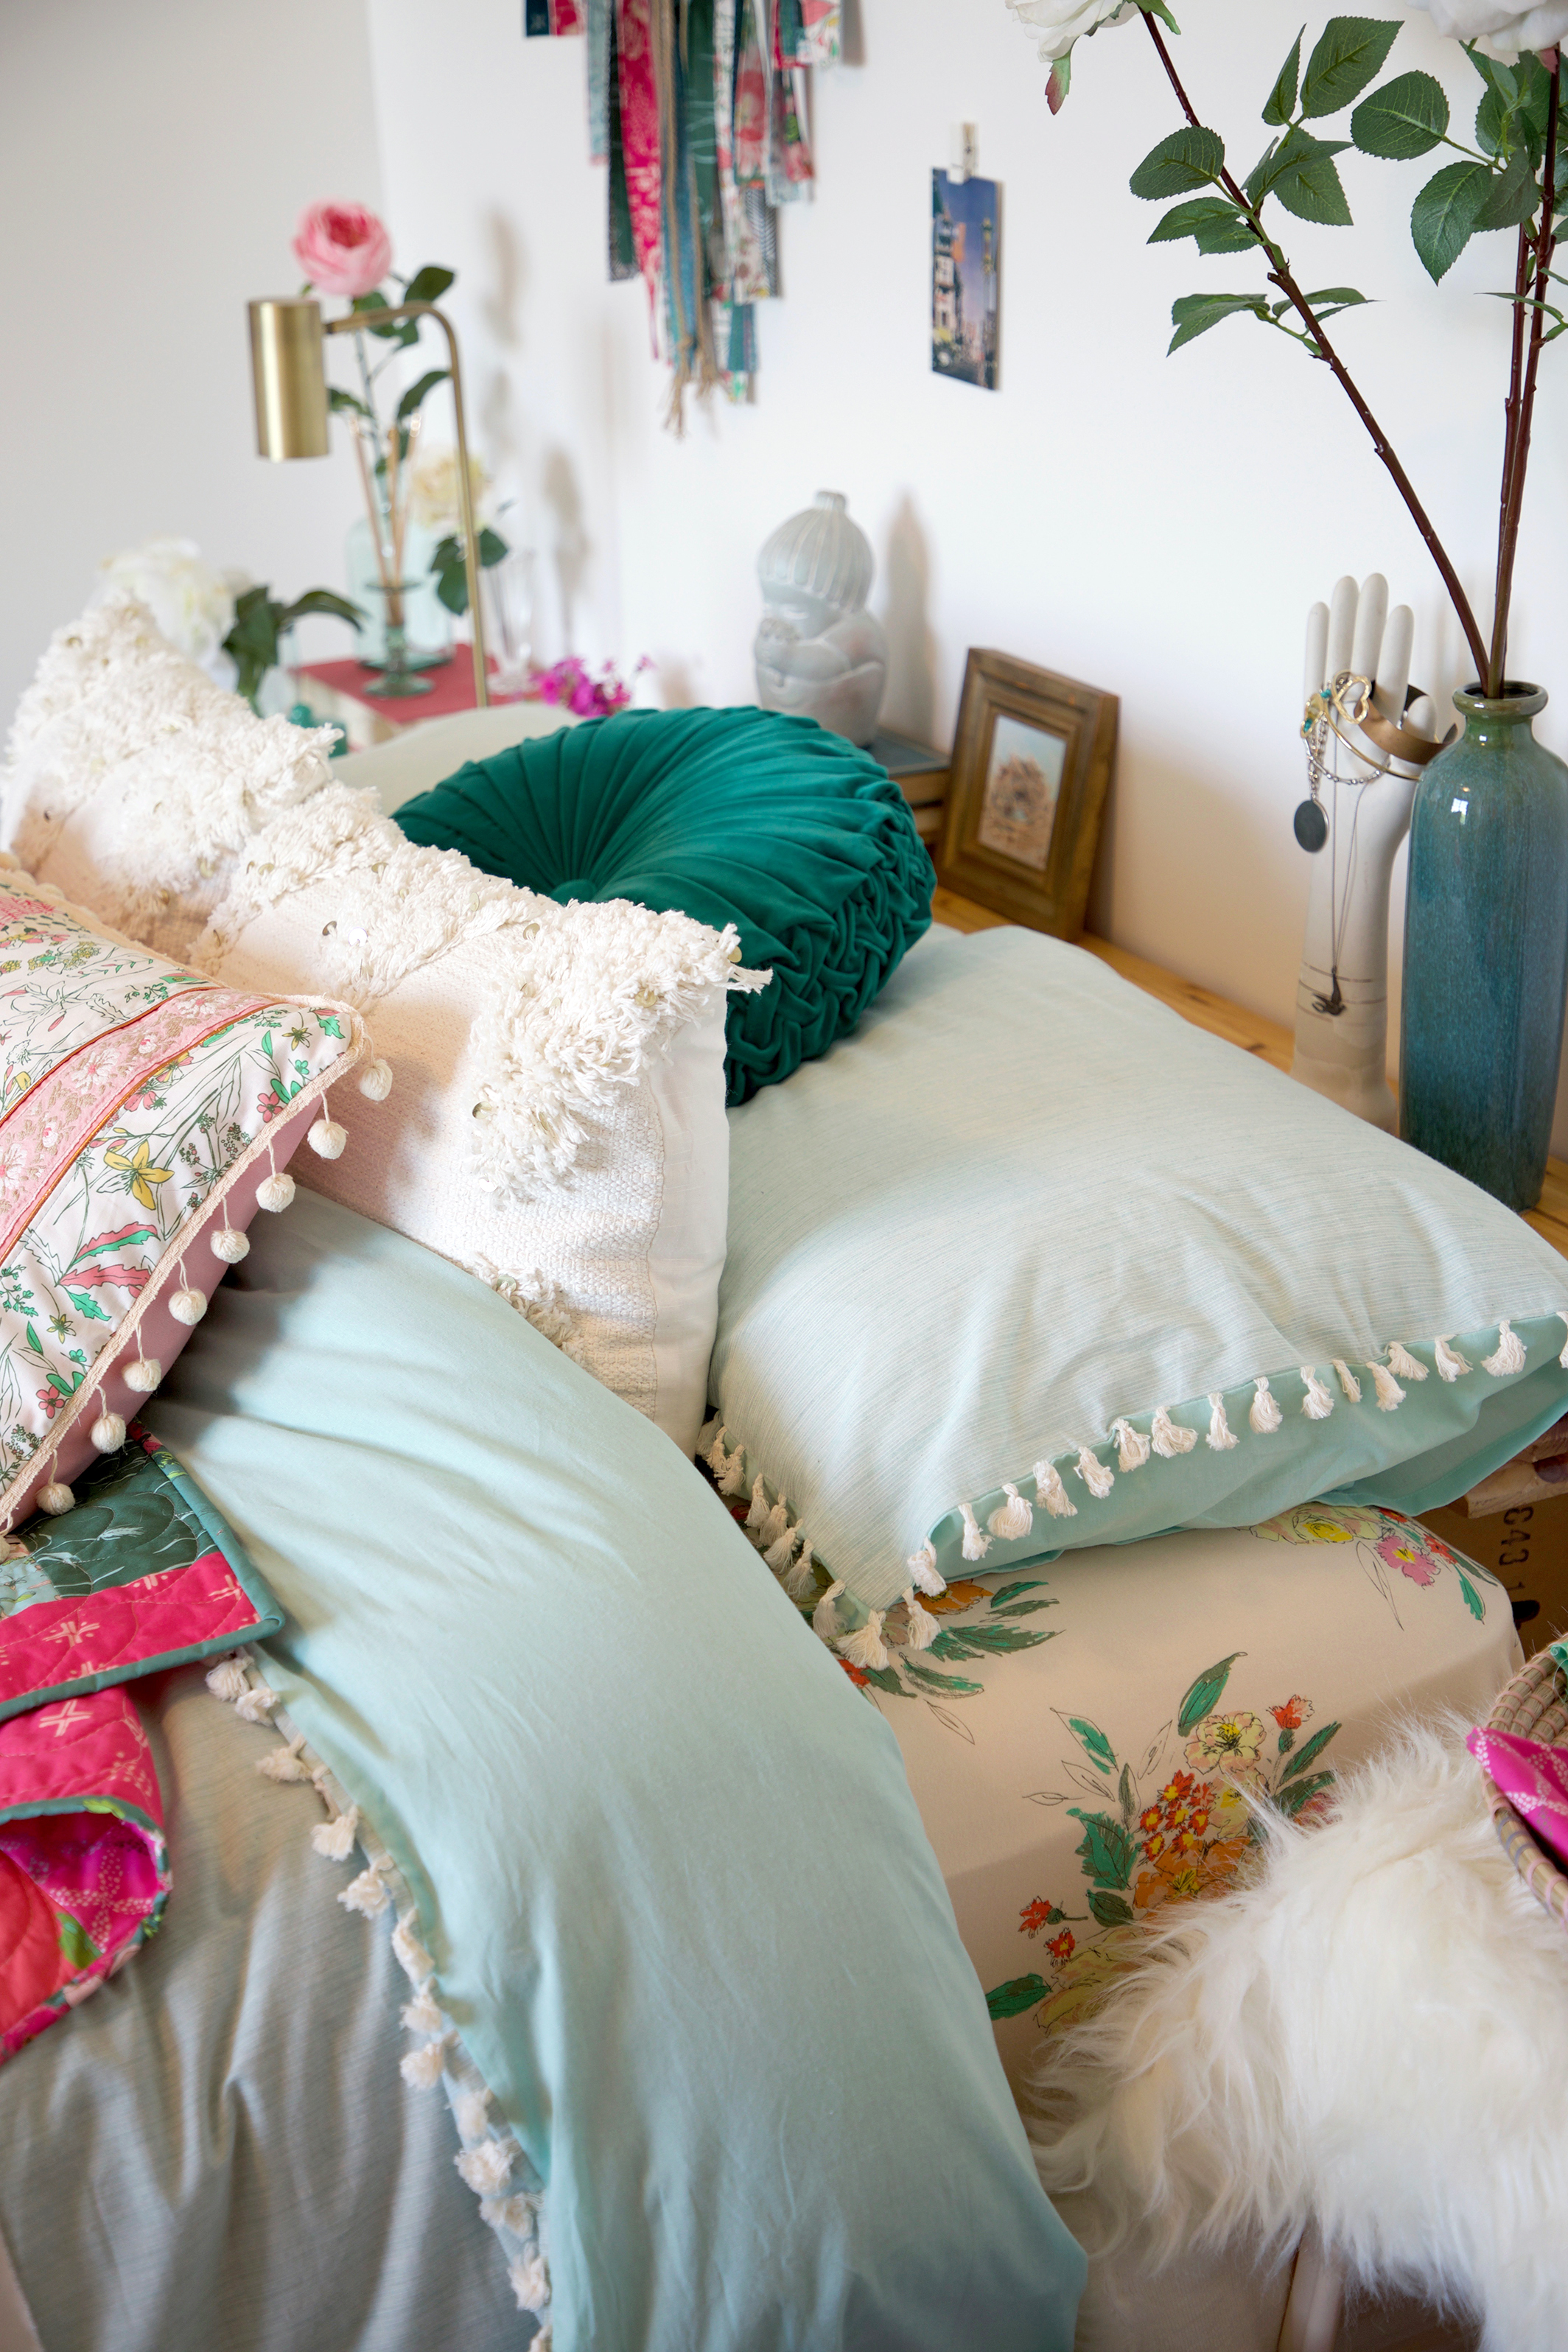
Signature fabrics look A reduced.jpg

This is just a tiny peek into the first of several Signature Looks. Over the next few weeks I will be posting new, free projects and a closer look into each set up. As always, be sure to watch my feed and Stories on Instagram for even more, day-to-day posts.

BG0A6379.jpg

You first saw my Kantha-Style Bucket Bag when I took part in Jessica Swifts Tallinn blog tour last month. I just didn't have the time then to write up the pattern for it then, and thank you for being patient till I could get it prepared. 

Bucket Bag by Sharon Holland.jpg

There were so many asking for this pattern after I posted about it I decided to remake it in my new Signature fabrics, get the pattern written, and include it in the Signature LookBook coming out next month. 

You'll find the free PDF download for my Bucket Bag on the Free Patterns page of this blog. 

BG0A5927.jpg

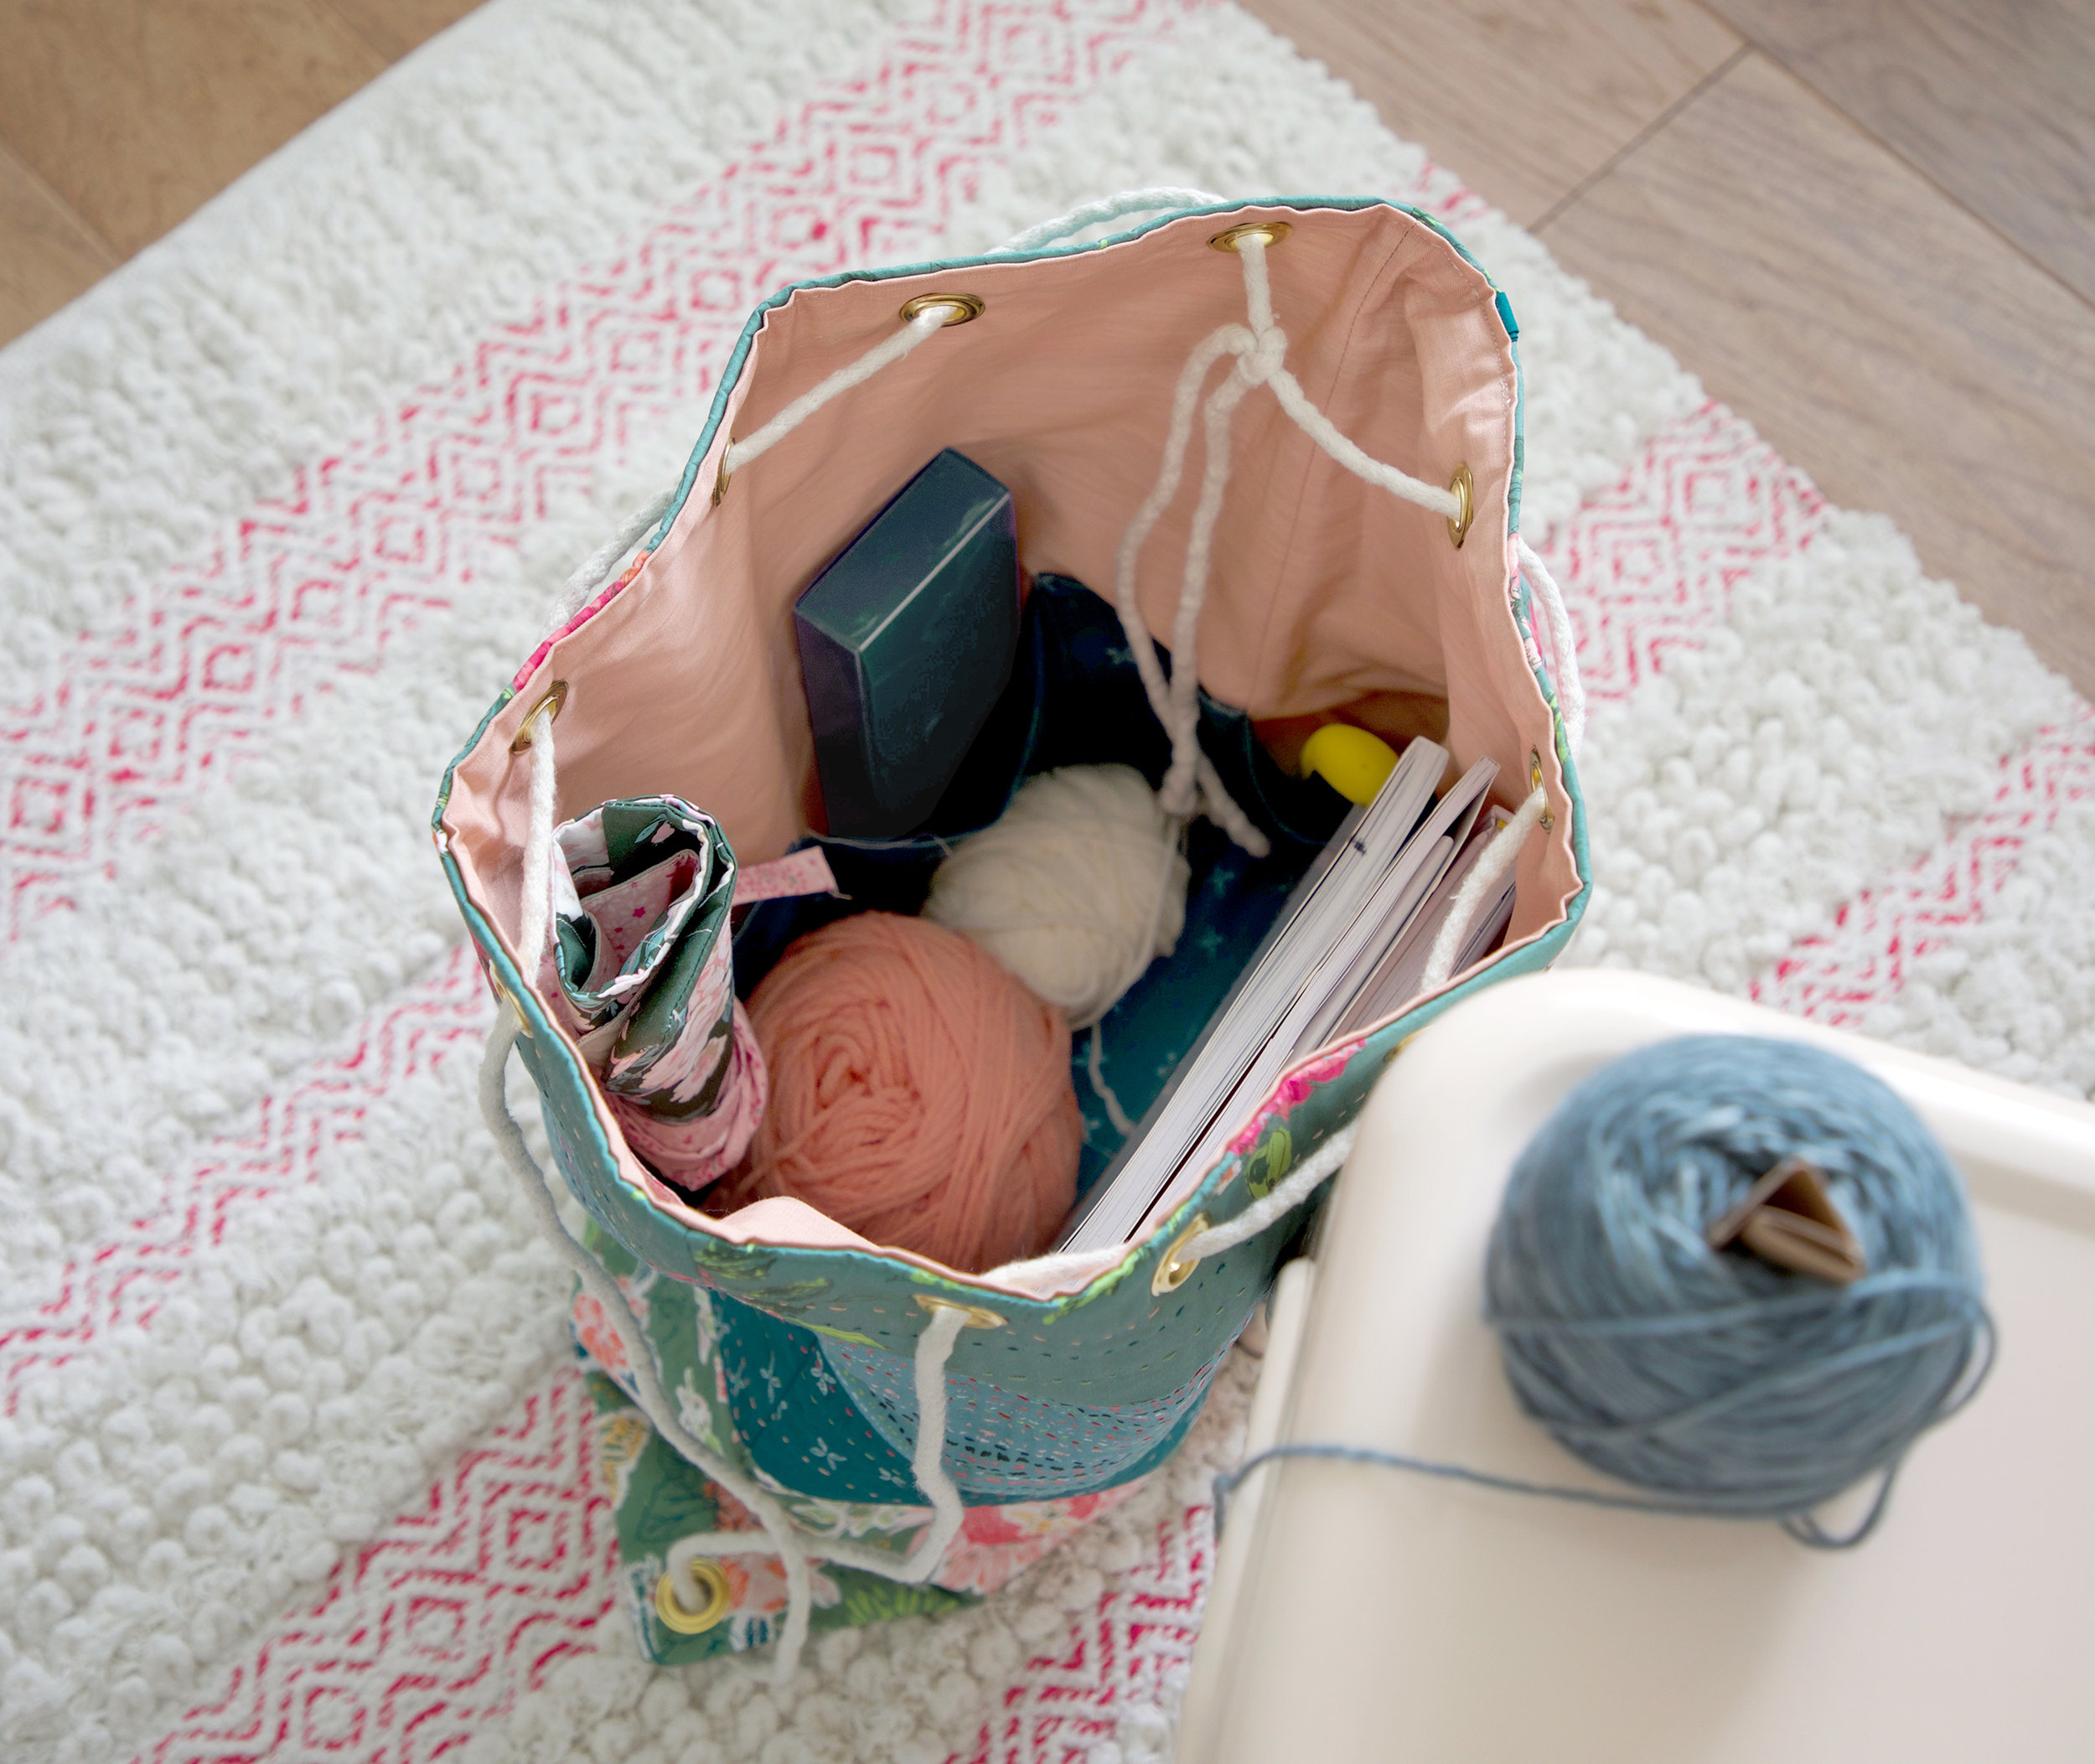
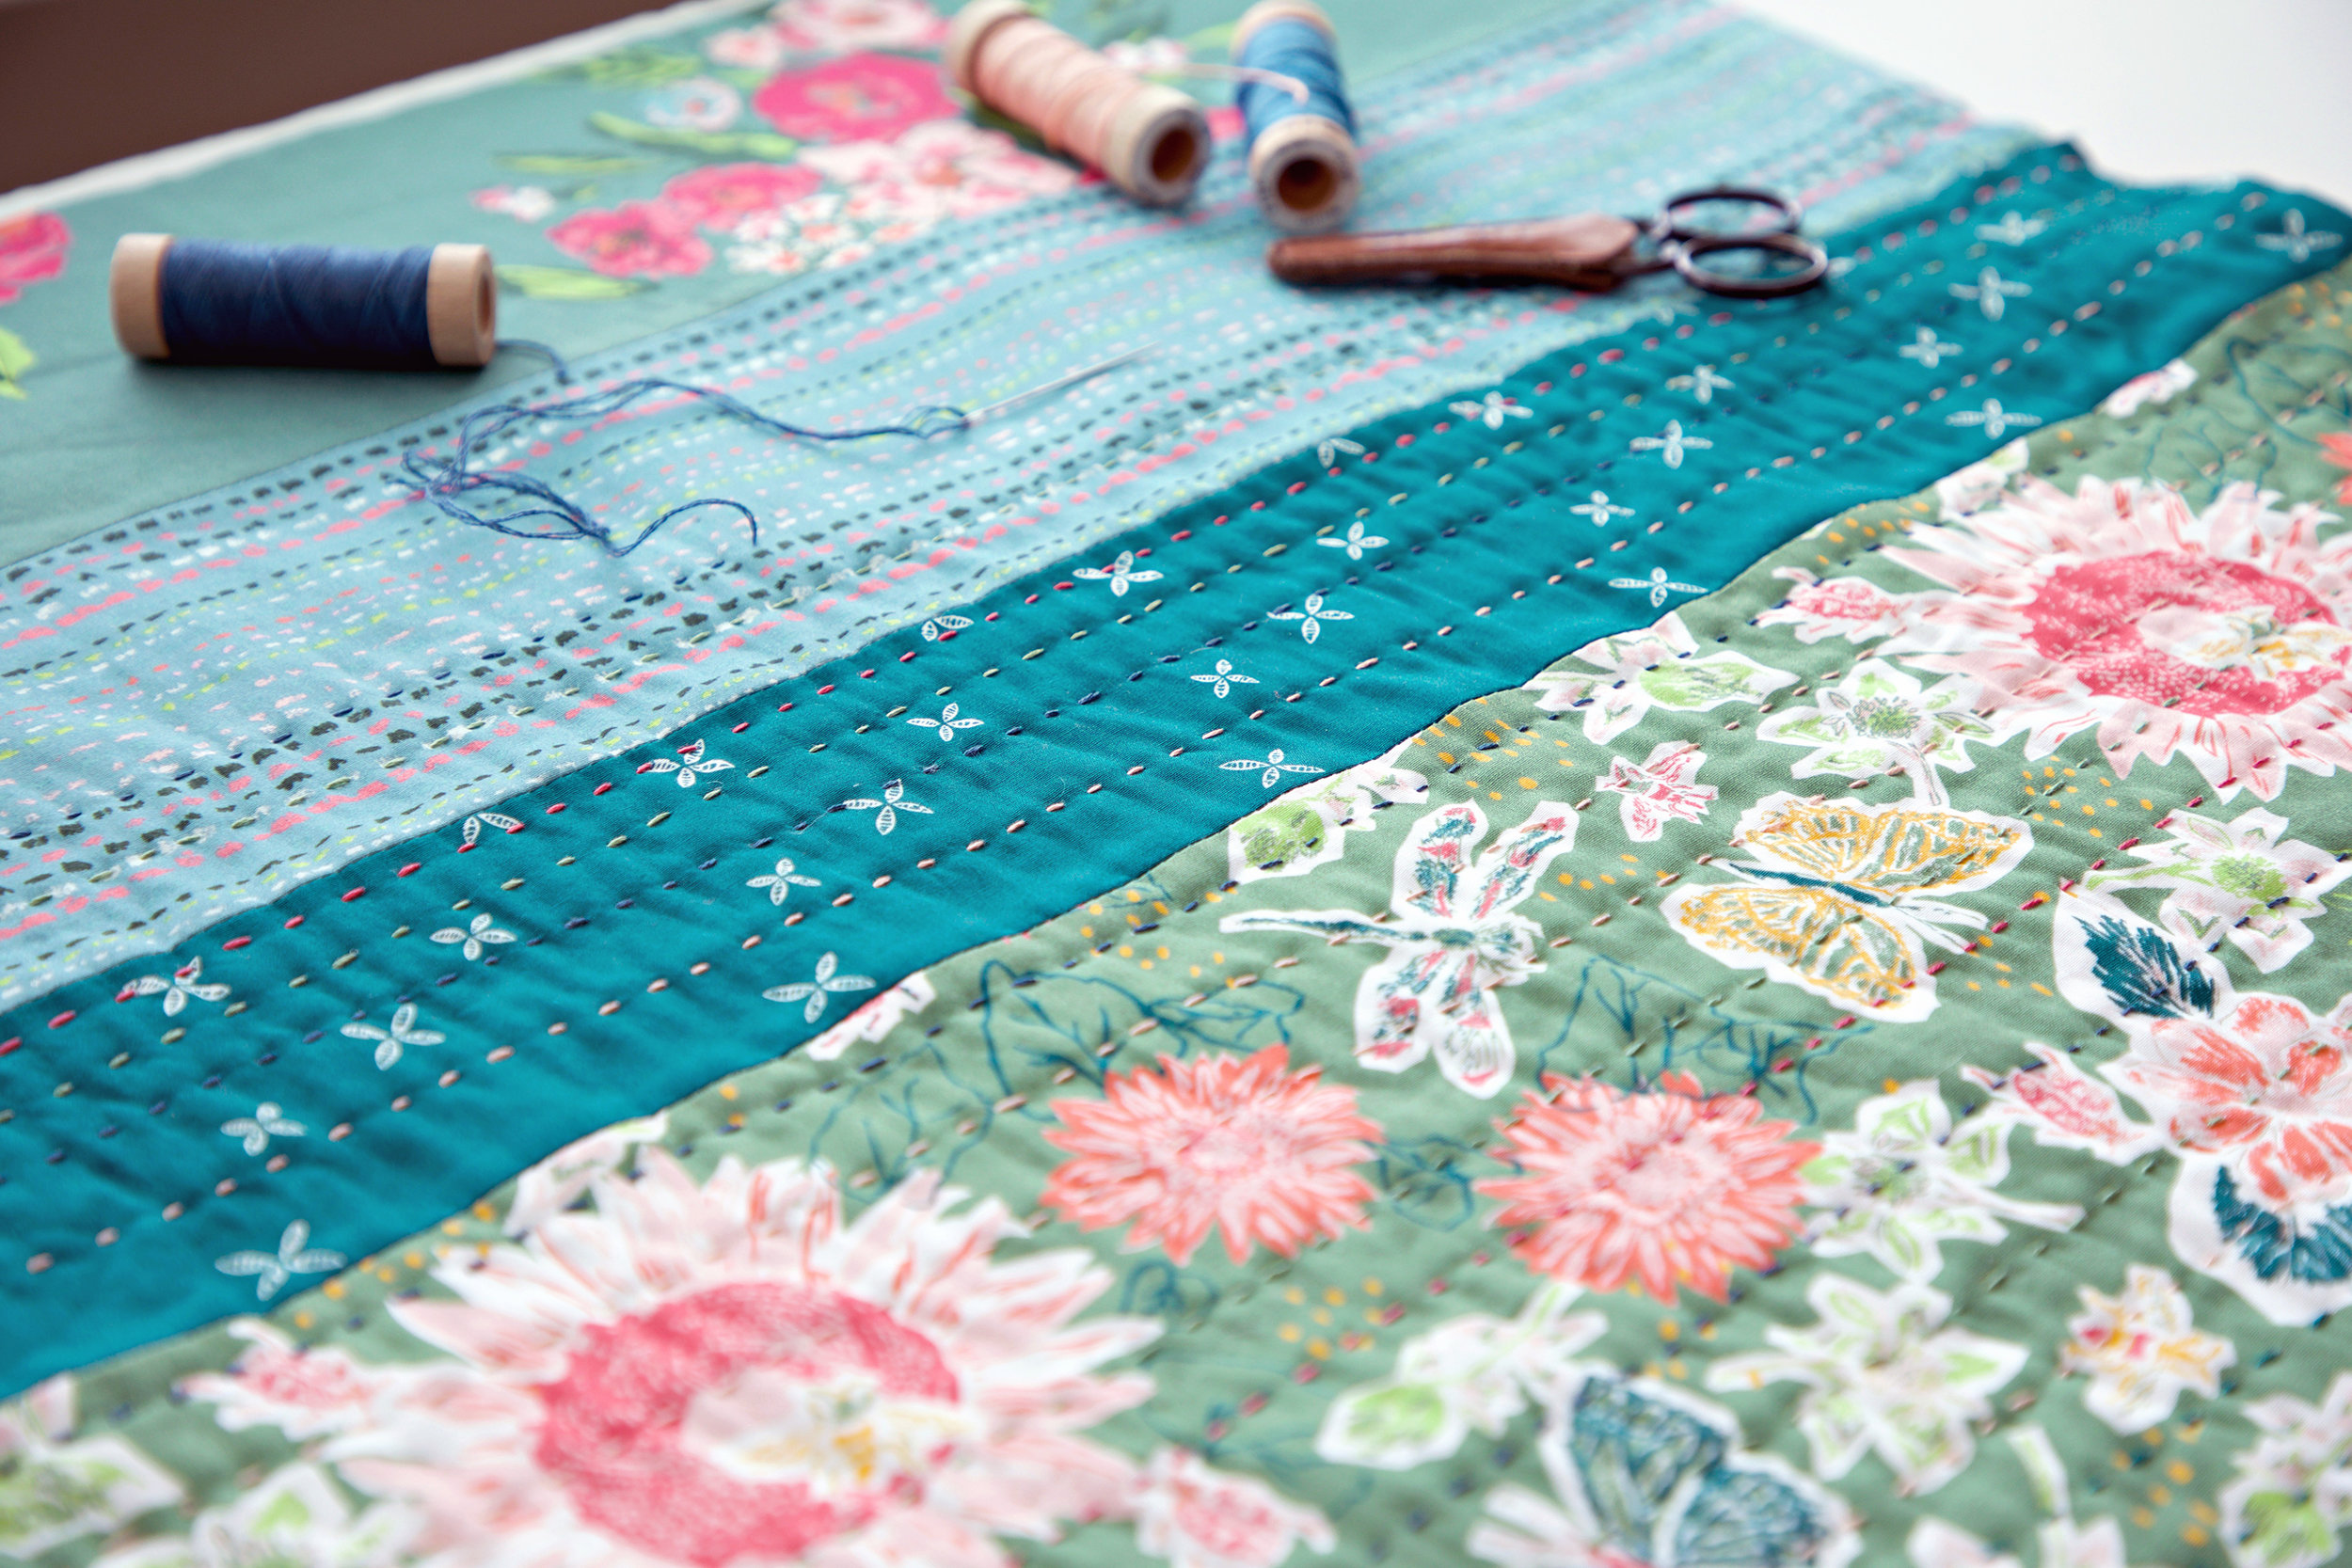
Bag details include hand-quilted stitching with Aurifloss embroidery thread on the exterior of the bag, eight roomy interior pockets, and fun embellishments like Extra-Large Eyelets and Swivel Hook, Cable Cord, and Tassel Cap from Dritz. Find them all at Handicraft (an affiliate link).

BG0A6651.jpg

For the interior of the bag I used Art Gallery Fabrics Smooth Denim (DEN-S-2007) in Nectarine Sunrise and Lateral Bud Profusion (SGN-68710) for the pockets. 

BG0A6377.jpg

For the exterior of my bag I use (from the opening to bottom) Extempore Fancy (SGN-58700), Traveler Raindrops (SGN-58705), Lateral Bud Profusion (SGN-68710), and Small World Sprightly (SGN-68713).

For a quick tutorial on how to make a tassel using the Dritz Tassel Cap kit, take a look back at the Tallinn blog tour post.

Signature Foliar 2.jpg

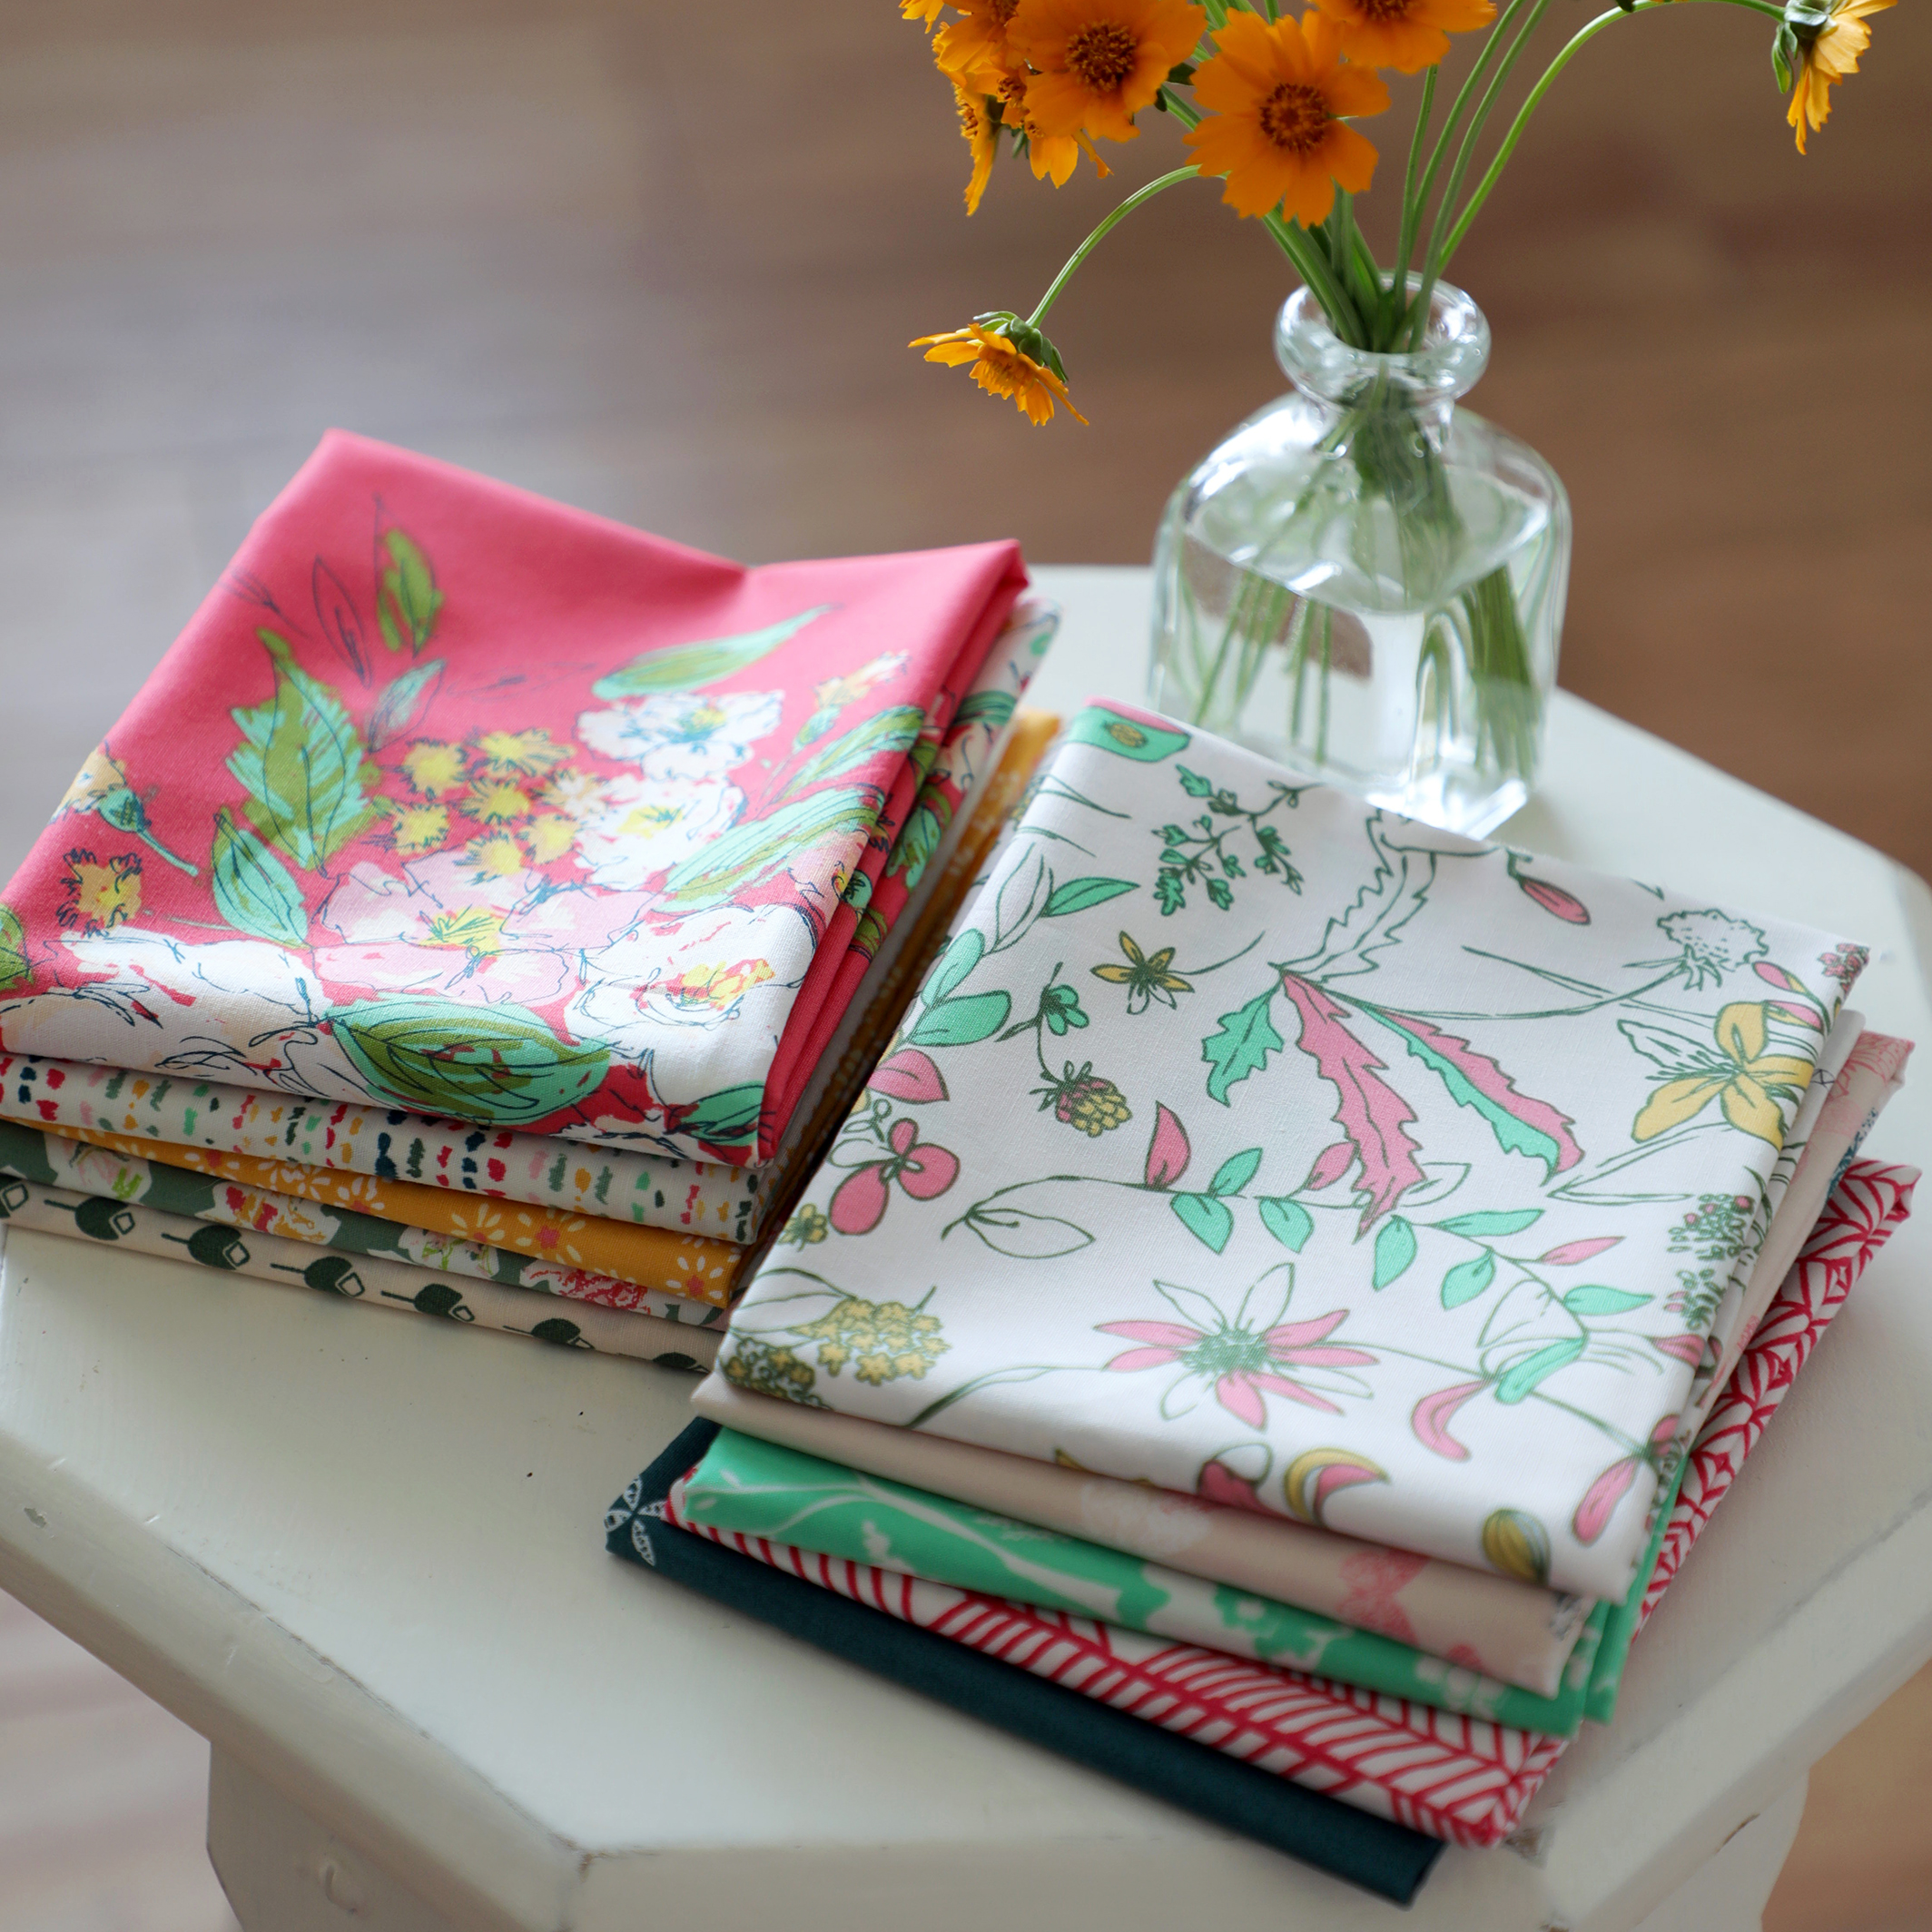
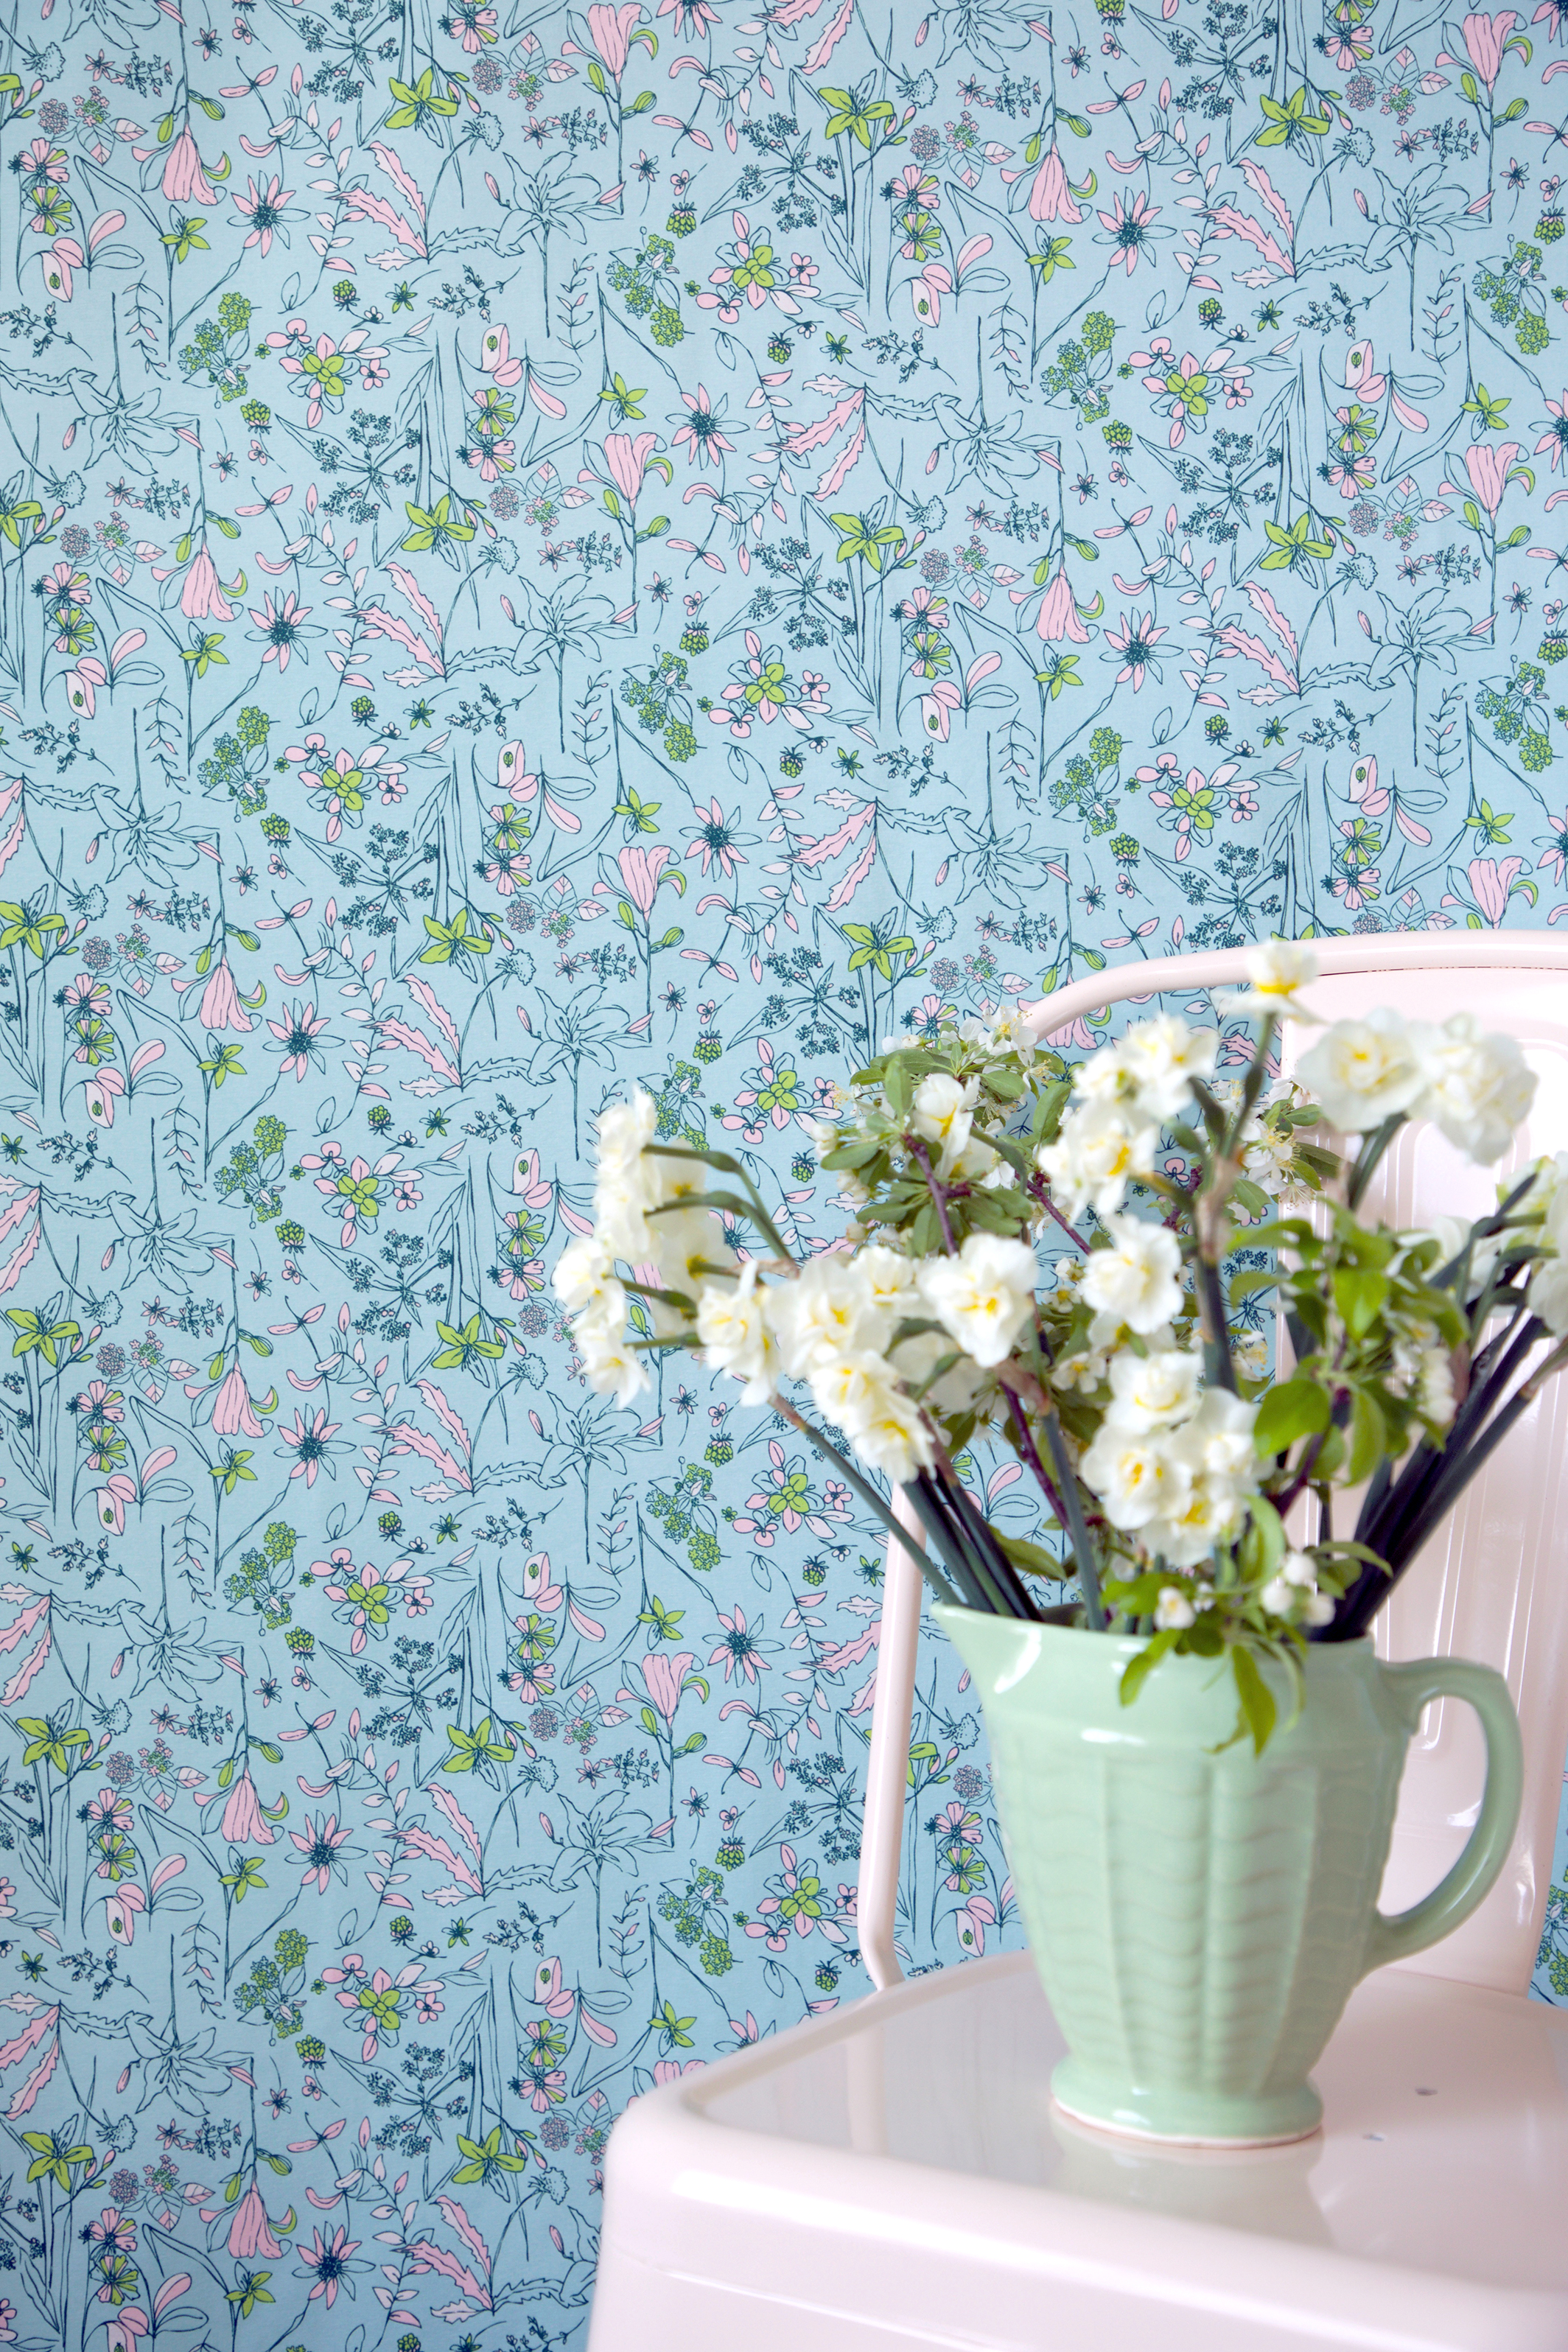
There are 20 prints in the Signature collection and comes in two color ways. Between the two color ways there are 14 different prints because in some cases the print only has one coloring. That's what makes this collection so deep and interesting. I'm still making discoveries as I sew! Above is the Foliar color way and below is the Atmospheric color way.
Signature Atmospheric 2.jpg

Shops are just getting their stock of Signature in and I've begun adding a few online shop listings to my Fabrics page. Some have already sold out in the first week so keep checking back as they restock and more shops list their new inventory.

Not Going to Market, Prep

Not Going to Market, Prep

BG0A5975.jpg

Yes, you read that right. I've a new fabric collection for Art Gallery Fabrics (available this month) and is part of the AGF Spring Quilt Market lineup but I won't be attending the spring show in Portland for many reasons. 

Signature is my sixth fabric collection for Art Gallery Fabrics. I'm very excited about this collection, especially since my last collection, Bountiful was over a year ago. It's really fun to be sewing with a new collection and this year spring came early with the arrival of my strike offs--it was like receiving a bouquet of flowers!

Visit my Fabrics page to see a list of online shops stocking this collection. I will be adding to this list as more shops get it in later this month. 

BG0A5950.jpg

This joyful collection has put the natural world into patterns of budding florals, butterflies, and forest animals--all in my signature hand-drawn style. Blooming prints emerge in a riot of springtime colors of robin’s egg blue, cool teal, sunny yellow, radiant fuchsia, and dappled-shade green.

Free quilt pattern for Signature fabrics designed by Sharon Holland. Visit Art Gallery Fabrics for more details and download.

Free quilt pattern for Signature fabrics designed by Sharon Holland. Visit Art Gallery Fabrics for more details and download.

With each new fabric collection for Art Gallery Fabrics comes a new free quilt pattern. I've designed Sunflower for my new Signature fabrics and it will be available for download once the fabrics are available later this month. 

AGF has many Pure Elements solids, denims, and blenders that coordinate beautifully with this collection. 

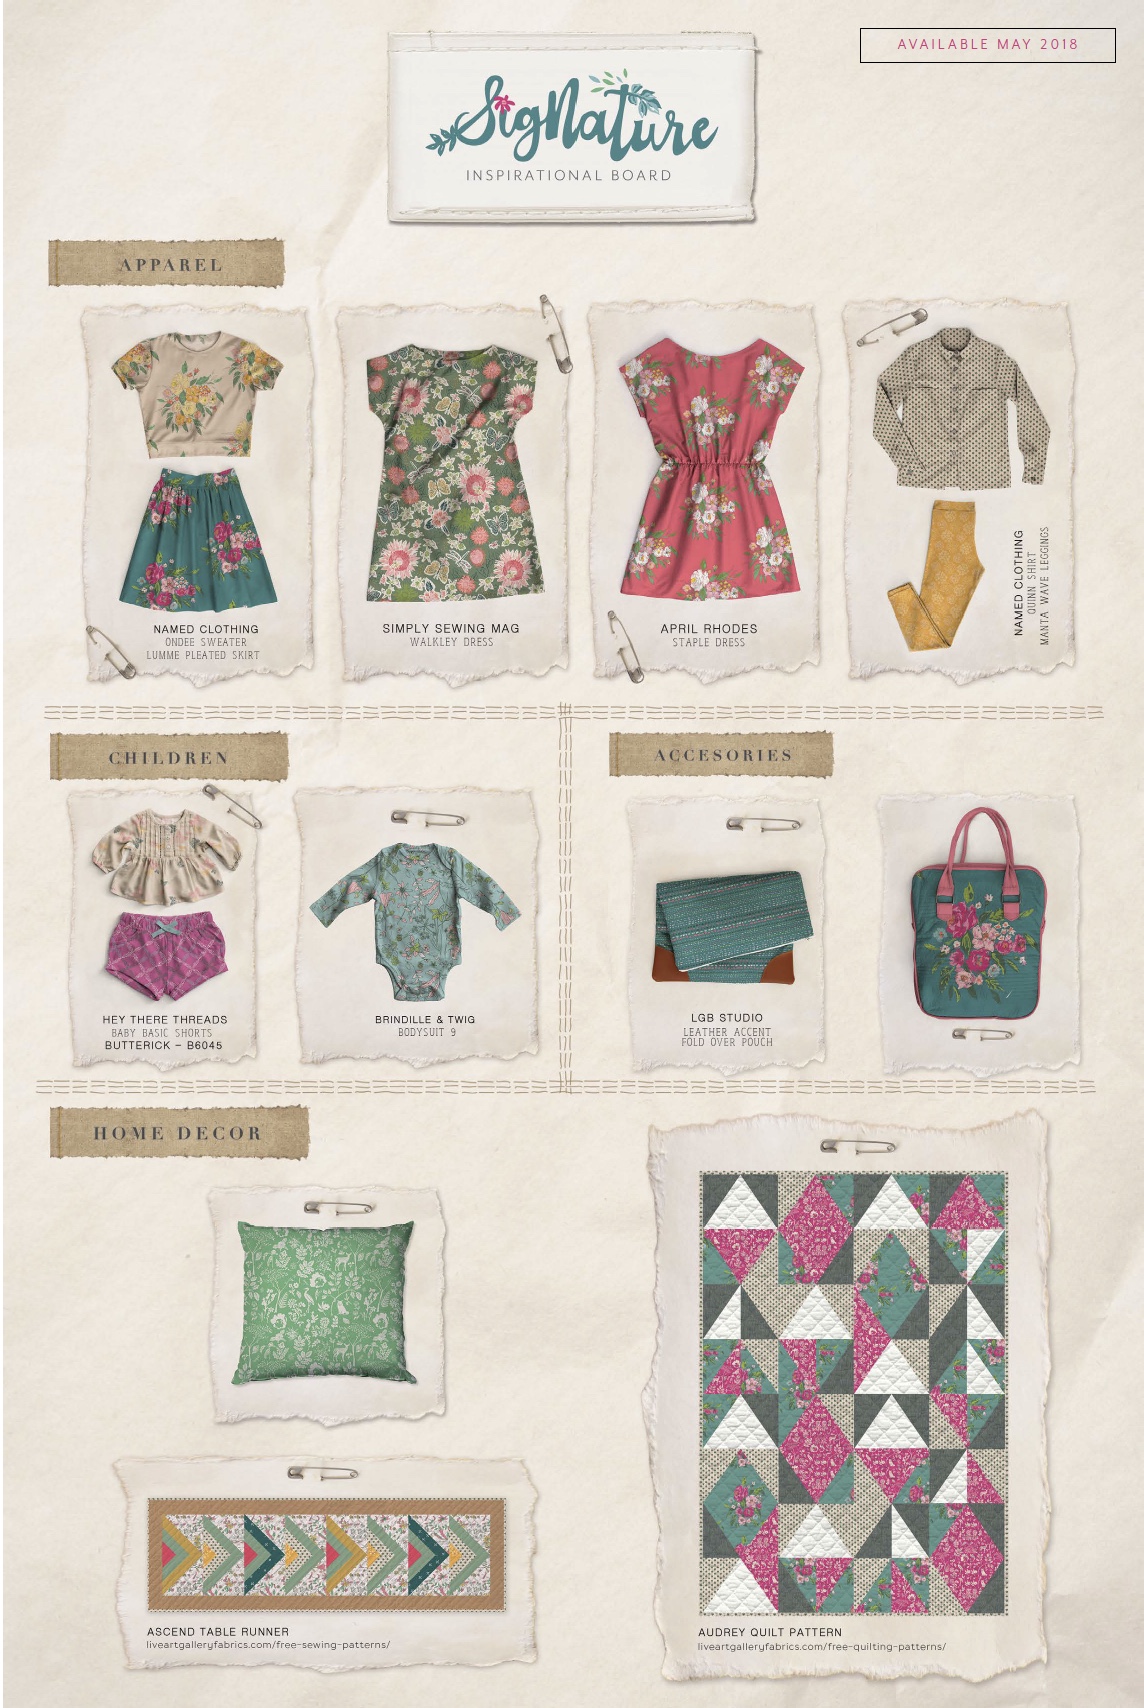
Product mock-ups with Signature fabrics from Art Gallery Fabrics 

Product mock-ups with Signature fabrics from Art Gallery Fabrics 

I love how Art Gallery Fabrics shows you how the prints look in virtual products from clothing to home decor. Once the collection is available they will also publish the most amazing Look Book for this collection!

Signature fabrics by Sharon Holland for Art Gallery Fabrics

Signature fabrics by Sharon Holland for Art Gallery Fabrics

Instead of going to Quilt Market and promoting my collection for a weekend, I will be showing you even more exciting ways to use these prints right here from home. I've recently remodeled my sewing room/guest room to be a functioning sewing room/photography studio. If you've been following along on Instagram you will have seen the trials and triumphs of my remodel. 

Over the next several weeks I intend to create "booths" in my new space that will surpass what could be accomplished at Market with limited wall space, furniture rentals, and time and logistic handicaps. From here I can resource my great props, set up larger and more detailed vignettes and show you more. 

Here's a peek at some of the things I've been working on....

Art Rollup reduced.jpg

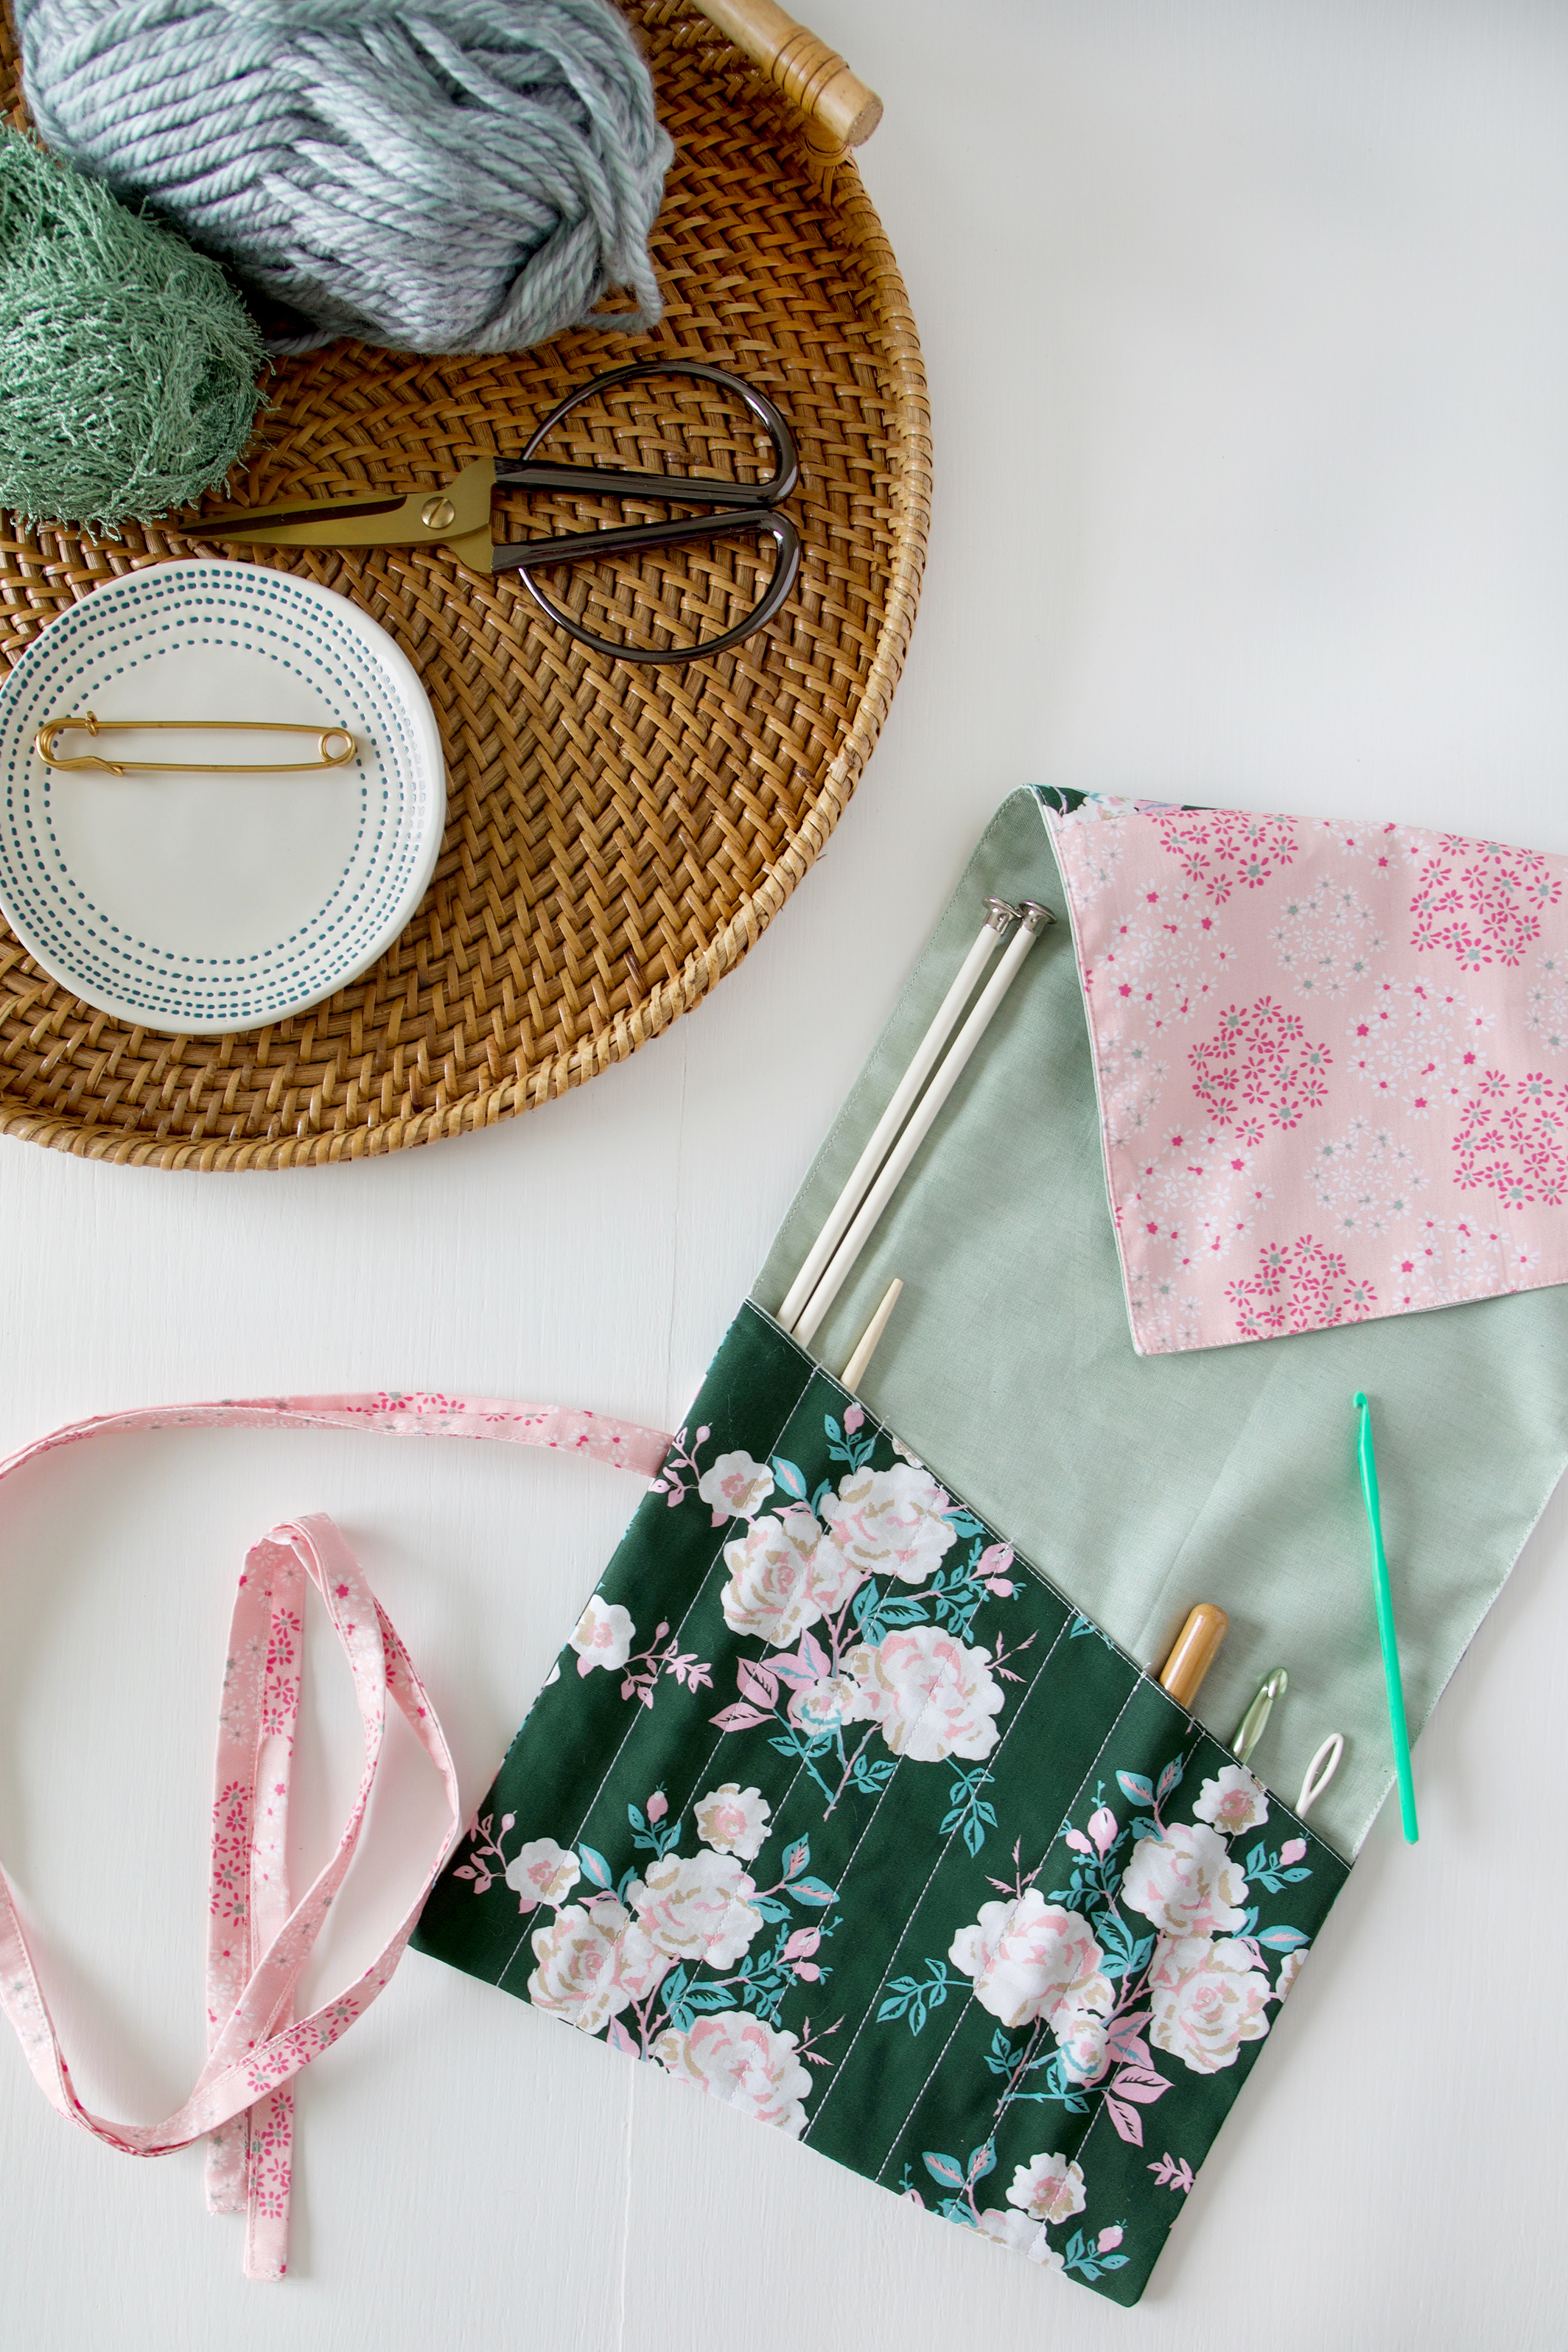
With Mother's Day next weekend, I remade my Art Roll-Up pattern in my Signature fabric. Using A Rose is a Rose Forever and Lacey Star Dust prints together with AGF Smooth Denim in Frosted Sage. This sewing project is a quick and thoughtful item for not only moms but grads, and hostess gifts as well. 

BG0A5970.jpg

The Art Roll-Up is a free pattern found on my Free Pattern page. This quick project can be used to hold makeup brushes, art brushes, knitting or crotchet needles, cutlery, etc. 

BG0A5570.jpg

To be able to create booths here at home I need to make stuff! I've had an extremely busy spring with a new grand baby in April, the room remodel going longer than originally planned, yard work that happens every spring, and of course the Community Sampler running in the background. 

BG0A5721.jpg

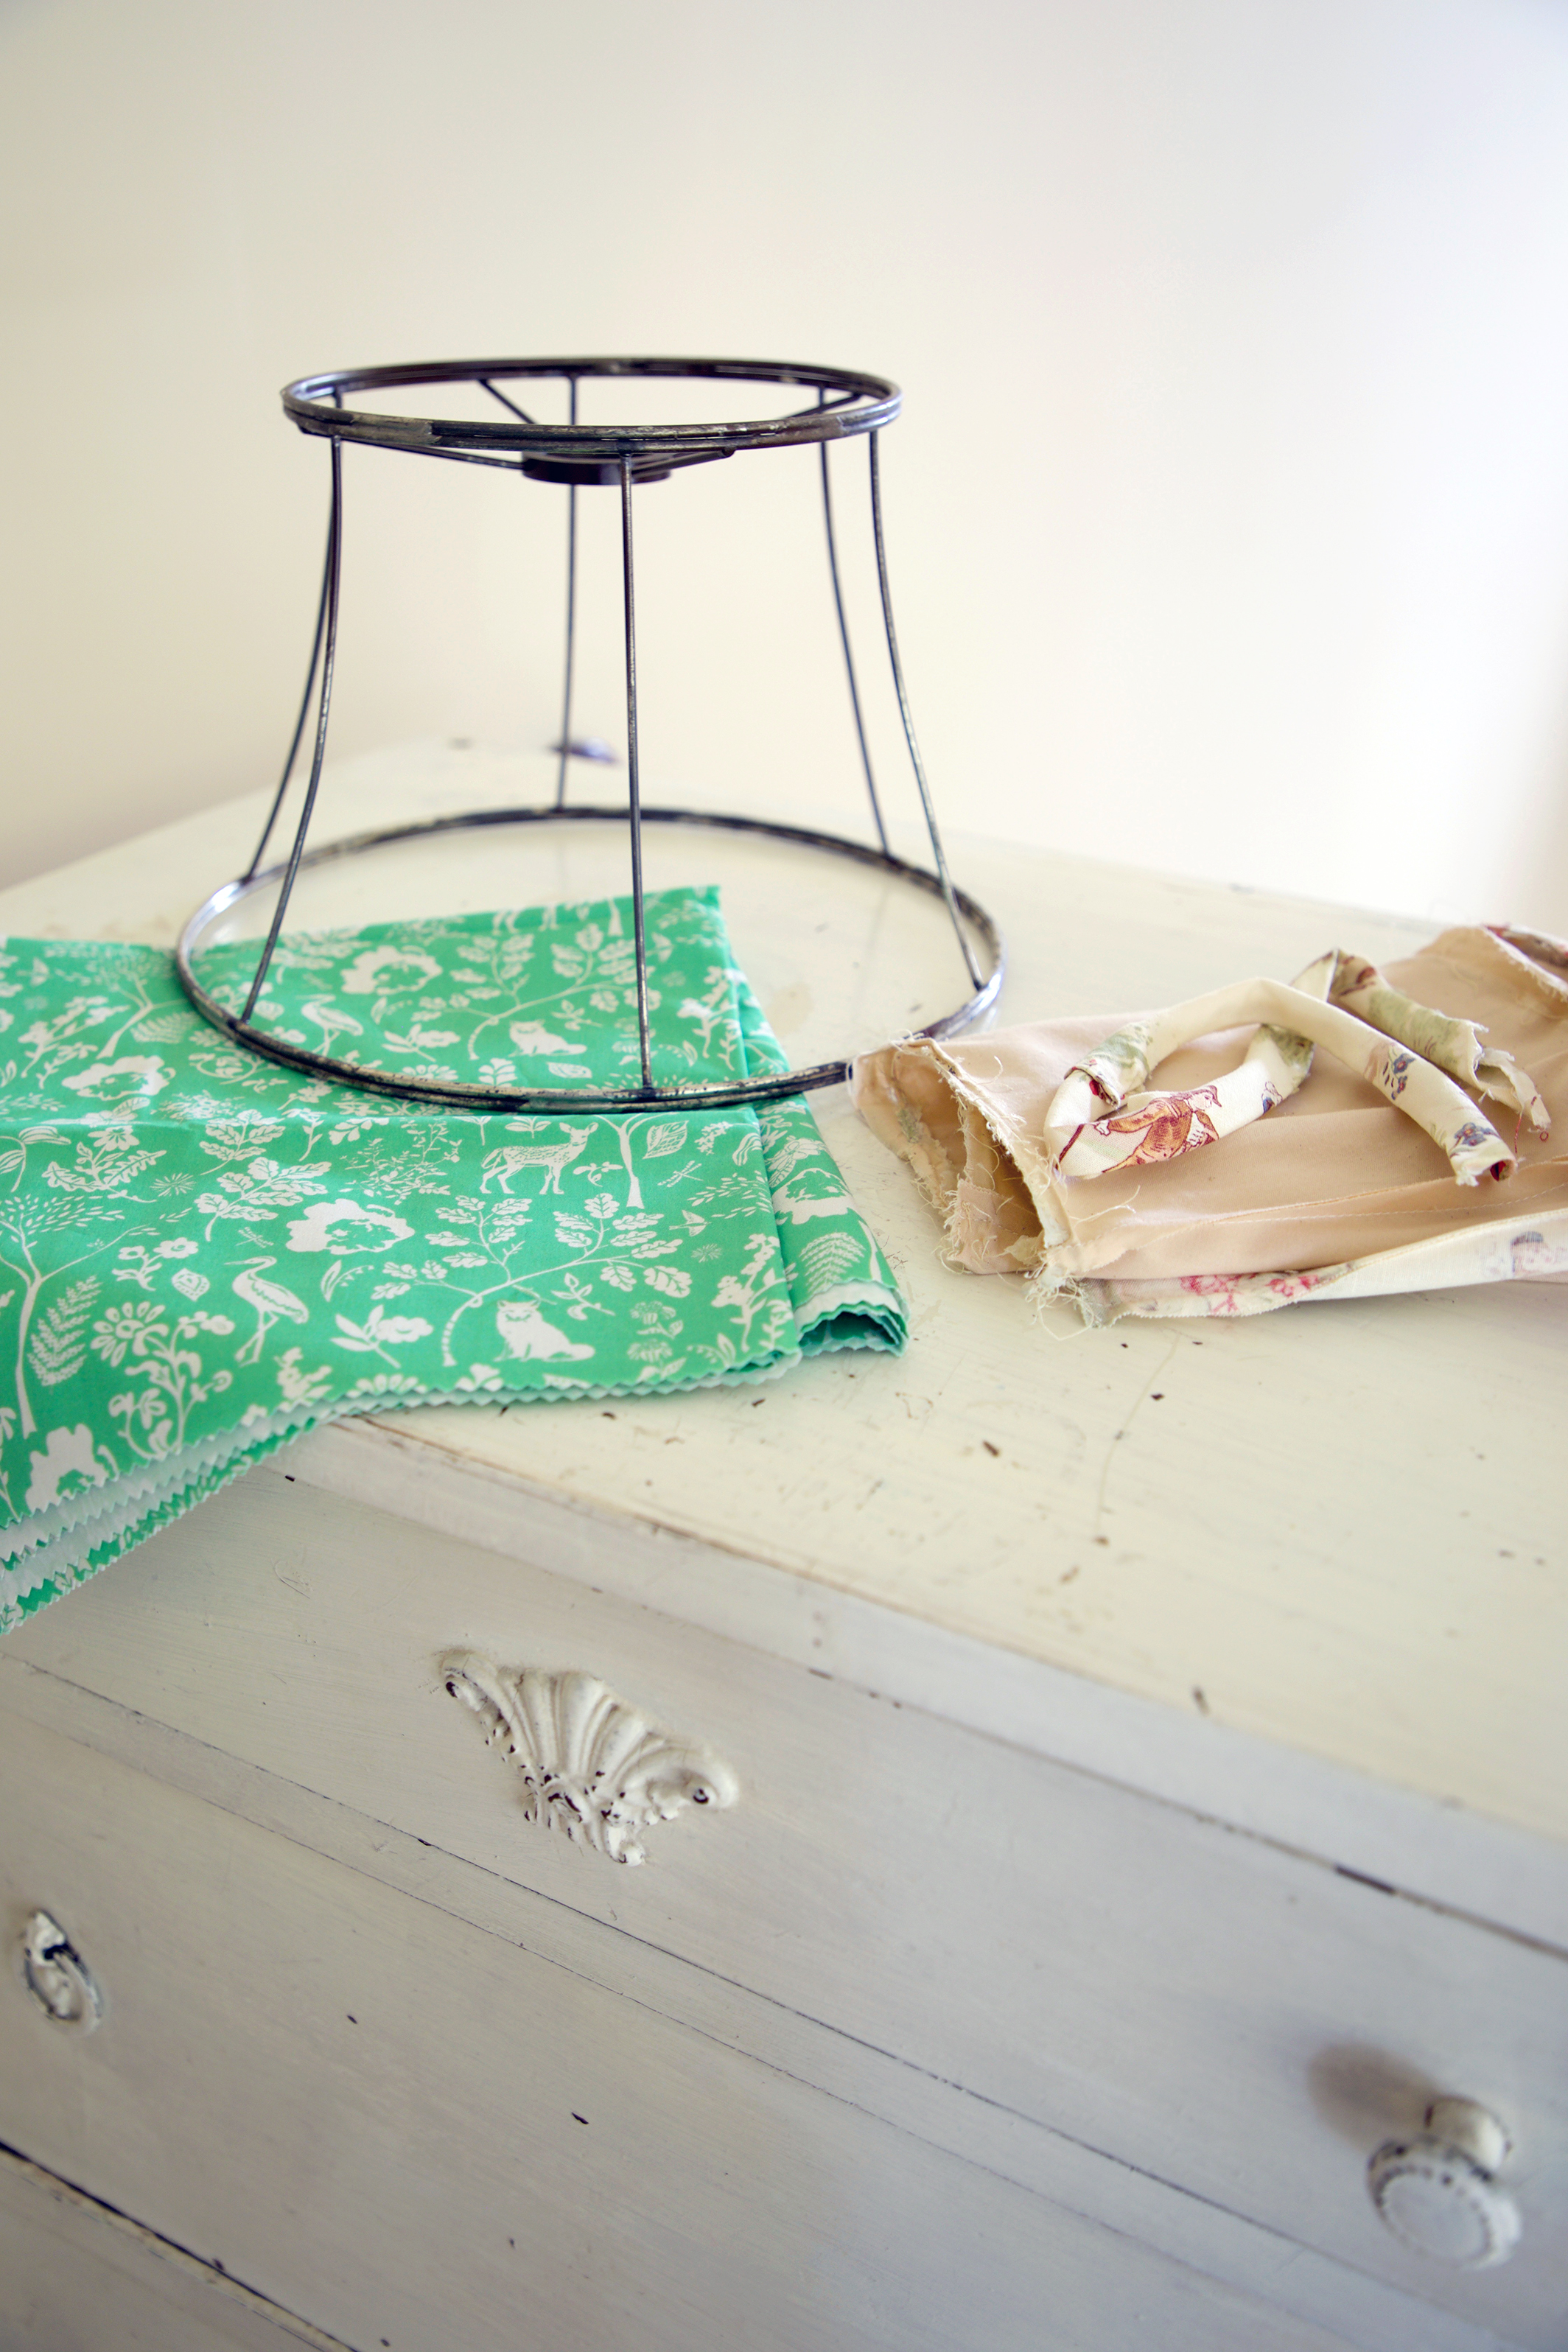
It's always nice to get that first project under your belt when you have a mile long list of things to make. I decided to start small and this lampshade recover was my first finished project!

IMG_5812.jpg

Ta da! Recovered using the Flora and Fauna Hidden print in cotton, I love this modern toile print for my antique floor lamp! 

IMG_5865.jpg

Those of you sewing along with Maureen Cracknell and I for the Community Sampler will recognize this block as the Cactus block. I loved this block so much that I've designed a new quilt around it. Once I've gotten it quilted, photographed, and posted, I will also have instructions on how to make one like mine. 

There's lots more to share with you (and make) but I wanted to take a moment and share this sneak peek post with you before I got any further along. My plan is to each week theme a booth and really give you a Look Book-style feel about this wonderful collection. 

Be sure to tell your local shops you'd like them to stock Signature from Art Gallery Fabrics and be watching in just a couple of weeks for it to be on the shelves and ready for your next project. 

Happy sewing,

Sharon