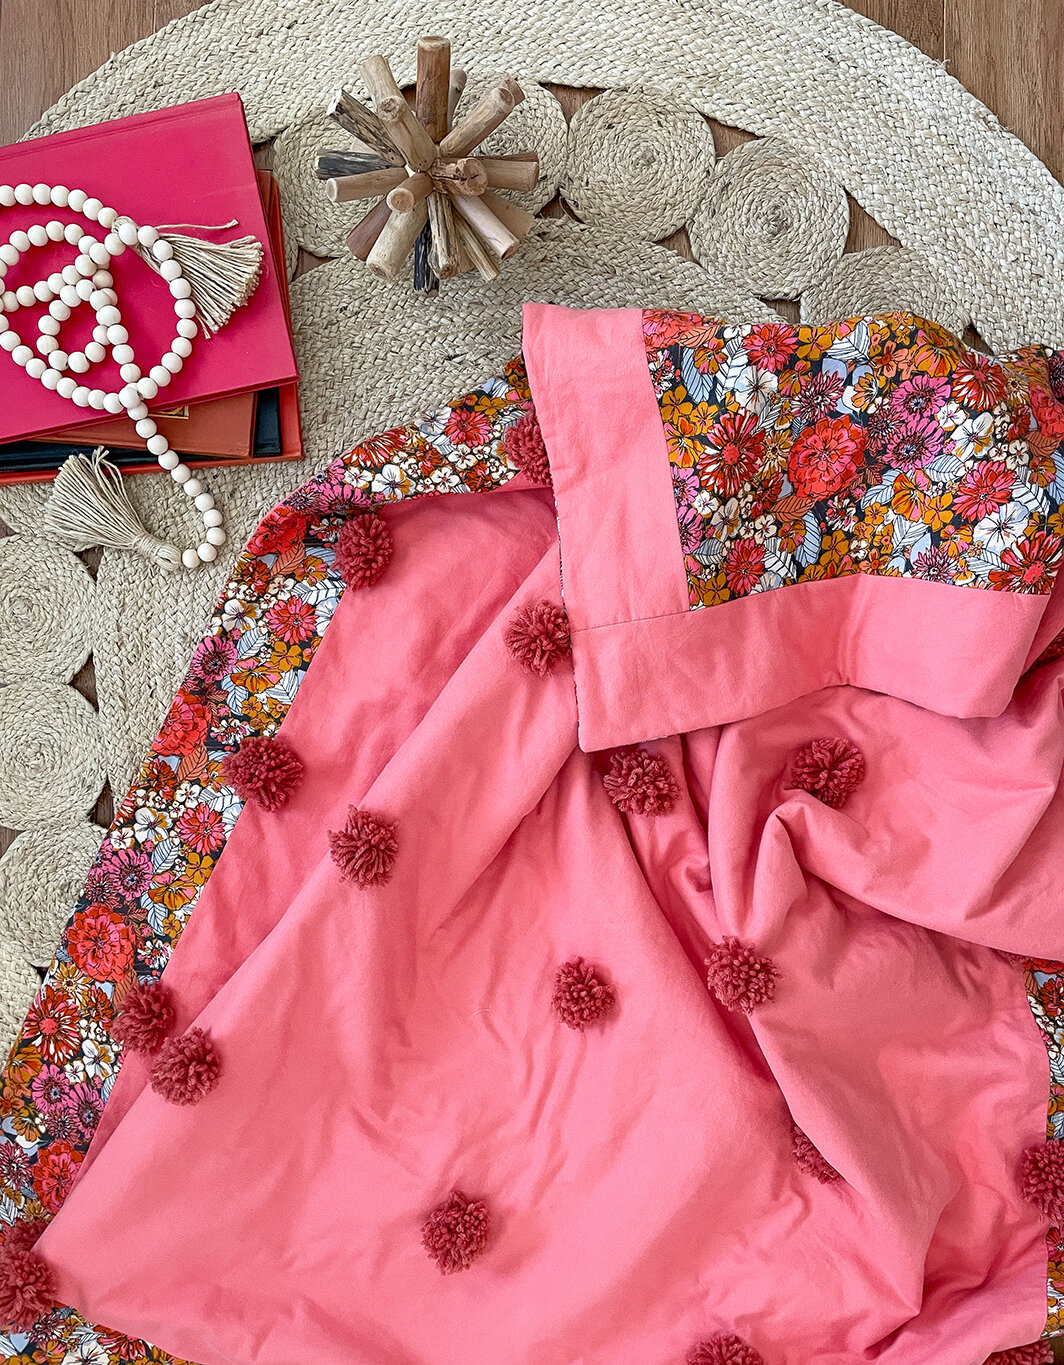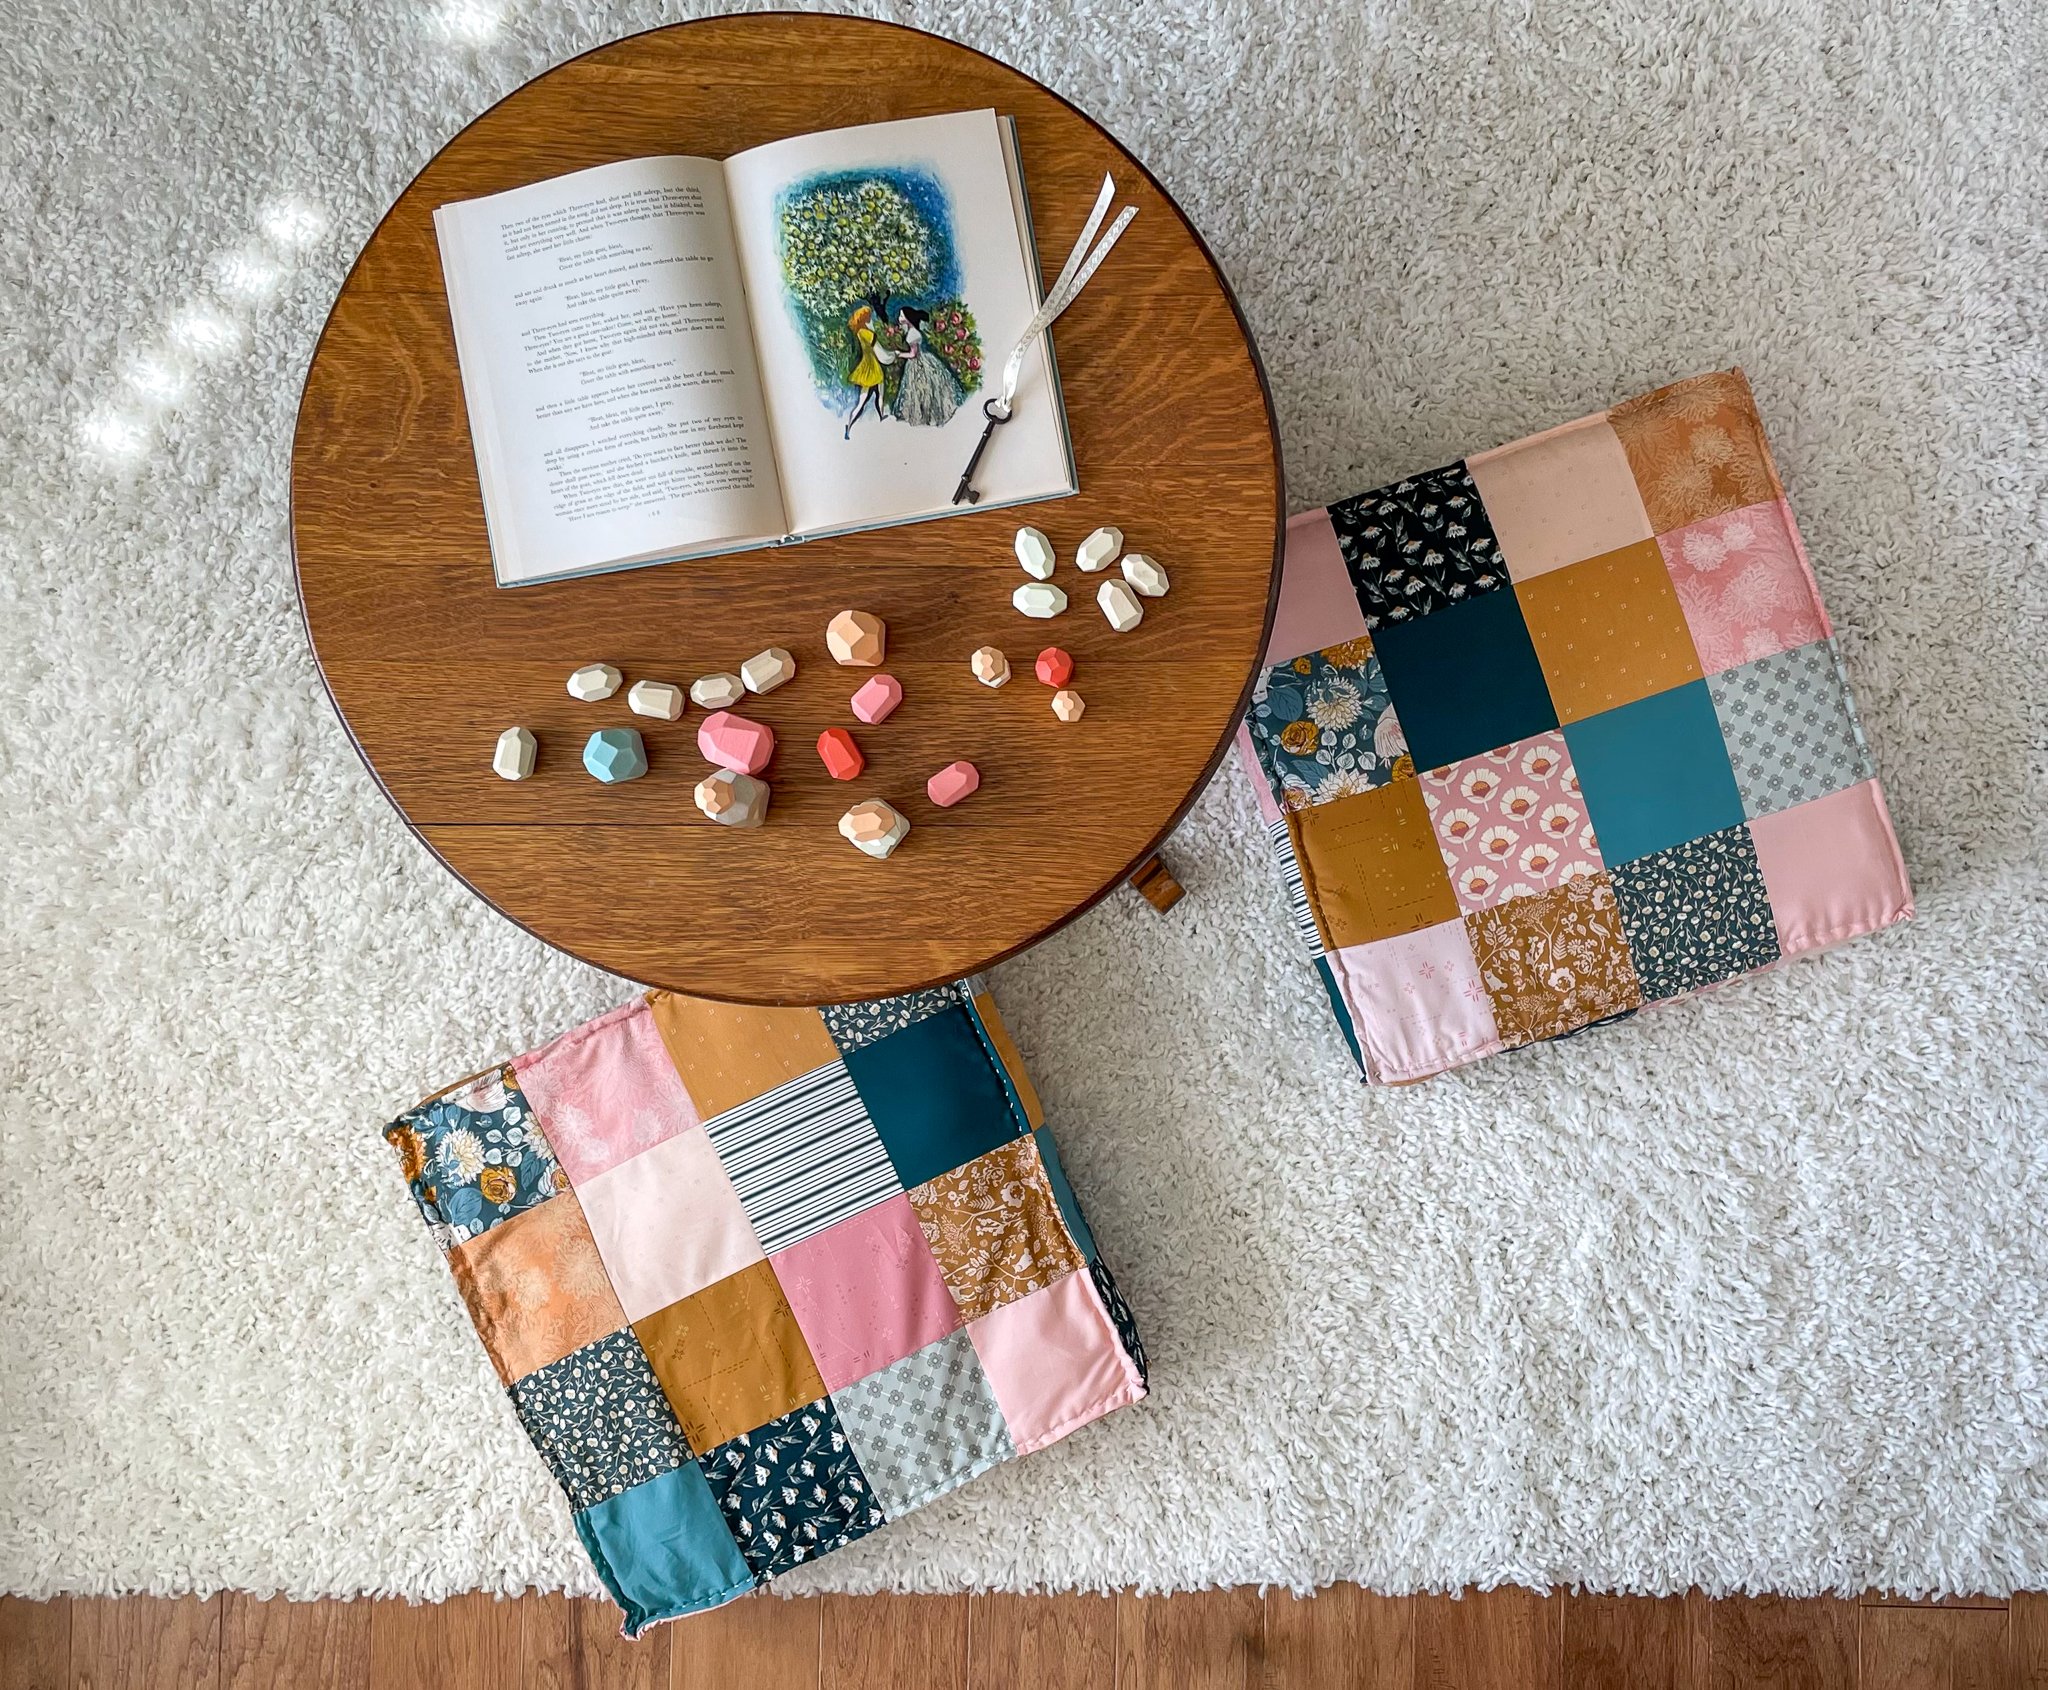
Do you love those cushy box cushions with the hand stitched details? I sure do! So, when I was brainstorming what sort of projects to make for my upcoming Art Gallery Fabrics Willow Look Book I came up with a nursery playroom theme and what better project to add to a playroom than French Mattress Cushions.

My original thought was to make cushions from one print from the Willow collection but I love patchwork and playing with prints too much to choose only one print. The 20’’ square cushions were the perfect size for some simple patchwork squares!
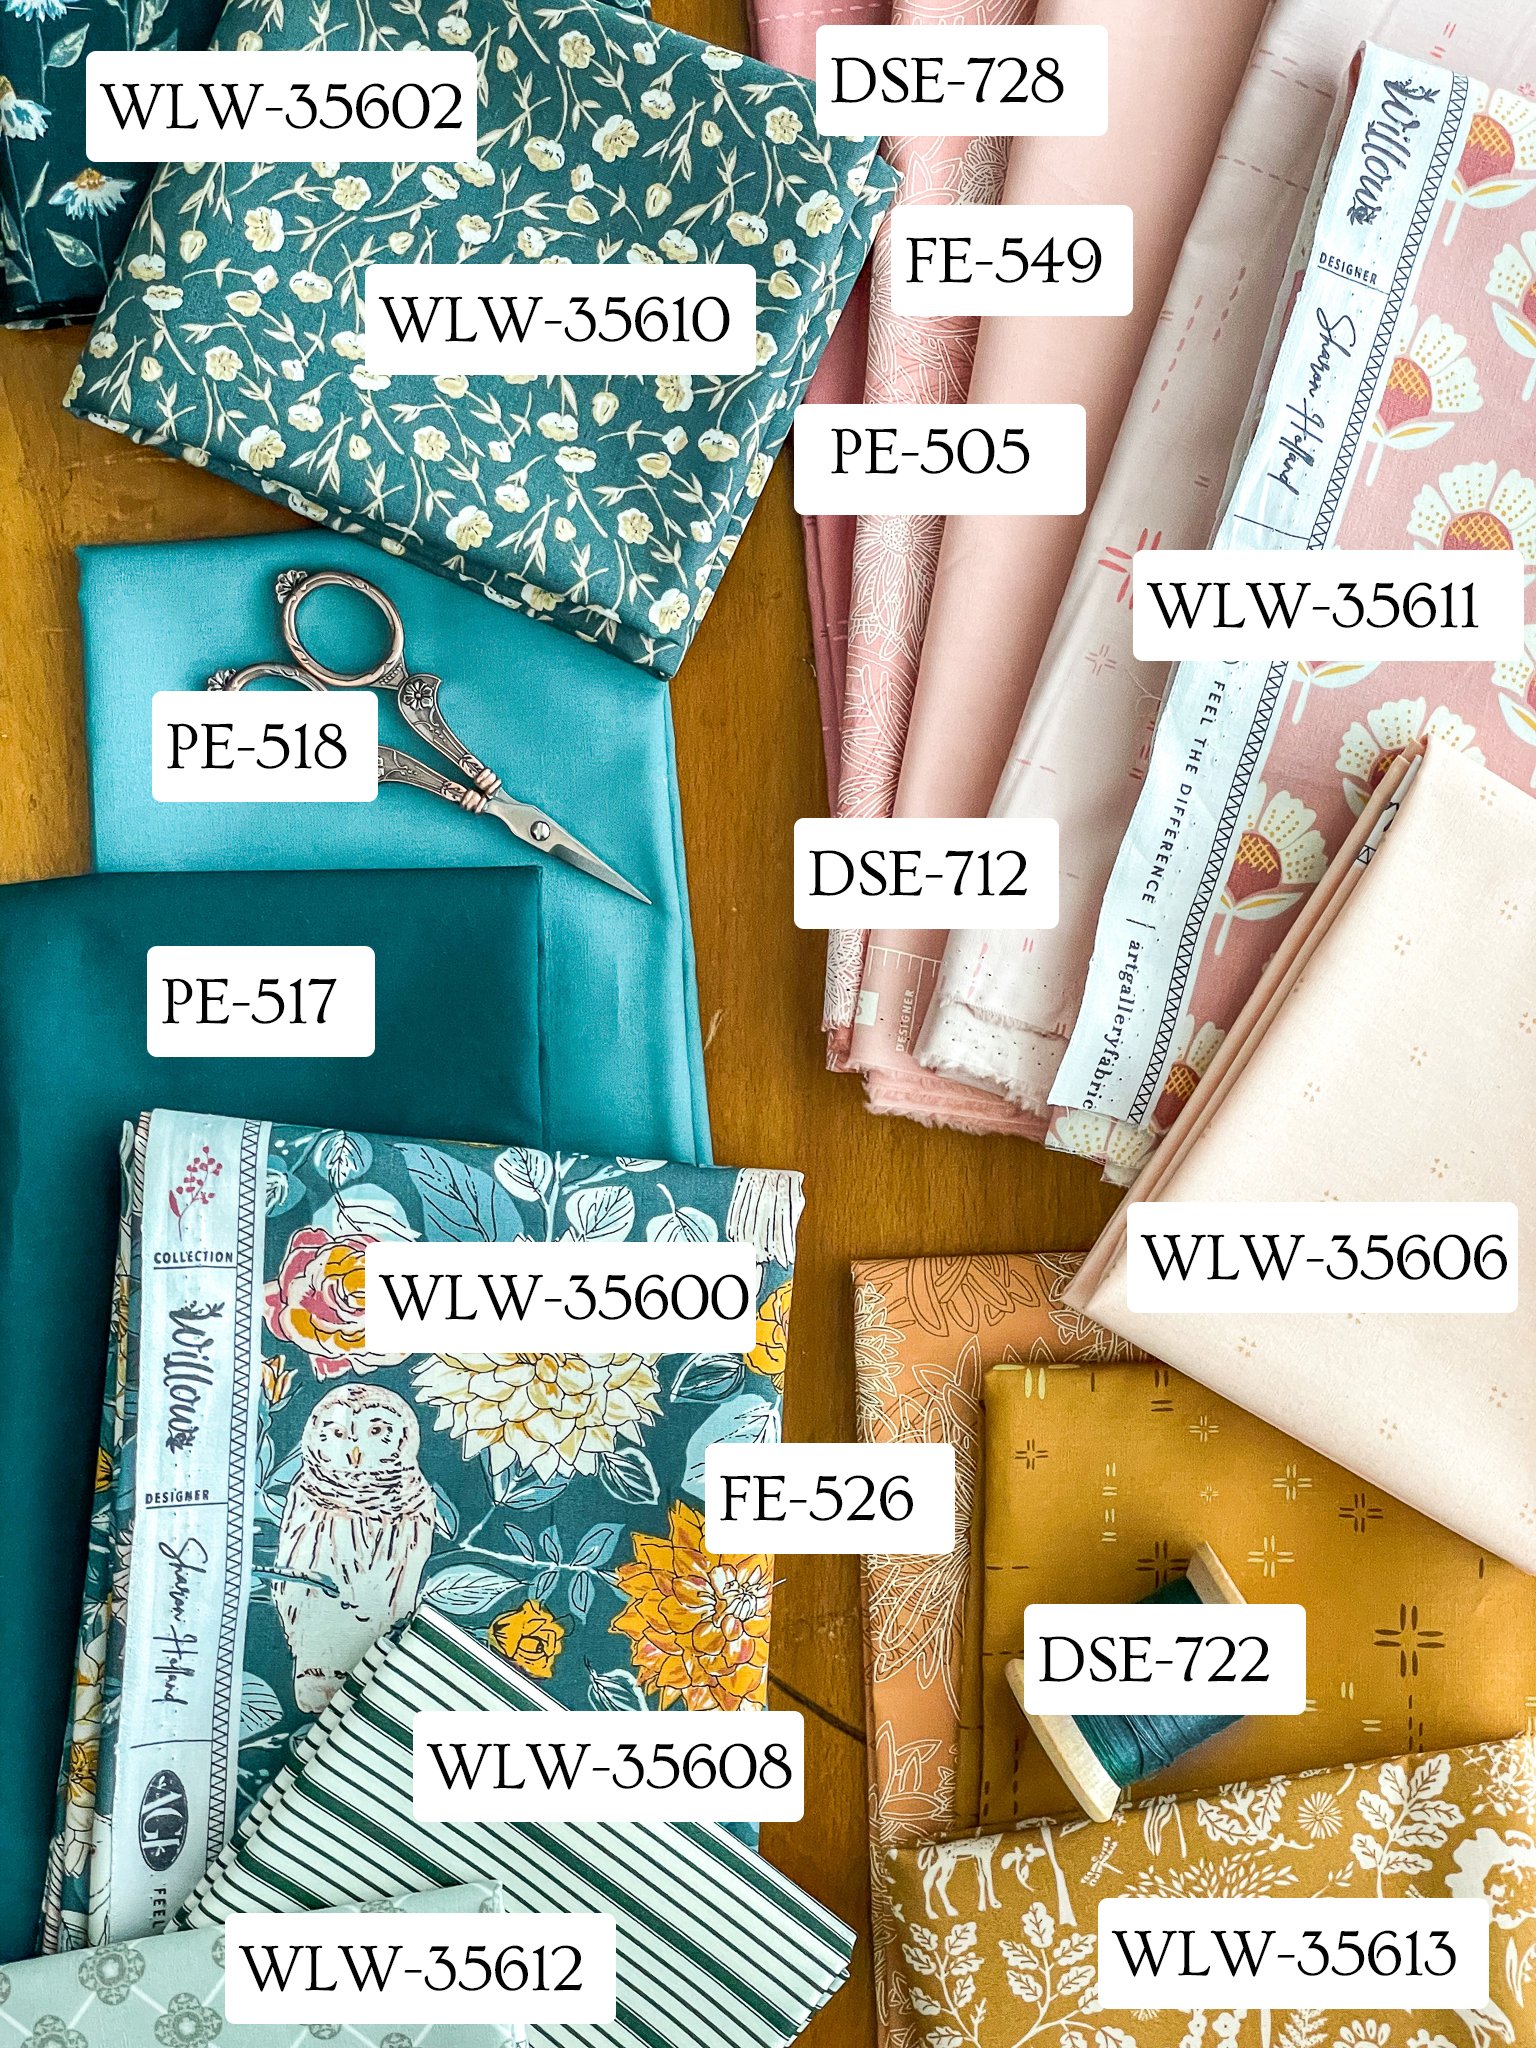
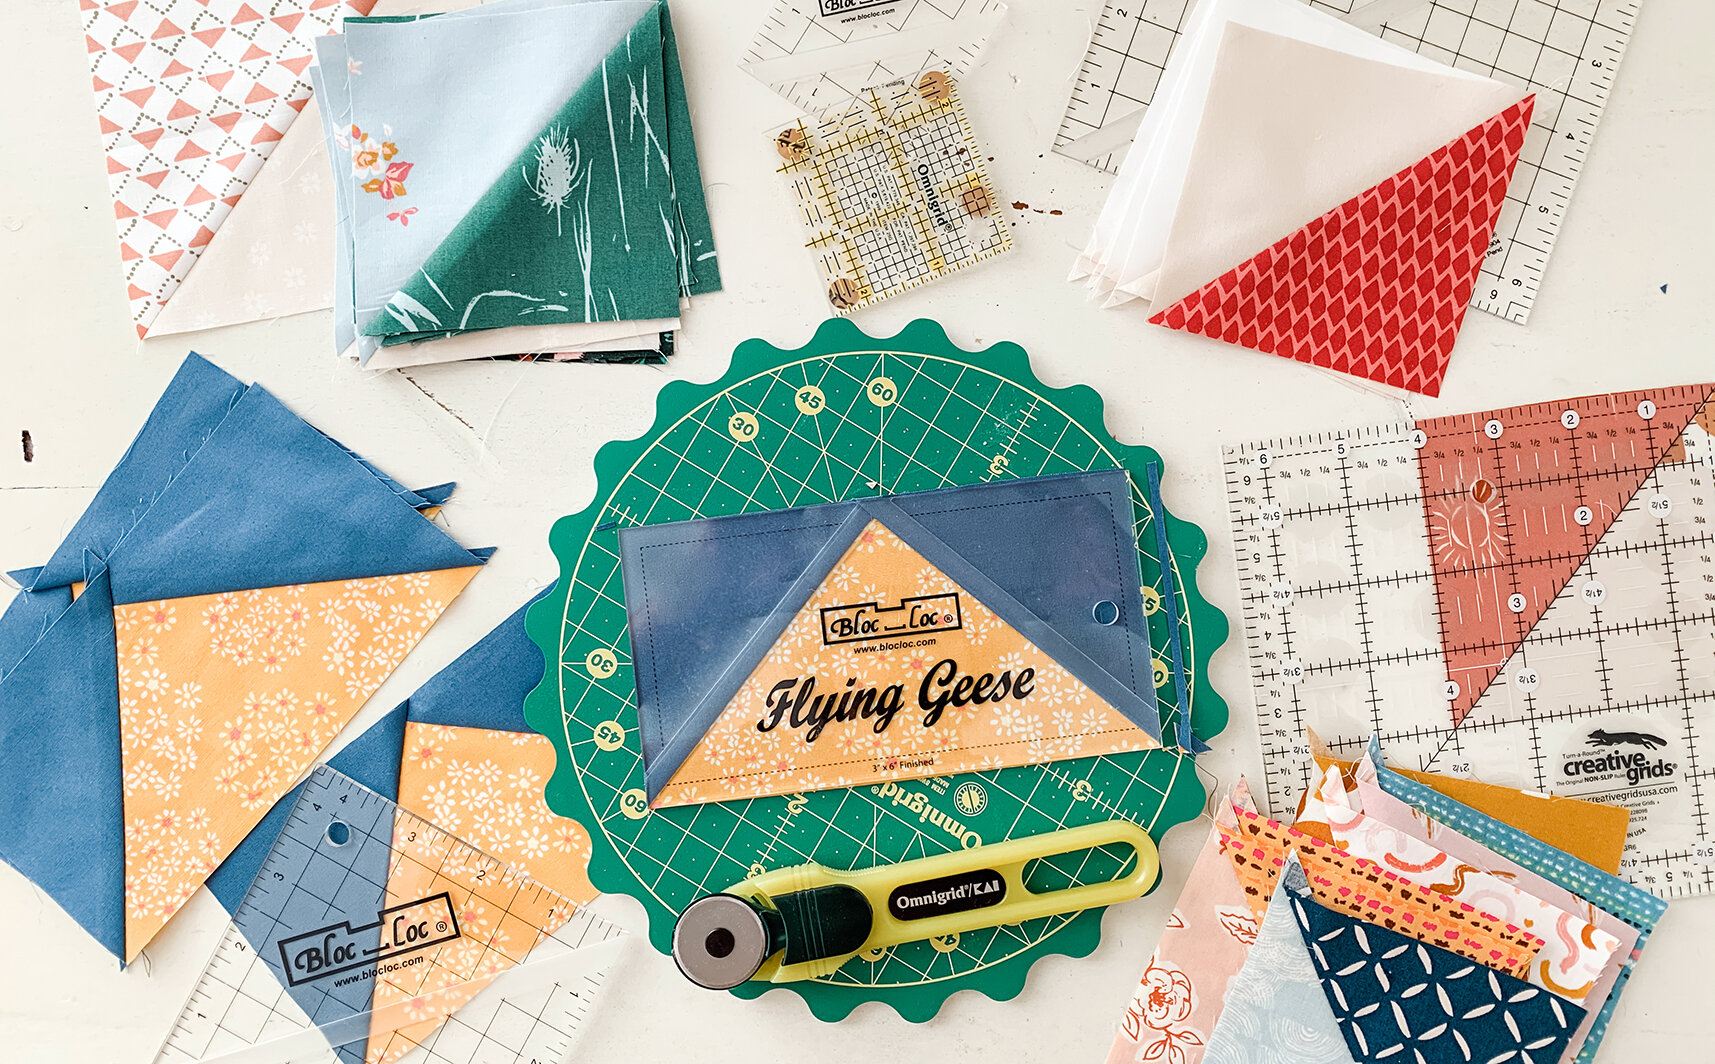
With so many AGF solids and blenders that coordinate with Willow, it was easy to pull 16 fat quarters to work with. Sixteen fat quarters was the perfect amount to make two 20’’ square box cushions. I used the Sew 4 Home French Mattress Edge Cushions tutorial for the pillow construction and edge stitching technique after I stitched together my patchwork pieces.
Patchwork Pieces
To create the cushion top, bottom, and side panels from patchwork for 2 pillows, I used 16 fat quarters.
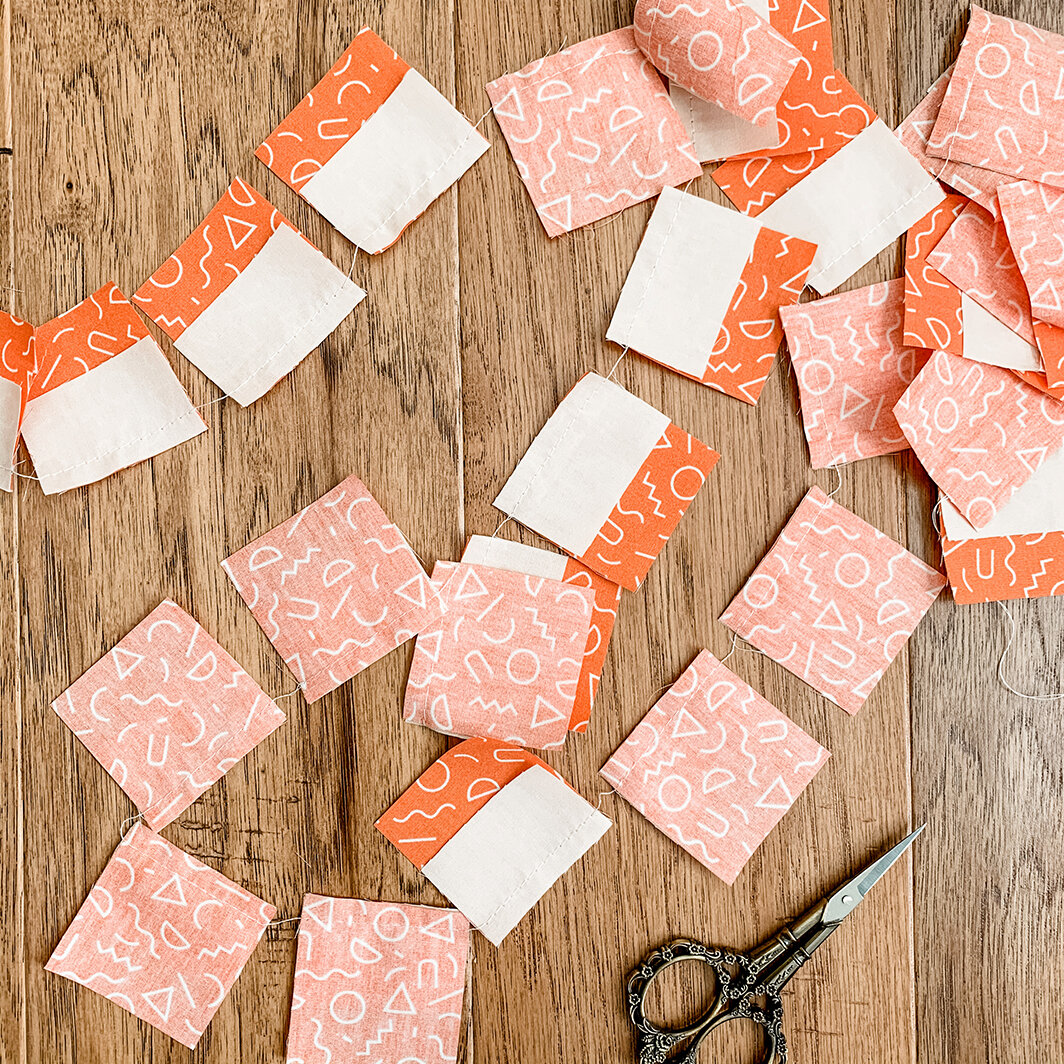
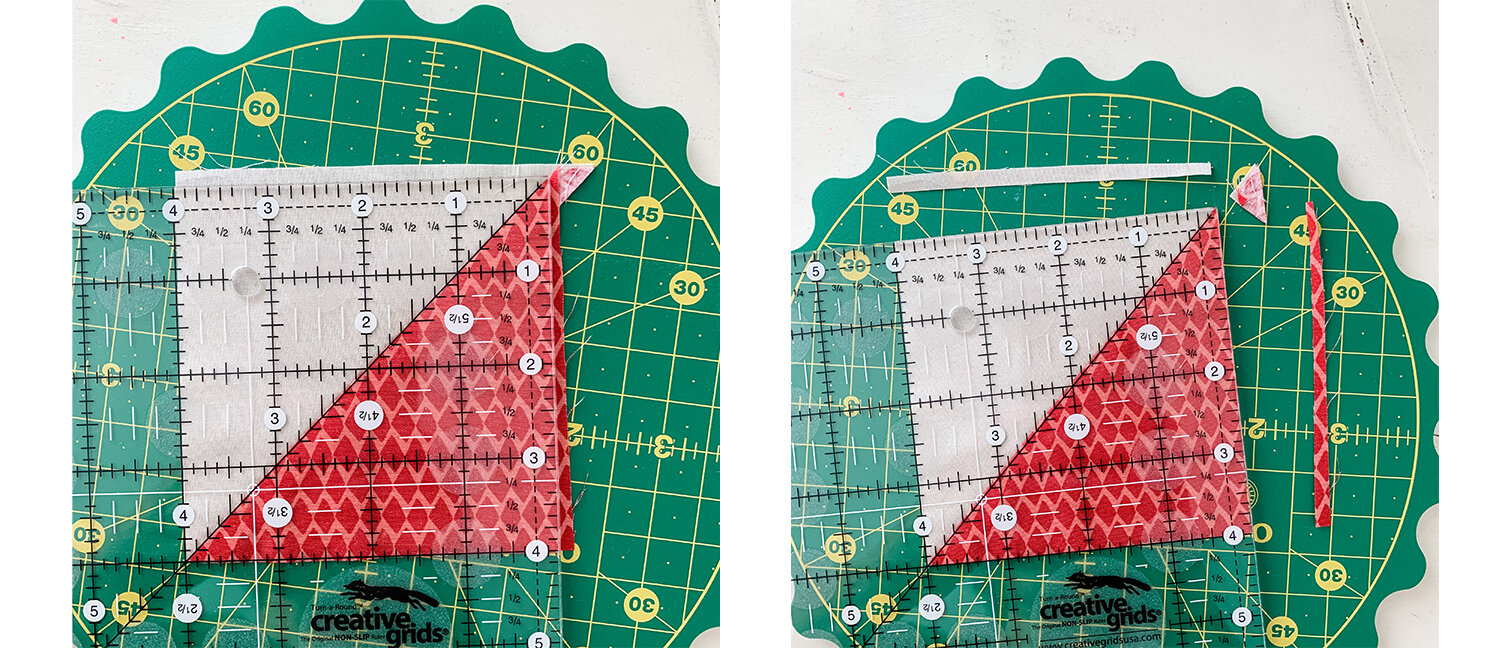
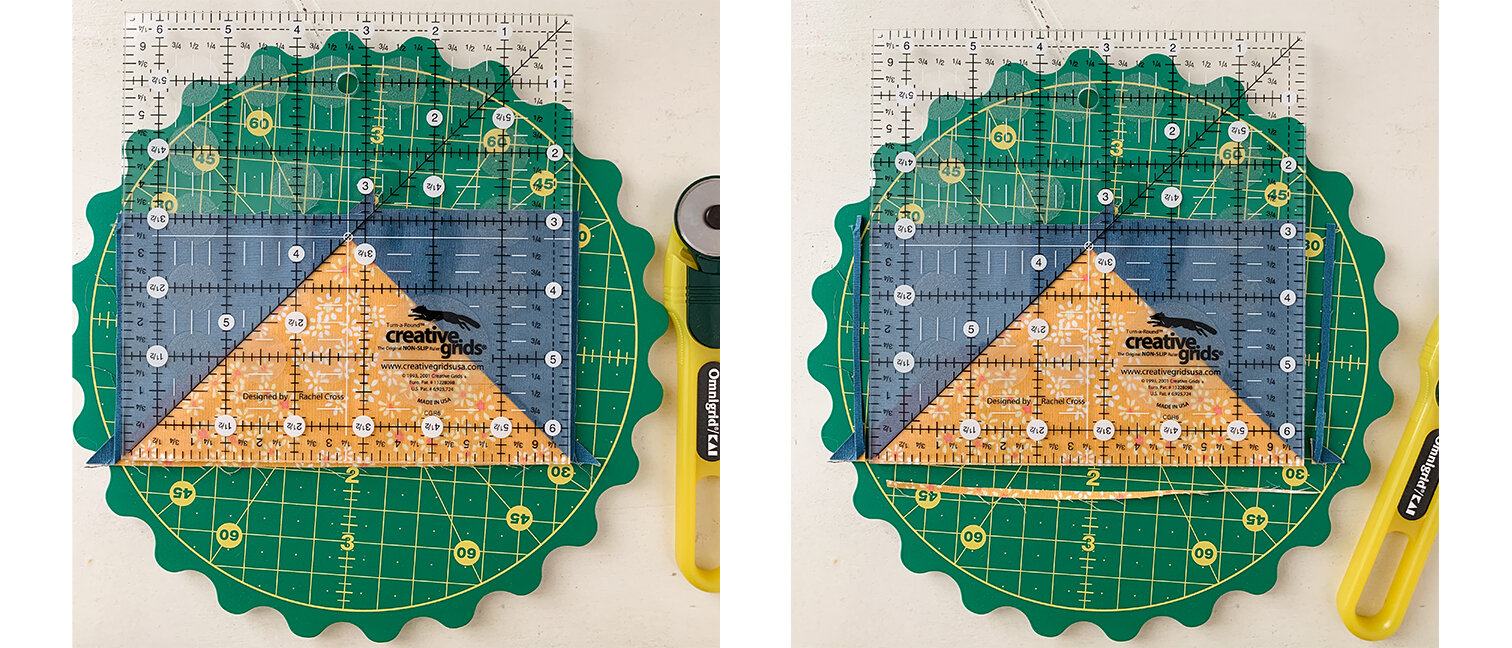
From EACH of the fat quarters, cut: (3) 5-1/2’’ x 21’’ strips then cut strips into (6) 5-1/2’’ squares for a total of 96 squares

Sew four 5-1/2’’ squares together to make a row. I didn’t worry about print direction because the pillow will be viewed from all angles.
In the same manner as Step 1, make a total of 24 rows.
Sew 4 rows together to make a front/back panel. Make a total of 4 panels, reserving the remaining rows for the side panels.
Stitch cushions together as per the instructions in the Sew 4 Home tutorial.

You can create your cushion insert from foam and batting as per the tutorial or you can recover an existing cushion.

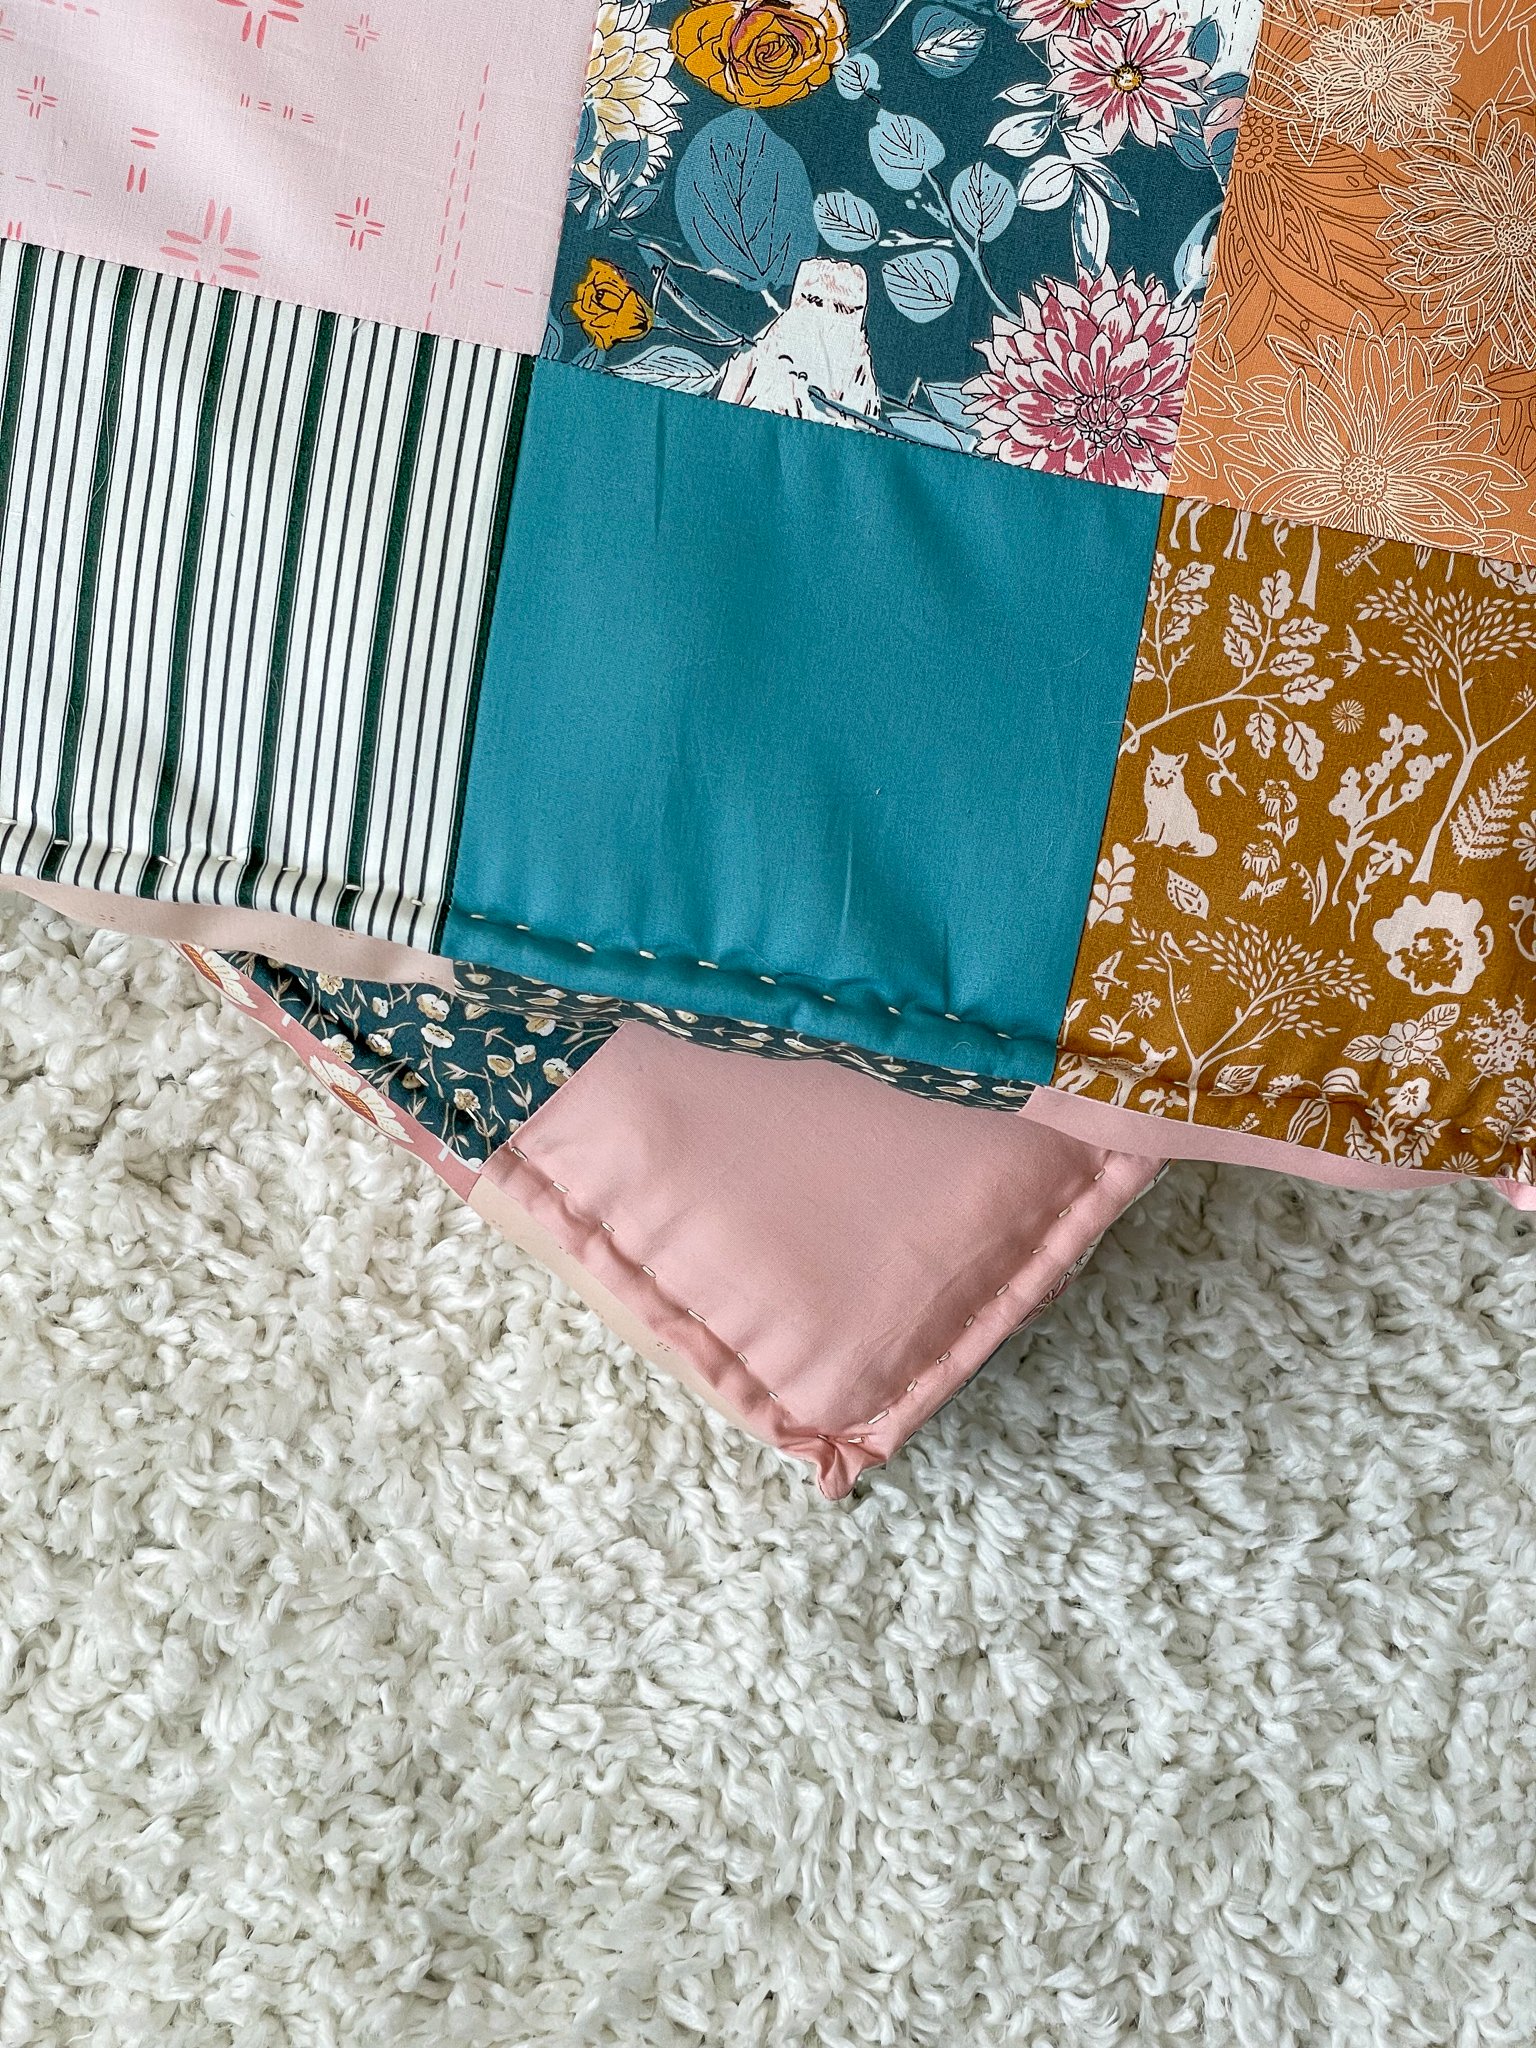
I used Wonder Clips to help pinch the edges together for the hand sewing of the edge details and used some beautiful antique linen thread as my heavy-duty thread.

I decided not to tuft the top and bottom of the cushion because the patchwork had enough interest all on it’s own but you can tuft with thread and or buttons as well for an even more custom look.

Other ideas for making French mattress cushions would be to create custom sizes for a window seat or bench, adding a carrying handle, or ties for a chair seat cushion. You could also get real fancy and quilt the cotton patchwork or whole cloth panels before assembling the cushion.
Be watching for the Art Gallery Fabrics Willow Look Book to be released around May 17th-20th. I’ll have a follow up blog post featuring the other projects I made and haven’t shared yet—it’s been so hard keeping a lid on the projects but we all need to wait just a little bit longer. If you’re on Instagram, be sure to follow me @sharonhollanddesigns as I post daily inspiration with fabric, sewing, and quilting news and announcements.
I am an Amazon Associate site and earn from qualifying purchases on the products I’ve linked below. The helpful products selected are the same or similar to materials used to make the project(s) in this blog post or related items I think you may enjoy.