Community Sampler Week #2
Welcome to the Community Sampler sew along and the first block in our quilt! My co-host and sister Art Gallery Fabrics designer Maureen Cracknell and I are so happy to have you sewing with us!
There are eleven blocks in our quilt and each Wednesday will be a new PDF block release or finishing step for the quilt. If you are just joining us, pick up the Introduction PDF on the Sew Along page and you'll get a material list along with coloring pages so you can get started planning your quilt.
Many of the patchwork units (like Quick-Corner, Flying Geese, Half-Square Triangle, and Square-in-Square units) used in this year's sampler have already been oversized to allow for trimming and squaring of units before assembling your block. Please cut your pieces EXACTLY as given in each of the PDF instructions because bumping up the size of the pieces in some blocks will not work well.
Accurate cutting and use of a true 1/4'' seam allowance is a must for successful patchwork piecing. All your blocks will measure 12-1/2'' square (unfinished). Review how to cut strips, sew with a true 1/4'' seam allowance, and other helpful piecing tips on my "Are You Ready to Sew" post.
Time to get to our first block, Kitty-Corner. Download the free PDF on the Sew Along page.
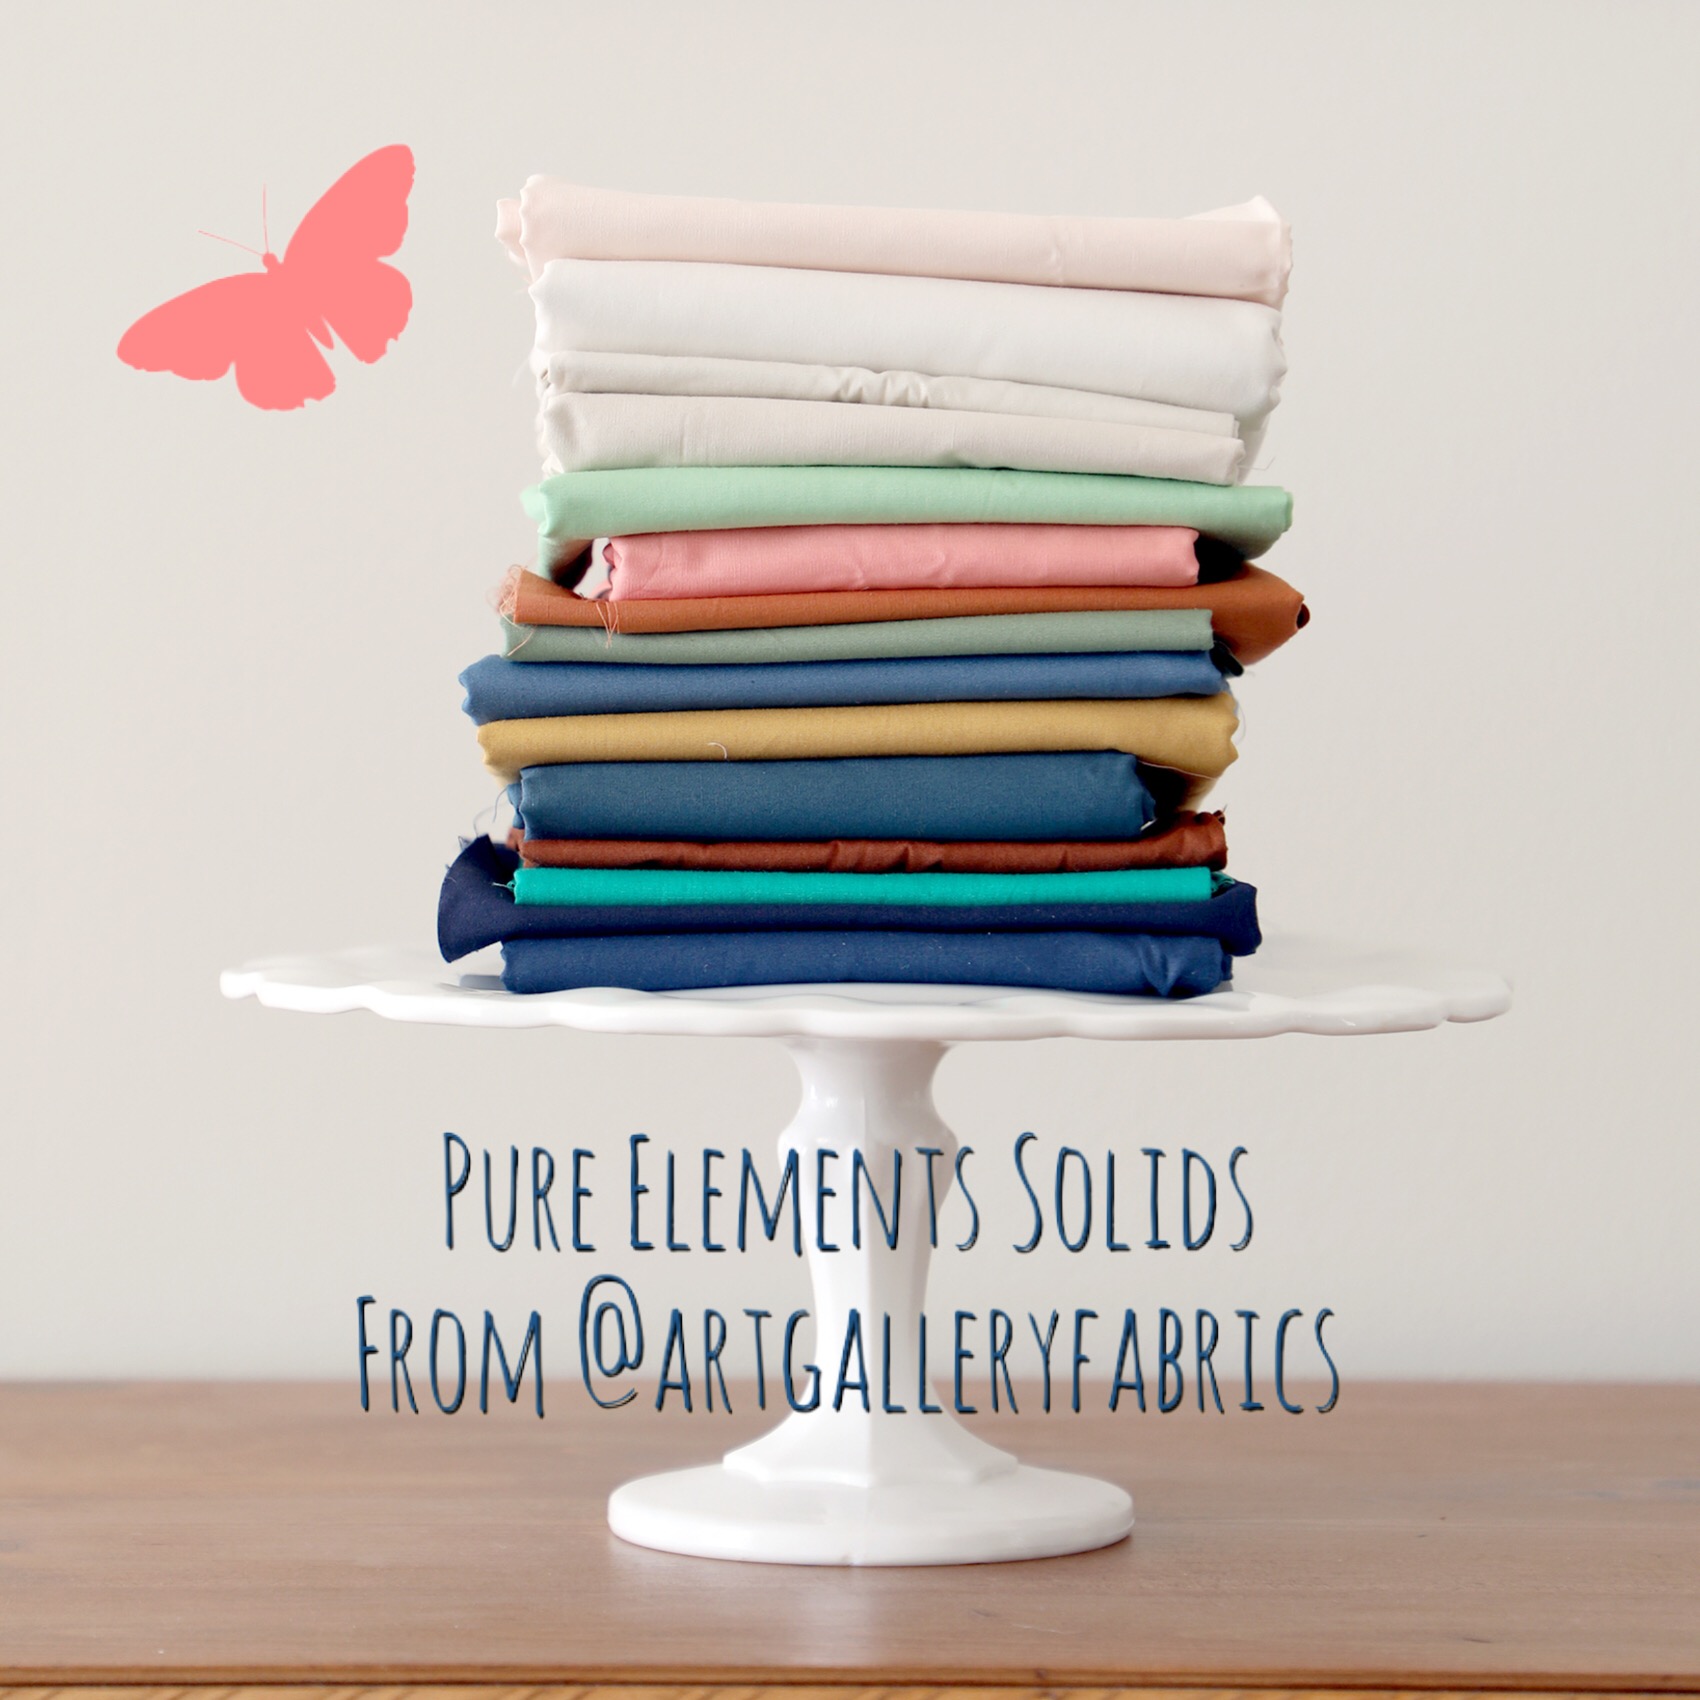
For my sampler quilt I'm using Art Gallery Fabrics Pure Elements solids. Using all solids is a personal challenge for this pattern designer and is not without it's own set of additional challenges. See my previous post for the inspiration behind my color palette. I've already made a few of the blocks for this sampler to work ahead and have found that I really need to bring my A-game for piecing because solids are very unforgiving and show every little missed point. Again, this is a good challenge even for a quilter that's been doing this awhile and I will need to take extra care in my stitching!
Quick-Corner Units Lesson
For the Kitty-Corner block I've prepared a supplemental lesson for making Quick-Corner units. The cutting sizes for these units have already been enlarged and you will need to trim and square your unit once assembled. See PDF for full material list and block piecing instructions.
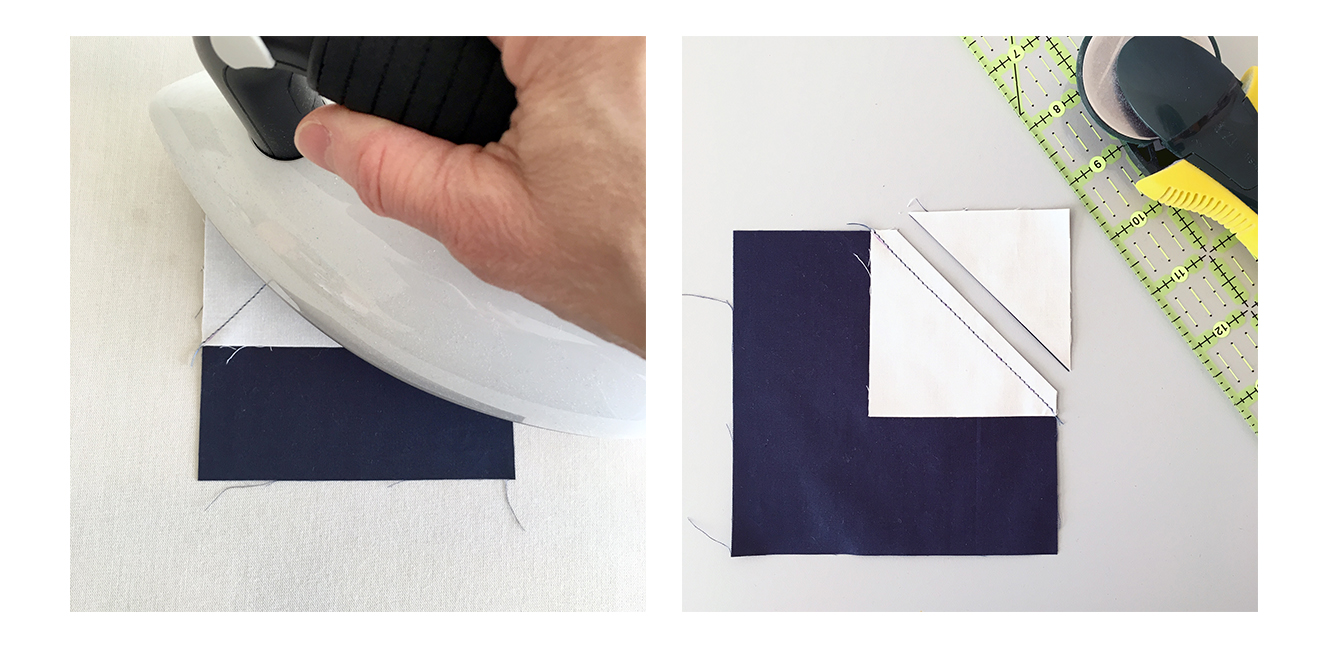
Draw a diagonal line on the wrong side of each 2-3/4'' fabric B square. Noting orientation of the drawn line, place a marked square right sides together on a corner of a 4-3/4'' fabric A square. Sew on the line.
Press fabric flat before proceeding to trimming the corner. Trim 1/4'' past the stitch line. Press corner open.
Noting orientation of the drawn line, repeat on the other corner with another marked square, stitching on the drawn line. Press to flatten. Trim 1/4'' past the stitch line and press corner open.
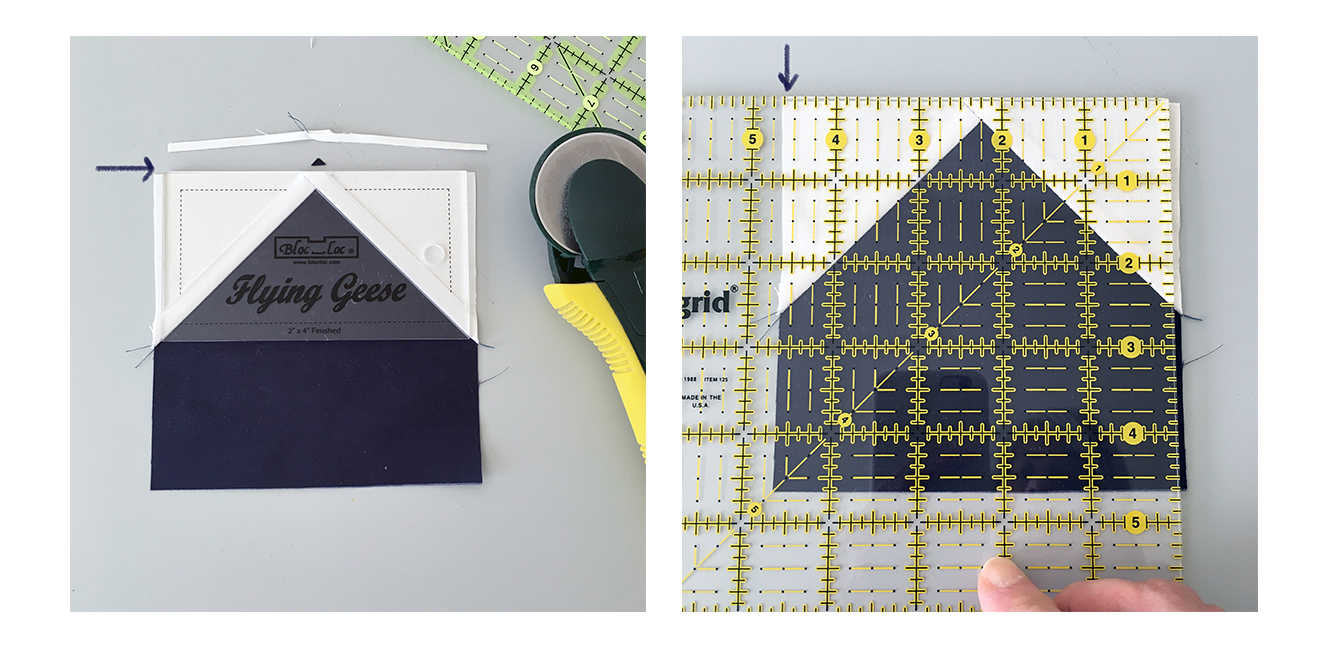
One of the wonderful sponsors in this year's sew along is Bloc-Loc. In the first image, I'm using my 2'' x 4'' Flying Geese Bloc-Loc ruler to trim the point edge of my unit and leave the perfect amount of 1/4'' seam allowance. Watch more on the Bloc-Loc video for using the Flying Geese ruler on Square-in-Square units.
Since this unit needs a little extra care in trimming I've trimmed the remaining sides of the unit with a regular square ruler. I trim one side at a time starting with point edge up. Align the left side of the block with the 4-5/8'' mark on the square ruler (see arrow) and trim 1/8'' off the right side.
Rotate the unit 180° (point edge down) and align the square ruler on the left edge at 4-1/2''. Trim the right side 1/8''. Finally rotate the block 90° (point edge to the left) and align the square ruler with the point edge at 4-1/2". Trim the right side 1/8". If you're left handed, mirror image these instructions, measuring from the right side and cutting from the left side.
Your trimmed Quick-Corner unit should measure 4-1/2" square.
My co-host Maureen Cracknell and I are continually amazed by the joy and excitement each of you bring to our virtual community. Thank you for making this sew along so special. Please visit Maureen's blog and see the progress she's making on her sampler quilt, using her beautiful AGF fabrics Love Story collection. Be sure to use the #CommunitySampler hashtag when posting your blocks to Instagram and tag both my @sharonhollanddesigns and @maureencracknell so we don't miss any of your beautiful work!
You all know I'm passionate about photography. Taking photos is part of our everyday lives and with social media we want to be able to share our very best. I intend to utilize Instagram Stories to bring you some very informal photography tips and tricks and eventually start posting more blog posts dedicated to the subject. See the post titled Flat Lay Photography Tips post I wrote almost 2 years ago. It has some great information to get you started. Be watching both of those platforms for more photography lessons.
You don't need a fancy camera (although it makes life a lot easier) or super expensive gear to get great shots. A little extra time and creativity can result in share worthy images!
Community Sampler Sponsors
Don't forget that this Friday's a Giveaway Friday on the Community Sampler sew along. Maureen and I will take turns hosting a giveaway each week where one of our generous sponsors will be featured and offering amazing prizes both here on our blogs and also on Instagram. I will be hosting the giveaway this Friday and you'll be instructed how to enter at that time.
Happy sewing!


