

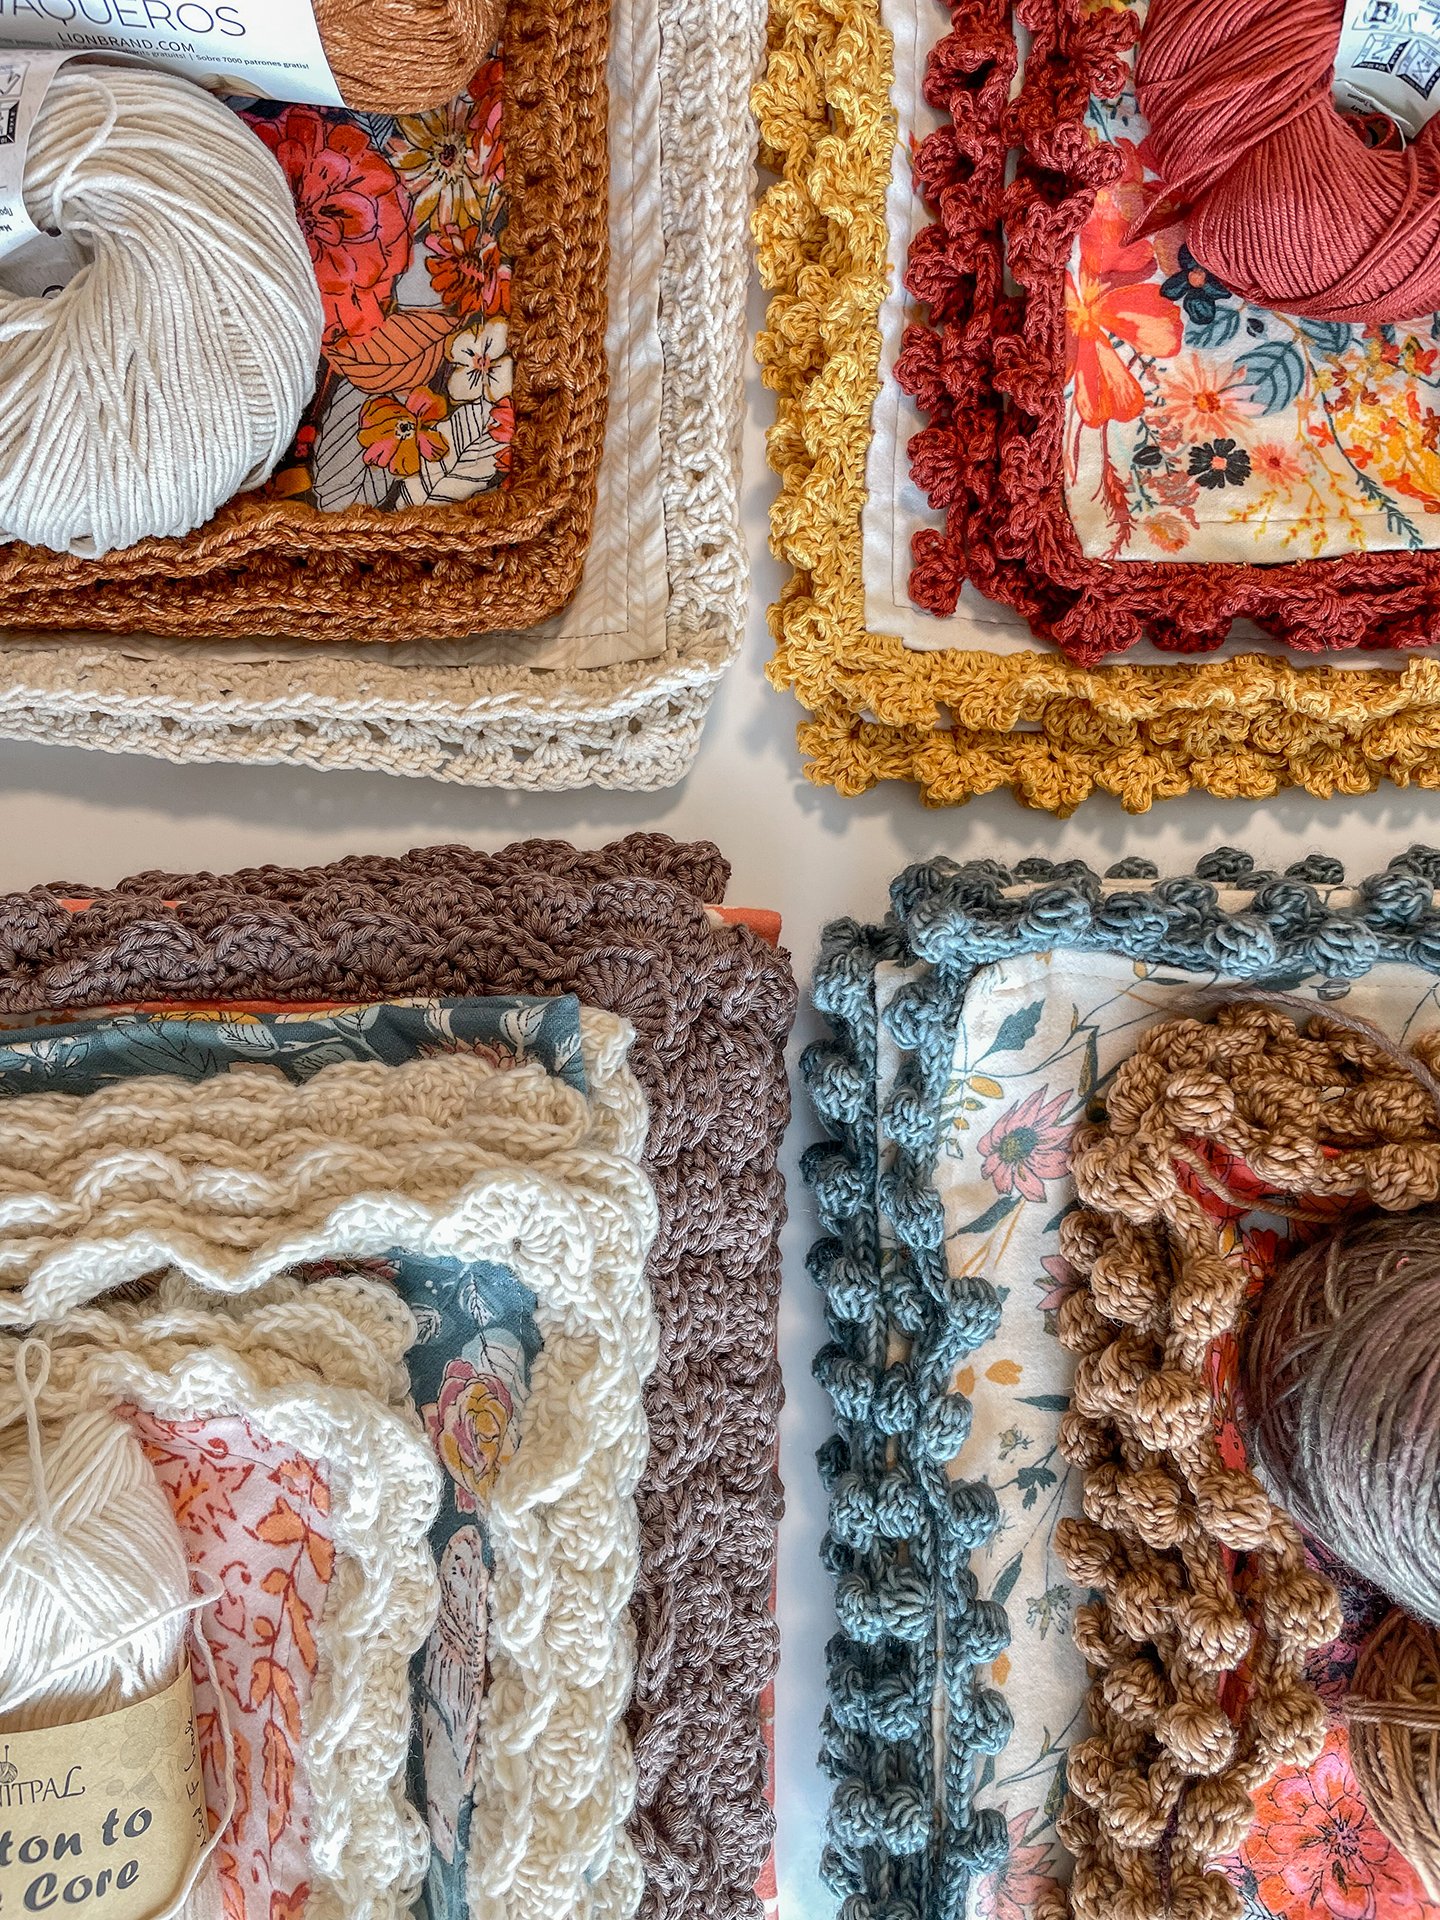
Welcome to the first week of a two-part mini workshop on how to crochet the edges of fabric to create a flannel receiving blanket, burp cloth, or flannel or quilting cotton cloth napkins.
Behind the scenes I’ve been stitching up samples and taping video tutorials to walk you through the steps for making Crochet-Edge Flannel Blankets. None of the steps are very difficult but there is a few steps so that’s why I’m splitting the workshop into two weeks. This week we are preparing your fabric to hold a crocheted-edge. There will be three video modules that you can watch at your own pace.
WEEK 1
Module 1 - Yarn selection
Module 2 - Hemming
Module 3 - Hem Loops
If you like how my crocheting looks like it floats on the edge of the fabric then all the prep work you will do this week will set you up for success when we get to the fun part next week and learn four different crochet edge finishes!
SUPPLIES
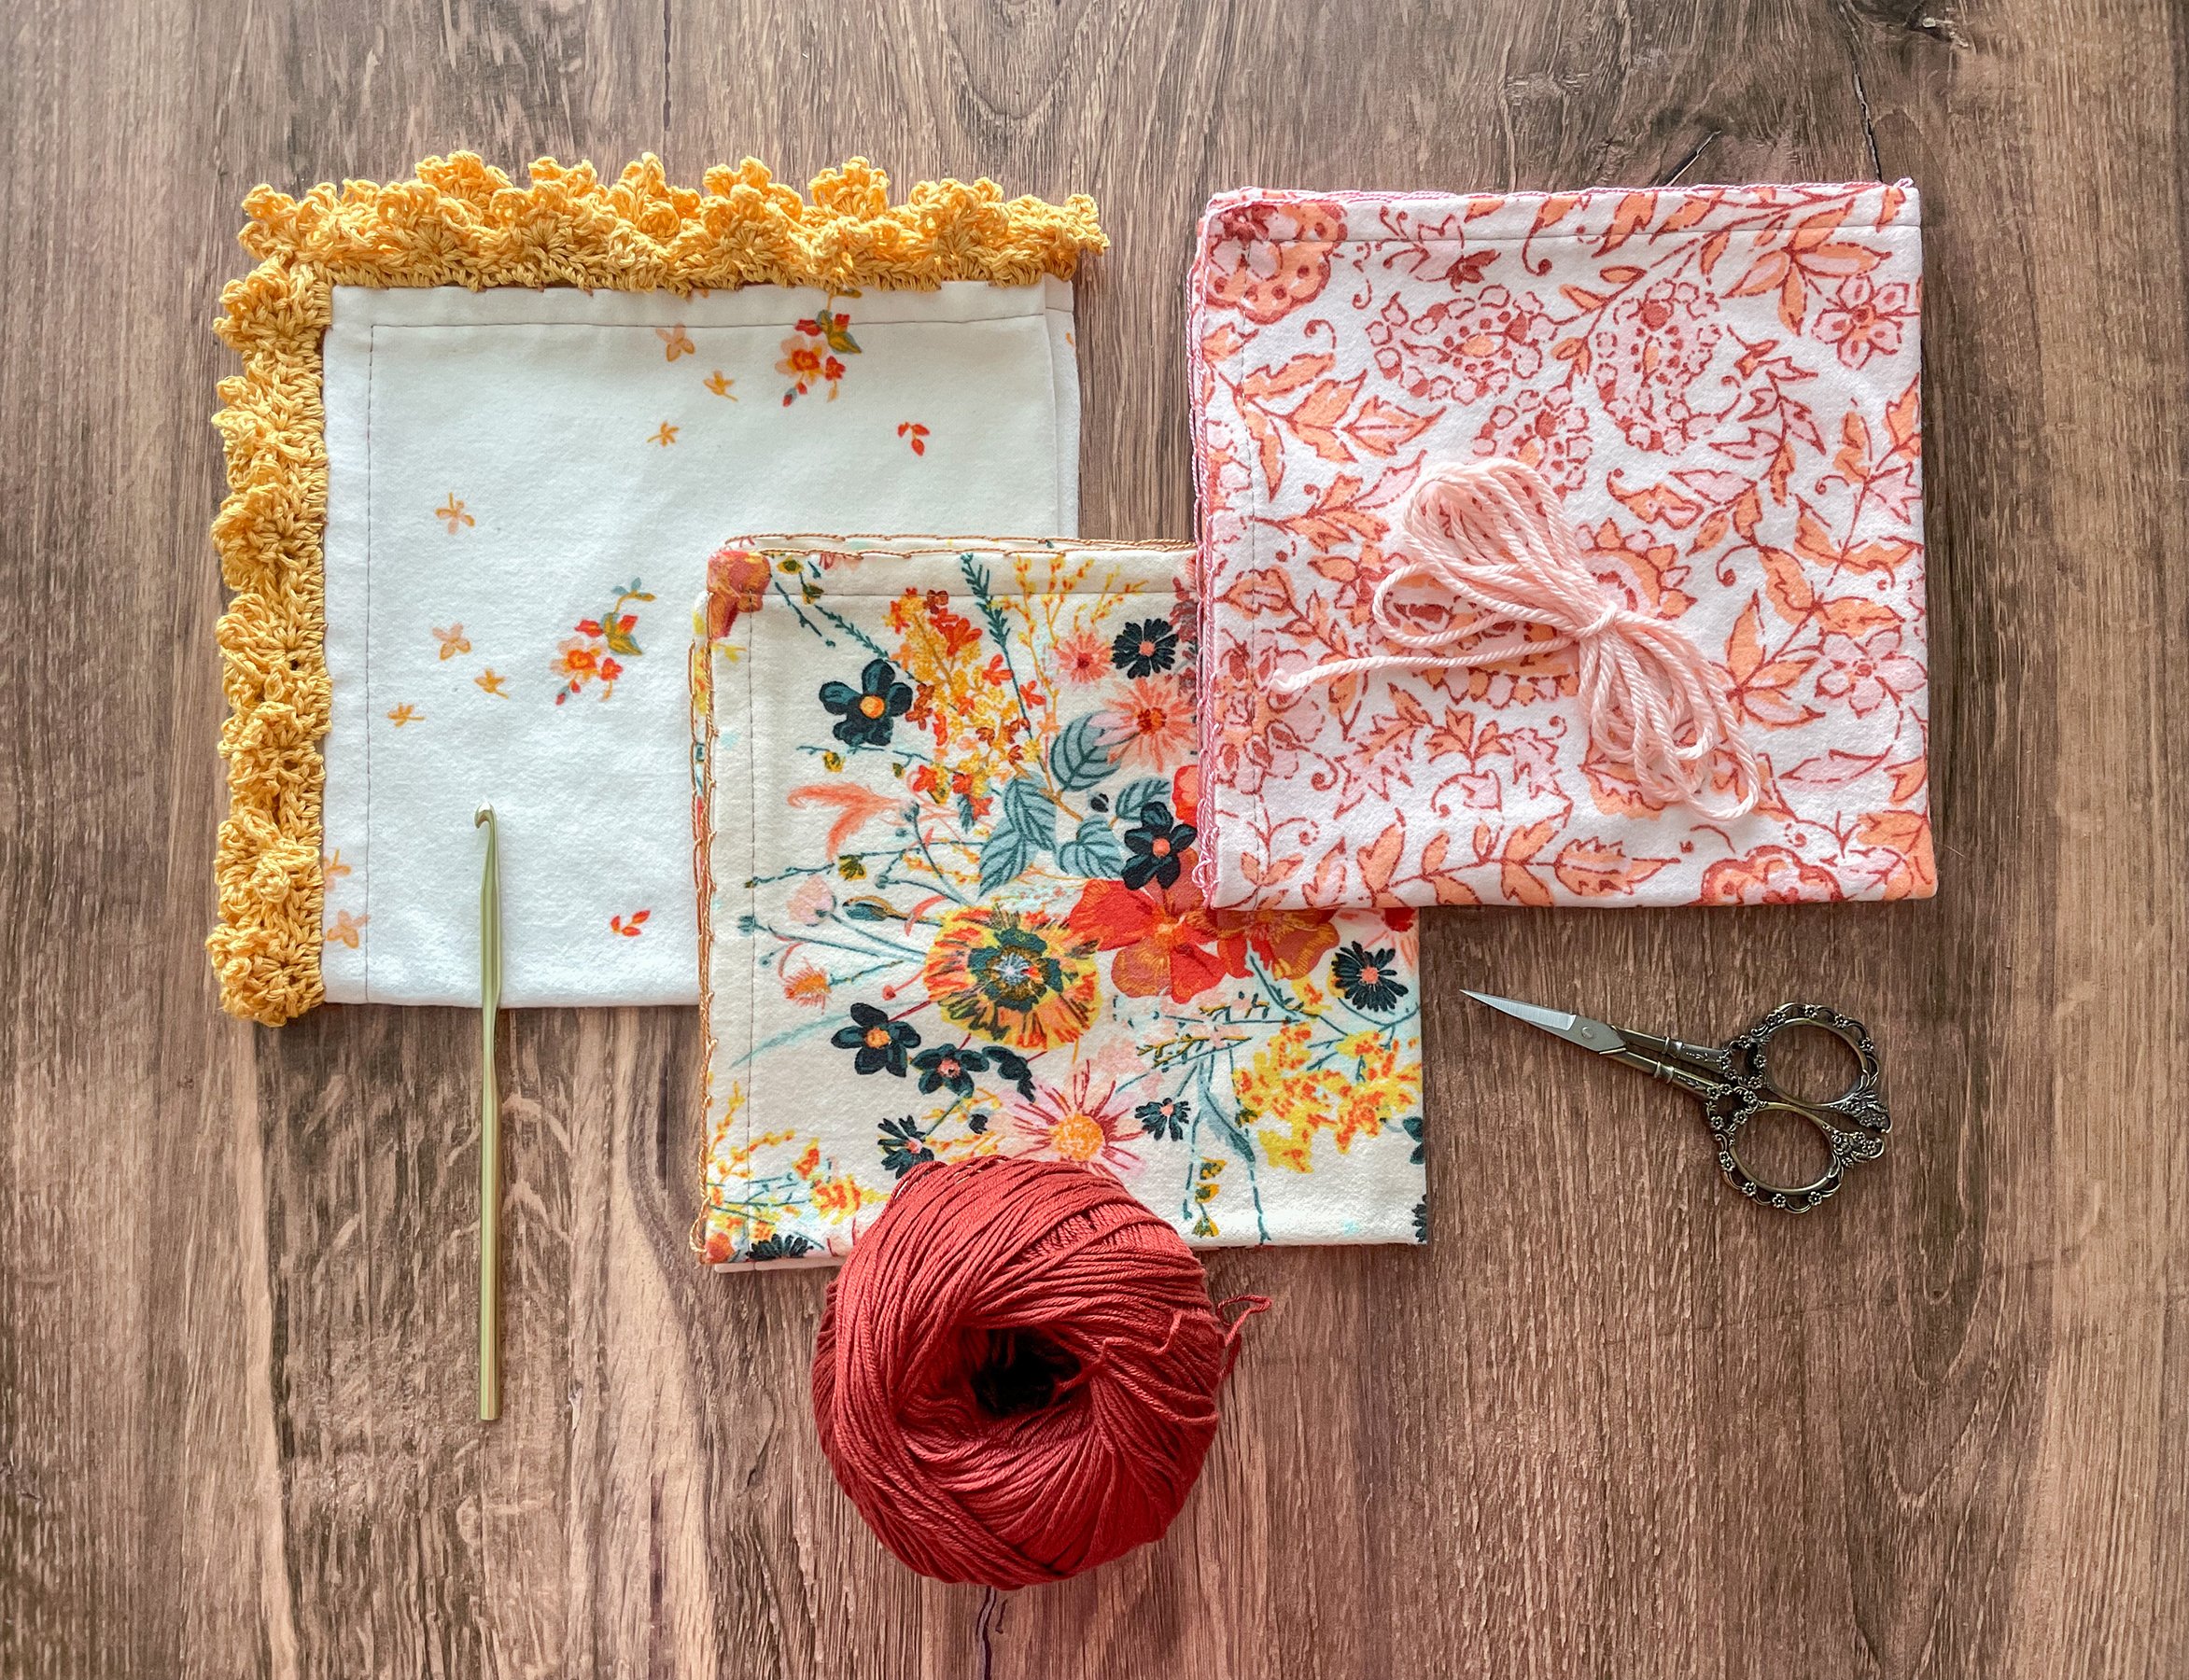
The first supplies you’ll want to gather are your fabric, yarn, and #5 Perle Cotton that closely matches your yarn color.
To make one 40-42’’ square-size receiving blanket you will want to purchase 1-1/4 yards of flannel that’s at least 43-44’’ wide. I’m using Art Gallery Fabrics flannel that’s a thick, double-brushed cotton flannel. Or, this same amount of material could be squared then cut into quarters to make four burp cloths or napkins that measure about 20’’ square. If you want to create projects larger or bigger than outlined above then buy the appropriate amount of fabric—this is a customizable project. You can pre-wash your fabrics if desired.
Note on project size: If you are a beginner to crochet you many want to start with a napkin-size project to begin with. You’ll notice to speed things up I even started making smaller samples.
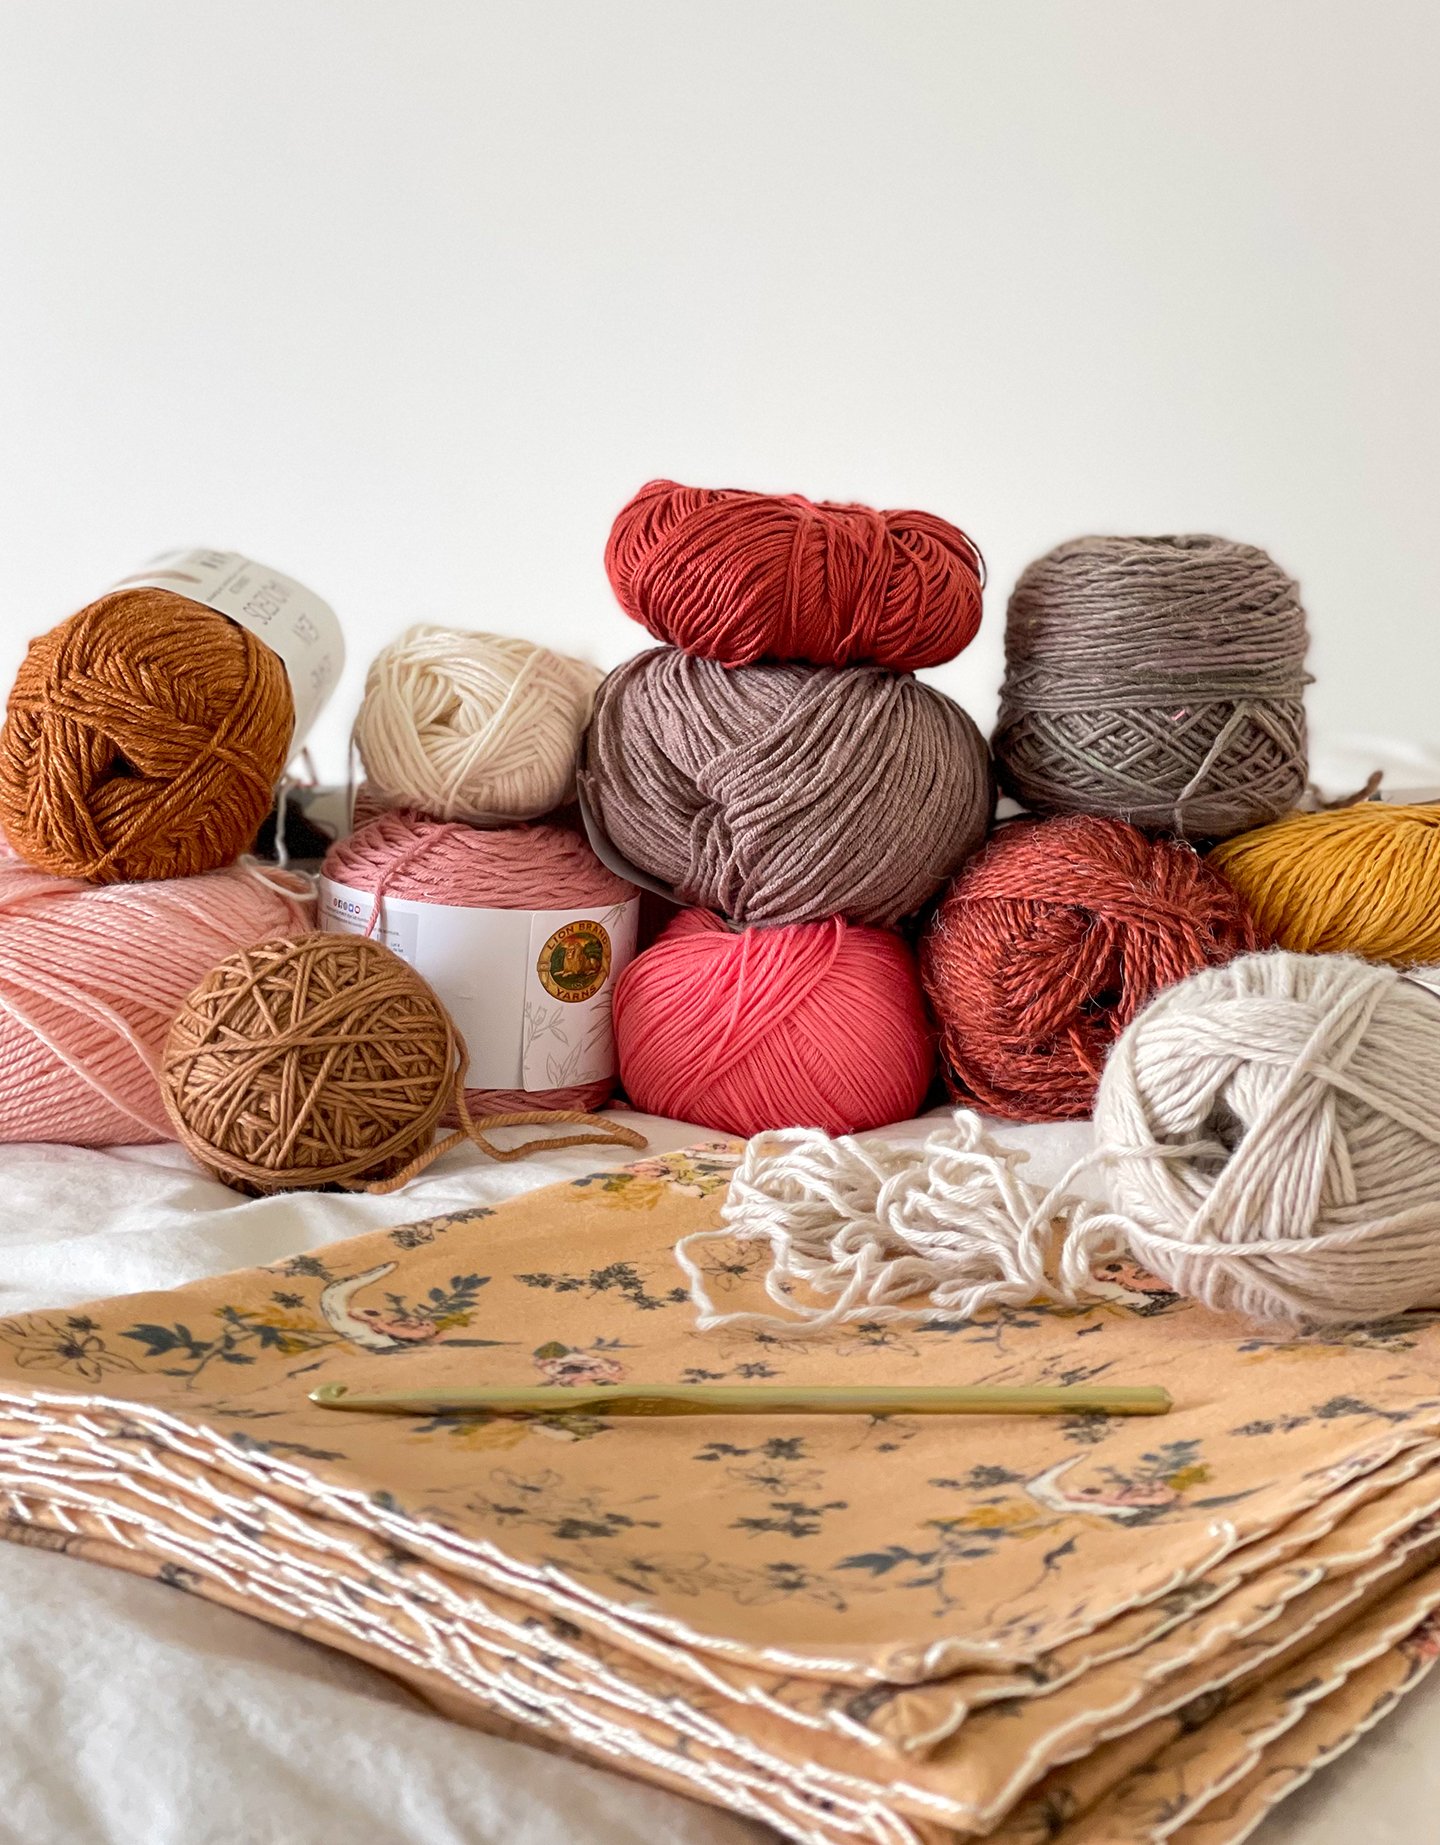
After view Module 1 you will have a better idea of how to select your yarn weight for this project. I have used weights from 2 (fine, sport, or baby weight), 3 (light worsted or DK weight), and 4 (medium or worsted). I used more of the 2-3 weight yarns in my samples and liked how they looked and handled. For one 40-42’’ square receiving blanket you will want to purchase a skein of yarn that has at least 175 yards in it. Adjust accordingly if you’re making a larger or several projects in the same yarn style and color—you may need to buy more skeins.
#2 - Fine, Sport generally calls for a 3.5-4.5 mm hook
#3 - Light, DK weight, Light Worsted generally calls for a 4.5-5.5 mm hook
#4 - Medium, Worsted generally calls for a 5.5-6.5 mm hook
Perle Cotton #5 is my floss choice for creating the hem loops to hold our crochet stitches. I prefer that my Perle Cotton matches the yarn color as close as possible to practically disappear into the crocheting. This hem loop method is my chosen way to add a crochet-edge to a blanket. There are other ways with less preparation, yes, but I like this method because it does not put large holes in the fabric from crocheting directly into the hemmed edge.
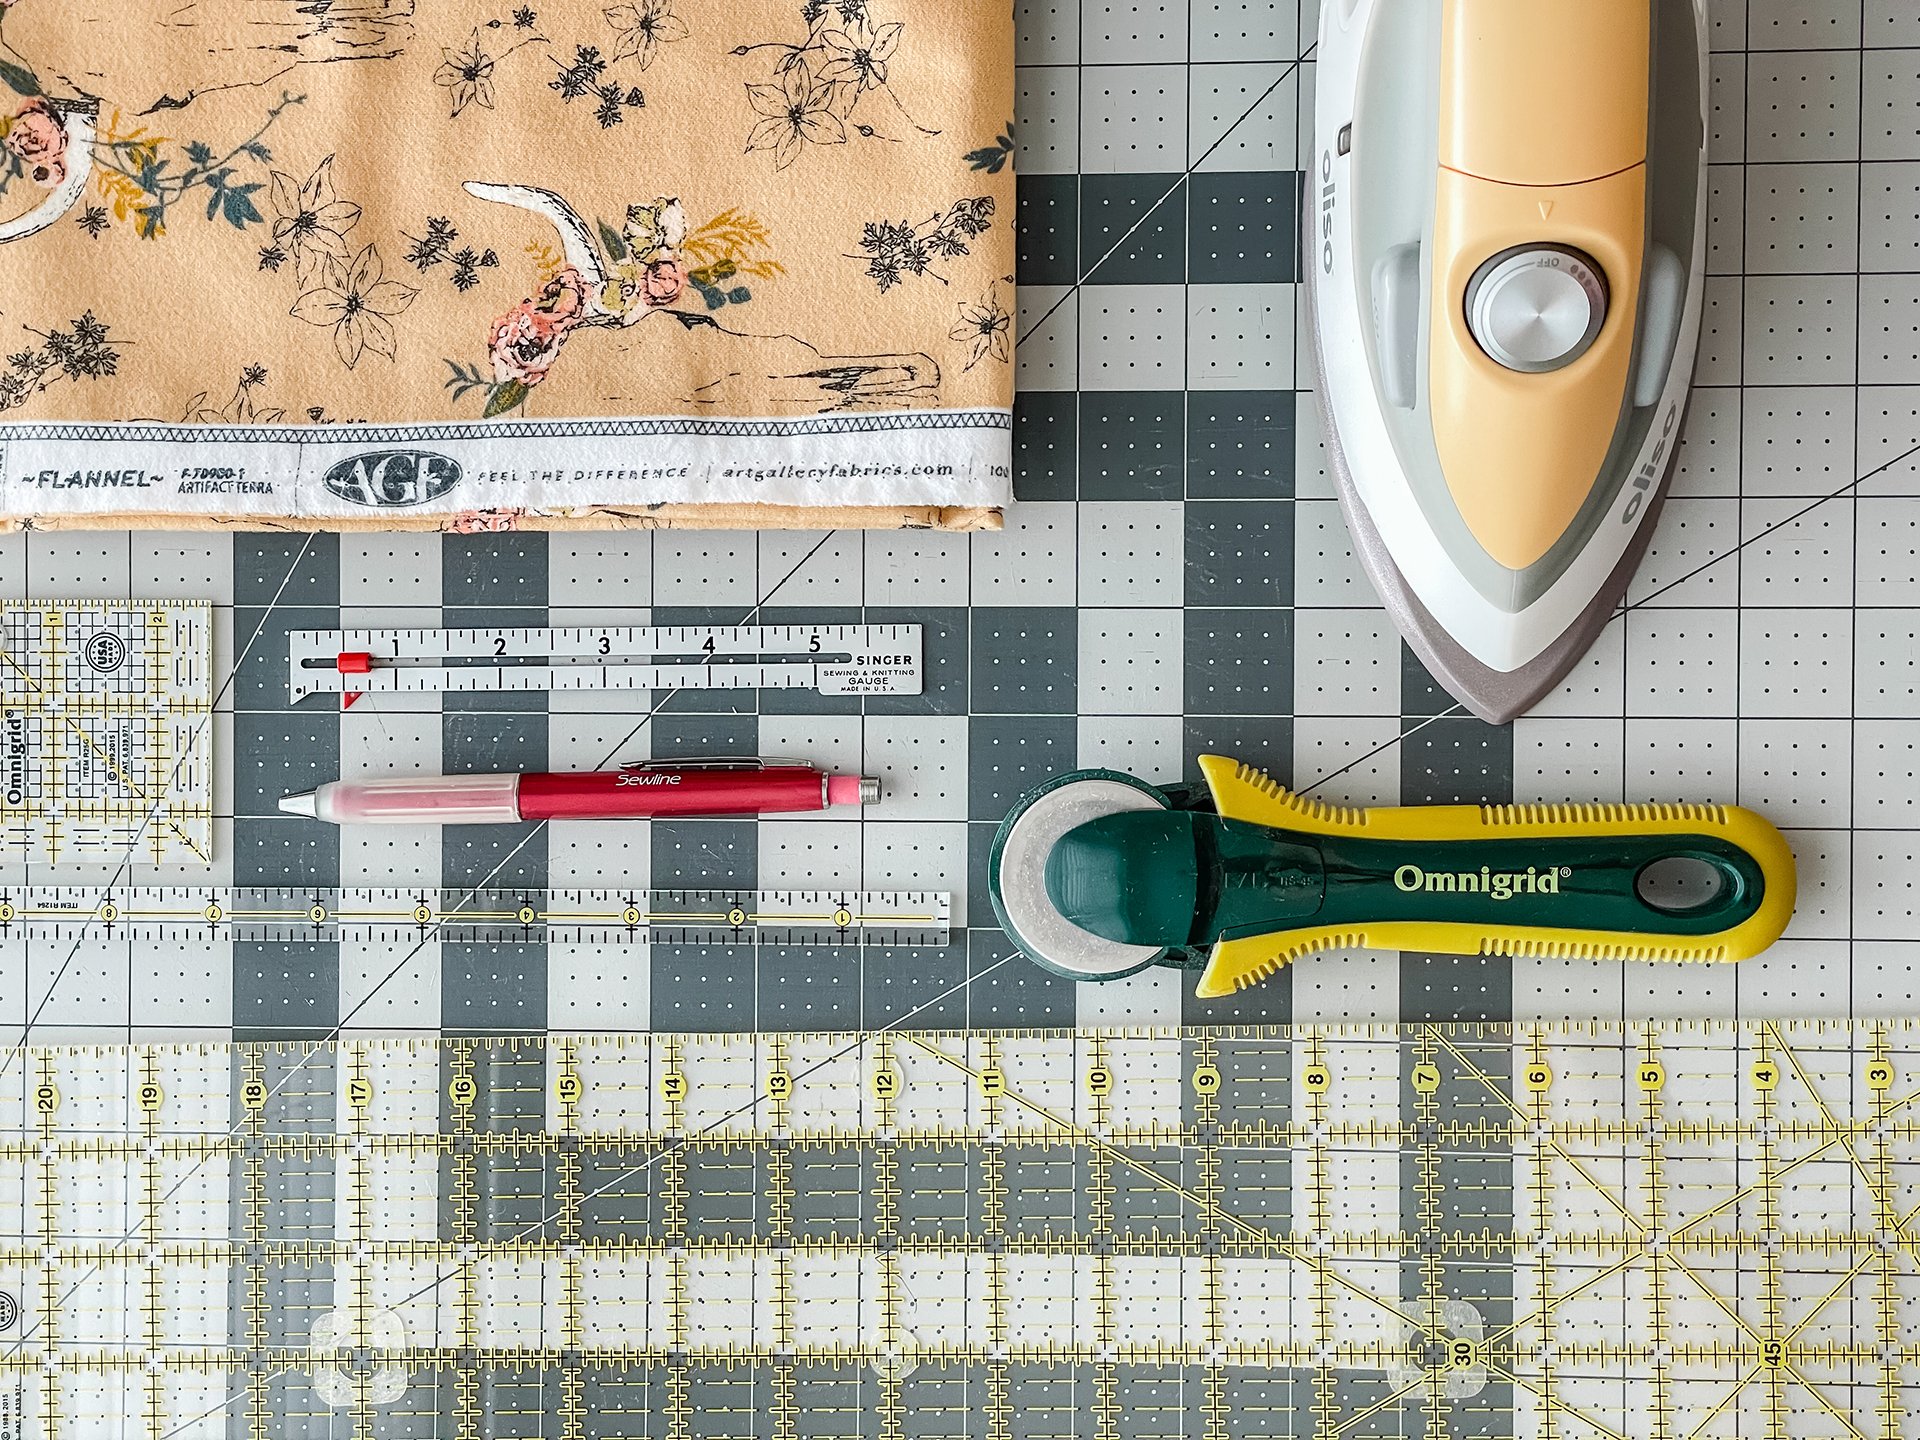
Basic sewing/quilting supplies like: Rotary matte and cutter (for squaring fabric), seam gauge, rulers, marking tool, needle for Perle Cotton, small scissors, iron, and spray starch, if desired.
MODULE 1
Yarn Selection
Even though we don’t start crocheting until Week 2, we will want to select our yarn right after choosing the fabric. Watch the Yarn Selection video before hand to see the four edge stitches I’ll be teaching—as the stitch may help you determine the yarn weight. Be sure to think about the end use of the project and what sort of washing instructions are given for the yarn. If you have a local yarn shop, go in and talk with the staff and feel up the merchandise! Feeling the yarn will be the best way to decide what to use. The yarn packaging will give you information about what crochet hook size to use. You may also want to have one hook size larger and smaller than the yarn suggested size as you may prefer a looser or tighter look than suggested. Here’s an affilate Amazon link for an affordable pack of 9 common crochet hook sizes by Knit Picks that are very comfortable to use. Once you have made a yarn selection then picking out the right color Perle Cotton and hook size will be easier and you’ll be ready to begin hemming with Module 2!
MODULE 2
Hemming
This workshop explains how to square your fabric, hem it, and prepare the hem to hold a crochet stitch. This method MIGHT work for pillowcases if the pillowcase hem is turned under at the edge and accessible before stitching the hem down. The lessons for these tutorials are to make a finished project that’s hemmed. If you are wanting to add crochet to a double-sided, or quilted project—you will want to search online for tutorials that teach how to work crochet on those other sort of projects.
The following video tutorial will help you to make perfect mitered-corners on your fabric and press the hem lines used to mark loop placement in preparation for Module 3.
MODULE 3
Hem Loops
Once you’ve pressed under the hem on your fabric and mitered the corners it’s time to mark the stitching guide for the loops that we’ll be crocheting onto. These loops are made with #5 Perle Cotton and hand-stitched using a back stitch at each mark. After all sides have their loops, then you can machine stitch the hem down and you’ll be ready to start crocheting with the workshop Part 2 modules!
There’s your workshop homework assignment for this week: Choose fabric and yarn plus have the size crochet hook(s), square up and miter the corners of your fabric and press the hems, and finally, mark and stitch the loops before you stitch down the hem. Next week we crochet!
If you’re on Instagram and post process photos of your work, I’d love to see what you're making so don’t forget to tag me @sharonhollanddesigns when you post!
I am an Amazon Associate site and earn from qualifying purchases on the products I’ve linked below. The helpful products selected are the same or similar to materials used to make the project(s) in this blog post or related items I think you may enjoy.