Prairie Flower Quilt
Prairie Flower Quilt by Sharon Holland
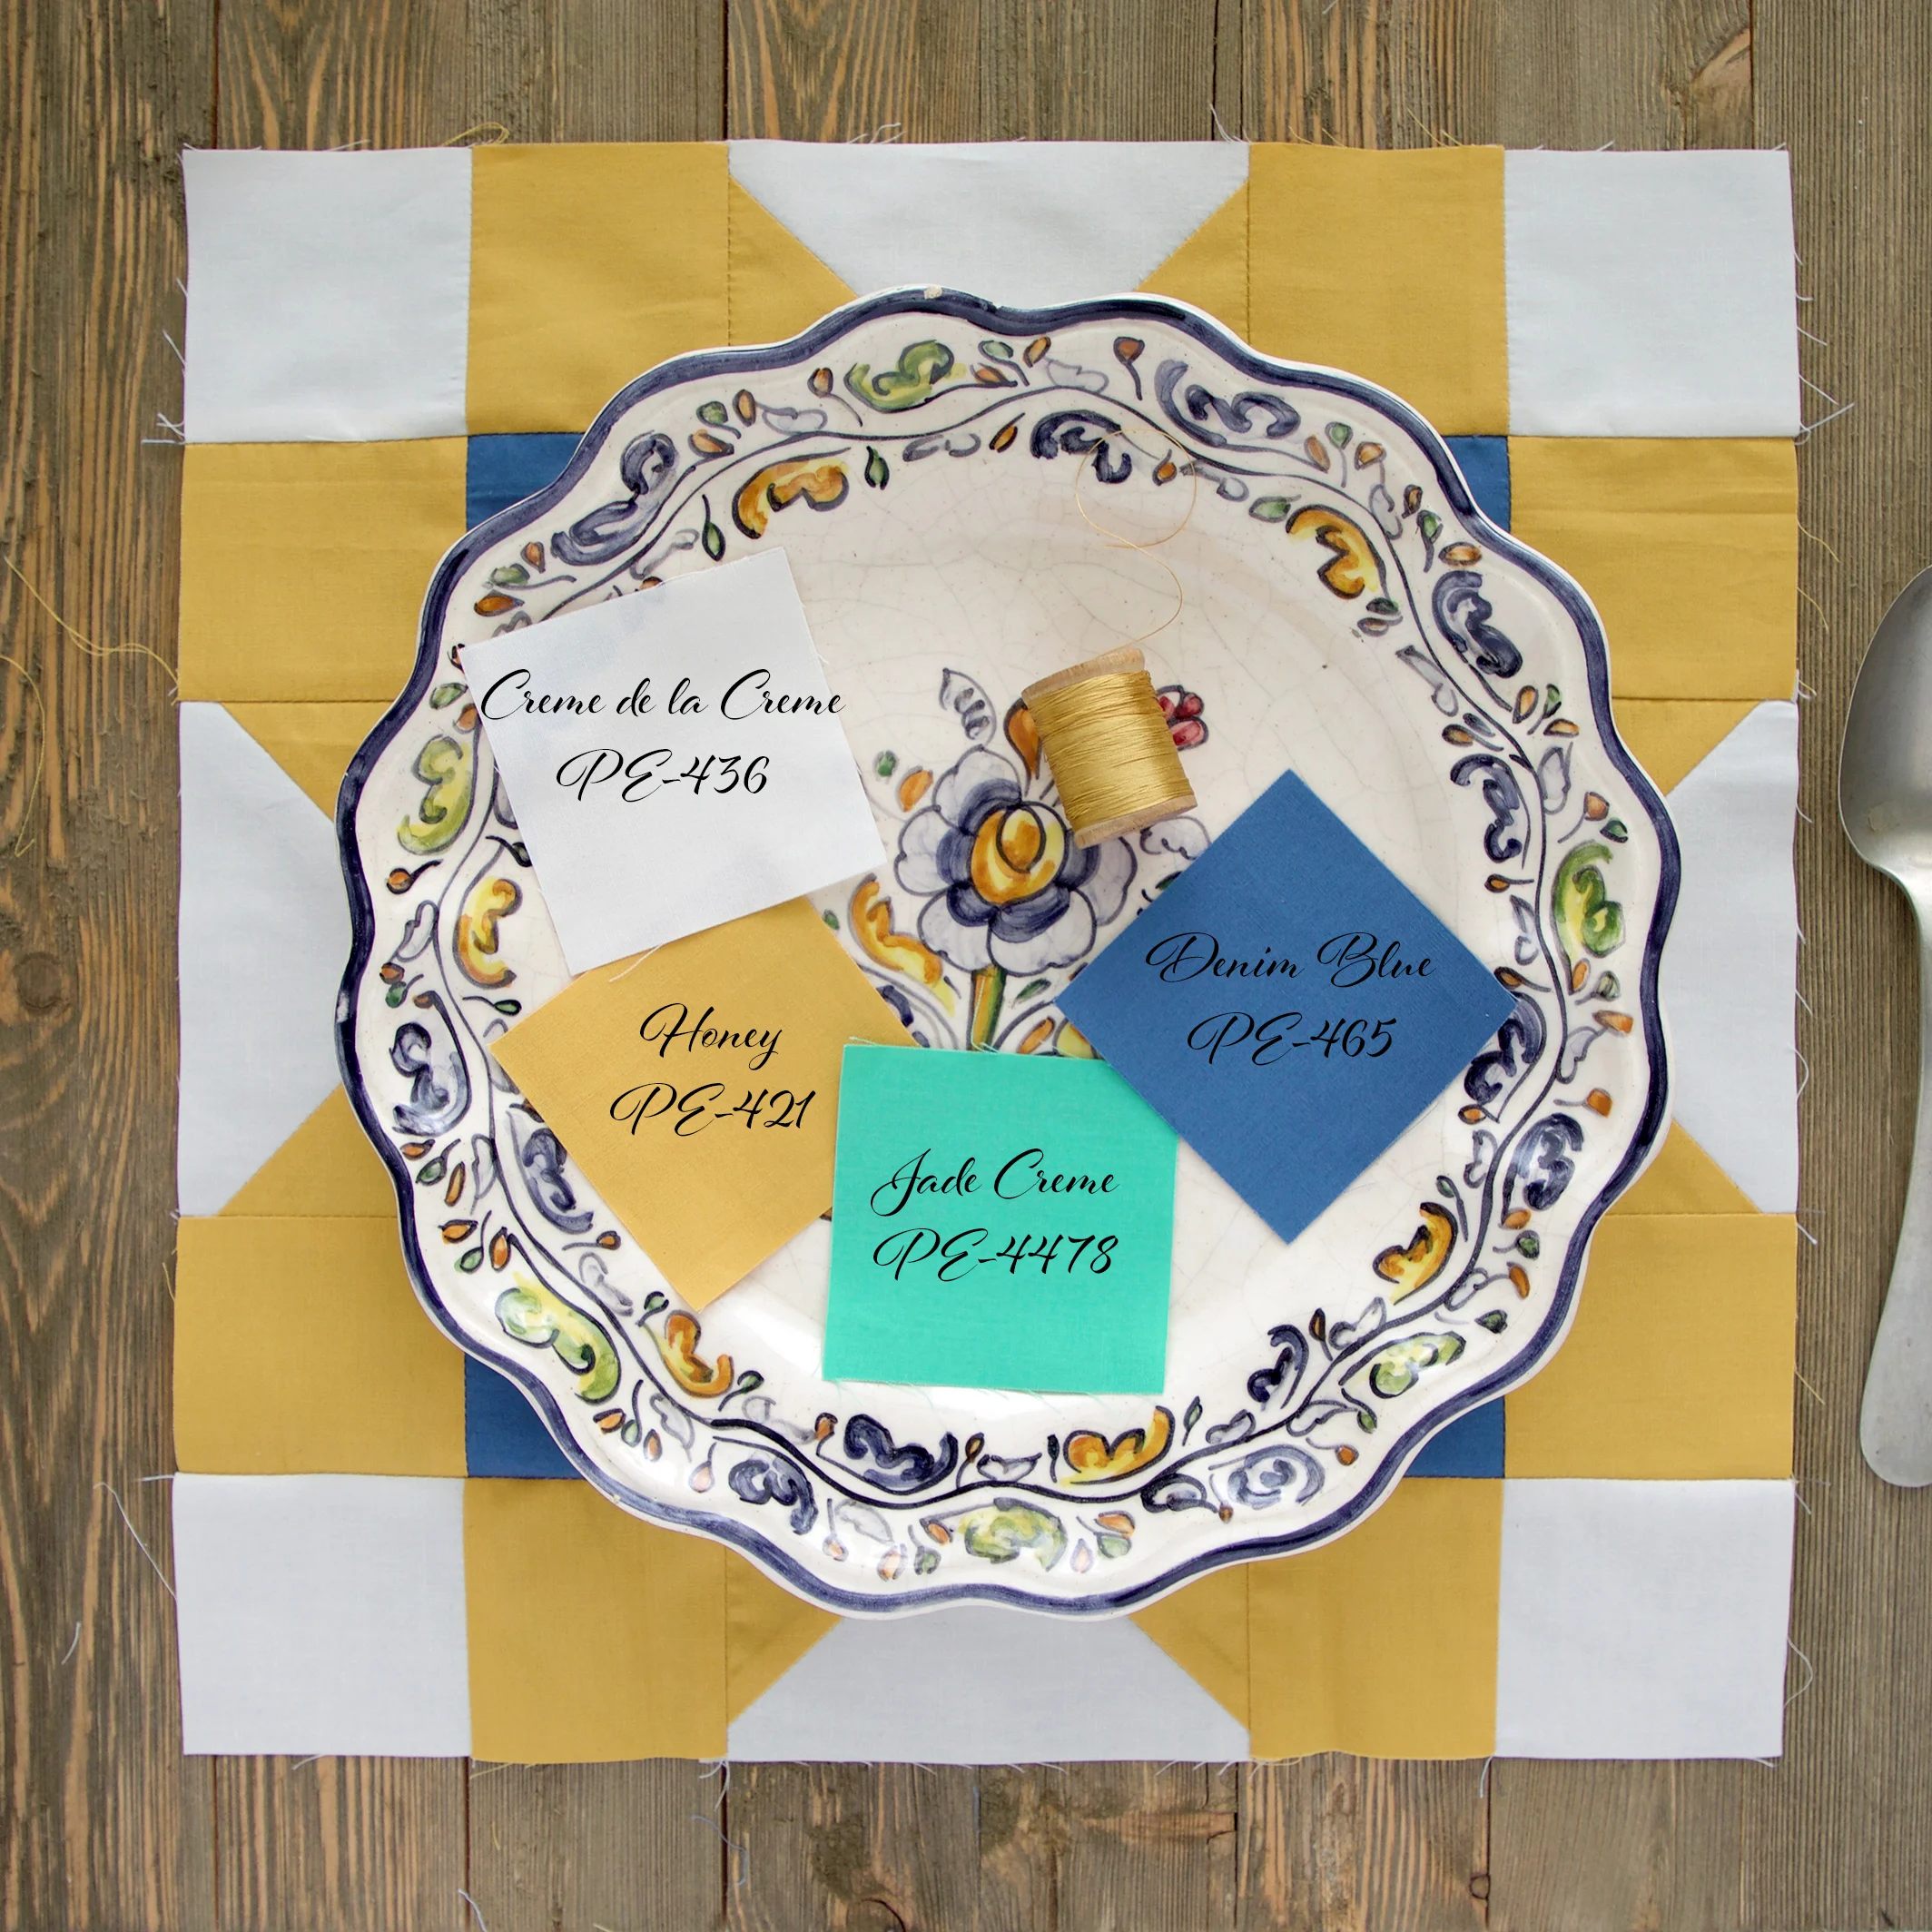
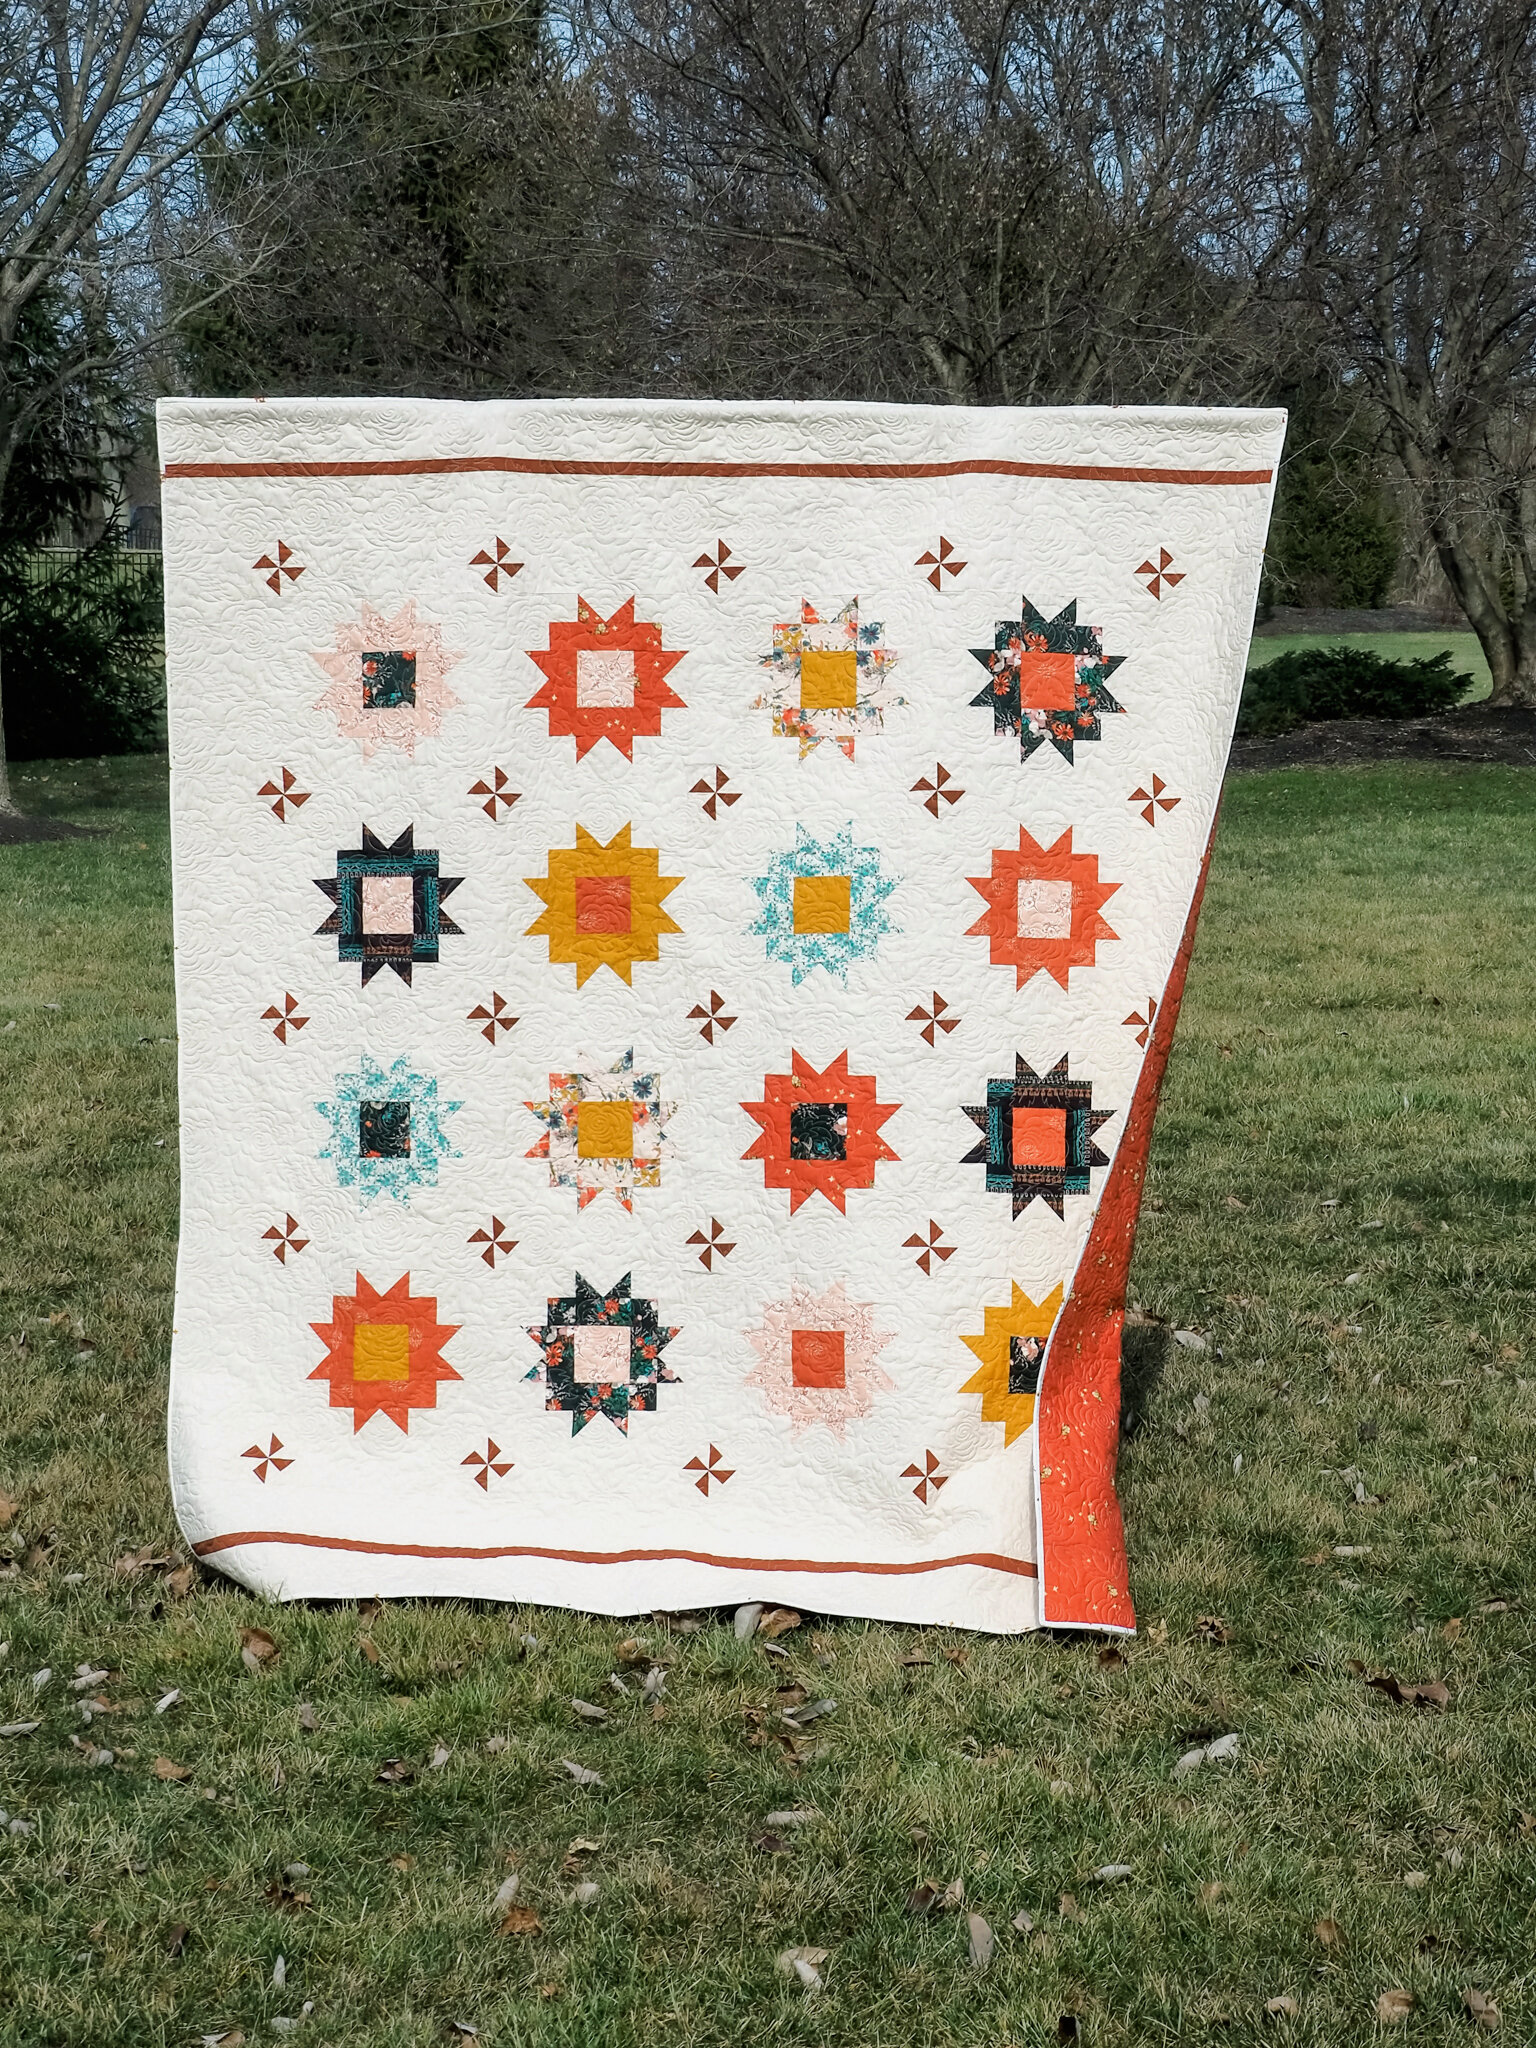
There’s a new pattern in my SHOP called Prairie Flower! This 80” x 88” quilt is made with prints from my Art Gallery Fabrics Spirited collection and AGF Pure Solid in Chocolate for the little pinwheels and border strips. What I love about this quilt is it can fit a double (full) size bed if the border strips are at the head and foot of the bed or if rotated 90 degrees and the border strips run the sides of the bed it’ll fit a queen bed—it’s like getting two for one!

This quilt design’s celebrating it’s nine year anniversary with me. It was the companion quilt pattern for my very first fabric line when I first started designing and licensed my prints to Paintbrush Studio in 2010 (the quilt was finished in January 2011). Now, in 2020, I’ve given the quilt a fresh new look and added the pinwheels blocks and border strips in the all new updated pattern.
I almost hate to post the pictures from the first quilt because the quality of my photos were so poor back then—I didn’t know nearly as much as I do now about photography and file size. But, in all fairness, I’ll show you so you can see how far I and my quilts have come in nine years.

Original Prairie Flower quilt in Blue Skies collection by Sharon Holland for Paintbrush Studio
You can just detect the same furniture and furniture placement in my bedroom! Yeah, I really have no time for decorating, lol, only the bedding, lamps, and bench (at foot of the bed) have been replaced.

The original quilt had smaller Prairie Flower blocks that were set next to each other. The new and improved quilt has a little larger blocks to show off the prints better, sashing, and small pinwheel blocks.

Pinwheel blocks by Sharon Holland
I like how this new layout opens up the field of flowers (blocks) and the scale change between the big and little blocks has movement and energy just like a field of wildflowers blowing in the wind.
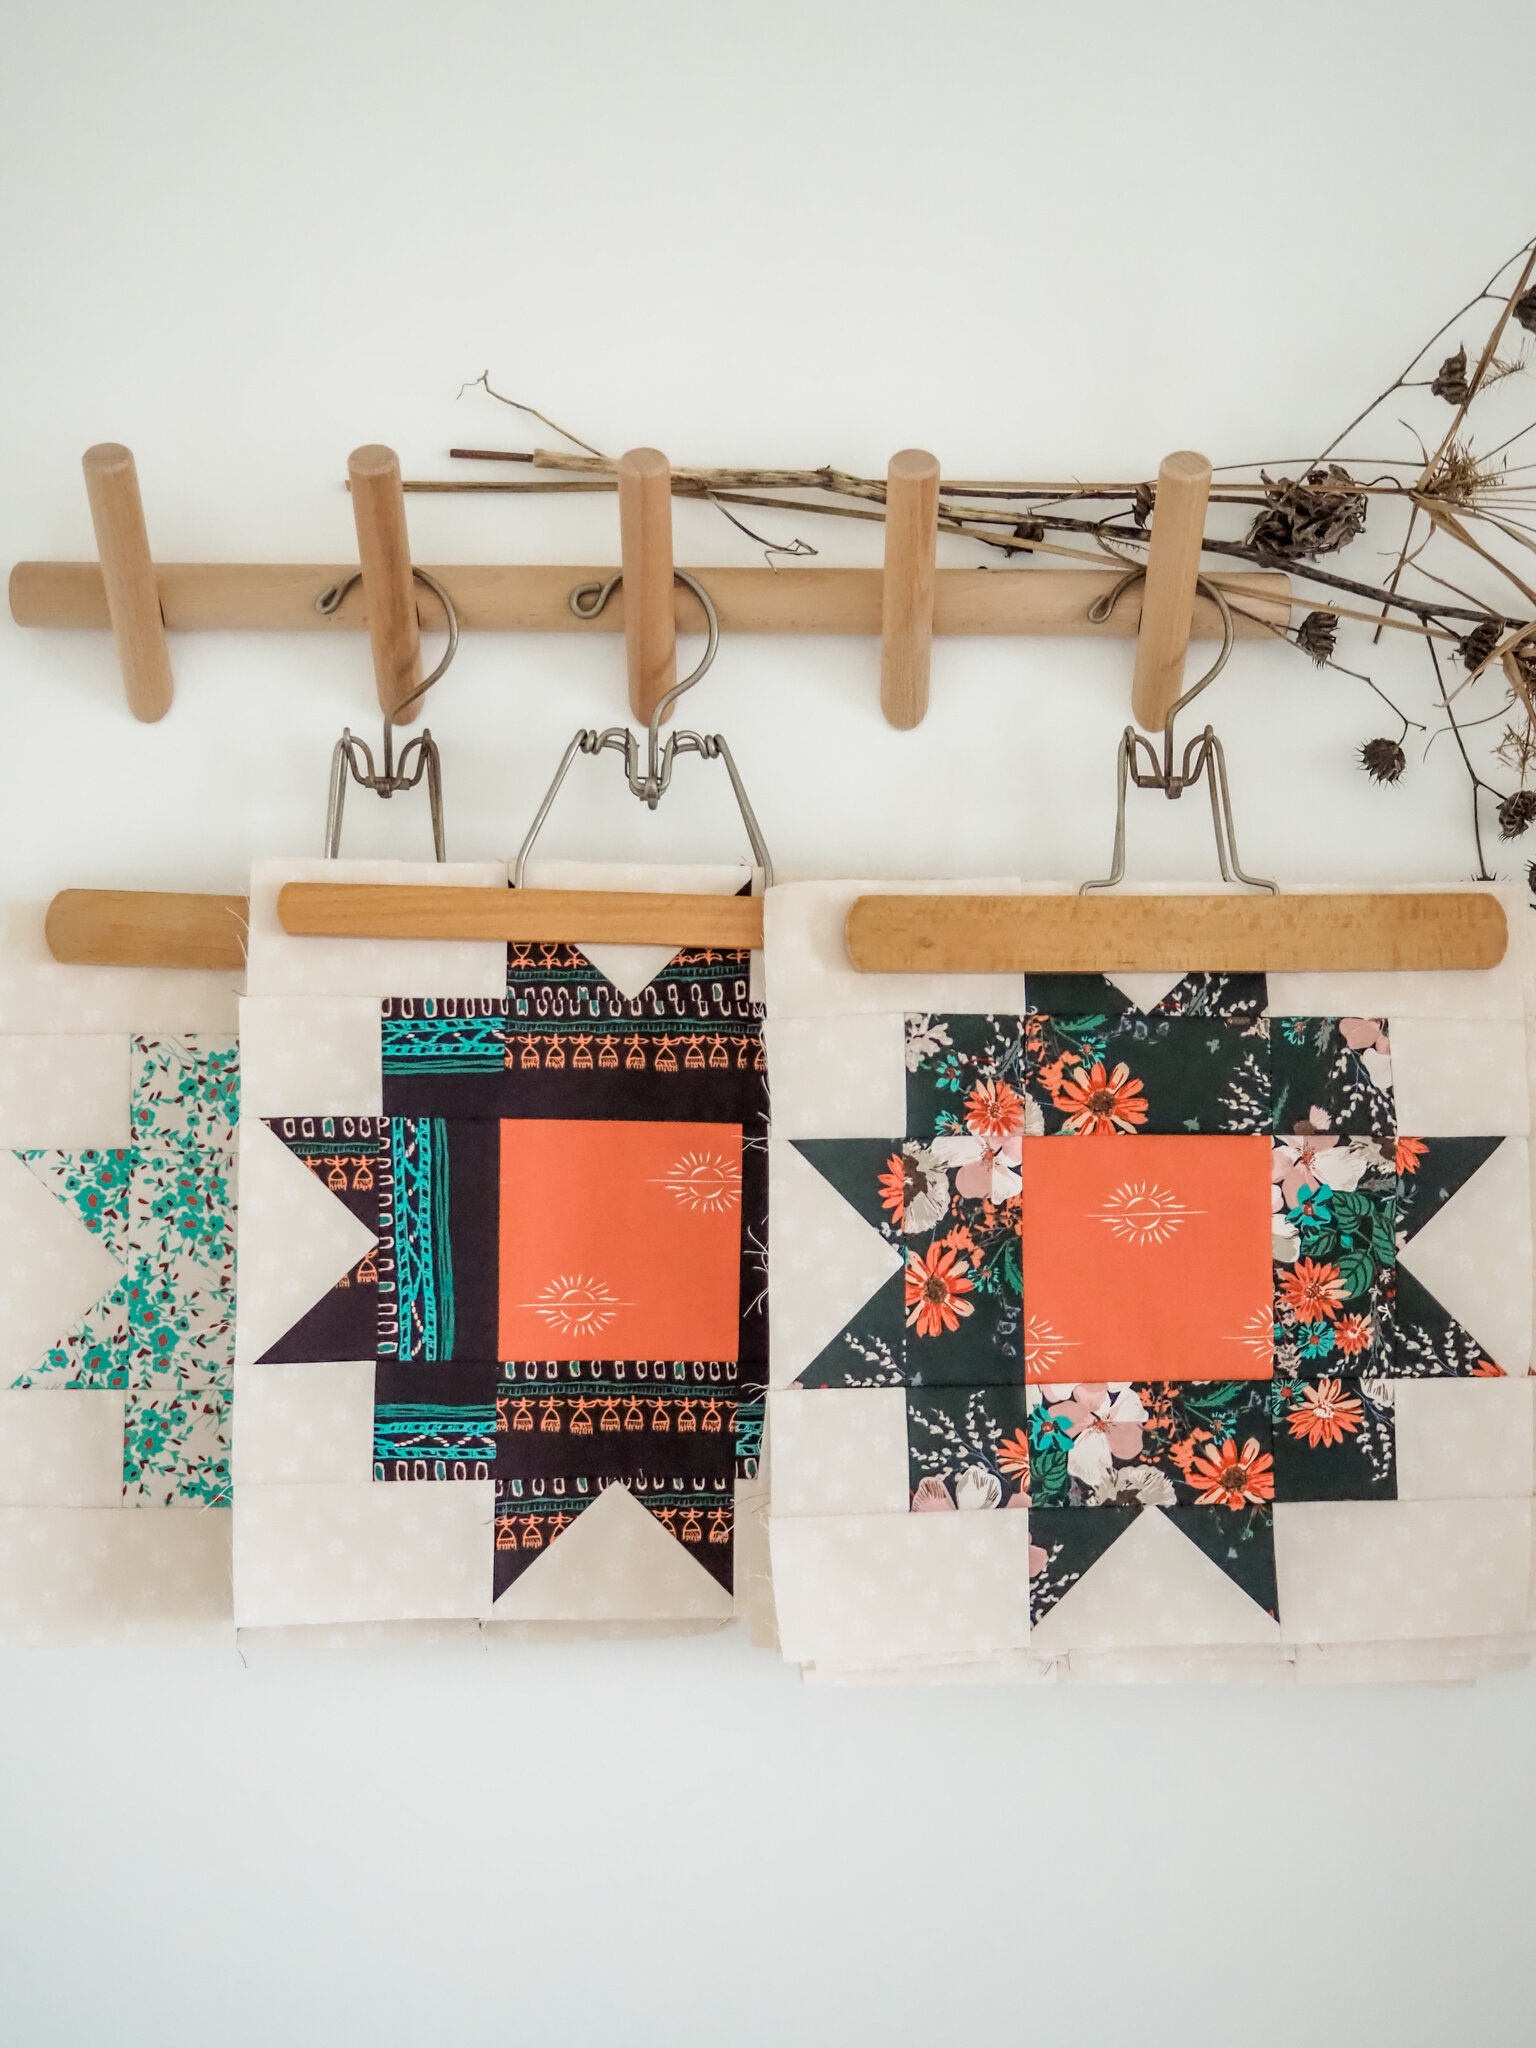
Prairie Flower blocks in Spirited by Sharon Holland
The incredible quilting on the updated Prairie Flower quilt was done by the talented Brooke Becker of Lady Belle Fabric. Brooke has numerous pantograph designs to choose from and I had about five I was considering until I saw this Abstract Rose design and new immediately it was the one for my quilt. I selected cream thread because it blended beautifully with the Spirited - Bright Star Washed print used for the background.

The batting used in my quilt is my all-time favorite, Hobbs Tuscany Silk blend batting. The excellent drape, warmth, and light-weight property of this batting also has beautiful stitch definition for machine or hand quilting—I love it! For the backing I selected Spirited - Delicate Balance Sienna and am obsessed with how beautiful it is!

To celebrate the homecoming of the Prairie Flower quilt I’m having a PDF pattern giveaway here on the blog and on my Instagram feed @sharonhollanddesigns! See how to enter below…

Giveaway now closed
Congratulations to Cindy G, Linda S. Zlogar, and Rita Dowd!!!!
* Note * This giveaway is open to EVERYONE! If you're a "no reply" or anonymous commenter, please remember to include your email address in your comment--you can't win if I can't get a hold of you!
1. Simply leave a comment here under this post! (First comment entry).
2. My followers get a third entry! If you follow via subscribing to my posts, through Bloglovin (or other service), or on Instagram, just let me know by making a separate comment here to record that entry. (Separate comment counts as second entry). Note: I'm no longer on Facebook.
3. Help spread the word!! I know that many of you already do, so I thought it would be nice to add that as another way to enter! Spread the word about this giveaway on YOUR instagram, facebook, tweet, pin, blog post, etc... (separate comment counts as a third entry).
That’s THREE possible entries! Enter now through Friday, March 6, 2020. I’ll be drawing names for three winners. The winning comments will be picked at random around 4pm Eastern. I’ll post the name of the winners on this post once they've been notified and responded to my email.
Be sure to visit my Instagram feed @sharonhollanddesigns for a chance for you and a tagged friend to win PDF patterns from my SHOP. Winners can pick a substitute PDF pattern if desired for the blog and IG giveaways.
Happy sewing,
Sharon
I am an Amazon Associate site and earn from qualifying purchases on the products I’ve linked below. The helpful products selected are the same or similar to materials used to make the project(s) in this blog post or related items I think you may enjoy.