
Community Sampler Week #3
Welcome to the Community Sampler sew along! My co-host and sister Art Gallery Fabrics designer Maureen Cracknell and I are so happy to have you sewing with us and look forward to spending the next few months with you.
There are eleven blocks in our quilt and each Wednesday will be a new PDF block release or finishing step for the quilt. If you are just joining us, pick up the Introduction PDF on the Sew Along page and you'll get a material list along with coloring pages so you can get started planning your quilt.
Many of the patchwork units (like Quick-Corner, Flying Geese, Half-Square Triangle, and Square-in-Square units) used in this year's sampler have already been oversized to allow for trimming and squaring of units before assembling your block. Please cut your pieces EXACTLY as given in each of the PDF instructions because bumping up the size of the pieces from the measurements give will not bring great results in some cases.
Accurate cutting and use of a true 1/4'' seam allowance is a must for successful patchwork piecing. All your blocks will measure 12-1/2'' square (unfinished). Review how to cut strips, sew with a true 1/4'' seam allowance, and other helpful piecing tips on my "Are You Ready to Sew" post.

Time to get to our second block, Dovecote. Download the free PDF on the Sew Along page.
Half-Square Triangle (HST) Units
Dovecote utilizes a couple basic patchwork techniques that we will be using over and over again in our sampler. The sizes of the pieces may vary from block to block but the technique remains the same and so does the need to cut pieces accurately and sew with a true 1/4" seam allowance.
If you're wanting to use directional prints for either of the following patchwork techniques you may want to check out my tutorial for controlling directional prints that was posted during the Sewcial Bee Sampler sew along.

Draw a diagonal line on the wrong side of the lighter square as directed in the instructions. Place the marked square right sides together with a same-size square.
Sew an accurate 1/4" seam on either side of the line. Tip: Use the 1/2" wide marking ruler to mark sewing guides on either side of the center line, if necessary.

After sewing on either side of the line, press the unit flat before cutting apart on the line.

Press the units open. I press toward the dark fabric. Trim units to 3-1/2" square. One of the wonderful sponsors in this year's sew along is Bloc-Loc. In the first image, I'm using my 6-1/2" HST Bloc-Loc ruler to trim and square my HST. First I align the seam with the diagonal center of the ruler and trim the top and right side (not shown well in my first image).
Second I flip the entire unit 180° and trim the top and right side again to make the unit perfectly square. Watch more on the Bloc-Loc video for using the Half-Square Triangle ruler.
No-Waste Flying Geese Units
Saving time and material is the beauty of fast-piece patchwork techniques. Start with accurately cut pieces according to the instructions and take care to use a true 1/4" seam allowance and you'll be rewarded with sharp points to your geese.

Draw a diagonal line on the wrong side of the four squares used for the geese background. Place a marked square right sides together on the corner of the fabric square designated for the goose. Place a second marked square (right side down) on the opposite corner, overlapping the squares in the center.
Sew a 1/4" seam on each side of the drawn line. Press to flatten.

Cut apart on the line. Open and press to make two Flying Geese sections.
Noting orientation of the drawn line and print direction if applicable, place a marked square right sides together on the section as shown.

Sew a 1/4" seam allowance on each side of the drawn line. Notice how the stitched lines start in the "V" created by the layered fabrics. Press to flatten.

Cut apart on the line to make two Flying Geese units. Open and press. Repeat with the remaining section for a total of four Flying Geese units.

Trim units to a 3-1/2" x 6-1/2" rectangle, leaving a 1/4" seam allowance on each side. I've used my 3'' x 6'' Flying Geese Bloc-Loc ruler to trim the point and right edge of my unit and leave the perfect amount of 1/4'' seam allowance. I then rotate my unit 180° and trim the remaining two sides. Watch more on the Bloc-Loc video for using the Flying Geese ruler.

For my sampler quilt I'm using Art Gallery Fabrics Pure Elements solids. Using all solids is a personal challenge for this pattern designer because I love prints! If you follow me on Instagram @sharonhollanddesigns then you may have seen some of the Instagram Stories I've posted about taking better photos. So far I've been jumping around with topics and have covered a bit of information about taking photos of quilts in room settings and how to take better flat lay or close photography photos. Unfortunately, the Instagram Stories only last 24 hours so they're not something you can go back to reference. I only mention this because I do hope to make some dedicated blog posts to photography in the future and continue to make impromptu IG Stories as opportunities arise. Either way, keep watching here on my blog and Instagram as I will do more segments as time permits.

As I mentioned above, working in all solids is a personal challenge for me. I'm certain the finished quilt will be lovely but I'm craving to work with prints. So, a solution for me was to photograph this week's Dovecote block on a vintage Barkcloth drapery panel! After taking this photo I thought it would be fun to show a couple other flat lay (taking the photo from above) background options. For a detailed post about taking Flat Lay Photography, see an earlier post I put together just on that subject.

For the photo of the block on the vintage Barkcloth there was no need for any additional props. That beautiful fabric had enough going on to steal the show! For my second background option I chose a rustic wood panel as the backdrop and added a fresh cut flower and brass quail figurine. Here we know the block is the star and it shows it off well. The rough wood background and natural elements create a moodier nature-inspired scene. I also wasn't as concerned about eliminating all the shadows in this photo because in this case they added to the story. One thing to note when taking flat lays of objects of various heights is to decide where the camera will focus. Most cameras will focus on the object closest to the lens. In this case it was the brass quail. I wanted the block to be sharp so I had to make sure my camera was selecting that plane as the priority.

For each of these flat lay photos I had the block set up near a window for light source and used only natural lighting. That means no flash (gasp, never use a flash!) and no artificial light source. Only light from a window and an inexpensive white foam core board to bounce the light from the window back onto the subject. Doing this will reduce shadows and even out the look of the image.

This last flat lay set up included a few sewing props on a simple linen background. I put the block on point to add extra interest and energy to the photo. All that I didn't want included in the photo was cropped out. Remember to use the grid guidelines on your phone or camera (can be turned on in the settings) to help you keep your camera squared up to your block. Any tilt of your camera will magnify in your flat lay photo and make your block look distorted and wonky. We didn't do all the sewing and squaring up for it to look wonky in our photos!
Community Sampler Sponsors
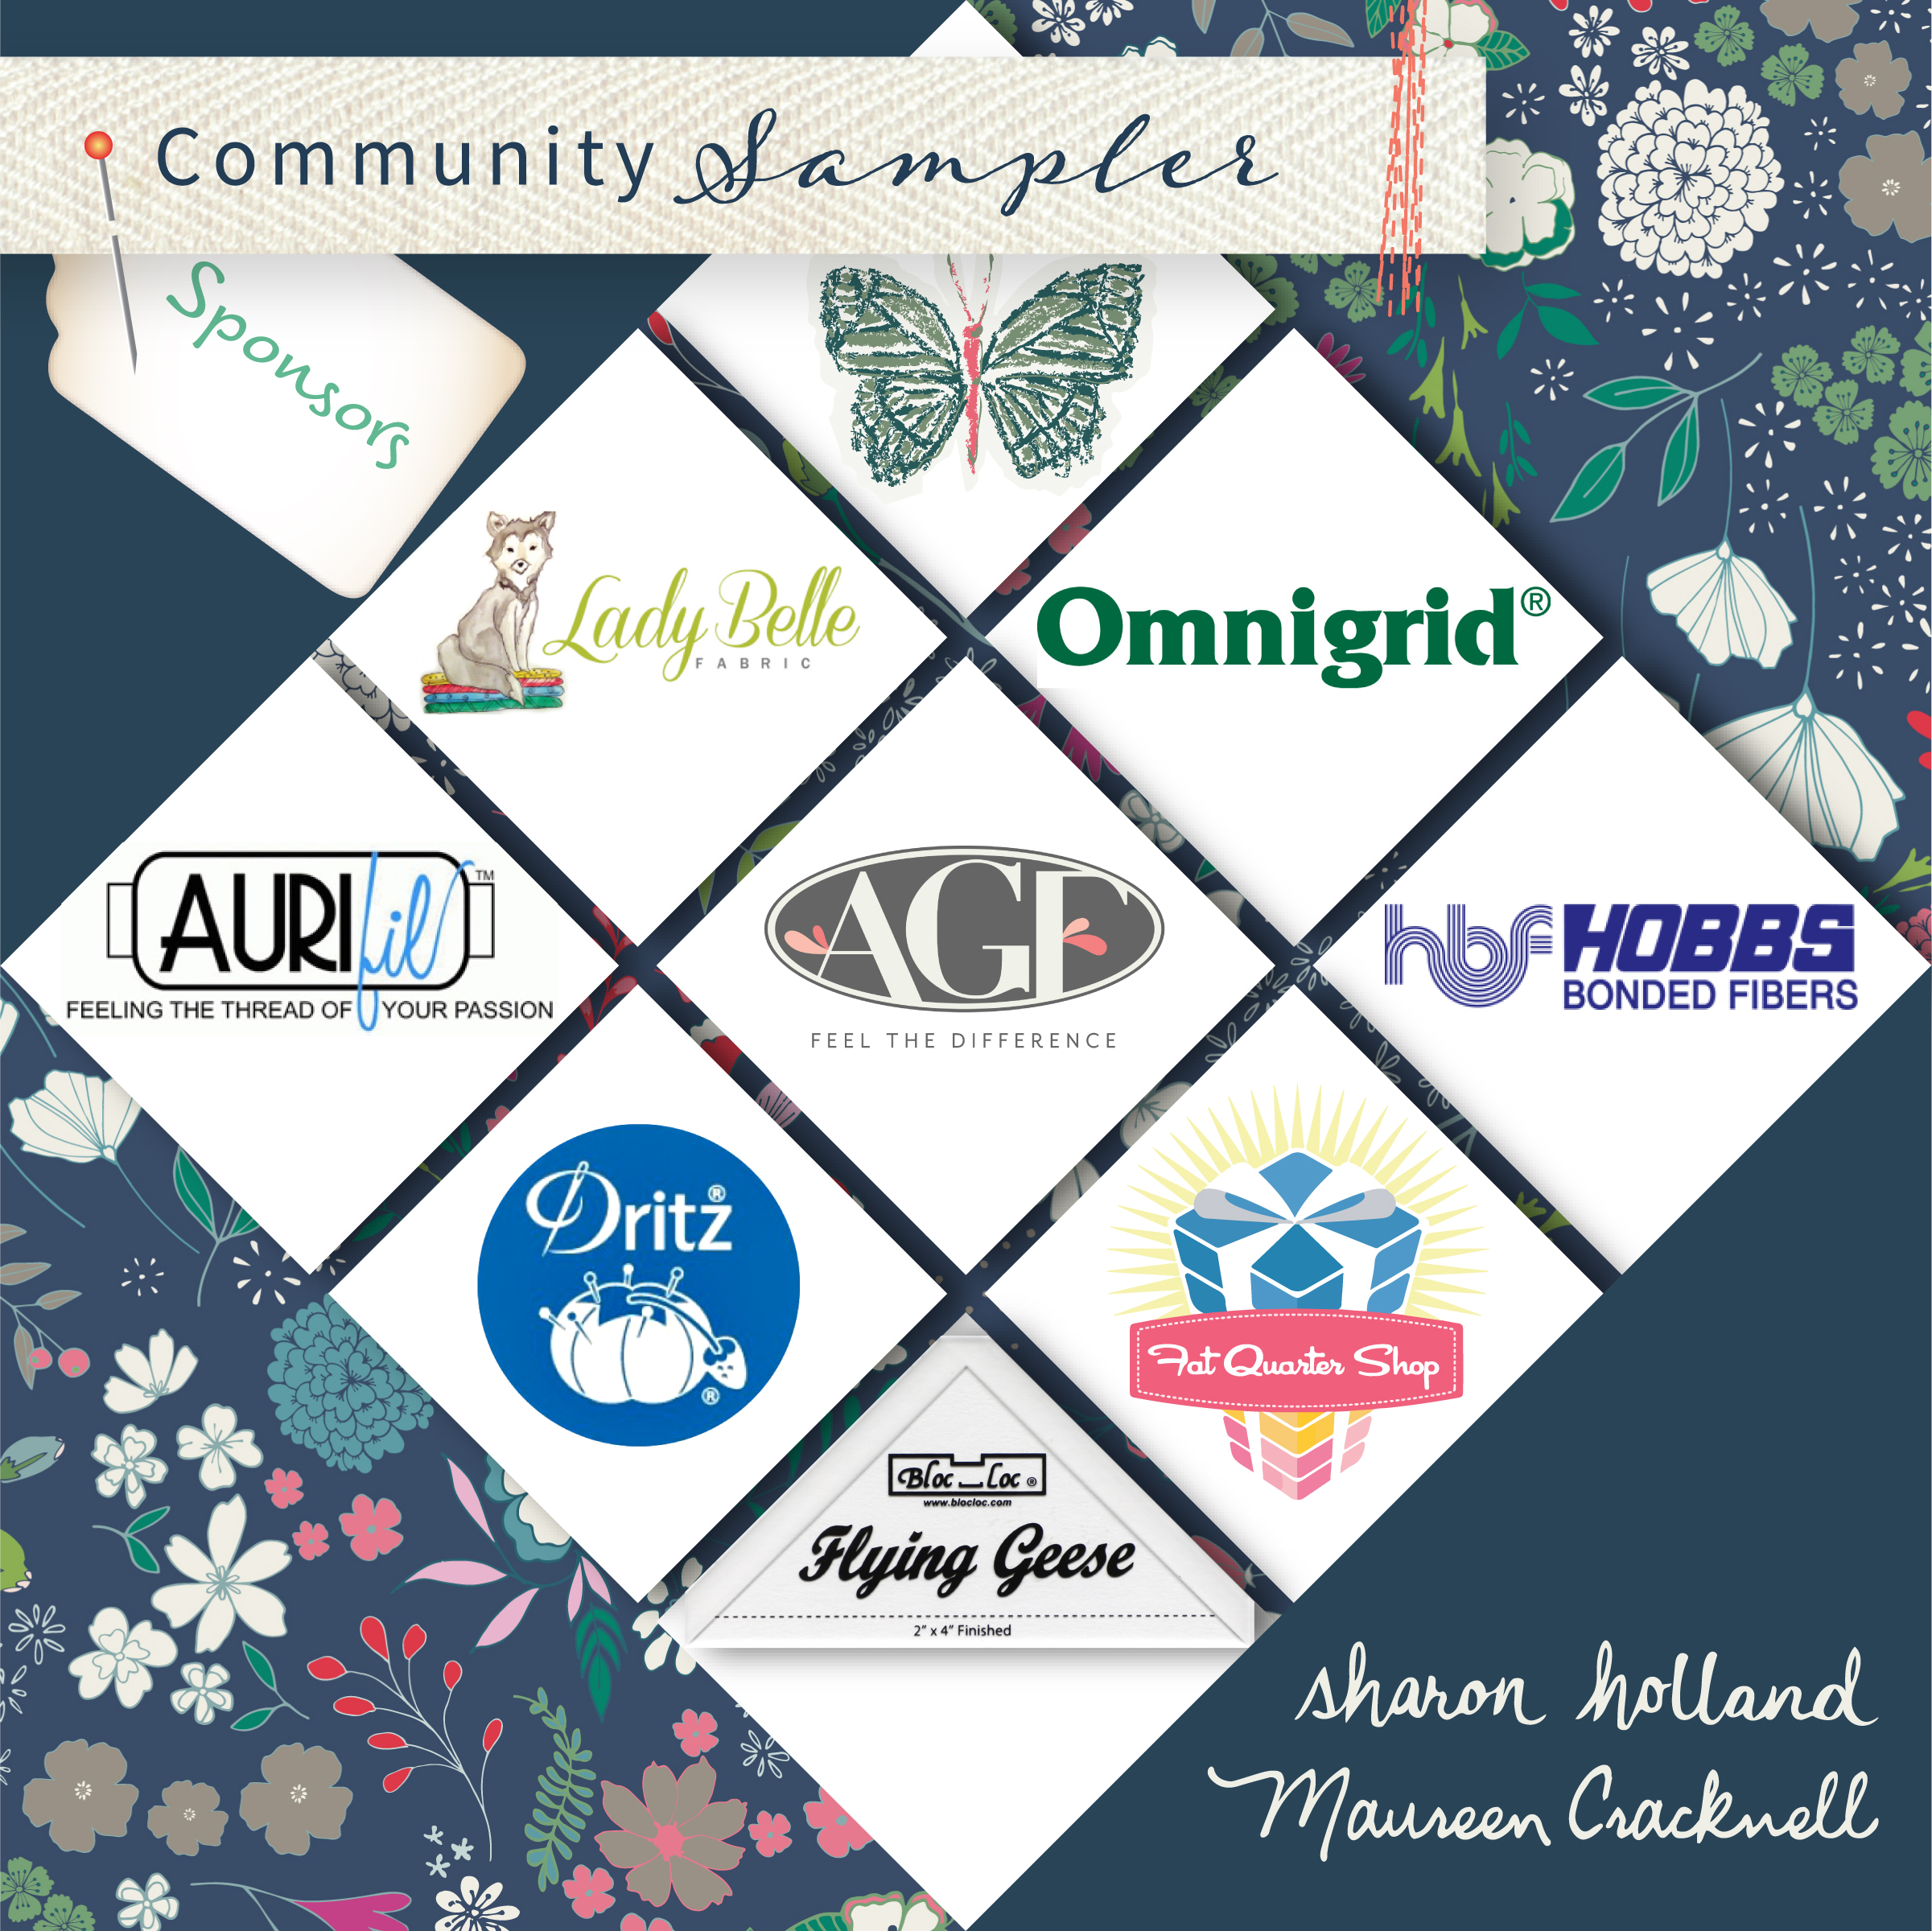
Lady Belle Fabric Omnigrid Aurifil Thread Art Gallery Fabrics
Hobbs Batting Dritz Fat Quarter Shop Bloc-Loc
My co-host Maureen Cracknell and I are continually amazed by the joy and excitement each of you bring to our virtual community. Thank you for making this sew along so special. Please visit Maureen's blog and see the progress she's making on her sampler quilt, using her beautiful AGF fabrics Love Story collection. Be sure to use the #CommunitySampler hashtag when posting your blocks to Instagram and tag both my @sharonhollanddesigns and @maureencracknell so we don't miss any of your beautiful work!
Don't forget that this Friday's a Giveaway Friday on the Community Sampler sew along. Maureen and I will take turns hosting a giveaway each week where one of our generous sponsors will be featured and offering amazing prizes both here on our blogs and also on Instagram. Maureen will be hosting the giveaway this Friday and you'll be instructed how to enter at that time.