Sewcial Bee Sampler Giveaway Friday

Each Friday, throughout the Sewcial Bee Sampler sew-along which Maureen Cracknell and I are co-hosting, will be a Giveaway Friday. We've coordinated special giveaway prizes with some amazing sponsors.
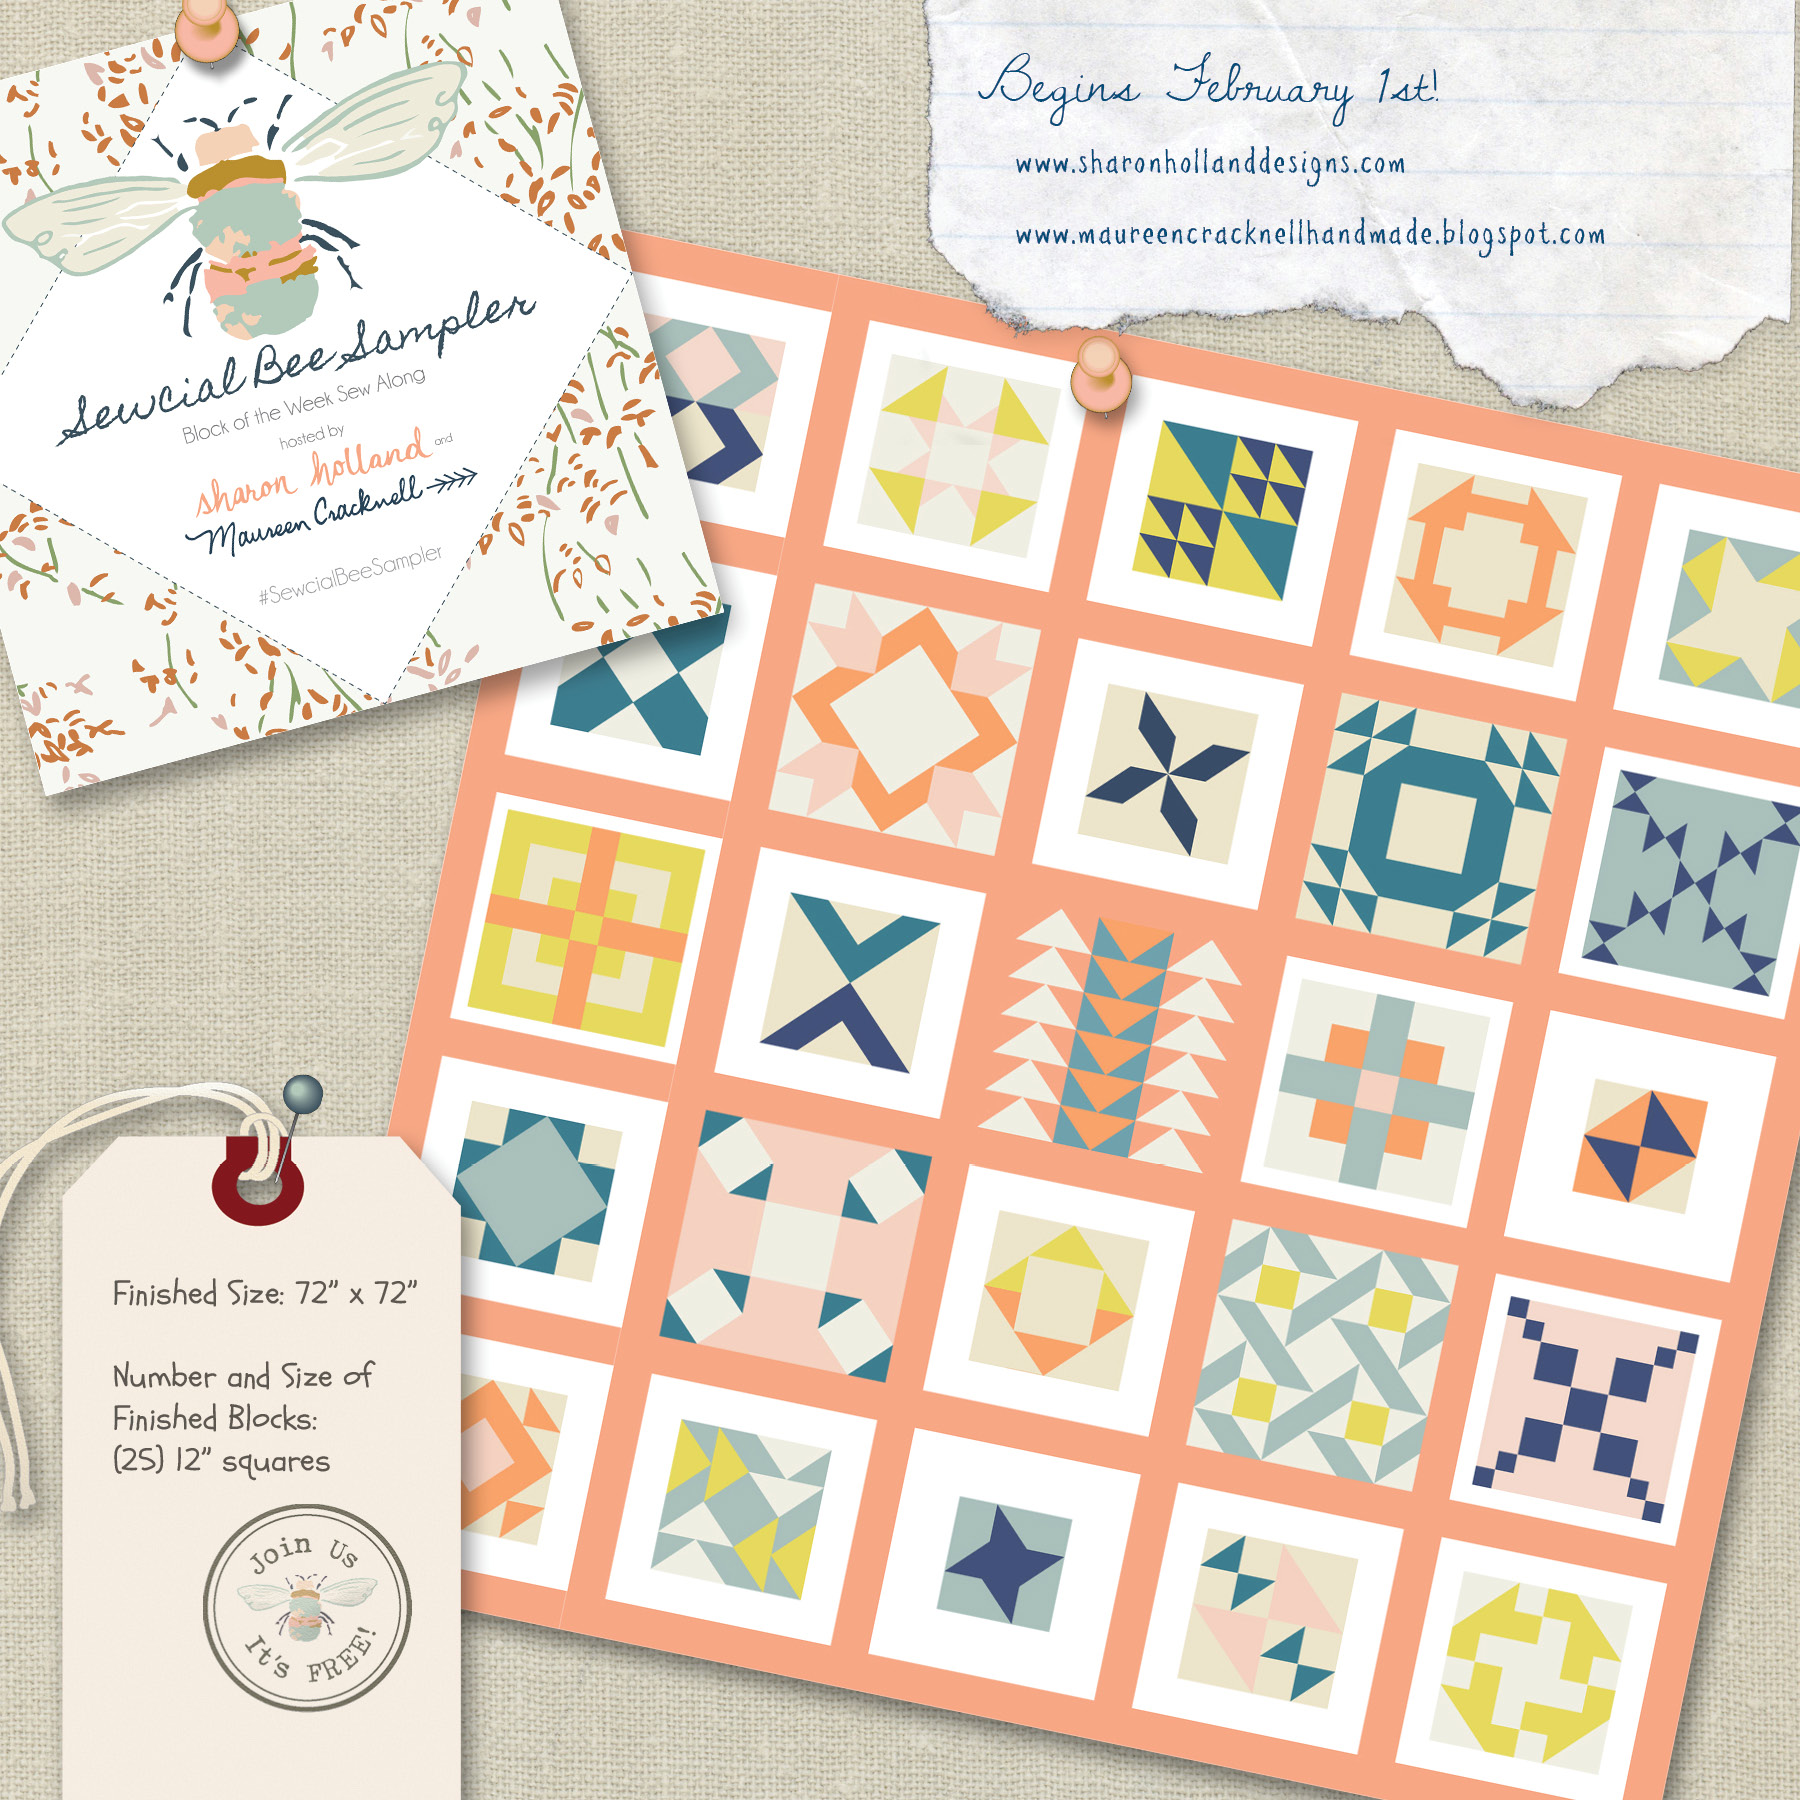
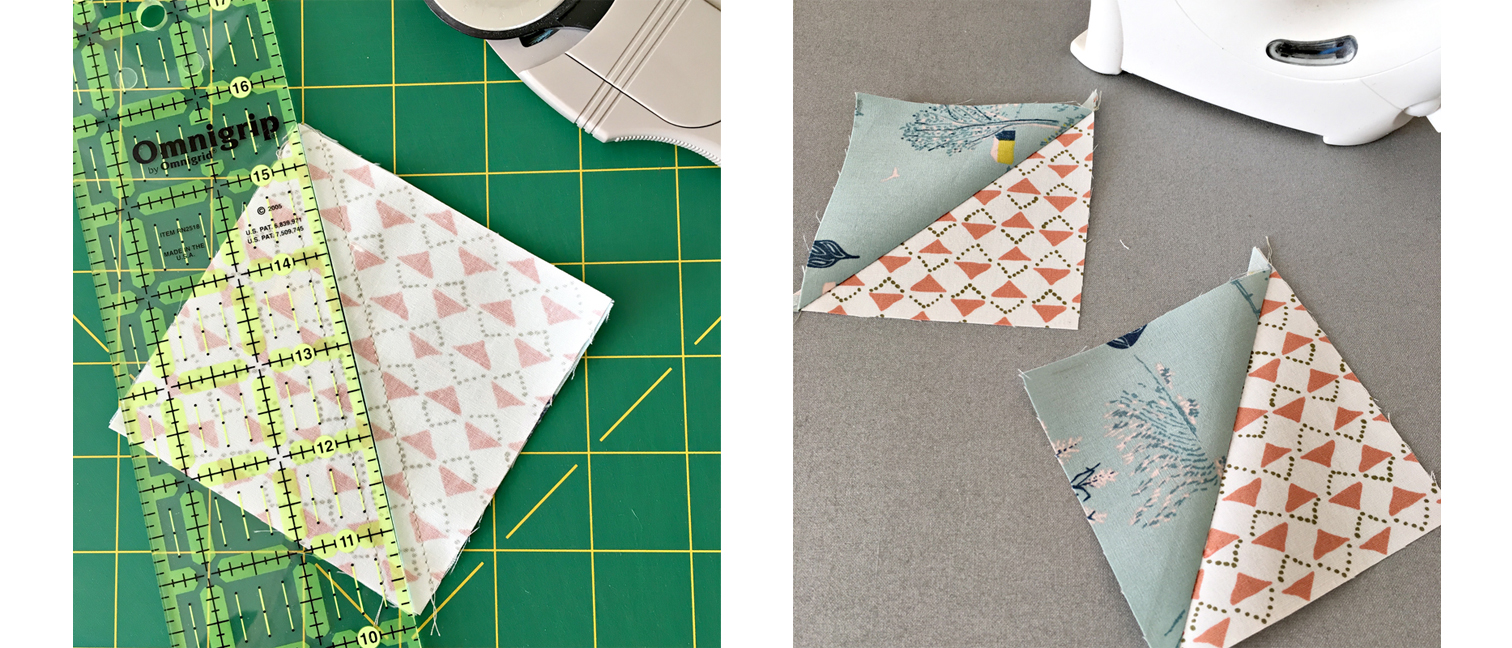
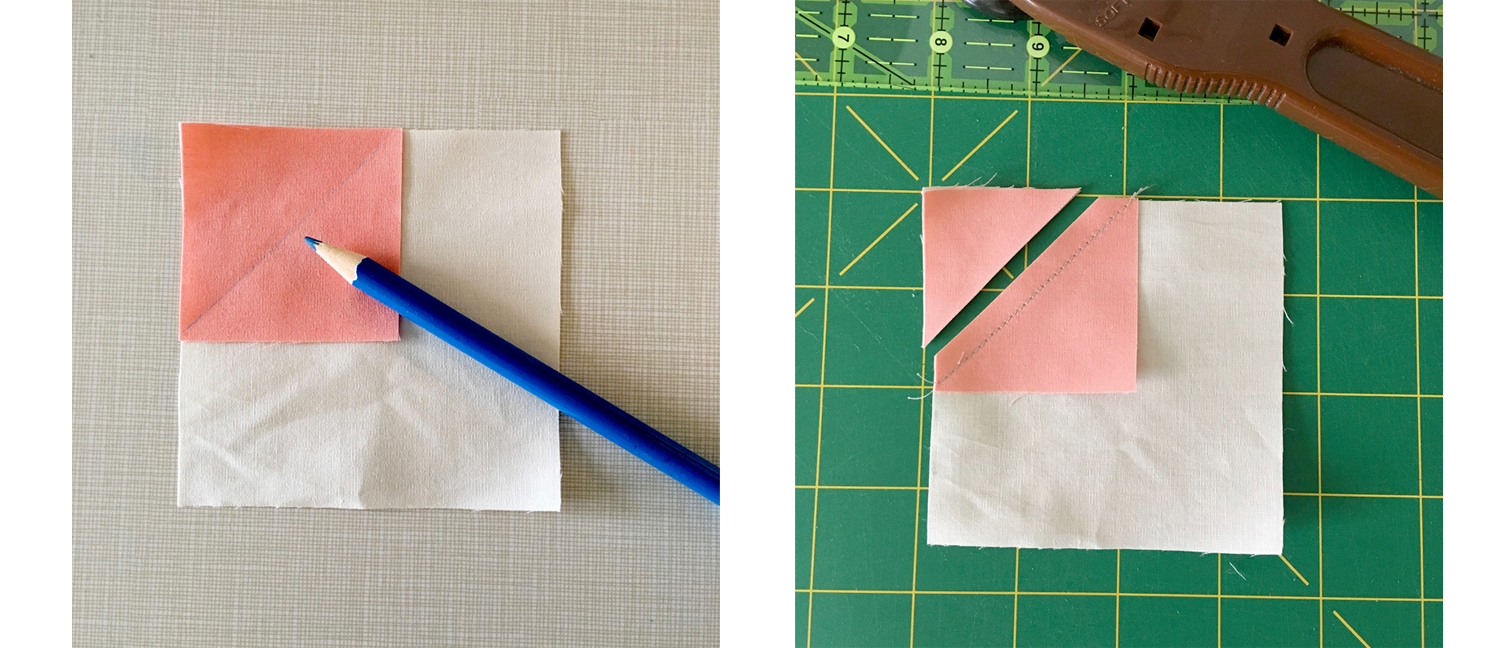
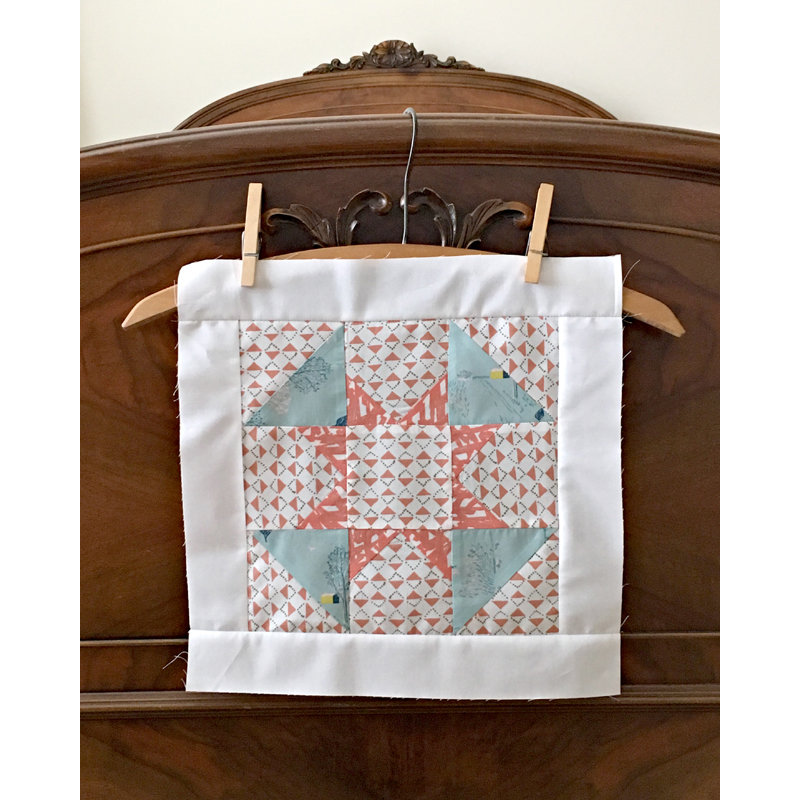
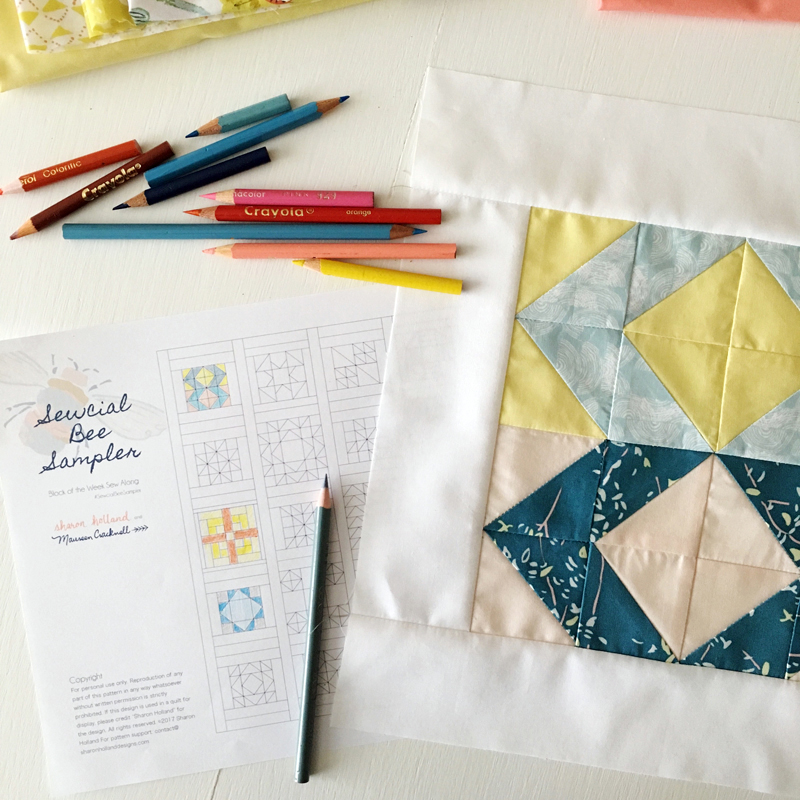
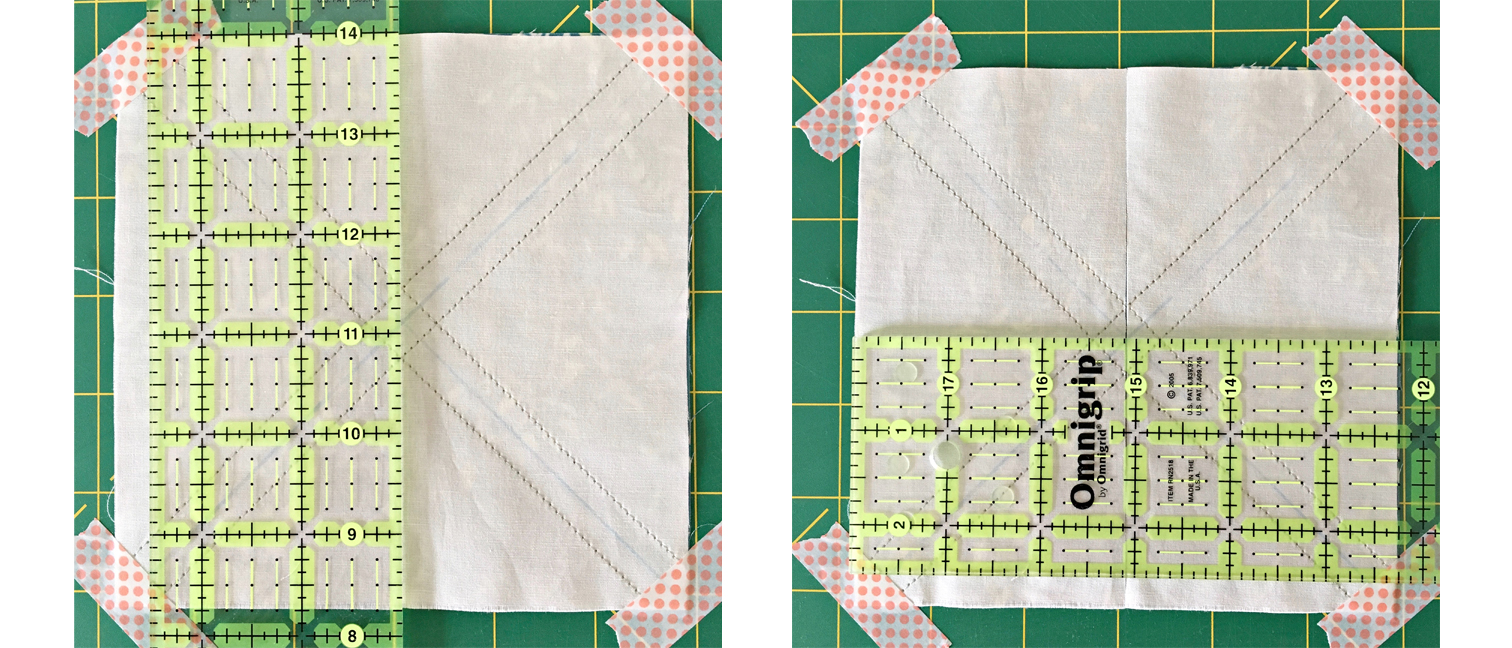
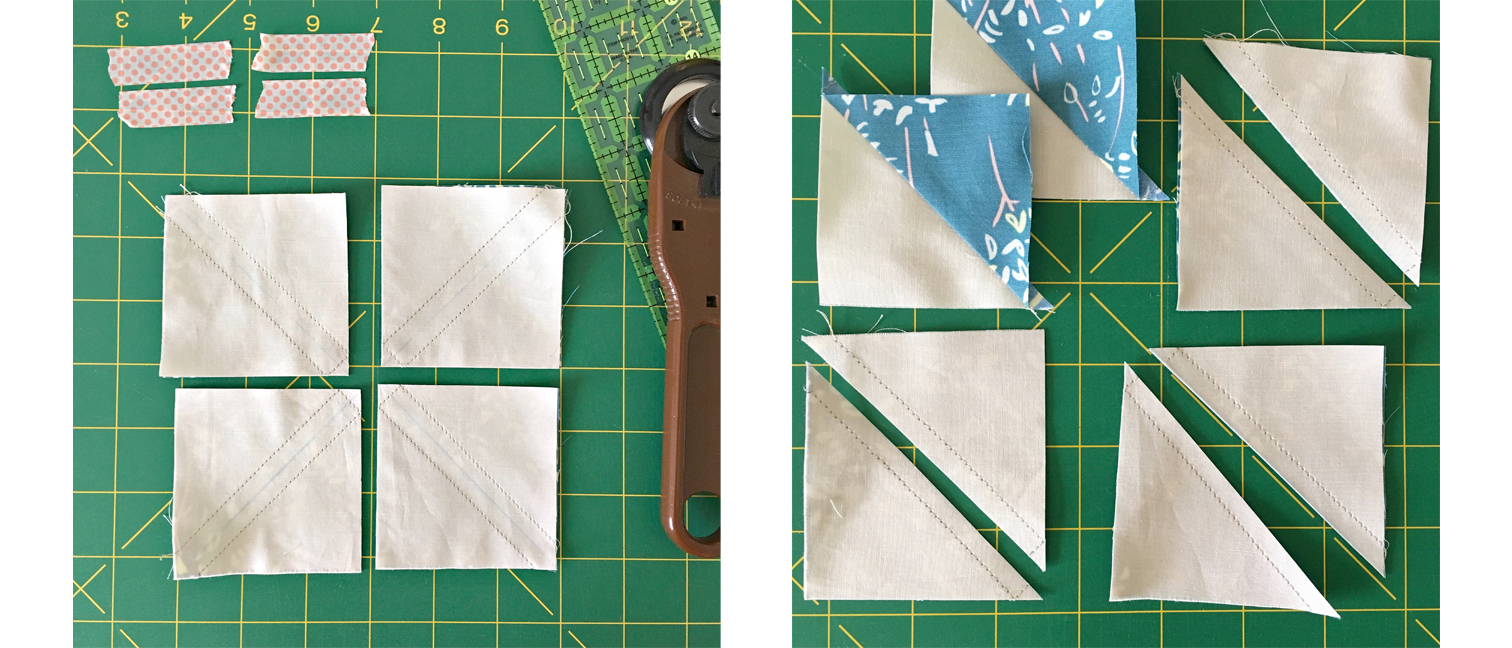
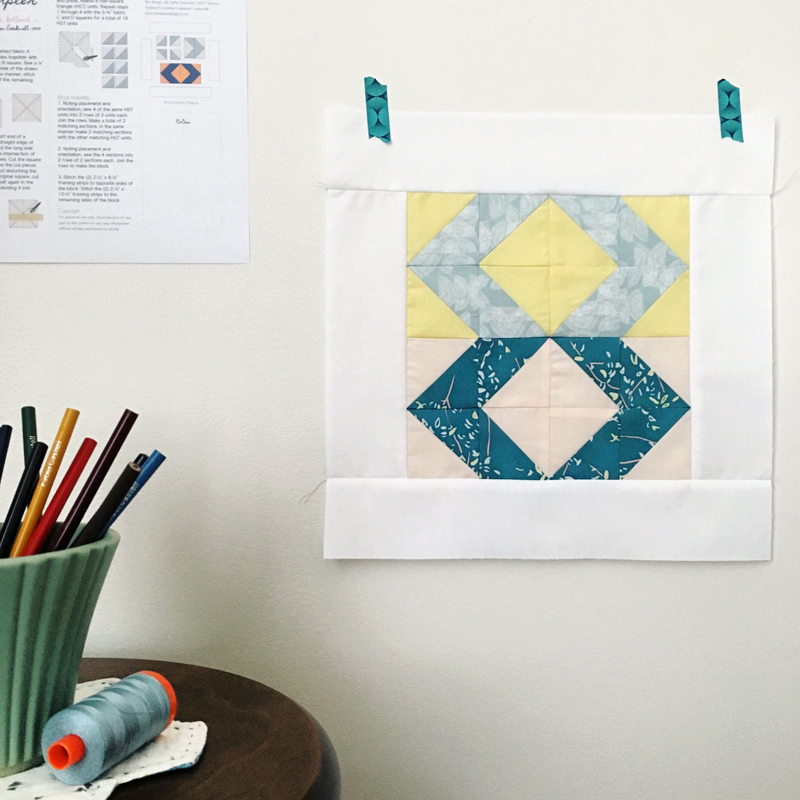
If you're just now joining us, welcome, it's never too late to start sewing along! Please take a moment to catch up by reviewing all my earlier posts, beginning with the January 30th, 2017 post The Start of Something Sewcial.

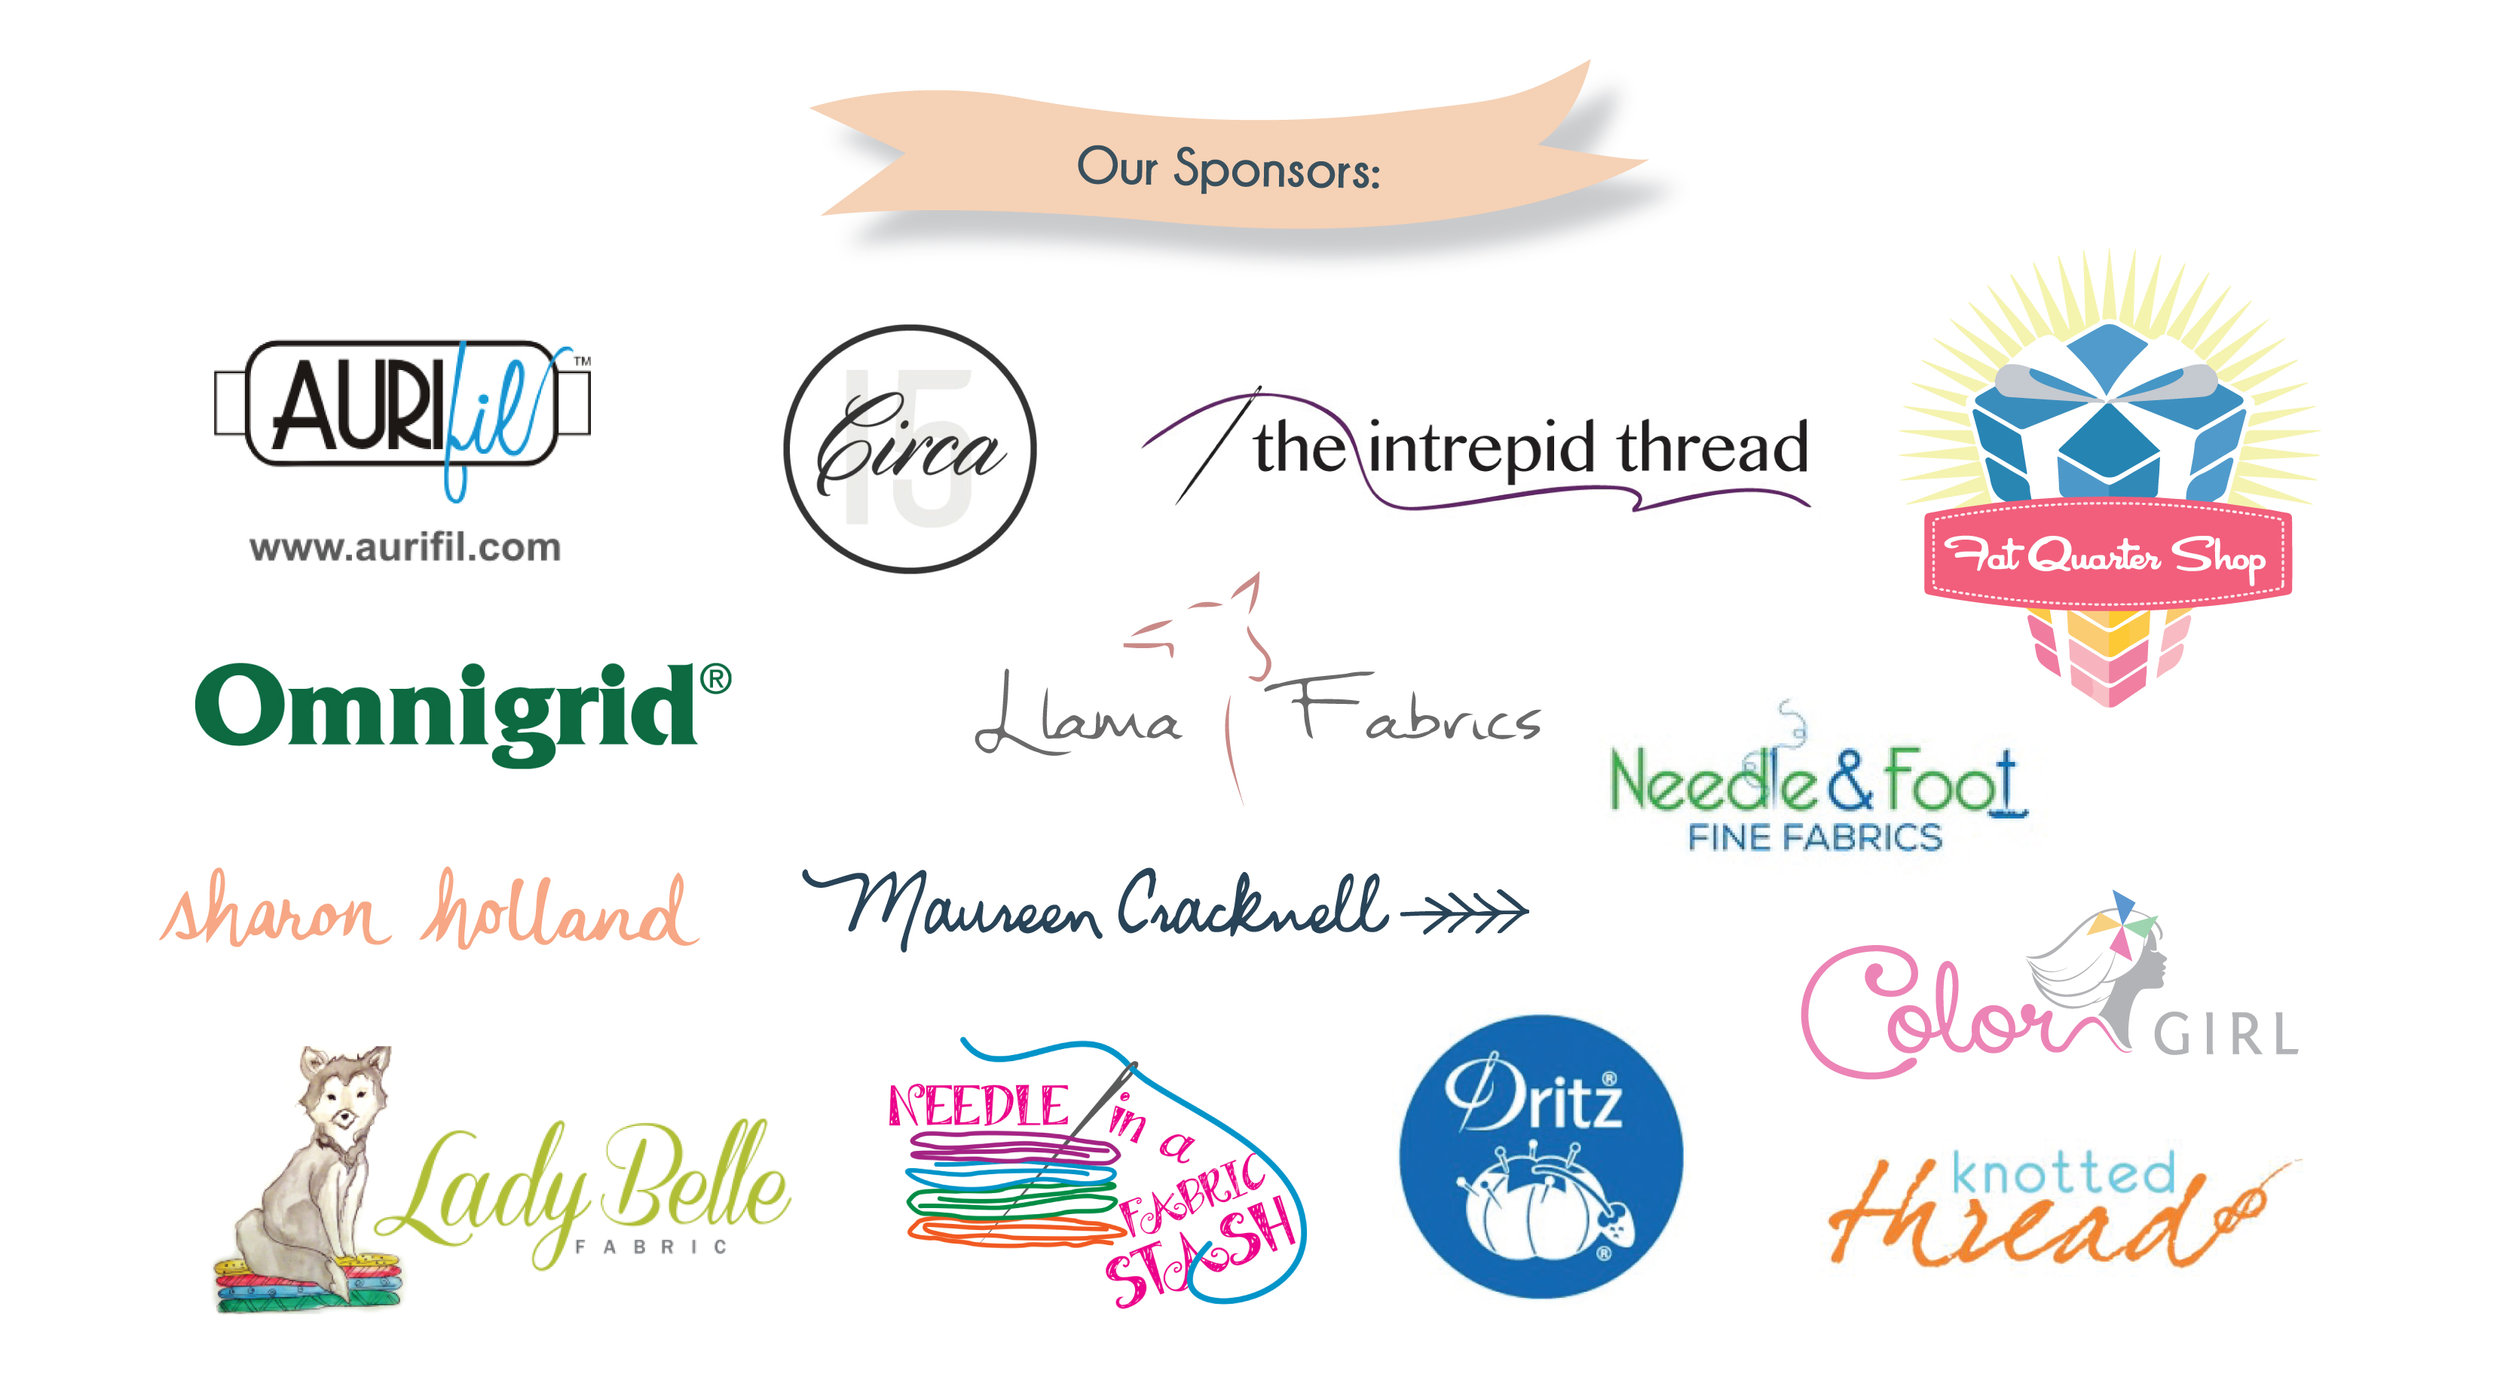
Aurifil Circa 15 The Intrepid Thread Fat Quarter Shop Omnigrid Llama Fabrics Color Girl Lady Belle Fabric Needle in a Fabric Stash Dritz Knotted Thread NeedleandFoot
Today's featured Sewcial Bee Sampler sponsor is Color Girl
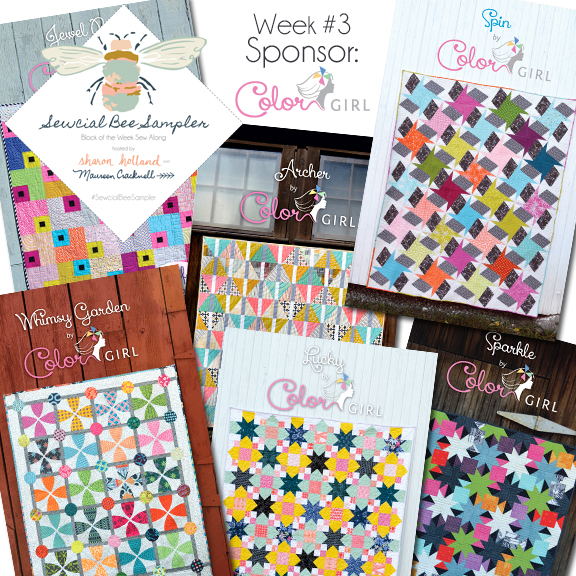
Color Girl Quilts is run by Sharon McConnell, a talented maker with a passion for designing and sewing unique quilts! In her shop you'll find designs for beginners and advanced quilters, projects for pre-cuts, scraps or for showing off a favorite collection of fabrics. Sharon has been blogging her quilty adventures since the Summer of 2012 as a way to both document the quilts she creates and to share things she learns along the way. The Color Girl Quilts blog will always be filled with positive energy, colorful images, and exciting quilting projects, and we invite you all to visit her blog and to check out her wonderful line of quilt patterns available for PDF download here!
Shop * Blog * Instagram * Facebook * We hope you enjoy visiting Color Girl Quilts!

For this week's Sewcial Bee Giveaway, Color Girl Quilts is offering the winner's choice of any TWO PDF quilt patterns in her lovely shop!
Congratulations to Lisa Stevens is the the winner of Week #3 SBS Giveaway
{This giveaway is now closed}
Visit Maureen Cracknell's blog Friday February 24th, 2017 for the next chance to win!