
Community Sampler Week #13

This is it, time to start putting all those beautiful blocks together into a quilt! Today is all about setting your on-point blocks into 17-1/2'' unfinished squares and assembling the center of the quilt. If you don't plan on adding any of the optional borders (covered next week) you can move on or wait until finishing is covered in week #15.
If you've just found out about this sew along, don't worry, you can still join in on the fun but you may want to start from the very first post and work up to the present. There are eleven blocks in our quilt, block setting, and optional borders. Each Wednesday will be a new PDF block release or finishing step for the quilt. If you are just joining us, pick up the Introduction PDF on the Sew Along page and you'll get a material list along with coloring pages so you can get started planning your quilt. Then, work your way through the first Community Sampler post to the present.
My co-host and sister Art Gallery Fabrics designer Maureen Cracknell and I are so happy to have you sewing with us and can't wait to see your finished quilts.

Please cut your pieces EXACTLY as given in each of the PDF instructions because bumping up the size of the pieces from the measurements give will not bring great results in some cases. Take advantage of my in-blog tutorials for each of the different quilting techniques used in our sampler.
Accurate cutting and use of a true 1/4'' seam allowance is a must for successful patchwork piecing. All your blocks will measure 12-1/2'' square (unfinished). Review how to cut strips, sew with a true 1/4'' seam allowance, and other helpful piecing tips on my "Are You Ready to Sew" post.

Let's start setting our blocks. Download the free PDF on the Sew Along page.

Probably your biggest hurdle this week will be in selecting fabric(s) for the background setting. I already had in mind to use the Art Gallery Fabrics Pure Elements solid called Sweet Macadamia (PE-471) but still needed to see how the blocks looked with my choice before I started cutting into my yardage.
To really get a good feel for how things looked and block placement I pinned the fabric to my design wall then pinned the blocks to the fabric. I took quick photos with my phone of the various options and then I could look at the options on my phone to know what I liked best. I narrowed it down to two very close versions and sent the images to Maureen to get her opinion and help solidify my choice.
Block Setting Tutorial

To start, you'll need to cut twenty-one 9-1/2'' squares. Since I'm using all the same fabric to set my blocks, I cut six 9-1/2'' x 42'' strips and then sub cut the strips into the 9-1/2'' squares.
Because rotary cutter rulers aren't wide enough to cut 9-1/2'' wide strips, you'll need to double up rulers to get the necessary measurement. Just be sure to keep the markings aligned to the straight edge of the fabric and hold the ruler closest to the cutting edge when using the rotary cutter.

Once your squares are cut, divide them in half diagonally, as shown.

As directed in the PDF instructions, fold the block in half twice and finger press to crease. Fold a background triangle in half once and finger press to crease. Note: No need to press creases into the New Four-Patch block because the block's seam lines can be used as center marks.

With right sides together, use the crease lines to match the center crease lines of a block and a triangle on one side of a block. Pin and stitch with an accurate 1/4" seam allowance. Press corner open.

Repeat on the opposite side.

In the same manner, add triangles to the remains sides of the block. Notice how the stitching line enters and exits the "V" created by the perpendicular triangles.

Press corners open. Make a total of nine full blocks.

Trim block to 17-1/2'' square. Please note that very little trimming will be needed if you've cut and sewn accurately. You're basically trimming off the dog ears and doing a tiny bit of tidy up (picture on right). Use the widest ruler you have to square off the true sides of each triangle (picture on left).

Here's the total amount of trimming from all the blocks (full and half) so go easy on the trimming!
I know in the directions it says to fold the half-blocks in half to crease but in reality it's not necessary because you can use the seam lines as the guide. Use a folded crease line of a triangle and attach triangles to the half-blocks in the same manner as above. Trim half-blocks to 9'' x 17-1/2'' and make a total of three half-blocks.
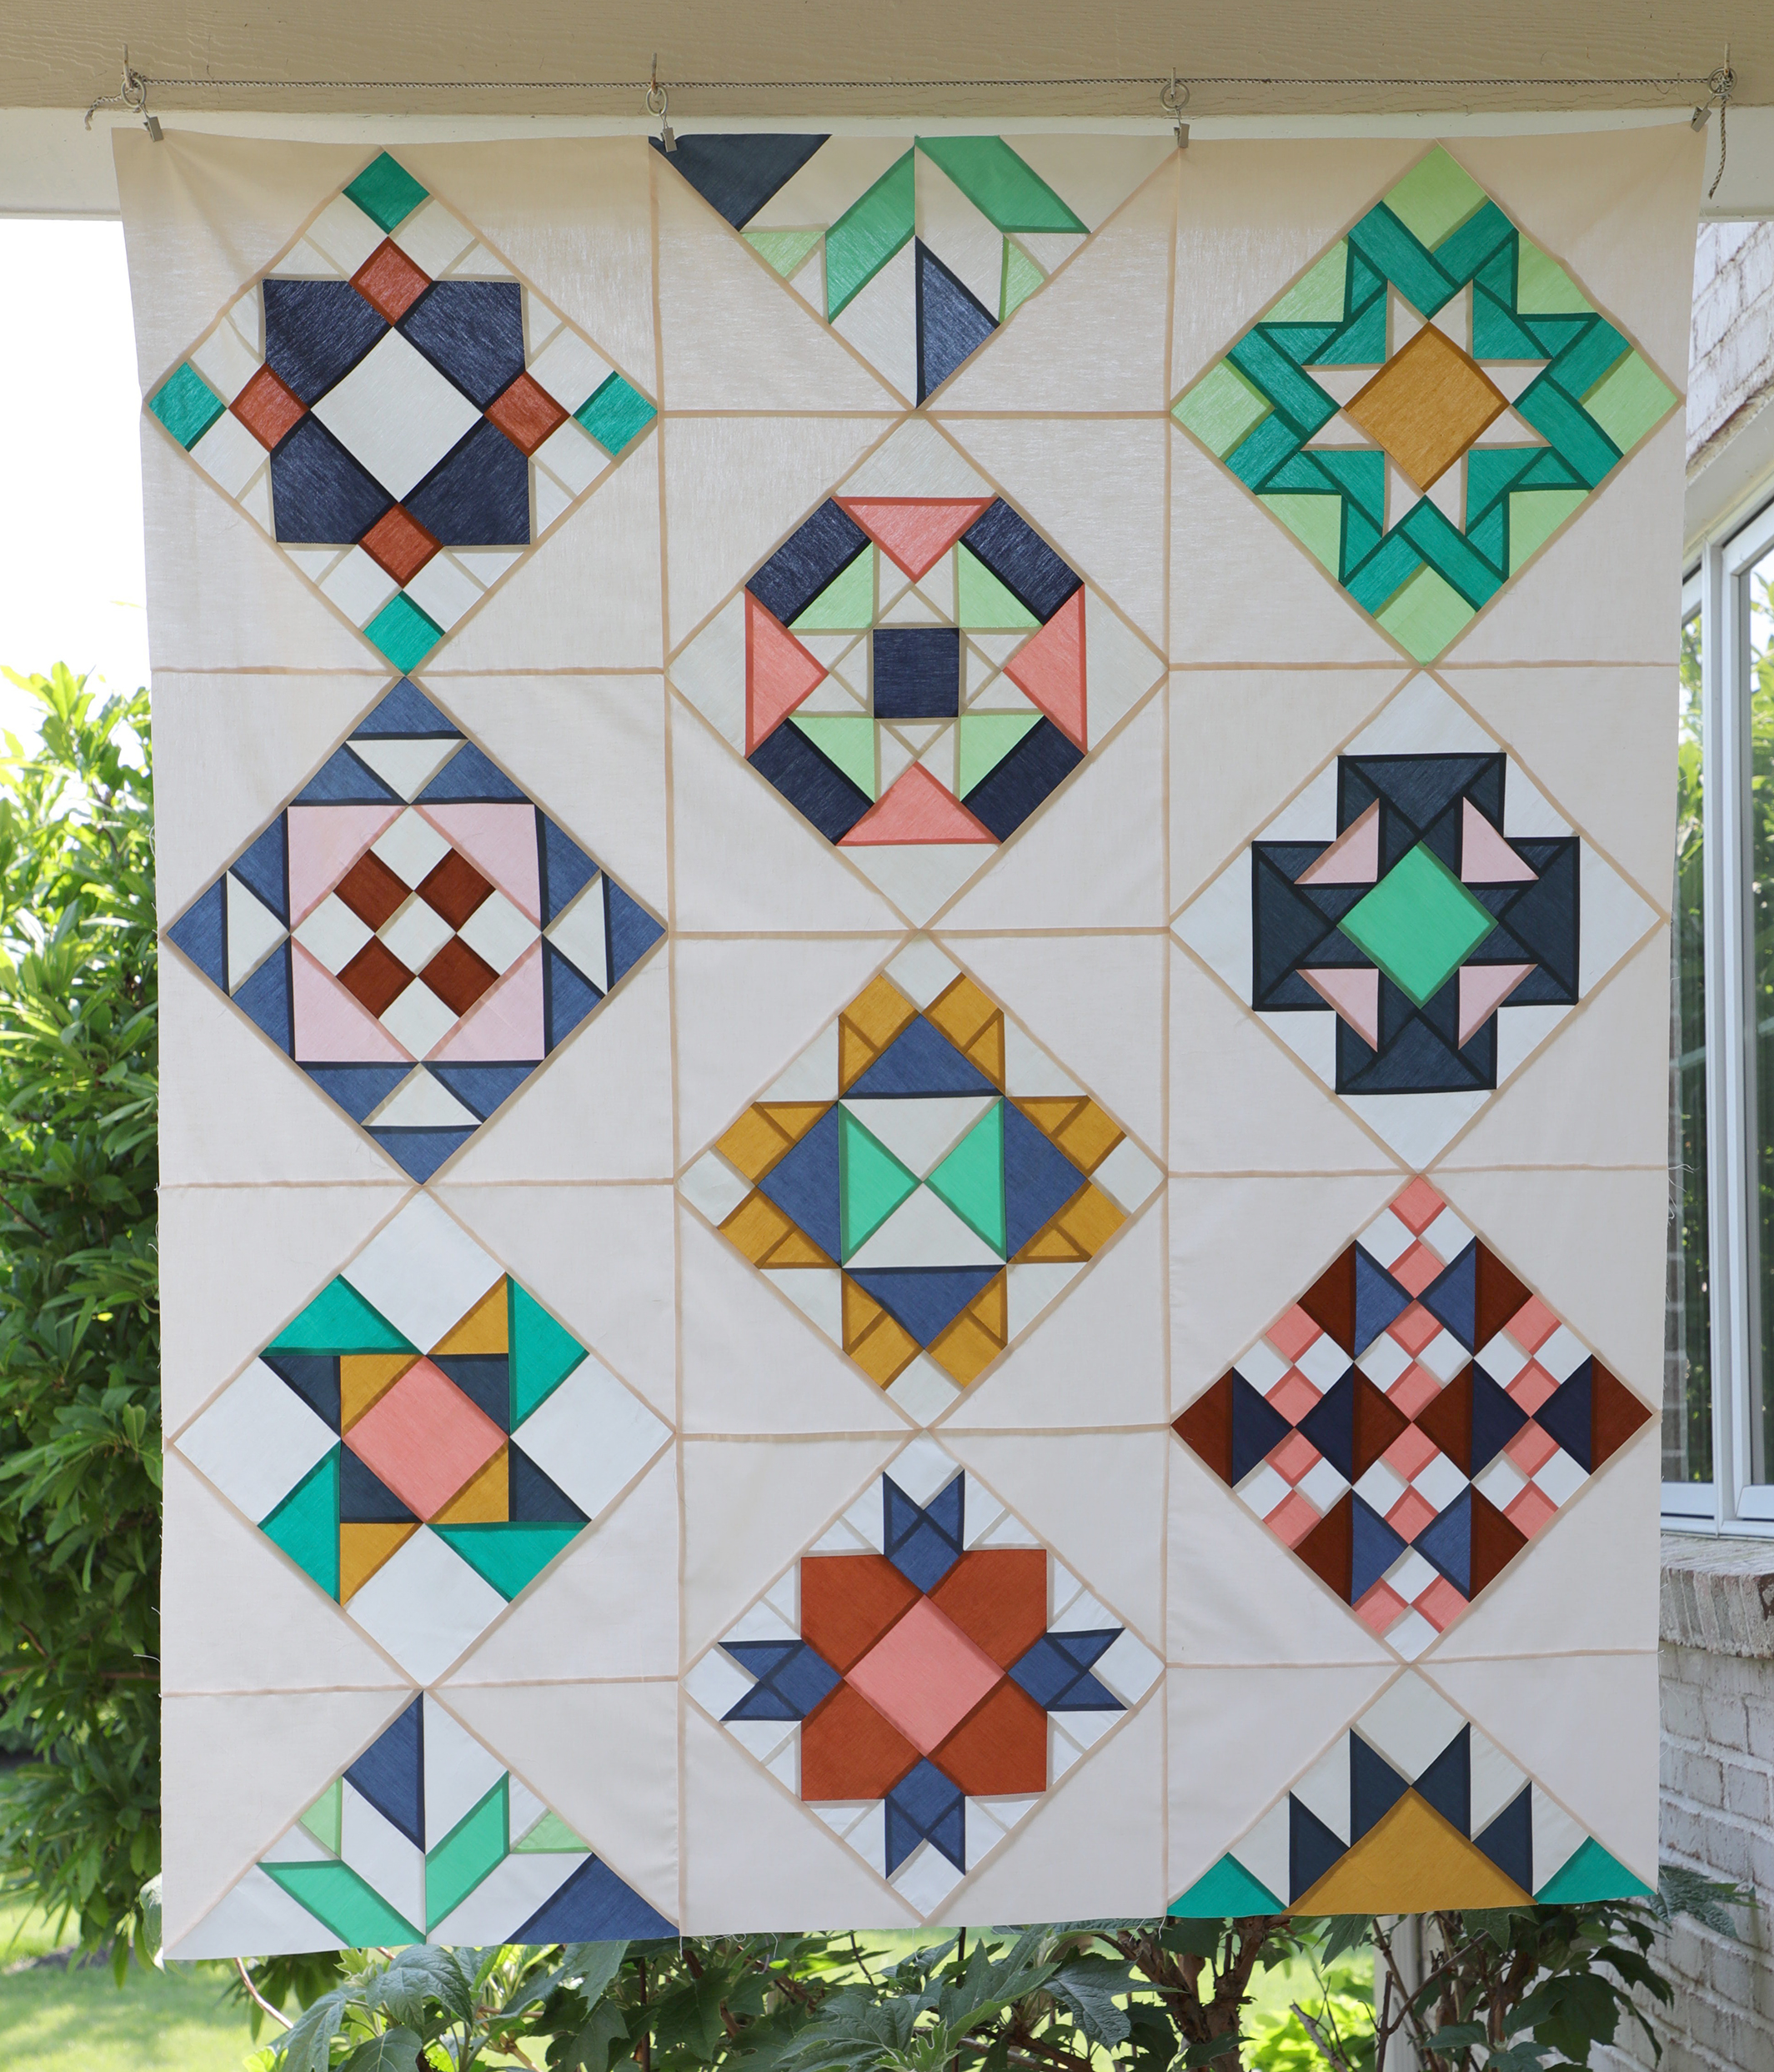
Referring to the Quilt Assembly (without borders) Diagram on the PDF and noting placement of full and half-blocks, lay out the blocks in three vertical rows of four blocks each. Join block into vertical rows.

Join the rows by matching the edges of the rows and using the point of the center of the block to match a staggered seam line. This completes the center of the quilt top without borders.
Feel free to stop here and quilt as desired or wait for the finishing instructions on week #15. Next week on week #14, we will give instructions for creating the three borders.
COMMUNITY SAMPLER SPONSORS

My co-host Maureen Cracknell and I are continually amazed by the joy and excitement each of you bring to our virtual community. Thank you for making this sew along so special. Please visit Maureen's blog and see the progress she's making on her sampler quilt, using her beautiful AGF fabrics Love Story collection. Be sure to use the #CommunitySampler hashtag when posting your blocks to Instagram and tag both my @sharonhollanddesigns and @maureencracknell so we don't miss any of your beautiful work! But, please be patient with both Maureen and I over the next few weeks if we don't comment back. Both Maureen and I are preparing sewing samples for our new spring collections and there's just not enough hours in the day (or energy) to get it all done!
Don't forget that this Friday's a Giveaway Friday on the Community Sampler sew along. Maureen and I will take turns hosting a giveaway each week where one of our generous sponsors will be featured and offering amazing prizes both here on our blogs and also on Instagram. Maureen will be hosting the giveaway this Friday and you'll be instructed how to enter at that time.
Happy sewing!