Community Sampler Week #11
Can you believe it, we're on week #11 of our Community Sampler sew along? My co-host and sister Art Gallery Fabrics designer Maureen Cracknell and I are so happy to have you sewing with us and can't wait to see your block.
There are eleven blocks in our quilt, block setting, and optional borders and each Wednesday will be a new PDF block release or finishing step for the quilt. If you are just joining us, pick up the Introduction PDF on the Sew Along page and you'll get a material list along with coloring pages so you can get started planning your quilt. Then, work your way through the first Community Sampler post to the present.
Many of the patchwork units (like Quick-Corner, Flying Geese, Half-Square Triangle, and Square-in-Square units) used in this year's sampler have already been oversized to allow for trimming and squaring of units before assembling your block. Please cut your pieces EXACTLY as given in each of the PDF instructions because bumping up the size of the pieces from the measurements give will not bring great results in some cases. Take advantage of my in-blog tutorials for each of the different quilting techniques used in our sampler.
Accurate cutting and use of a true 1/4'' seam allowance is a must for successful patchwork piecing. All your blocks will measure 12-1/2'' square (unfinished). Review how to cut strips, sew with a true 1/4'' seam allowance, and other helpful piecing tips on my "Are You Ready to Sew" post.
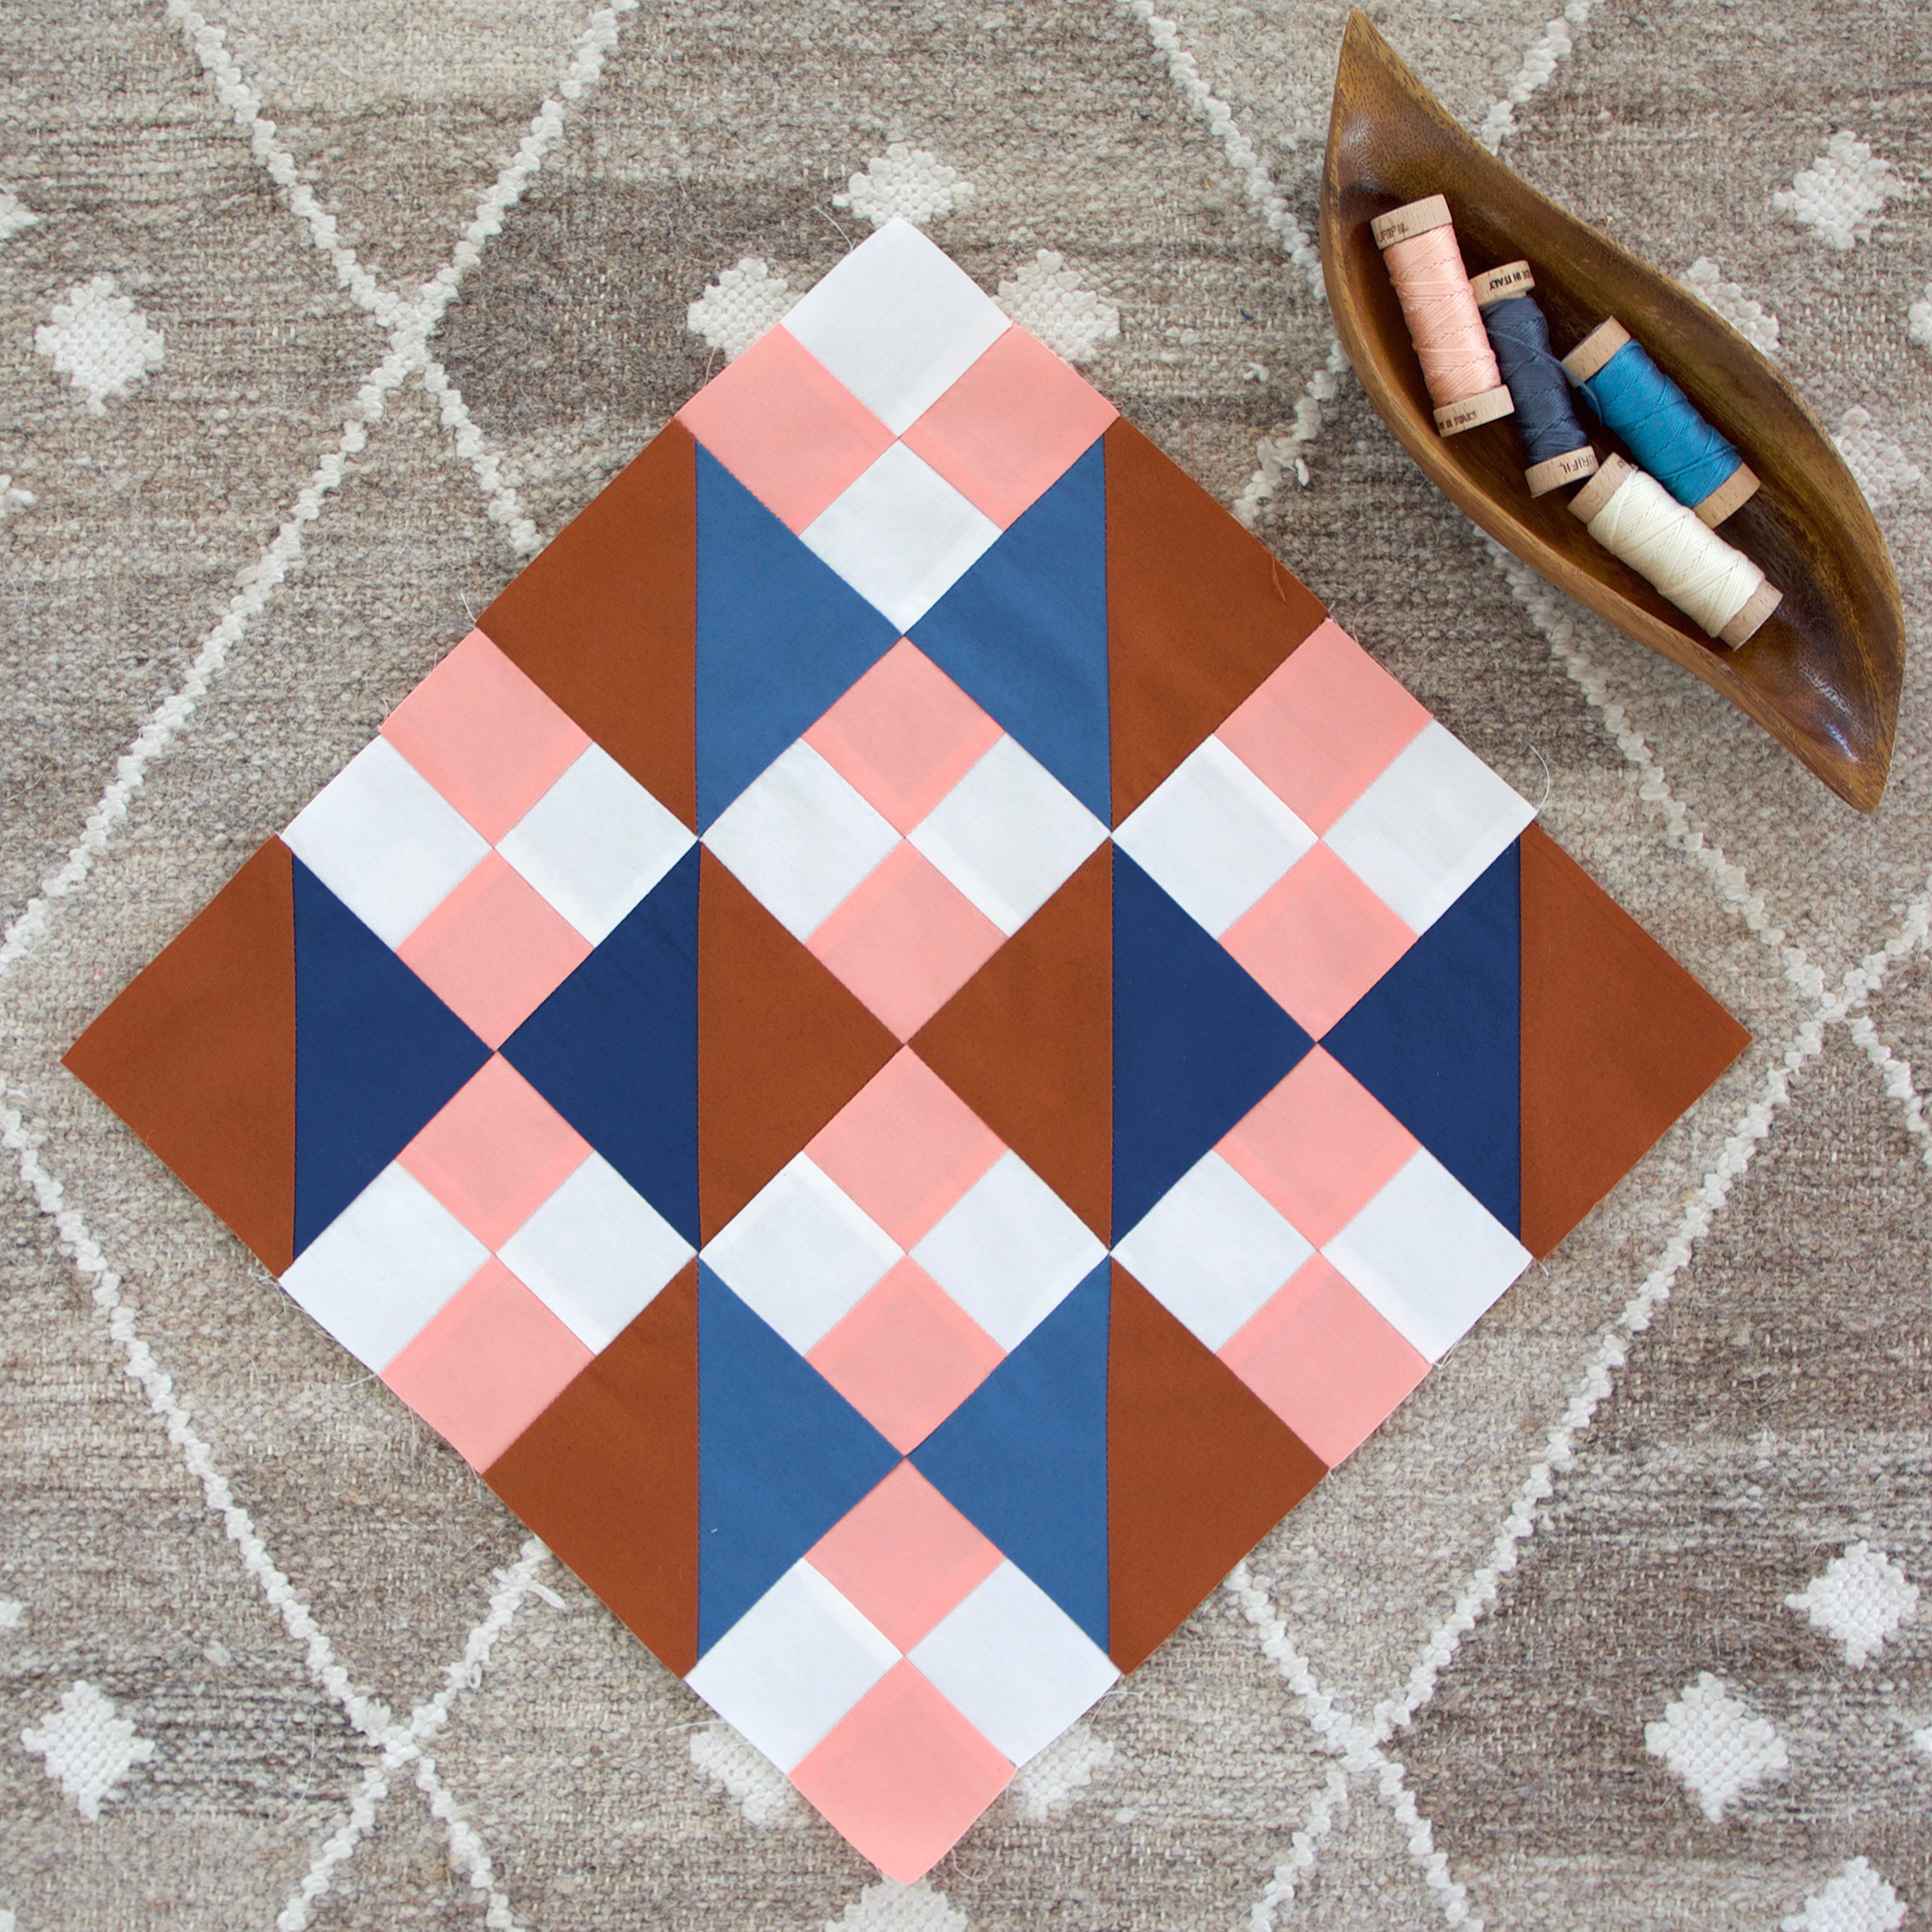
Let's start sewing the last full block in our sampler--New Four-Patch. Download the free PDF on the Sew Along page.

This week's block consists of Half-Square Triangle units and Four-Patch units. To review how to make Half-Square Triangle (HST) units , take a look at the linked HST post.
Accuracy is always our goal so make sure all cut pieces are true to size as you work and maintain an accurate 1/4" seam allowance when sewing and the pieces will go together beautifully.
If you're wanting to use directional prints for the HST units you may want to check out my tutorial for controlling directional prints that was first posted during the Sewcial Bee Sampler sew along.
Strip Sets
Four-Patch units are pretty straight forward but we have a lot of them in the New Four-Patch block and I thought today's lesson could be about making Strip Sets. Strip Sets are strips cut to size and sewn together into a long strip that's then cut into sections for quicker unit construction.

In my New Four-Patch block I made all my Four-Patch units the same. If you'd like to try making Strip Sets for your block but want more variety to the units, simply cut shorter strips and mix up the fabrics used in the strips.

To begin making my Four-Patch units I started with one 2'' x 42'' strip of fabrics D and E as shown on our PDF instruction for this block. Again, if you want more variety then maybe cut strips from fat quarters to measure 2'' x 21''.
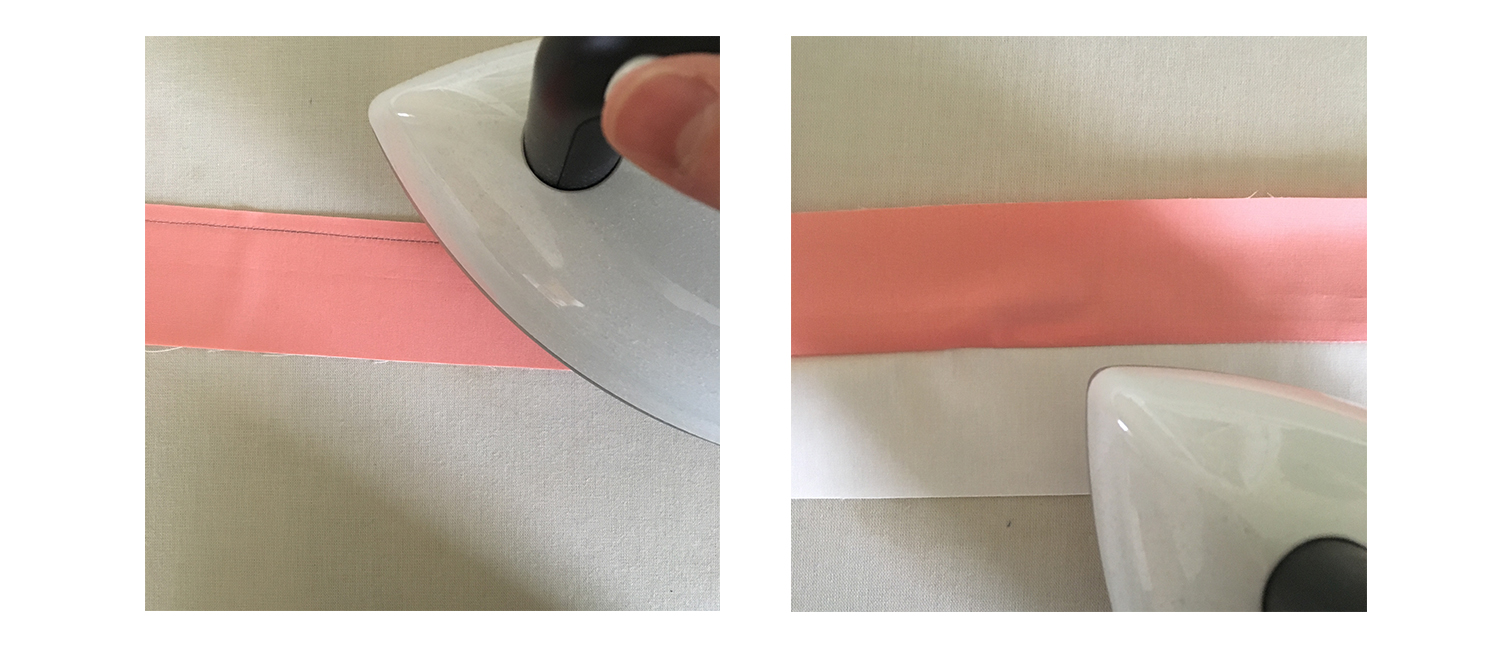
Sew the strips right sides together lengthwise using an accurate 1/4'' seam allowance, using a short stitch length. NOTE: that if your fabric is thick, you use a thick thread, or aren't sewing with a true 1/4'' seam allowance, these factors will effe ct the accuracy of your Strip Set and you'll come up short once they're sewn together.
Once strips have been sewn together lengthwise, press to set the seam before turning to help give the sharpest seam when pressed open to the darker fabric. You can also press the seams open if this gives you the flattest strip set. Measure your Strip Set to make sure it's measuring 3-1/2'' wide.
Trim and square off the leading edge of the Strip Set, removing any selvage edges.

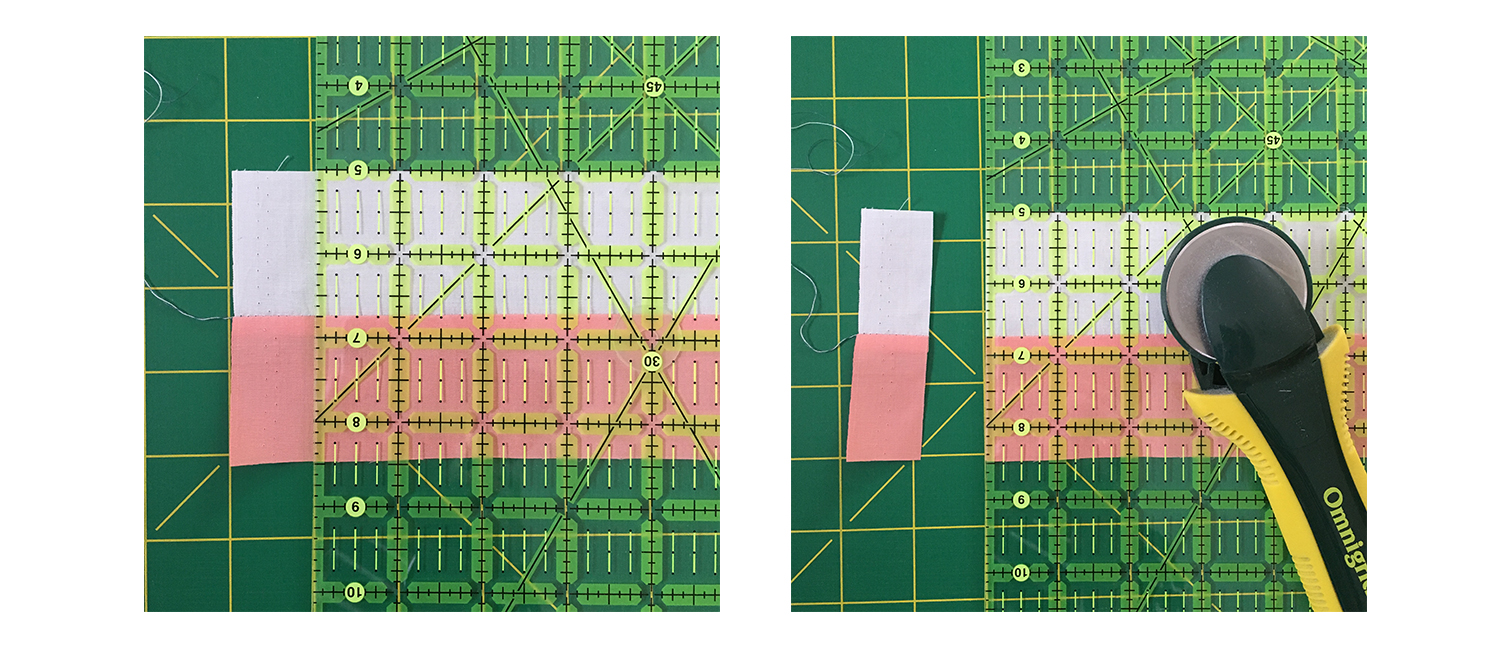
Subcut the Strip Set into 2'' wide sections as shown above. Make a total of sixteen sections.

Noting placement, sew two sections together to make a Four-Patch unit. Make a total of eight Four-Patch units.

My Community Sampler is made entirely of Art Gallery Fabrics Pure Elements solids. If you'd like to know the colors I'm using I've been including the sku names and numbers in almost every post and I've kept fairly true to my original fabric pull and concept. That early mood board work really paid off!

Other Quilty News
If you hadn't already caught it, I was a guest on the Modern Sewciety Podcast hosted by the lovely Stephanie Kendron.

Stephanie and I talk all about the making of my Utility-Style Quilts for Everyday Living book from Landauer Publishing. You may remember the beautiful quilt Stephanie made for my book blog tour!
It was so much fun talking with Stephanie about being a textile designer and photography! You really need to add podcast listening to your sewing sessions because it's like having a quilting party right there with you as you sew!
A big thanks to Stephanie for having me back on her show. xoxoxo
Signature Fabrics

It's that time of year again and Quilt Market is right around the corner. I won't be attending the Portland show this spring but that won't stop me from promoting my new Signature fabrics collection from Art Gallery Fabrics from here at home!

I've so many sewing projects planned and a new sewing room/photography studio in which to show them off in! Life has been crazy busy lately and I'm making stuff faster than I can share. I promise there will be more about my new collection soon and if you want a daily dose of what's happen, follow me on Instagram @sharonhollanddesigns as it's quicker to post there on a daily routine then create new blog post.
Be sure to stop over at Maureen's blog to see her lovely Community Sampler blocks being made from her Art Gallery Fabrics Love Story collection. Also be watching her feeds for news about her Autumn Vibes collection that will also be part of the spring AGF collections.
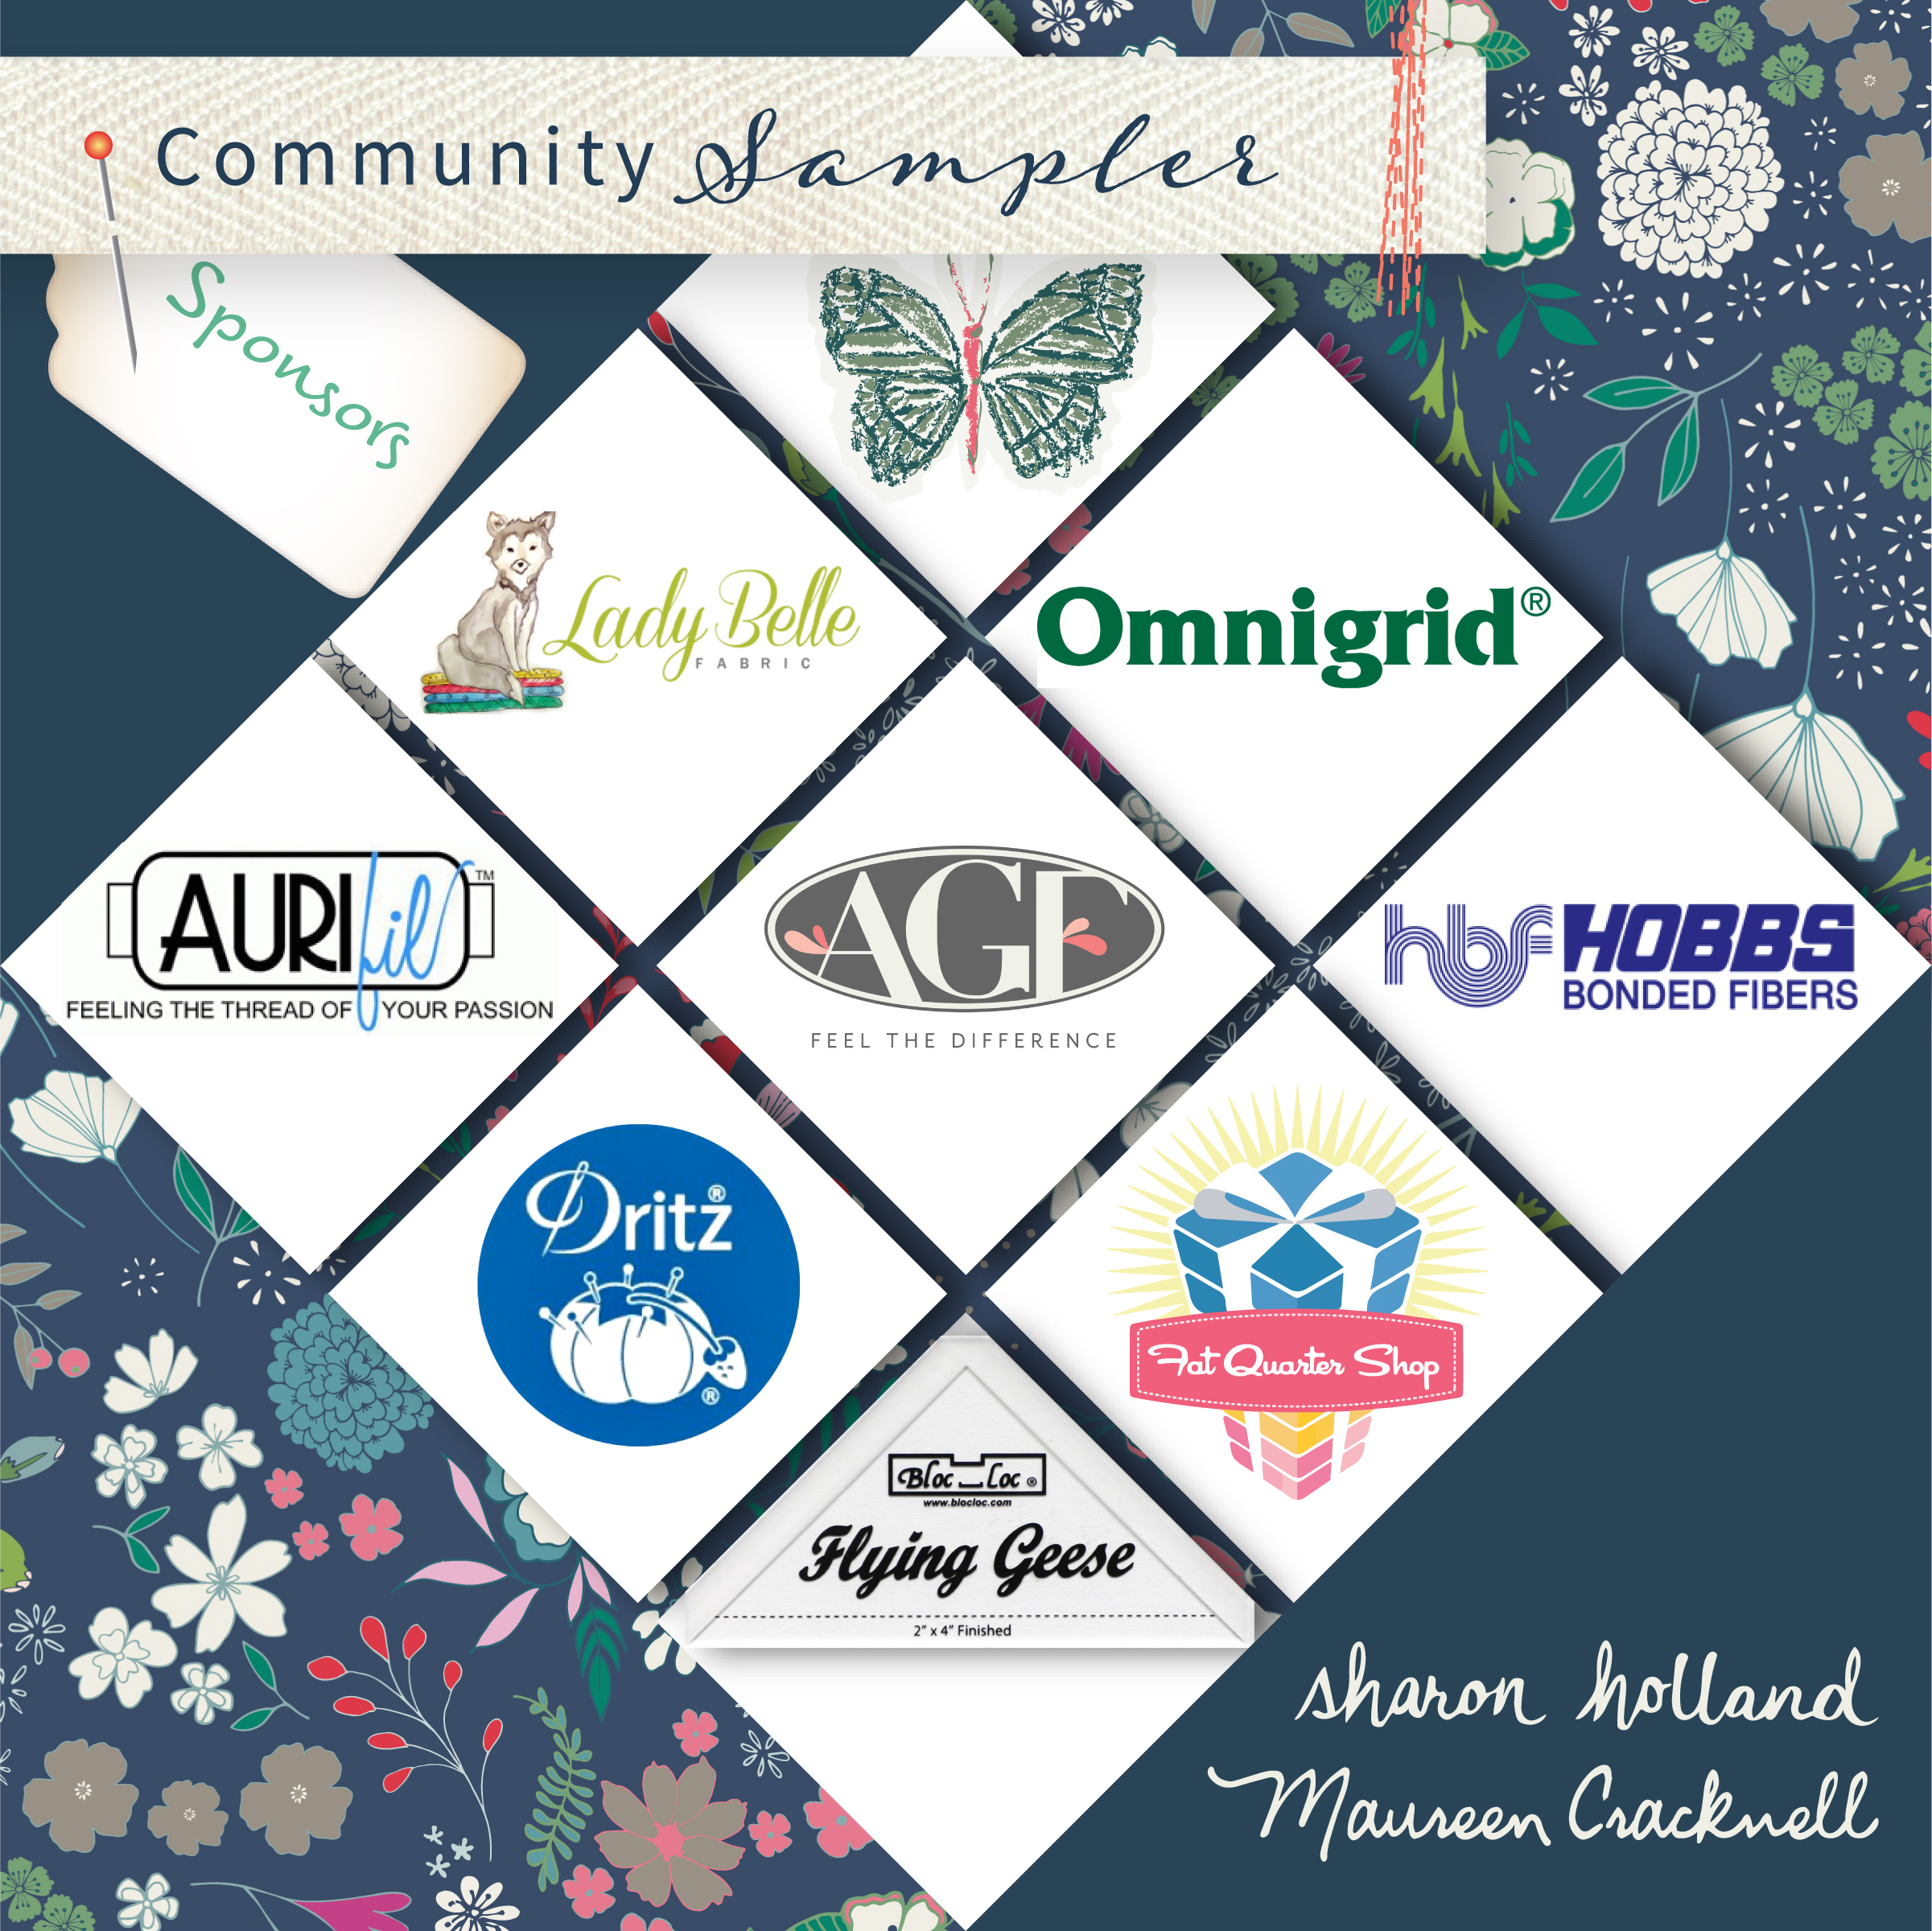
COMMUNITY SAMPLER SPONSORS

Be sure to use the #CommunitySampler hashtag when posting your blocks to Instagram and tag both my @sharonhollanddesigns and @maureencracknell so we don't miss any of your beautiful work!
Don't forget that this Friday's a Giveaway Friday on the Community Sampler sew along. Maureen and I will take turns hosting a giveaway each week where one of our generous sponsors will be featured and offering amazing prizes both here on our blogs and also on Instagram. Maureen will be hosting the giveaway this Friday and you'll be instructed how to enter at that time.
Happy sewing!