
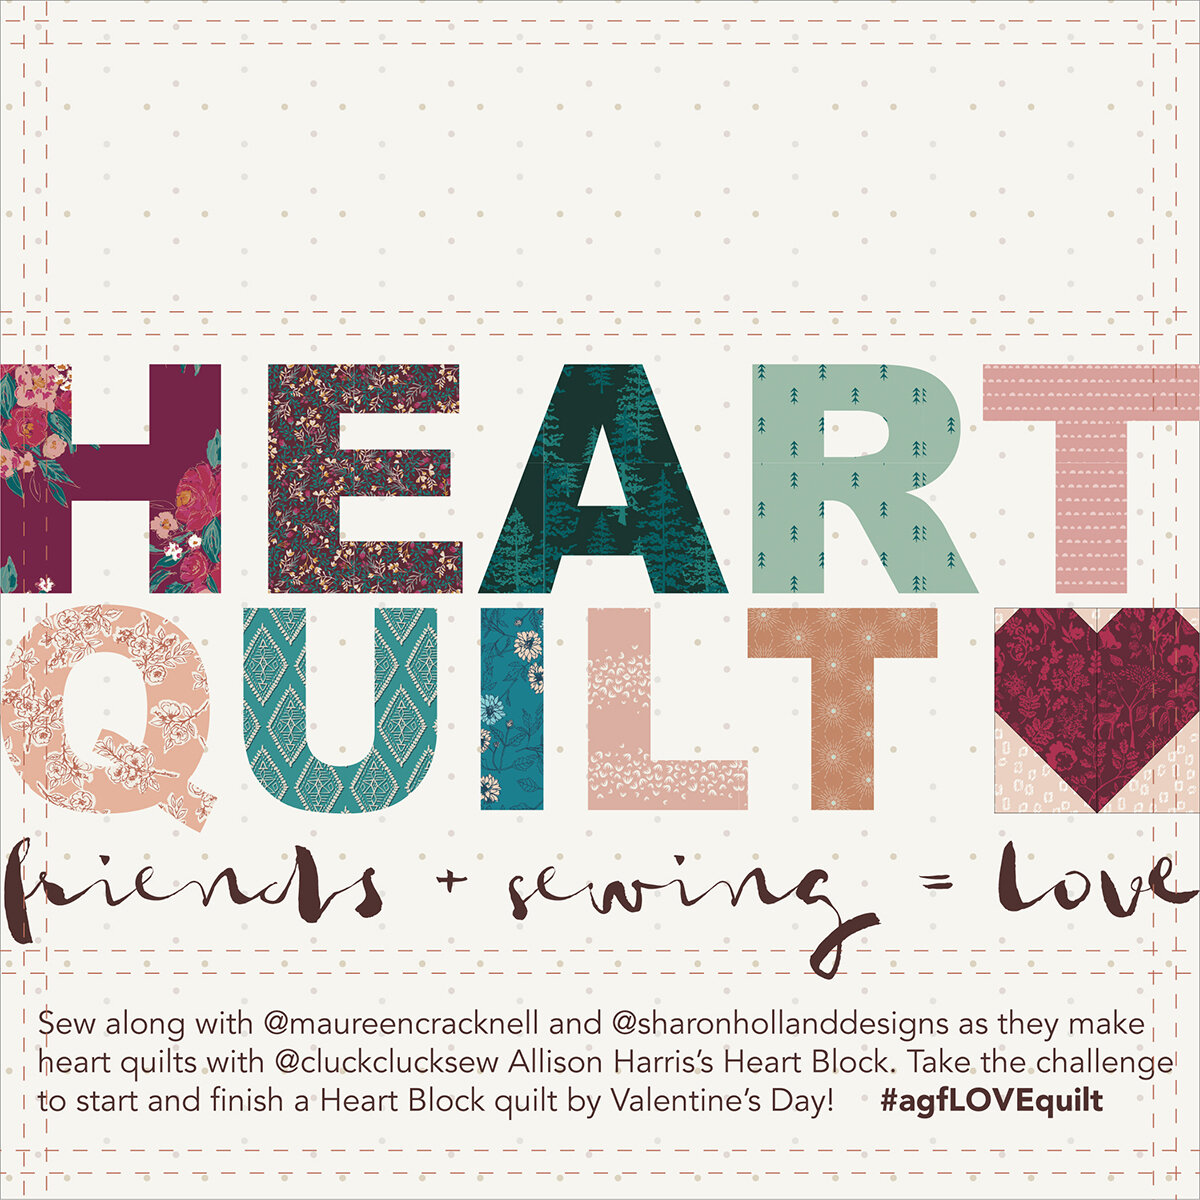
Heart Quilt Sew Along
I know, I know that just two posts back on January 8th I said that Maureen Cracknell and I had no plans for a sew along, but, turns out that I was wrong about that (insert laugh/cry emoji)!!!!
You know how it is when you see pretty fabrics and the perfect quilt block—you just have to stop everything and make a quilt with it, right?!?!?! That’s what happened with Maureen and I when we both received happy mail from Art Gallery Fabrics with the new Foresta and Ballerina Fusions. Our boxes both arrived on Saturday and by Sunday we were making plans to host a Heart Quilt Sew Along using Allison Harris’s Heart block pattern. It all happened that fast and so will this sew along as we plan to start and finish our quilts and sew along by Valentine’s Day.

Heart Block Zip Pouch by Maureen Cracknell
Prior to this last weekend, Maureen was stitching zip pouches using Allison Harris’s of Cluck Cluck Sew Heart Block tutorial to make heart blocks that she then turned into Mirrored Hearts zippered pouches for her Etsy shop. She loved making the hearts so much she’d told me she’d love to make a quilt from the hearts next.
Like I said, as soon as the new fabrics came in, now we both wanted to make heart quilts!

Photo by Maureen Cracknell
Allison’s Heart Block tutorial has a free download for her heart block with size options and a quilt layout for a 6’’ square block. You’ll also find suggestions for how to customize this block into other projects.
For this sew along we have Allison’s permission to use her block and we’ve selected and designed a quilt using an 8” square block, sashing, and border layout to make a 52’’ x 61’’ throw-size quilt. You’ll find a free download for our quilt layout, coloring sheet, and fabric requirements on the Sew Along page.
We’ve not included piecing instructions in our free download because the Heart Block tutorial at Cluck Cluck Sew will cover what you’ll need to know about making the heart blocks and next week I’ll go over putting the quilt top together with sashing and borders right here on this blog.
You may want to design a different layout for your heart blocks or follow Allison’s quilt tutorial from her site—Feel free to be creative! This is a casual sew along and a customizable project. The end goal is to have have fun sewing along with your Quilty virtual friends and have a finished project to gift, admire, or snuggle under by Valentine’s Day!

Assorted Art Gallery Fabrics from Mayfair and Foresta Fusion photo courtesy of Maureen Cracknell
You may have seen our fabric pull posts on Instagram as teasers to this sew along?
Maureen will be making her Heart Quilt from a mash up of Amy Sinabaldi’s MayFair and the new Foresta Fusion collection. Fusions are a group of ten prints from various Art Gallery Fabric designers that have been recolored and curated into the new color story. The two collections pair beautifully and have a romanic look for a heart quilt.
Quilt kits for the quilt Maureen will be stitching are available at Lady Belle Fabric.

The Heart Block is a fast block to piece and this quilt is a great way to show off your favorite prints! If you’re planning to make quilts like Maureen and mine, we’ve gone with a 30-block quilt and pulled 10 fat quarters. Background, backing, and binding requirements are listed in our free PDF download for the quilt layout in the illustration above.

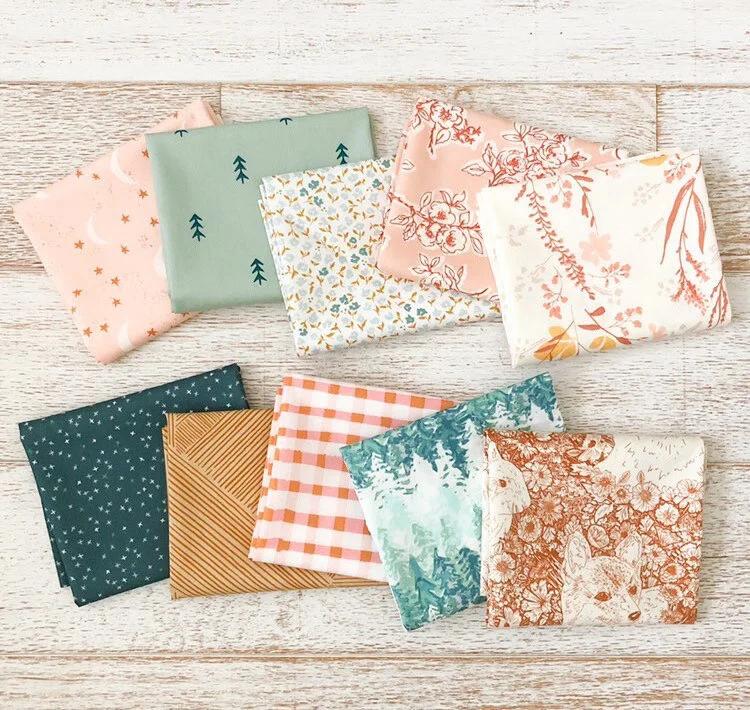
Heart Quilt fabric pull by Sharon Holland
I’ll be making my Heart quilt from a curated mix of fabrics from: Art Gallery Fabrics Ballerina Fusion (a recolored mix of AGF designer prints), my Spirited, Everlasting, Signature, and Maureen’s Enchanted Voyage and Mystical Land collections.
My non-traditional Valentine colors remind me of sugared gum drops and candy. I’m crazy over this color palette and went with my heart when I did my fabric pull.

Due to the short notice of our sew along there’s not a quilt kit or bundle that exactly matches my fabric pull. However, Fabric Stork has created two beautiful bundles of ten Art Gallery Prints that would make a gorgeous heart block quilt that has a similar color story. You’ll still need to get your background fabric, backing, and binding.
AGF Bundle from Fabric Stork

AGF Bundle from Fabric Stork
We’ll be posting our progress on Instagram and encourage you to follow along and share your fabric pull and progress as well. When posting your quilt to Instagram use the sew along hashtag of #agfLOVEquilt and be sure to tag @sharonhollanddesigns @maureencracknell and @cluckclucksew so we can see your progress! If you’re sewing with Art Gallery Fabrics don’t forget to tag them too as they love to see what Makers are making with @artgalleryfabrics !
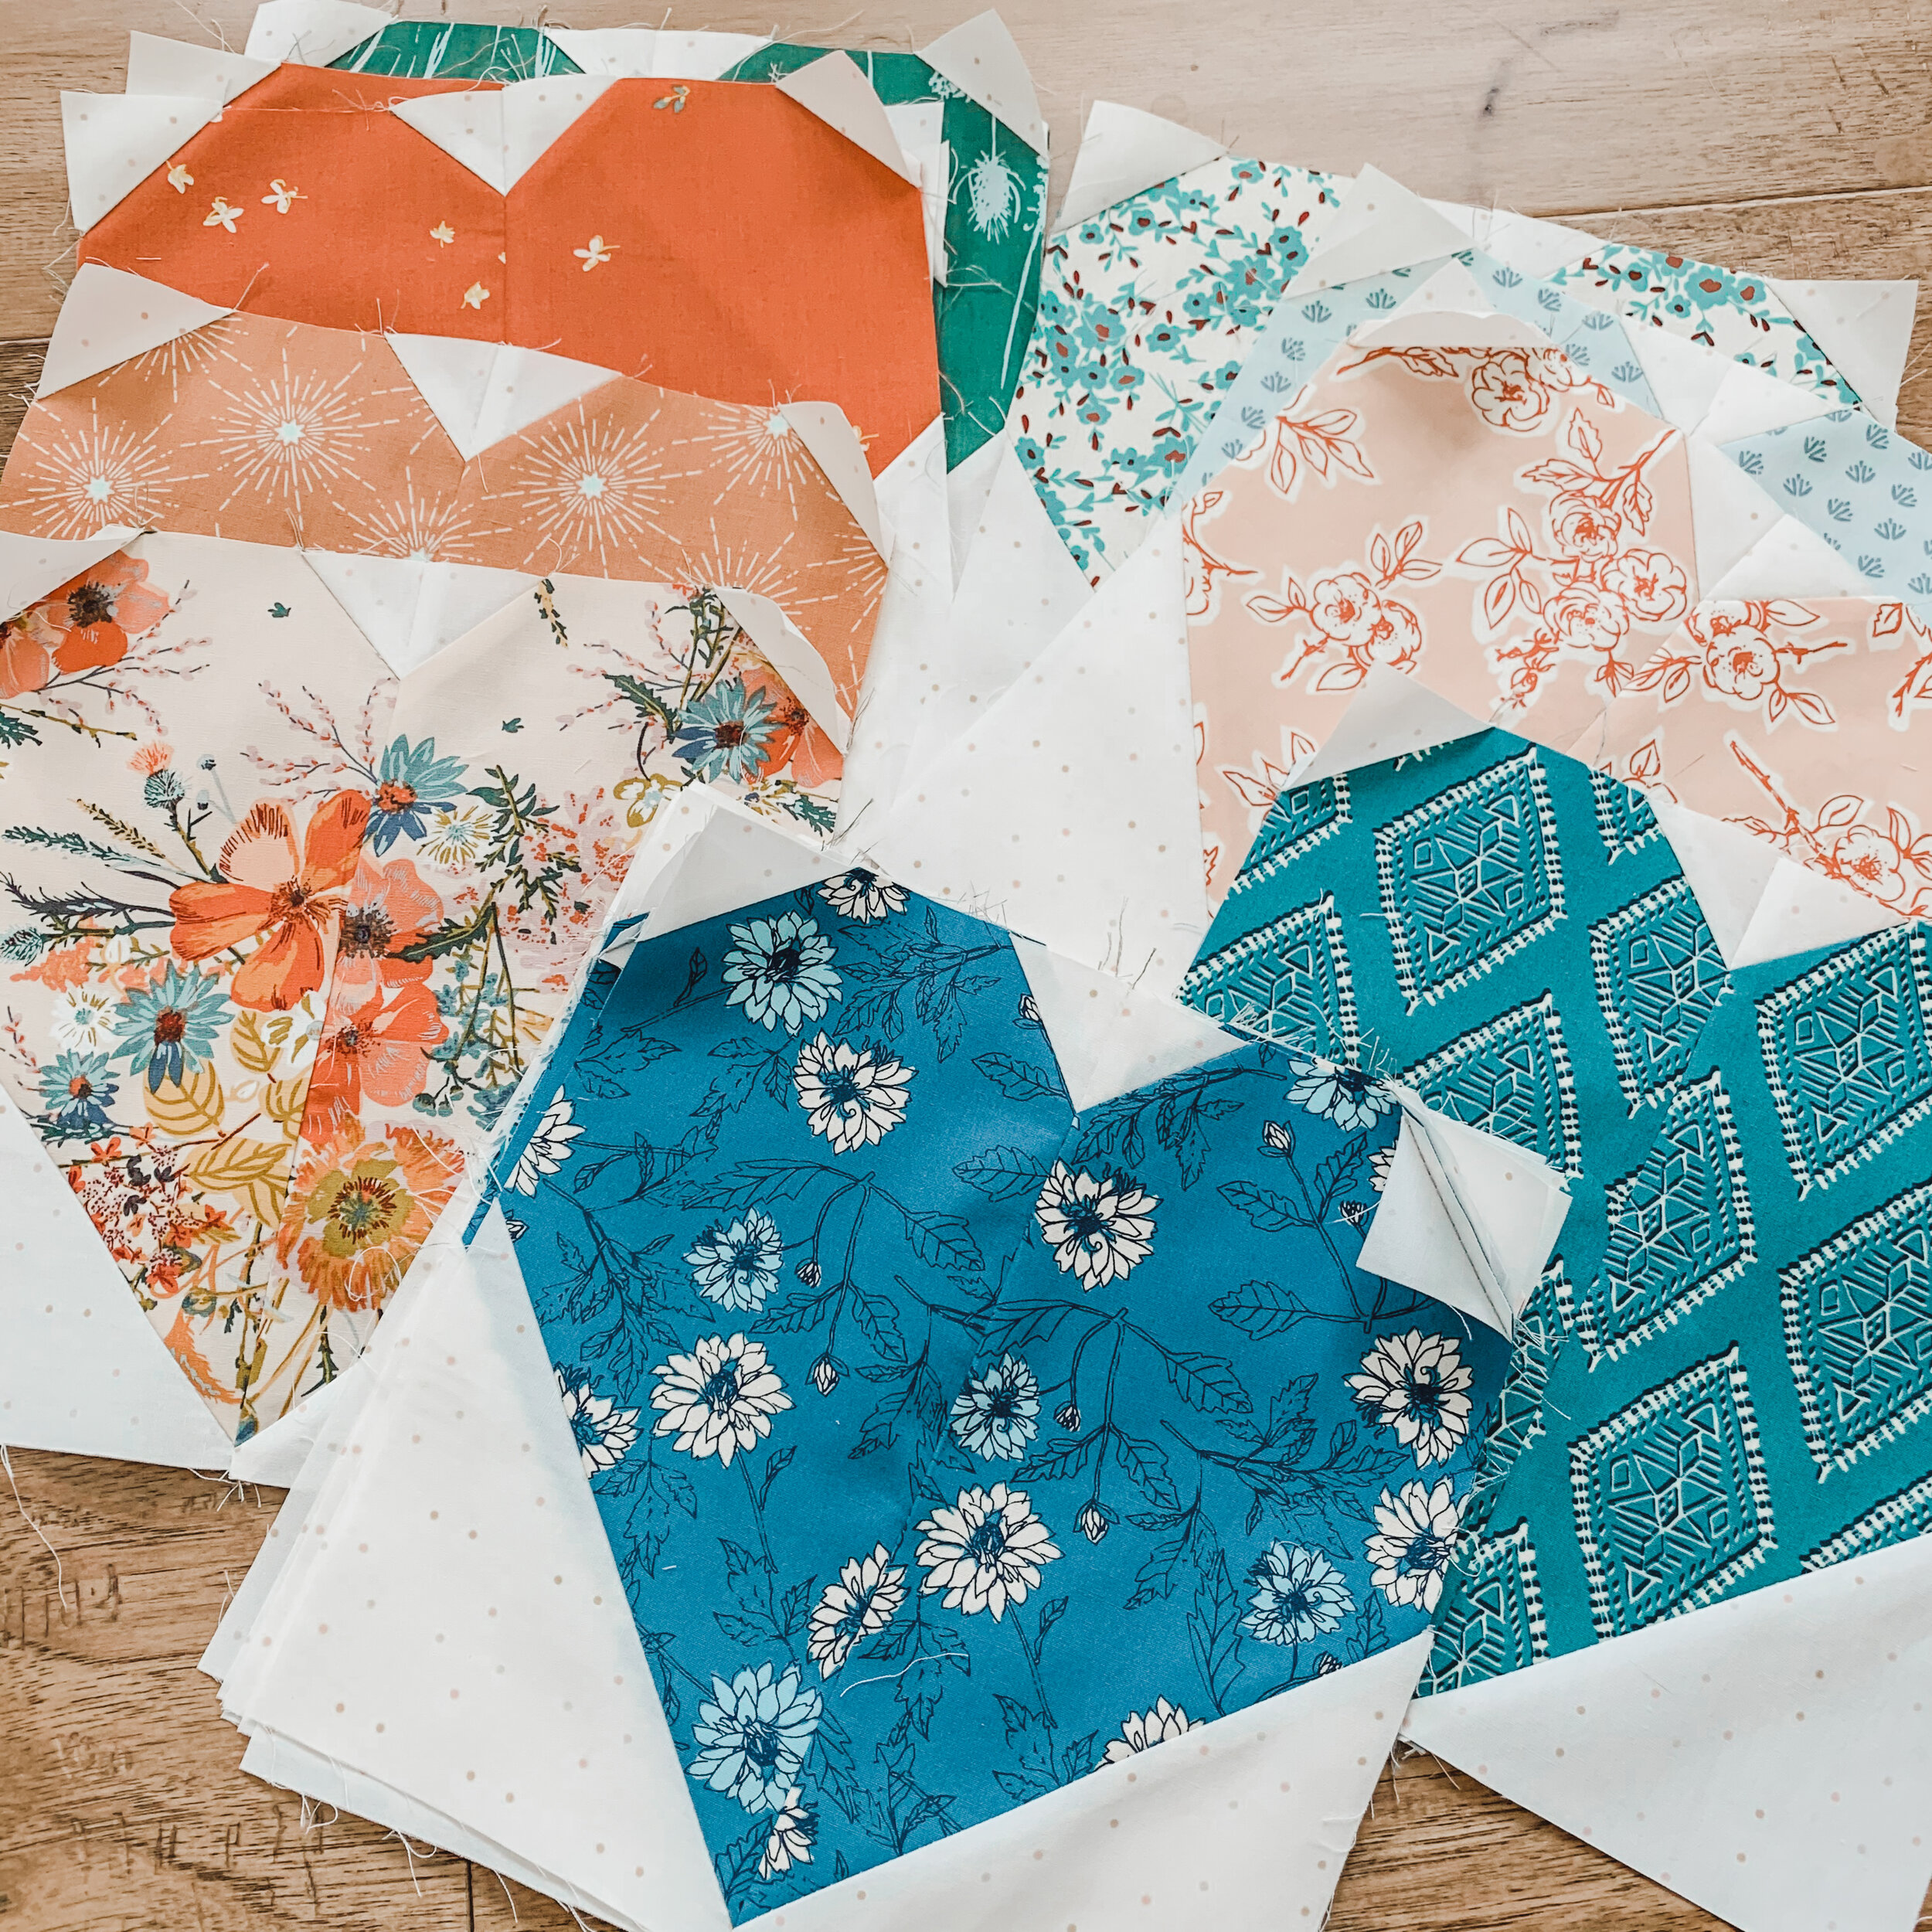
I’ll be adding progress snippets, videos, and tips videos to my Instagram Stories as I work on my quilt. As you can see, I’m pretty far along and have all my 30 blocks made only after two half-day sewing sessions. I’m excited to see it all come together!
I am an Amazon Associate site and earn from qualifying purchases on the products I’ve linked below. The helpful products selected are the same or similar to materials used to make the project(s) in this blog post or related items I think you may enjoy.