
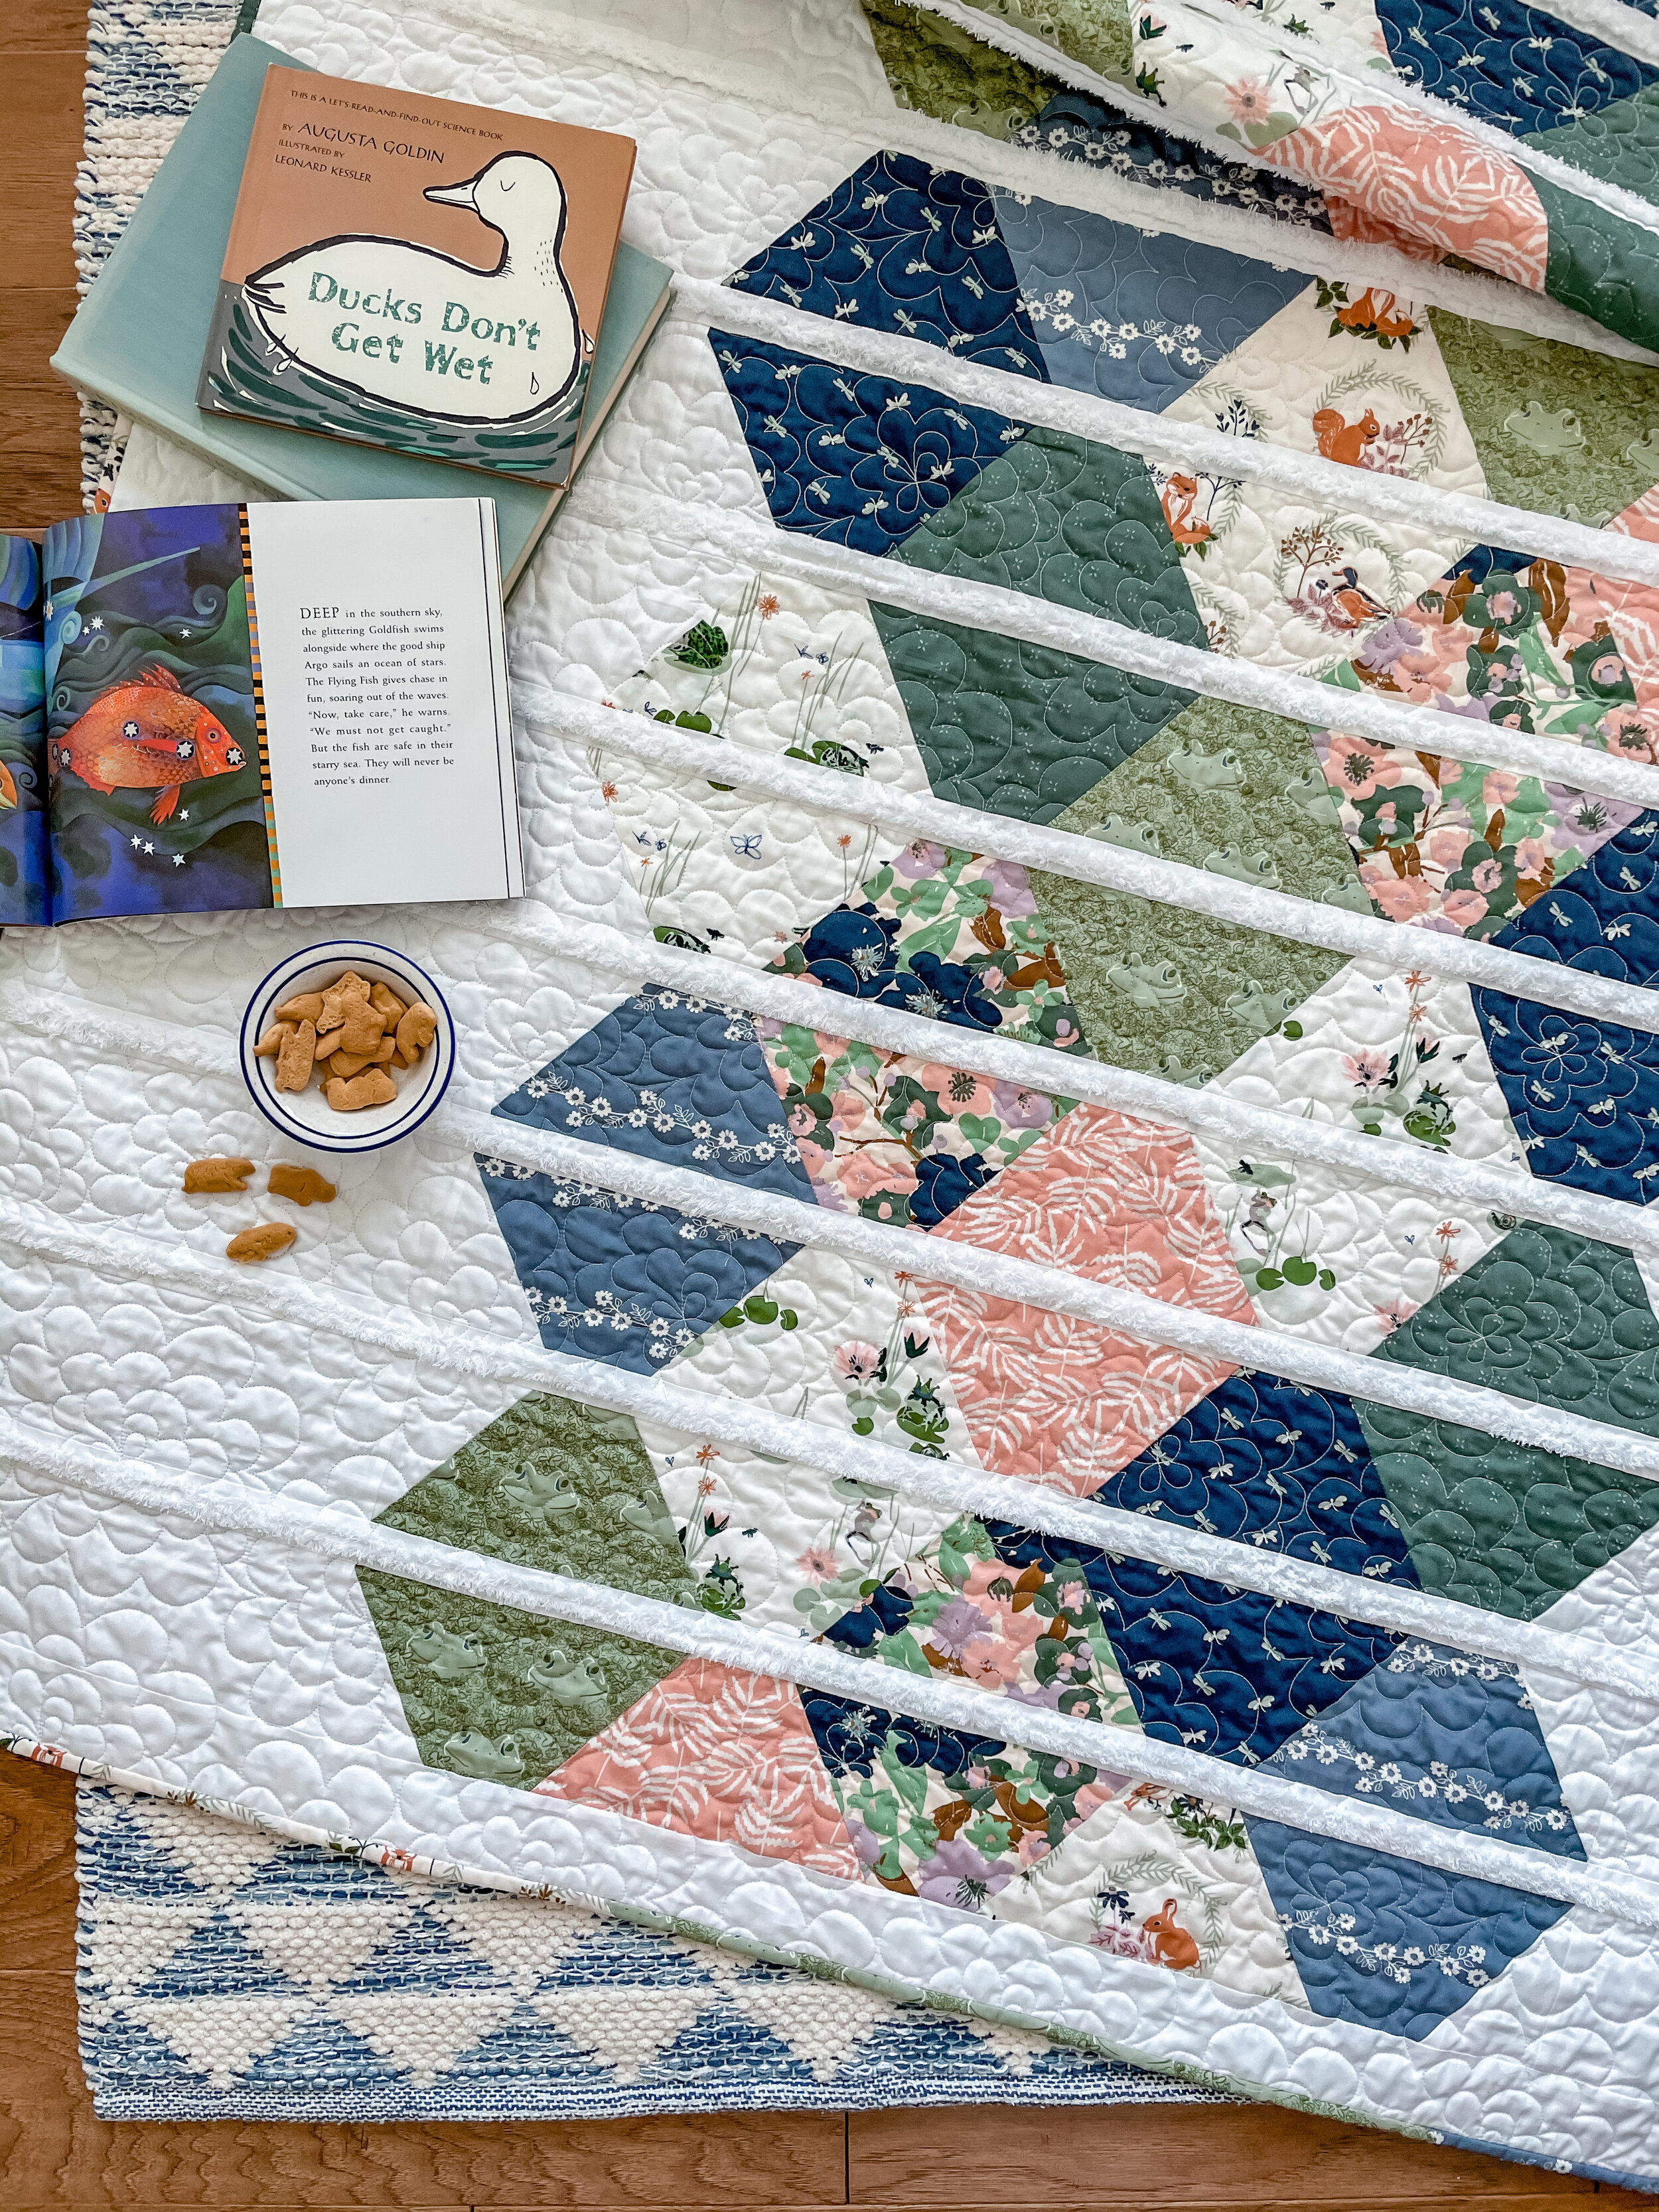
With summer right around the corner and the great outdoors calling us away from the sewing machine, it’s nice to have a quilt pattern that’s fast, fun, and the perfect size for picnics, campfires, or play forts! Oh, and how about some awesome faux chenille embellishment—you’ll find the extra time to make this one!!!!!
Lily Pad is now available in the SHOP.
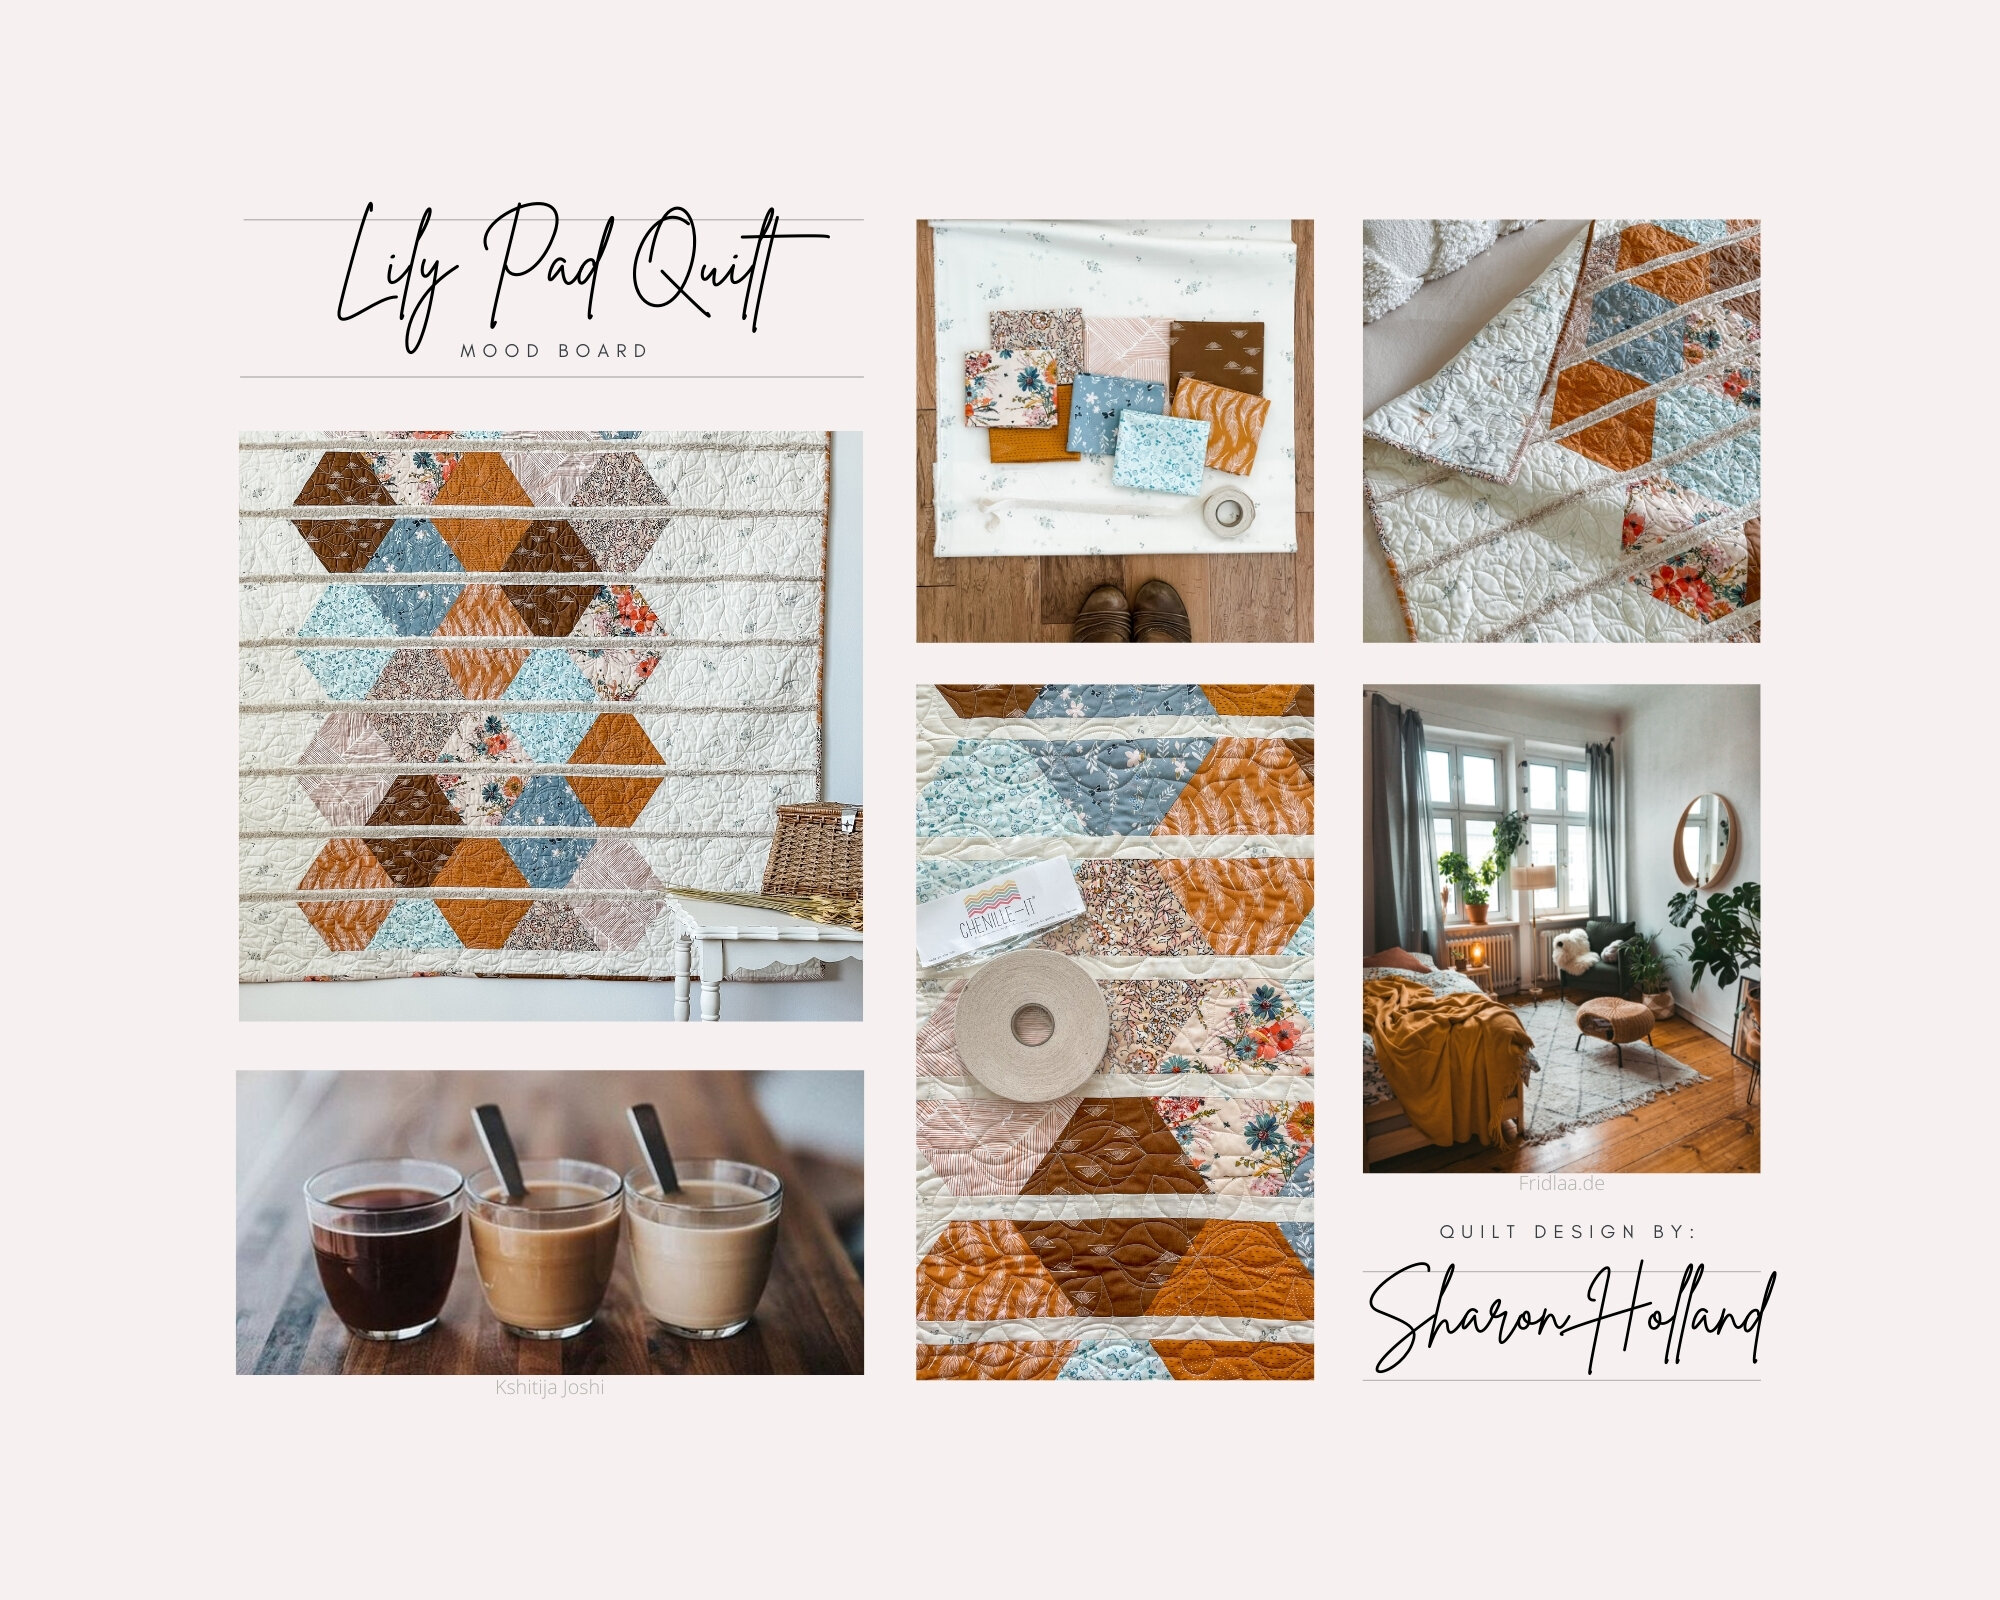
Lily Pad is a redesigned quilt pattern of a quilt I made for the Quilt Now Issue 15 (January 2015) magazine originally called, Honeycomb. The magazine version was more complex than the newly revised Lily Pad quilt but much the same overall look. I’ve always loved this pattern but never got around to publishing it as a stand alone pattern until this year when Nannette Holmberg of Chenille-It asked me if I wanted to design something for her monthly subscription boxes.
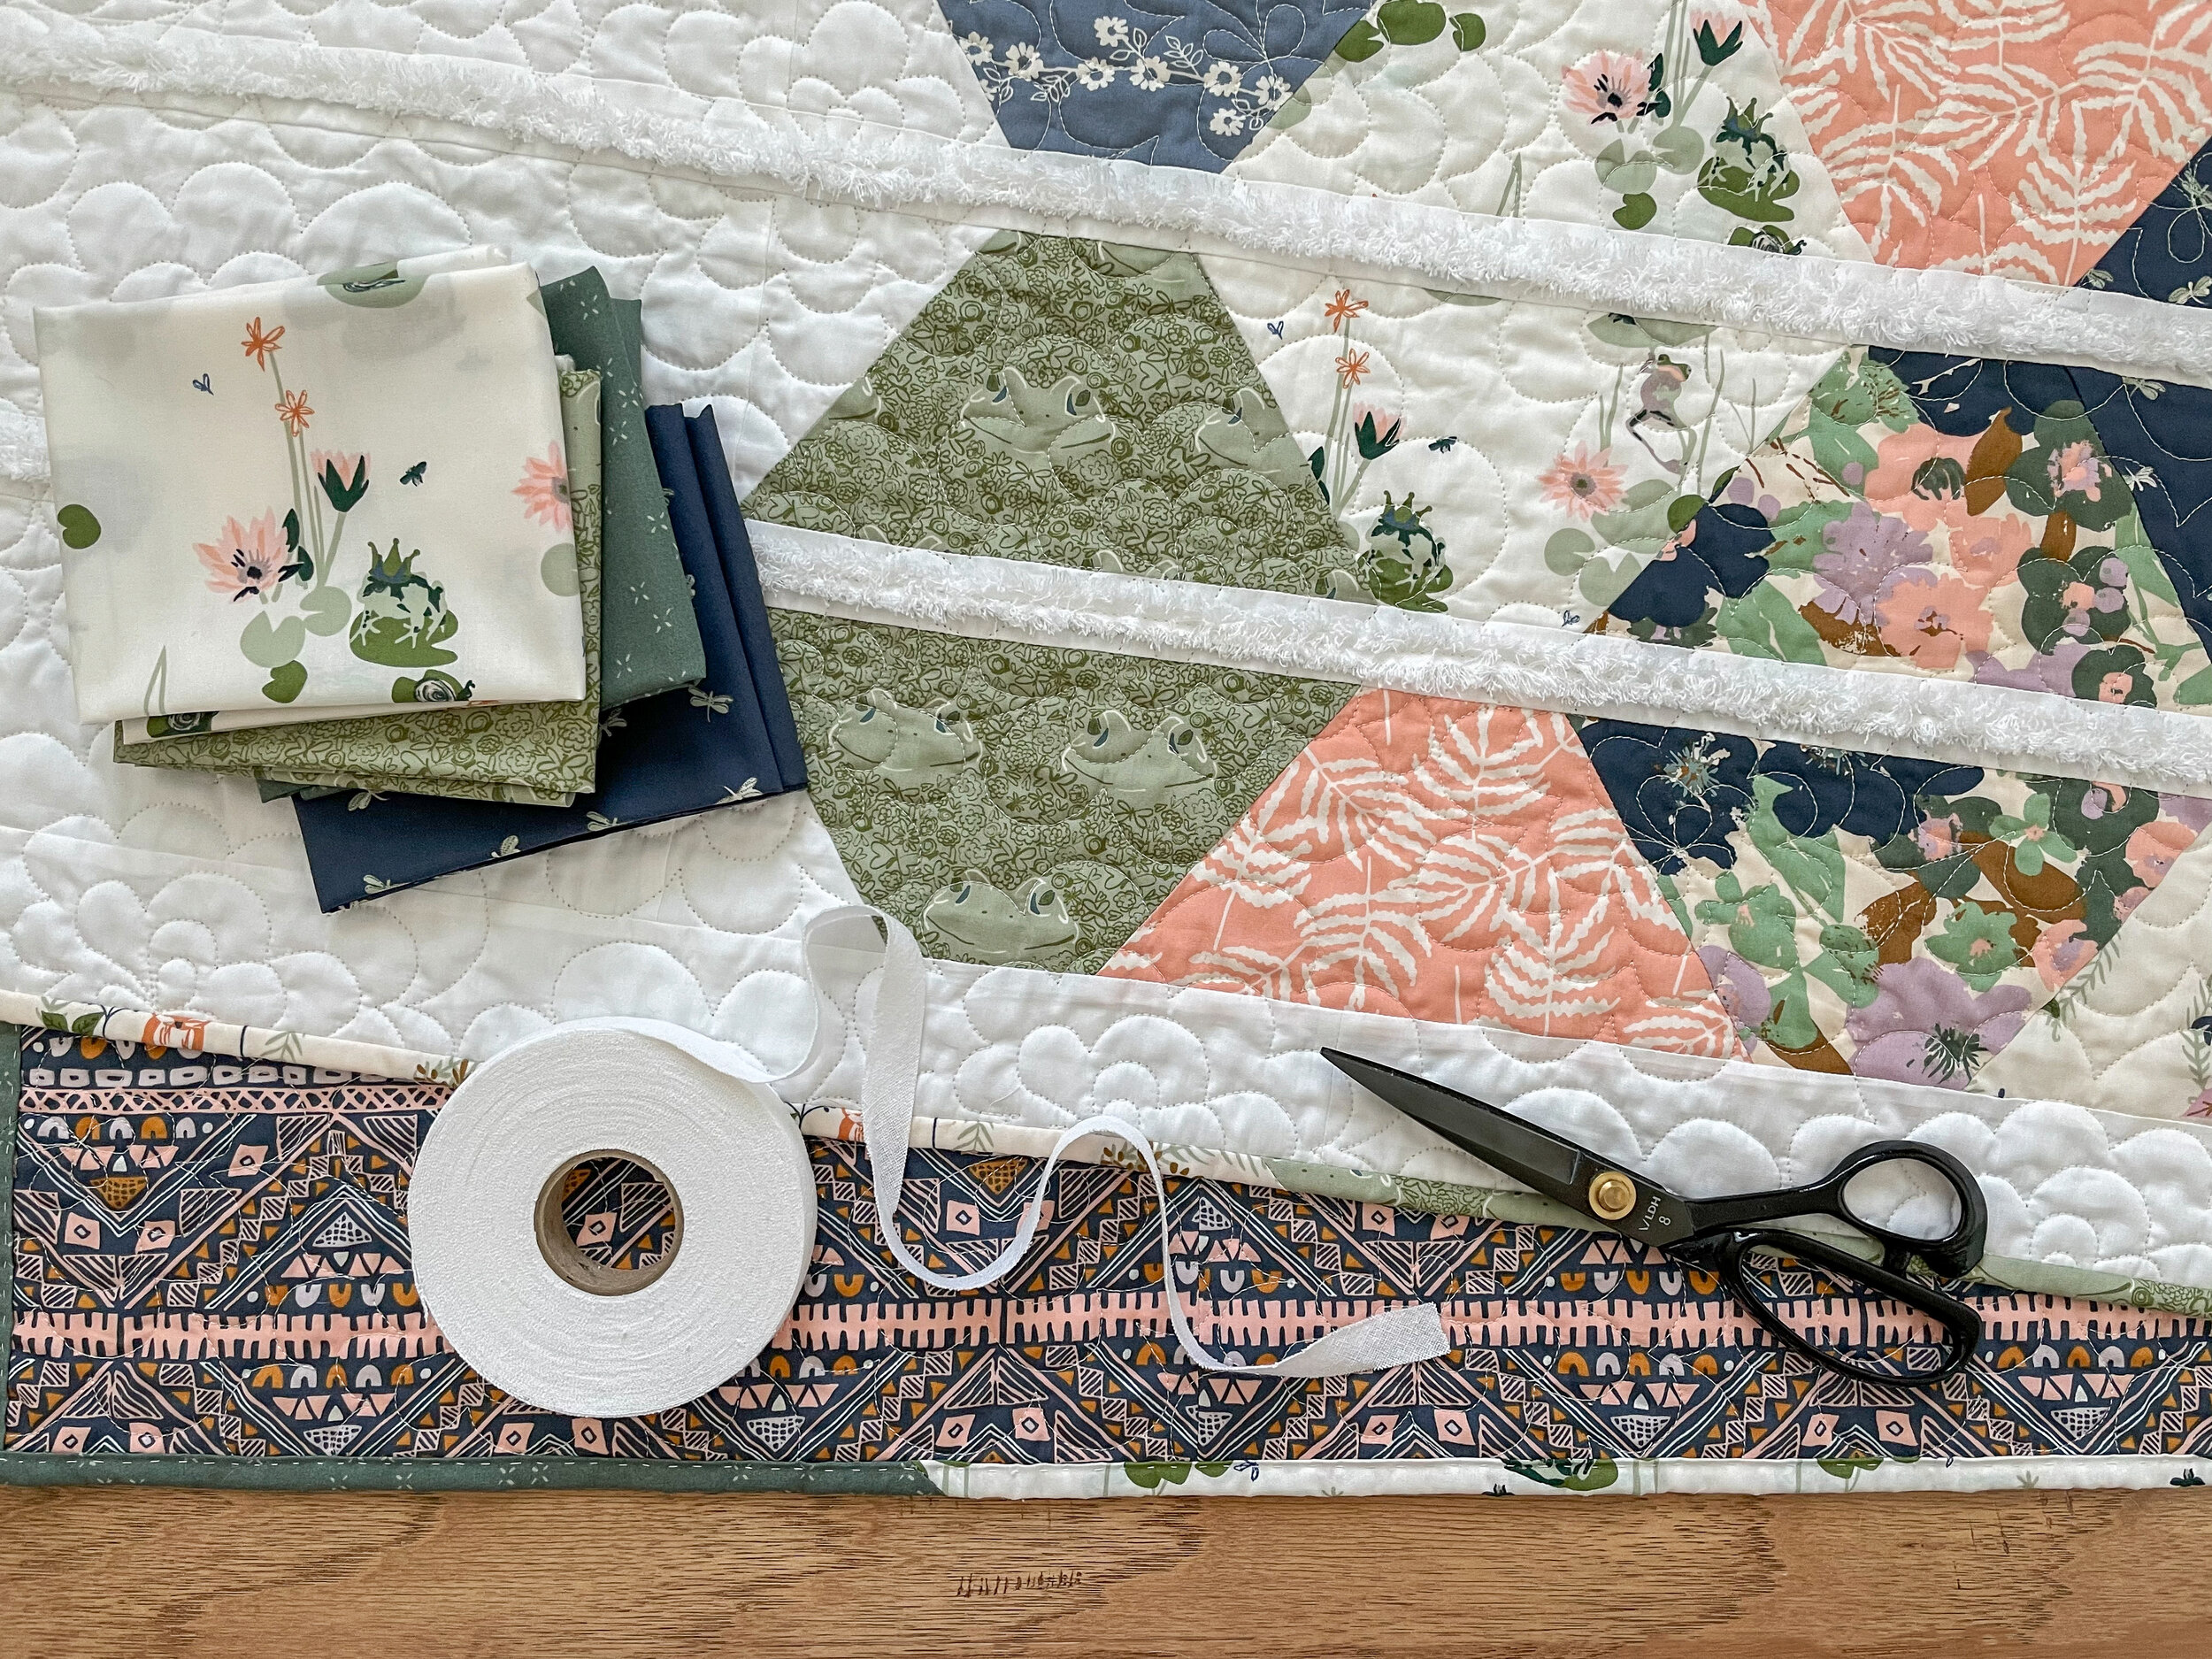
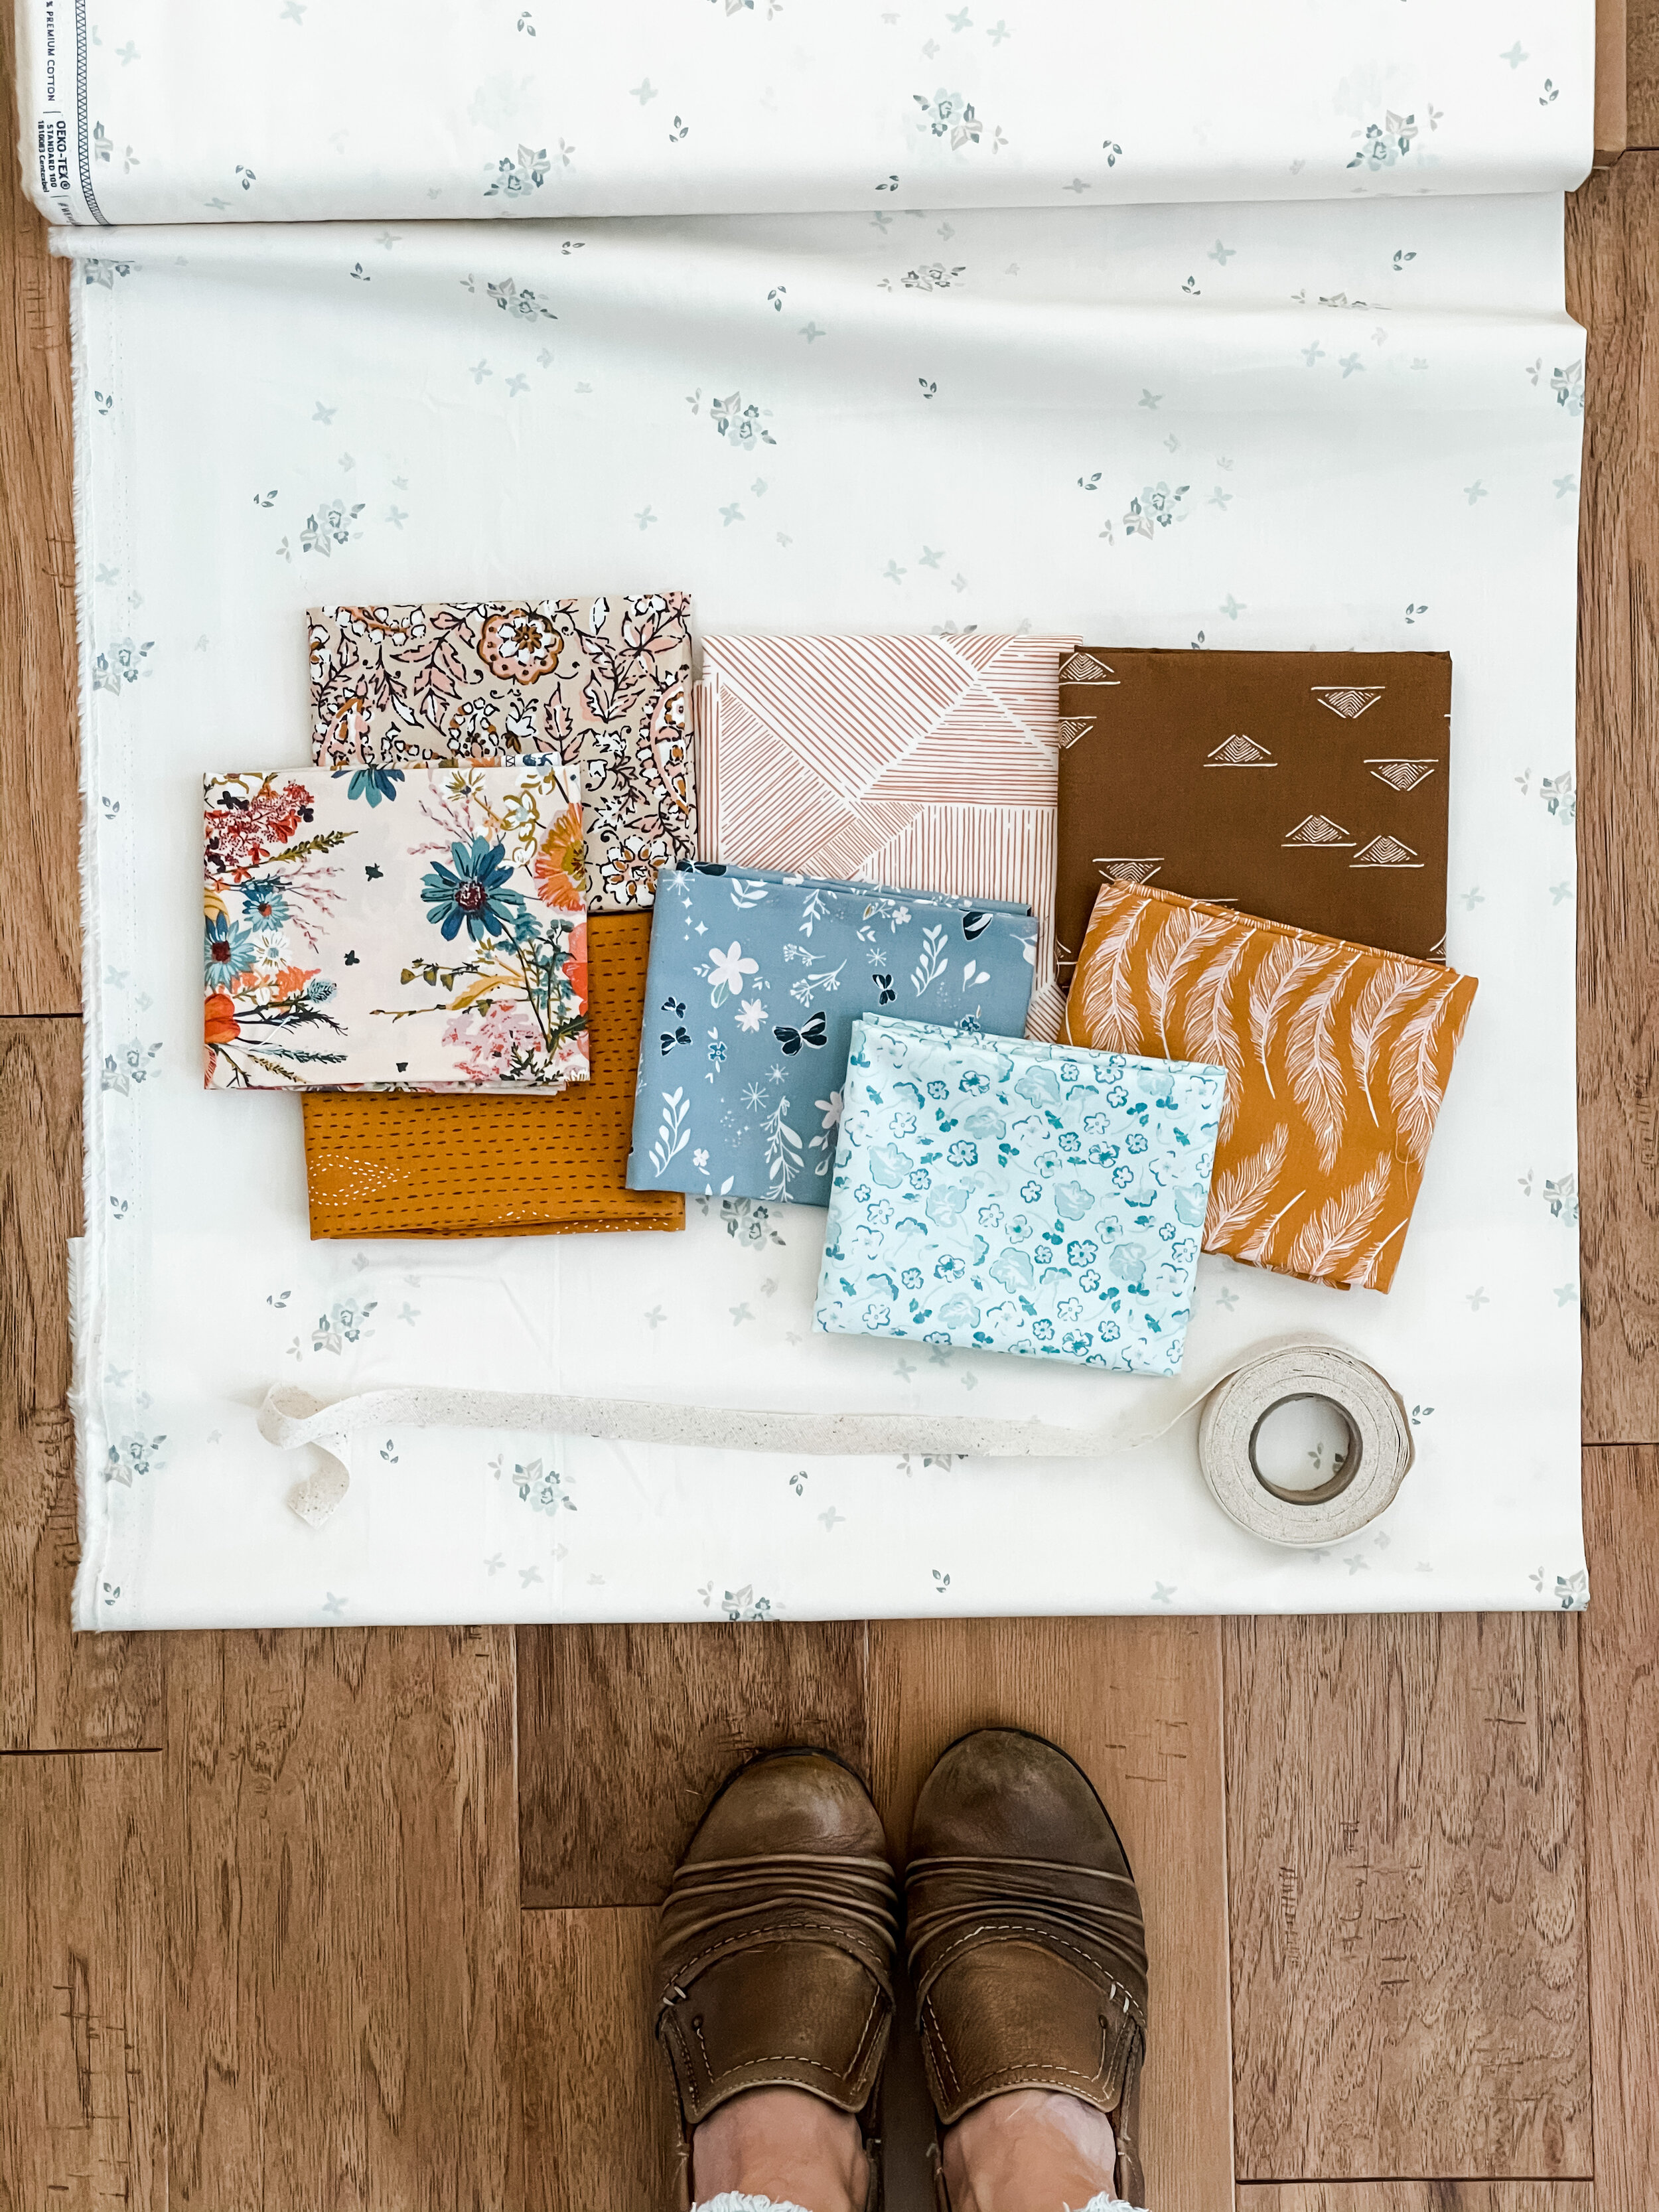
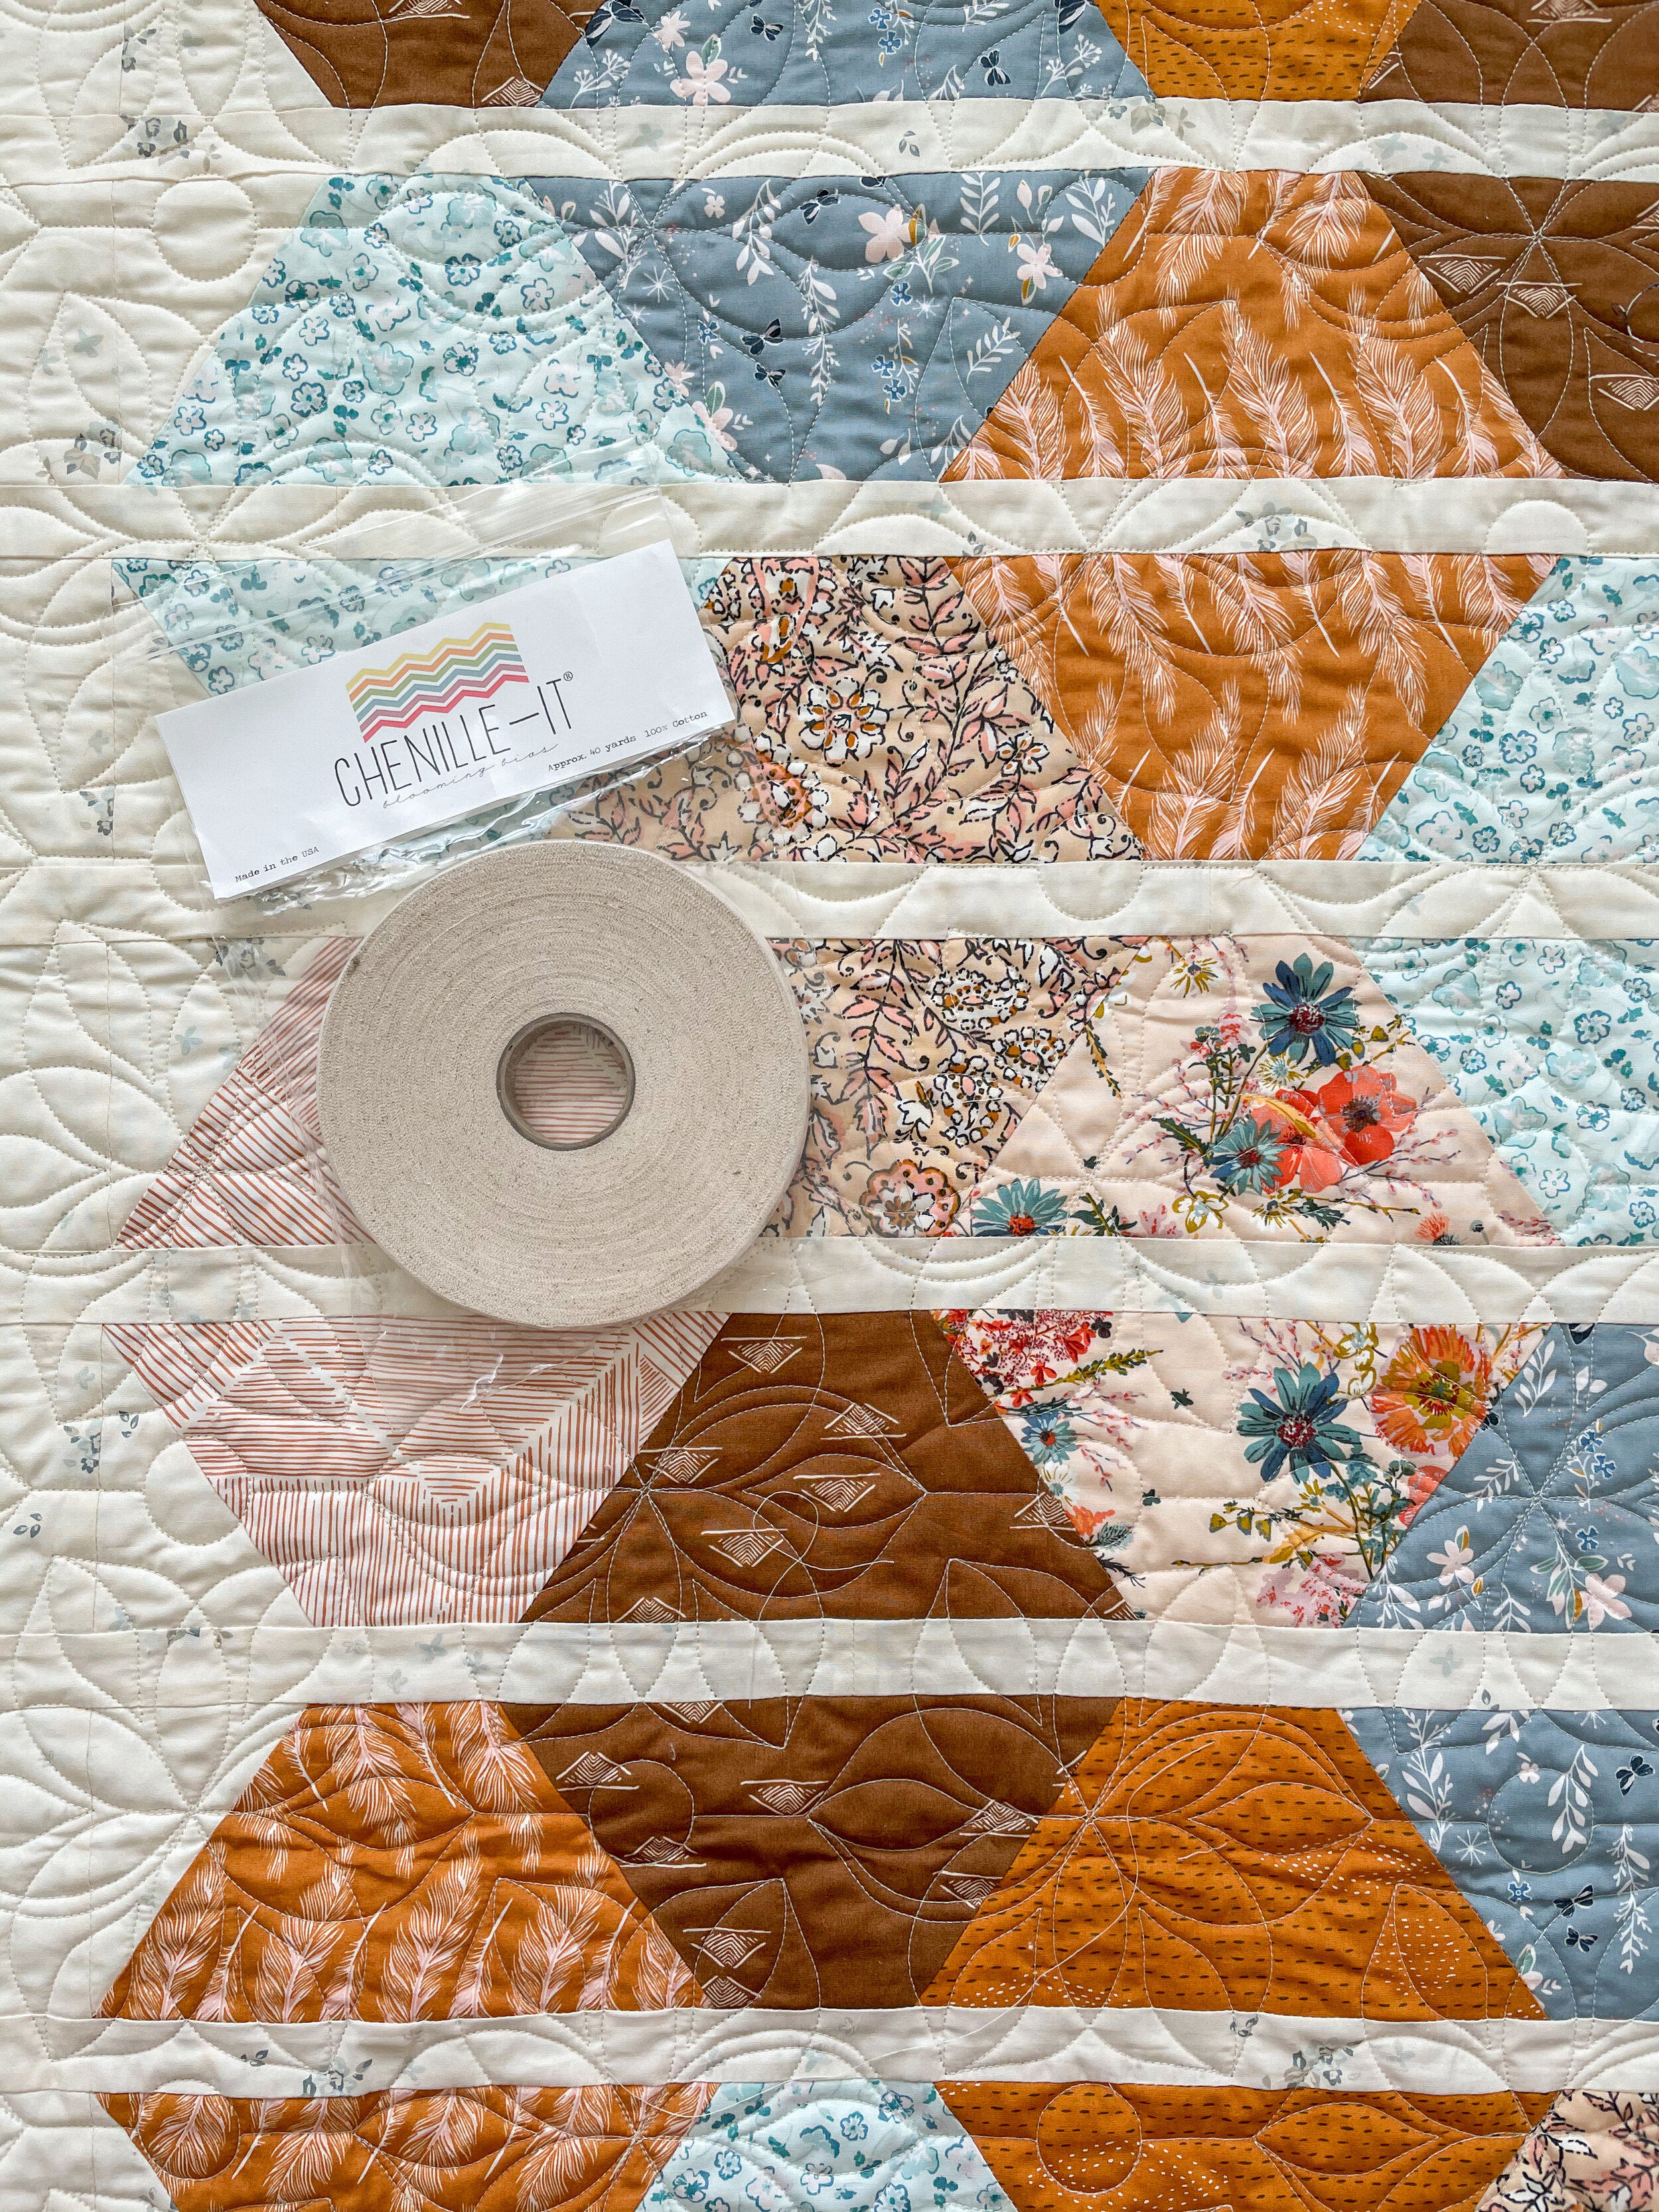
I’m all about quilts, as you know, and my newest Art Gallery Fabrics Lilliput collection just released this spring so it was the perfect platform to create a quilt that shows off Lilliput prints AND highlights Chenille-It faux chenille. The redesigned Lily Pad quilt did it all with big, quick-to-piece shapes from fat quarters and those skinny strips between the half hexagon were calling out for Blooming Bias tape embellishment!

The May Chenille-It subscription boxes have already shipped but you can still pre-order this Lilliput version as a kit from Chenille-It. Orders will be shipping in a couple weeks once more fabric arrives.
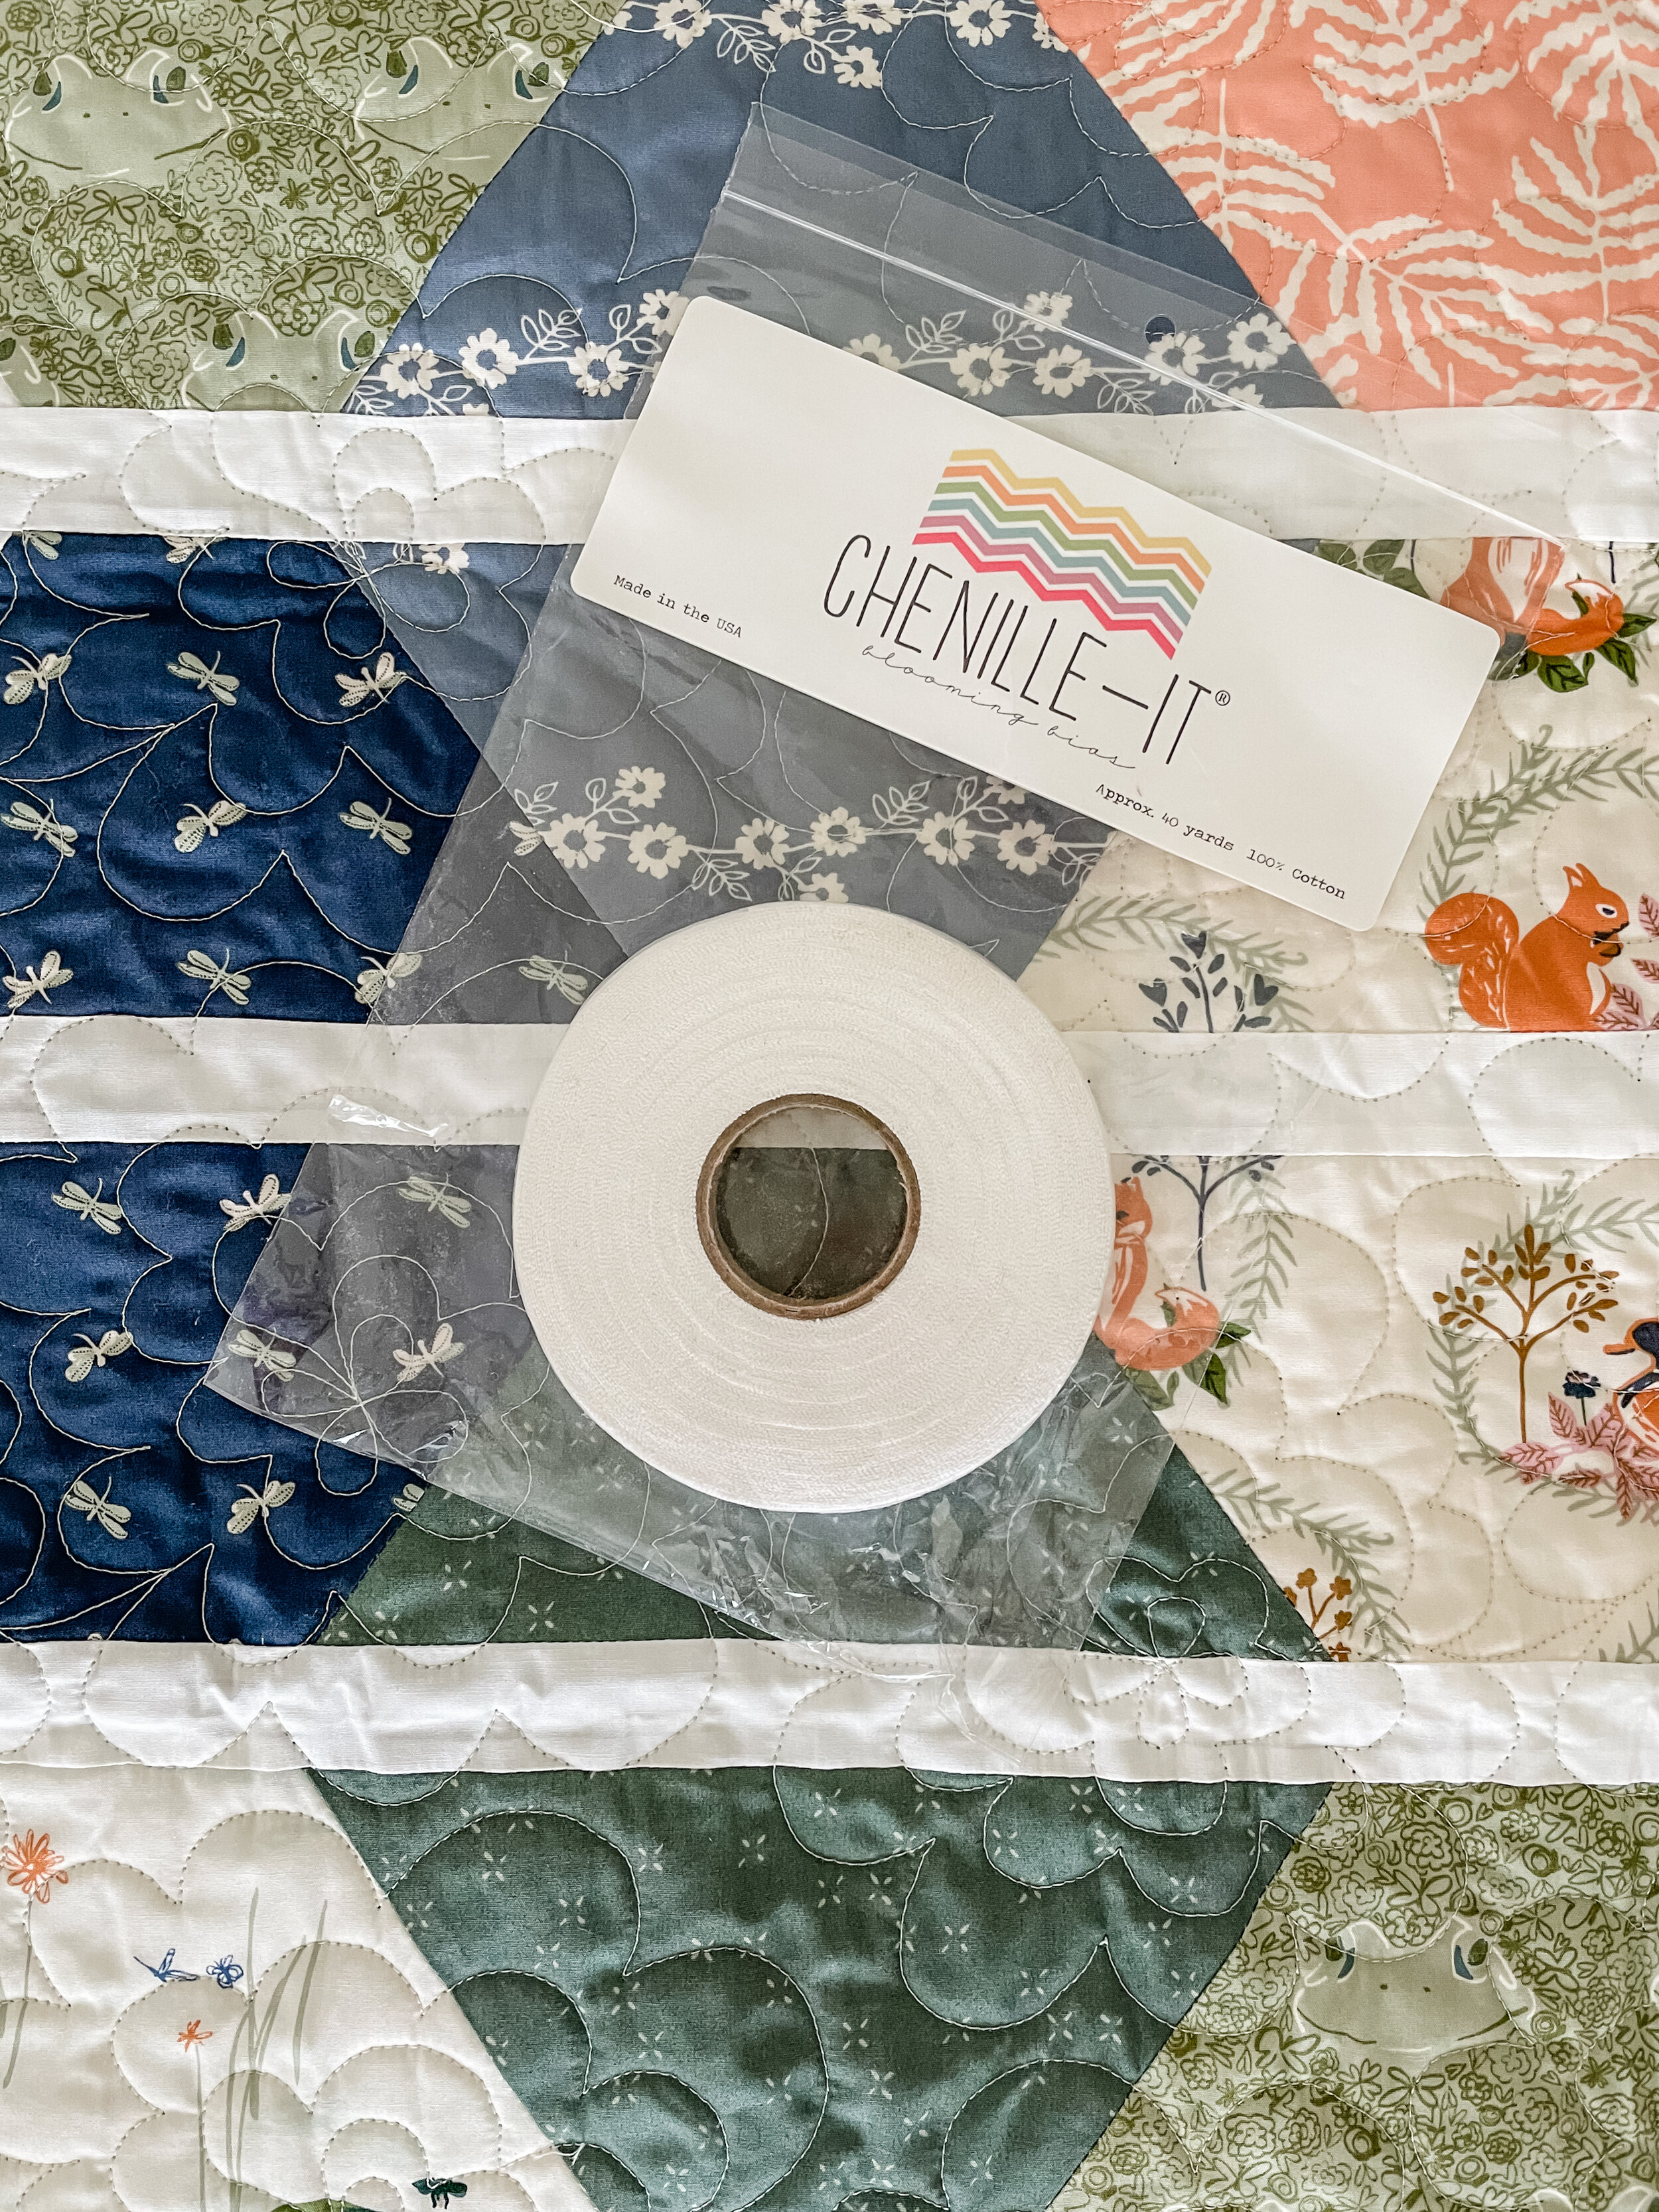
Add Chenille-It to Your Projects
If you’re wondering how to apply the faux chenille, here’s some videos and tutorials:
Sharon Holland - Chenille Pillows Tutorial
Sharon Holland - Adding Faux Chenille Binding
@sharonhollanddesigns IG Reel - Fluffing faux chenille with brush

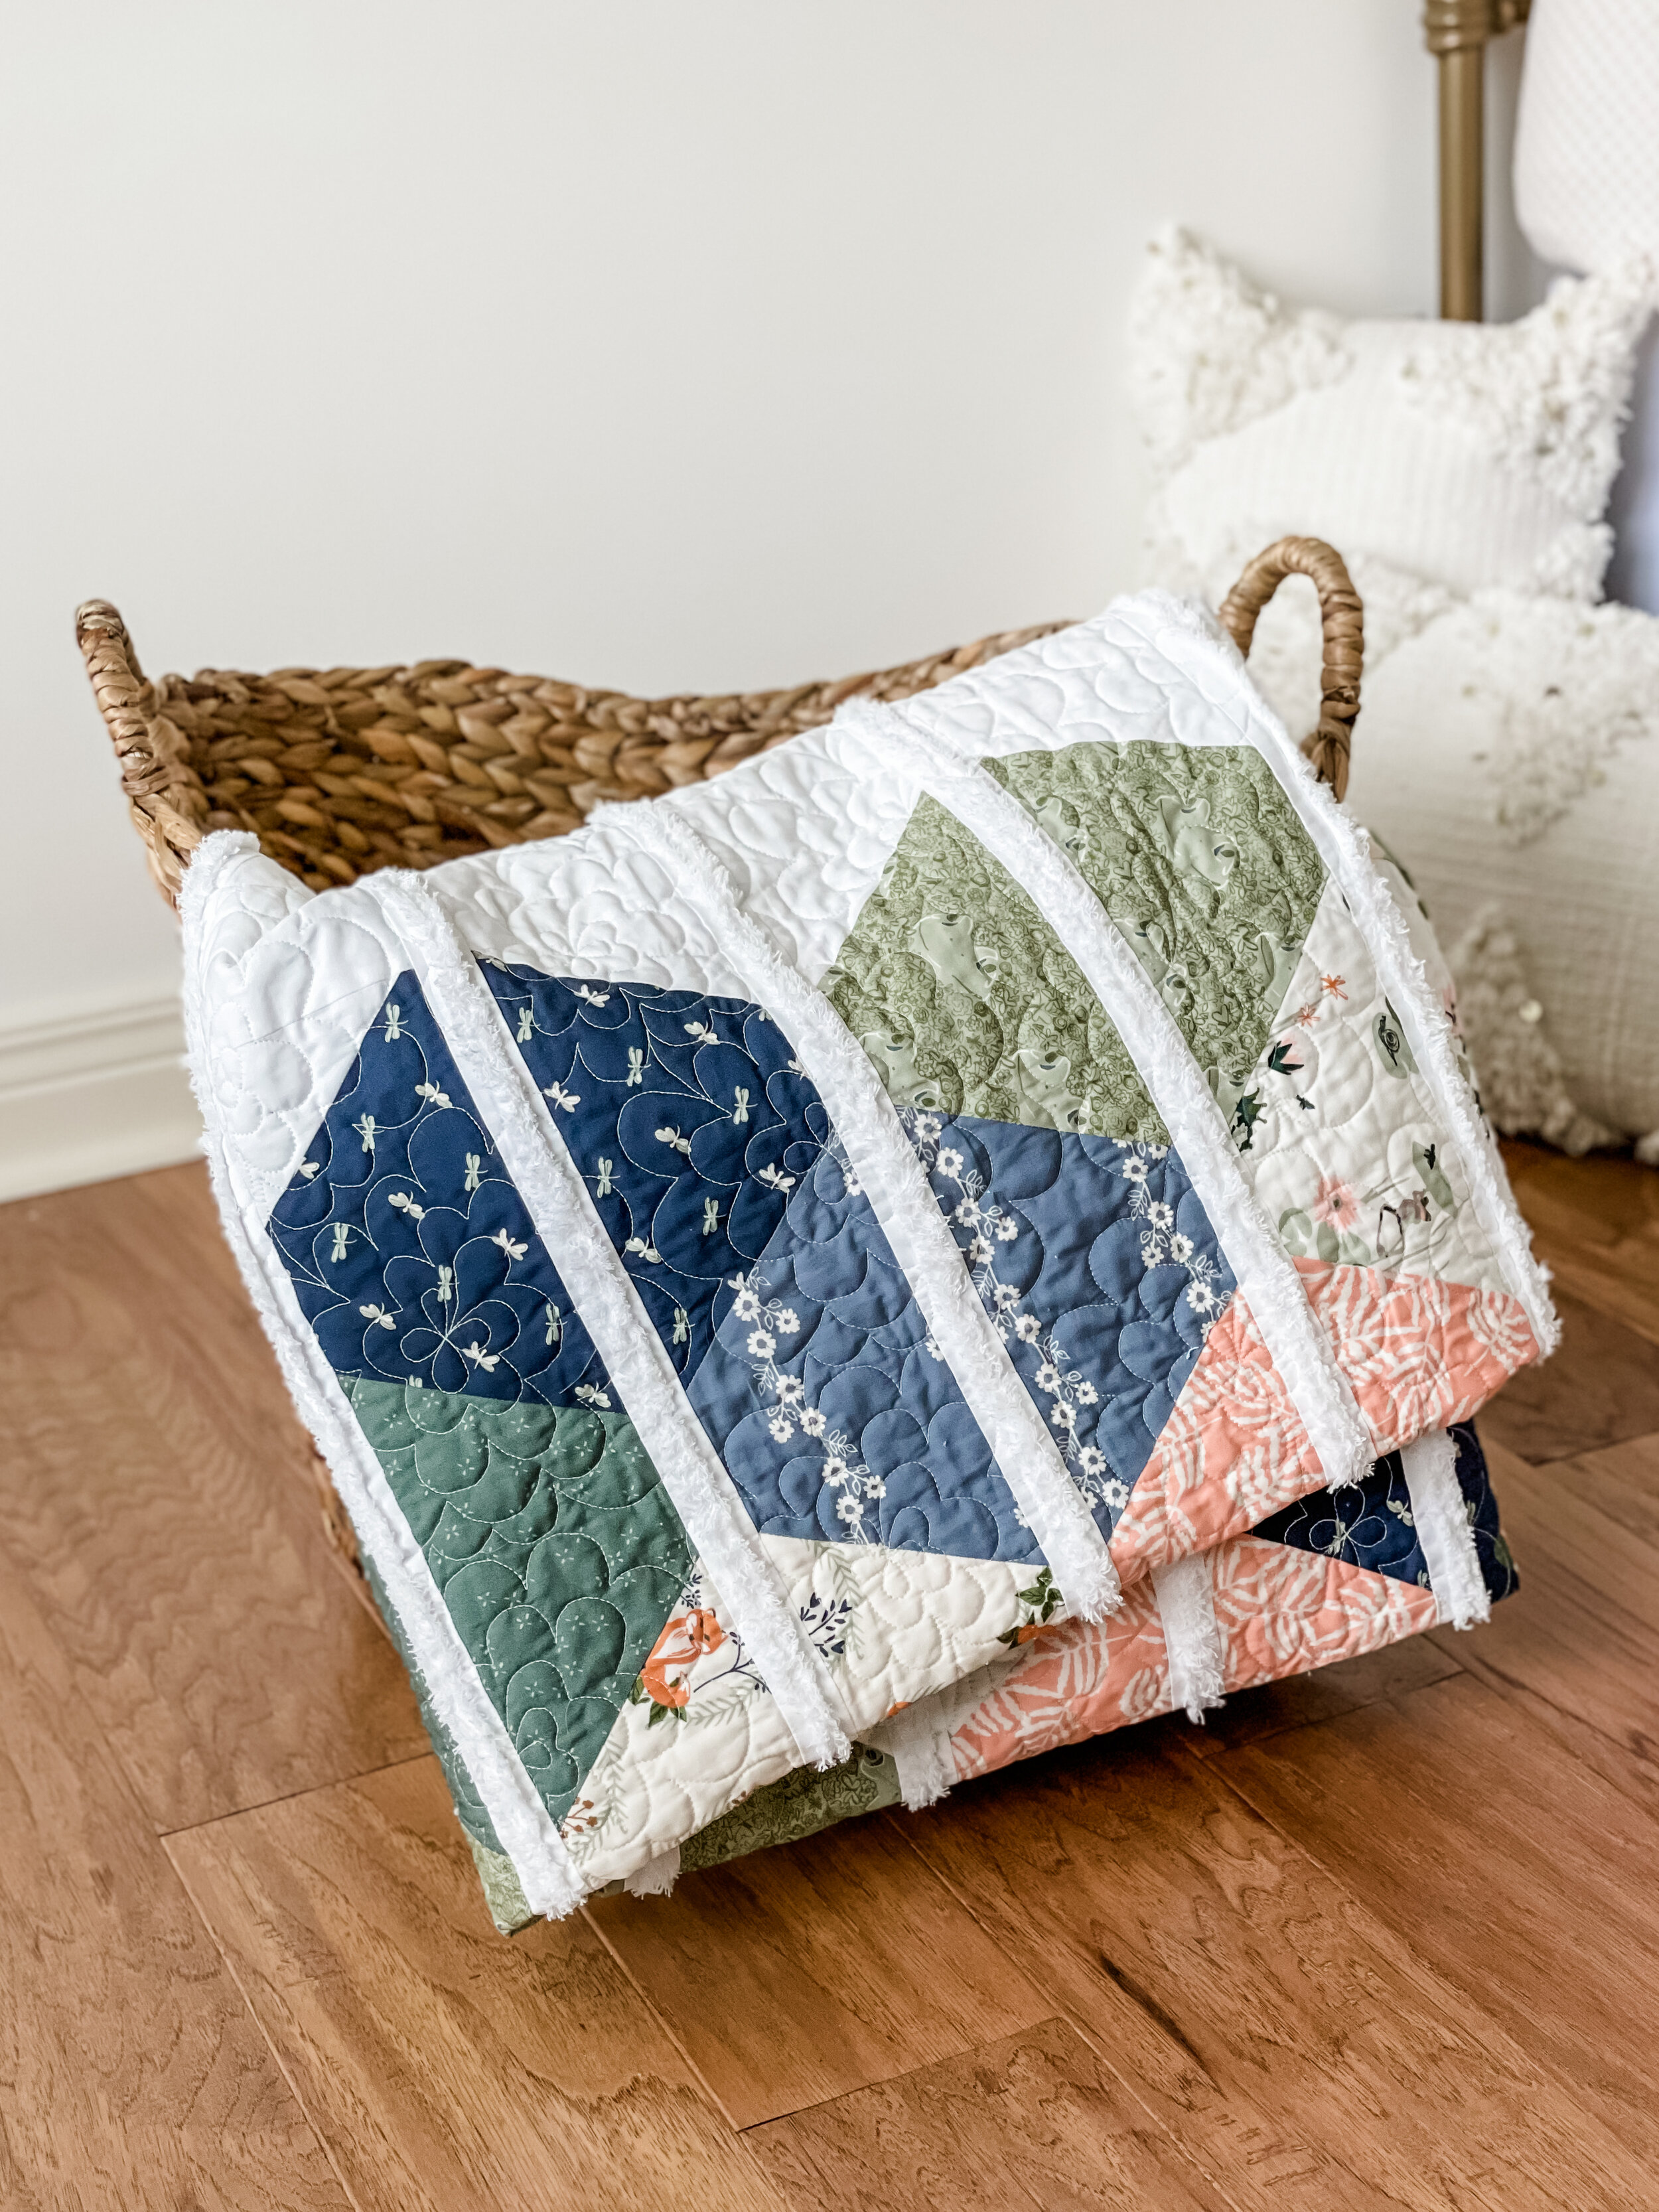
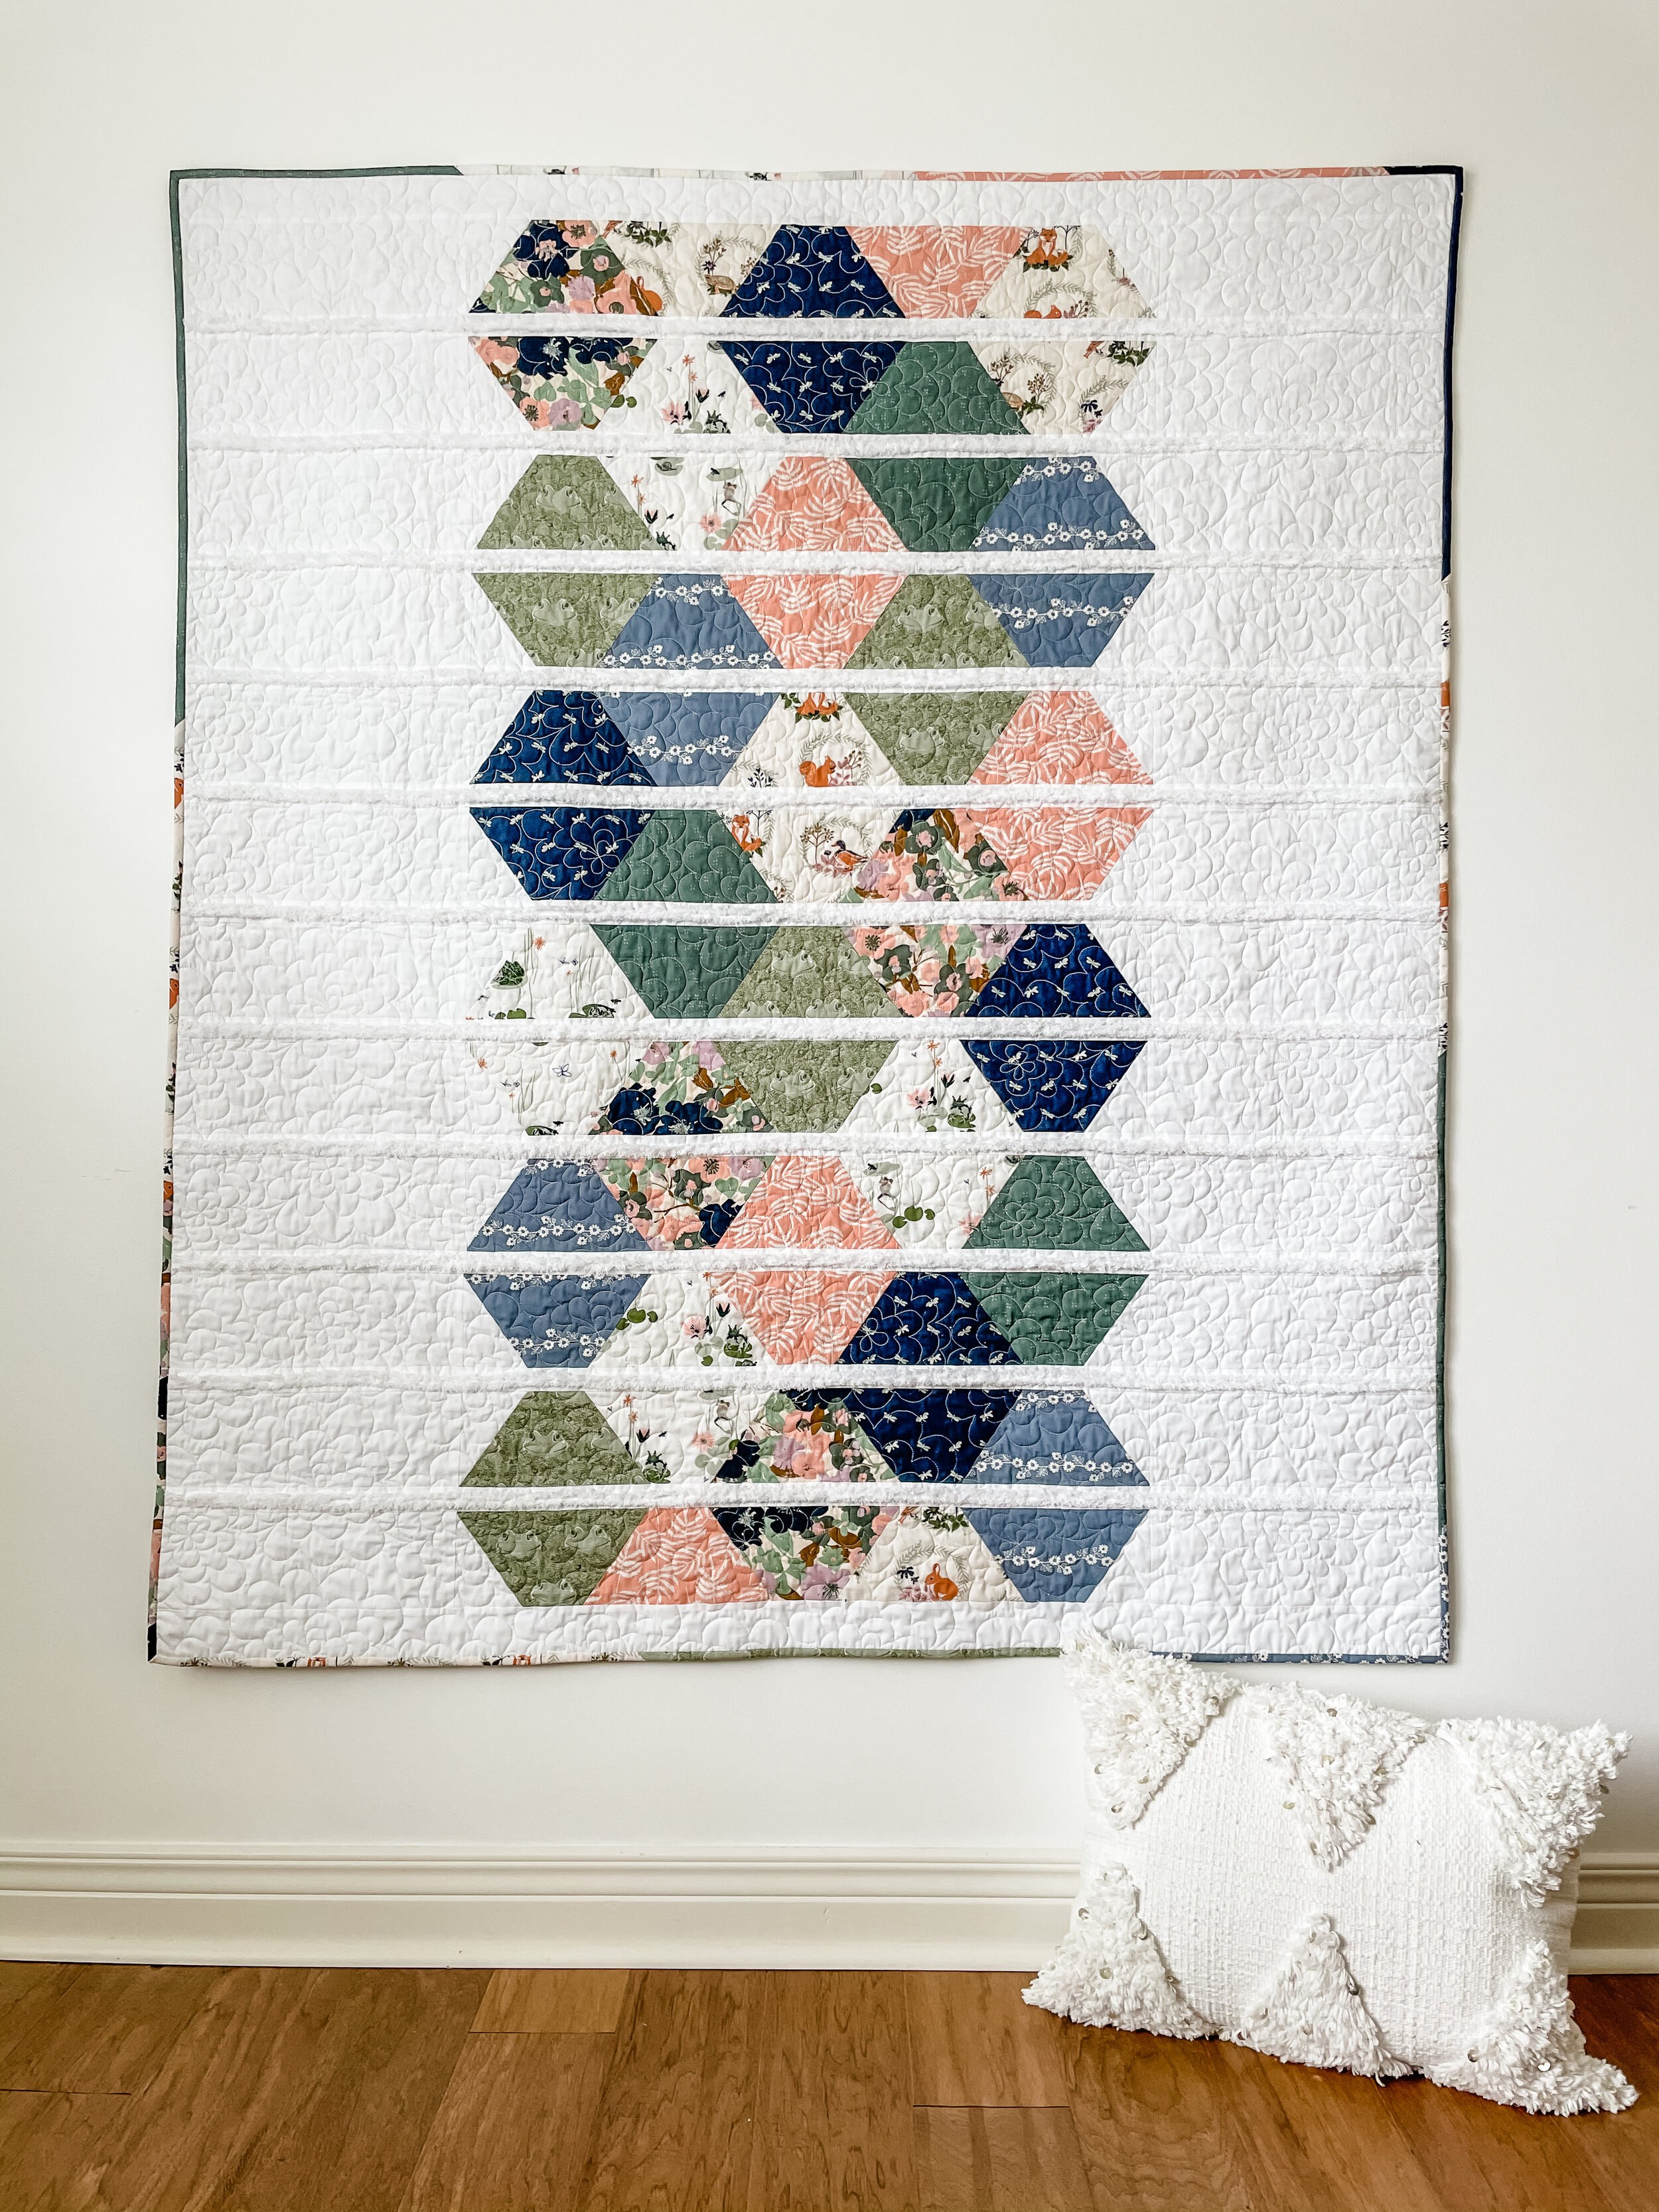
So now comes the virtual quilt show of Lily Pad quilts—my favorite part! I made two versions of this quilt and my pattern testers created their own stunning versions so you can see how versatile this quilt pattern is. Basically if you select 8 fat quarters that look beautiful in the fabric pull you’ve got most of the work of picking fabrics for the quilt done! Add in a complimentary background and choose a coordinating or contrasting Blooming Bias from the 23 gorgeous Chenille-it colors. The faux chenille can be applied to the skinny quilt strips like in my samples and/or as the binding like some of the testers did on their quilts.
The Lilliput version photographed so beautifully I have plenty of images to share and inspire. The beautiful quilting on the Lilliput version was done by Brooke Becker at Lady Belle Fabric and I used Hobbs Heirloom 100% Bleached Cotton batting inside for the whitest whites and traditional stitch definition and drape.


Quilt Inspiration
For my second Lily Pad quilt I pulled a mix of Art Gallery Fabrics from my Spirited and Kismet collections, added prints from Maureen Cracknell’s Homebody collection along with a print by Pat Bravo recolored for the Sparkler Fusions bundle, and used a printed background of Delicate Balance Serenity.
This quilt will be available as a kit from Lady Belle Fabric who not only has the kits but who also did the beautiful long arm quilting you see on this version as well as the Lilliput sample quilt.
Get the Kit!
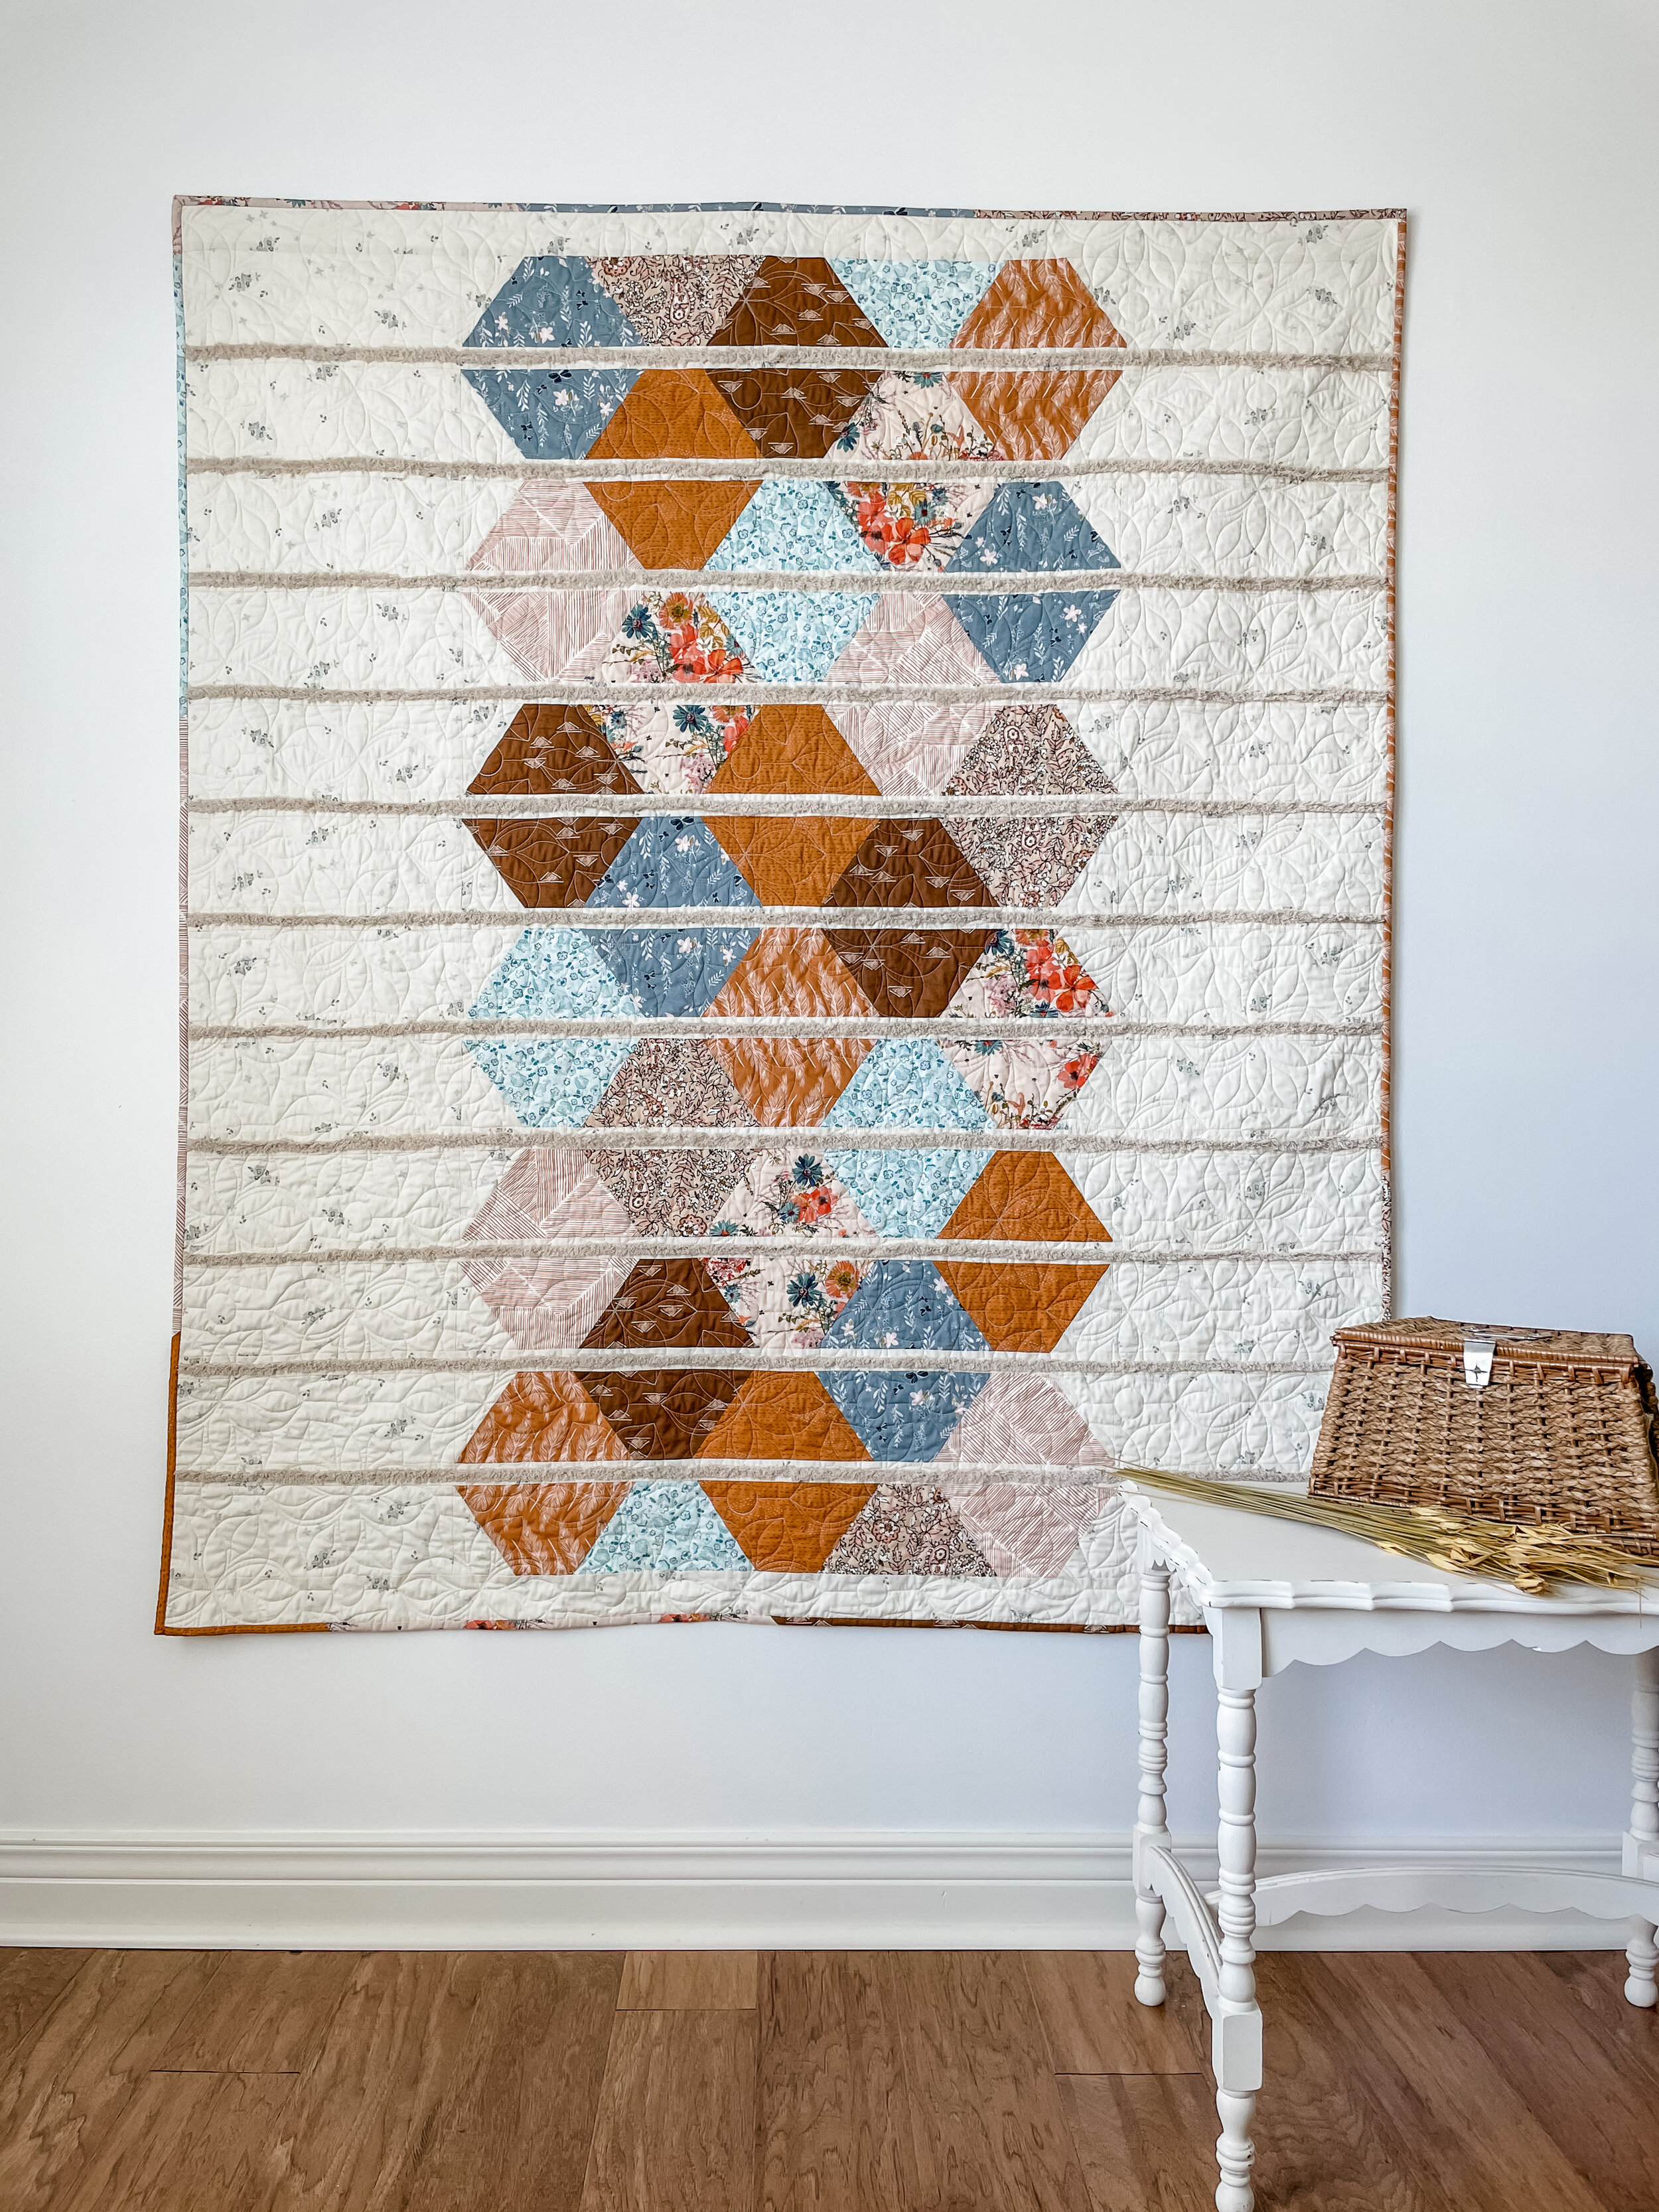
For this version I used Chenille-It Blooming Bias in Natural which I bloomed by using a spritz bottle of tap water and a brush to selectively bloom the bias tape rather than washing and drying the quilt to bloom the chenille as directed in the Chenille-It instructions.

The batting for this quilt is Hobbs Tuscany Silk batting which has an amazing drape but looks and handles much like cotton batting with the added feature of warmth and light weight.


Meet The Testers
I thoroughly enjoy having testers make quilts from my quilt patterns before a quilt release so not only can we make sure the pattern is the best it can be but because the creative testers make the quilt in their unique style and fabric pulls to show you more possible quilt looks than I could possibly do on my own. Each of the following quilts have been made from Art Gallery Fabrics. Sometimes a tester will work from one collection like I did with my Lilliput version of Lily Pad or they will mix and match from several AGF collections and designers like in my second version. The beauty of AGF is from the Pure Solids to the blenders to the different collections, you know it will mix and match beautifully.
Buy the PDF Pattern HERE!

Lily Pad quilt made by Marija Vujcic
As you can see in Marija Vujcic’s mood board her color palette inspiration came from yellow iris. Marija used the new Evergreen Pure Solid as the background and a mix of yellow, sage, and aqua AGF prints and a layering of two chenille colors for accent. Follow this talented lady on Instagram Marija Vujcic and on her blog at Mara Quilt Designs. Her passion for sewing and color will inspire you!

Lily Pad quilt made by Jennifer Monroe
Jennifer Monroe selected feminine, floral AGF prints from designers Bonnie Christine, Amy Sinibaldi, and Bari J. and wanted to create a quilt perfect for curling up with a good book and daydreaming. Jennifer used pink Chenille-it for just the binding edges. This quilt feels like a summer garden in full bloom and if you want to learn more about Jennifer and all her sewing adventures find her on her blog Sunshine Selvage and @sunshineselvage on Instagram.

Lily Pad Quilt made by Joyce Ulm
I’m loving the Zen quality of Joyce Ulm’s fabric selections for her Lily Pad make. Sage green, sky blue, blush, and teal play harmoniously in a background of flocking birds. Joyce used Bahama Blue chenille on the horizontal strips and for the binding (you would need two rolls of 5/8’’-wide Chenille-it to achieve this same look) and backed her quilt with luxurious Shannon Cuddle fabric. Joyce is offering kits from her Etsy shop and you can see more of Joyce’s work on Instagram @evamaecustomquilts, Etsy shop, and on her Facebook blog HERE, and does long arm quilting as well!
Get this KIT at Eva Mae Custom Quilts!

Lily Pad quilt made by Liza Taylor
I want to welcome Liza Taylor to the tester collages. Liza has been working with our tester group since the beginning of the year but was out of the country visiting relatives for several months and this is her first chance to work on a test quilt for me. I love this Pure Solids Sage Green background and assorted peach and terracotta prints palette so much. Don’t you just want to live in that mood board!?!?! White chenille horizontal accents add to the Shabby Chic vibes of the quilt and Shannon Cuddle backing gives it that simple elegance. See more of Liza’s beautiful work @lizataylorhandmade on Instagram and her Etsy shop of the same name.
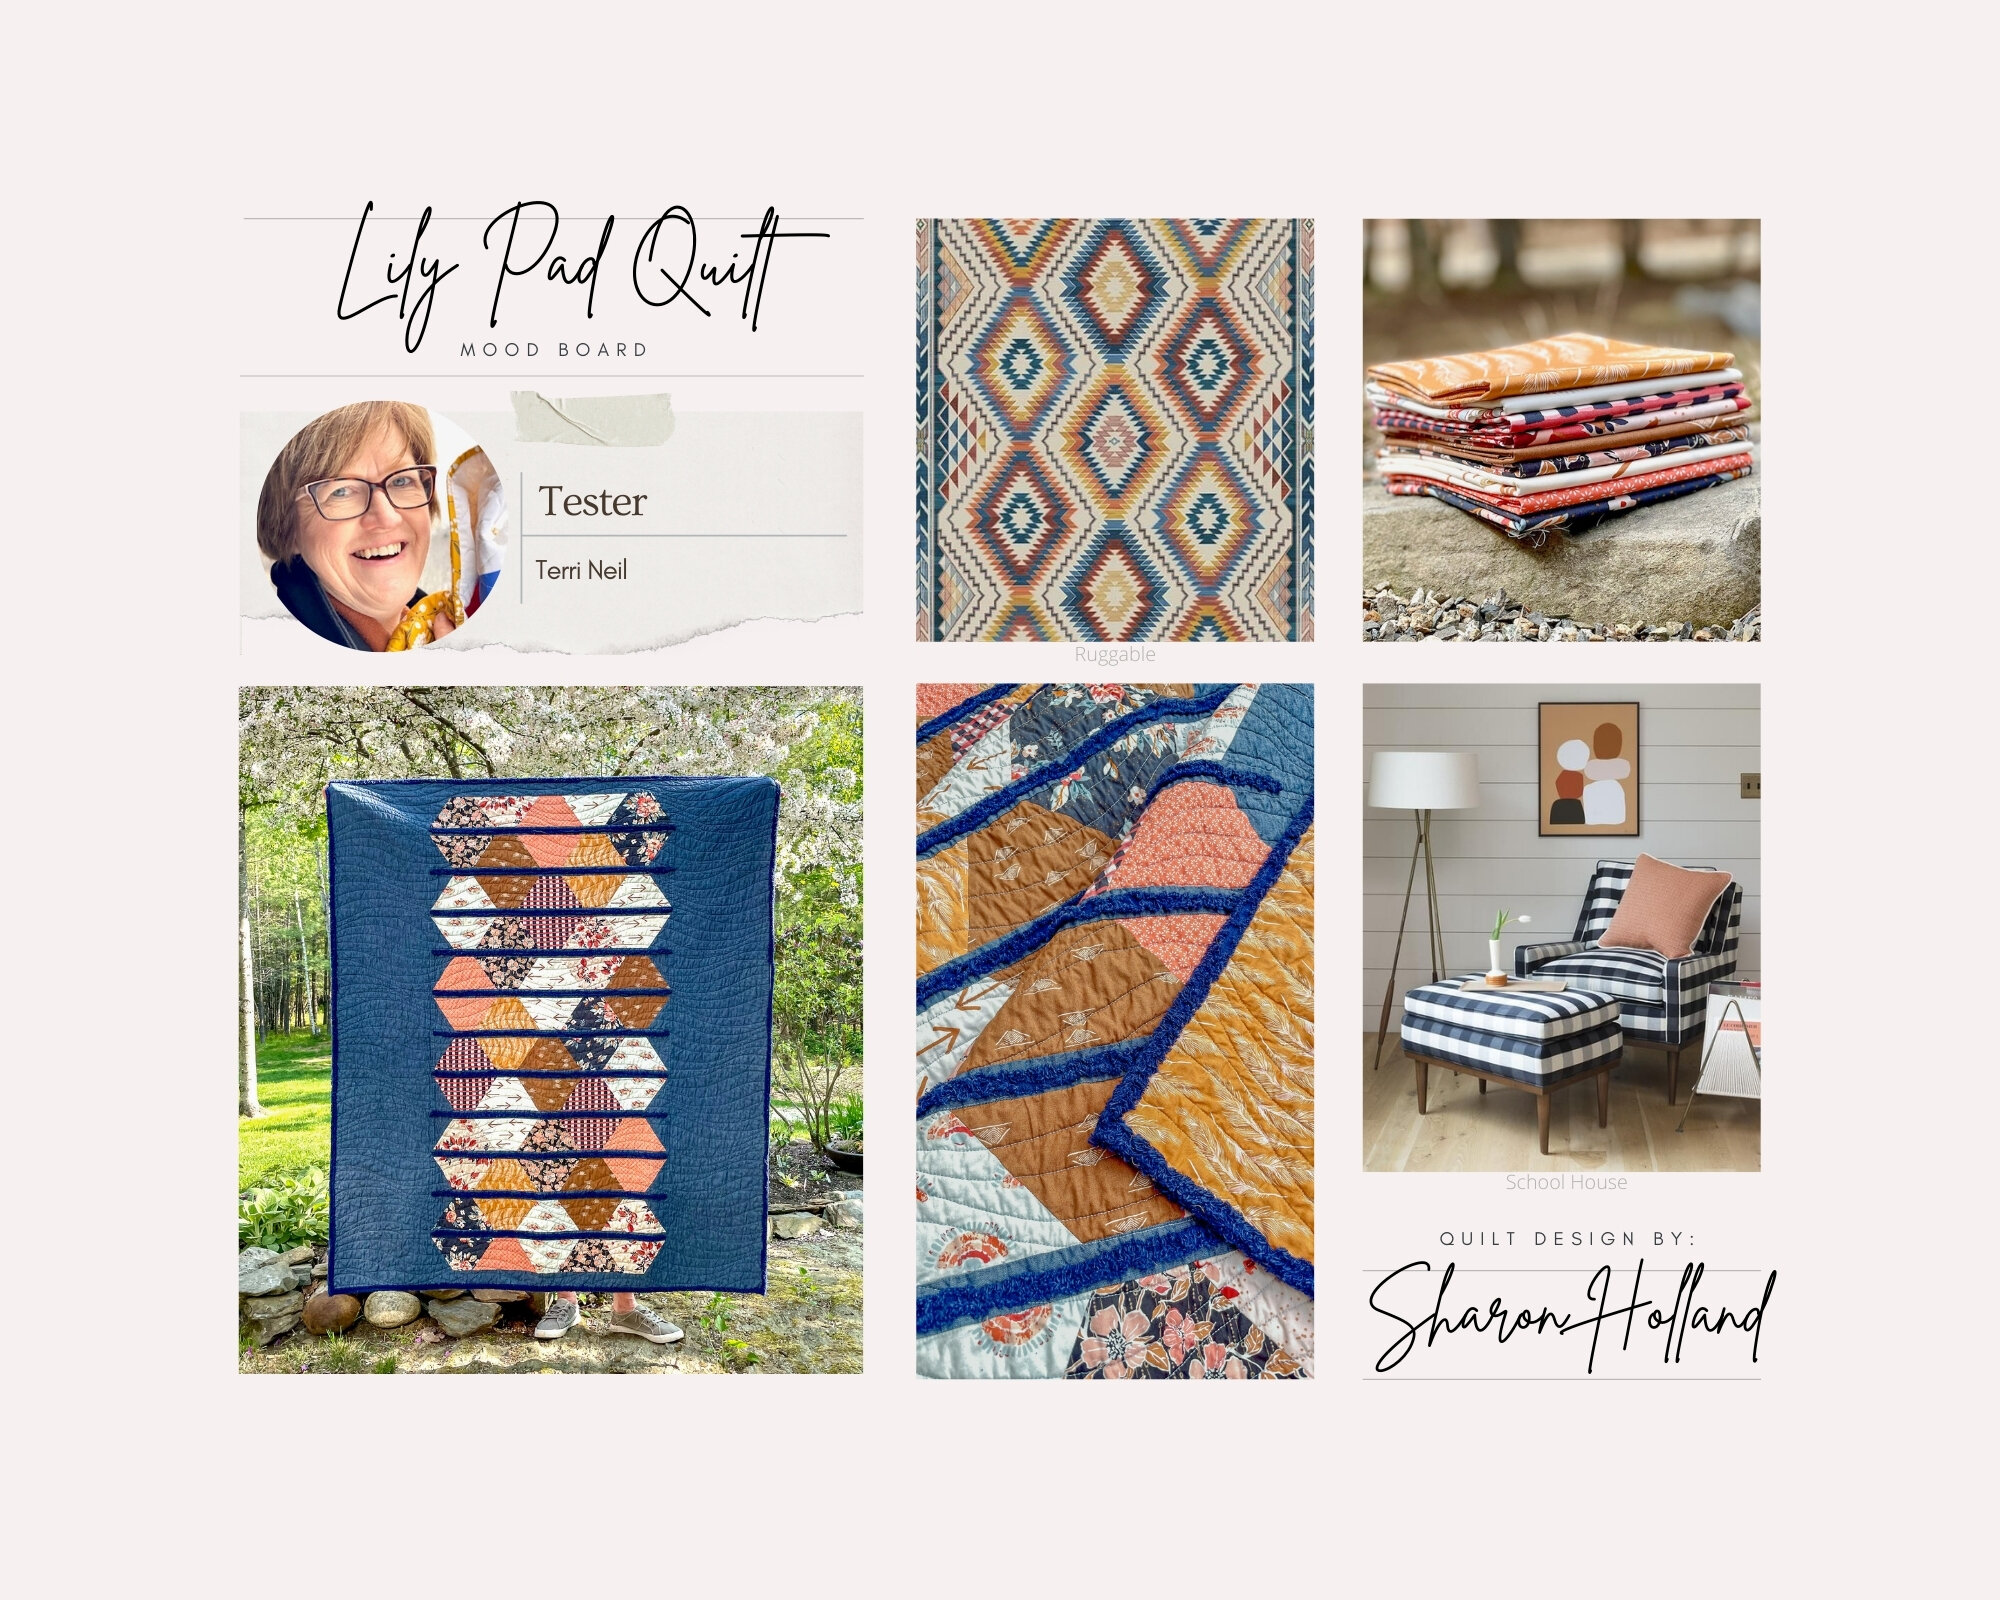
Lily Pad quilt made by Terri Neil
I’m really loving the homespun feels I get from Terri Neil’s Lily Pad quilt. Terri used Maureen Cracknell’s Homebody collection with AGF Smooth Denim as the background to create this beautiful quilt. Navy Chenille-it was used for the horizontal strips as long as the center hexagons and for binding to create a luxurious custom looking quilt. Be sure to follow Terri on Instagram @quiltingrubies and you’ll be in awe of all the beautiful quilts she makes and quilts for others from her long arm business called Quilting Rubies.

Lily Pad quilt made by Elaine Satterfield
Summer, sun, and sand is what I think of when I see Elaine Satterfield’s Lily Pad quilt make! How stunning is this quilt!?!?! Elaine used AGF Smooth Denim for the background and a mix of red, cream and blue prints from Art Gallery Fabrics along with Natural chenille accent and Shannon Cuddle fabric backing. You could feel like you’re on vacation every day of the year with this quilt. See more of Elaine’s work on Instagram @createjoyquilt.

Lily Pad quilt made by Victoria Newmyer
Victoria Newmyer drew inspiration from Paris flower markets for the color palette for her quilt. The Pure Solids Icy Mint background is the perfect match to the mood board water pitcher and the spring-fresh floral prints in teal, pink, and fuchsia create a sweet bouquet across the quilt. Victoria owns the Midlife Quilter shop where you can find these beautiful AGF fabrics and more and get personal help curating your next bundle for a quilt project. Kits are available for this Lily Pad and Chenille_it quilt HERE and be sure to visit Victoria’s beautiful Instagram account @midlife_quilter.
Get this KIT at Midlife Quilter!

Lily Pad quilt made by Tracey Taber-Parry
This gorgeous, Boho-inspired Lily Pad quilt was made by Tracey Taber-Perry and she uses jewel tones of Pure Solids Very Berry coordinated with Bari J’s 365 Fifth Avenue collection from Art Gallery Fabrics to create a sumptuous look. Tracey backed her make with Shannon Cuddle and combined two colors of Chenille-it between just the hexagon rows for the added accent—what a stunning look! To see more of Tracey’s beautiful work and you can follow her feed @ttabes80 on Instagram.
SUBSCRIBE TO NEW POSTS
If you’re reading this blog post via an email and would like to continue getting new blog post updates in your email inbox or are simply new to my blog and would like to receive emails every time I make a new post, then you’ll need to sign up anew using the pop-up subscribe box or use the sign up box on the right side bar (if viewing this post on your computer) or after the last of three most recent blog posts if viewing this page on a phone.
I’m switching email hosts and cannot migrate the existing list so everyone needs to sign up again in the new system. Not signing up is like opting out and come June 2021, emails from the old system will expire and no longer find their way to your email box. Signing up now means you wont miss a single post.
Lilliput Look Book

Back on April 23rd, Art Gallery Fabrics released the Lilliput Look Book but between Prickly Pear and Lily Pad pattern releases and a family emergency I never wrote a blog post about my newest collection release. So, the next post you receive from this blog will be a Lilliput Look Book Review so be prepared to be inspired by projects and more detailed behind the scene looks at the projects I made for the virtual publication.
Happy sewing!
I am an Amazon Associate site and earn from qualifying purchases on the products I’ve linked below. The helpful products selected are the same or similar to materials used to make the project(s) in this blog post or related items I think you may enjoy.