
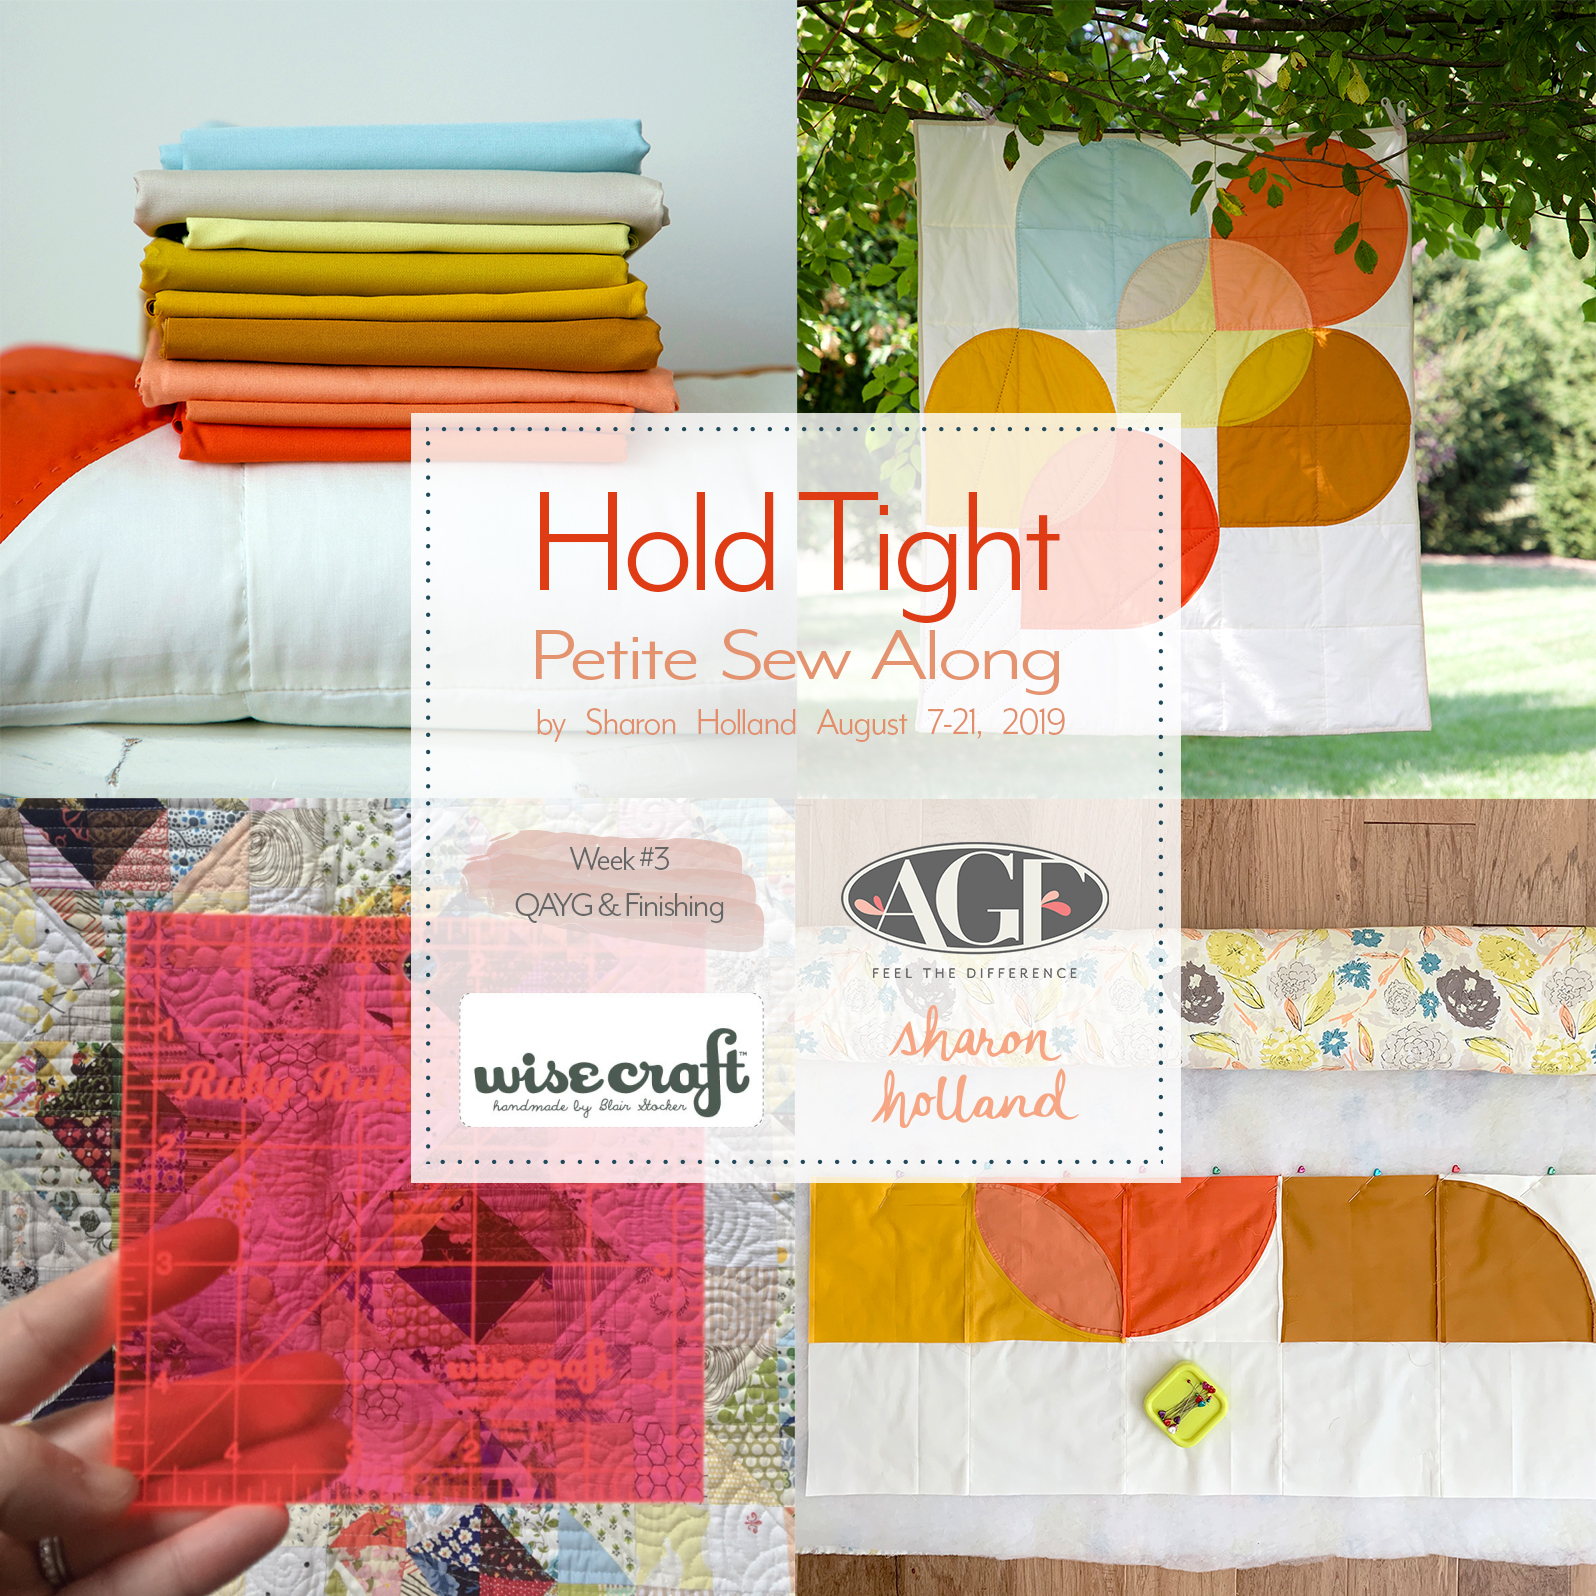
Hold Tight Petite Sew Along - Finishing
It’s the final week of the Hold Tight Petite Sew Along and today’s post will cover assembling the blocks in a Quilt As You Go (QAYG) quilt sandwich or assembling the top and making a traditional quilt sandwich, quilting, hand quilting and binding.
As Blair Stocker’s Wise Craft Ruby Ruler™ Ambassador series August Ruby Ambassador (Read my interview by Blair—here) I thought what better way than collaborate with Blair on the Petite Sew Along and use her rulers to help navigate color and value in a fun quilt project.
Here’s what we’ve accomplished in three weeks:

Blair’s ruby-hued artist’s viewfinder tools the Ruby Ruler™ and Ruby Minder™ where invaluable tools in the first week’s study on Color and Value. I blogged about how, as a designer, I go about selecting colors for my fabric collections or a color story for a quilt and how I used the Ruby Minder™ to check my selections of Art Gallery Fabric Pure Solids. If you missed the first week, read more here. Plus you’ll find additional color theory materials covered on Week #1 and Week #2 of the original Hold Tight sew along as well as in the skill-building demonstration videos. Find these helpful videos on my Sew Along page which are available for viewing any time.
To catch up on what happened during week 2, read my Cutting & Piecing blog post here. Use templates to cut out shapes and sew curves with ease. Find out how with my videos for Week #2, #3 Part 1, and #3 Part 2 on the Sew Along page.
During the Hold Tight Petite sew along, Blair Stocker will be following up my Wednesday morning blog posts with a Facebook Live session. This workshop-like experience with Blair on Facebook is a huge bonus along with connecting with more than 1,500 other quilter’s via Blairs private Facebook group! Blair will host live sessions to support my sew along blog posts and share with you her expertise. Note: Blair’s FB group is free to join by answering three questions when requesting to be added to the group. If you can’t join in the live sessions—no problem—the videos are available for replay and ready to view when you are!

Hold Tight Petite quilt by Sharon Holland
This sew along is free to join—no sign up forms—just follow along and have fun. You’ll will need, however, the Hold Tight quit pattern. If you don't have my Hold Tight quilt pattern already, you'll want to purchase the Hold Tight PDF pattern from my Shop page. The Hold Tight pattern now includes two sizes—the original over-sized throw and the new petite crib-size quilt. The material lists, cutting requirements, coloring sheet, and full-size templates are part of the fully illustrated PDF pattern. These sew along blog posts serve to supplement the PDF but don't provide the detailed pattern information that you'll find in the PDF available for purchase. If you’ve purchased the original PDF prior to August 5, 2019 and didn’t receive a special newsletter email from this blog sharing the link to the Petite Add-On download, see my SEW ALONG page to get your copy of the bonus size. You’ll find the Add-On download that contains the crib-size material list, cutting guide, and coloring sheet. Note: You’ll still need the original Hold Tight pattern for quilt details. The current PDF in my shop has been updated with both quilt sizes so patterns purchased after August 5, 2019 include both quilt sizes—no add-on necessary.
WEEK #3 - QAYG and Finishing
I like options, don’t you? I also like to be able to quilt my own quilts. The original large throw-size Hold Tight quilt and the new Petite crib-size quilts are both nice size quilts for trying machine quilting on your sewing machine as well as adding some decorative hand quilting for the balloon strings.
Hold Tight quilt throw-size by Sharon Holland
For tips on how to machine quilt a traditional quilt sandwich (quilt top, batting, and backing sandwich), like the quilts from my first Sew Along (above), see Hold Tight Sew Along Week #4 blog post.
For those wanting to try Quilt As You Go (QAYG) keep reading as I walk you through how I finished my Petite Hold Tight quilt.
QAYG

Hold Tight Petite by Sharon Holland
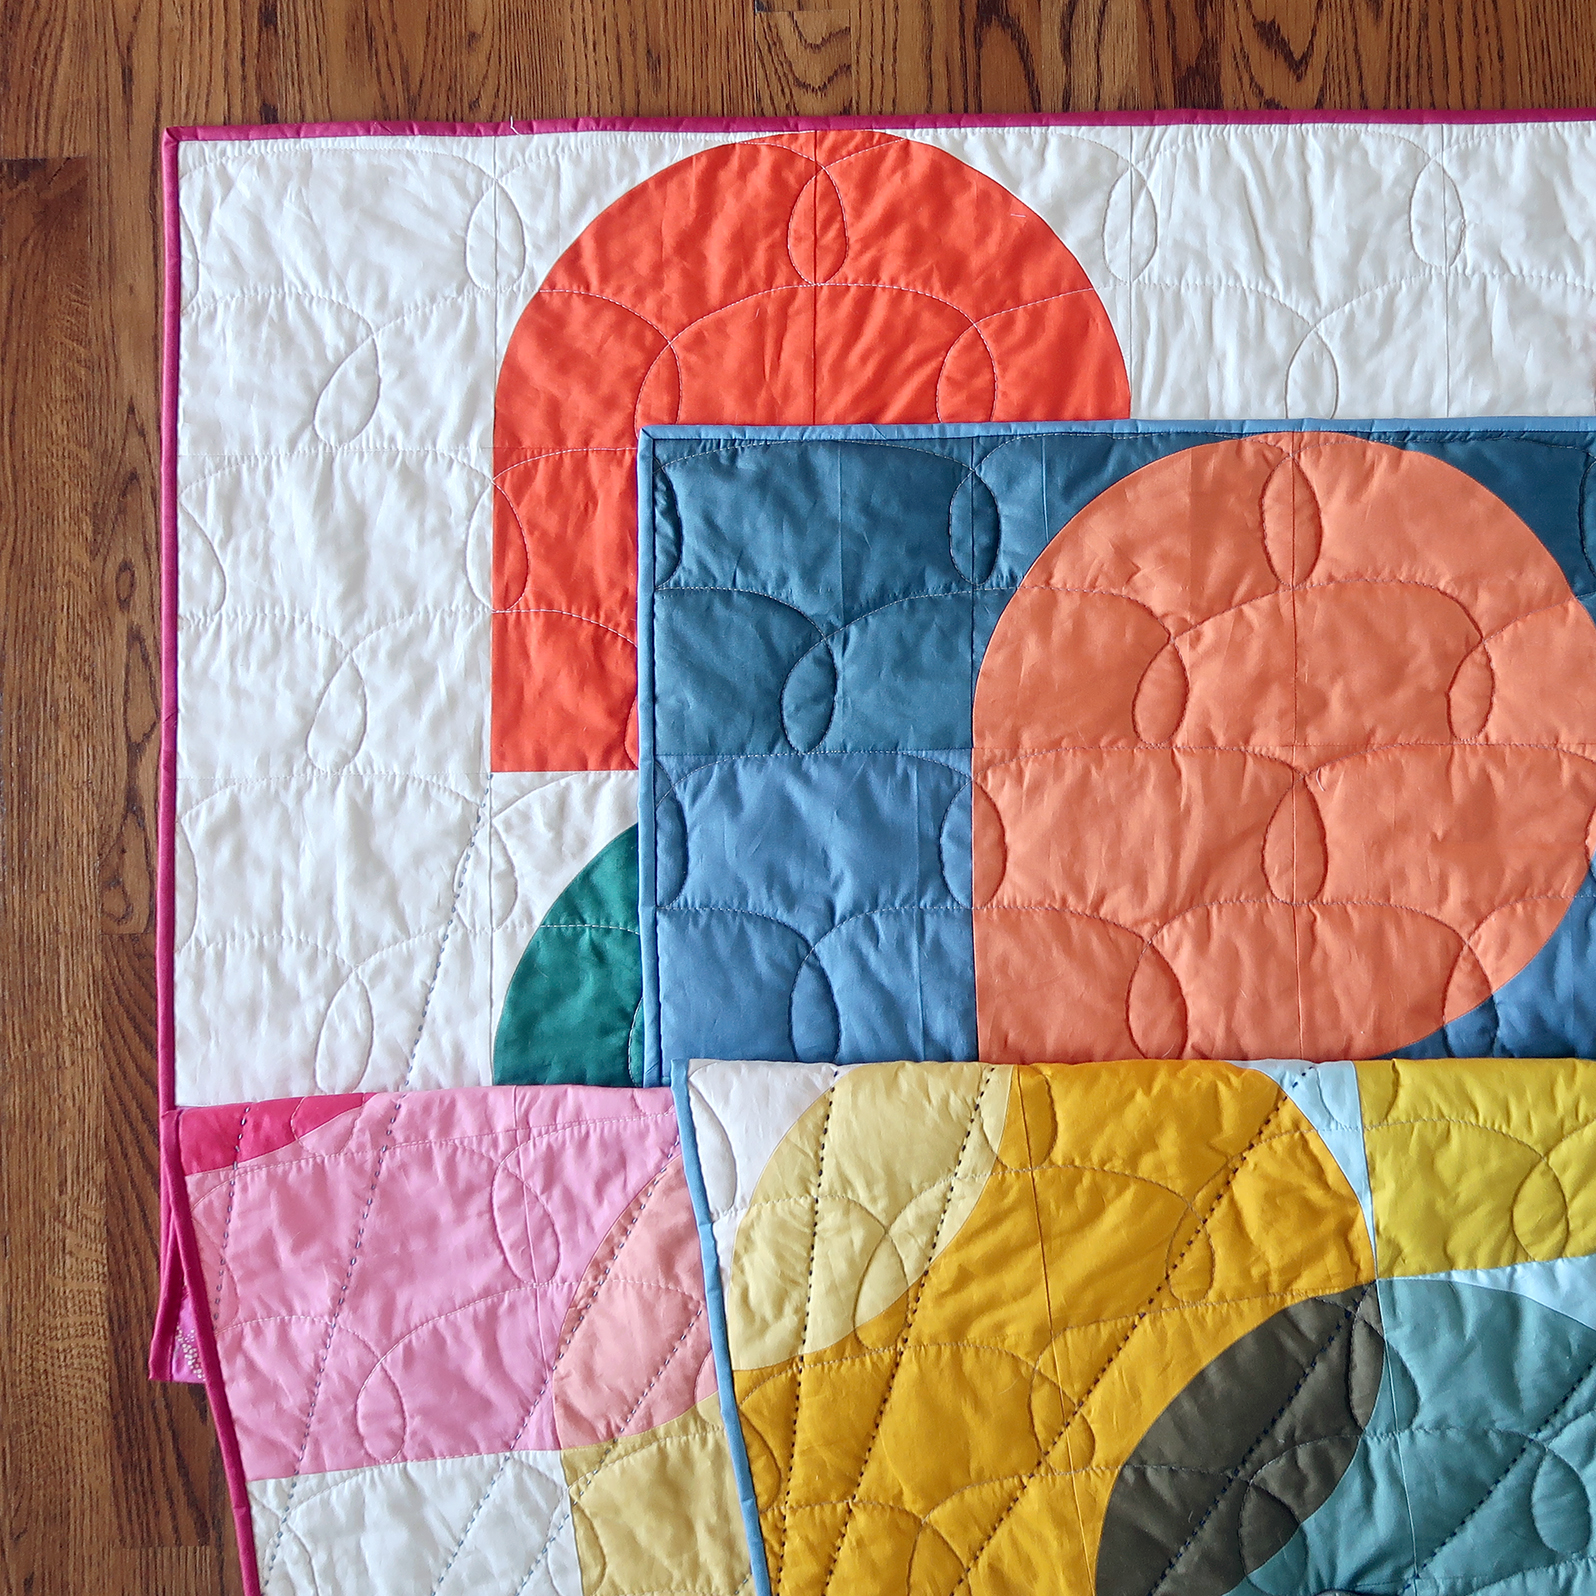
My QAYG finishing method is a hybrid of QAYG and traditional quilting to secure block rows to a batting and backing sandwich. Once the horizontal rows have been stitched down to the batting/backing in a QAYG row assembly, the finishing of the quilt is more traditional with the addition of machine or hand stitching.
The quilting on my Petite crib quilt is minimal. The quilting stitches are about 4’’ apart and I could get away with this because I used Hobbs Tuscany Premium Polyester Batting for my batting. The beautiful loft of Hobbs Tuscany Polyester adds to the puffy balloon look and makes for a snuggly-warm quilt and doesn’t shrink.
Securing Horizontal Rows in QAYG
Once all the block are made and squared up see Week 2, sew the blocks into horizontal rows. This is the same for either size quilt.

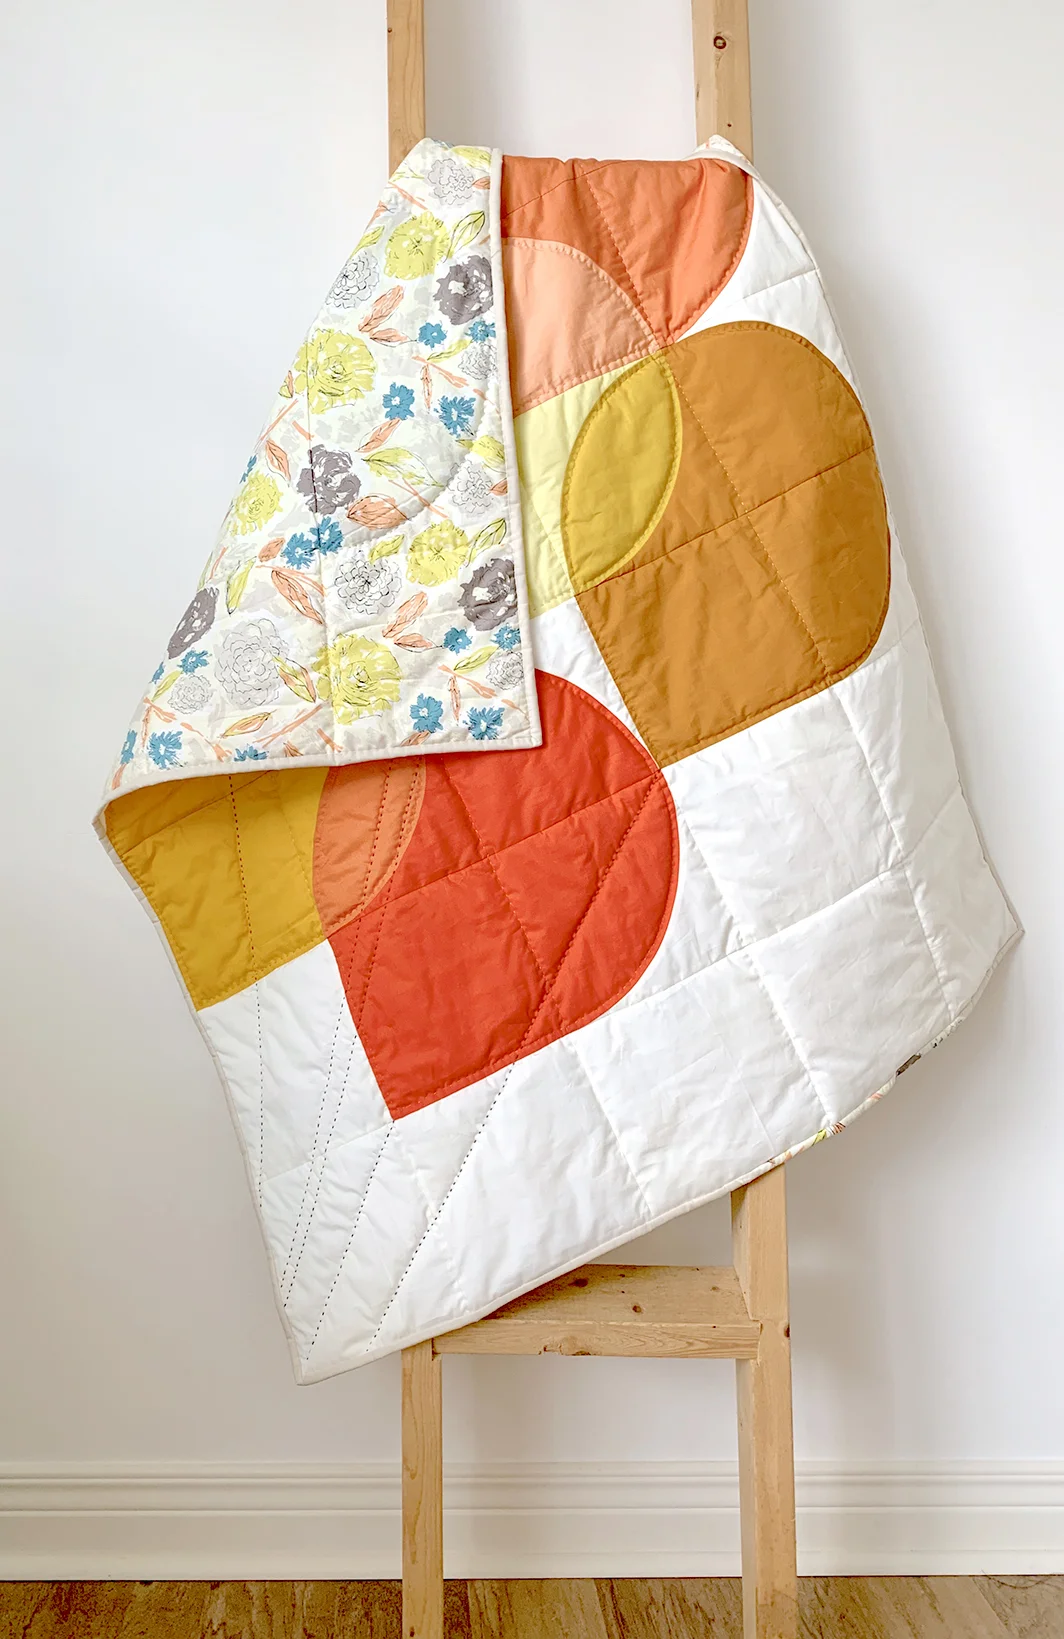
Cut and piece backing according to the pattern directions and for the size quilt you’ve selected. I selected Paper Flowers Aurora from my Tapestry collection for Art Gallery Fabrics as the print for my backing. Cut batting to size indicated on pattern. Hand or spray baste batting to backing to prepare for QAYG assembly. See Sewcial Bee Sampler Quilt Finishing post for spray basting batting to backing.
Just as if you were assembling a quilt top, place the first two rows to be stitched right sides together, seams nested and edges matched. Pin at seams.
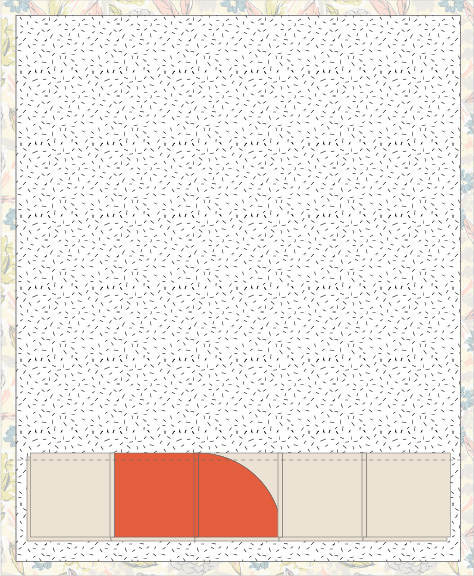
You can start from the bottom and working your way up, like I did (see above illustration) or begin from the top of the quilt and work down—the results will be the same. Center the pinned rows onto the batting/backing near the bottom if working up or at the top if working down. Pin row assembly to backing/batting. Stitch with a 1/4’’ seam allowance through all layers, removing pins as you sew.

Carefully press the top row open and pin the flipped row down to hold flat. I like to roll the quilt batting/backing for easier handling.

Hold Tight Petite QAYG Assembly
Continue adding additional rows in the same manner. Press rows open as you go and continually check that the quilt top is flat and the backing is smooth with each row addition. Remove basting stitches if you hand basted the batting/backing layers.


After all the horizontal rows have been added, machine or hand baste around the outside edge of the quilt with an 1/8’’ seam allowance to secure the outside block edges. Note: Leave the excess batting/backing until all the quilting is finished.

At this point you have the top secured to the batting and backing but will need to add more quilting. You’ve basically better-than-basted your top to the batting and backing. Quilt as desired or you can go minimal like I did and machine or hand quilt in the ditch along the vertical seams. I hand quilted my vertical seams with 40 wt. cotton thread so it wouldn’t be very noticeable. You can just see some stitches if you look at the orange balloon in the above photo. You’ve now secured all the blocks down in a grid.

For the rest of the quilt I selected four DMC Perle cotton threads and hand stitched 1/4’’ from the seam lines to echo the balloon shapes. I love how Blair’s Ruby Minder™ ruler also doubles as a thread minder!
To determine where my balloon strings should go and to avoid having to put marks on my quilt to get the straight guide lines, I used tape to mask out my lines. Watch how to hand quilt using floss and how to use tape as a guide, here.

Once all the quilting is completed, add binding according to the pattern’s instructions. Trim batting and backing to edge of binding. Turn binding to the back of the quilt and hand or machine stitch to finish.
Hold Tight Petite by Sharon Holland
I hope you’ve enjoyed this petite quilt along and a further chance to play with with fun pattern, learn more about working with color and value, and sewing with curves. The Hold Tight Petite quilt is the perfect crib-size quilt and I love the puffy batting for it’s warmth and drape. My grandson needs a second quilt that he can drag around and snuggle with and he’ll be getting this one when I see him next month.
I’m excited to see Blair’s finished quilt and would love to see yours too! If you’re on Instagram, tag me @sharonhollanddesigns and Blair @blairs use the #holdtightquilt or #holdtightsewalong hashtag so we can follow your progress. If you’re sewing with Art Gallery Fabrics be sure to tag #artgalleryfabrics too! Don’t forget that you can join Blair’s Facebook group and meet others working on this quilt along with value and color insights from Blair’s expert knowledge of the subject.
Thanks for sewing with us!