
We all know that thread is a necessary part of sewing, and having the perfect color on hand can make all the difference in how polished your finished piece will look. In reality, our thread stash often becomes a tangled mess of loose strings, misplaced spools, and anything but organized, leaving us hunting for the right color when we need it most.
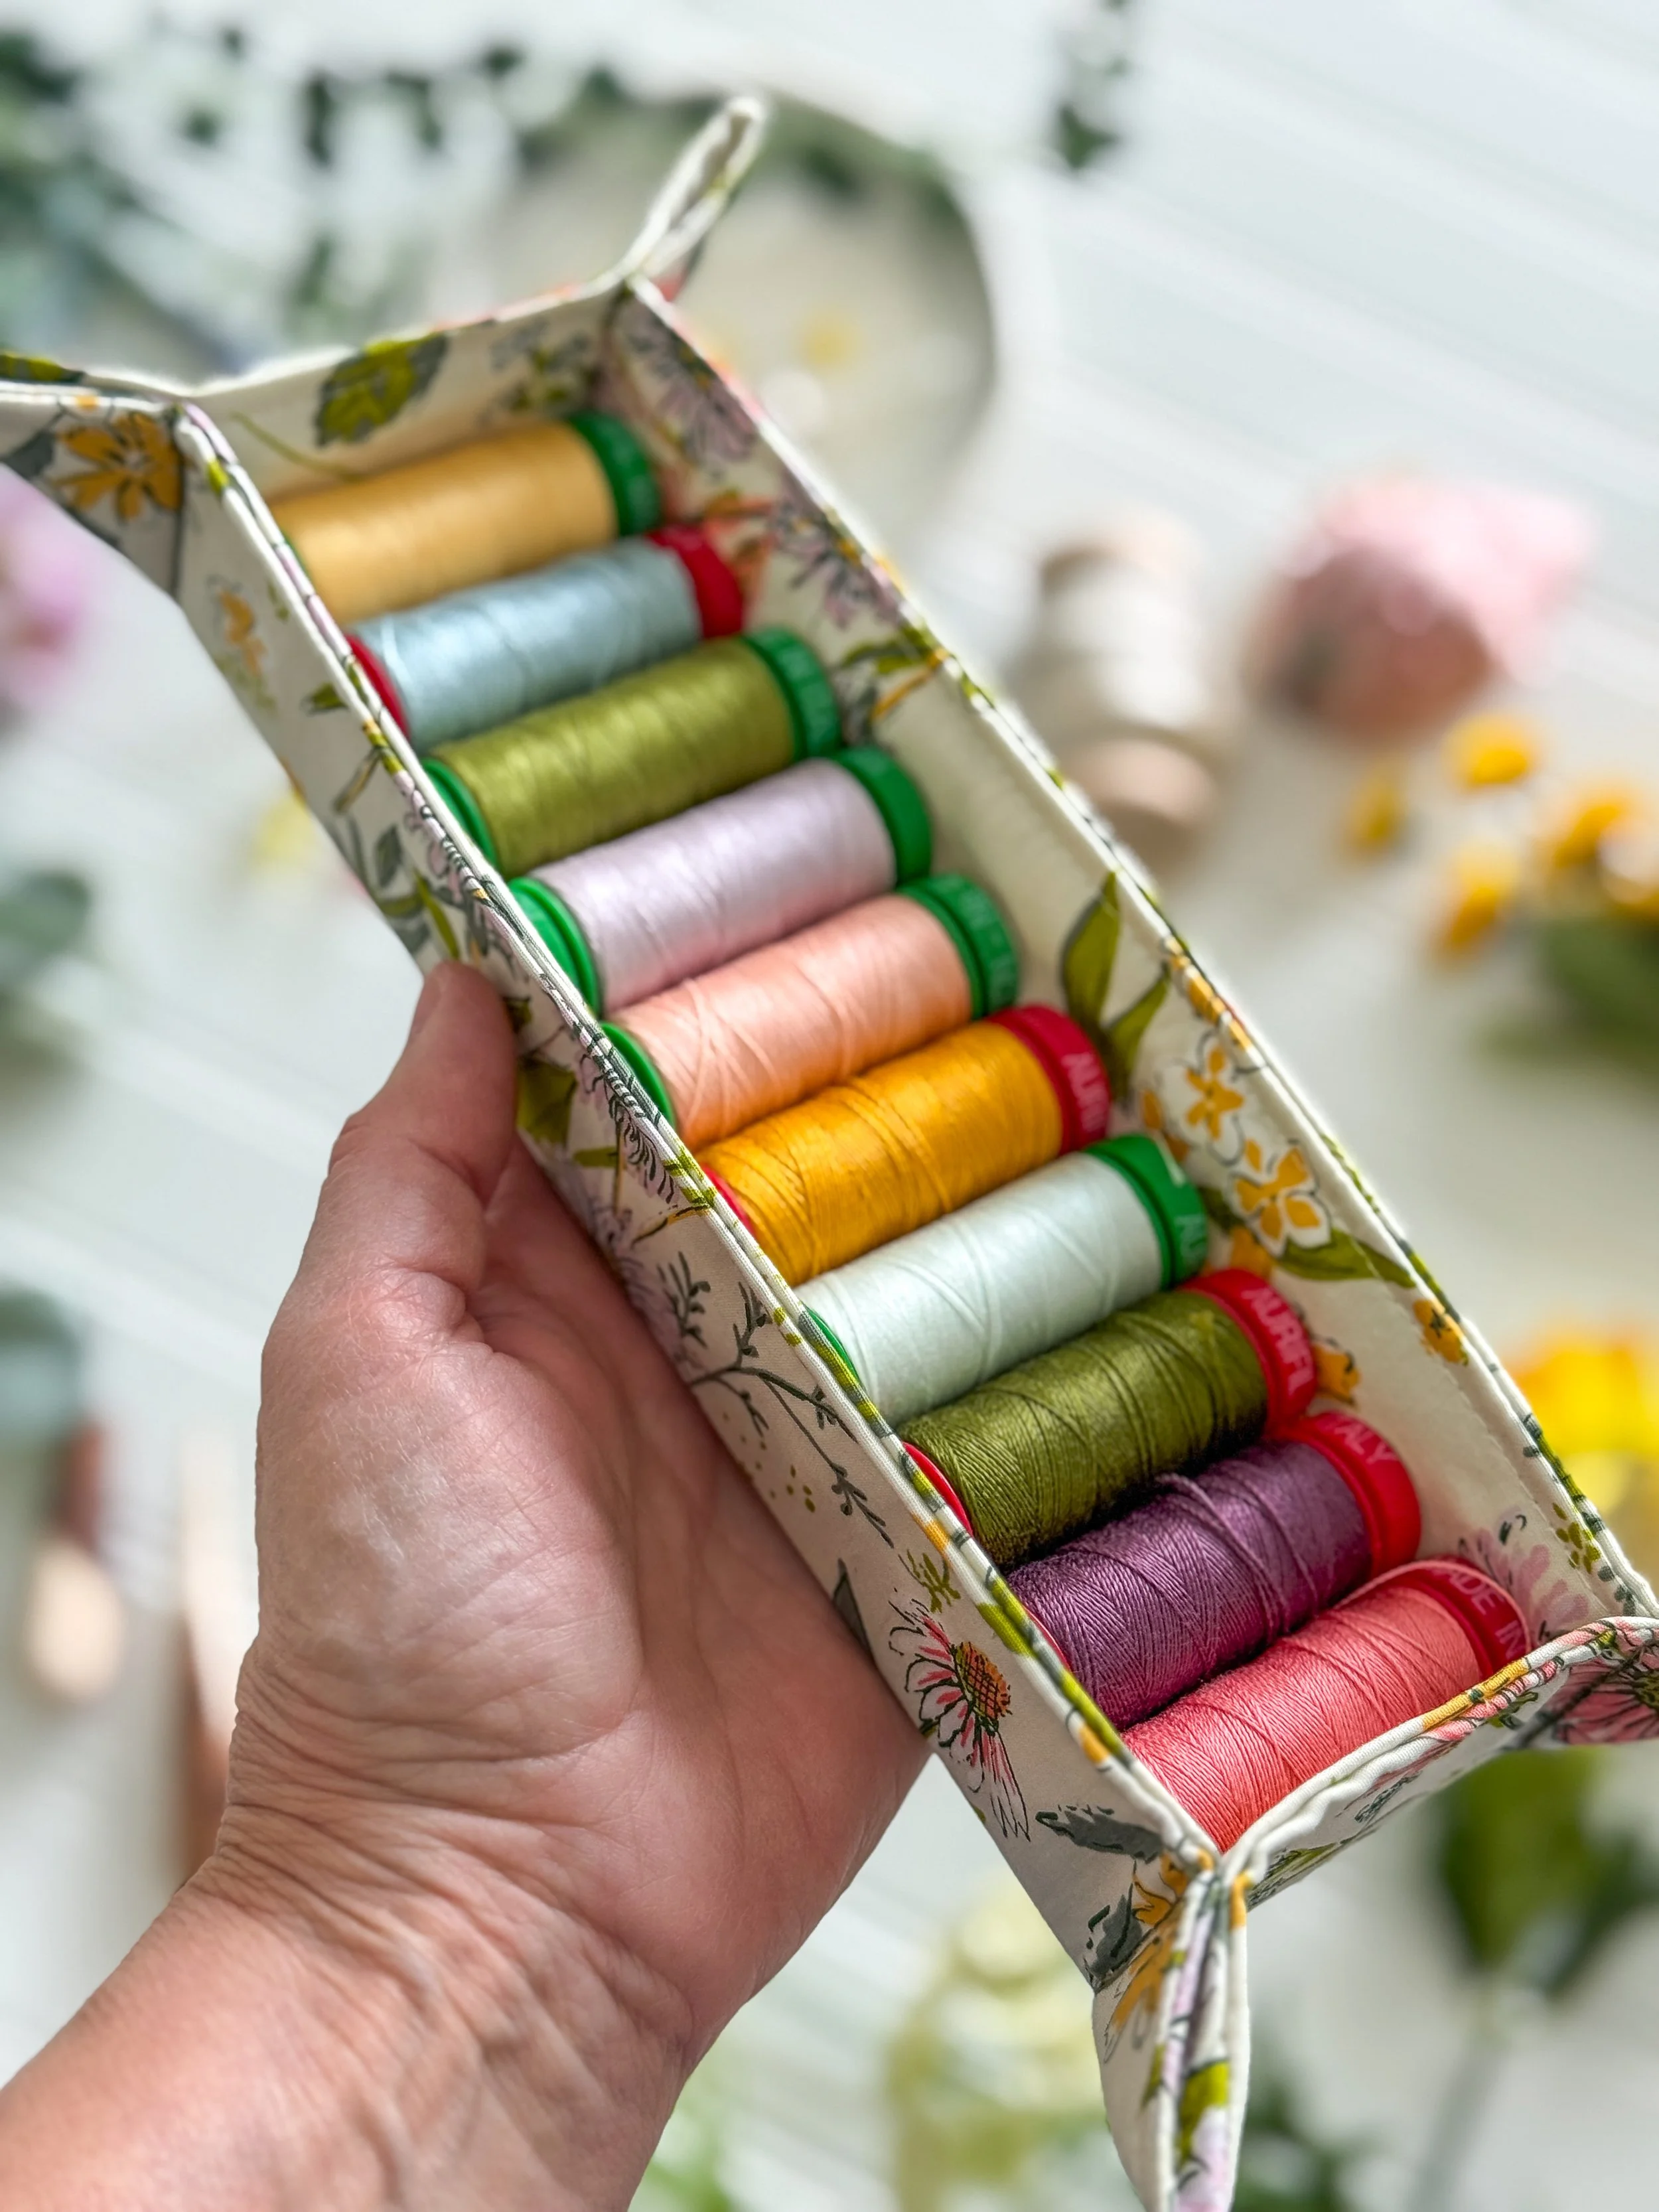
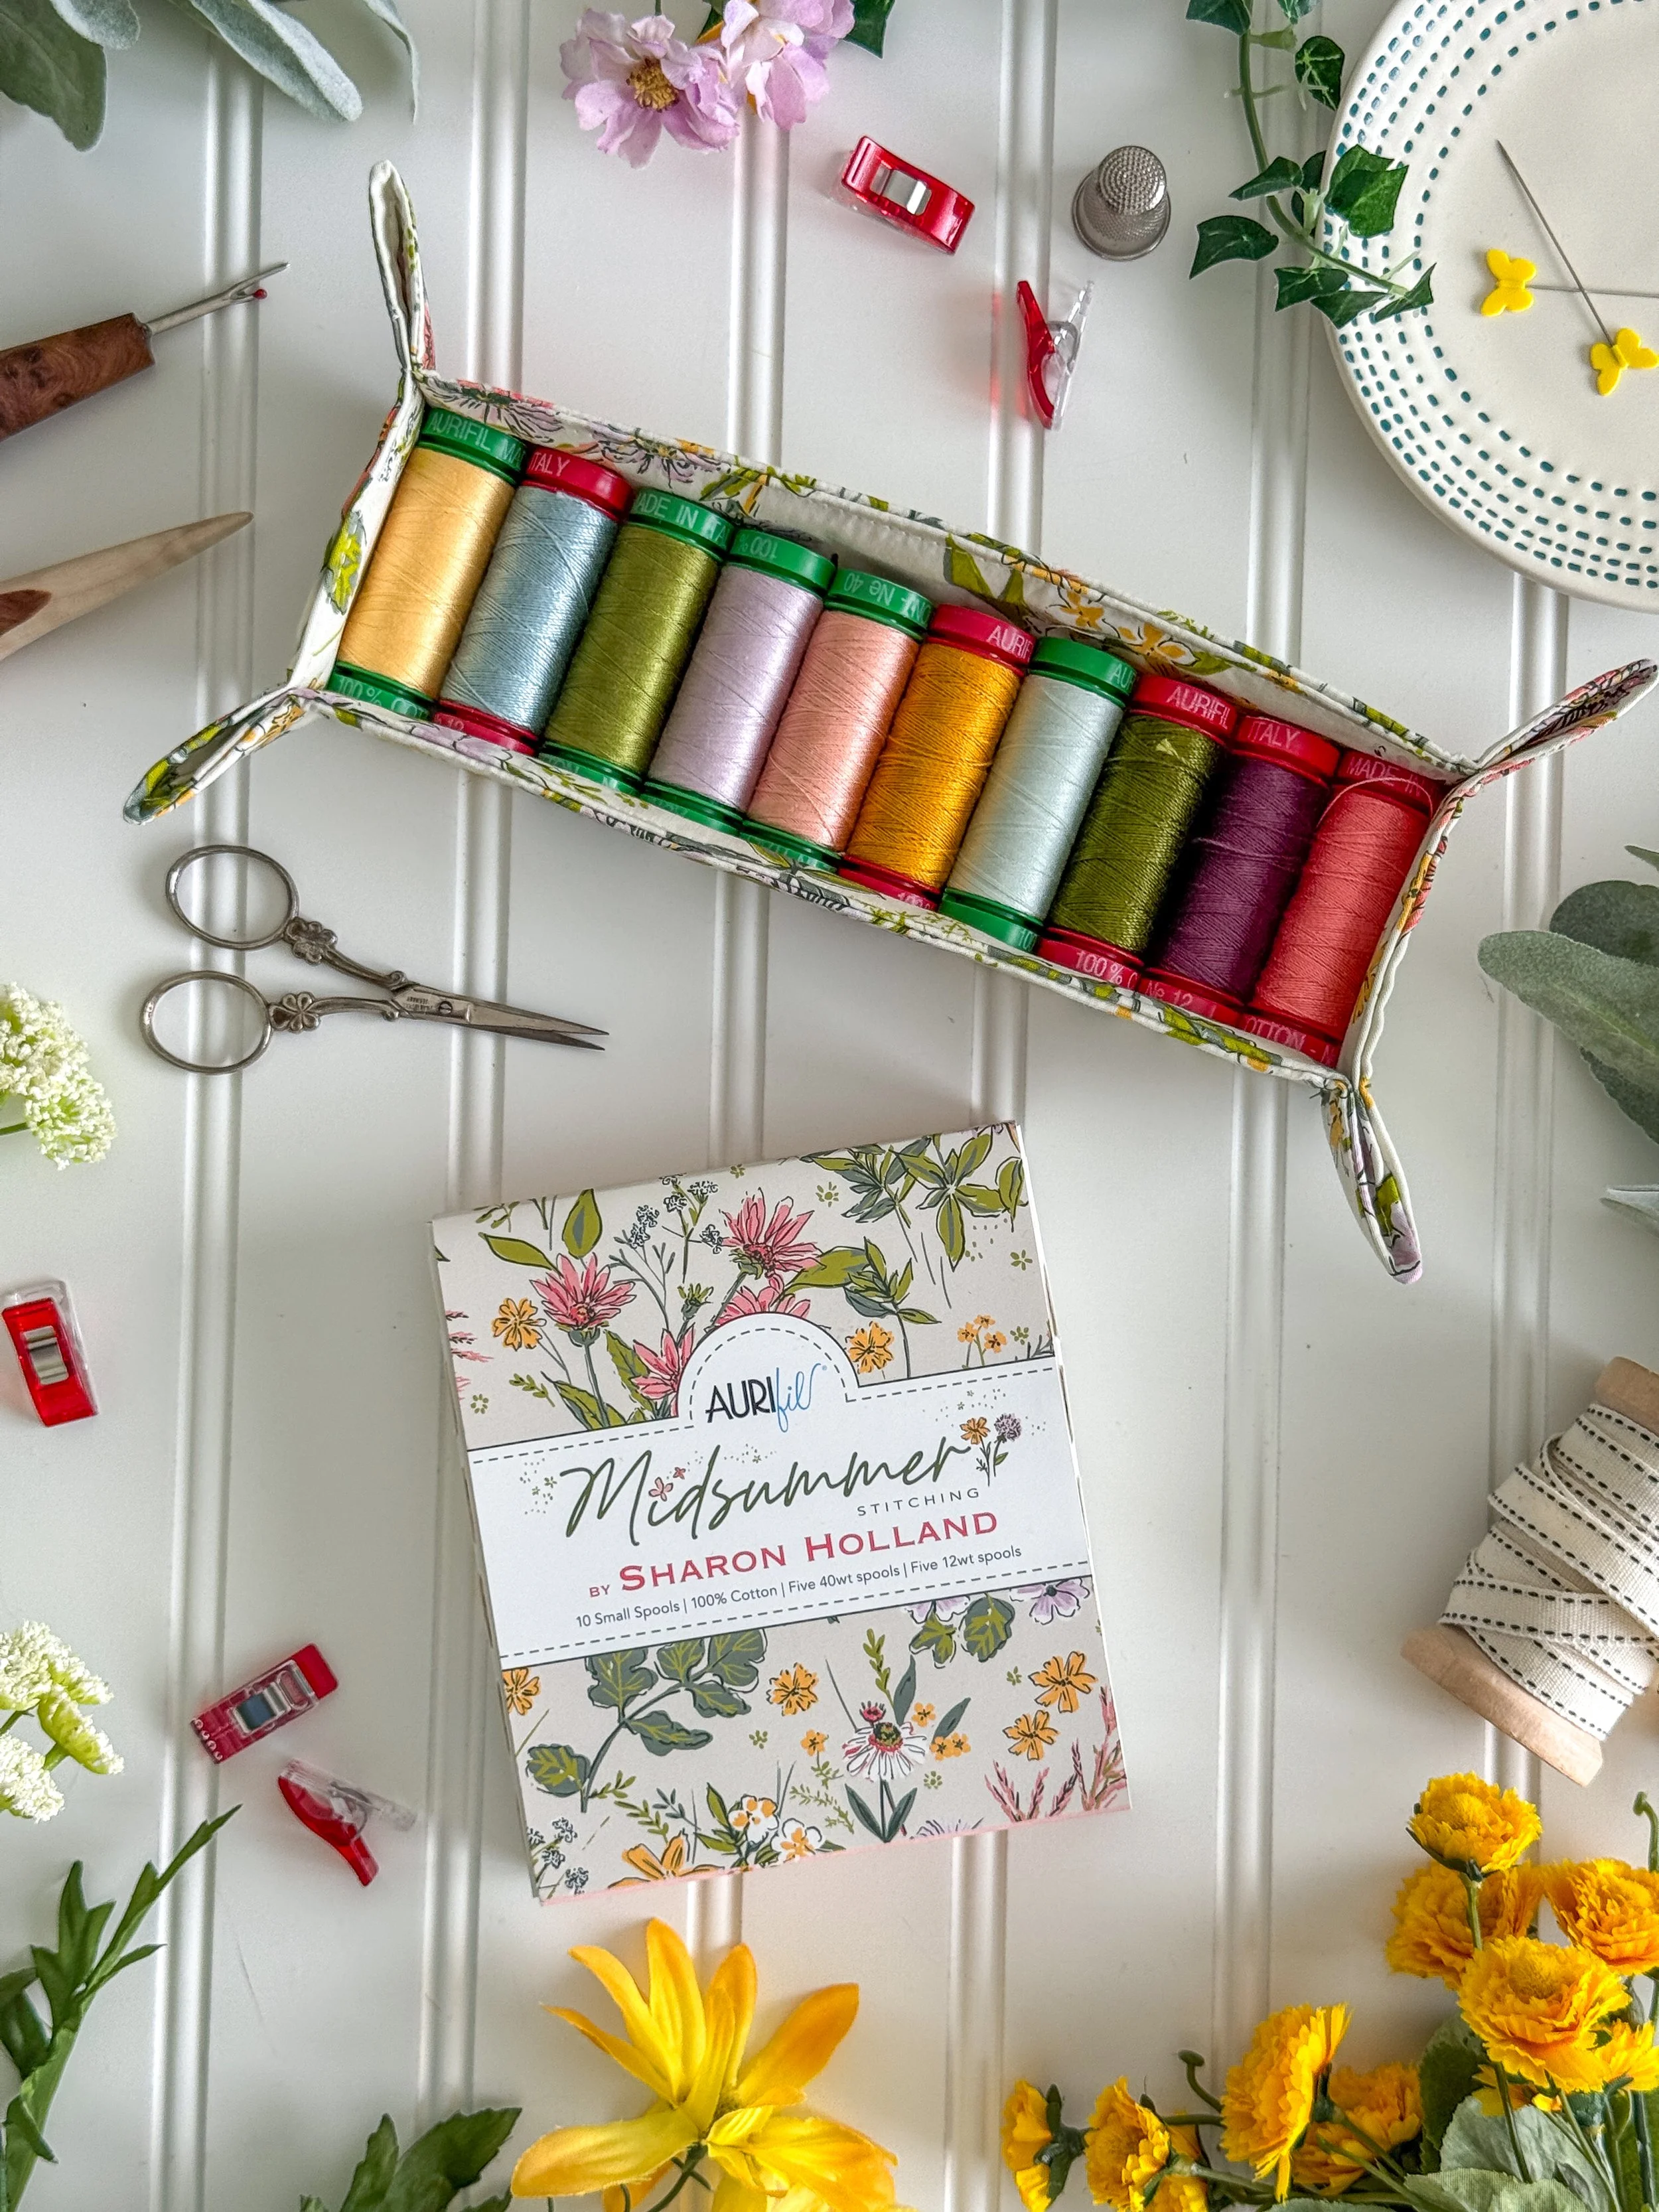
Why not make a pretty tray to hold an Aurifil small spool thread set! Quickly stitch a perfectly sized fabric tray designed to neatly hold 10 Aurifil small spools, like the spools included in my Aurifil Midsummer Stitching thread set. You’ll love how much more organized and tidy your sewing room will be with a dedicated place for those little spools.
Here’s how to make the tray
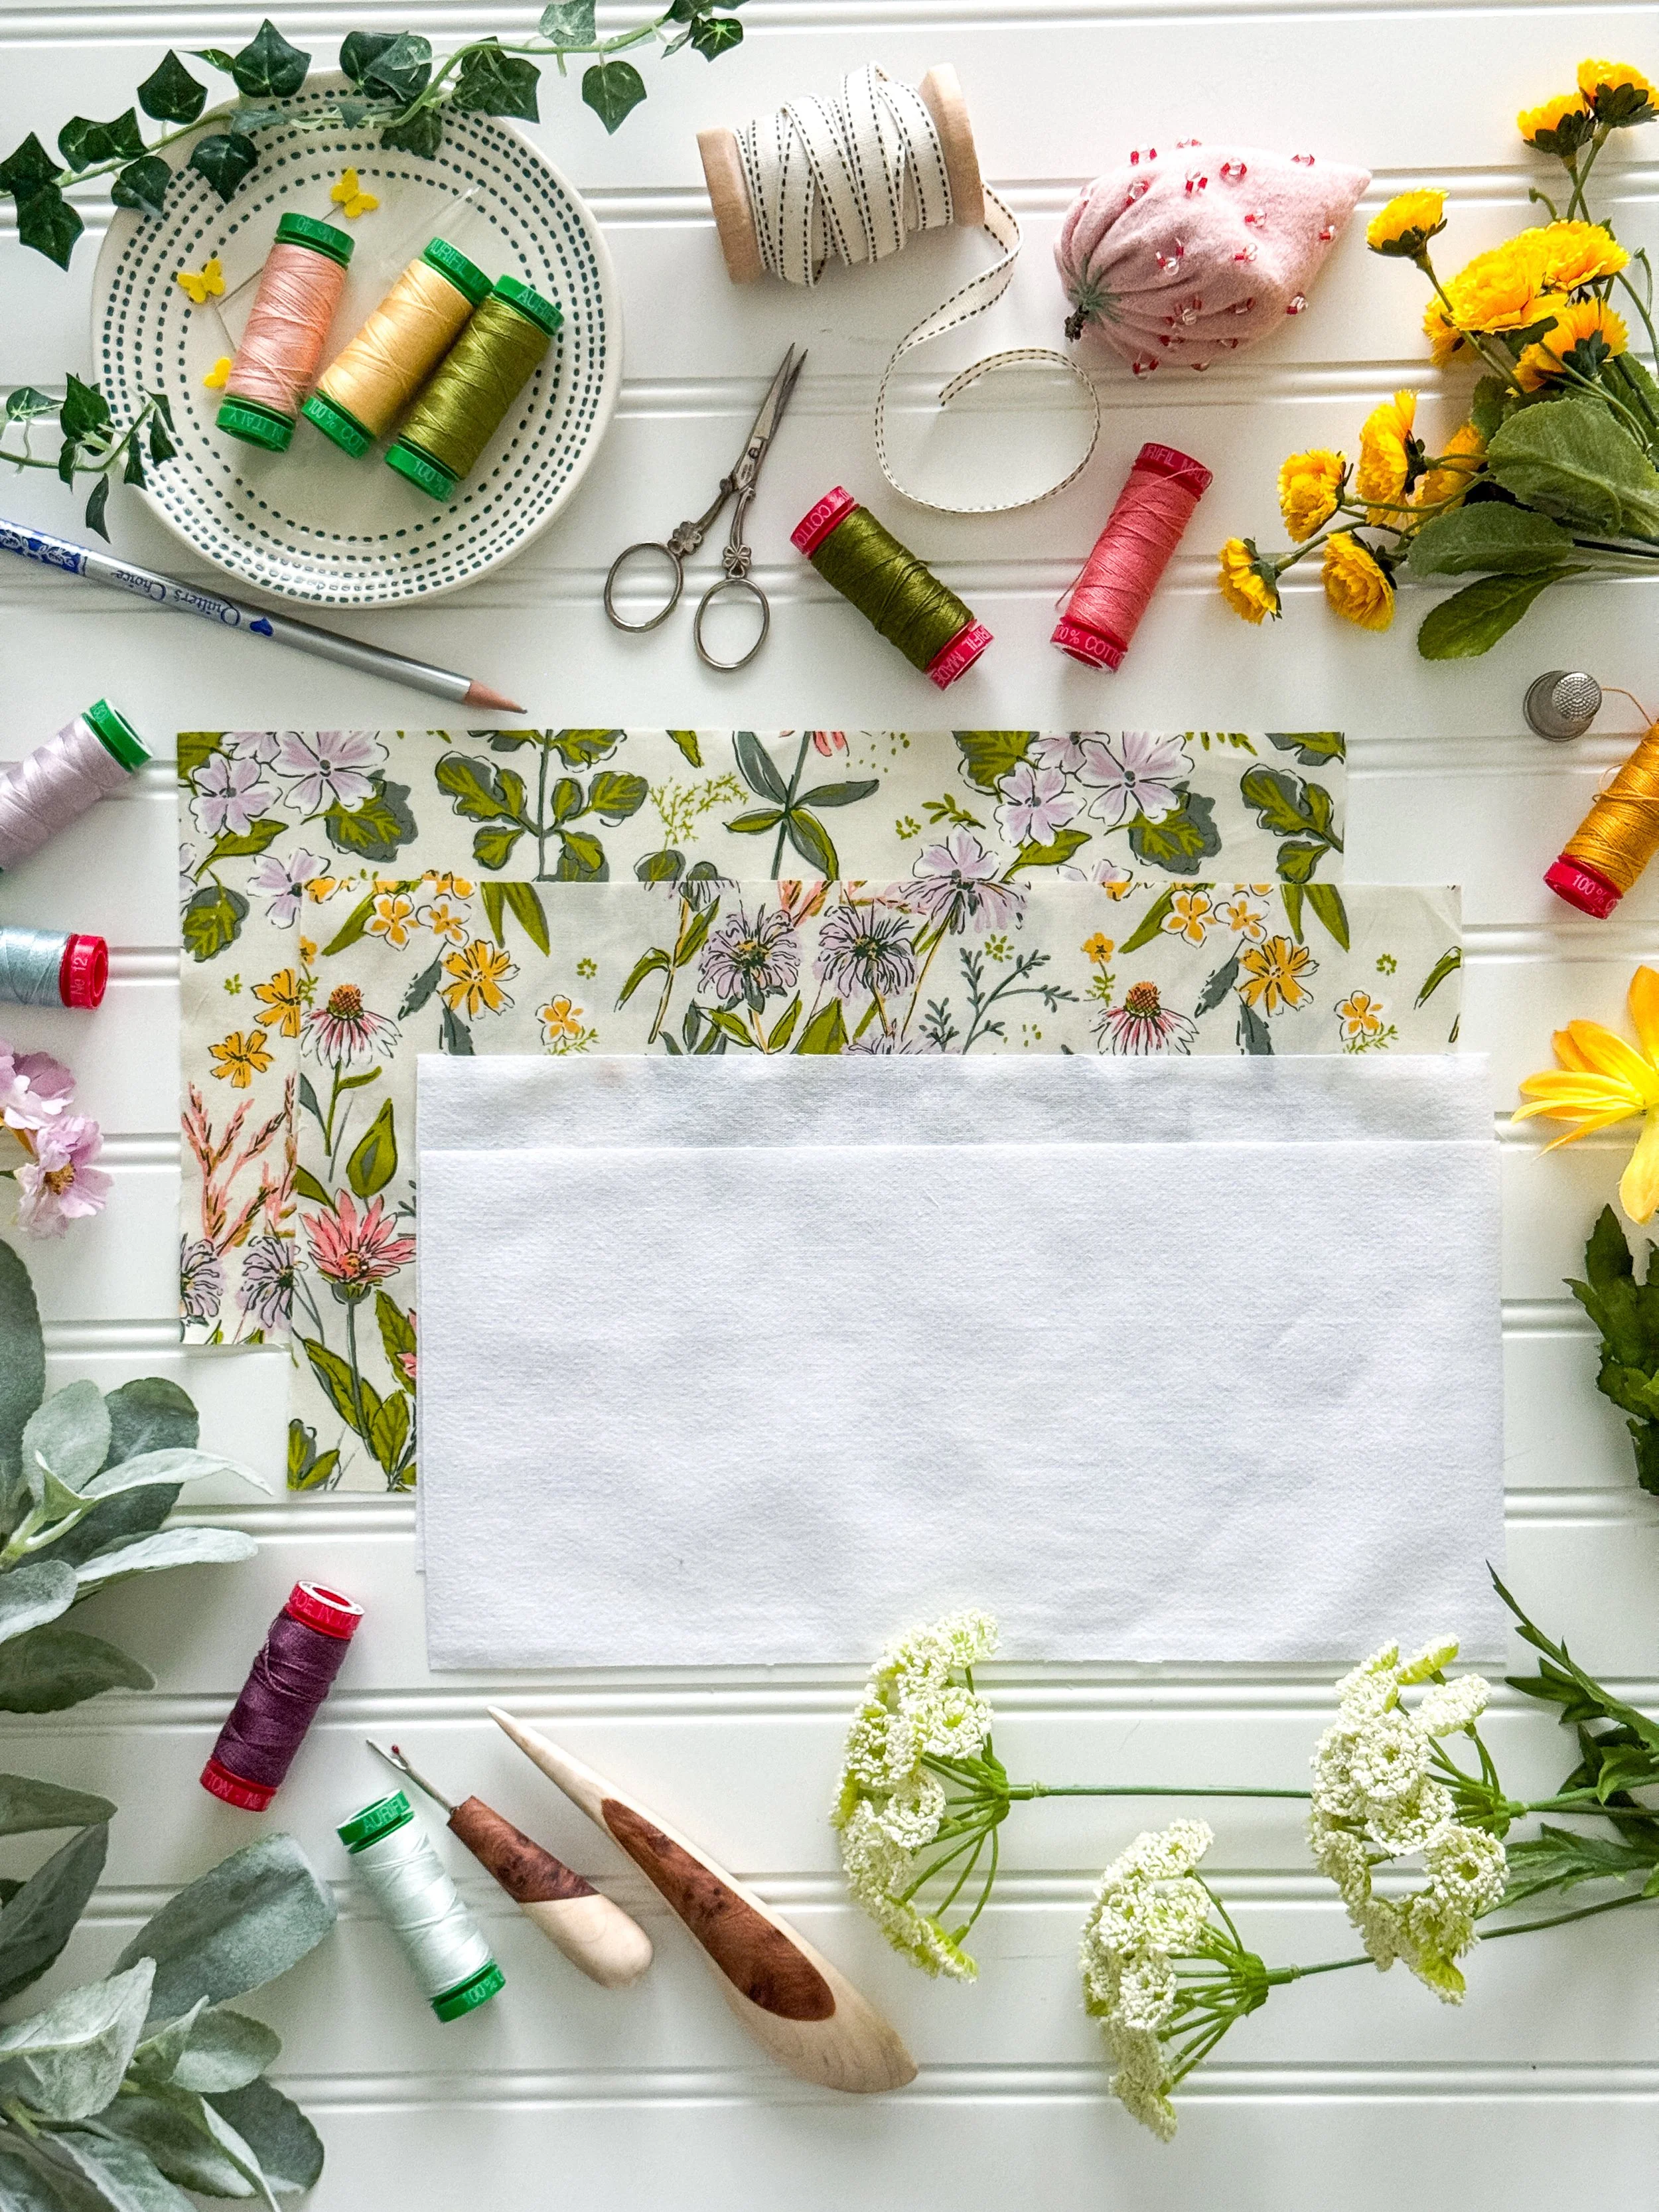
MATERIAL LIST
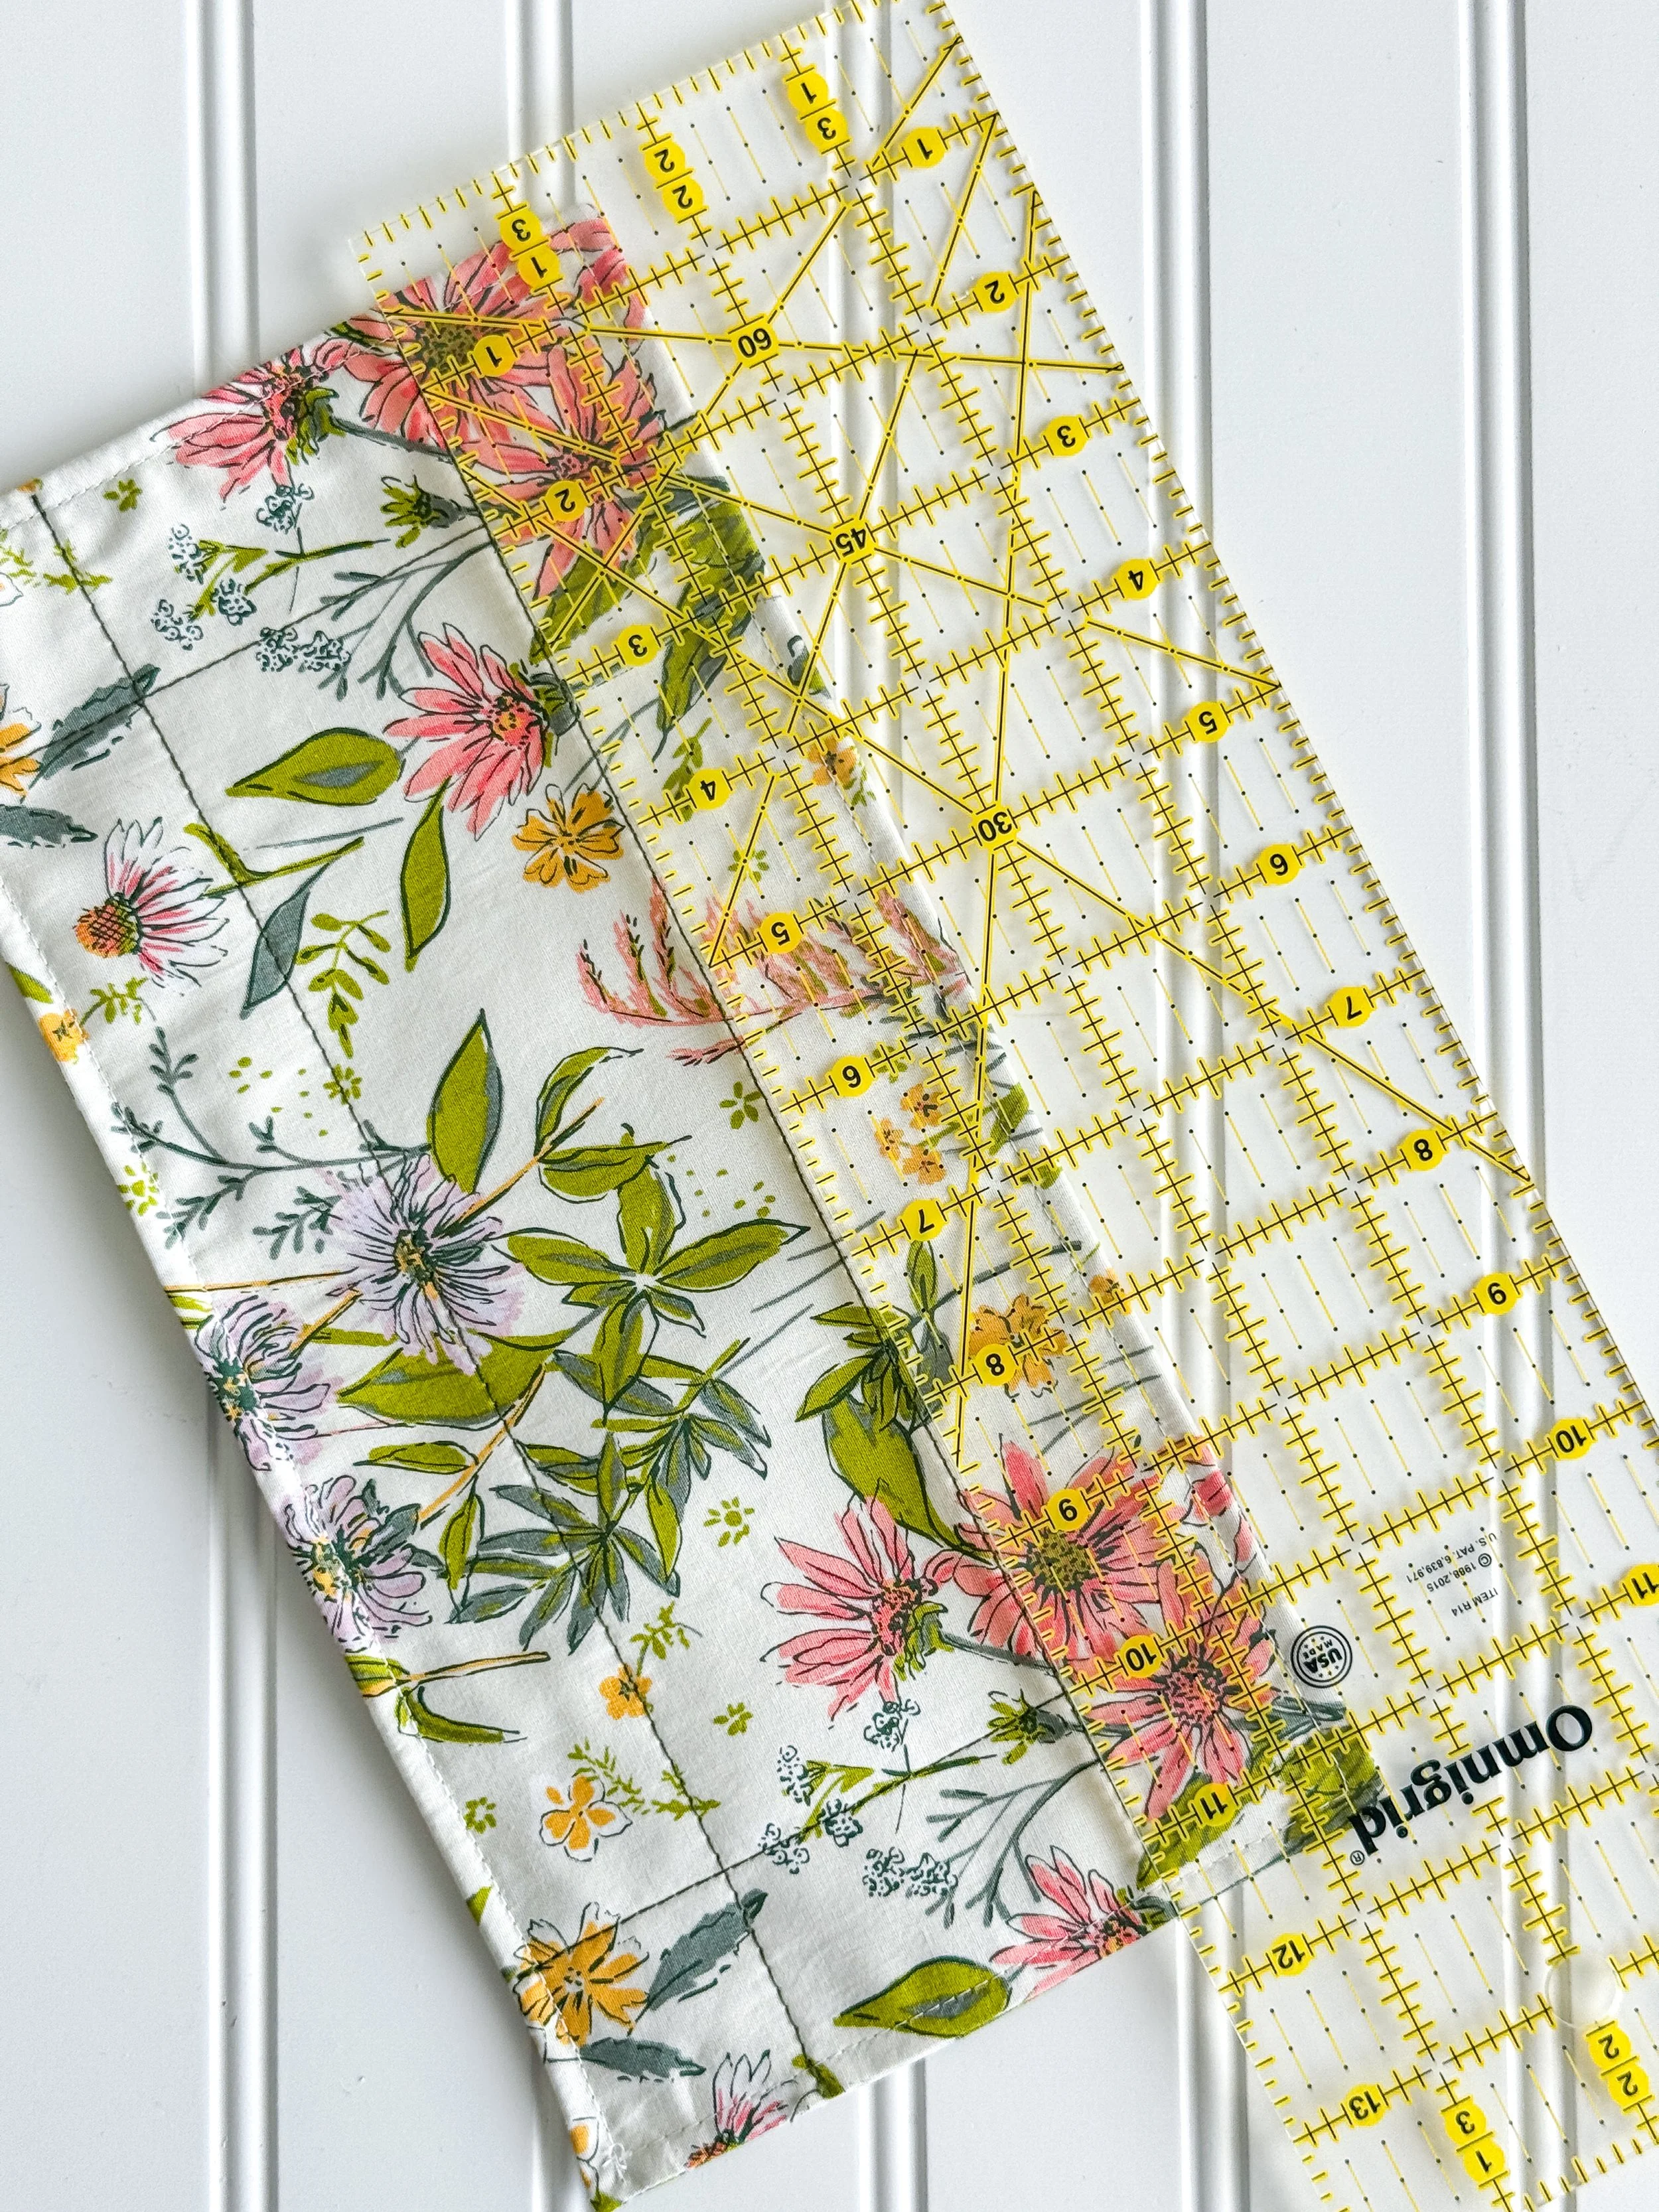
Fat Quarter cut into (2) 6-1/2” x 12-1/2” rectangles
Heavy-wieght one-sided fusible interfacing cut into (2) 5-1/2” x 11-1/2” rectangles
Coordinating thread
Turning tool
Optional magnetic stitch guide
Rotary cutter, ruler, cutting mat, iron
Fabric marking tool
ASSEMBLE
If you are on Instagram, I’ve put together a short Reel tutorial showing how to make this tray, which serves as a helpful companion video to the written instructions below. Click HERE and HERE to view the videos.
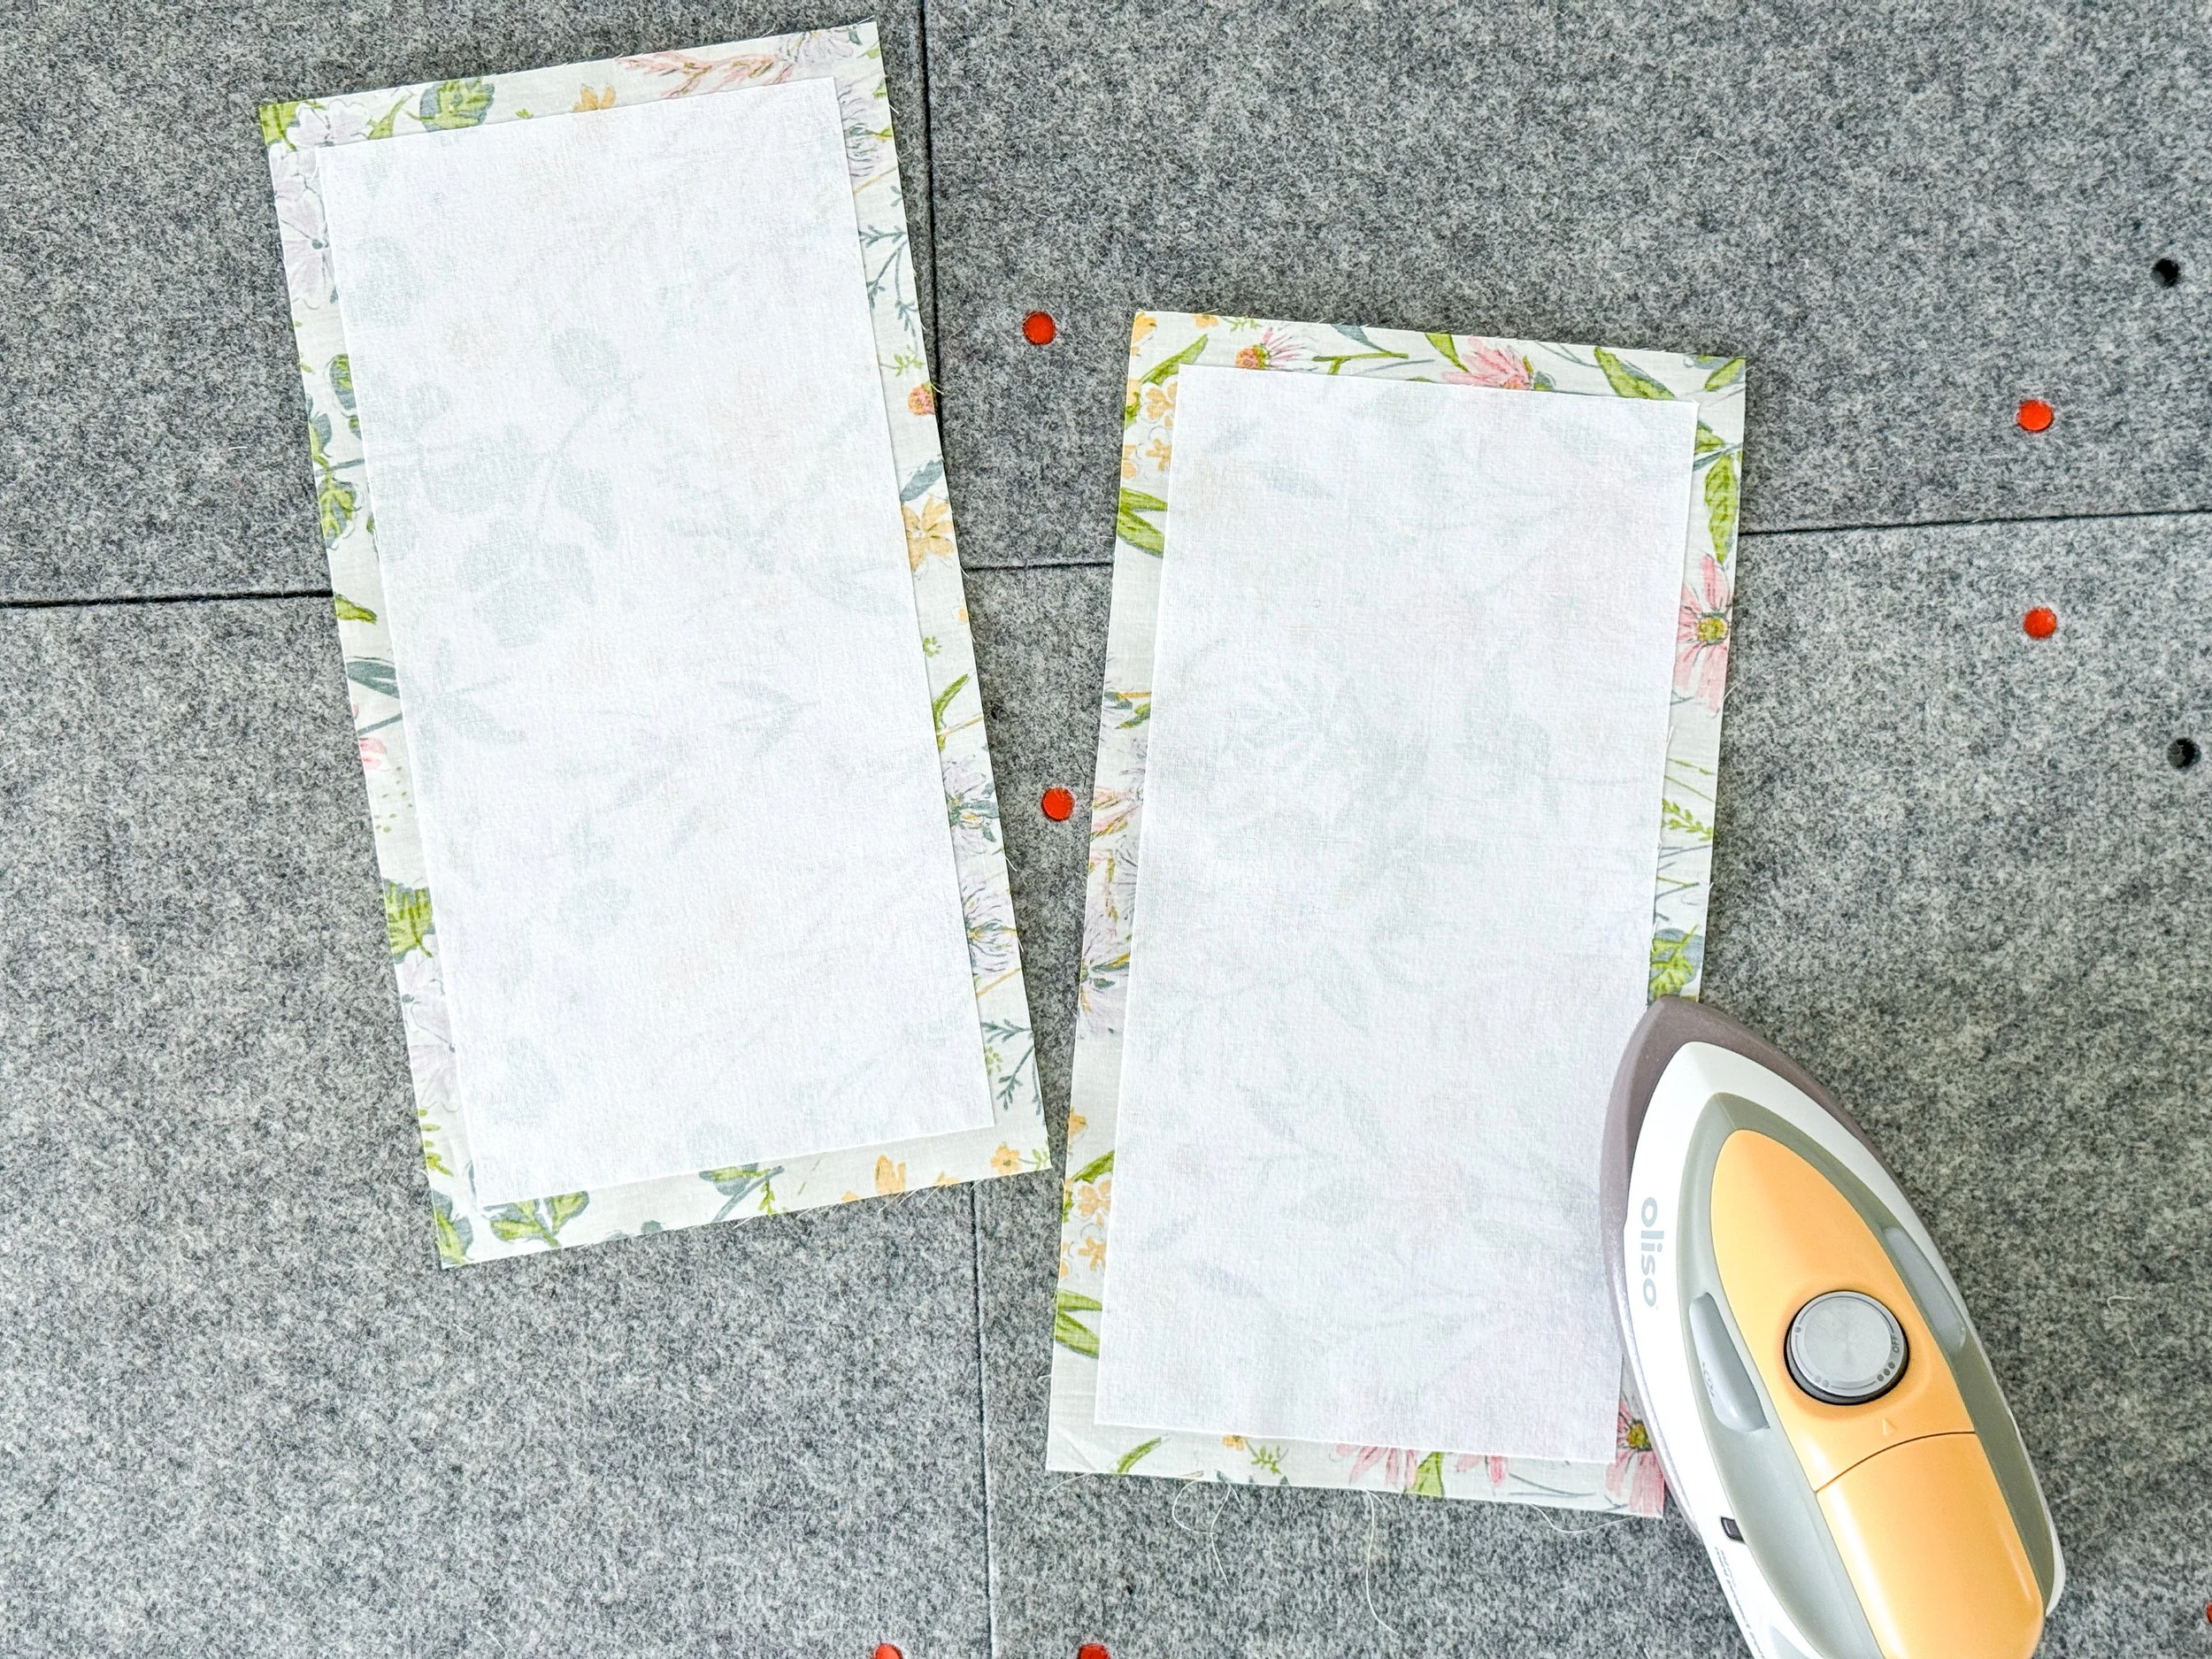
1. Center and fuse interfacing to the wrong side of each 6-1/2” x 12-1/2” rectangle.
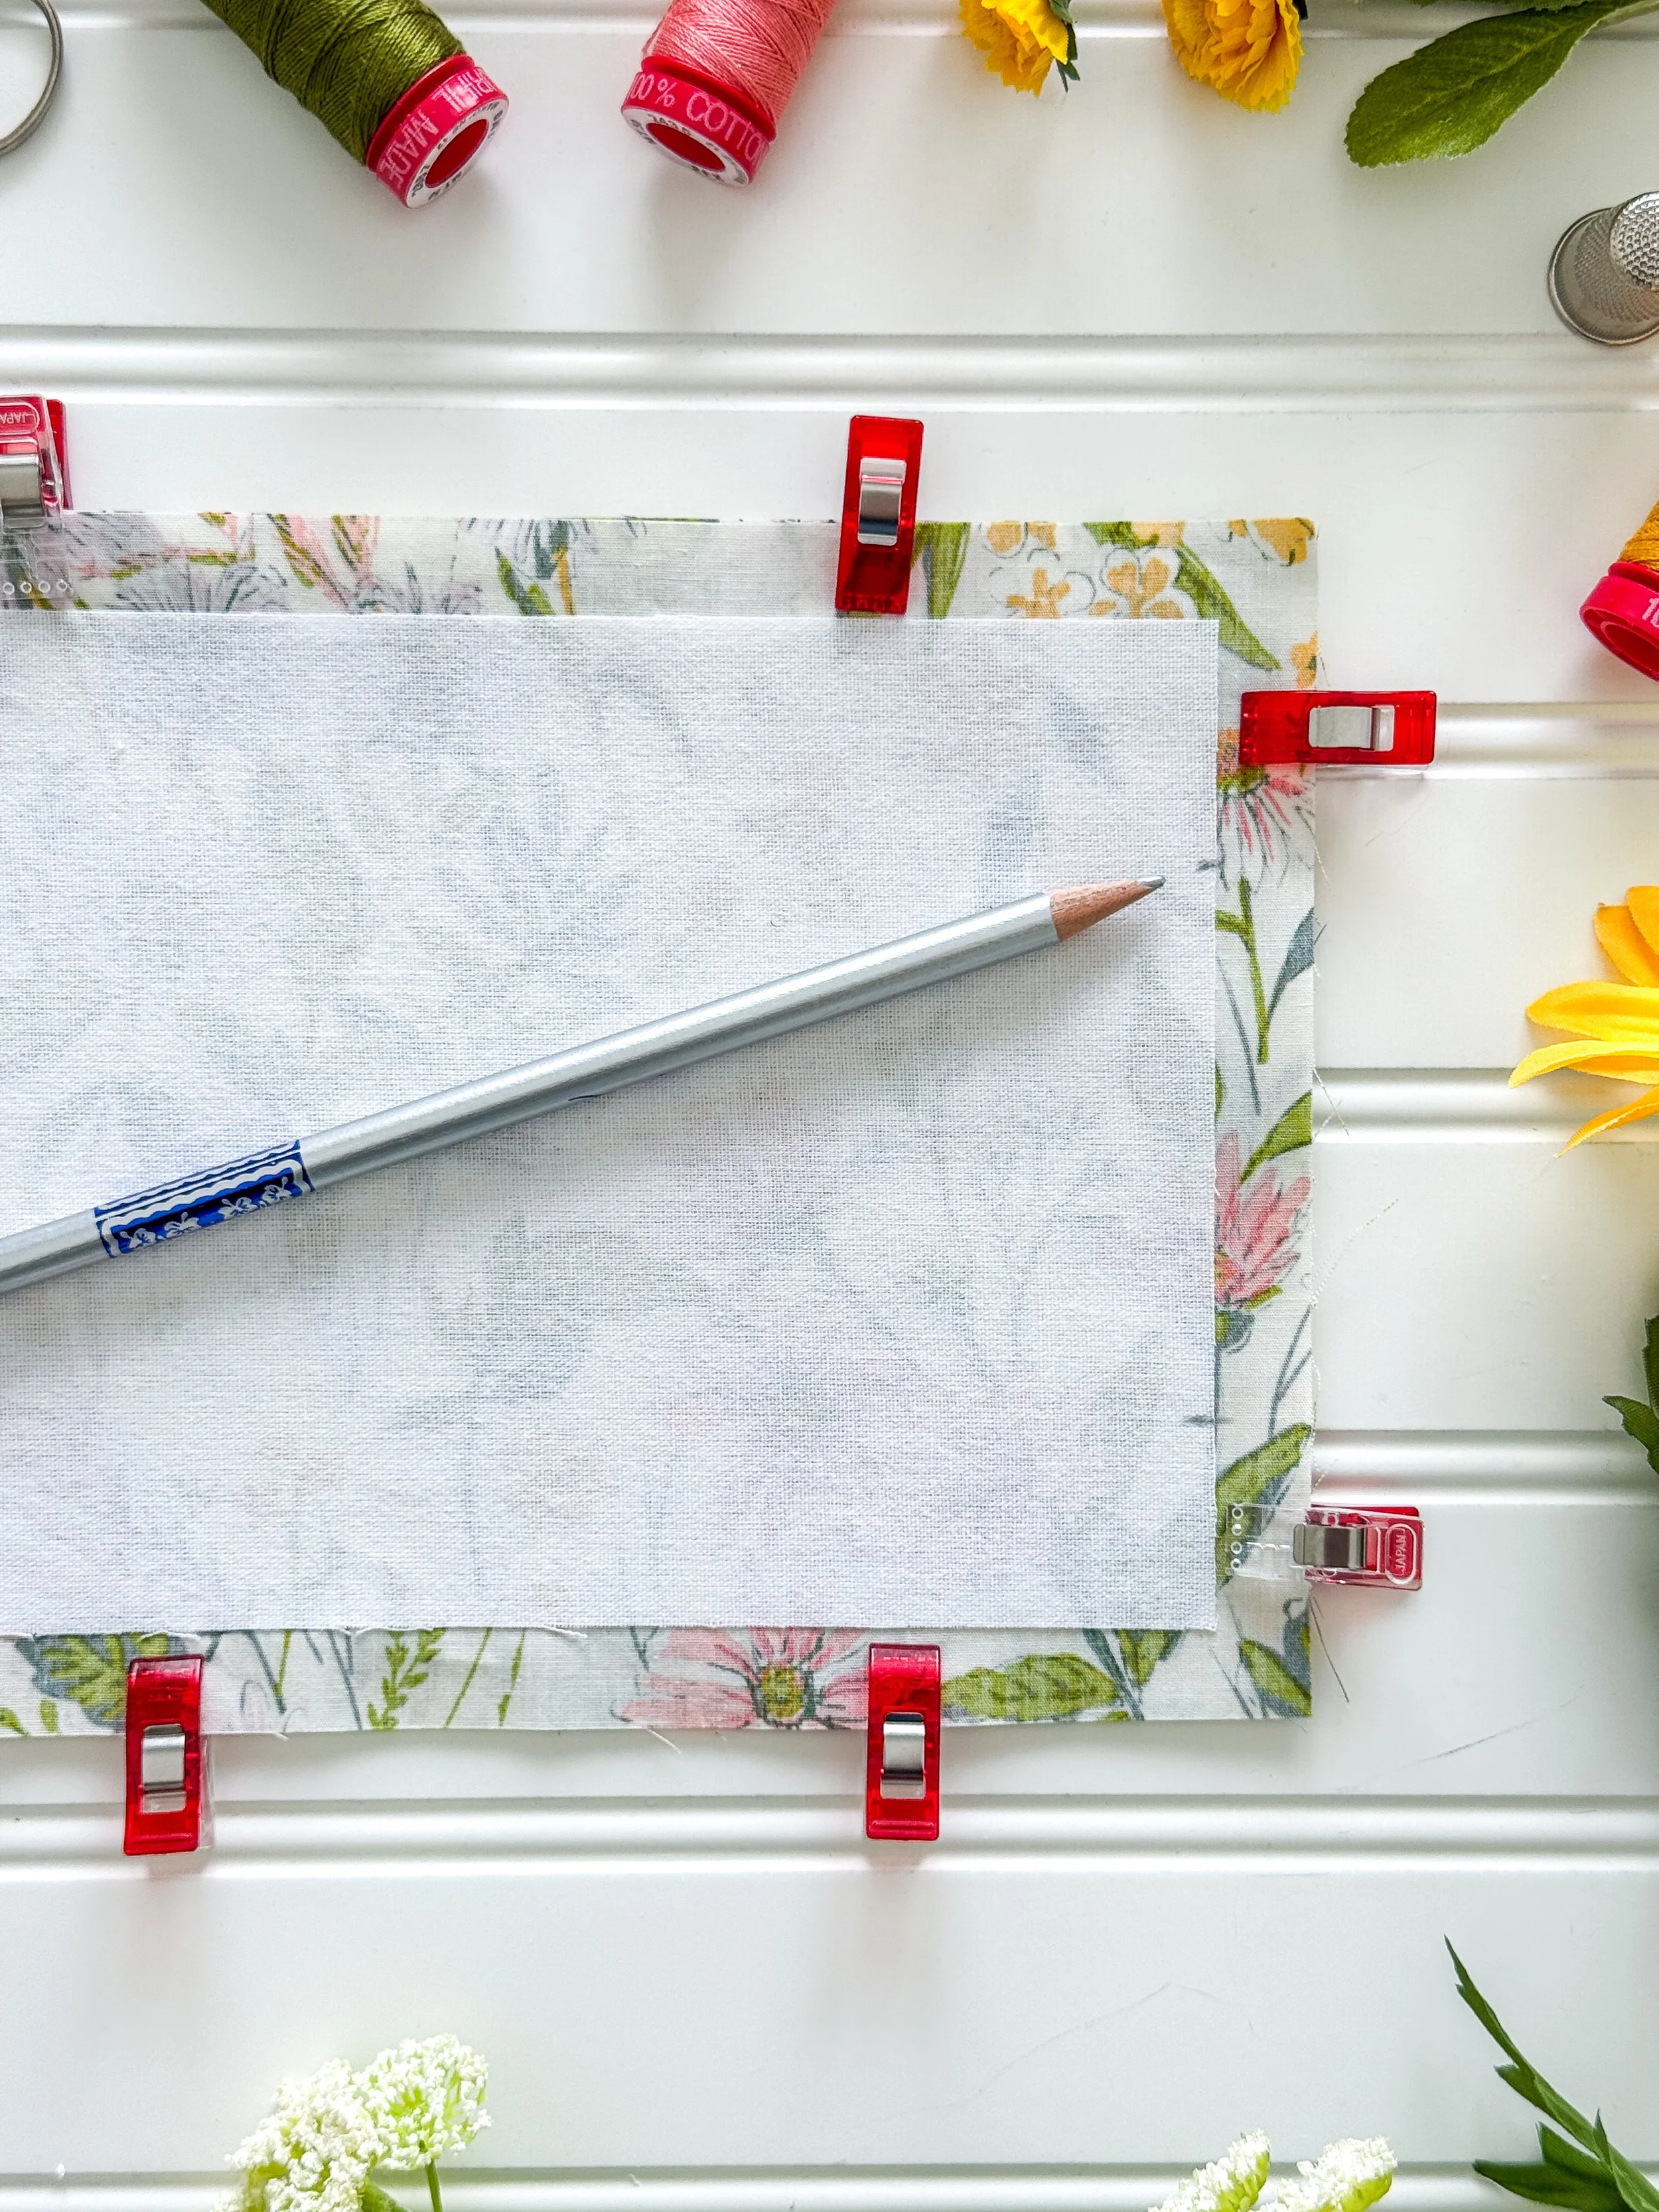
2. Place prepared rectangles right sides together with print oriented in the same direction if applicable. Pin the layers on all four sides, leaving a 3” opening on one short end for turning.
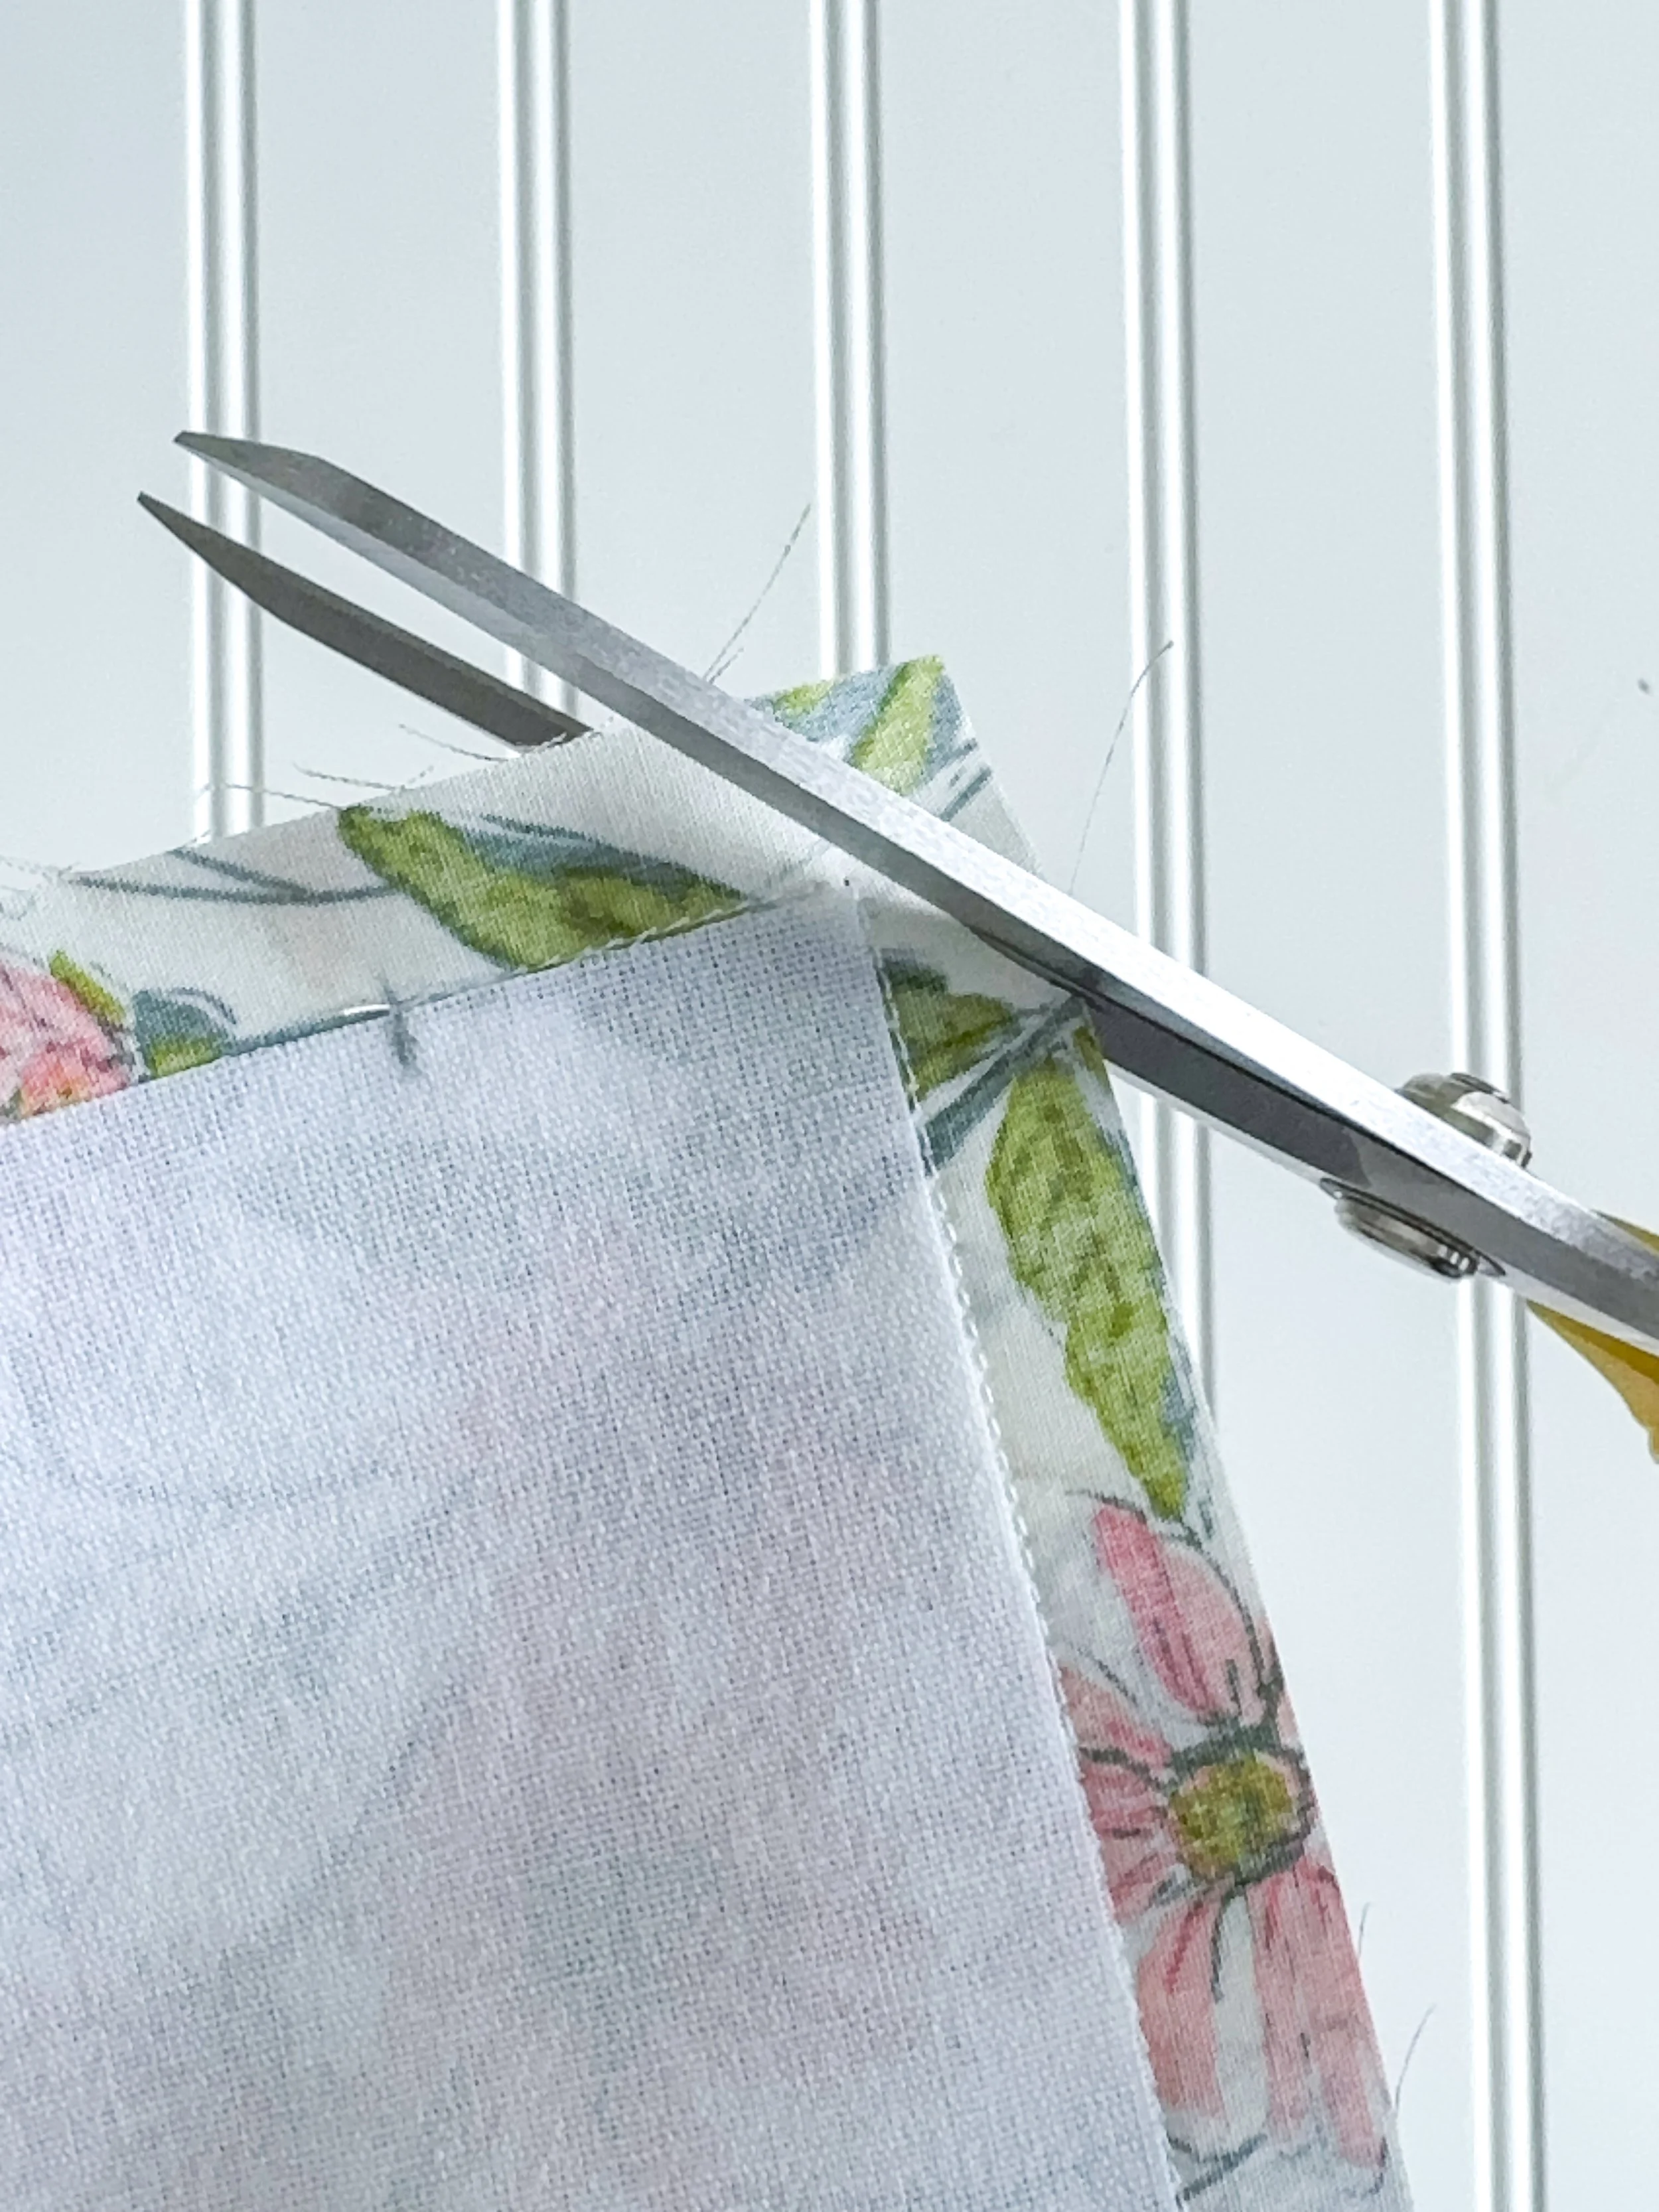
3. Stitch around the rectangle, starting and stopping with a backstitch, following the edges of the interfacing as the seam allowance guide. Clip the 4 corners.
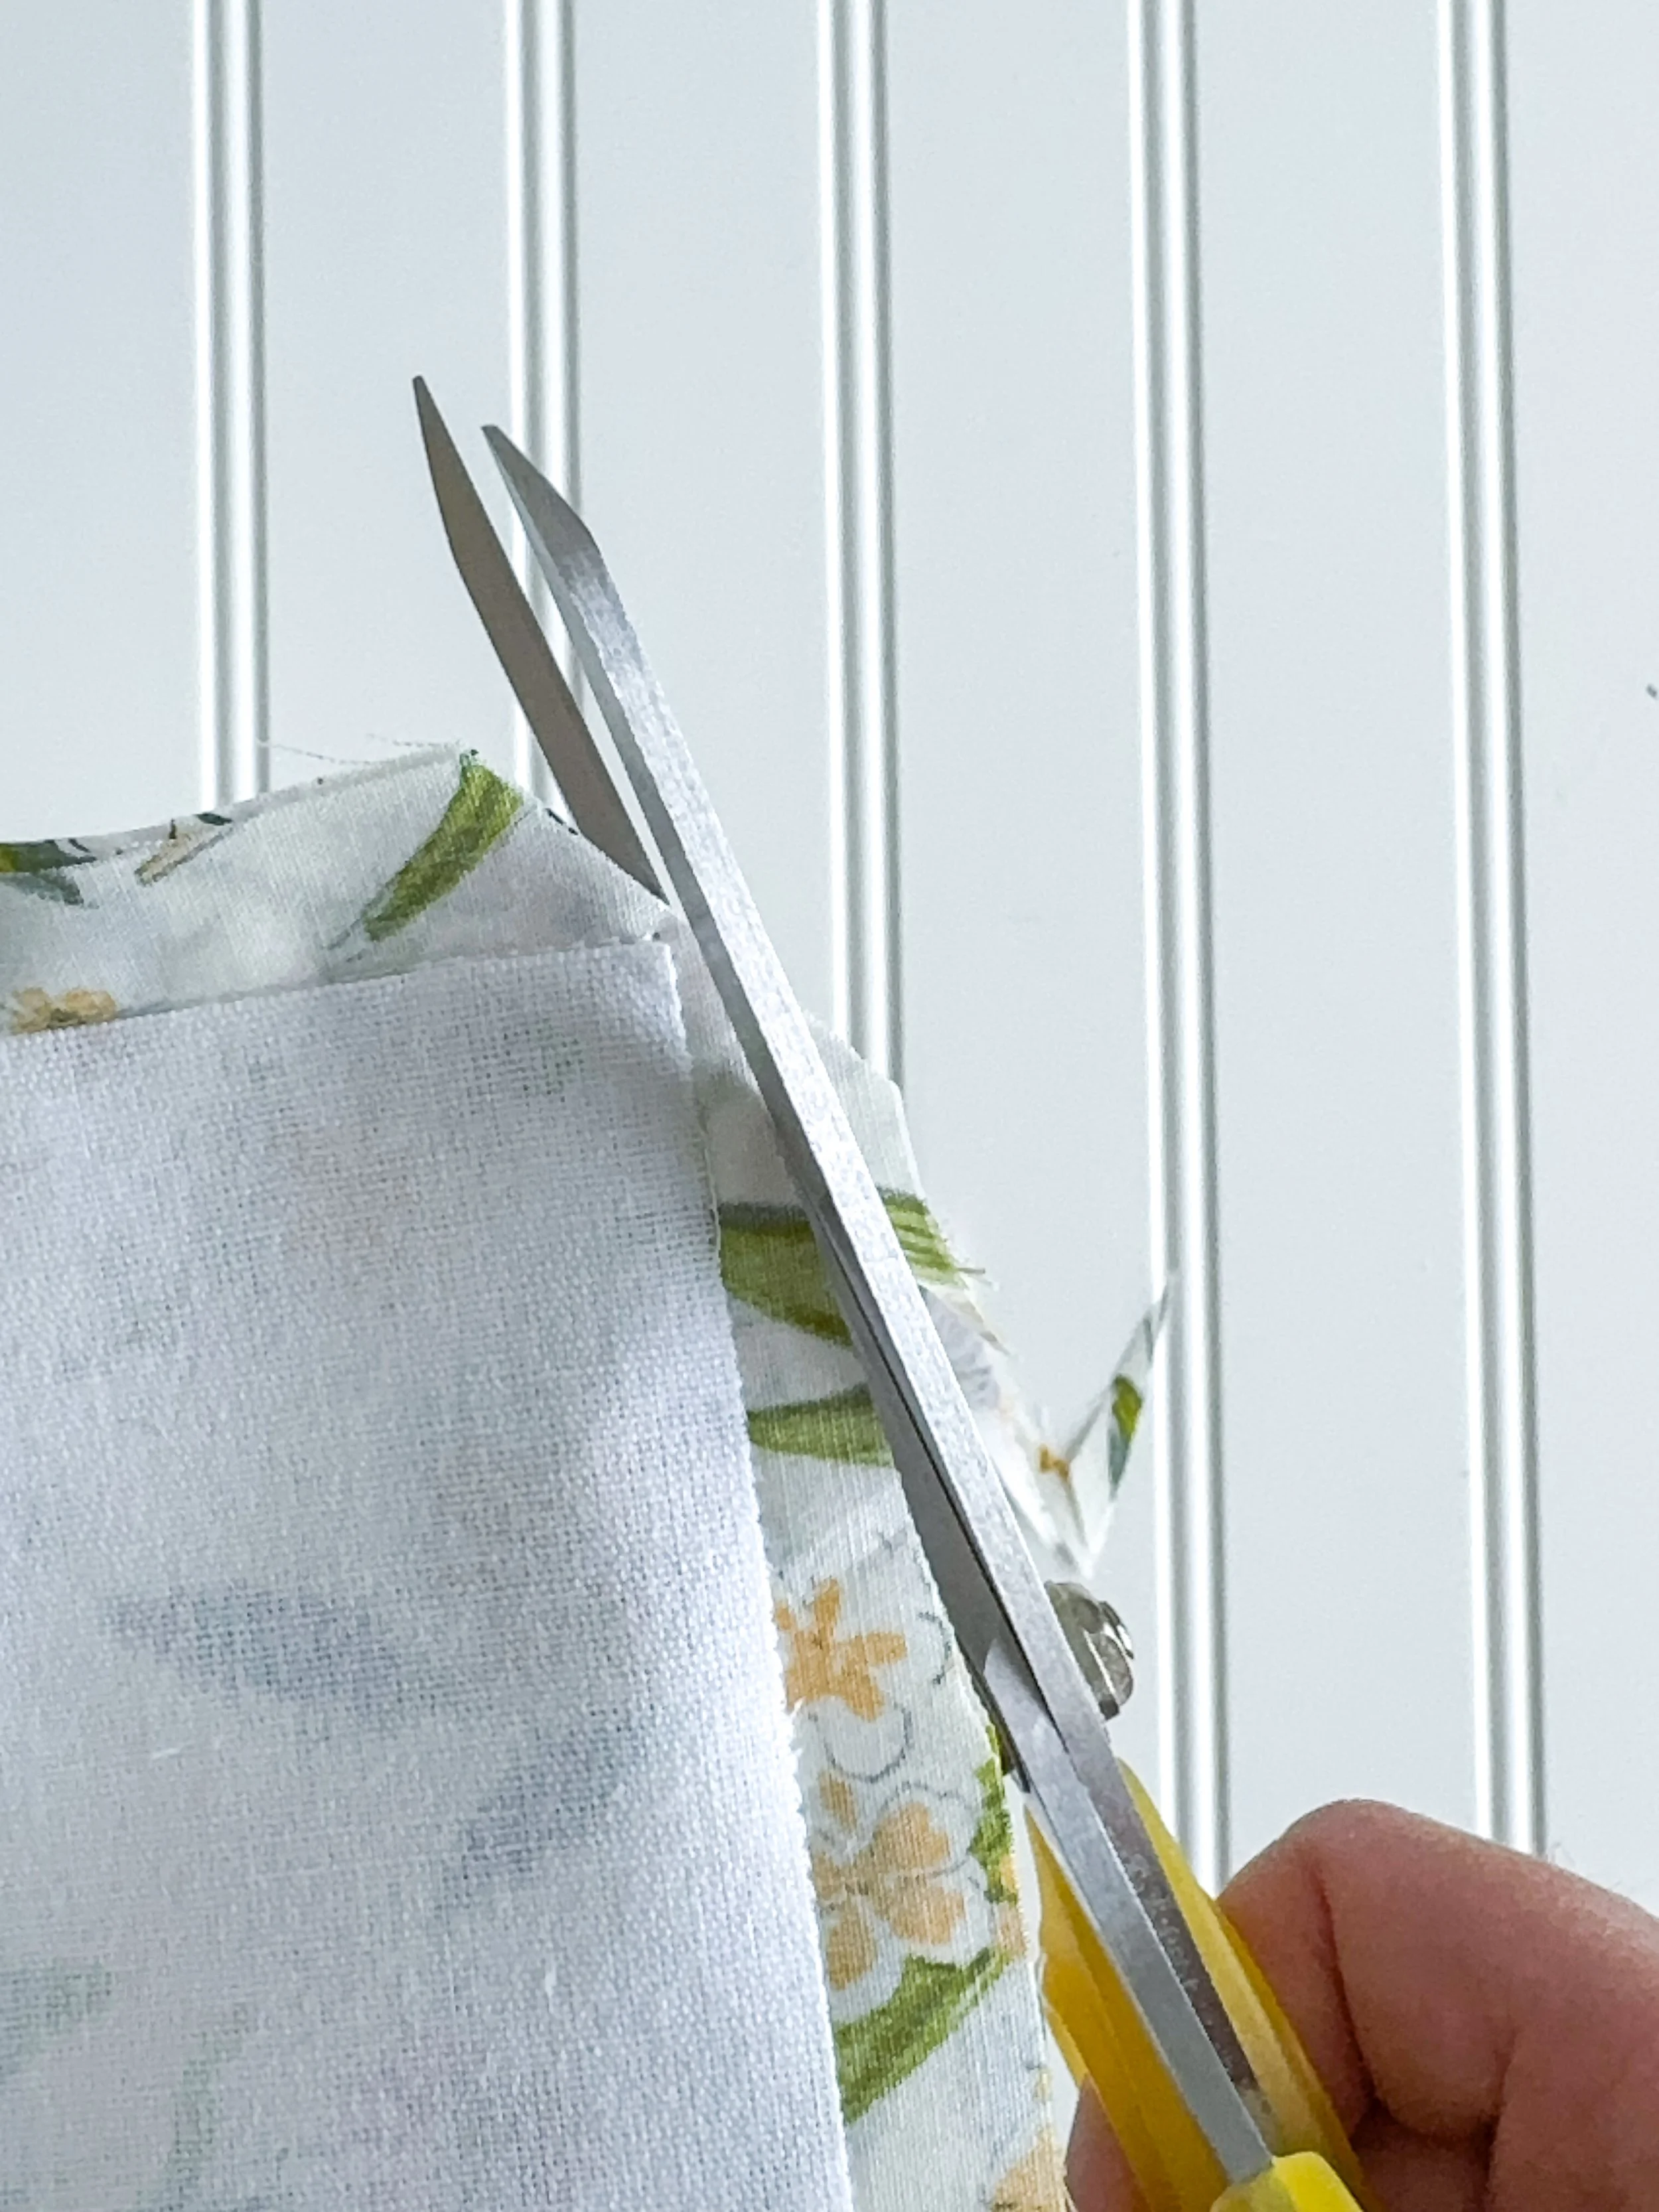
4. Cut toward each clipped corner on a diagonal to help reduce bulk in the corners.
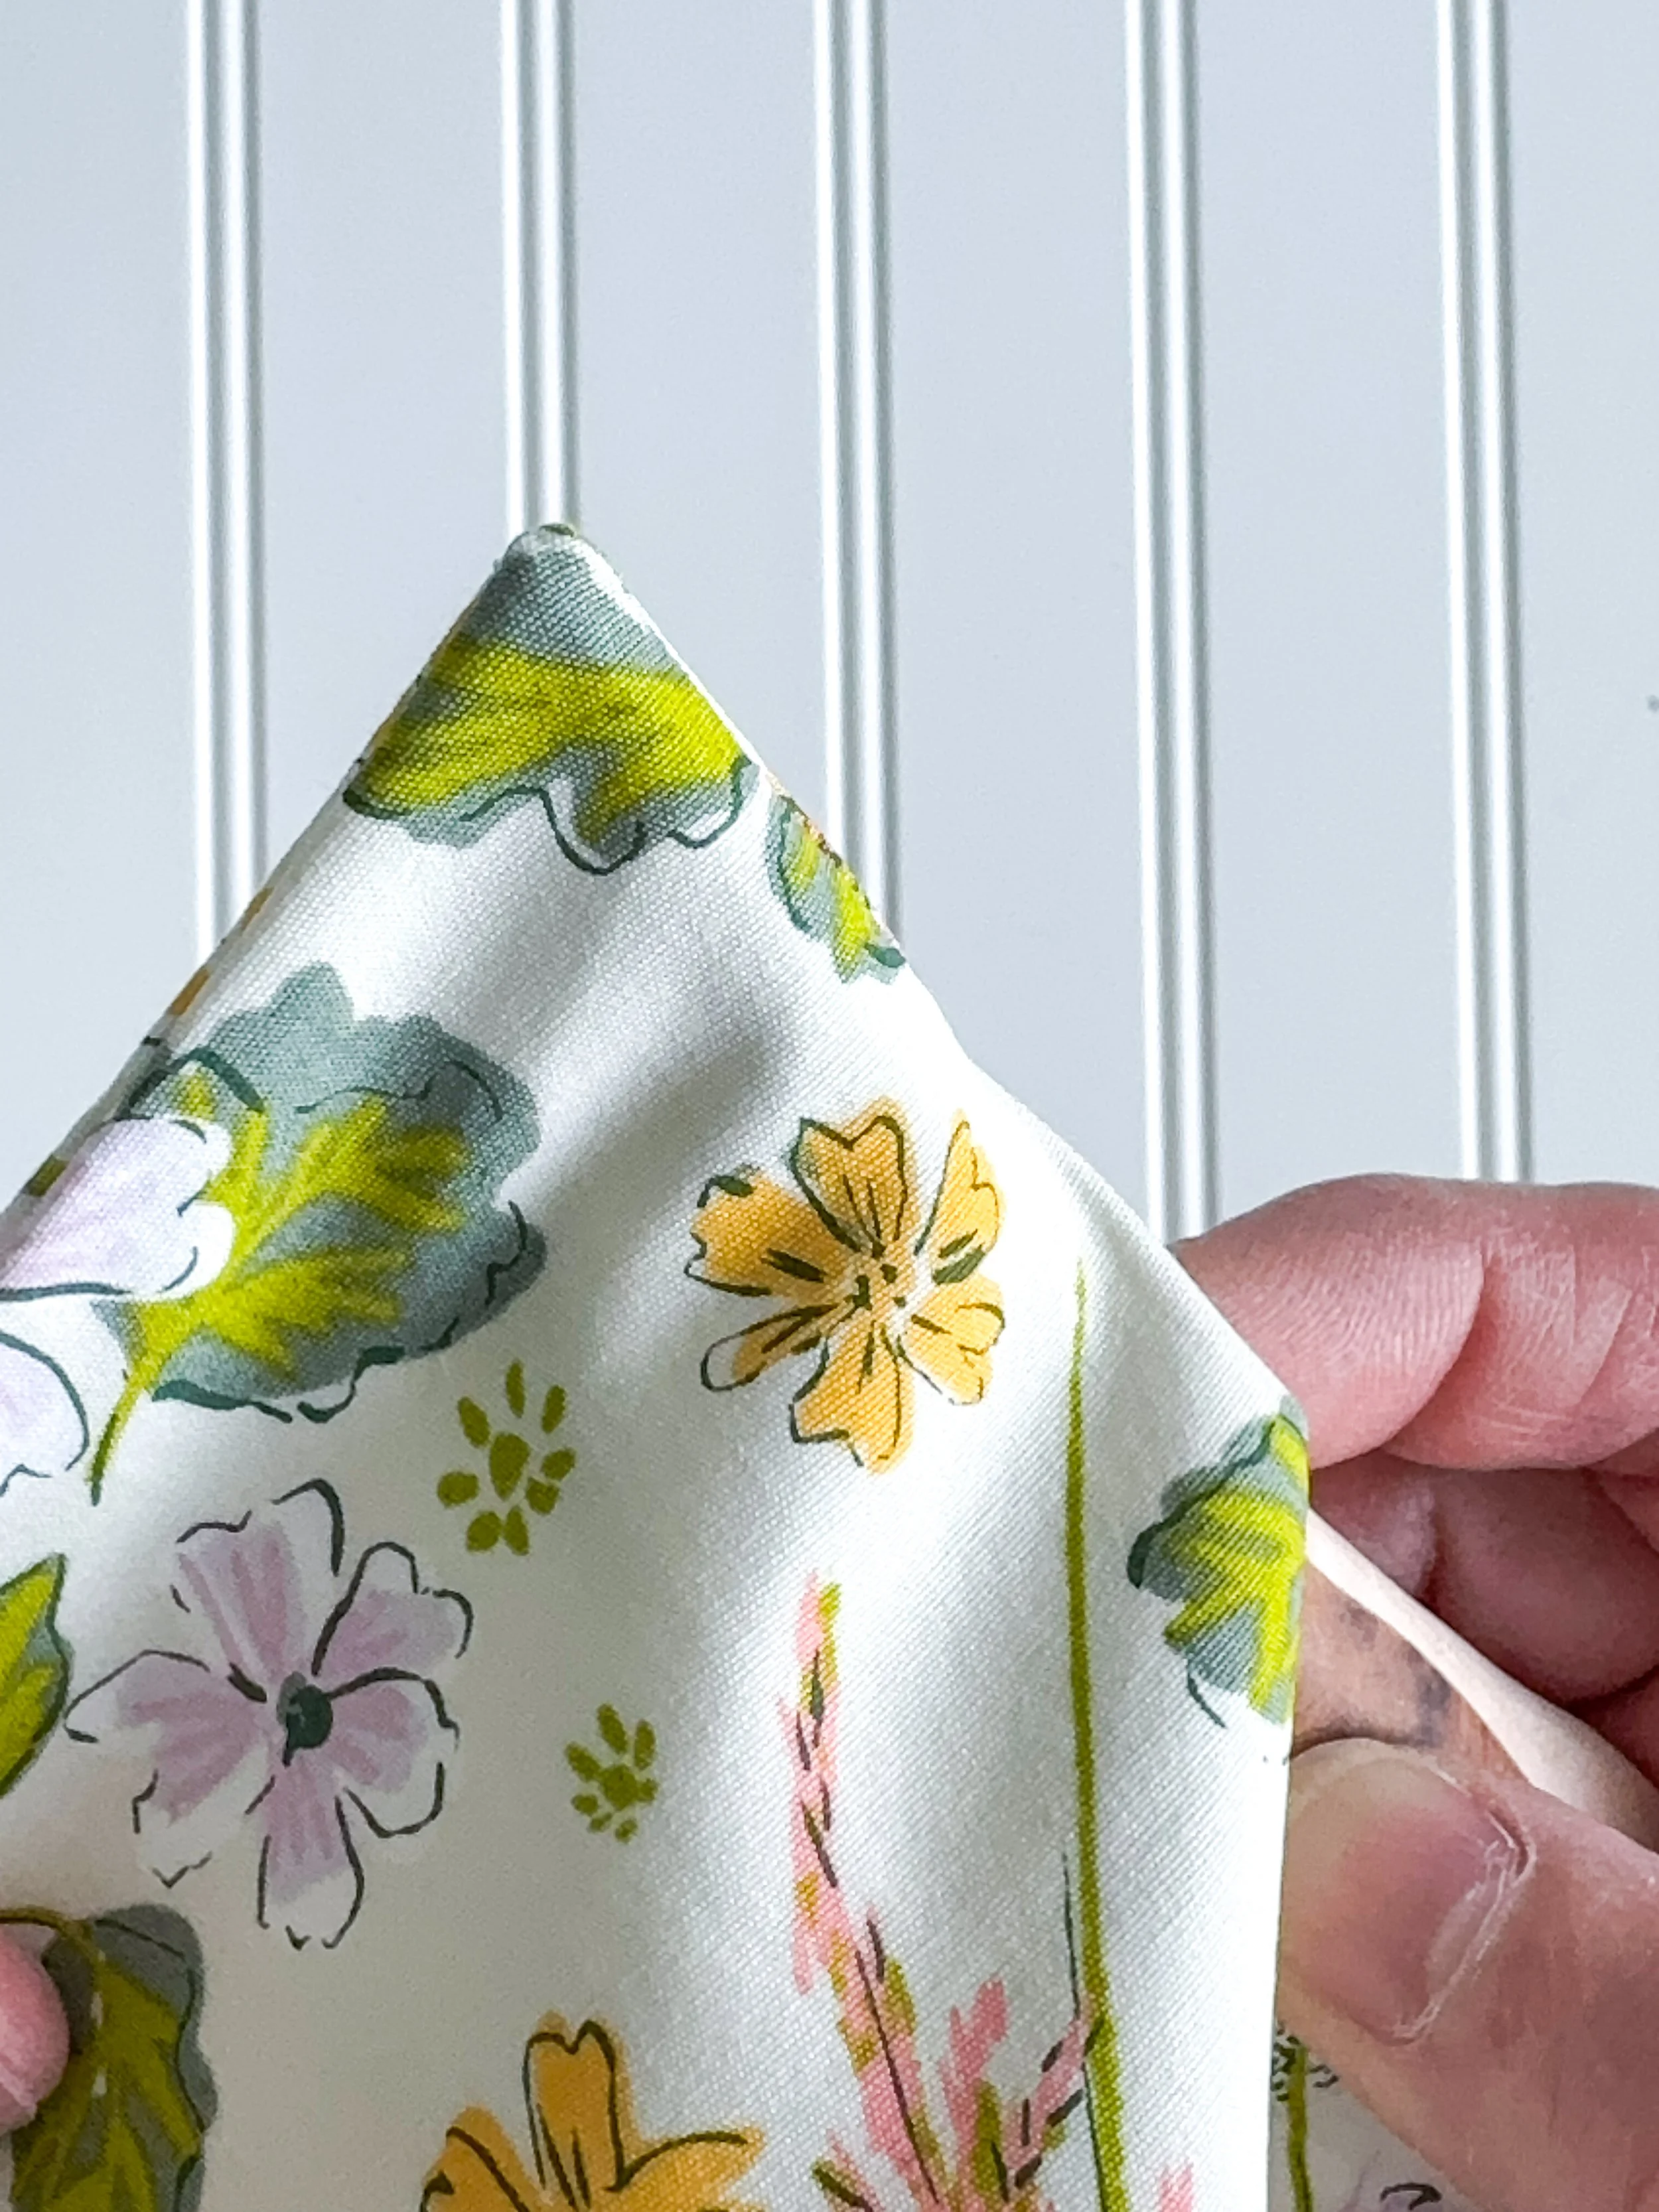
5. Carefully turn right side out through the opening. Use a point turner to push out corners. Turn the opening under to the wrong side, using the edge of the interfacing as the guide. Press flat. Topstitch around all four edges with an 1/8” seam, closing the opening in the topstitching.
6. Using a ruler and fabric marking tool (or a magnetic seam guide on your sewing machine), mark (or sew) 1-1/2” in from the outer edge across all four sides from edge to opposite edge, as shown above. Topstitch on the marked lines, if marking rather than using a sewing guide.
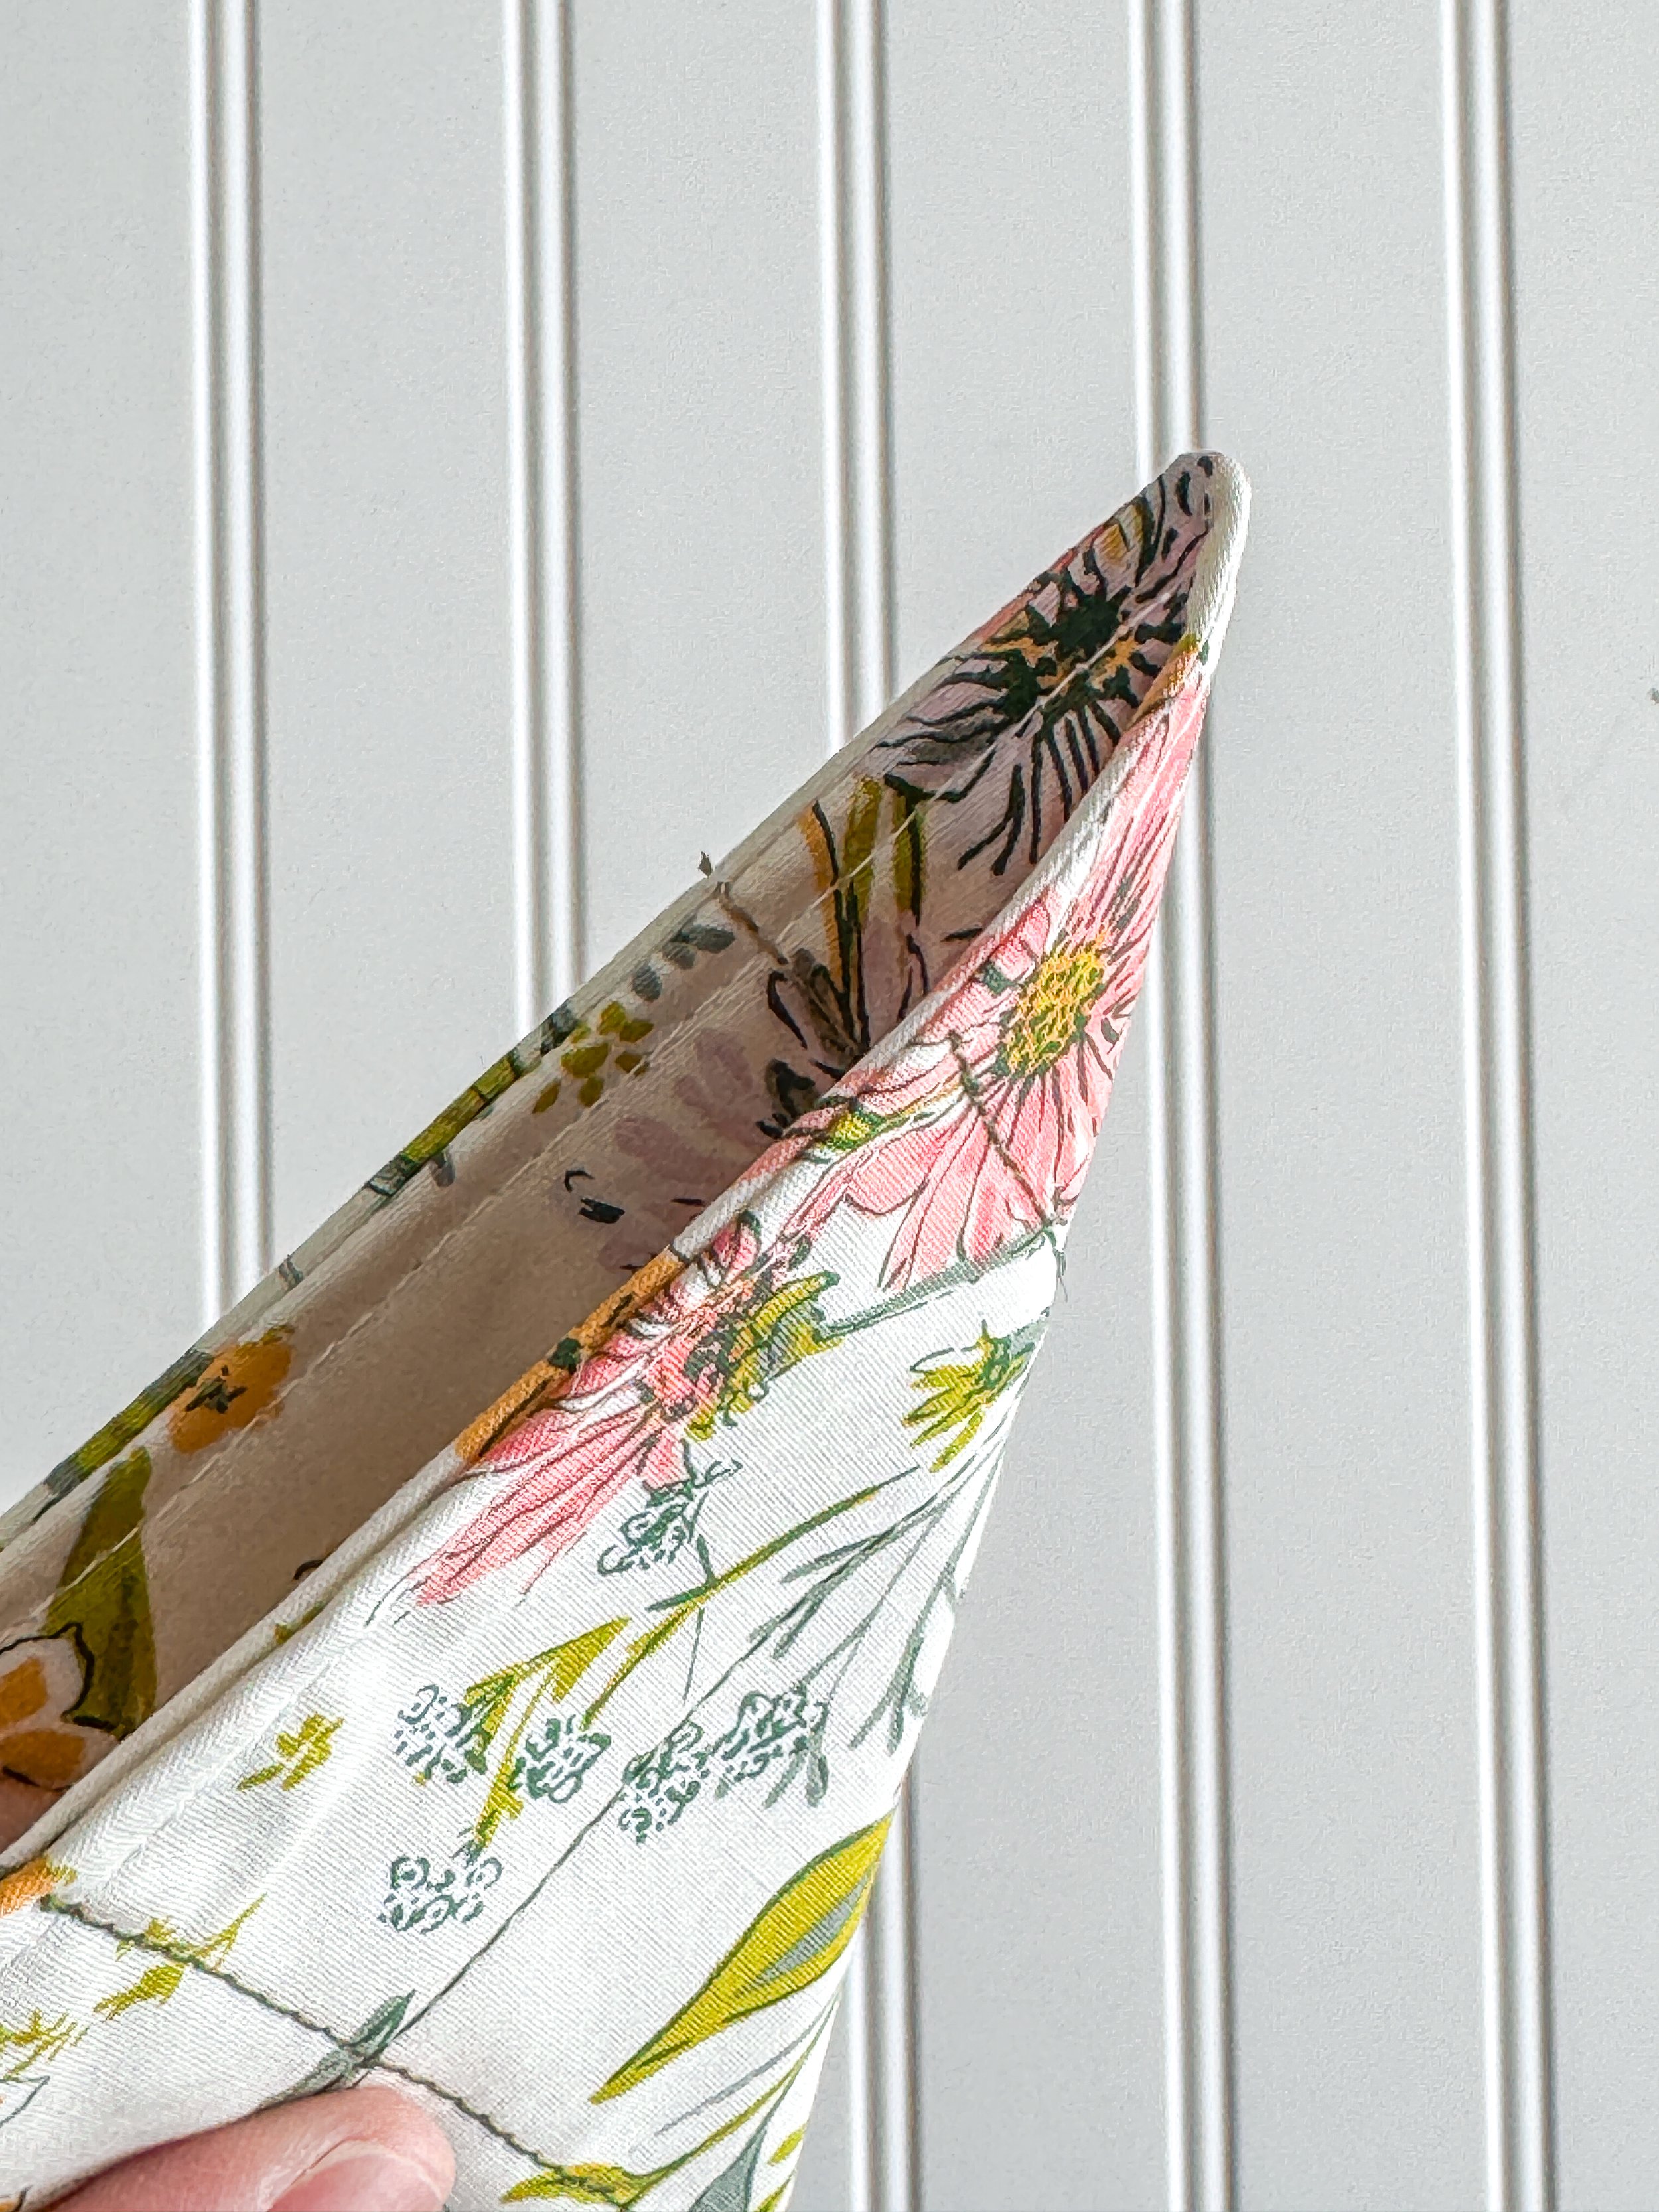
7. Working on one corner at a time, fold a corner on the diagonal, interior sides together and topstitching matched to create a triangle with the corner. Pin or use clips to hold in place.
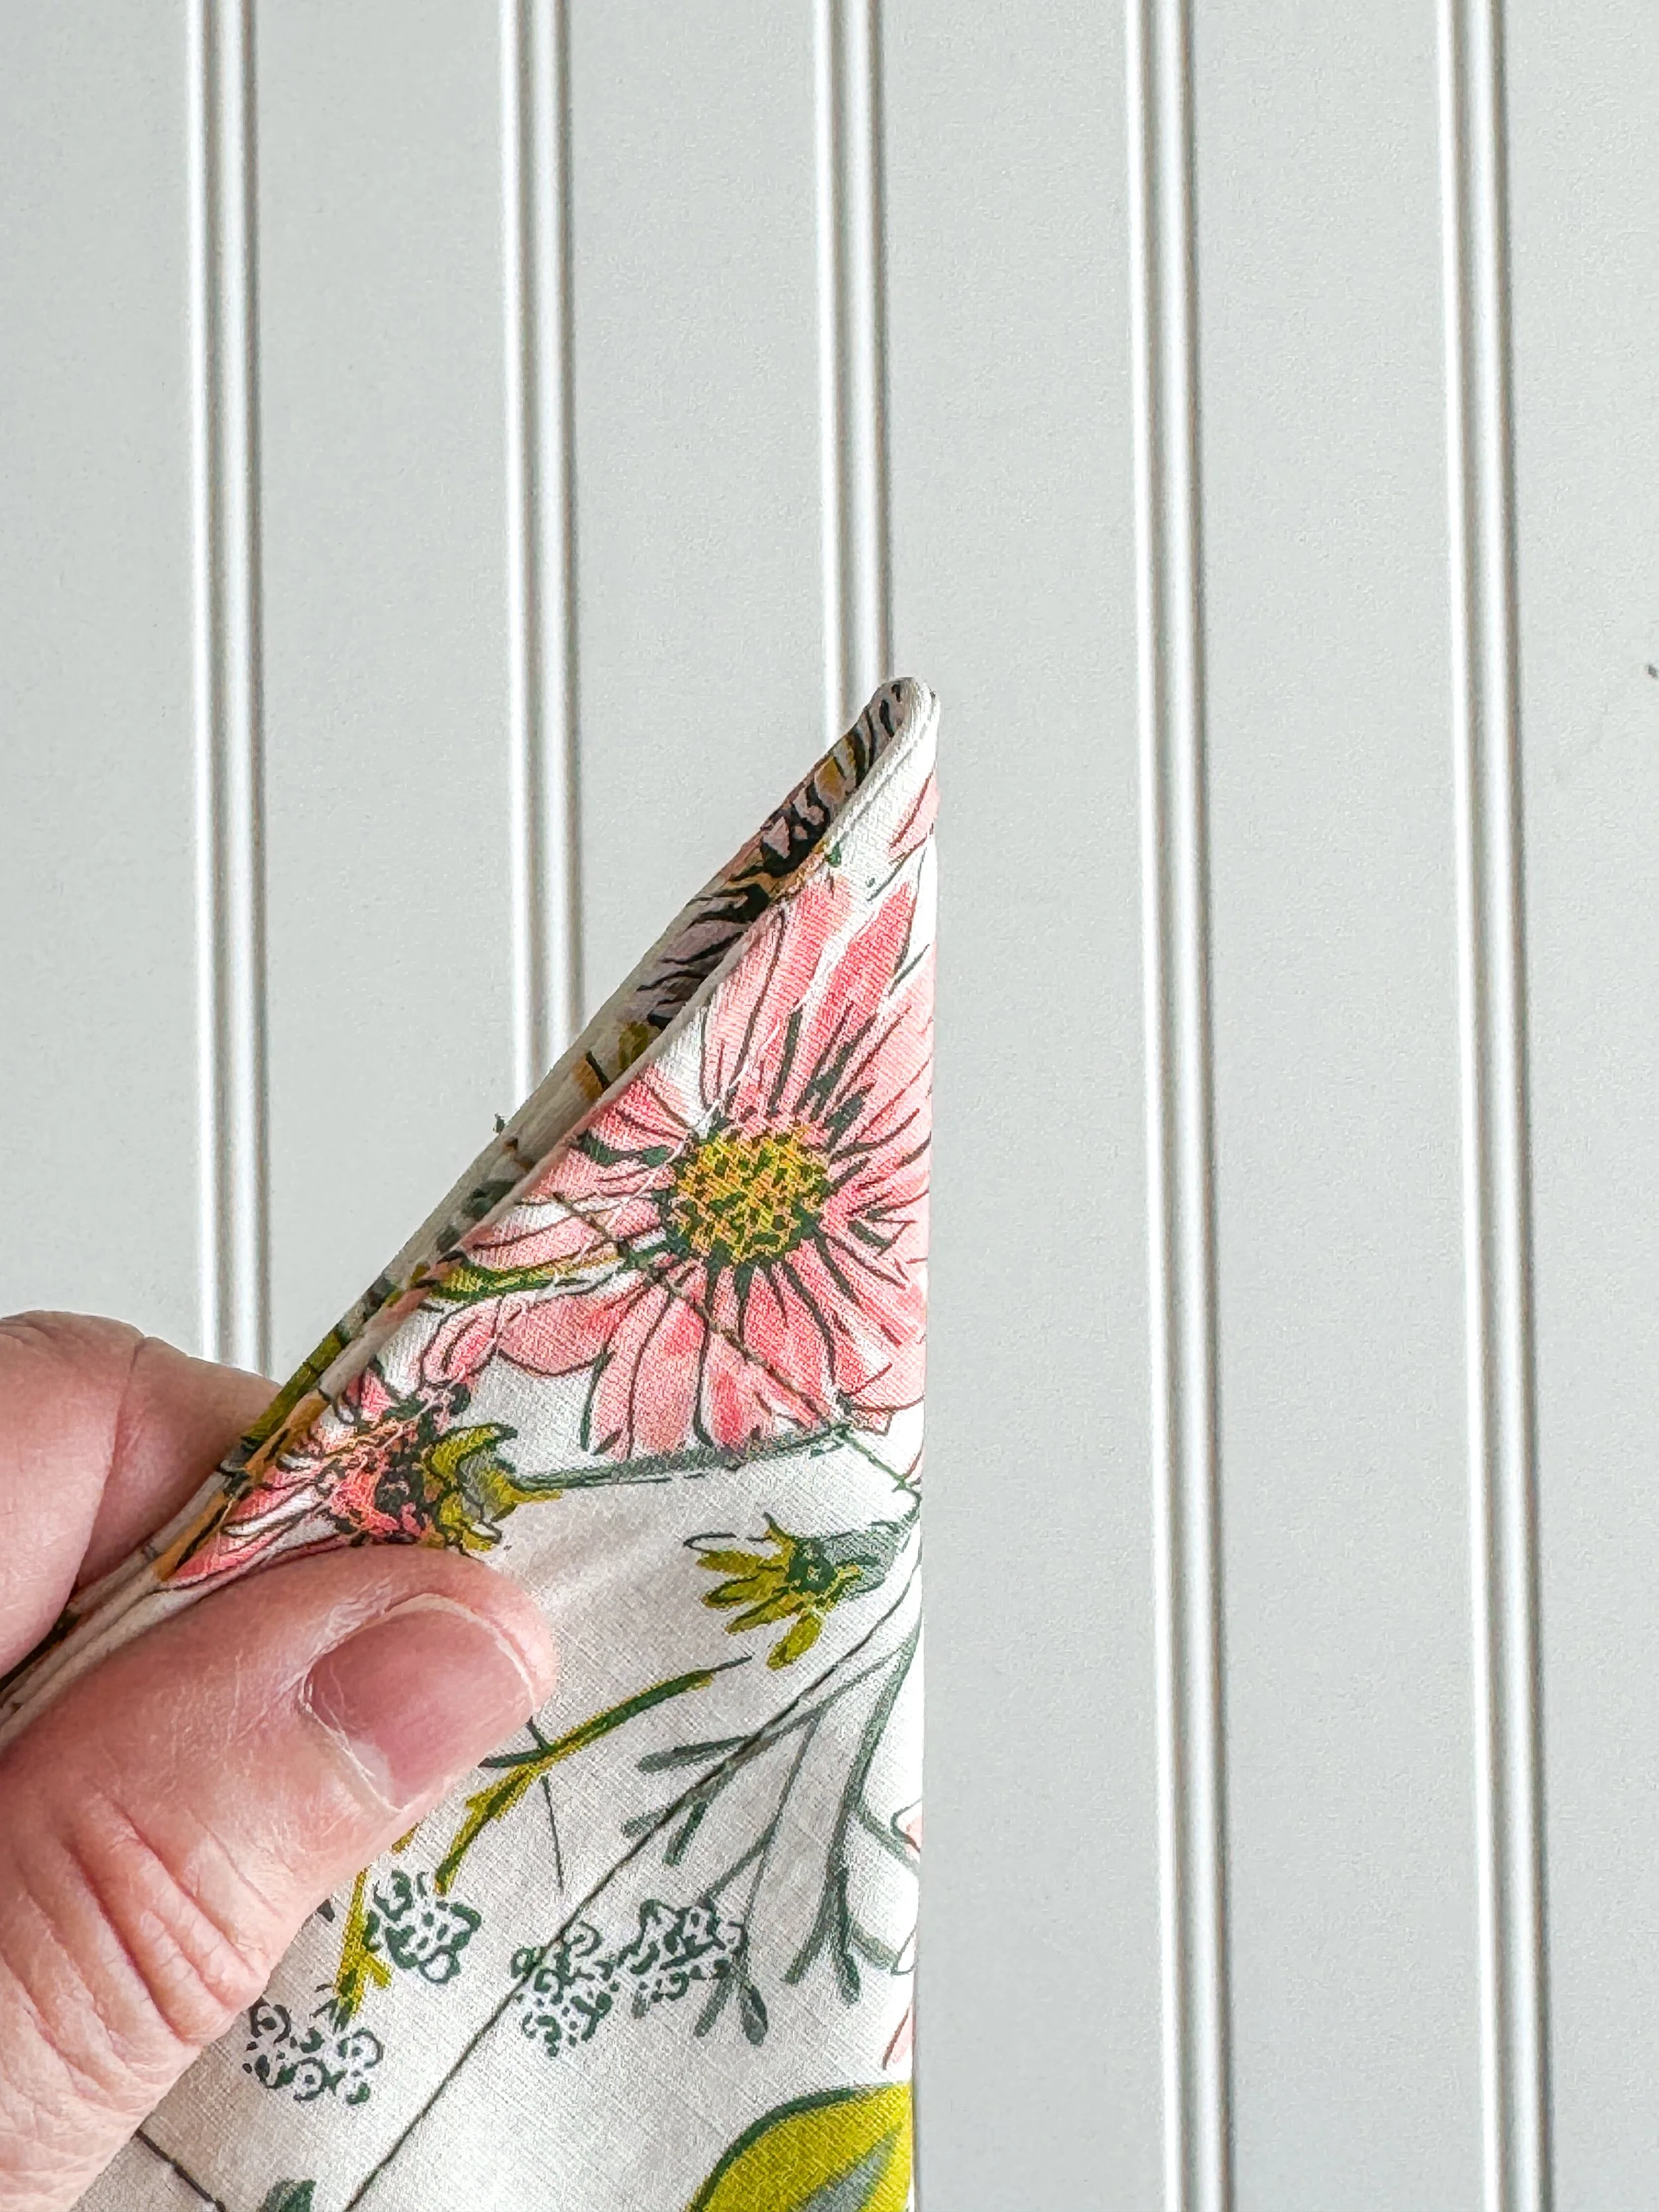
8. Using the topstitching as a guide, sew from the top edge of the rectangle toward the folded edge of the triangle to create a tray corner. Repeat on the other 3 sides to make the tray. Press if desired to make the tray edges crisp.
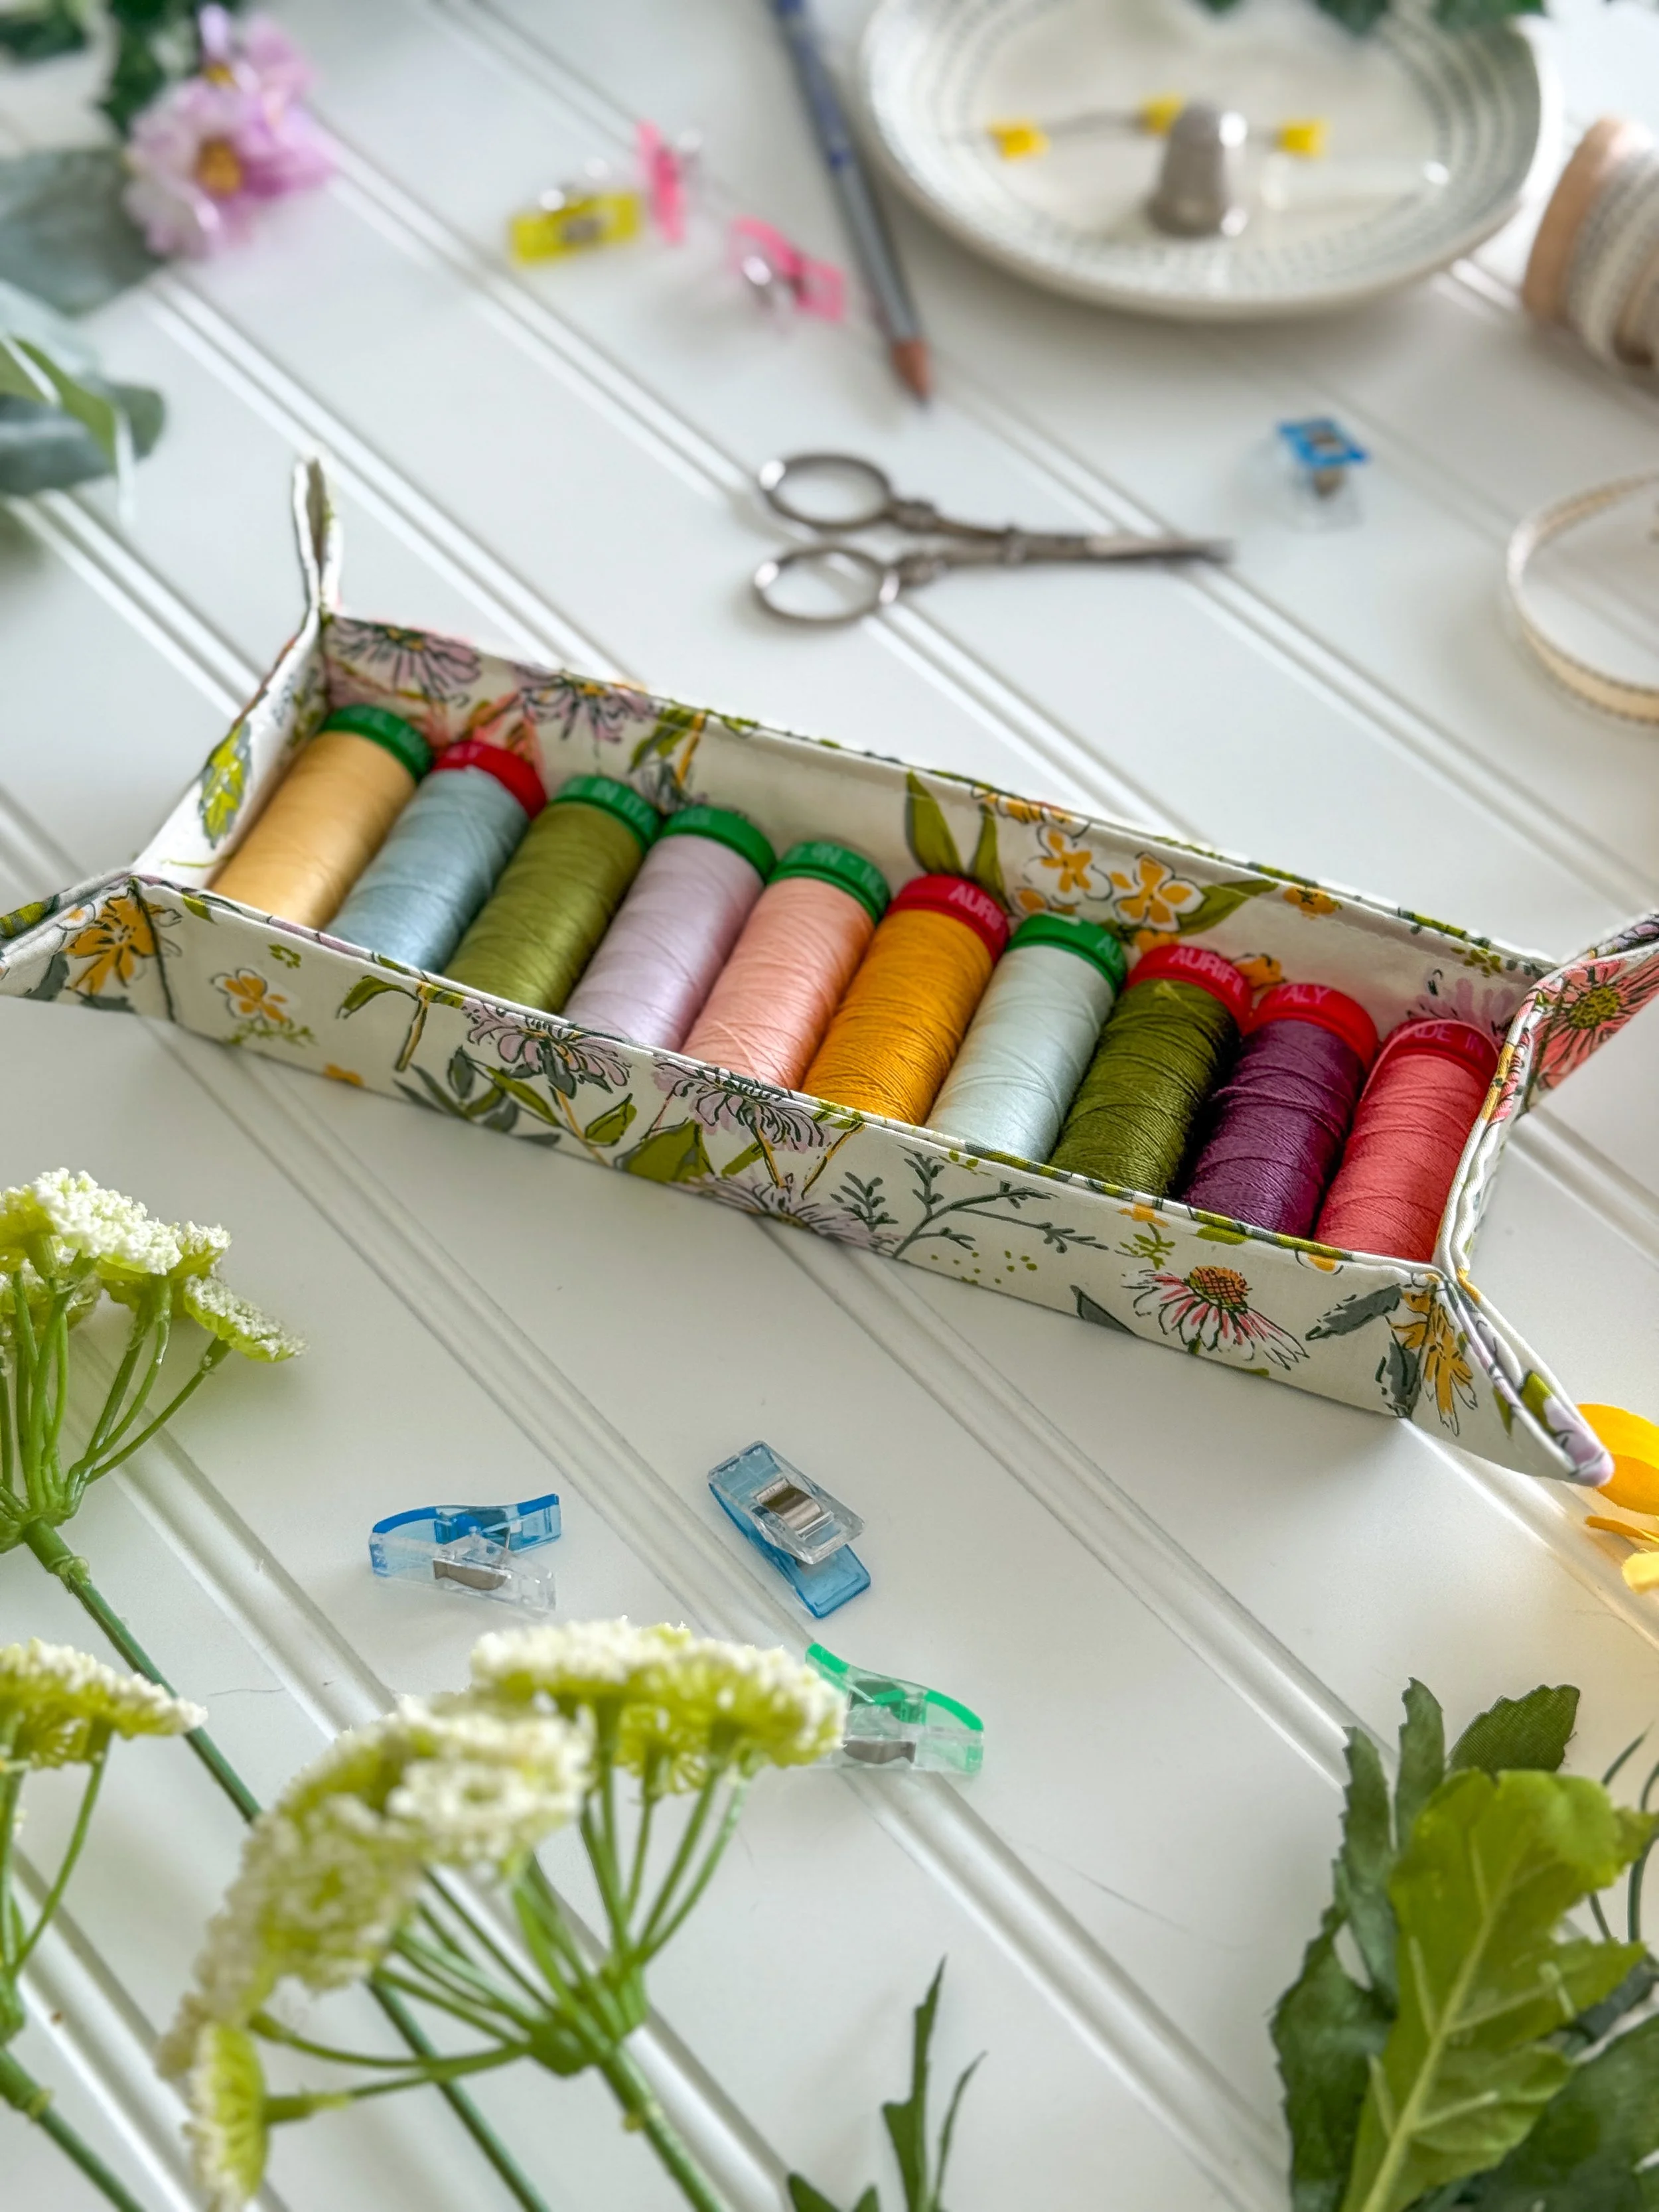
You just made a perfectly sized tray to hold 10 Aurifil Small Spools. The finished 2-1/2” W x 8-1/4” L x 1-1/2” H tray is versatile and can be used to store a multitude of other sewing notions, office supplies, makeup, and any small items that need a tidy place. The fabric tray is both machine and hand washable; simply air dry and press once dry to restore its crisp, finished appearance.
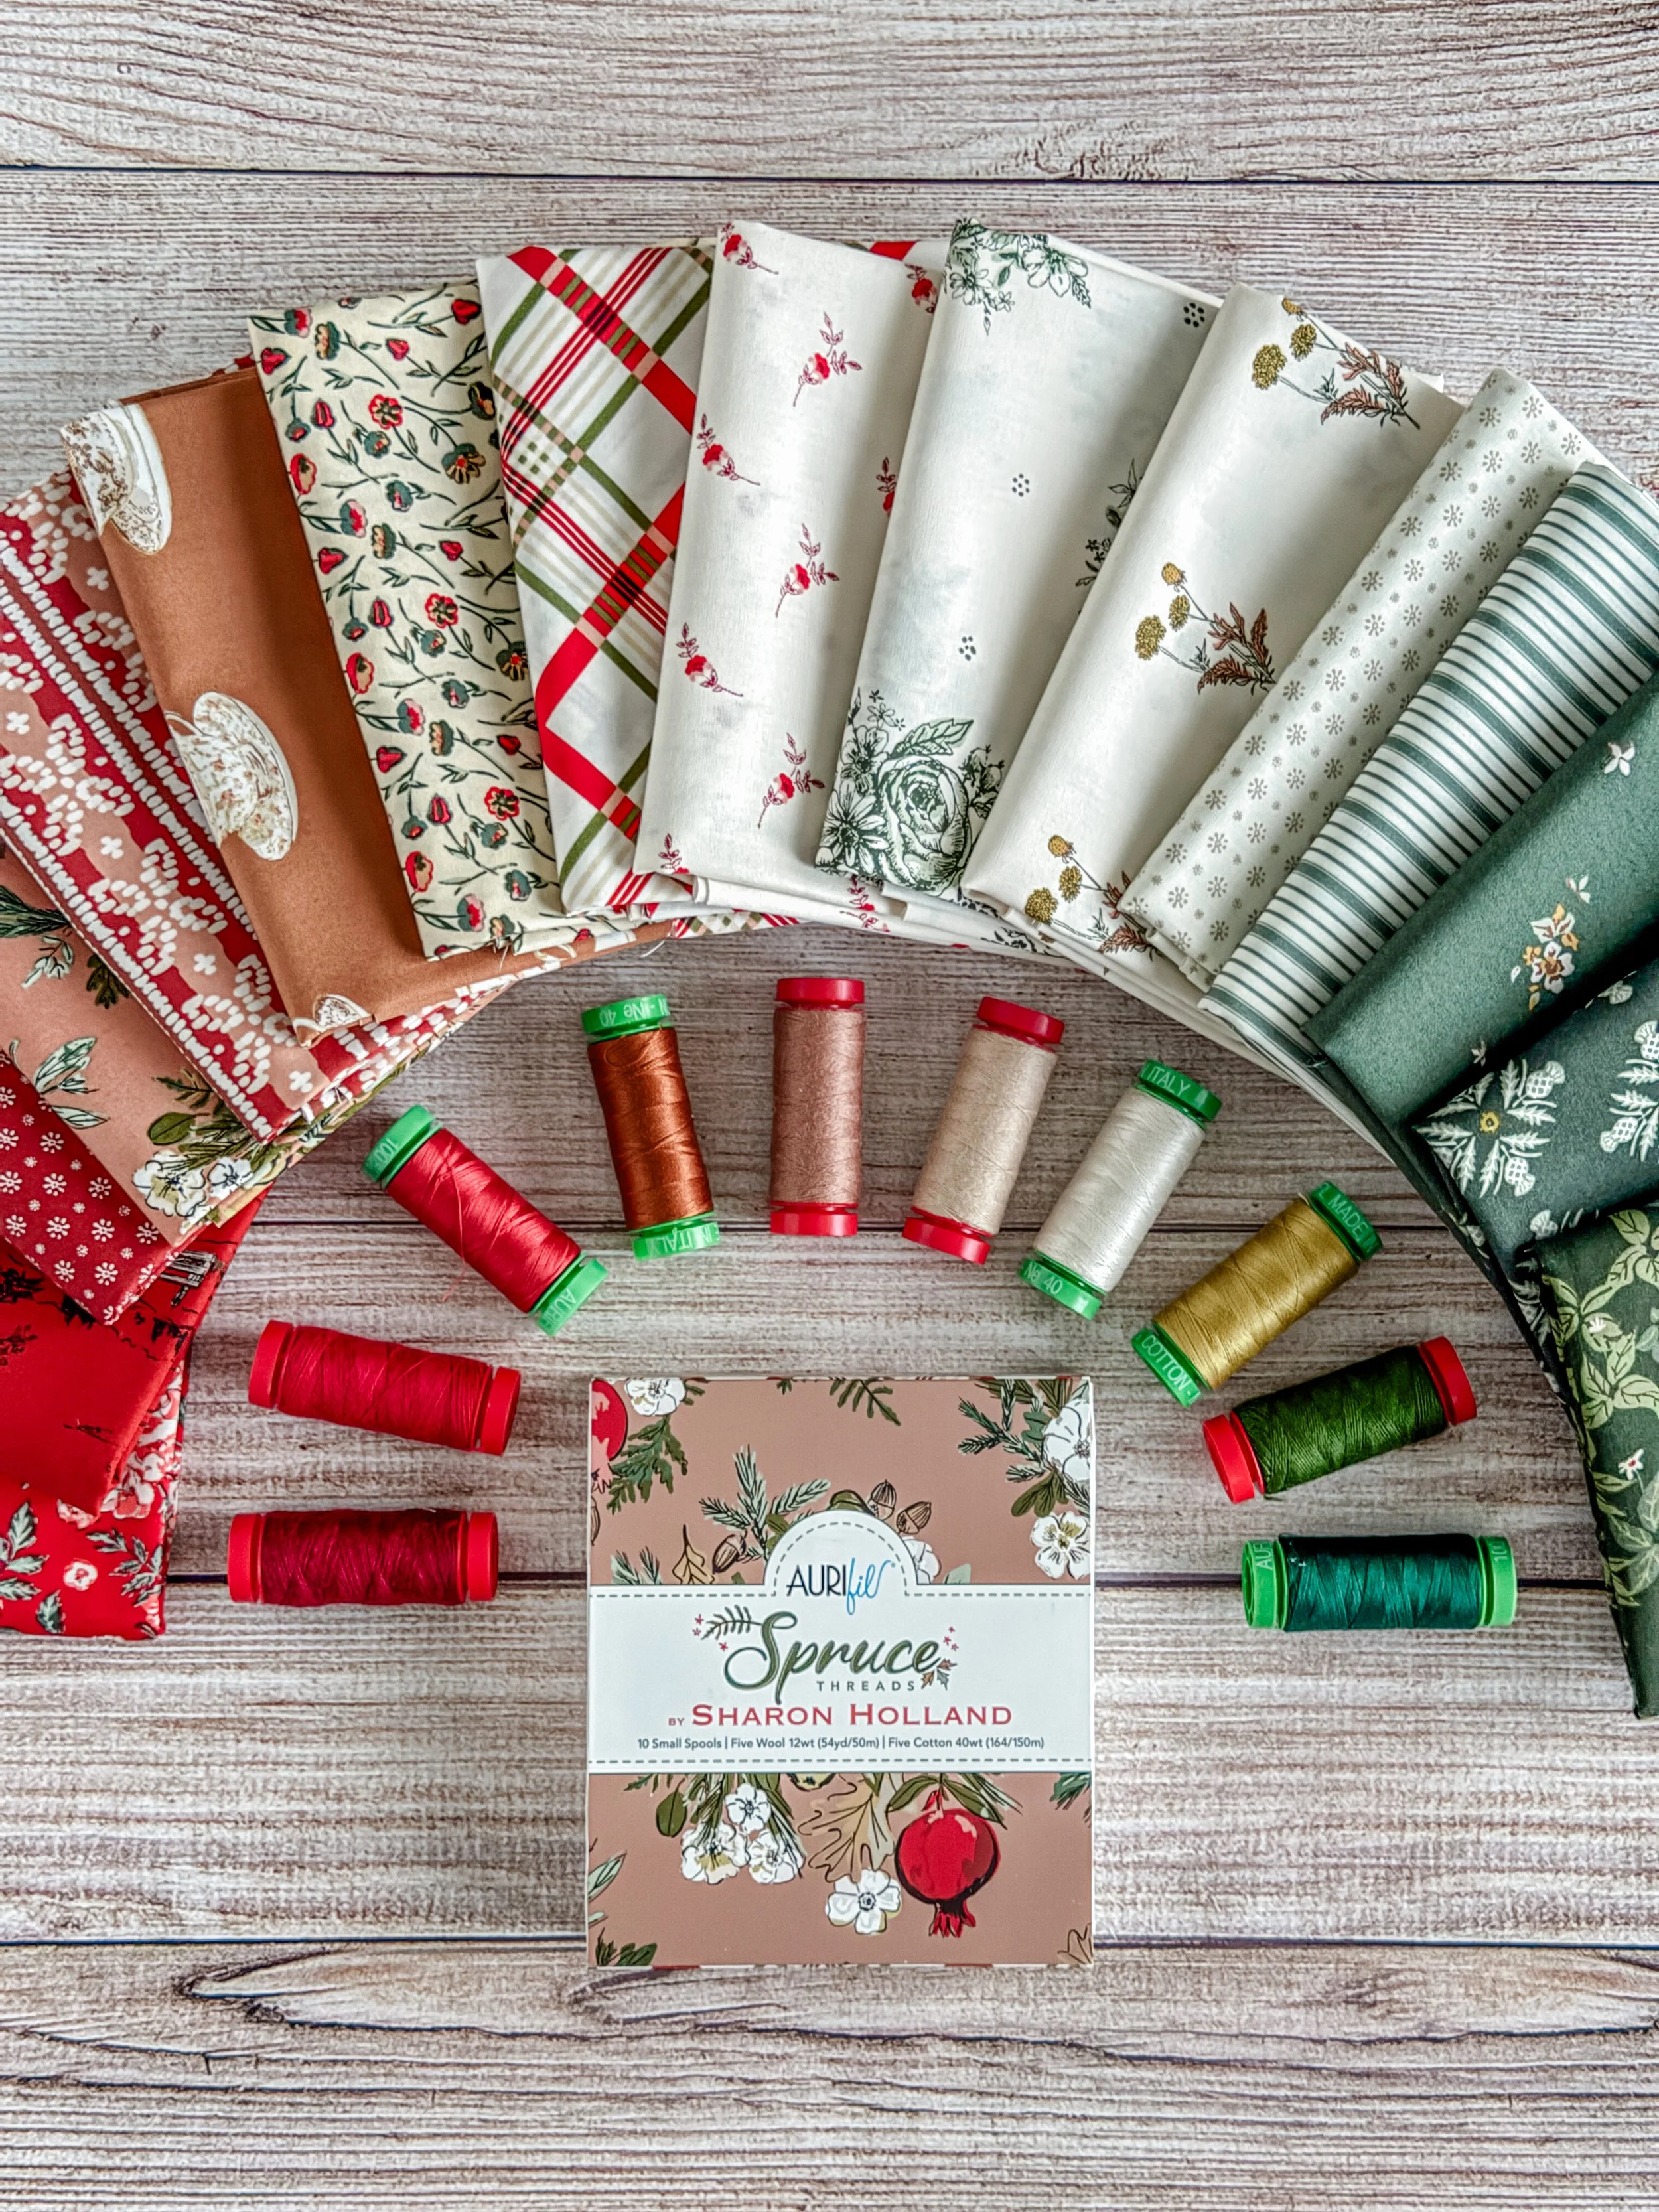
SPRUCE THREADS
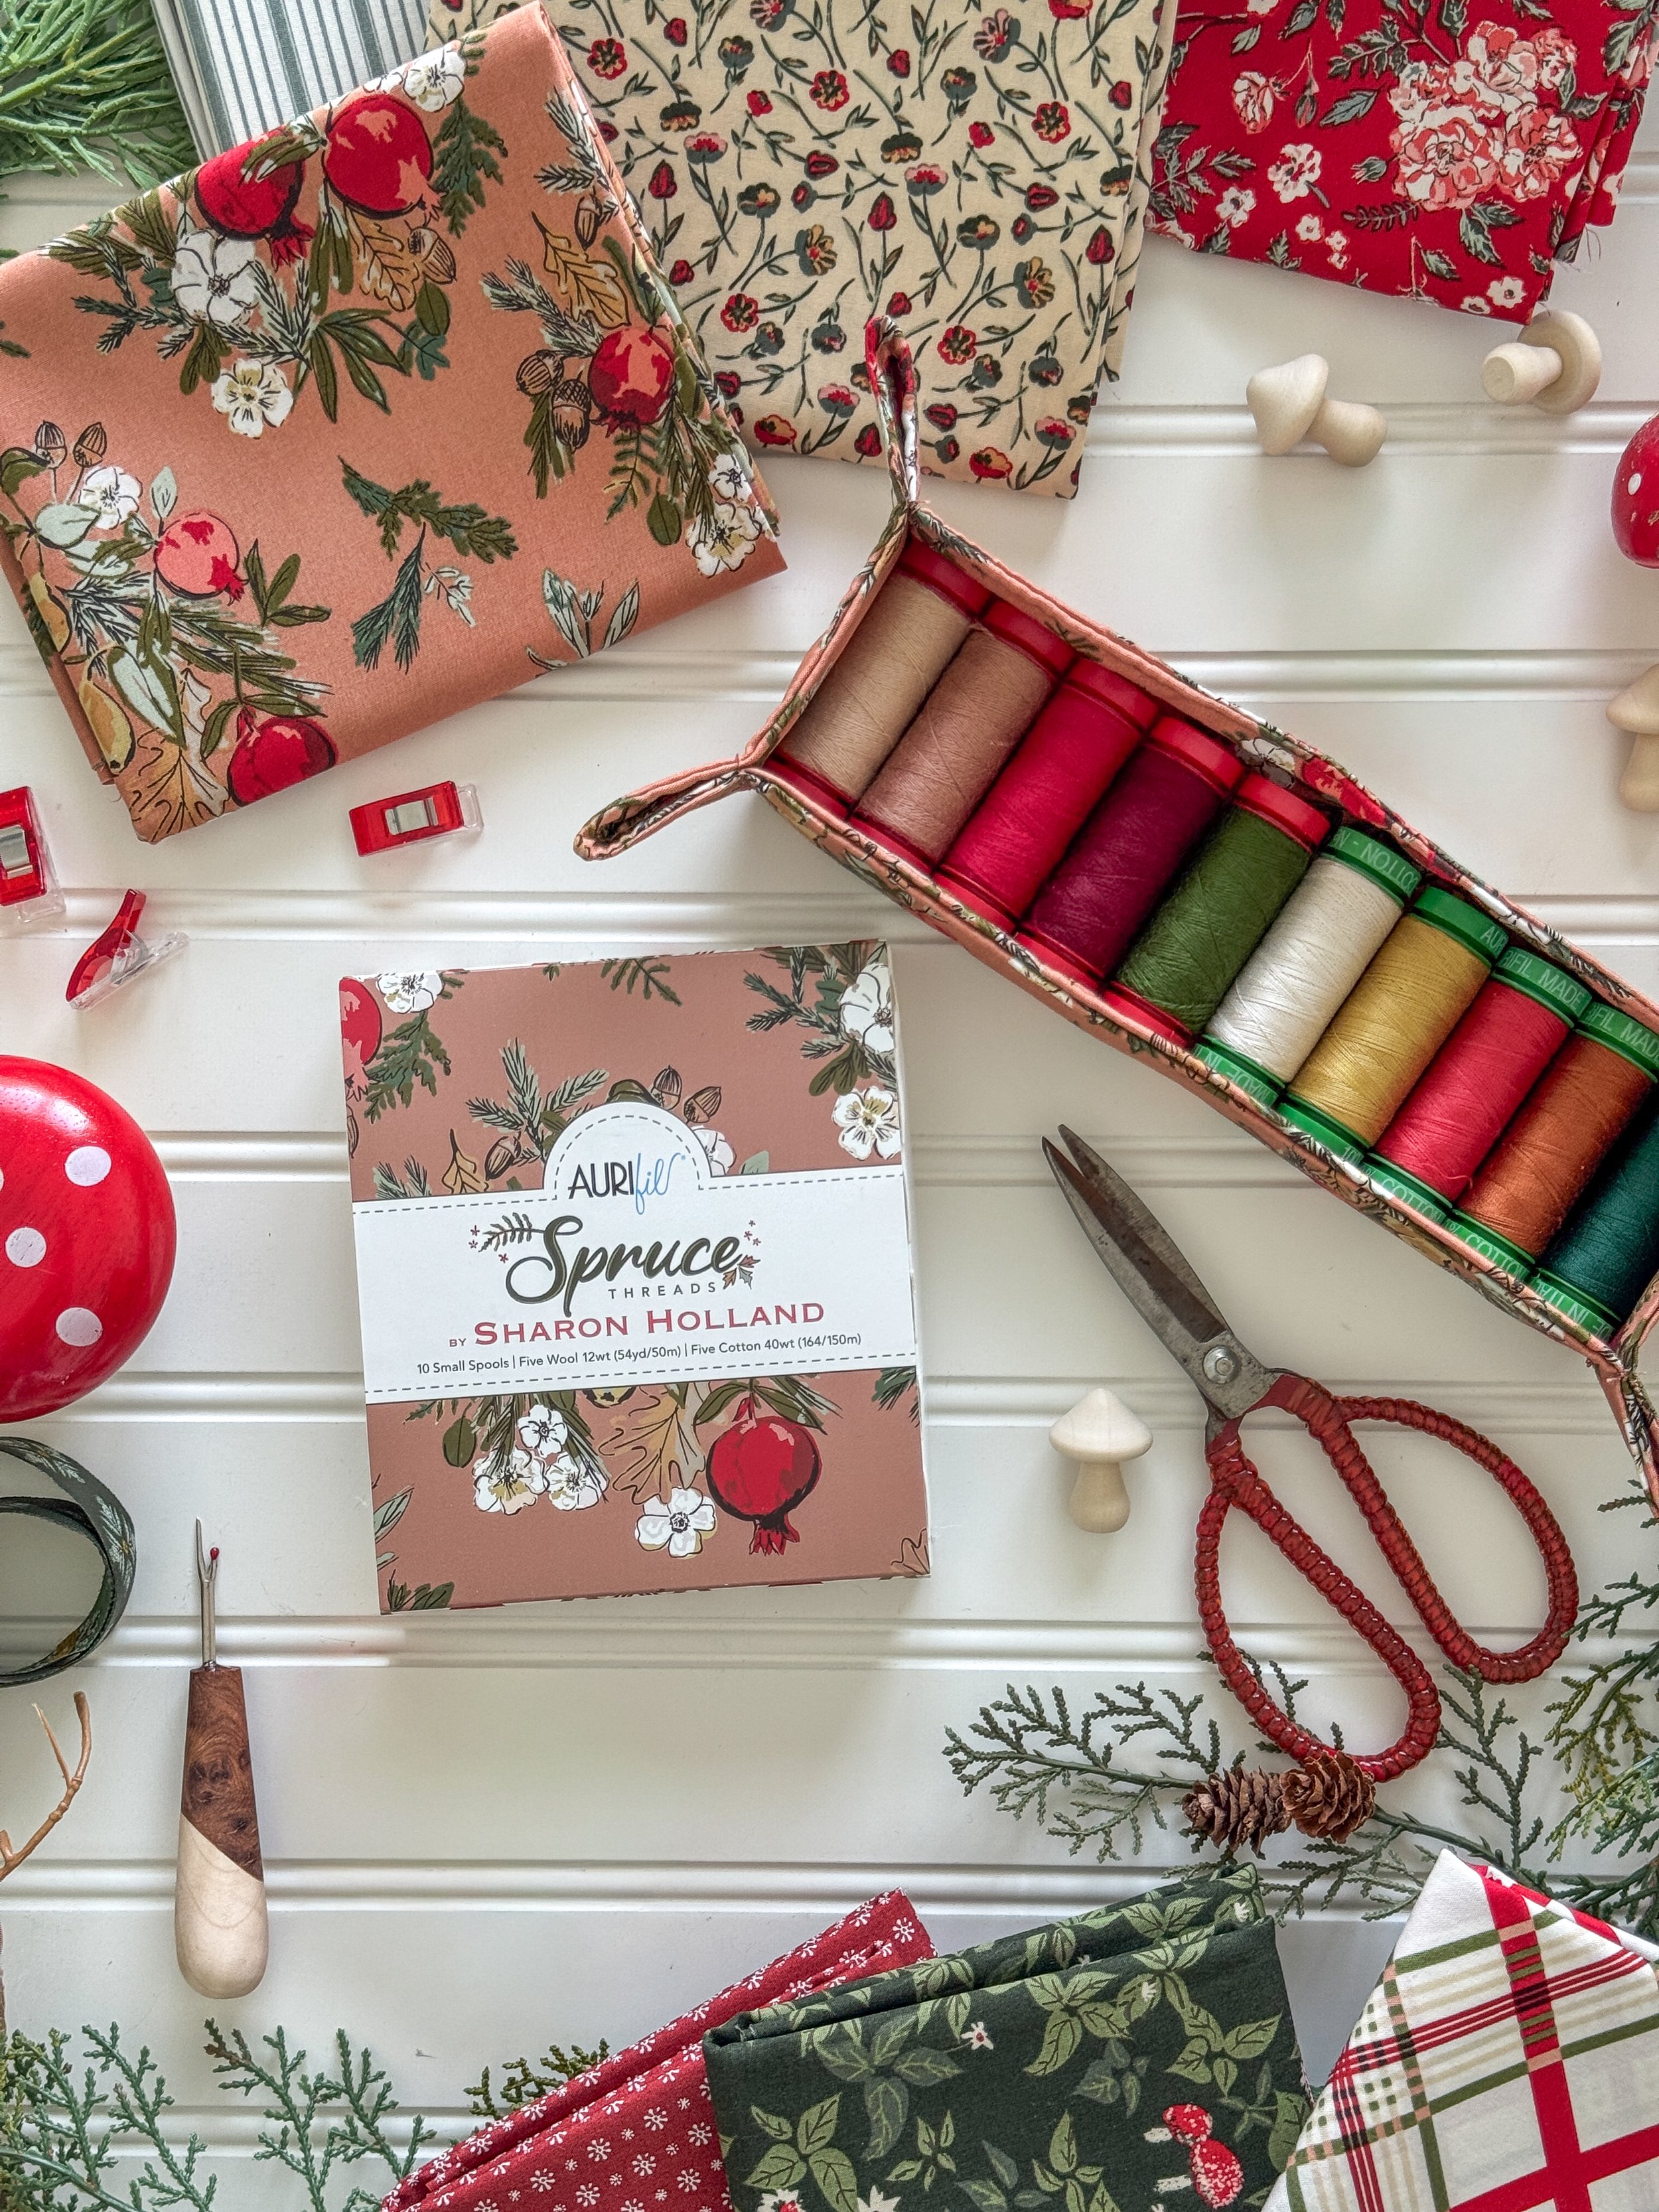
I have exciting news to share: I’ve collaborated with Aurifil Threads once again to create a Spruce Threads set to coordinate with my Spruce fabric line for Art Gallery Fabrics. This festive small-spool collection is ideal for holiday sewing, featuring five small spools of the fabulous Aurifil 12 wt wool thread alongside five small spools of 40 wt cotton thread.
You may be wondering how to use my selected threads. The wool thread works well as a top thread in your sewing machine when paired with the 40-weight thread in the bobbin, creating a balanced stitch between top stitch and bobbin. Both thread weights are also suitable for hand sewing projects and can be used for decorative sewing and embroidery.

I am especially excited about the 12 wt wool thread because it adds a lovely natural texture and a softer look and feel to your sewing projects. I have used the wool thread in my sewing machine as the top thread and a 40 wt thread in the bobbin without any issues. I do sew a little more slowly and have used a needle threader to guide the thicker thread through the needle, but otherwise stitching is just like sewing with any other weight of thread. I’ve also tested the wool thread in hand quilting and like to run the thread over a thread wax a couple of times before starting my stitching to help the thread glide easier through the fabric. The results are very lovely!
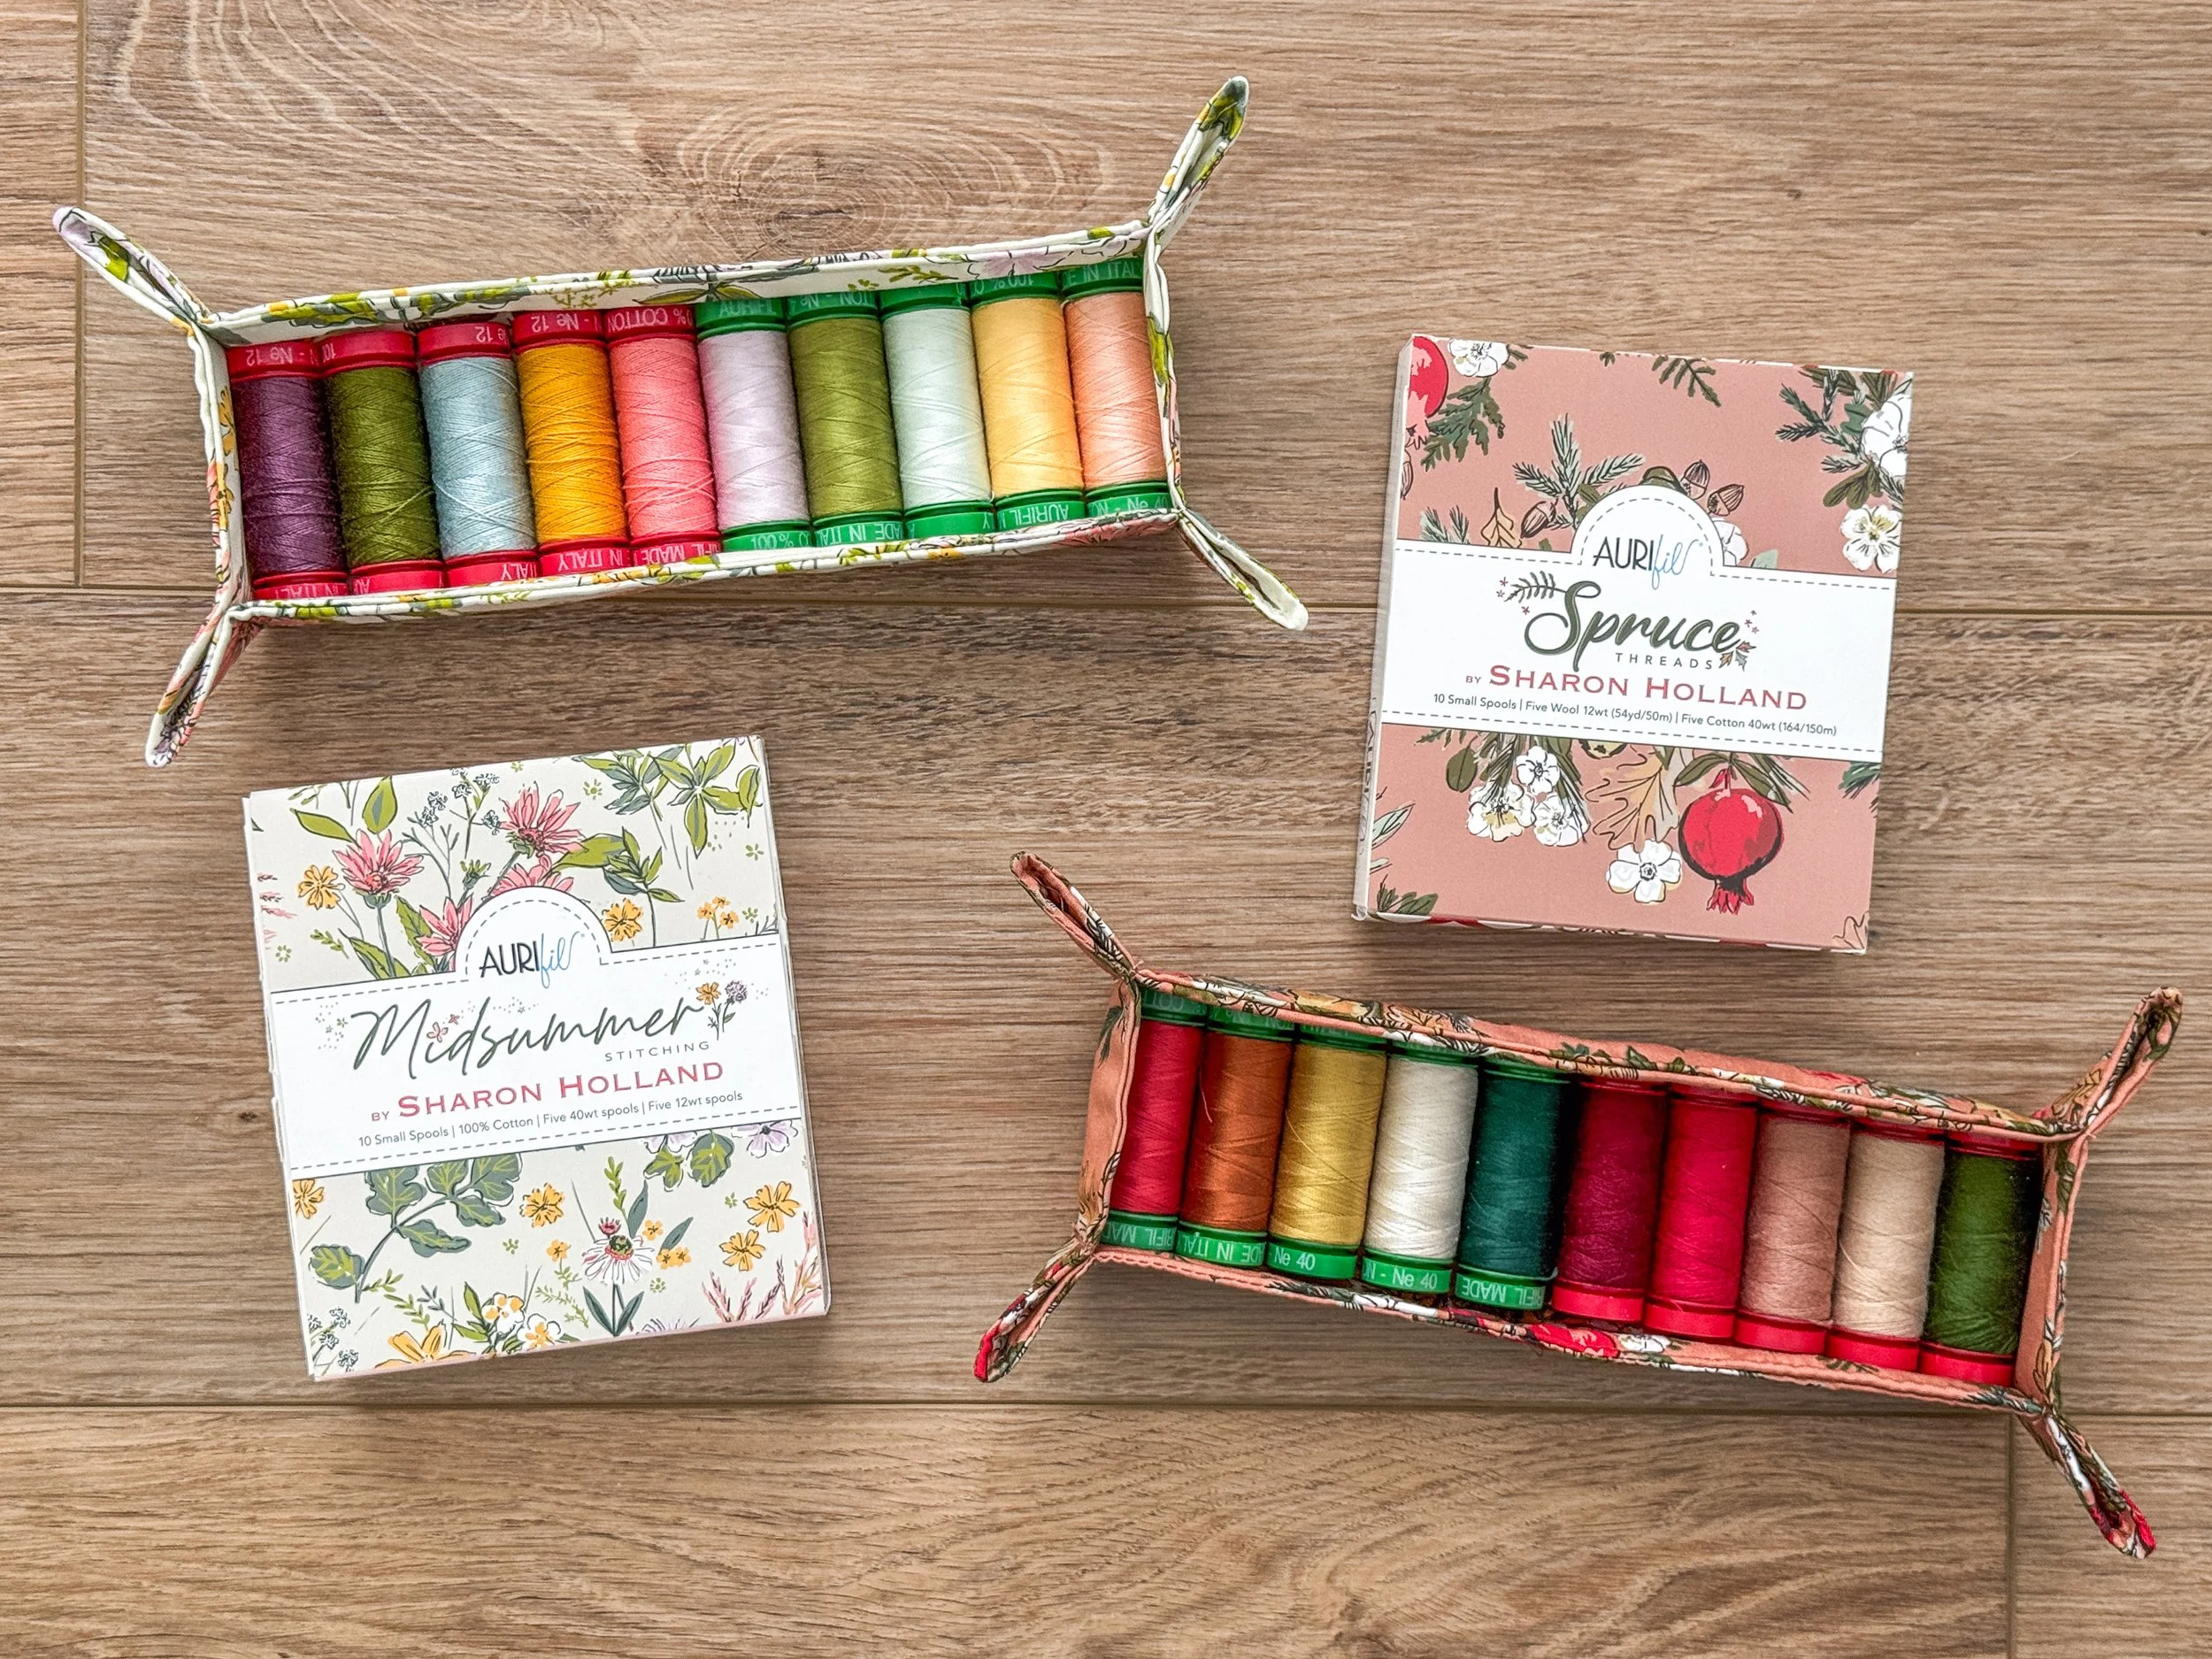
Now I have 10 Aurifil Small Spools trays to neatly organize my thread set spools and coordinate beautifully with the packaging of my thread set boxes!
Happy sewing & organizing,
