Week #9 SBS Giveaway

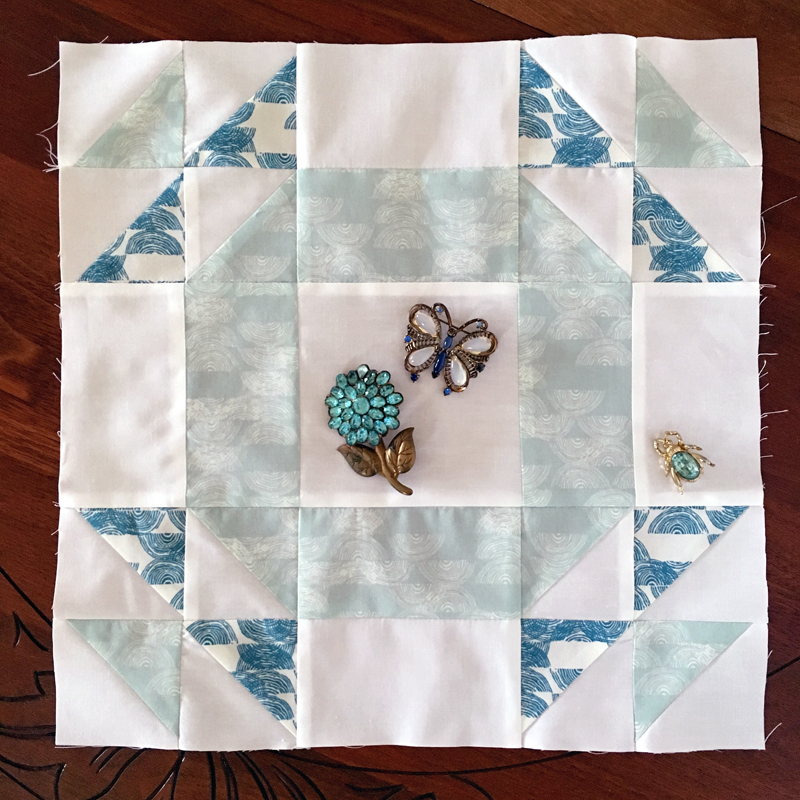
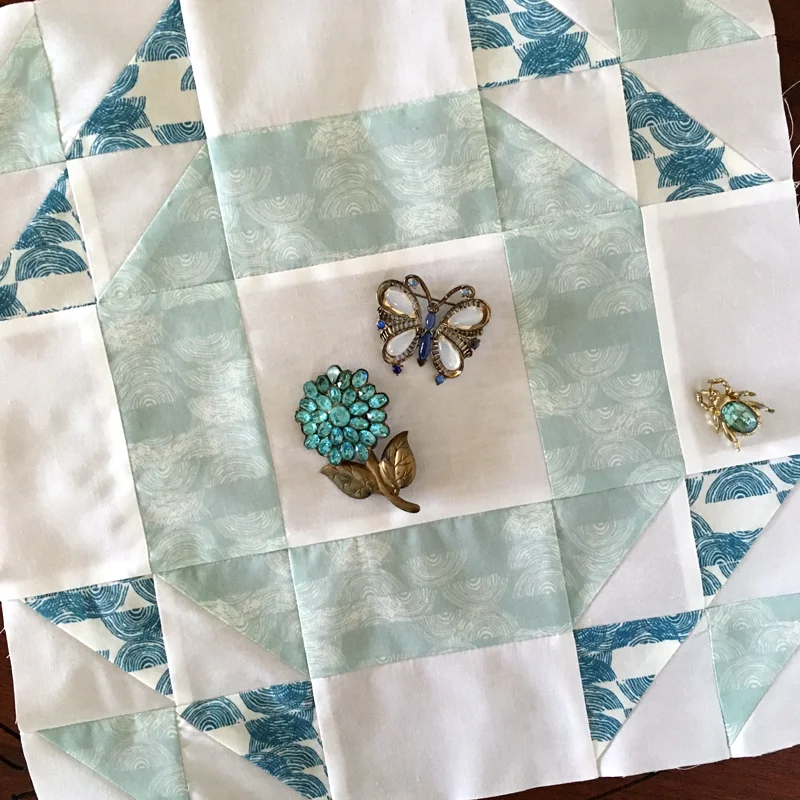
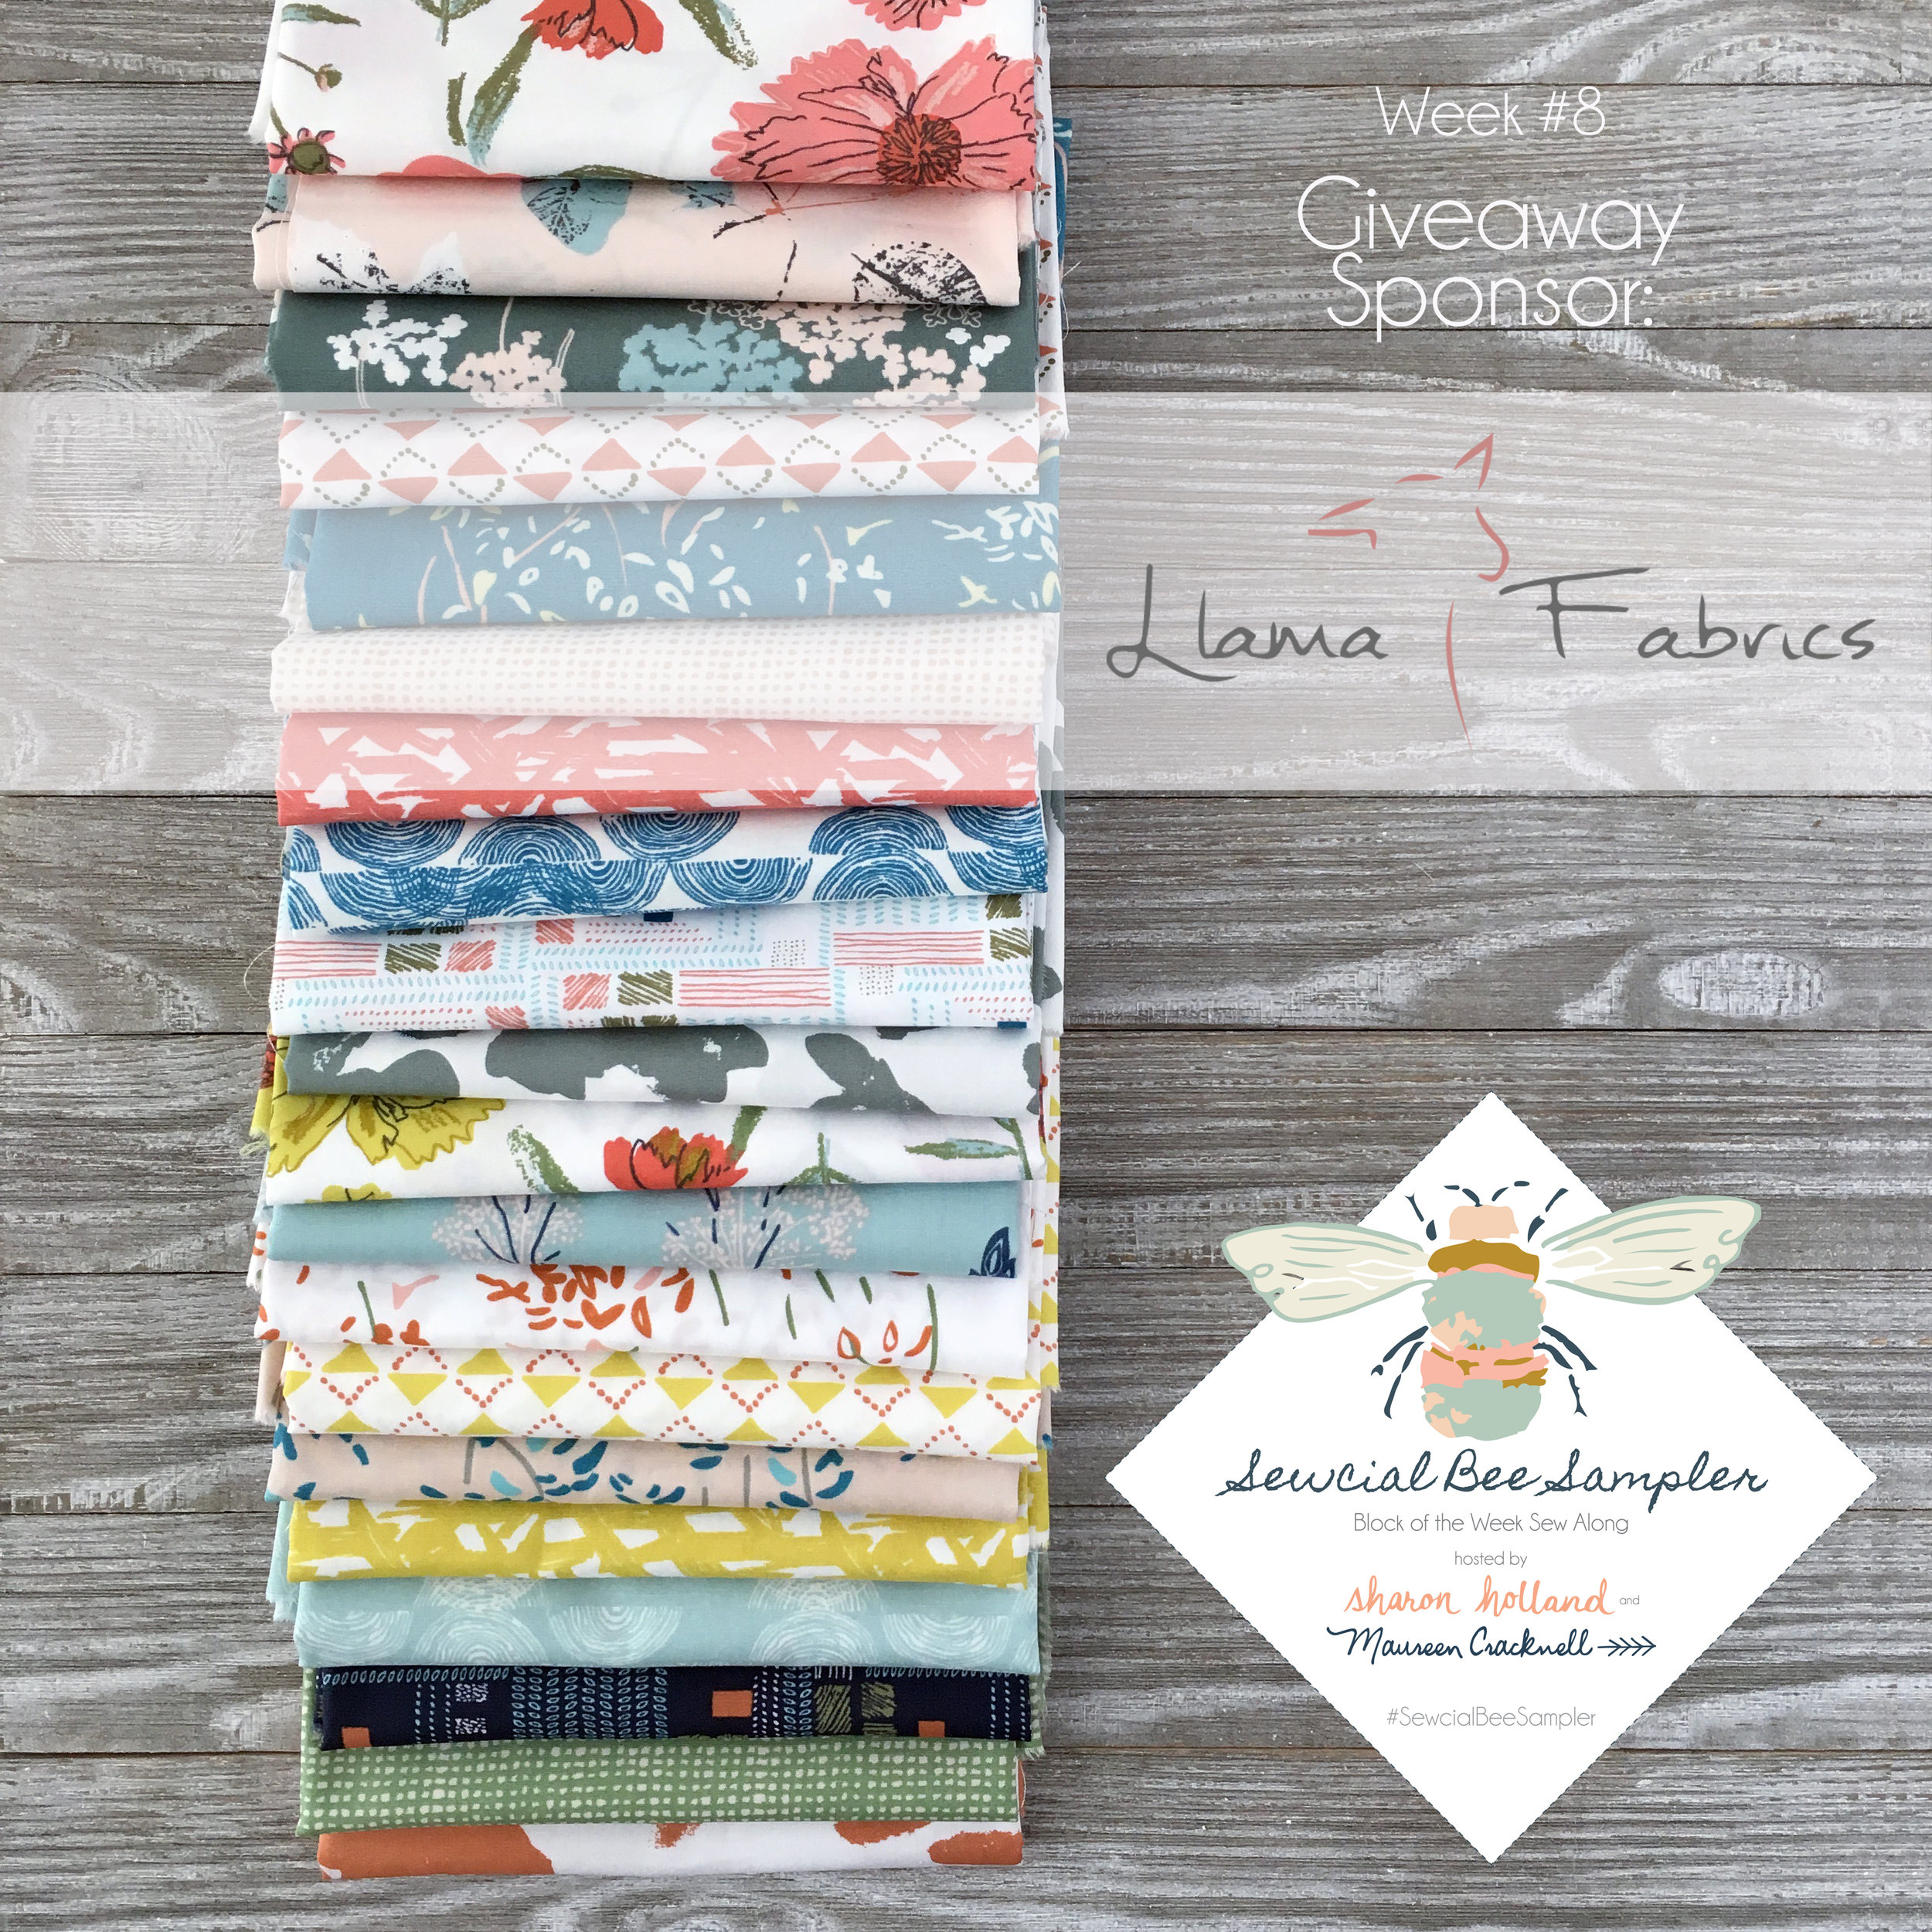
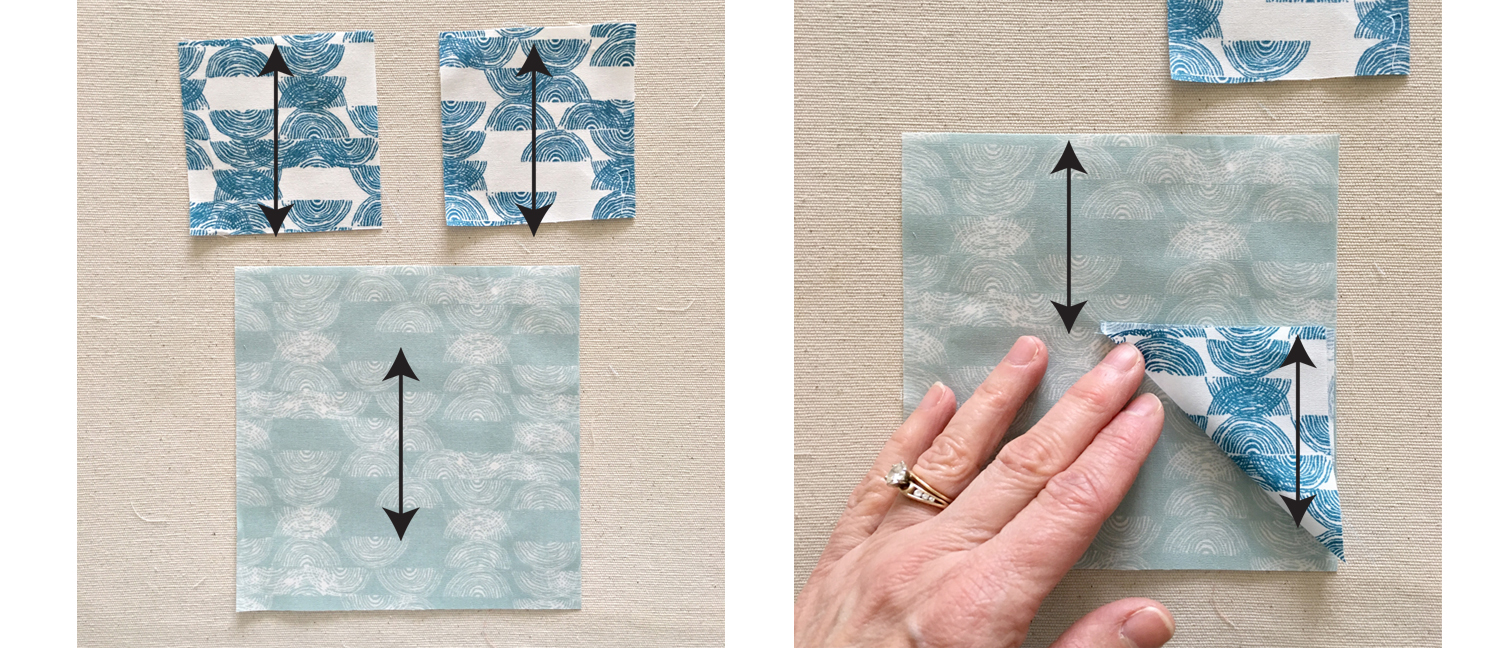
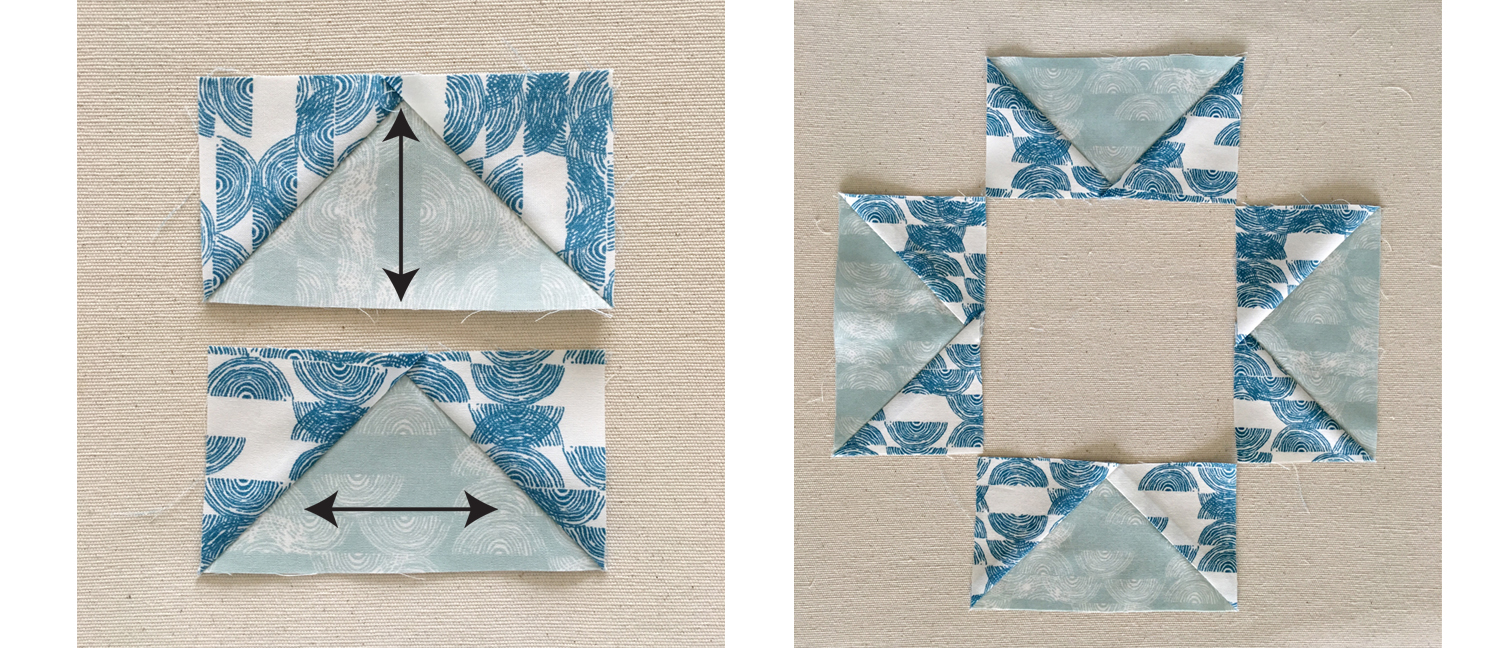
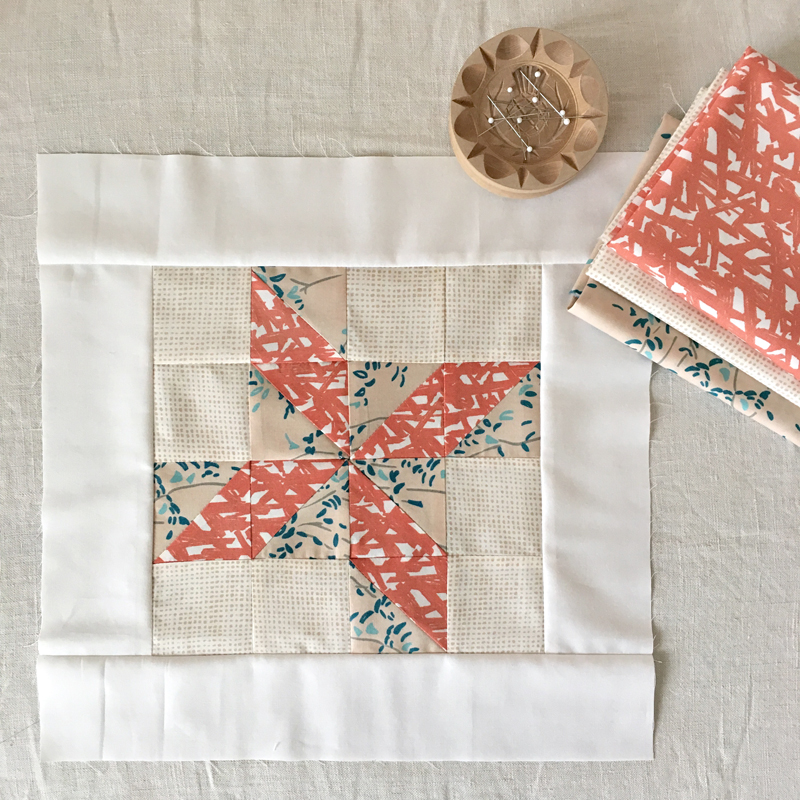
SEWCIAL BEE SAMPLER GIVEAWAY FRIDAY

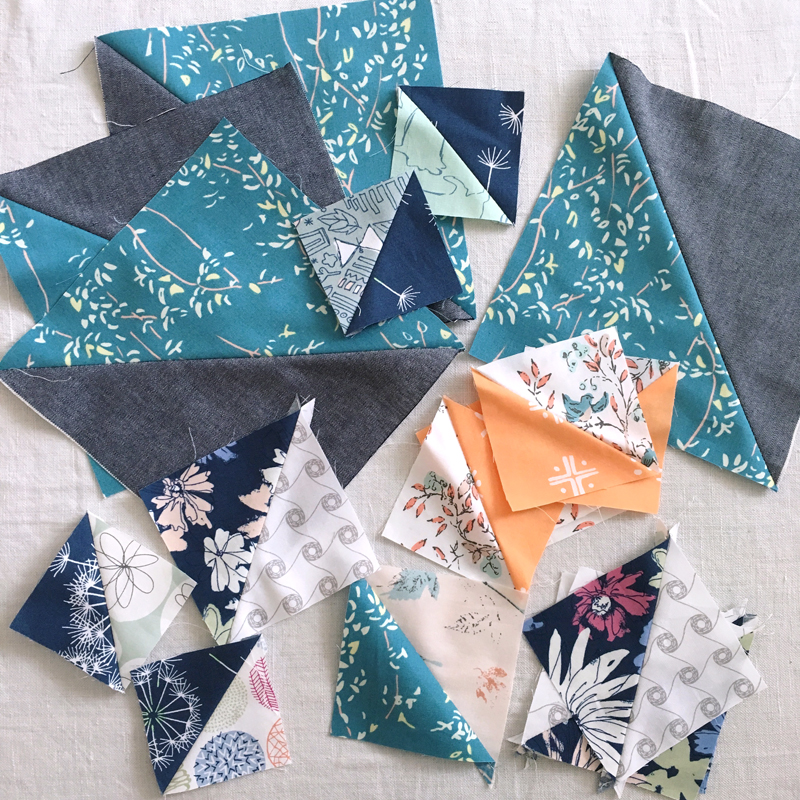
Each Friday, throughout the Sewcial Bee Sampler sew-along community event that Maureen Cracknell and I co-host, we've lined up a special giveaway with one of our amazing participating sponsors! If you happened to miss the launch of our Sewcial Bee Sampler you can follow this link for all the info to start sewing and catch up in chronological order - it's never too late to jump in!

Aurifil      Circa 15      The Intrepid Thread      Fat Quarter Shop      Omnigrid      Llama Fabrics      Color Girl  &nbsp…

Aurifil      Circa 15      The Intrepid Thread      Fat Quarter Shop      Omnigrid      Llama Fabrics      Color Girl     Lady Belle Fabric      Needle in a Fabric Stash      Dritz      Knotted Thread    NeedleandFoot      Stash Builder Box


Today's featured Sewcial Bee sponsor is Aurifil Threads!

Aurifil is a wonderful thread company dedicated to developing amazing, new products based on quality and solutions. Established in 1983, Aurifil is an accomplished Italian company based near Milano, with a full- grown experience in producing superior quality threads for professional and domestic quilters. The company headquarters is the ground where new ideas generate original items, always more refined and advanced, to provide assistance to all the quilting needs through a wide range of threads in several weights & accessories. Aurifil's success is based on developing projects carefully, always looking for high quality and great style, with a commitment to create contemporary products that will appeal to everyone!

Aurifil.com  *  Instagram  *  Facebook  *  We hope you enjoy visiting Aurifil!

For this week's Sewcial Bee Giveaway, Aurifil is offering the lucky winner my Sharon Holland Color Story Aurifil Thread Collection! This hand-selected set of threads includes TEN colorful spools of Aurifil thread. Five spools of 50-wt sewing thread and five spools of Aurifloss in colors chosen to coordinate with my Art Gallery Fabric collections!

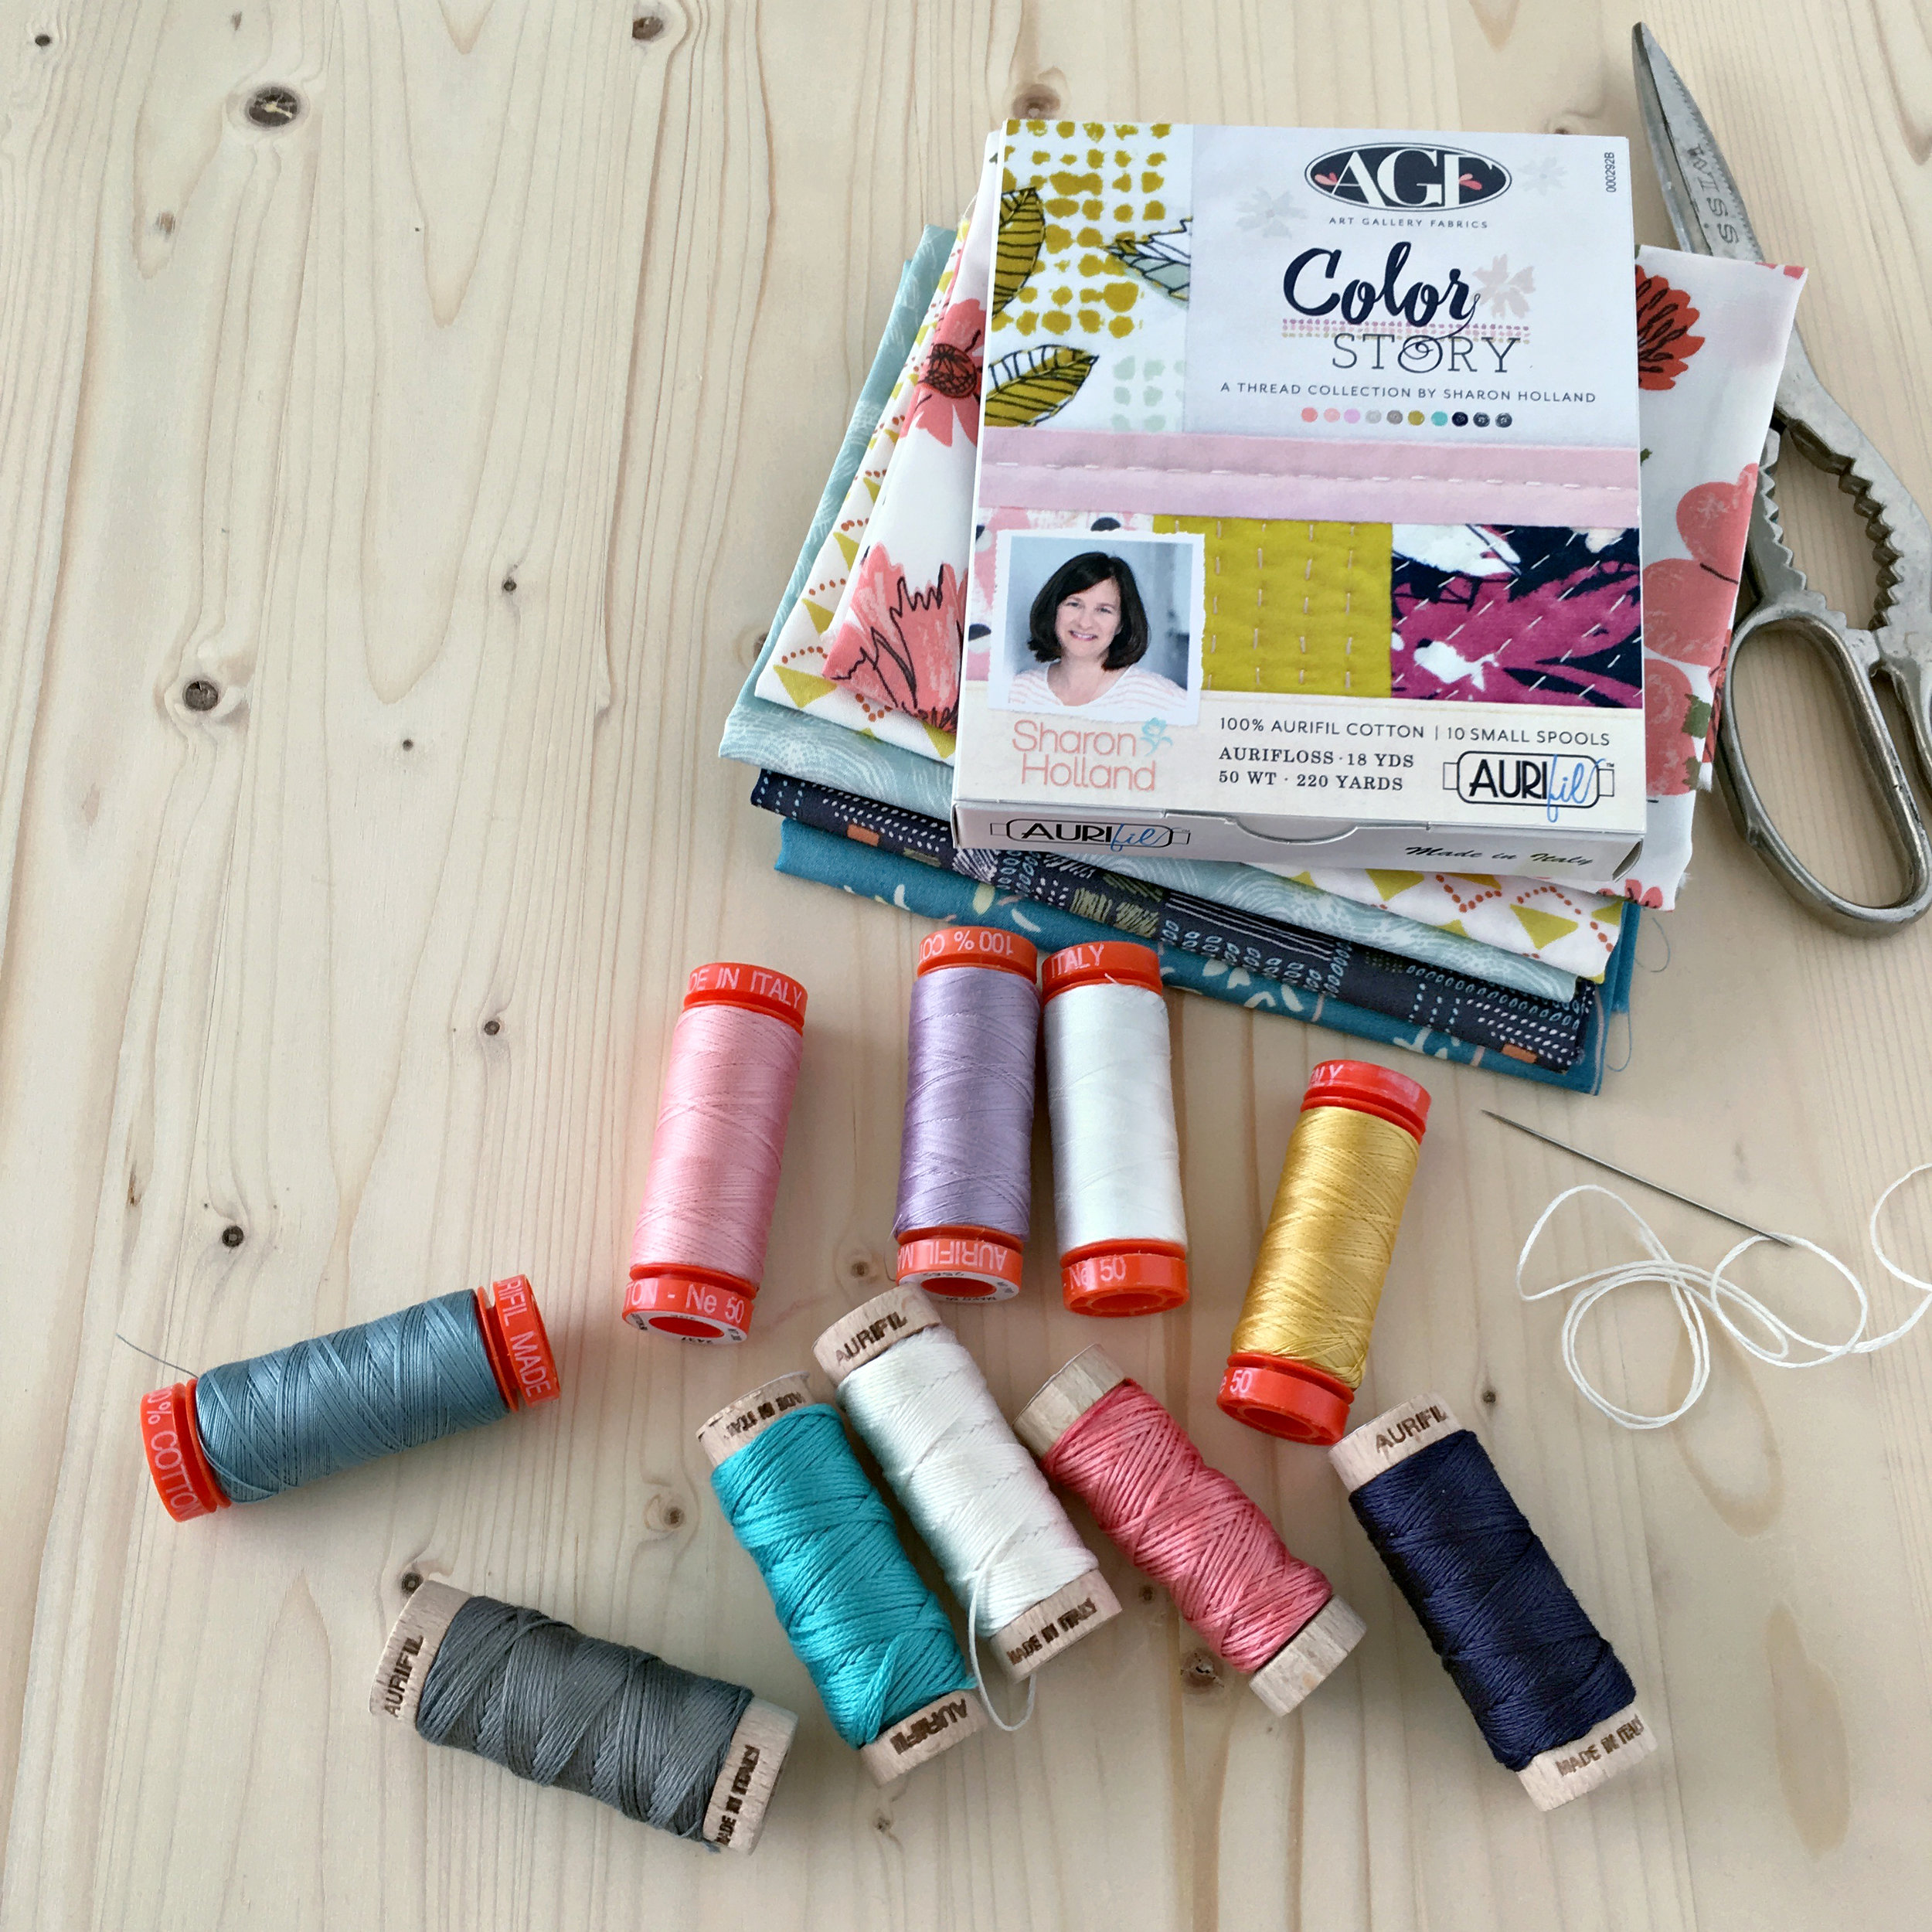
You can find the large spool Color Story thread collection available at Amazon, Fat Quarter Shop, Checker Distributers, and Red Rock Threads!

{THIS GIVEAWAY IS NOW CLOSED}

CONGRATULATIONS TO Renee Castro FOR BEING THE WINNER OF THE SEWCIAL BEE SAMPLER AURIFIL GIVEAWAY!


A BIG thanks to all joining the Sewcial Bee Sampler sew-along and to those who enter our Giveaway!  ♡ Sharon 

Sewcial Bee Sampler Block #9

Hello SBS makers, it's Wednesday!

My co-host Maureen Cracknell and I are having so much fun with this 26-week sampler quilt event. For those just joining, you'll want to start the sew along in chronological order because we build off past techniques and with each new block release I've added helpful, in-blog tips and tutorials. Start with the first SBS post and work your way to the present. 

Did you like last week's post about sewing half-square triangles and controlling the direction of the fabrics? I saw some pretty amazing blocks being posted to Instagram and love seeing your progress. I apologize for not commenting on everyone's blocks but had a very good excuse--I was on vacation in New York! 

While in the Big Apple, I had the experience of visiting Mood! Here I am with a very tired Swatch (the store mascot). 

Time to start sewing block #9--Wedding Ring. Download the free PDF pattern from my Sew Along page.

Wedding Ring uses the 8-at-a-time half-square triangle (HST) technique we've used in several of our blocks so far. If you need a review, follow the step-by-step tutorial, here. Block #9 is another 12-1/2'' (unfinished) block that doesn't require any frames to get it up to size. Be mindful of your seam allowances to keep this block true to size. 

The only tip I have for you this week is number of fabric options. The PDF instruction is written for a 2-fabric block. If you're looking to add more fabrics to your block, here's information for a 3-fabric and a 4-fabric option. 

Remember, if you like to have all your prints running the same direction in your block, visit block #8 blog post here.

3-Fabric Option:

CUT:

  • (2) 5-3/4'' squares, (1) 4-1/2'' square, and (4) 2-1/2'' x 4-1/2'' rectangles fabric A
  • (1) 5-3/4'' square and (4) 2-1/2'' x 4-1/2'' rectangles fabric B
  • (1) 5-3/4'' square fabric C

Sew block per PDF instructions.

Don't ask me why, but with a block name like Wedding Ring, I thought there should be a little bling in the photos so I included some fun vintage jewelry bugs and flower pins. I have two sampler quilts going. This 3-fabric option is made using Haymow prints from my new Bountiful fabrics collection for Art Gallery Fabrics and Pure Element solid Snow for the background. I'm using the same fabric for the background as I would normally use in my frames. 


4-Fabric Option:

The 4-fabric option is a perfect place to showcase I fussy cut center square. 

CUT:

  • (2) 5-3/4'' squares and (4) 2-1/2'' x 4-1/2'' rectangles fabric A
  • (1) 5-3/4'' square and (4) 2-1/2'' x 4-1/2'' rectangles fabric B
  • (1) 5-3/4'' square fabric C
  • (1) 4-1/2'' square fabric D

Sew block per PDF instructions.

My second sampler quilt is made from a curated collection of prints from my first four fabric lines for Art Gallery Fabrics and two newly recolored Fusion prints from my Gossamer fabrics. Here I've used prints from Sketchbook and Coastline. 

Aurifil      Circa 15      The Intrepid Thread      Fat Quarter Shop      Omnigrid      Llama Fabrics      Color Girl     Lady Belle Fabric      Needle in a Fabric Stash      Dritz      Knotted Thread    NeedleandFoot      Stash Builder Box

Also, don't forget that Friday is Giveaway Friday and this week I will be hosting the giveaway from this blog. We've got a great giveaway planned from Aurifil I know you'll not want to miss! 

Sewcial Bee Sampler Block #8

Time flies when you're piecing fun! I can't believe this is our eighth week of the SBS!

My co-host Maureen Cracknell and I are so happy you've joined us for this 26-week sampler quilt event. It's still early in the sampler and not too late to start making blocks if you've just found us. For those just joining, you will want to start the sew along in chronological order because we build off past techniques and with each new block release I've added helpful, in-blog tips and tutorials. Start with the first SBS post and work your way to the present. 

Download the free PDF pattern from my Sew Along page and let's get sewing block #8. 

Block #8 is called Clay's Choice that uses the 8-at-a-time half-square triangle (HST) technique and the same cut sizes we've used in some of the earlier SBS sampler blocks. Block #1 has a step-by-step tutorial of this technique if you need a review.

As I see your blocks being posted to instagram each week by using the #SewcialBeeSampler hashtag, I've noticed many of you are wanting your prints to stay all one direction and thought this would be the time to show you how to control the direction of your prints in three of the patchwork quilting techniques we've been and will continue to use throughout this sew along. 

In the past, I've never been very concerned about keeping all my fabrics oriented the same direction. My thoughts were that unless a quilt is intended to be on a wall like a piece of art, it will never be viewed only from one direction, if in use. Instead, I've embraced the randomness. 

But, after seeing all the beautiful blocks being posted I can totally understand the desire (and struggle) to keep everything in order and directionally the same. It does make the block appear very neat and tidy and shows off the prints nicely. Of course if you're using solids it probably doesn't matter unless there's an obvious grain or nap to the material.

Fabric Direction in Half-Square Triangles

Understanding how directional prints work in HST units turns out to be pretty easy. Let's start with a 2-at-a-time HST unit and build off of that concept. Review how to sew a 2-at-a-time HST here.

Take two same-size squares and place side-by-side in the prefered direction. Note that the black arrows show the direction of the print on the fabric. Finger press a diagonal crease. Place the two squares right sides together and notice the direction of the top square arrow is now perpendicular or 90° to the arrow of the bottom square. 

Sew a 1/4'' seam allowance on each side of the crease (or drawn line for better accuracy). Cut apart on drawn line to make two HSTs. Note: I only folded my fabric over to show how this works for print orientation rather than actually sewing this example together. 

The concept is exactly the same for 8-at-a-time HST units. Review how to sew this technique here.

Audition how the prints will look by folding a square on the diagonal. I like to have the two squares already right sides together and once I have the prints in the direction I want, I simply let go the folded fabric and they're ready to sew.

Draw a diagonal line on the wrong side of the lightest fabric square. Draw another diagonal from the remaining corners. Sew a ¼” seam on each side of the drawn line. In the same manner, stitch on each side of the remaining diagonal line. Press. Using a tool like the Omnigrid Marking Ruler assures an accurate 1/4'' seam allowance on each side of the diagonal center. 

When cutting the stitched 5-3/4'' square into HST units, align the ruler edge at exactly 2-7/8''. Does this size sound familiar? If you're using the exact cutting sizes given in the block instructions (rather than sizing up to trim after sewing) this 2-7/8'' size is the same size we use for most of our 2-at-a-time HST units. This will result in a 2-1/2'' HST unit once cut apart diagonally. Tip: I like to use tape to hold my stitched squares in place for cutting apart. 

The 8-at-a-time HST unit technique makes 4 units going one direction and another 4 going the opposite. Be sure to lay out all the block pieces before assembly the quilt block to find the best orientation for the units. Having half the units change direction will allow you to keep the prints running all the same way around the block. 

Fabric Direction in Flying Geese Units

Believe it or not, you can control the direction of your prints in our No-Waste Flying Geese units too! Review how to sew No-Waste Flying Geese units here.

Start by laying out 2 small squares and 1 large square per the block instructions. With squares right sides together, fold a small square in half diagonally to orient the direction of the print with the large square.

Release the folded square and notice the arrows are now perpendicular. Place the second small square in the opposite corner with the print running the same way as the first small square. Draw stitch lines. Stitch and cut apart on the diagonal center. 

Press open and use a folded small square to orient the print direction on the square to the print direction of a Flying Geese section. Draw stitch lines, stitch, then cut apart on the diagonal center. 

Repeat with the remaining Flying Geese unit and small square to make a total of 4 Flying Geese units. You will notice this makes 2 units in each direction, just perfect for keeping the prints all going in the same direction.

Print Direction 9.jpg

Here's my Clay's Choice blocks for the two sampler quilts I'm stitching. The first one is made using fabrics from my new Bountiful fabrics collection for Art Gallery Fabrics. If you'd like to use 3 fabrics in your block like I have with this one, cut: (8) 2-1/2'' fabrics A, (1) 5-3/4'' fabric B, and (1) 5-3/4'' fabric C and follow the instructions for borders and sewing. 

My second Clay's Choice block is pieced per the block instructions and used two fabrics. The blue print is from my Tapestry fabrics and the pink is from the new Art Gallery Fabrics Fusions Abloom line recoloring a print from my Gossamer collection. 

Since this is a relatively simple block to make, I hope you take the time to experiment with print orientation and continue to perfect your patchwork skills. 

Also, don't forget that Friday is Giveaway Friday and this week I will be hosting the giveaway from this blog. We've got a great giveaway planned from Llama Fabrics I know you'll not want to miss! 

Aurifil      Circa 15      The Intrepid Thread      Fat Quarter Shop      Omnigrid      Llama Fabrics      Color Girl     Lady Belle Fabric      Needle in a Fabric Stash      Dritz      Knotted Thread    NeedleandFoot      Stash Builder Box