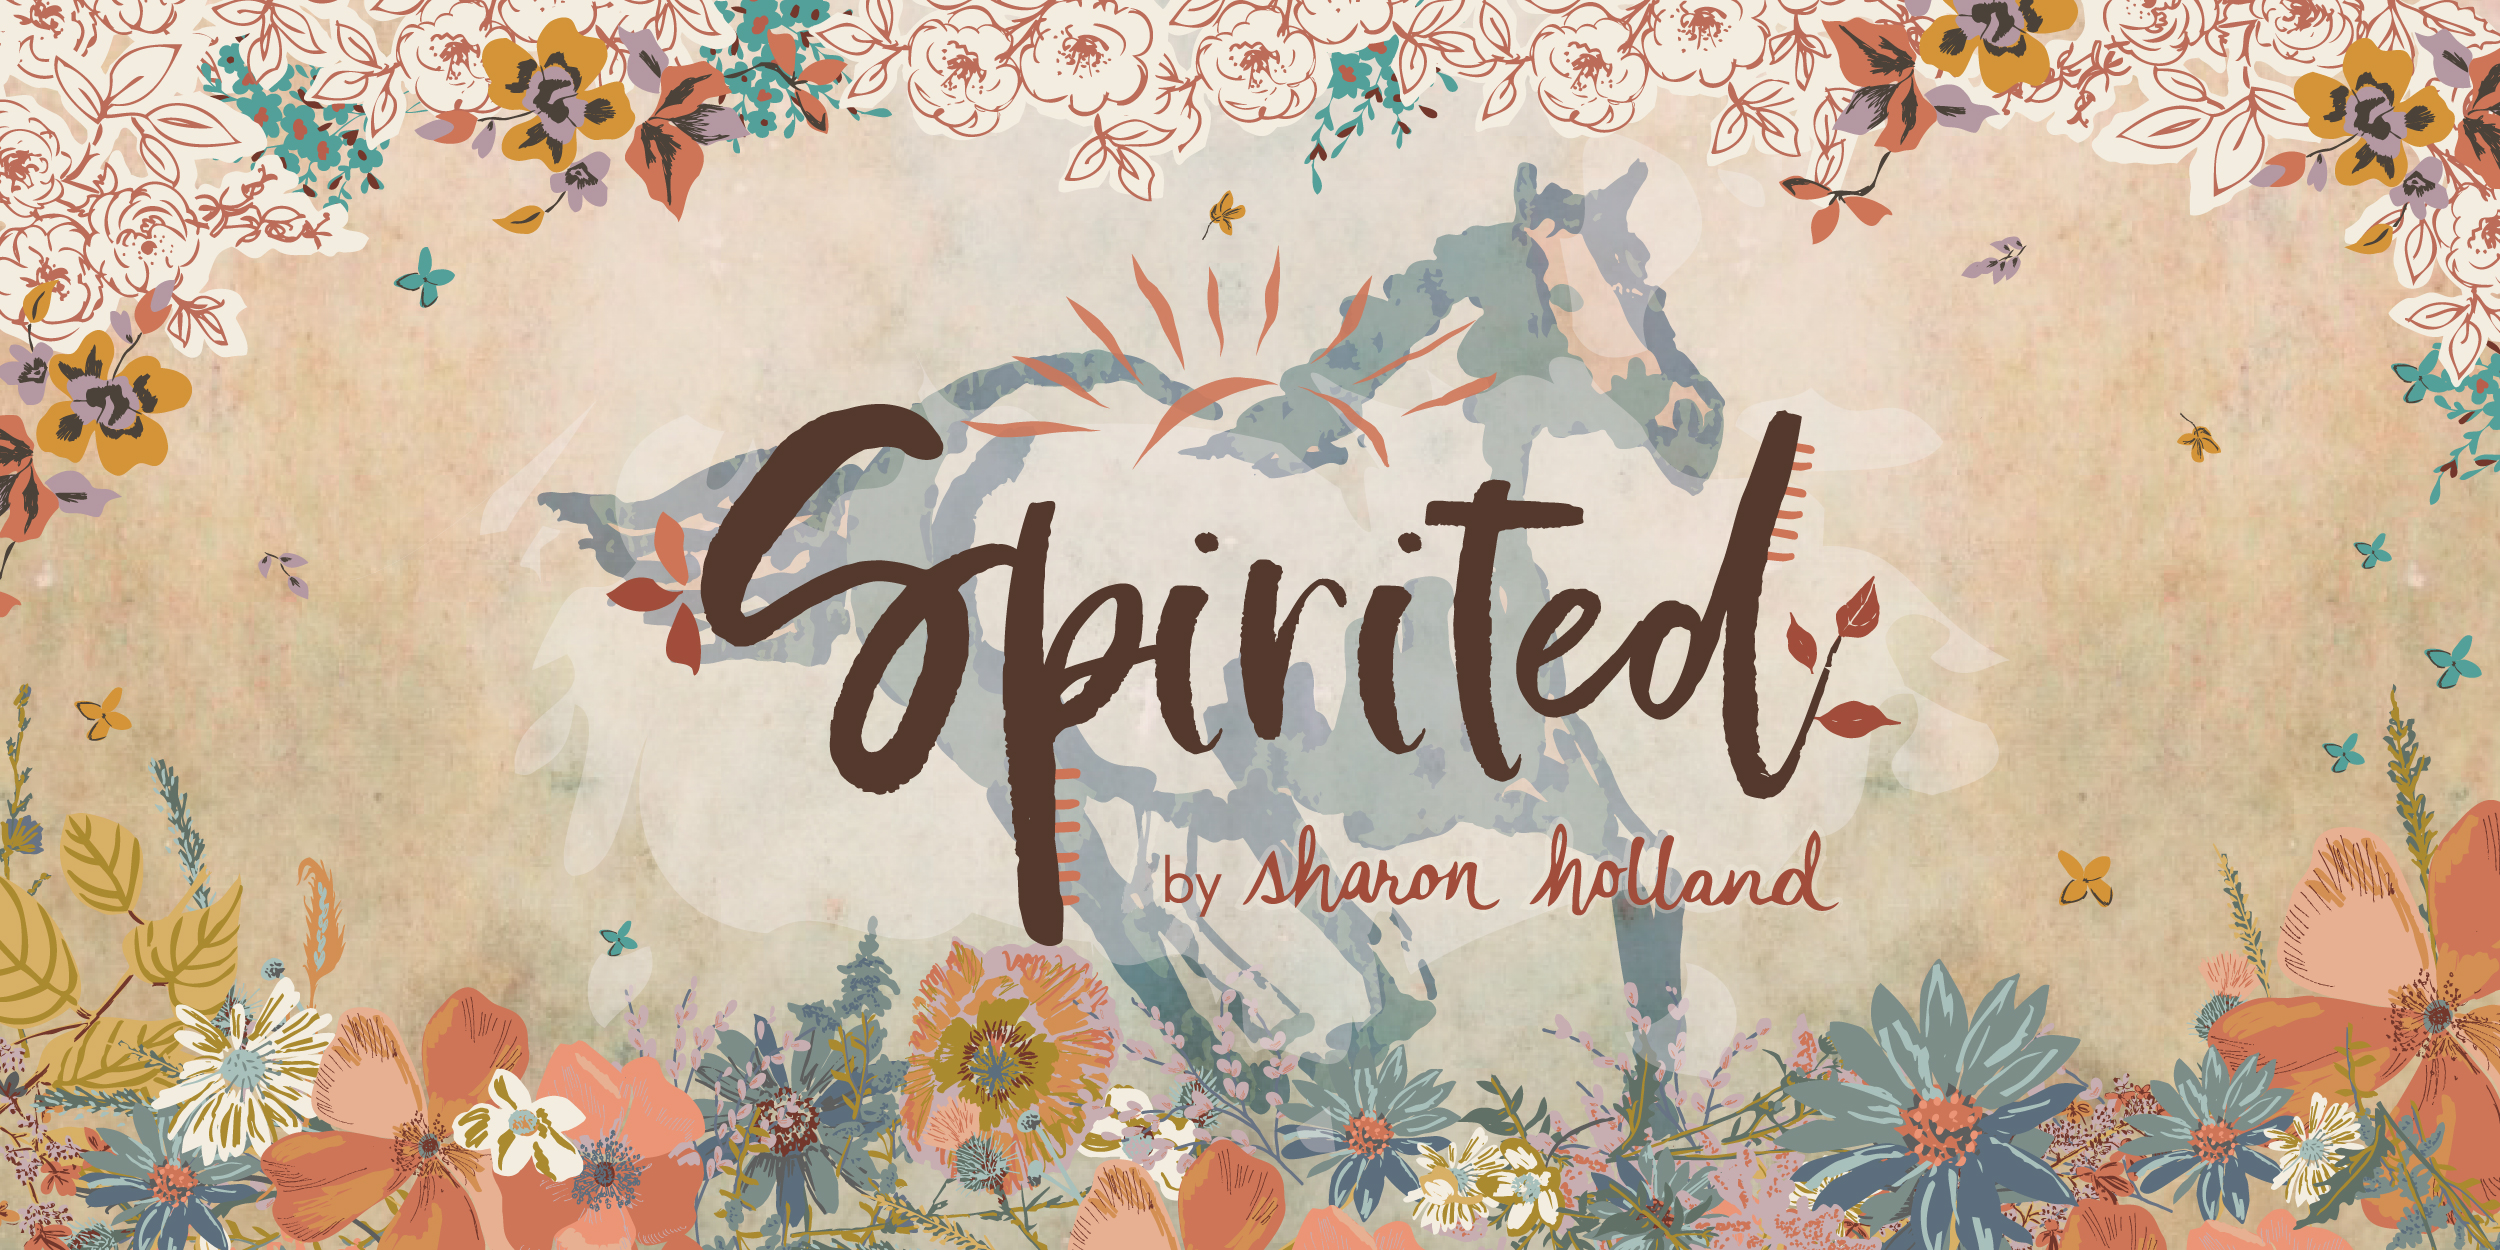
Spirited Look Book - The Quilts

This week, Art Gallery Fabrics released the Spirited fabric collection Look Book and I can’t wait for you to see how my new fabric collection comes to life in this virtual magazine.
Because I contributed many different projects to the Look Book and took many of the images used in it I thought it would be nice to break it down into subjects over a few blog posts and give you a personal tour of this virtual magazine. Go take a look at the entire catalog HERE and then come back for more views that didn’t make it into the magazine.
The Quilts
Blossom
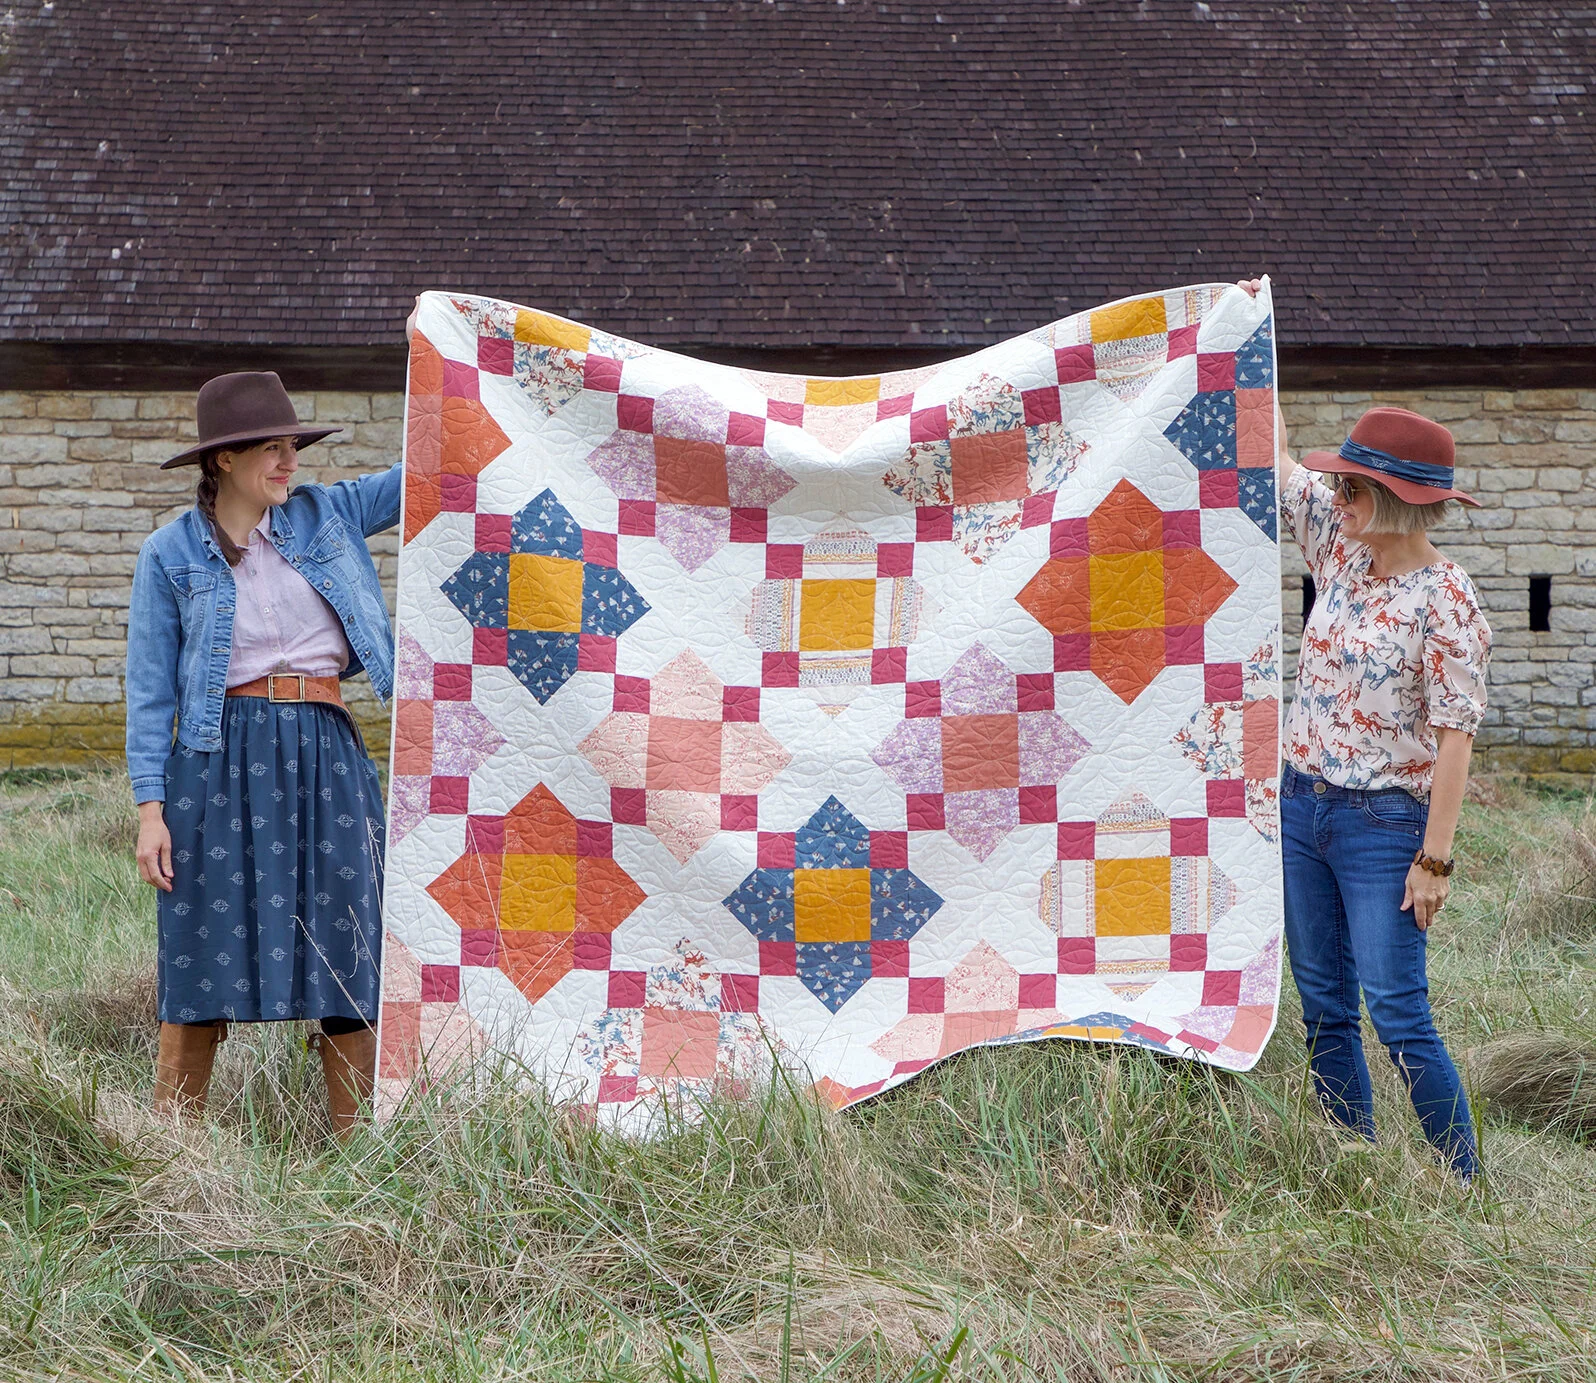
Blossom by Sharon Holland
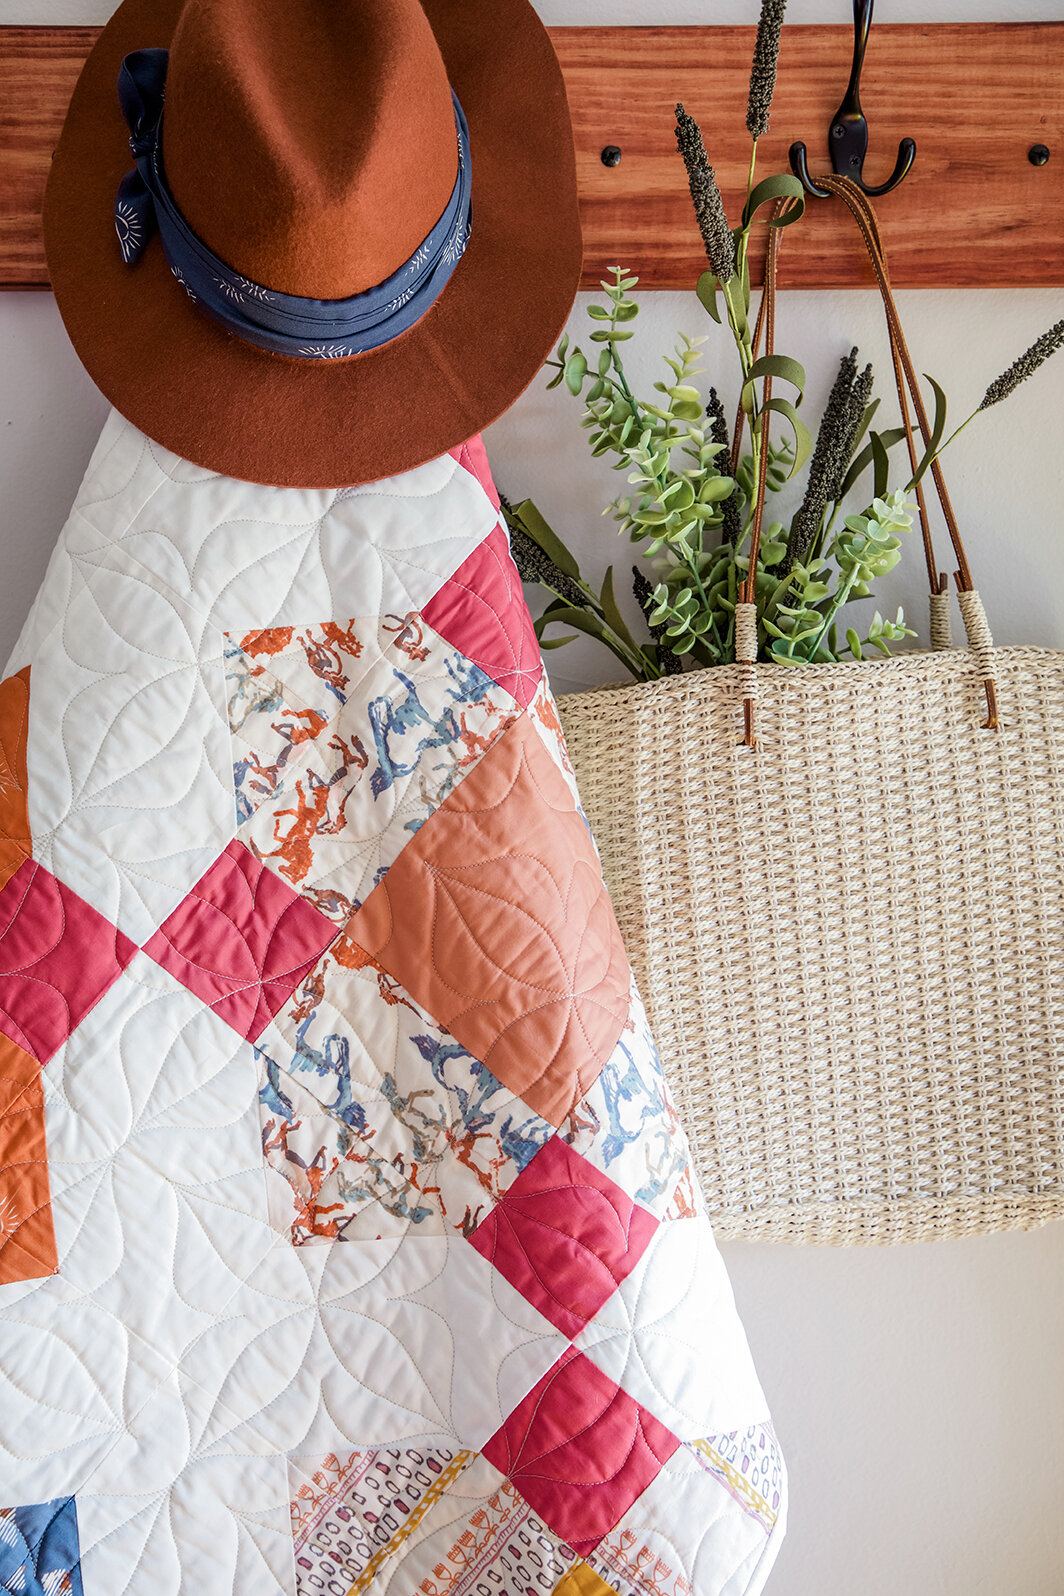
The largest quilt of the Spirited Look Book is my Blossom quilt of 72’’ square. This is my newest pattern release and now available in my SHOP. I labeled this quilt a Confident Beginner because it uses A/B blocks to achieve the overall design. What you get is the perfect canvas for showing off your selected prints and a lovely chain effect that connects the blocks. I even added a Controlling Directional Prints video to my You Tube channel especially for this quilt so you can tame those directional prints and be the boss of how they go together.

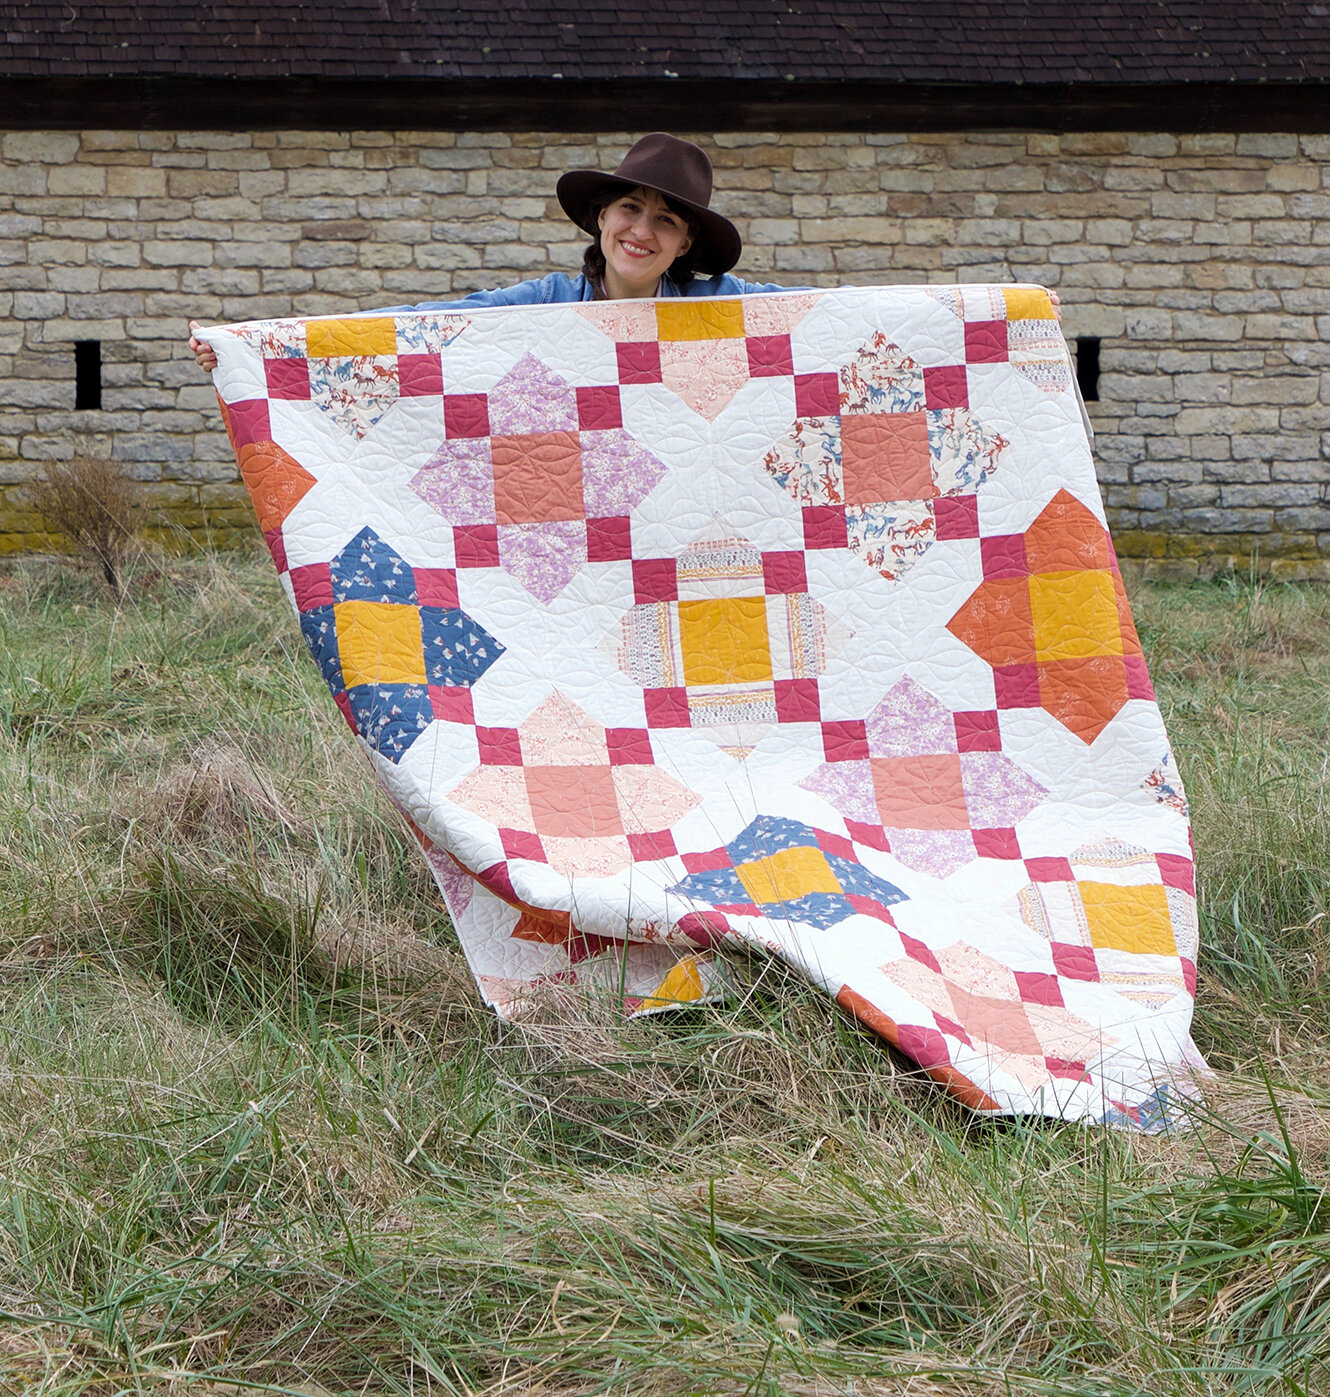
My beautiful daughter is the clothing model and quilt wrangler in these images. I’m not sure if it shows at all in the photos but it was a cold day. I draped the quilt over her shoulders to keep her warm between shoots and it was so pretty—I had the capture this scene! It’s one of my many favorite shots from the photography shoot.
Normally I machine quilt my quilts but because I had a heavy sew-list of makes and not much sew time I decided to make things simple for myself and send this quilt out to be long armed. I’m sure glad I did farm out the quilting to Brooke Becker of Lady Belle Fabrics. She did a beautiful job and with a quick turn around!

Brooke is wonderful to work with and she has a wide variety of super cool quilt designs to choose from. She helped me pick out this Garden Trellis pattern and I love how it echos the shape of the quilt blocks.
Lady Belle Fabrics is also a fabric shop and Brooke is carrying my Spirited collection along with many of your favorite AGF collections. She sells by the bundle and fabric by the yard—all at great prices!
Giveaway Alert!
For those of you that follow me @sharonhollanddesigns or Lady Belle Fabrics on Instagram we have a heads up for you that on Friday, December 6 Brooke and I are collaborating on a Spirited fabrics giveaway! Be sure to stop by IG on Friday and enter on my Instagram giveaway post.
Inside my quilt I used my favorite Hobbs Tuscany Silk batting. Silk handles much like traditional cotton batting but has a blend of 10% Polyester to help keep it from shrinking and the combination blend is light weight yet warm. The drape is wonderful as well with beautiful stitch definition.

This quilt looks right at home on the prairie as it does inside on a bed. If you love this quilt as much as I do, Lady Belle Fabrics will be exclusively carrying quilt kits to make a Blossom quilt just like the one you see here.
Free Range

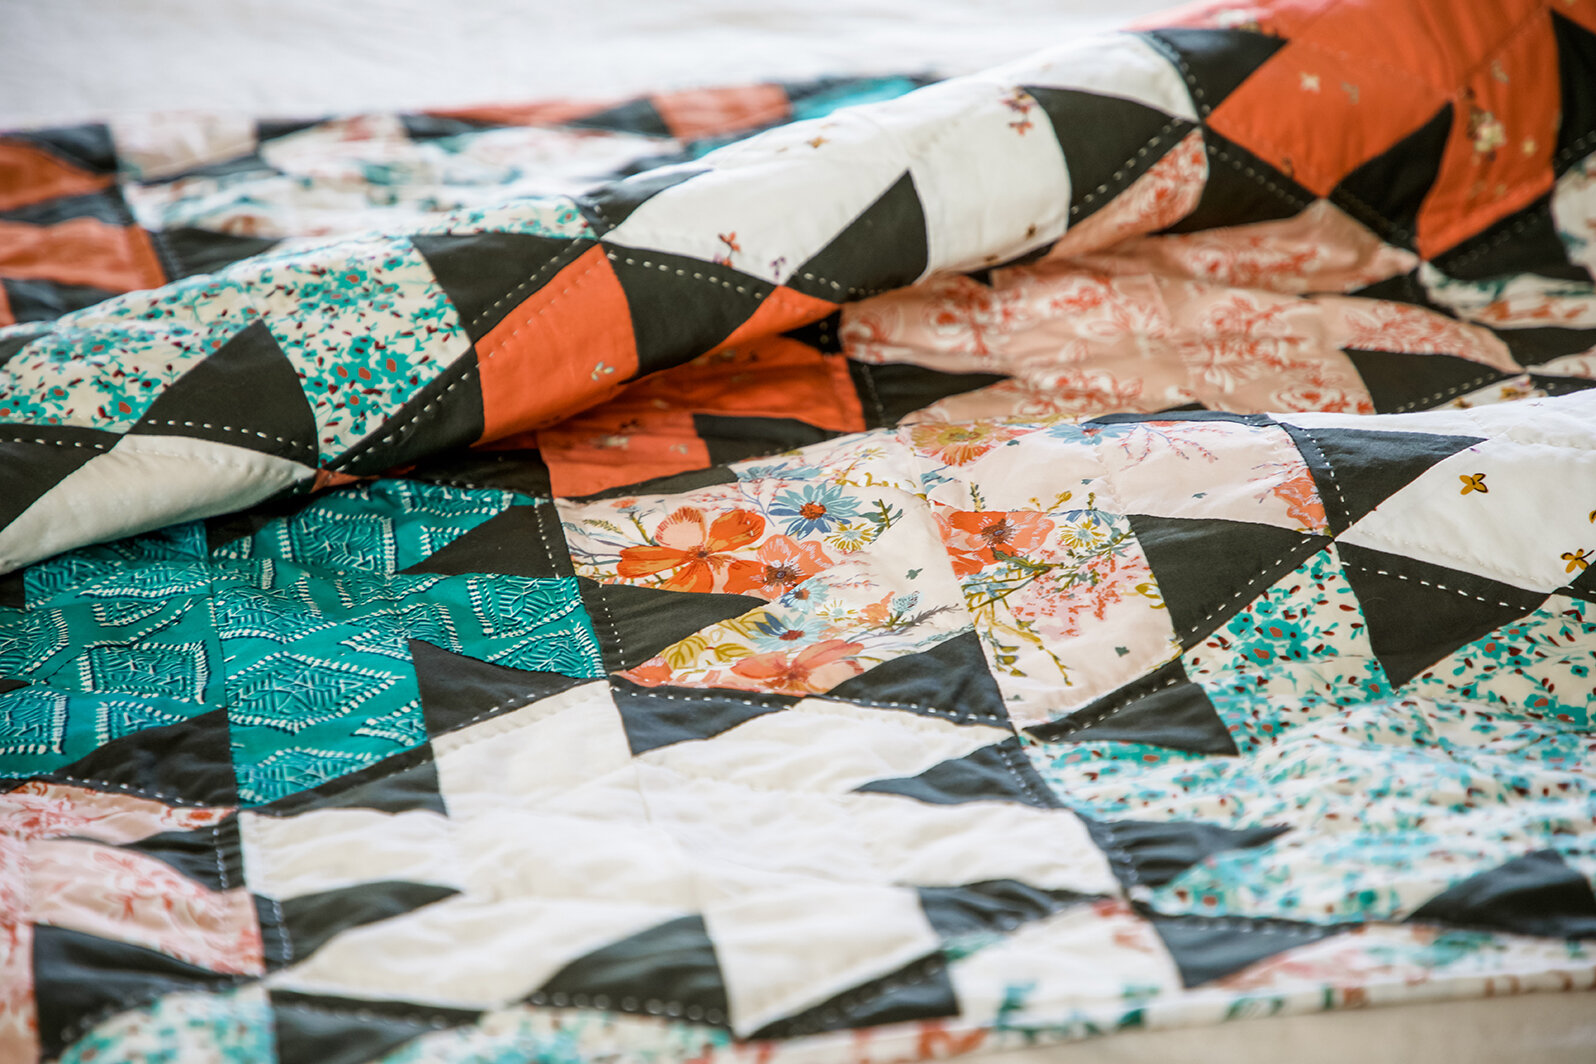
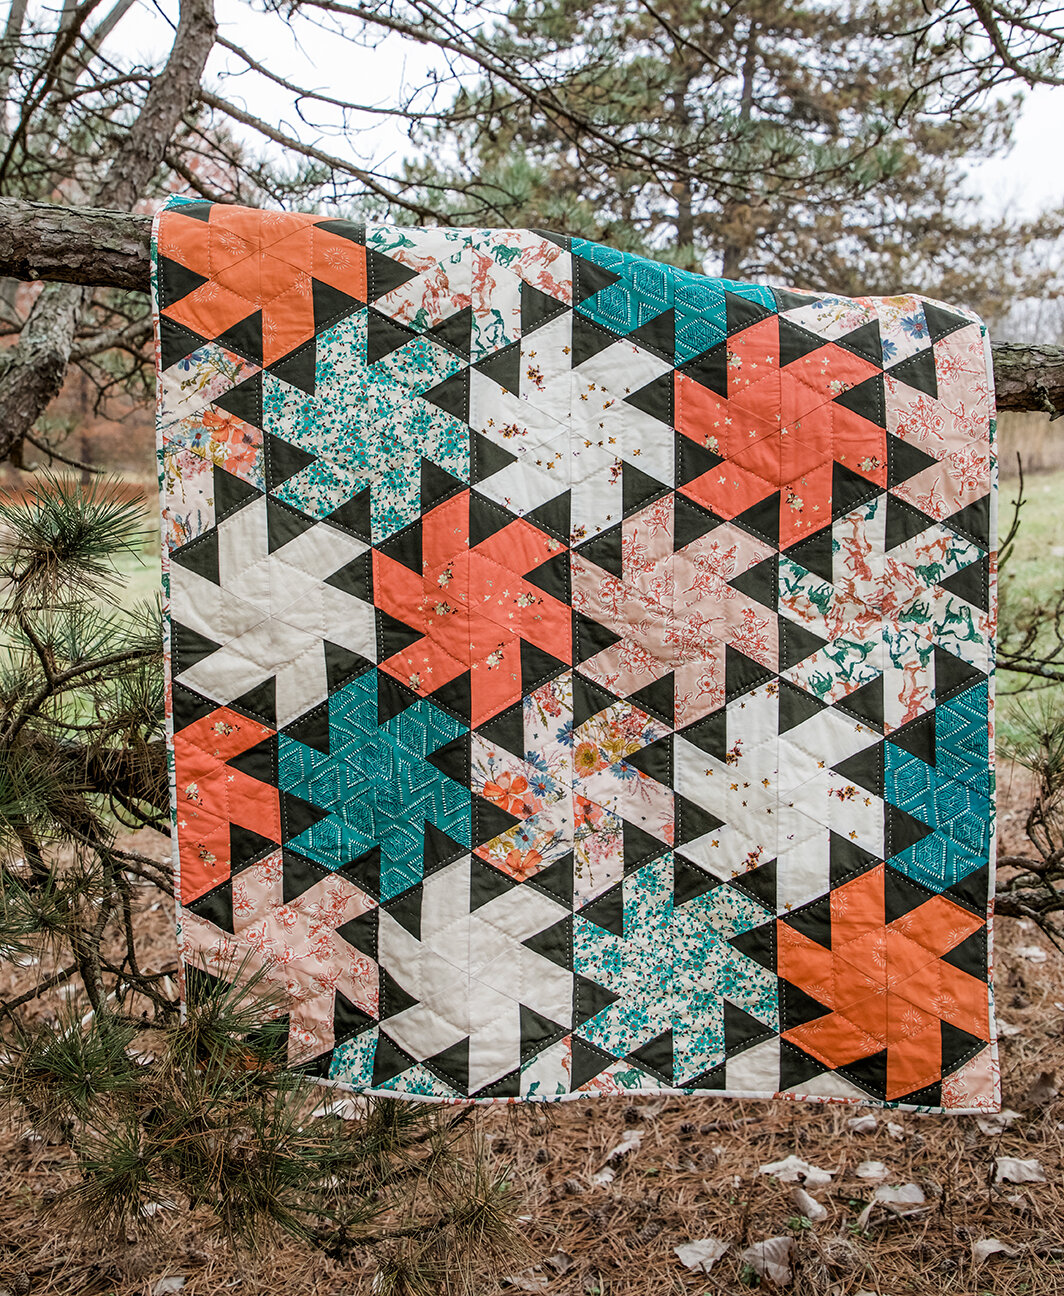
Free Range quilt by Sharon Holland
With every Art Gallery Fabrics collection there’s an accompanying free quilt pattern. The Free Range quilt was designed by me (Sharon Holland) and made and machine quilted by the AGF Studio. This is the perfect size for a baby quilt at 42’’ square. I love how you can use a lot of your favorite prints in the half-square triangles and still have the large areas of hour glass blocks to break up the busyness. I even have you use the left over scraps for a scrappy binding—it all adds to the boho vibe of the collection.

Peppermint Twist
Peppermint Twist by Sharon Holland
The Peppermint Twist pattern could be my most popular design and you can find the pattern on my SHOP page. As you can tell by it’s name, I’ve always shown it in Christmas prints and the pattern comes in a table runner and large throw size.

I’ve been wanting to remake this quilt for some time now in non-holiday prints. I love the dramatic look of the dark Pure PE-482 Forest Night solid to pop the Spirited prints. I made less blocks than called for in the large throw and added some half blocks to the top and bottom edges (which were later cut off for a straight edge) and came up with a baby quilt size. The pattern does not reflect this baby size quilt but rather I’m showing you how to make a variation on the existing pattern and customize to the size you’d like.
Another change I made to this baby quilt was to keep the pinwheels all one print rather than two prints as in the original pattern. I love the movement of this quilt block and it shows off the prints really well.

Because of the small size I decided to hand quilt this quilt and used DMC Perlé Cotton thread in size 8. I backed it with the Tender Arrangement print from my Art Gallery Fabrics Signature collection. I love that there’s so many of my past collection prints that coordinate well with Spirited. If you already have some of my fabrics in your collection then you’ll love adding Spirited in the mix!
More Quilts

The stunning quilts in the above collage are made and designed by: AGF Studio (Dream Catcher and Izel Blocks), Harvest Star by Elaine Bergman, and Blooming Prairie Quilt by Marija Vujcic. See more of these beauties in the Look Book and on their blogs.
Spirited quilting cottons, knits, and rayons are shipping to quilt shops everywhere. I’ve started a stock lists of online shops for this collection on my FABRICS page and will continue to add links as more shops get their listings up. If your local quilt shop hasn’t ordered it yet, let them know you’d like to sew with these prints and feel the AGF difference for yourself at your favorite shop.
When you do make a project with my fabrics, don’t forget to tag me on Instagram @sharonhollanddesigns because I love to see what you’re sewing! And tag the Spirited collection as well with #AGFSpirited.
—Happy sewing!
I am an Amazon Associate site and earn from qualifying purchases on the products I’ve linked below. The helpful products selected are the same or similar to materials used to make the project(s) in this blog post. Thank you!