
Yo-Yo Pillow

The final installment in my pillow series is this fun Yo-Yo Pillow. Yo-yos and pillows made from yo-yos are nothing new but it's something I've not seen done for awhile and there may be lots of new sewers out there that don't know how to make them.

Yo-yos are hand stitched from circles of fabric. I used a 6'' diameter circle to make mine but you can use whatever size you'd like. The smaller the starting circle, the smaller your finished yo-yo will be. They shrink considerably once stitched up and my finished yo-yos measured around 2-1/2'' across.
Yo-Yo Pillow
Materials needed to make an 18'' square finished pillow
- For front foundation and backing: Two 18-1/2'' squares for 1/4'' seams Lapped Zipper Back or two 19'' squares for 1/2'' seams Hidden Zipper back
- For yo-yos: Sixty-four 6'' diameter fabric circles
- One 14'' invisible zipper
- Aleene's No-Sew Fabric Glue
- One package 1/4'' -wide Dritz Wash Away Wonder Tape
- Zipper foot attachment
- Needle and thread
- Embroidery thread and needle
- Marking tool and ruler

Knot the end of a length of thread. Hiding starting knot on the wrong side of the fabric, turn circle edge 1/4'' under to wrong side while hand basting a running stitch 1/8'' from edge. Leave thread in needle and do not knot end when basting stitch reaches the starting knot.
Pull loose thread end to gather, forming a yo-yo. The gathered edge will be pulled to the center.

Flatten the yo-yo, centering the gathered closure. Secure thread with a double knot and hide thread inside the yo-yo. Make a total of 64.

There's a few ways you can connect your yo-yos for a pillow top. One way would be to stitch the yo-yos together with tiny stitches along the edges at four points like a compass then attach the connected circles to the pillow top.
Another way would be to blanket stitch the yo-yos to the pillow foundation (leaving the appropriate 1/4''-1/2'' seam allowance around the edges of the foundation for pillow assembly.
I chose a middle road and "X" stitched my yo-yos directly to the foundation at four points.
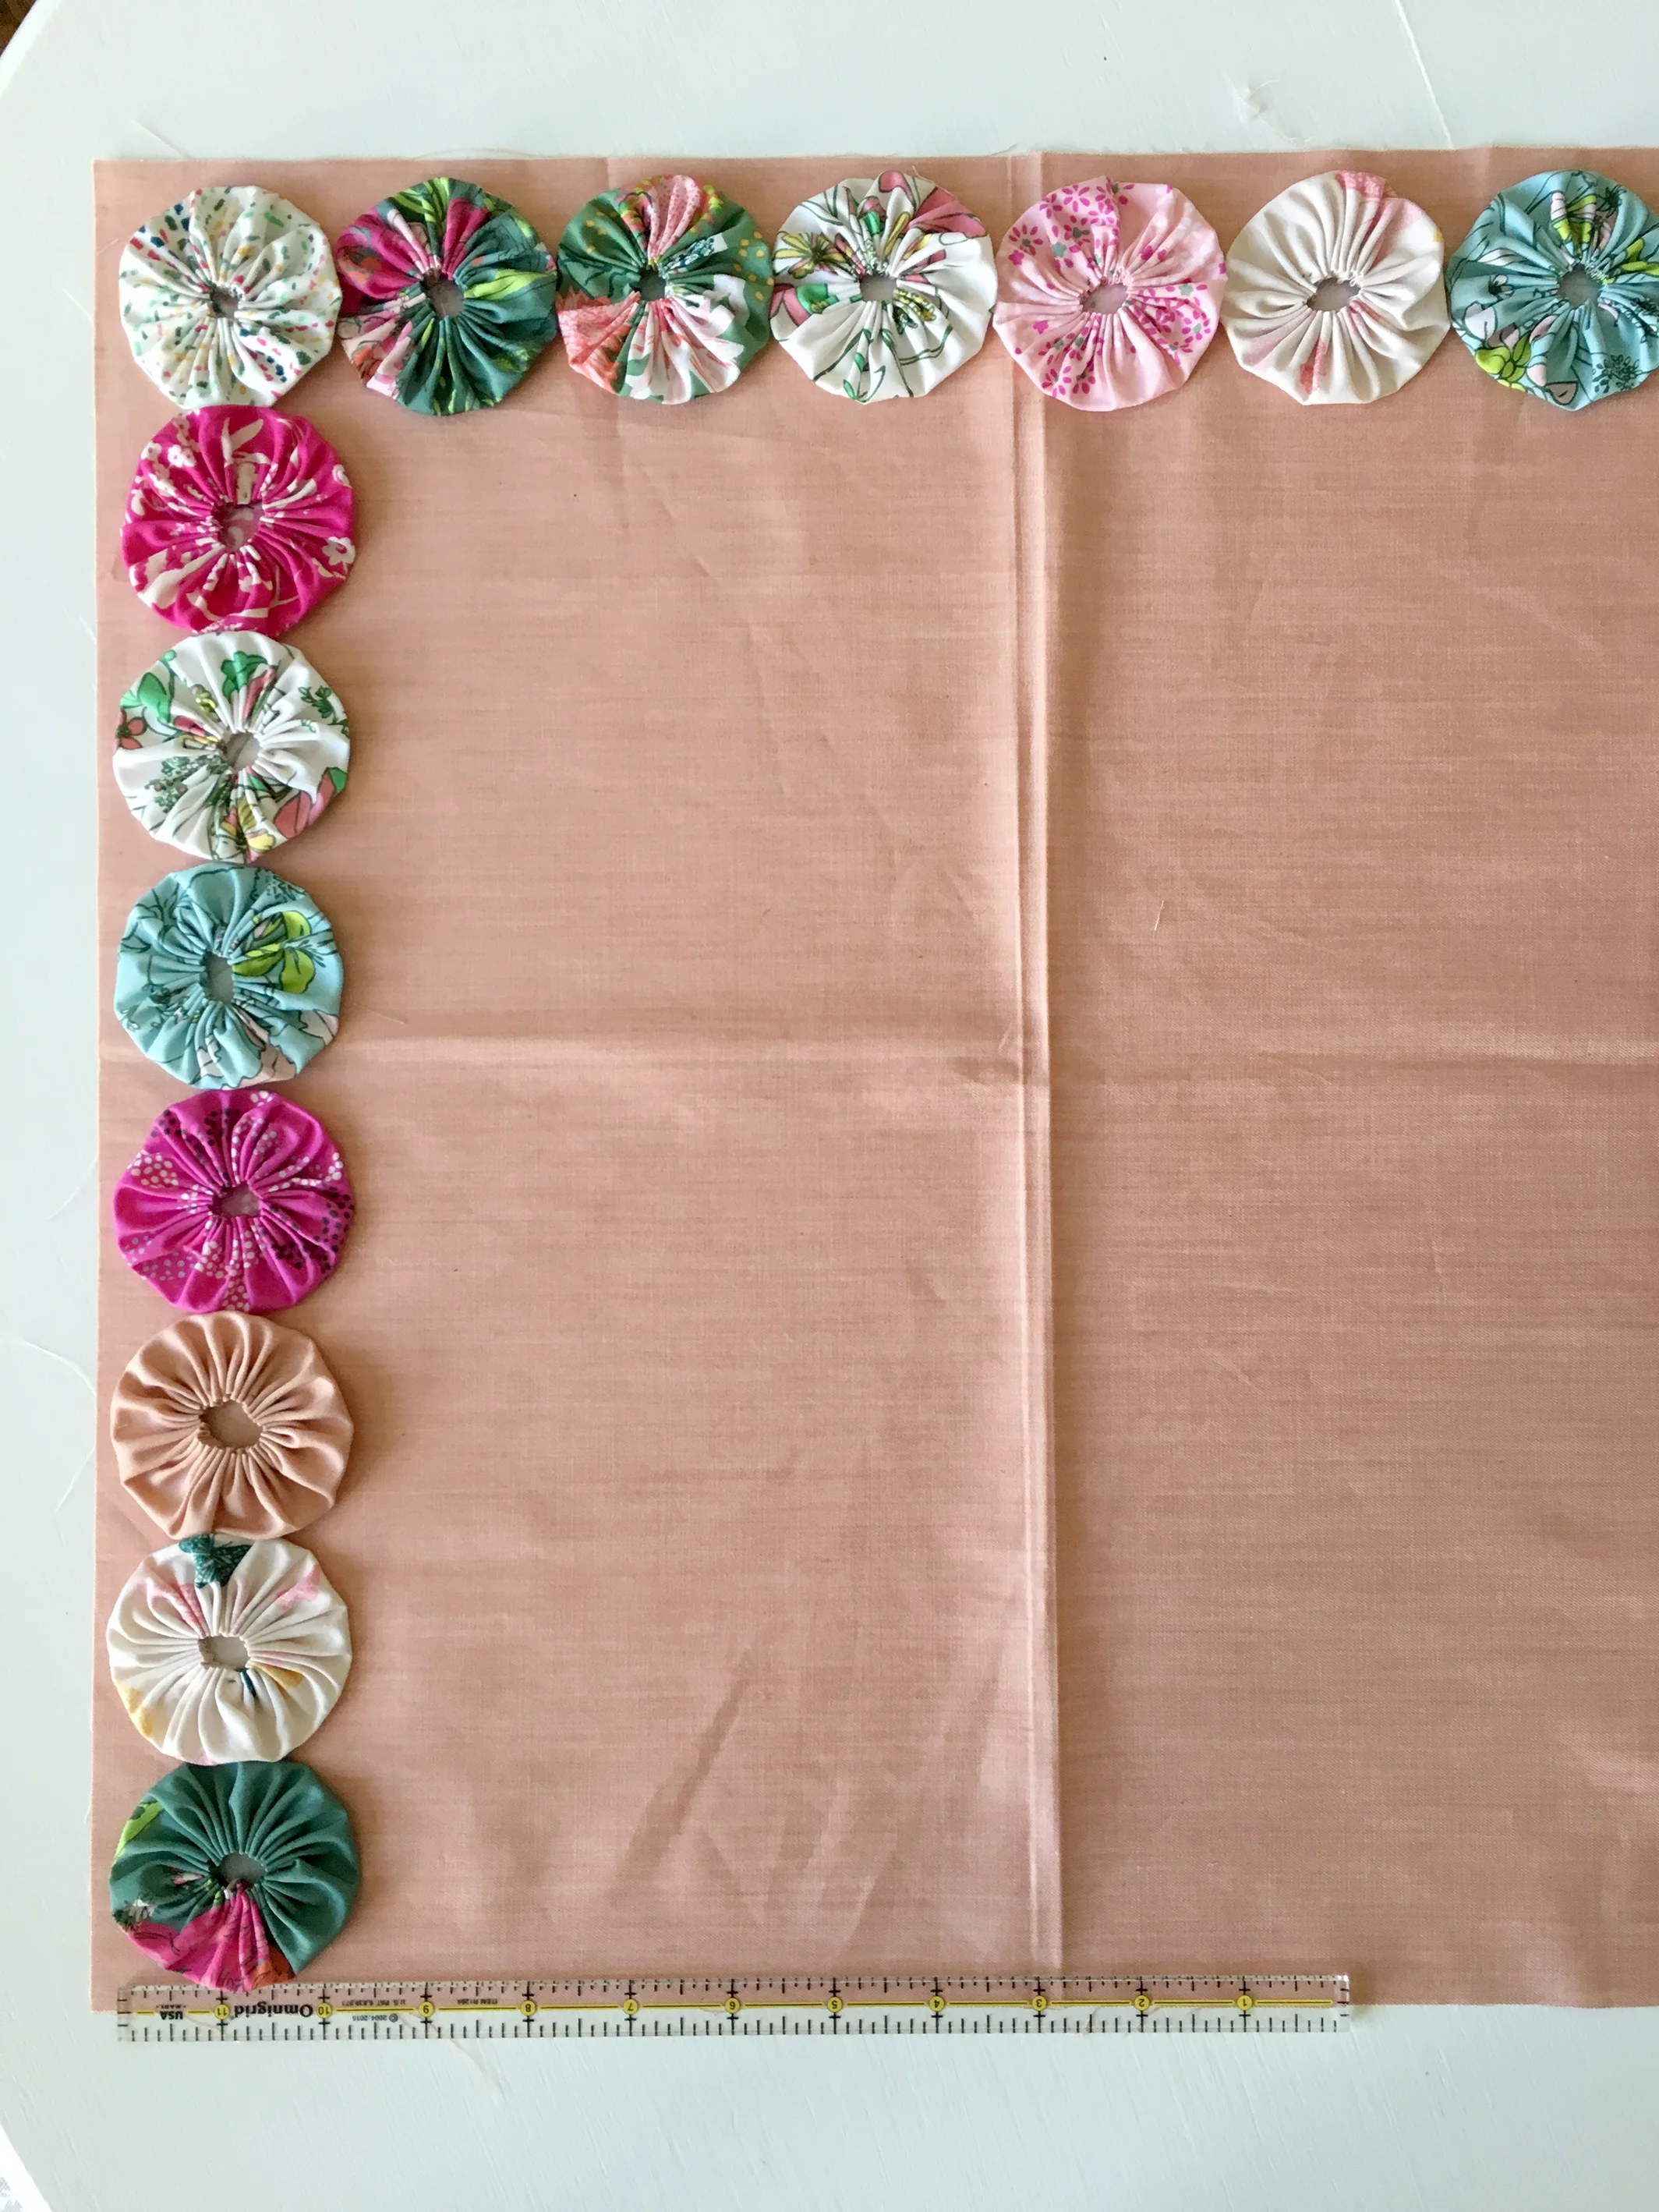
Since I only had an 18-1/2'' square piece of Art Gallery Fabrics Apricot Sunrise Smooth Denim I needed to take care not to stitch my yo-yos in the 1/4'' seam allowance area. I used the 1/4'' mark on my Omnigrid ruler as a guide.
Since my yo-yos aren't perfectly sized and I wasn't sure if the amount made would fit my pillow foundation I wanted to have all the yo-yos in place before I started sewing. To keep my yo-yos in place without pinning, I put a dab of Aleene's No-Sew Fabric Glue on the back of each yo-yo and worked from the outside edges of the foundation in toward the center.

Once all in place and working on a flat surface, I hand stitched the yo-yos to the foundation with 3-ply strands of Aurifloss embroidery thread. Tip: Leave the side of the yo-yo nearest the foundation raw edge unstitched until after pillow is assembled. By leaving these sides free, the edge yo-yos can be folded in toward the center of the pillow durning assembly and stay free of the seam allowance area.

Stitch at four points and secure on back with double knots.

Assemble the pillow using either my Lapped Zipper Back or Hidden Zipper tutorials.
I finished my pillow with a lapped zipper back in Signature fabrics Extempore Gala canvas.

After the pillow has been assembled, go back and finish hand stitching the edge yo-yos to the pillow. Insert an 18'' square pillow form.

Hand stitching yo-yos is a great take along pastime and perfect for lazy summer days of relaxing, mindless sewing on the go or just sitting at home.

I hope you enjoyed these pillow projects. I've still more projects to post here before the Signature Look Book is published so come back and visit real soon for more summer sewing ideas.