With so many new-to-quilting sewers joining the Sewcial Bee Samplers everyday, I'm constantly asking our followers how Maureen Cracknell and I can make this the best sewing experience for everyone.

Many of you commented back to my weekend Instagram survey that you'd like to better understand half-square triangles (HSTs) as well as how to continue to improve your patchwork.
If you're new to the SBS sew along or haven't already read some of my helpful posts with tips and tutorials, please refer back to these posts: Perfect Patchwork, Sewcial Bee Sampler Block #1, Sewcial Bee Sampler Block #2, and Sewcial Bee Sampler Block #3.
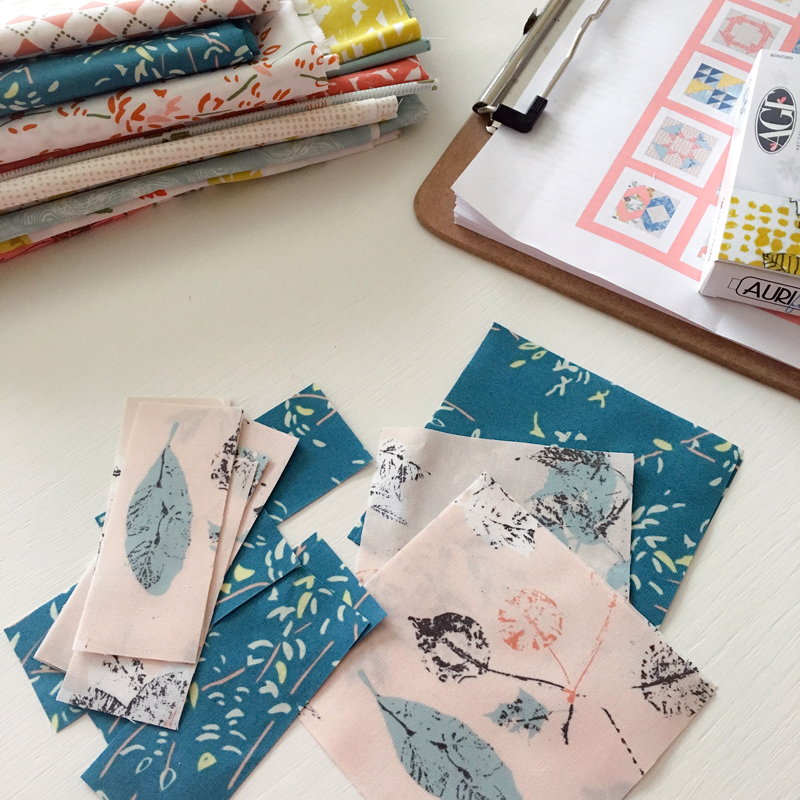
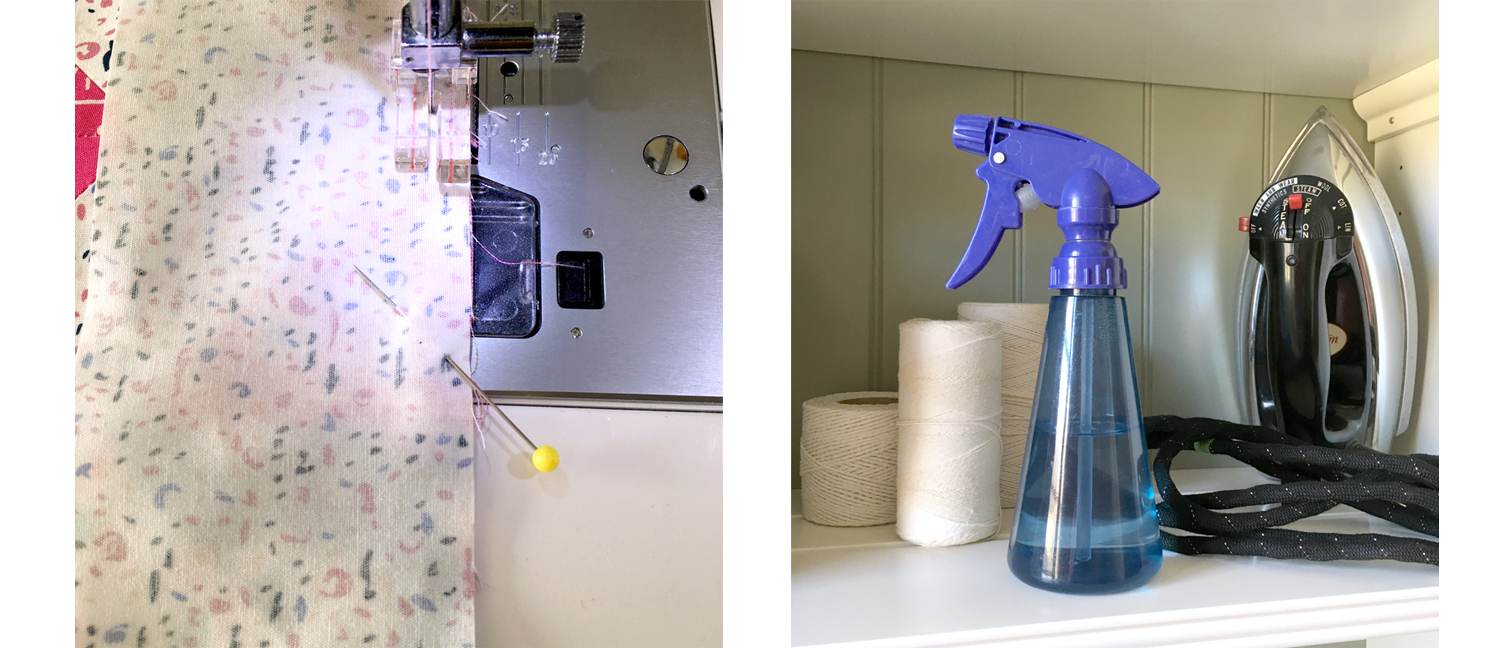
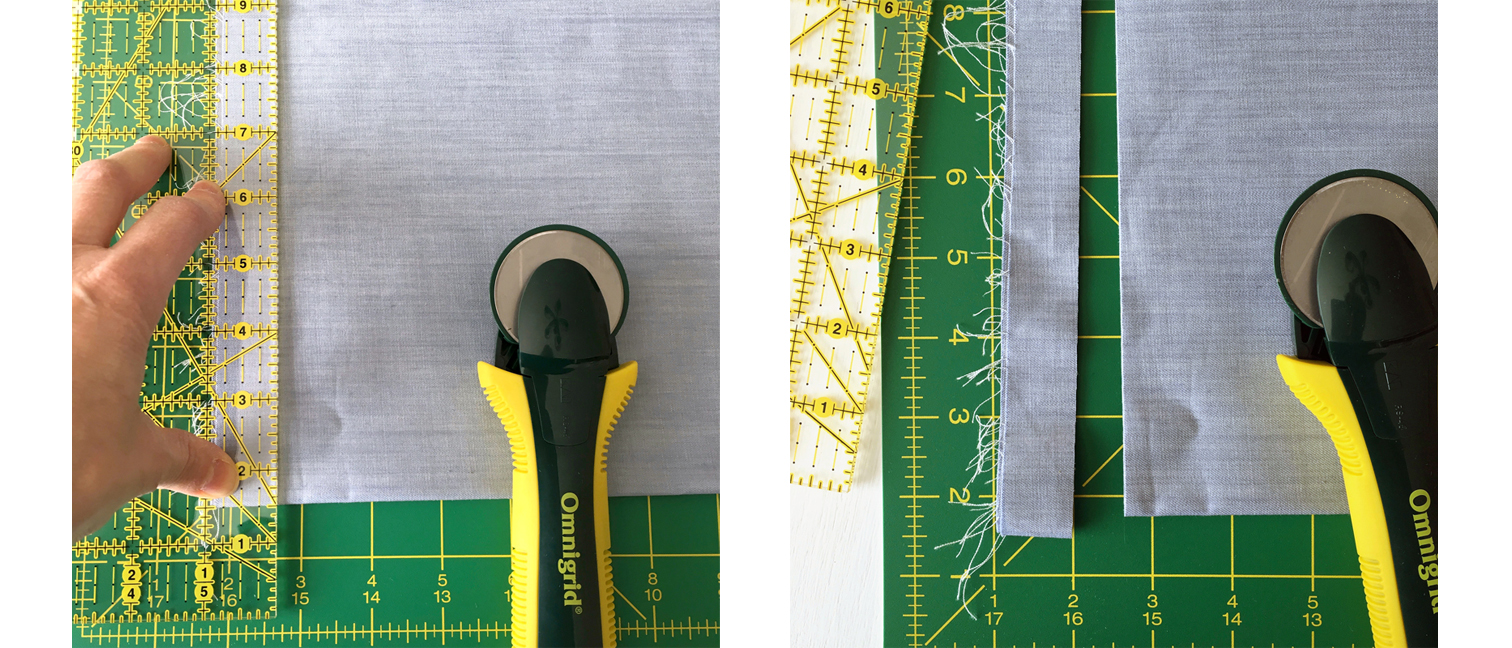
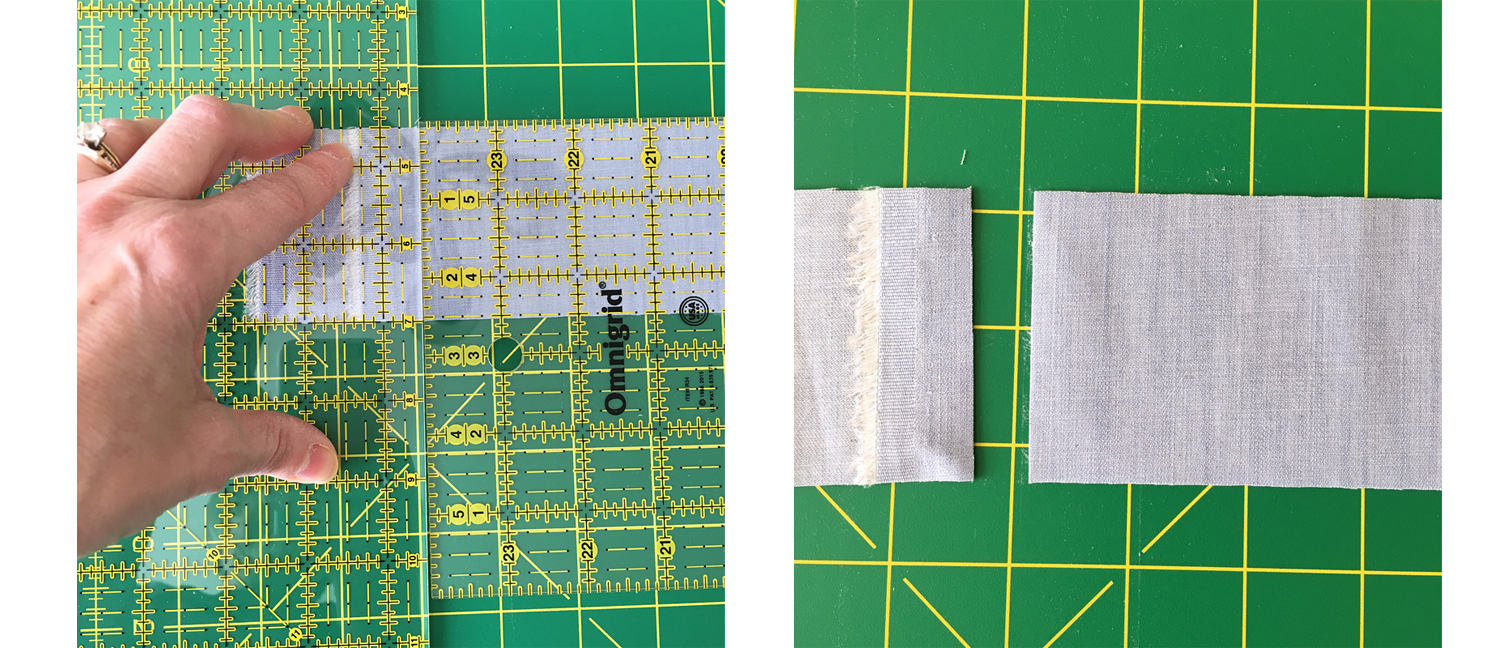
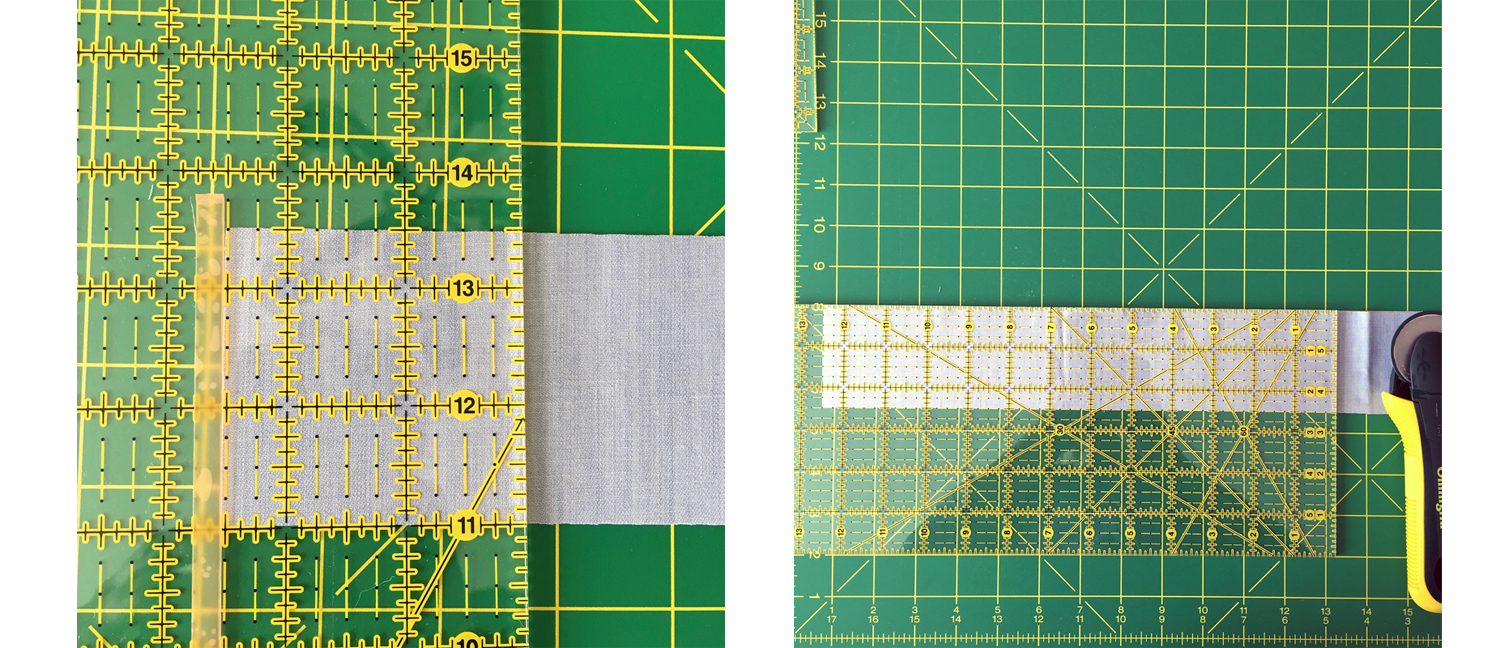
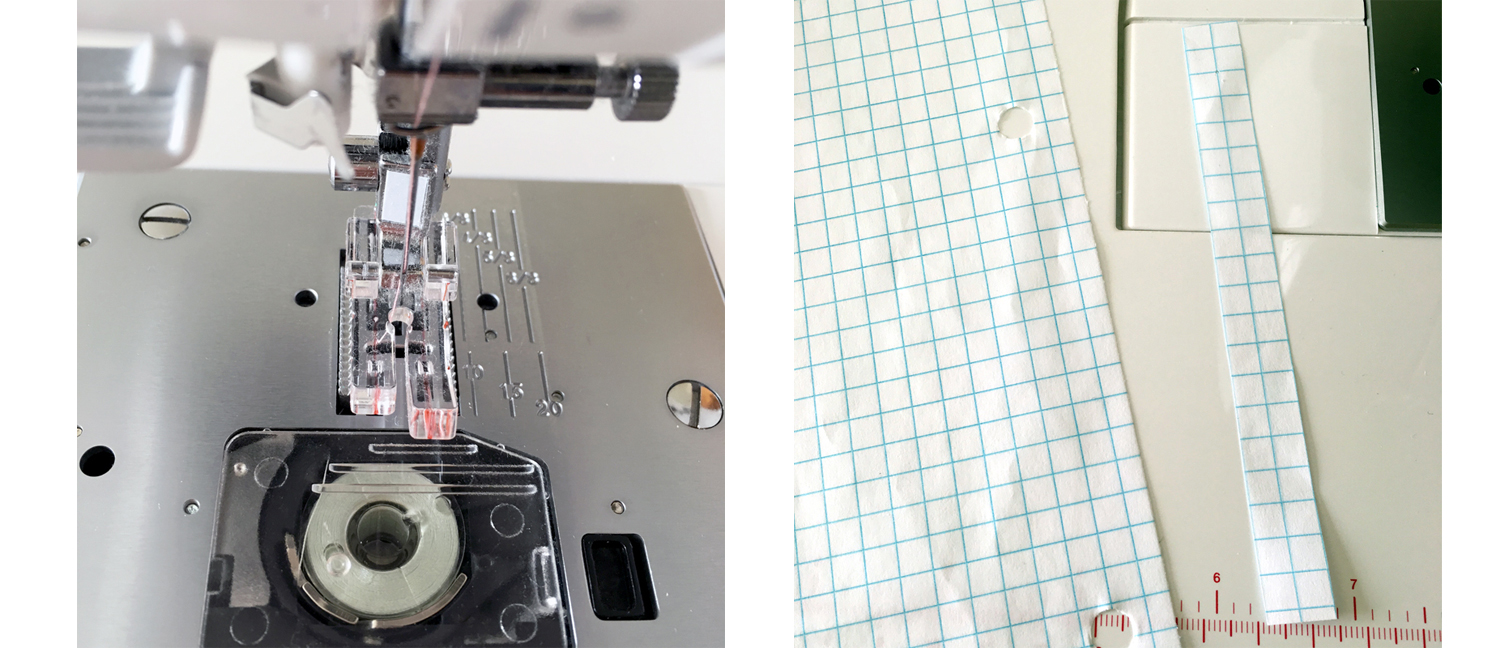
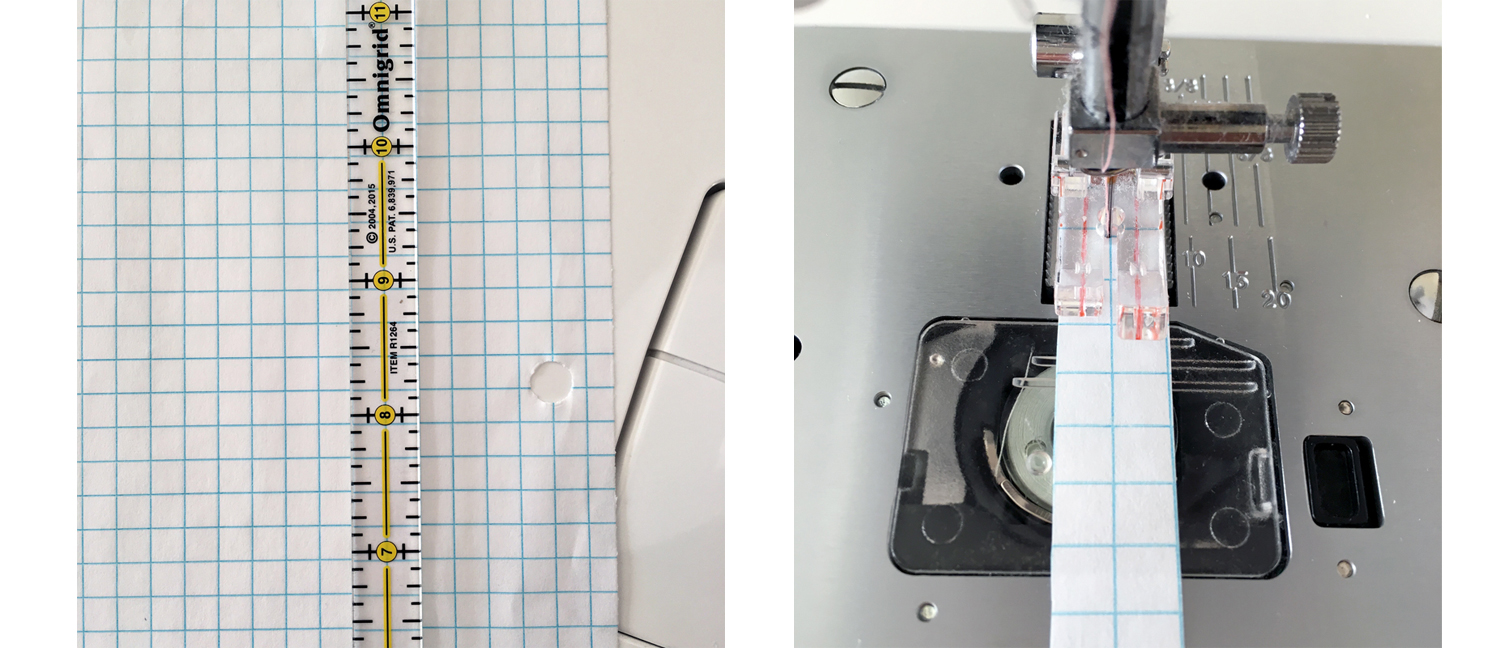
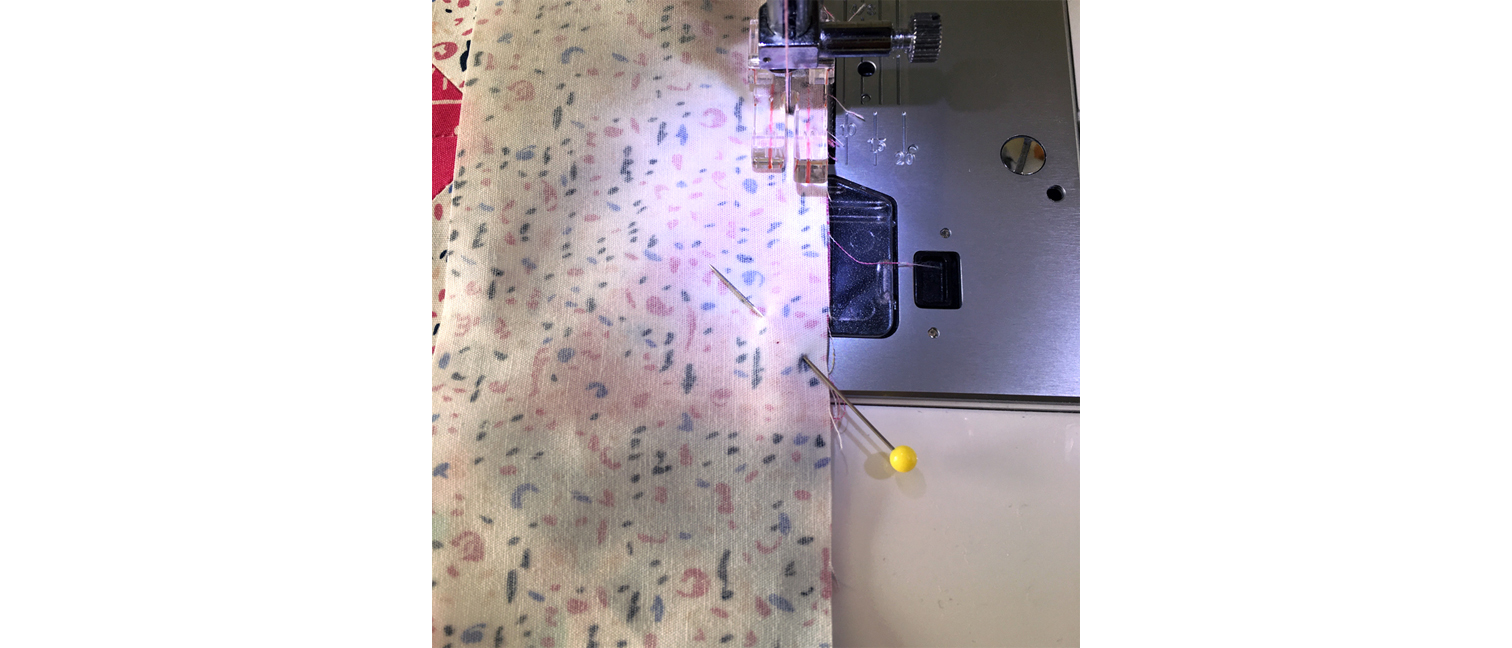
I cannot stress enough how important it is to start with accurately cut quilt pieces and to sew with a true 1/4" seam allowance. Everything after that is just perfecting and getting comfortable with the different techniques.
Reading the Blocks
I've prepared a supplemental PDF print out to help you learn how to read an SBS block and helpful HST charts. This way you will be able to figure out exactly what size your units should be measuring at as you sew the patchwork part of your blocks together. Also, if you prefer to start with a larger HST unit and trim it down to size, you'll know exactly what to trim it down to. Head over to the Sew Along page and download the SBS Extras PDF.

THE BLOCKS
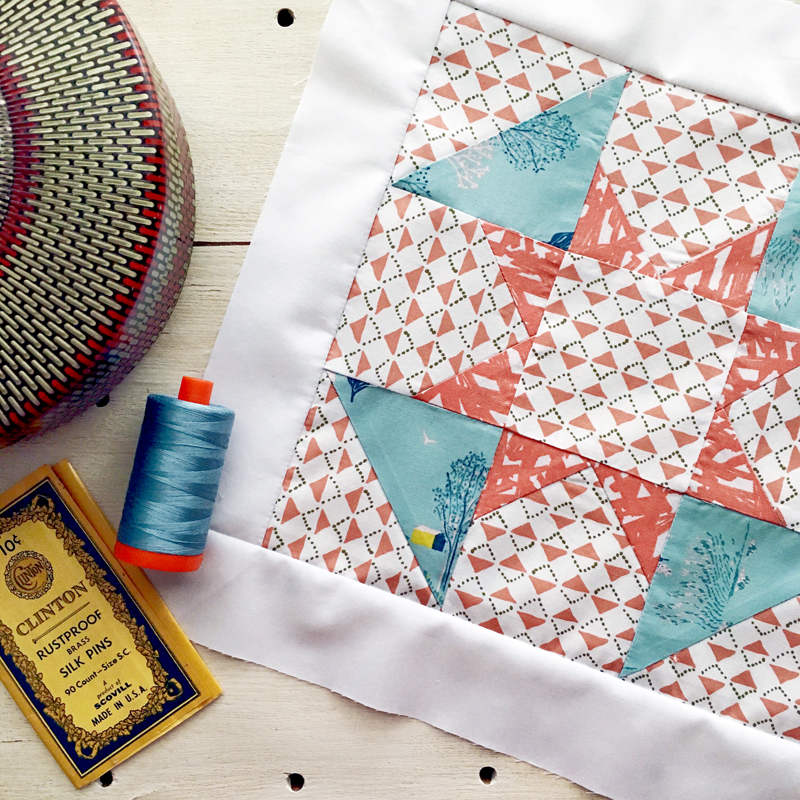
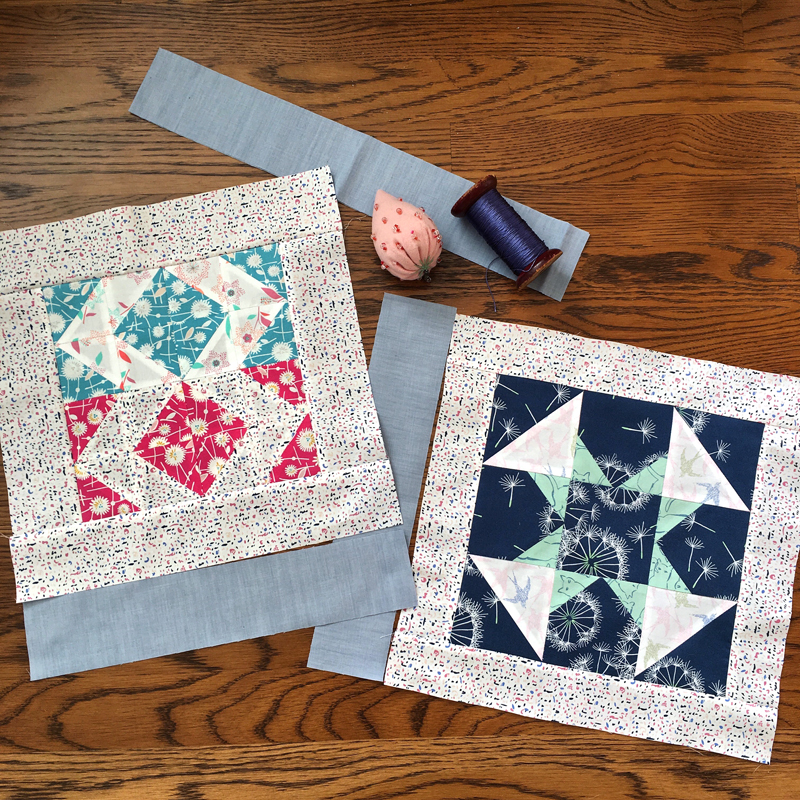
Each of the 25 blocks in the Sewcial Bee Sampler quilt will finish to 12” square (12-½” before setting into sashing). Many (but not all) of the blocks call for additional strips of fabric to frame out the patchwork block to bring all the blocks up to the same finished 12’’ square size. Knowing the finished size of the block will help you understand what size pieces and units are needed to make up the patchwork square.
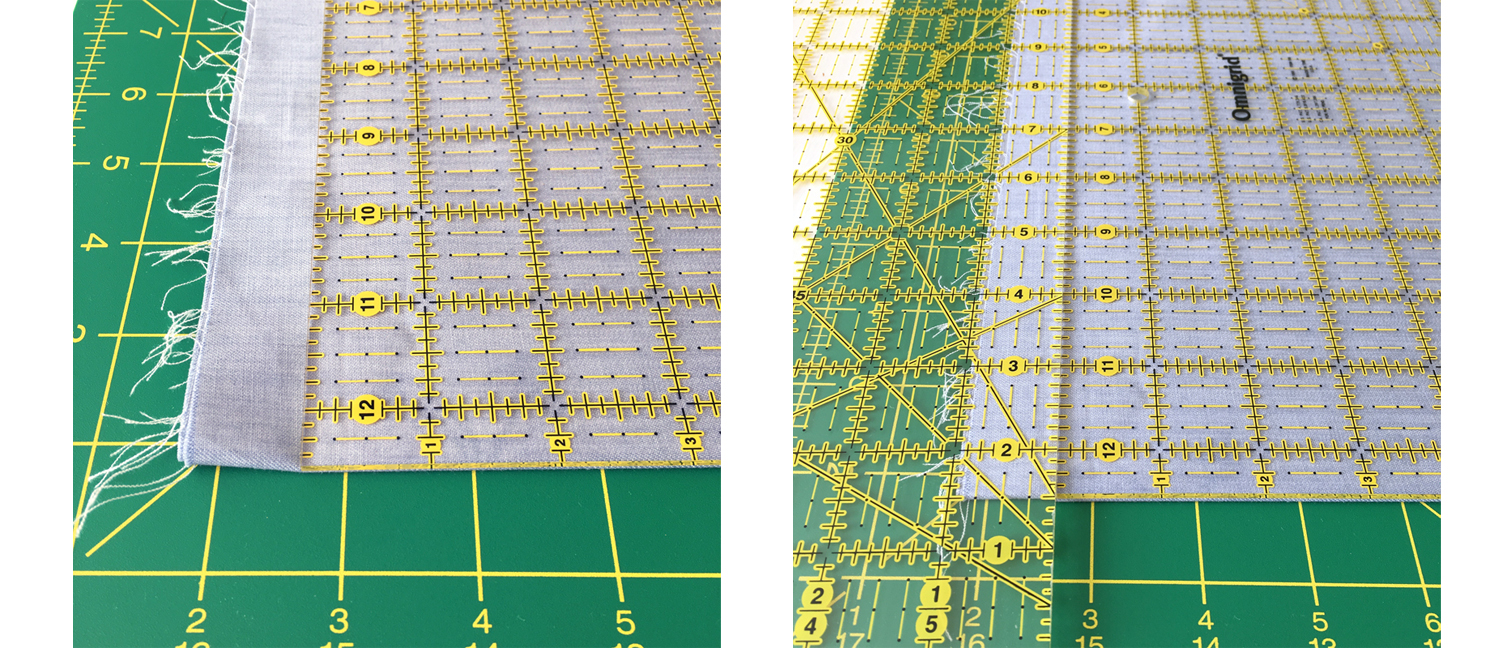
Clues in the Cutting
1. If the block uses framing, look at the shortest frame length to know the unfinished size of that patchwork block. Example: Block #1 the short frame strip is 8-½” long. The block before framing should measure 8-½” square.
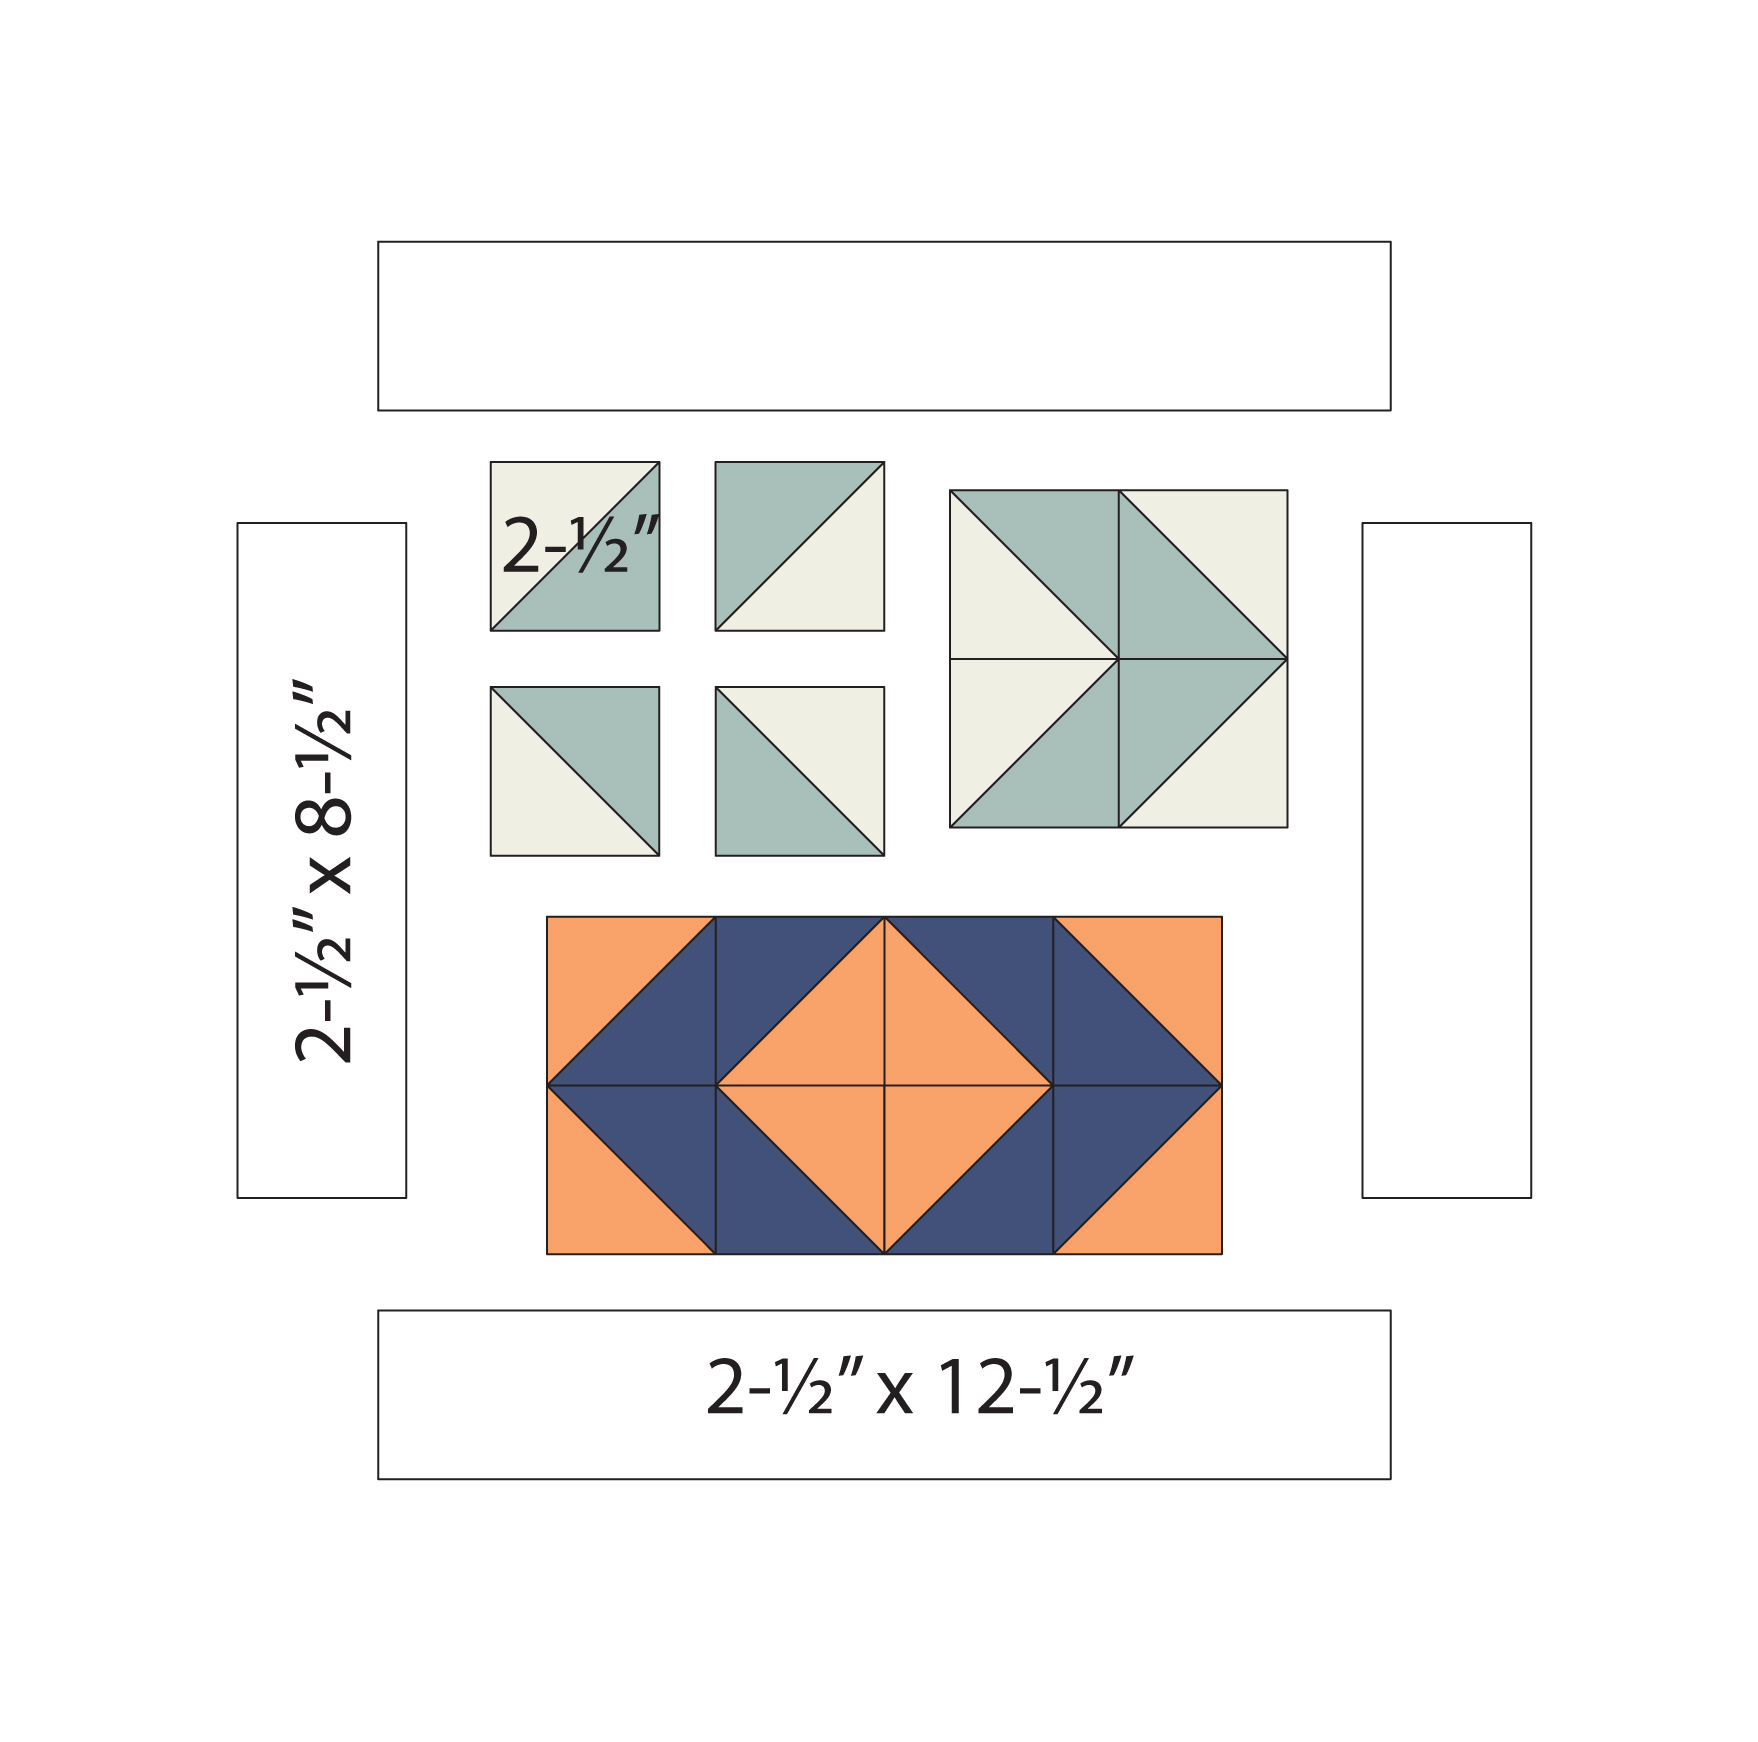
2. Once you understand the size of the (unframed) patchwork, the size of the individual units can be figured out using a little math. Block #1 would require (16) 2” finished HST units to make an 8” finished square. But, since we need seam allowances in patchwork piecing, we would require (16) 2-½” square HST units. In the same manner, you can figure the pieces and units for Blocks #2 through #25.

Block #2

Block #3
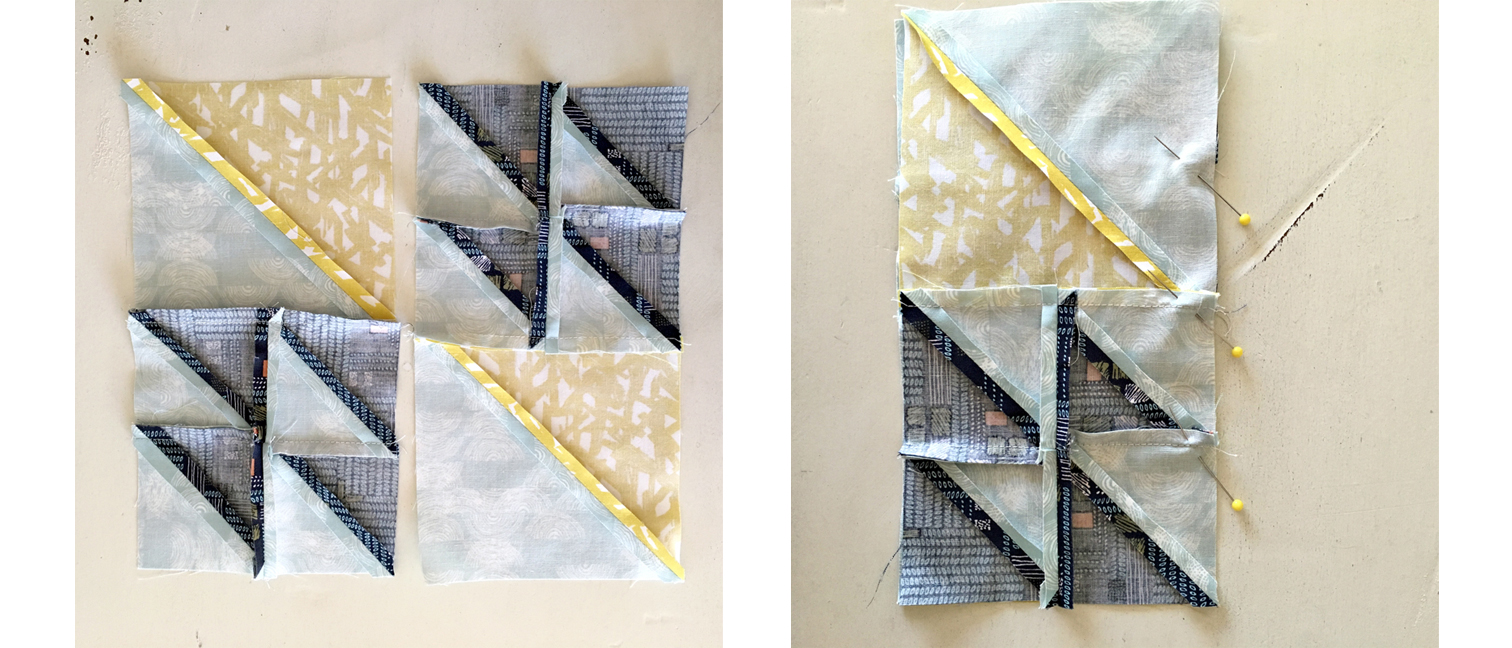
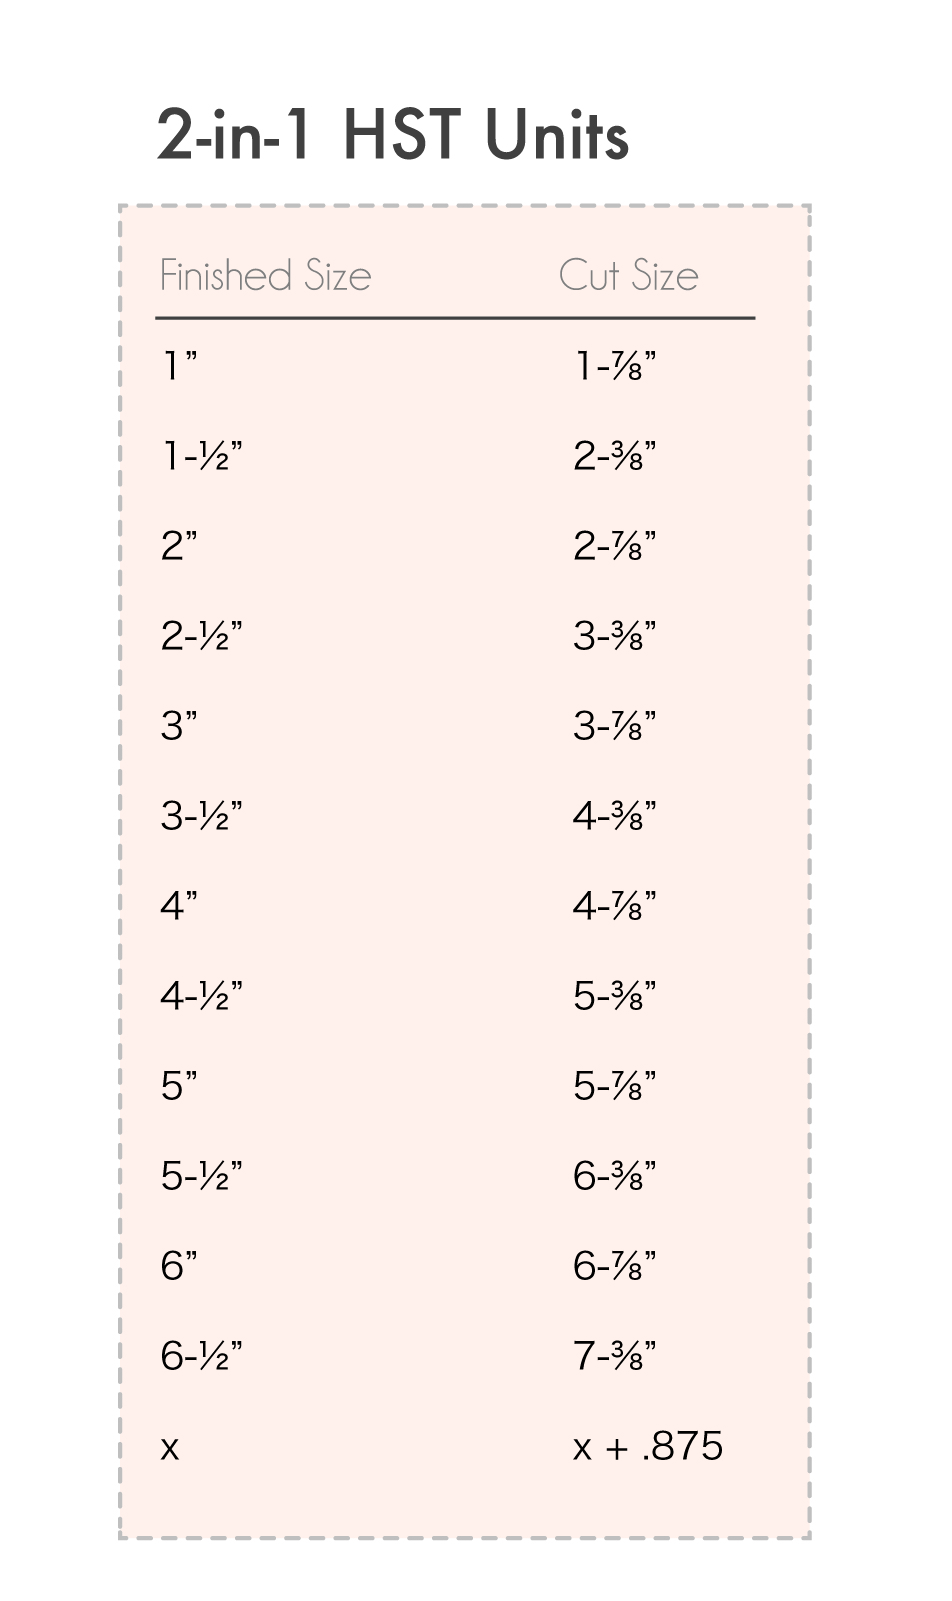
2-in-1 HST Units
Use the handy math formula for figuring what size square to cut for 2-in-1 half-square triangle units.
Know what size finished square you need then add .875 (⅞”) to the finished size. Tip: If you would rather square up your HST then round up the calculated cutting size to the nearest ½’’ or full inch increment.
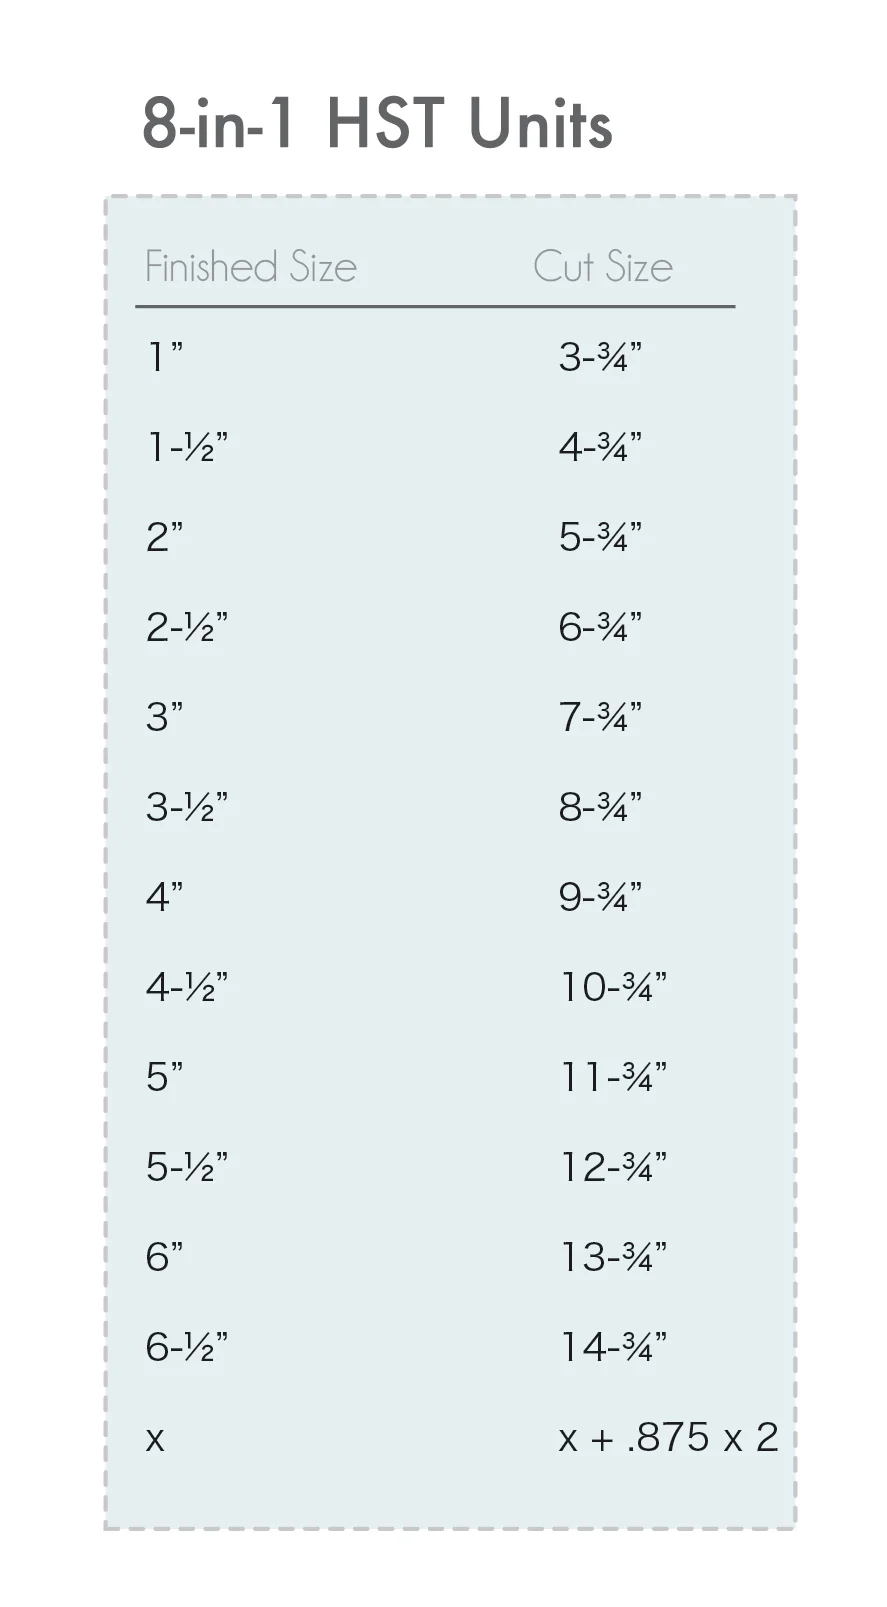
8-in-1 HST Units
Use the handy math formula for figuring what size square to cut for 8-in-1 half-square triangle units.
Know what size finished square is needed and add .875 (⅞”) then times that number by 2 for cutting size. Tip: If you prefer to square up your HSTs then round up the calculated cutting size to the nearest 1” for trimming.
Our goal with this sampler sew along is for you to become a confident quilter and to make patchwork piecing an enjoyable experience. Maureen and I love hearing your comments and seeing your posted blocks. We look forward to helping you in the weeks to come and we can all learn as we sew along. See you back here on Wednesday for the release of block #4!