
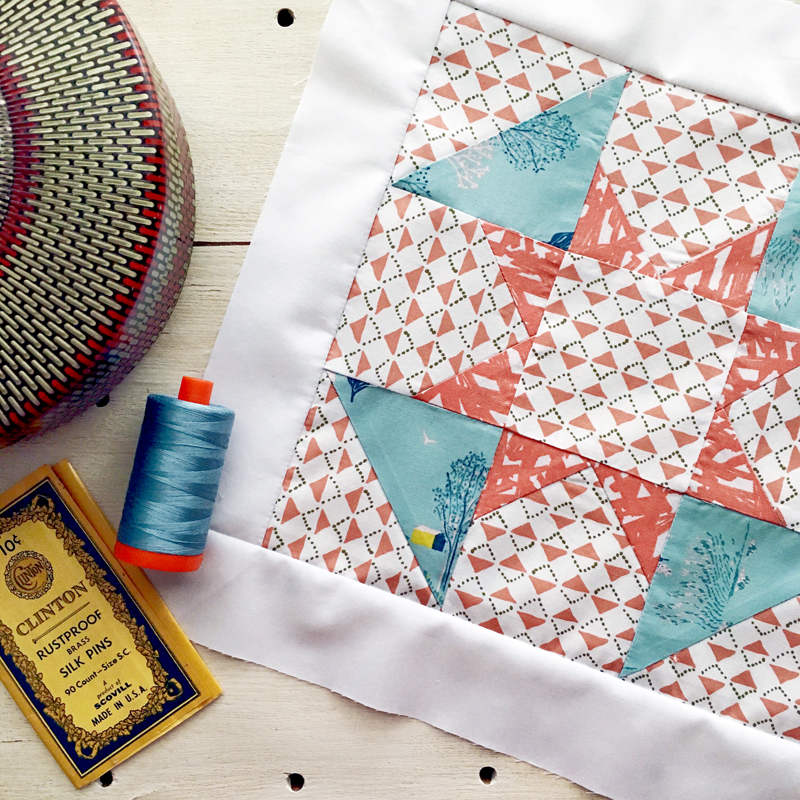
It's been exciting to learn so many of the Sewcial Bee Sampler Makers are new to quilting! Teaching people how to sew patchwork is as rewarding for me as it is for my co-host Maureen Cracknell. We love seeing all the blocks being made and following you via the Instagram #SewcialBeeSampler hashtag and watching your creative journey in the SBS block-of-the-week sew along.
We're a week and a half into the virtual sew along and I've gotten some questions from new quilters about achieving better points on their blocks. I've put together a little tutorial in hopes of answering some of these questions and list some patchwork basics to improve your piecing experience.
Cutting the Strips
Using a rotary cutter, rotary cutting mat, and acrylic ruler are essential for making straight and accurate pieces.
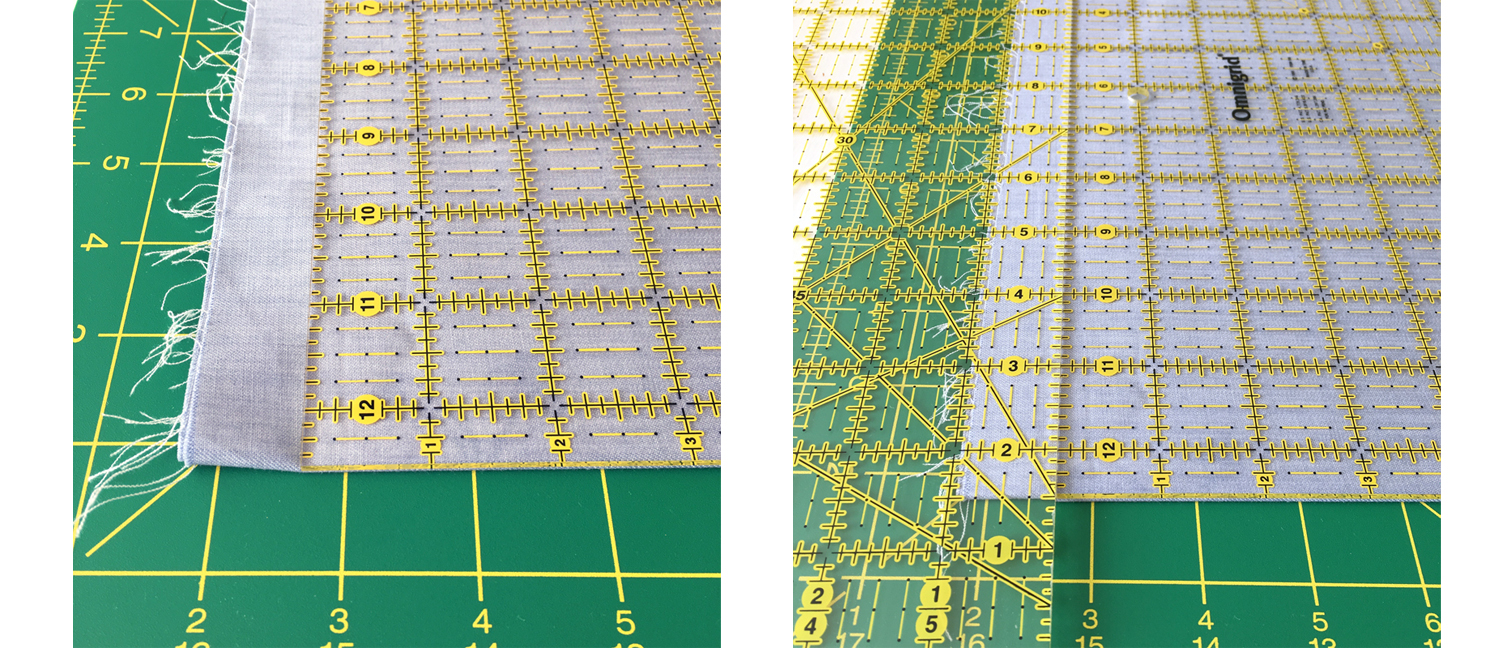
1. Press fabric. Fold the fabric in half with selvage edges matched. Place the folded fabric on the cutting mat with the fold edge nearest to you and ample mat area extending beyond the fabric. Note: If working on a small mat, you may need to fold the fabric twice so the first folded edge is even with the selvage edges and the second double-fold is nearest to you.
2. Place a square ruler on top of the fabric with the edge of the ruler aligned with the fold closest to you and near the left edge of the fabric raw edges. Position the long side of a 24'' ruler against the left edge of the square ruler and ½'' to 1'' in over the left raw edge.
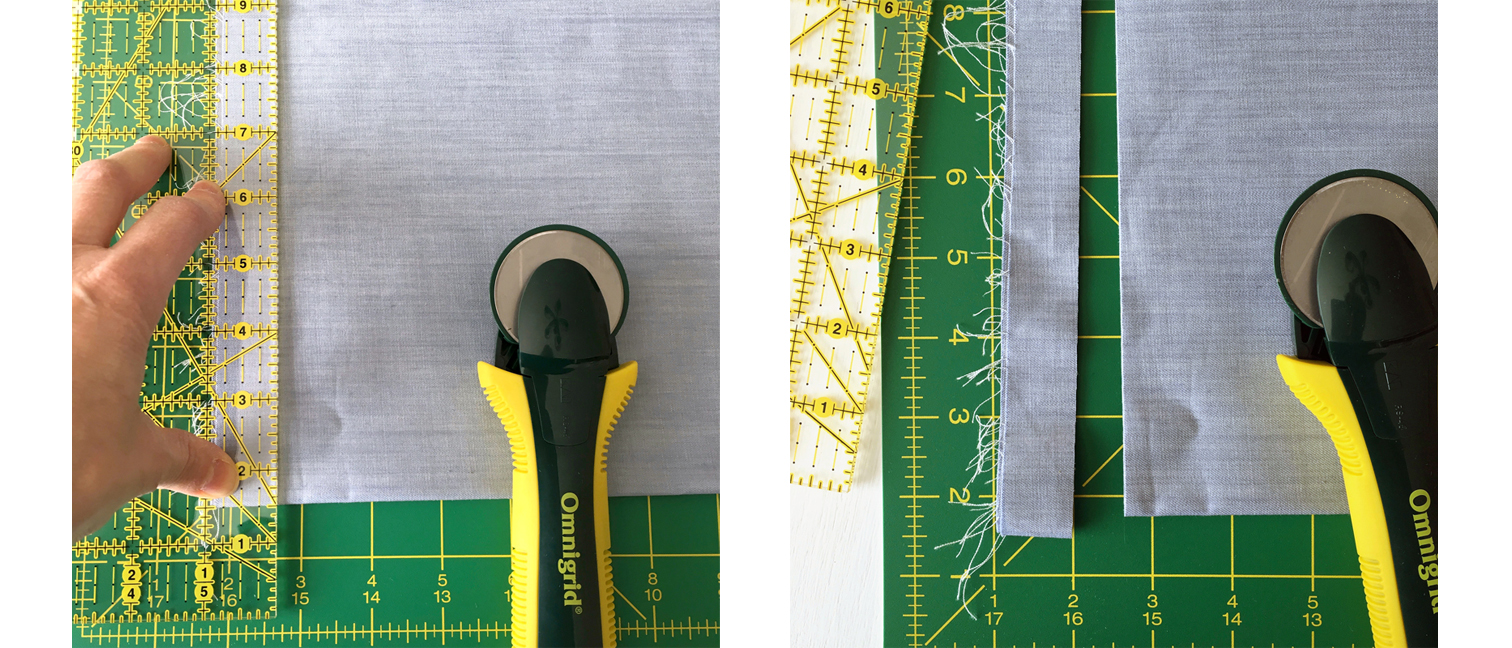
3. Carefully slide the square ruler out of the way while keeping your left hand firmly on the long ruler. Note: The raw edge of the fabric should be completely under the long ruler and fabric to be cut and there should be ample mat area around the fabric to be straightened.
4. Hold the rotary cutter next to the right edge of the long ruler and roll the cutter away from you using a firm, downward pressure while cutting through the layers of fabric. As you cut through the fabric walk your fingers up the ruler to keep even pressure on the ruler.
5. Remove the trimmed starting edge without disturbing the straightened edge of fabric and you're ready to begin cutting strips.
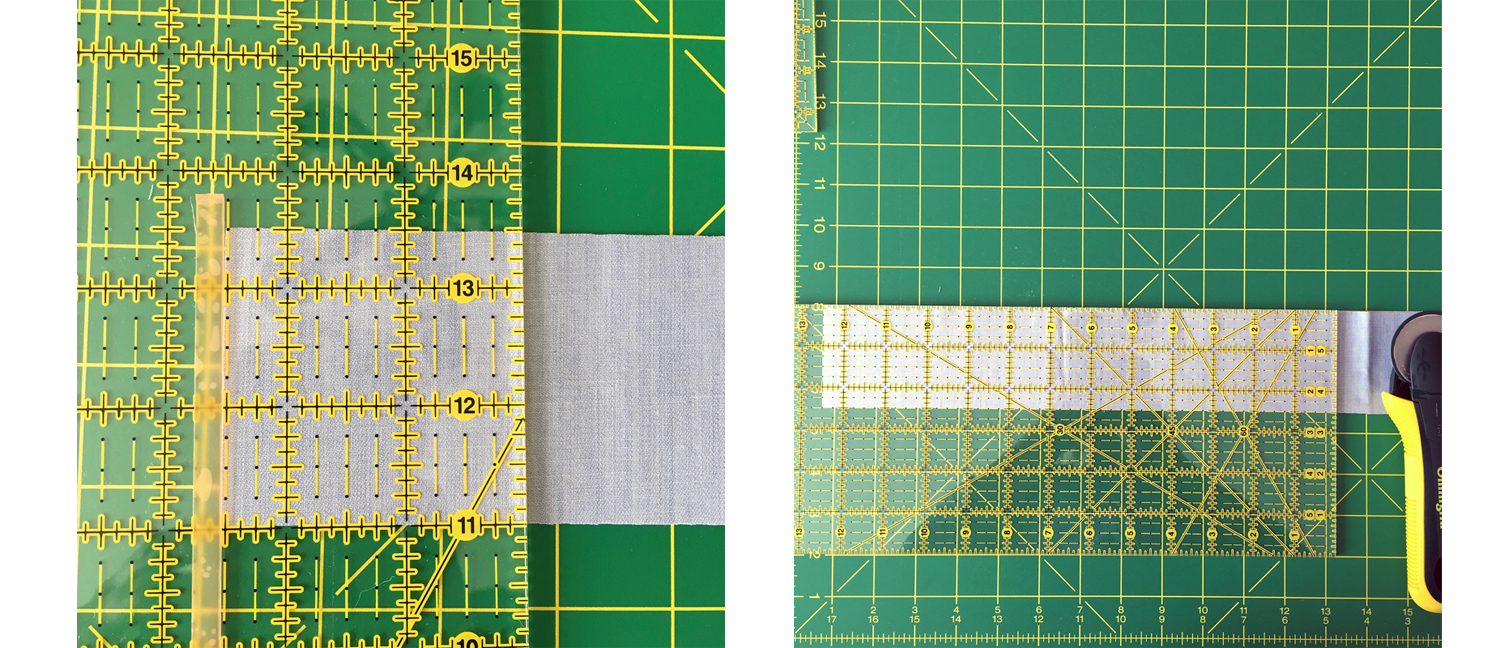
6. Cut width of strips according to pattern by aligning the vertical markings on the long ruler with the straightened fabric edge, using the horizontal markings for the desired strip width. Tip: Add Glow-Line™ Tape onto your ruler to mark the strip size for quick reference. Hold the ruler in place with your left hand and walk your fingers up the ruler to keep even pressure on the ruler when cutting through the layers to make a strip. If you are left-handed the steps for rotary cutting are the same; except you cut from the right side of the fabric instead of the left.

How to Sub-Cut Strips
Cutting quilt block pieces from strips is a time-saver and makes the piecing process easy because you're working with accurate-sized shapes.
1. Place a folded strip on the cutting mat in front of you horizontally with folded edge on your right (on the left if left-handed). Use a ruler to square-off the ends of the strip, removing the selvage edges.
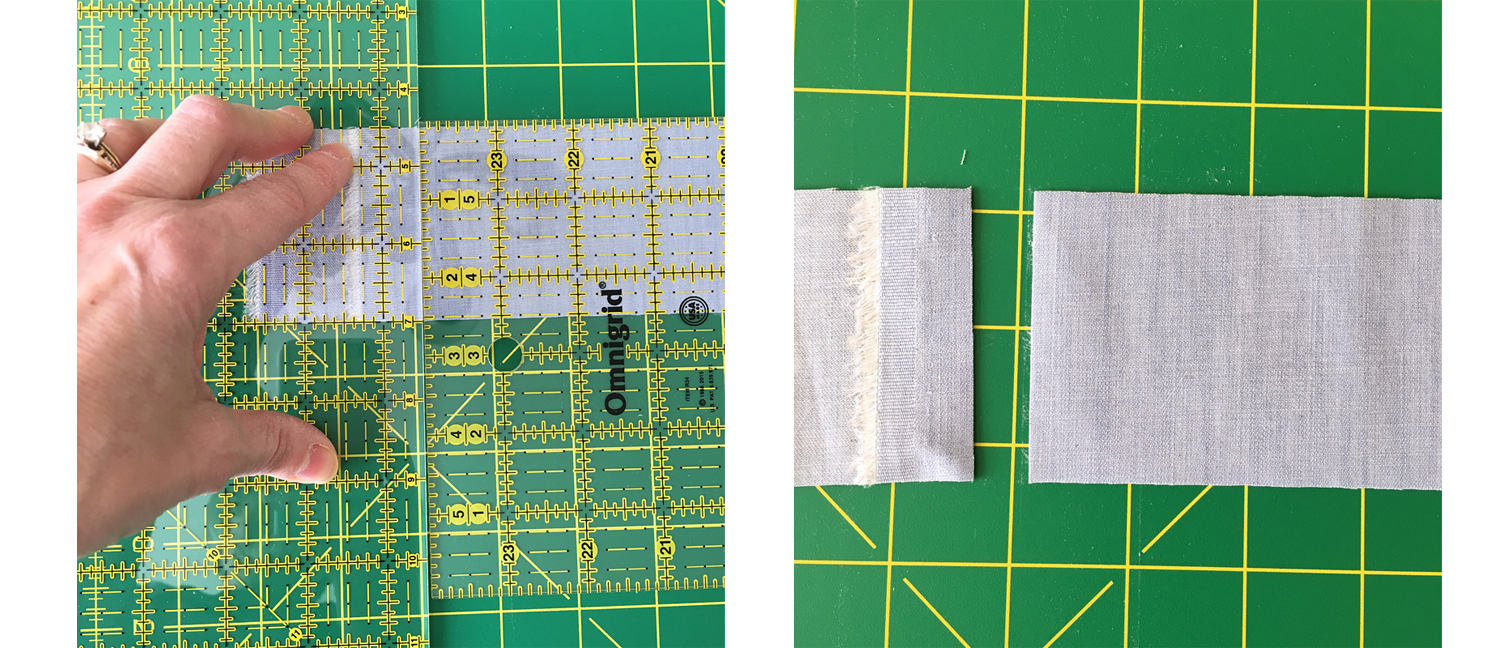
2. Align the straight edge of the strip with the ruler marking that corresponds to the width of the piece indicated on the pattern. Cut the number of pieces needed from the fabric strip(s), opening the folded end, if necessary, to cut a single layer of fabric. For strips longer than my ruler is wide, I rotate the ruler, running the long side even with the long side of the srtip.
Seam Allowance
Patchwork pieces are cut with an additional ¼'' seam allowance on all sides. The cutting instructions for all the Sewcial Bee Sampler blocks have already included the seam allowances.
The term finished block or finished size refers to a block once it's sewn together. This reference no longer includes the seam allowances in the final measurement. A finished quilt can vary in size from the actual given size on the instructions because of variations in sewing, quilting, and shrinkage. Before we sew the Sewcial Bee Sampler blocks into the sashing setting and finish our quilt top, all the blocks (with framing, if applicable) should be measuring at an unfinished 12-1/2" square.
Checking the accuracy of your ¼'' seam allowance before you start sewing is an important first step in achieving perfect patchwork. If your seam allowance is off, too wide or too narrow, by even a fraction these small amounts can add up to significant differences when piecing blocks and assembling a quilt. Stitching with a ¼'' presser foot does not guarantee an accurate seam allowance and a test should be done to understand what adjustments, if any, are needed before beginning your patchwork project.
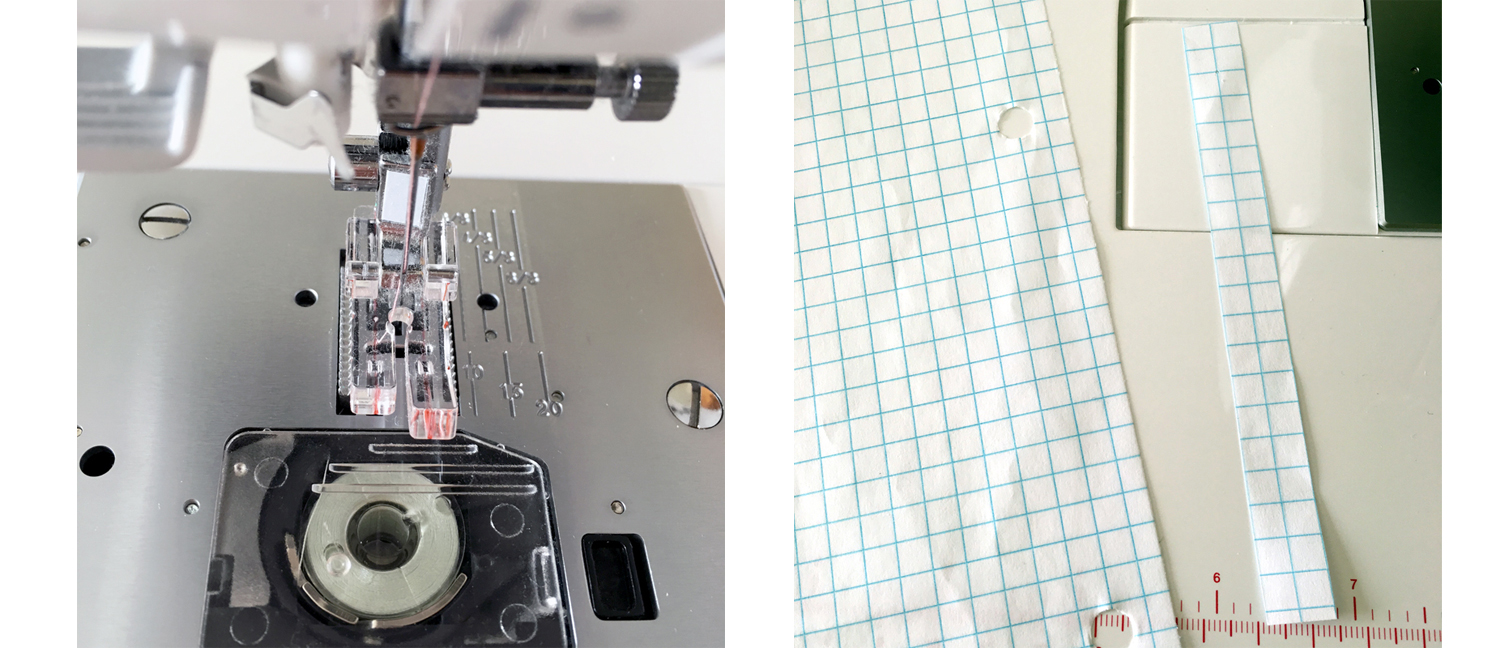
An easy way to see if your sewing machine is hitting the ¼'' mark is to place a sheet of quarter-inch rule graph paper under the needle on your machine and lower the needle to where two perpendicular lines intersect and cross. If the right edge of the presser foot aligns with the closest quarter-inch mark then no further action is needed.
If you don't have a proper ¼'' presser foot, you can always mark out ¼'' seam allowances using a specially marked ruler. This works well for marking stitch lines when sewing half-square triangles, but can be time consuming.
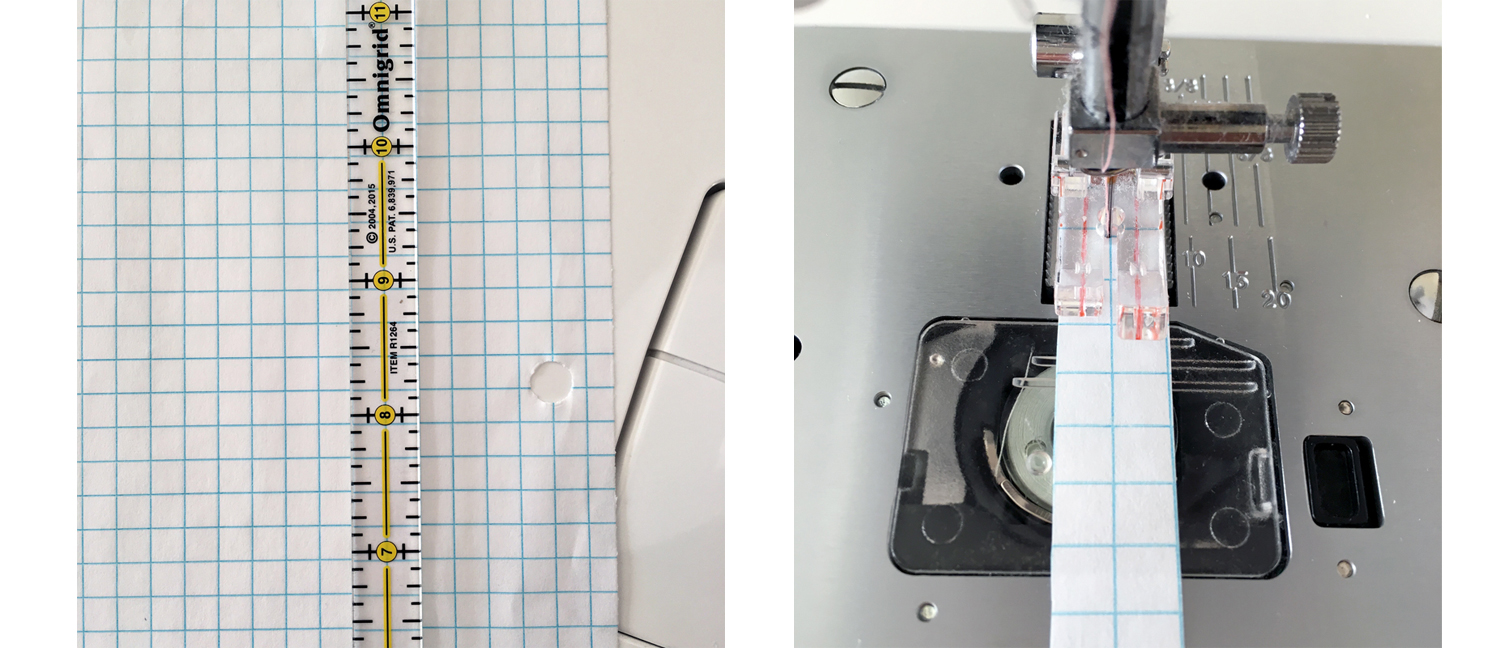
To adjust your sewing machine, try these steps: If the right edge of the presser foot extends beyond the nearest quarter-inch mark and your machine has the ability to move the needle side to side adjust the needle position to the left until the right side of the presser foot aligns at the quarter-inch mark. Make note of this adjustment and reset your needle position each time you need a ¼'' seam allowance for sewing. Likewise, if the initial position test shows the presser foot to the left of the mark move the needle position to the right to adjust placement.
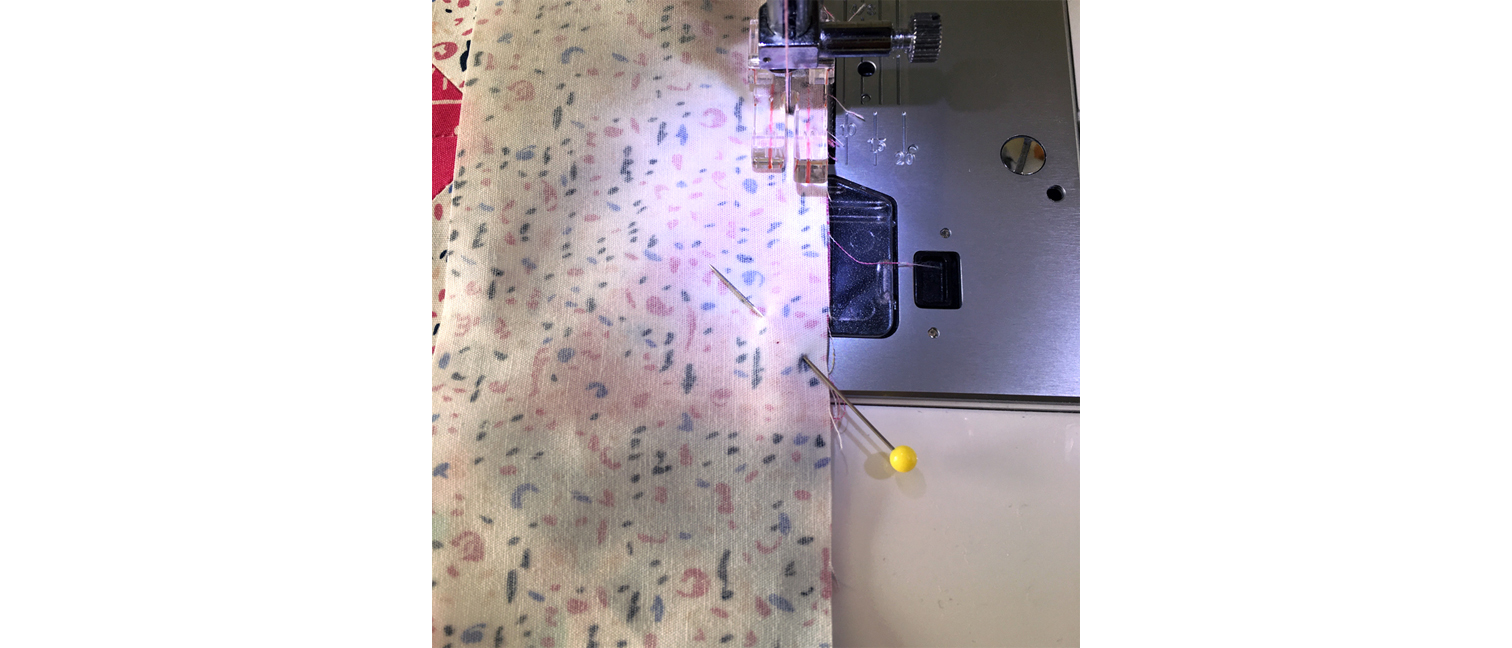
If you are unable to re-position your sewing machine needle then placing a temporary tape guide on your sewing machine the throat plate will help you keep the edge of your patchwork straight and aligned for accurate ¼'' seam allowances.
Next time I will give some basic pinning and pressing tips. Just remember, accurate cutting and precise seam allowances will make piecing so much more enjoyable. Less frustration means more time playing with fabrics and planning your next block!
If you've been following my posts on Instagram @sharonhollanddesigns then you know I've now started 2 sampler quilts! The second quilt will feature fabrics from my first four Art Gallery Fabrics collections: Gossamer, Sketchbook, Coastline, and Tapestry plus two new fabrics recently release in the new AGF Fusions lines. Fusions are re-colorings of the most popular AGF prints from the different AGF designers and regrouped into fresh and fun mini collections.
Don't forget to visit Maureen's blog to enter this week's giveaway (ending Monday). Wednesday we will be releasing block #3!
Happy sewing