Behind the Signature Look Book Projects Part 1 - Baby Room

Behind the Signature Look Book Projects Part 1 - Baby Room

Signature Baby Room full.jpg

There's so much yet to share about my new Signature fabric for Art Gallery Fabrics. It's such a fun collection I want to take extra time and a more intimate look at my projects that went into the AGF Signature Look Book (plus the ones that never got their time to shine on the virtual pages). 

Hexie Turtle.jpg

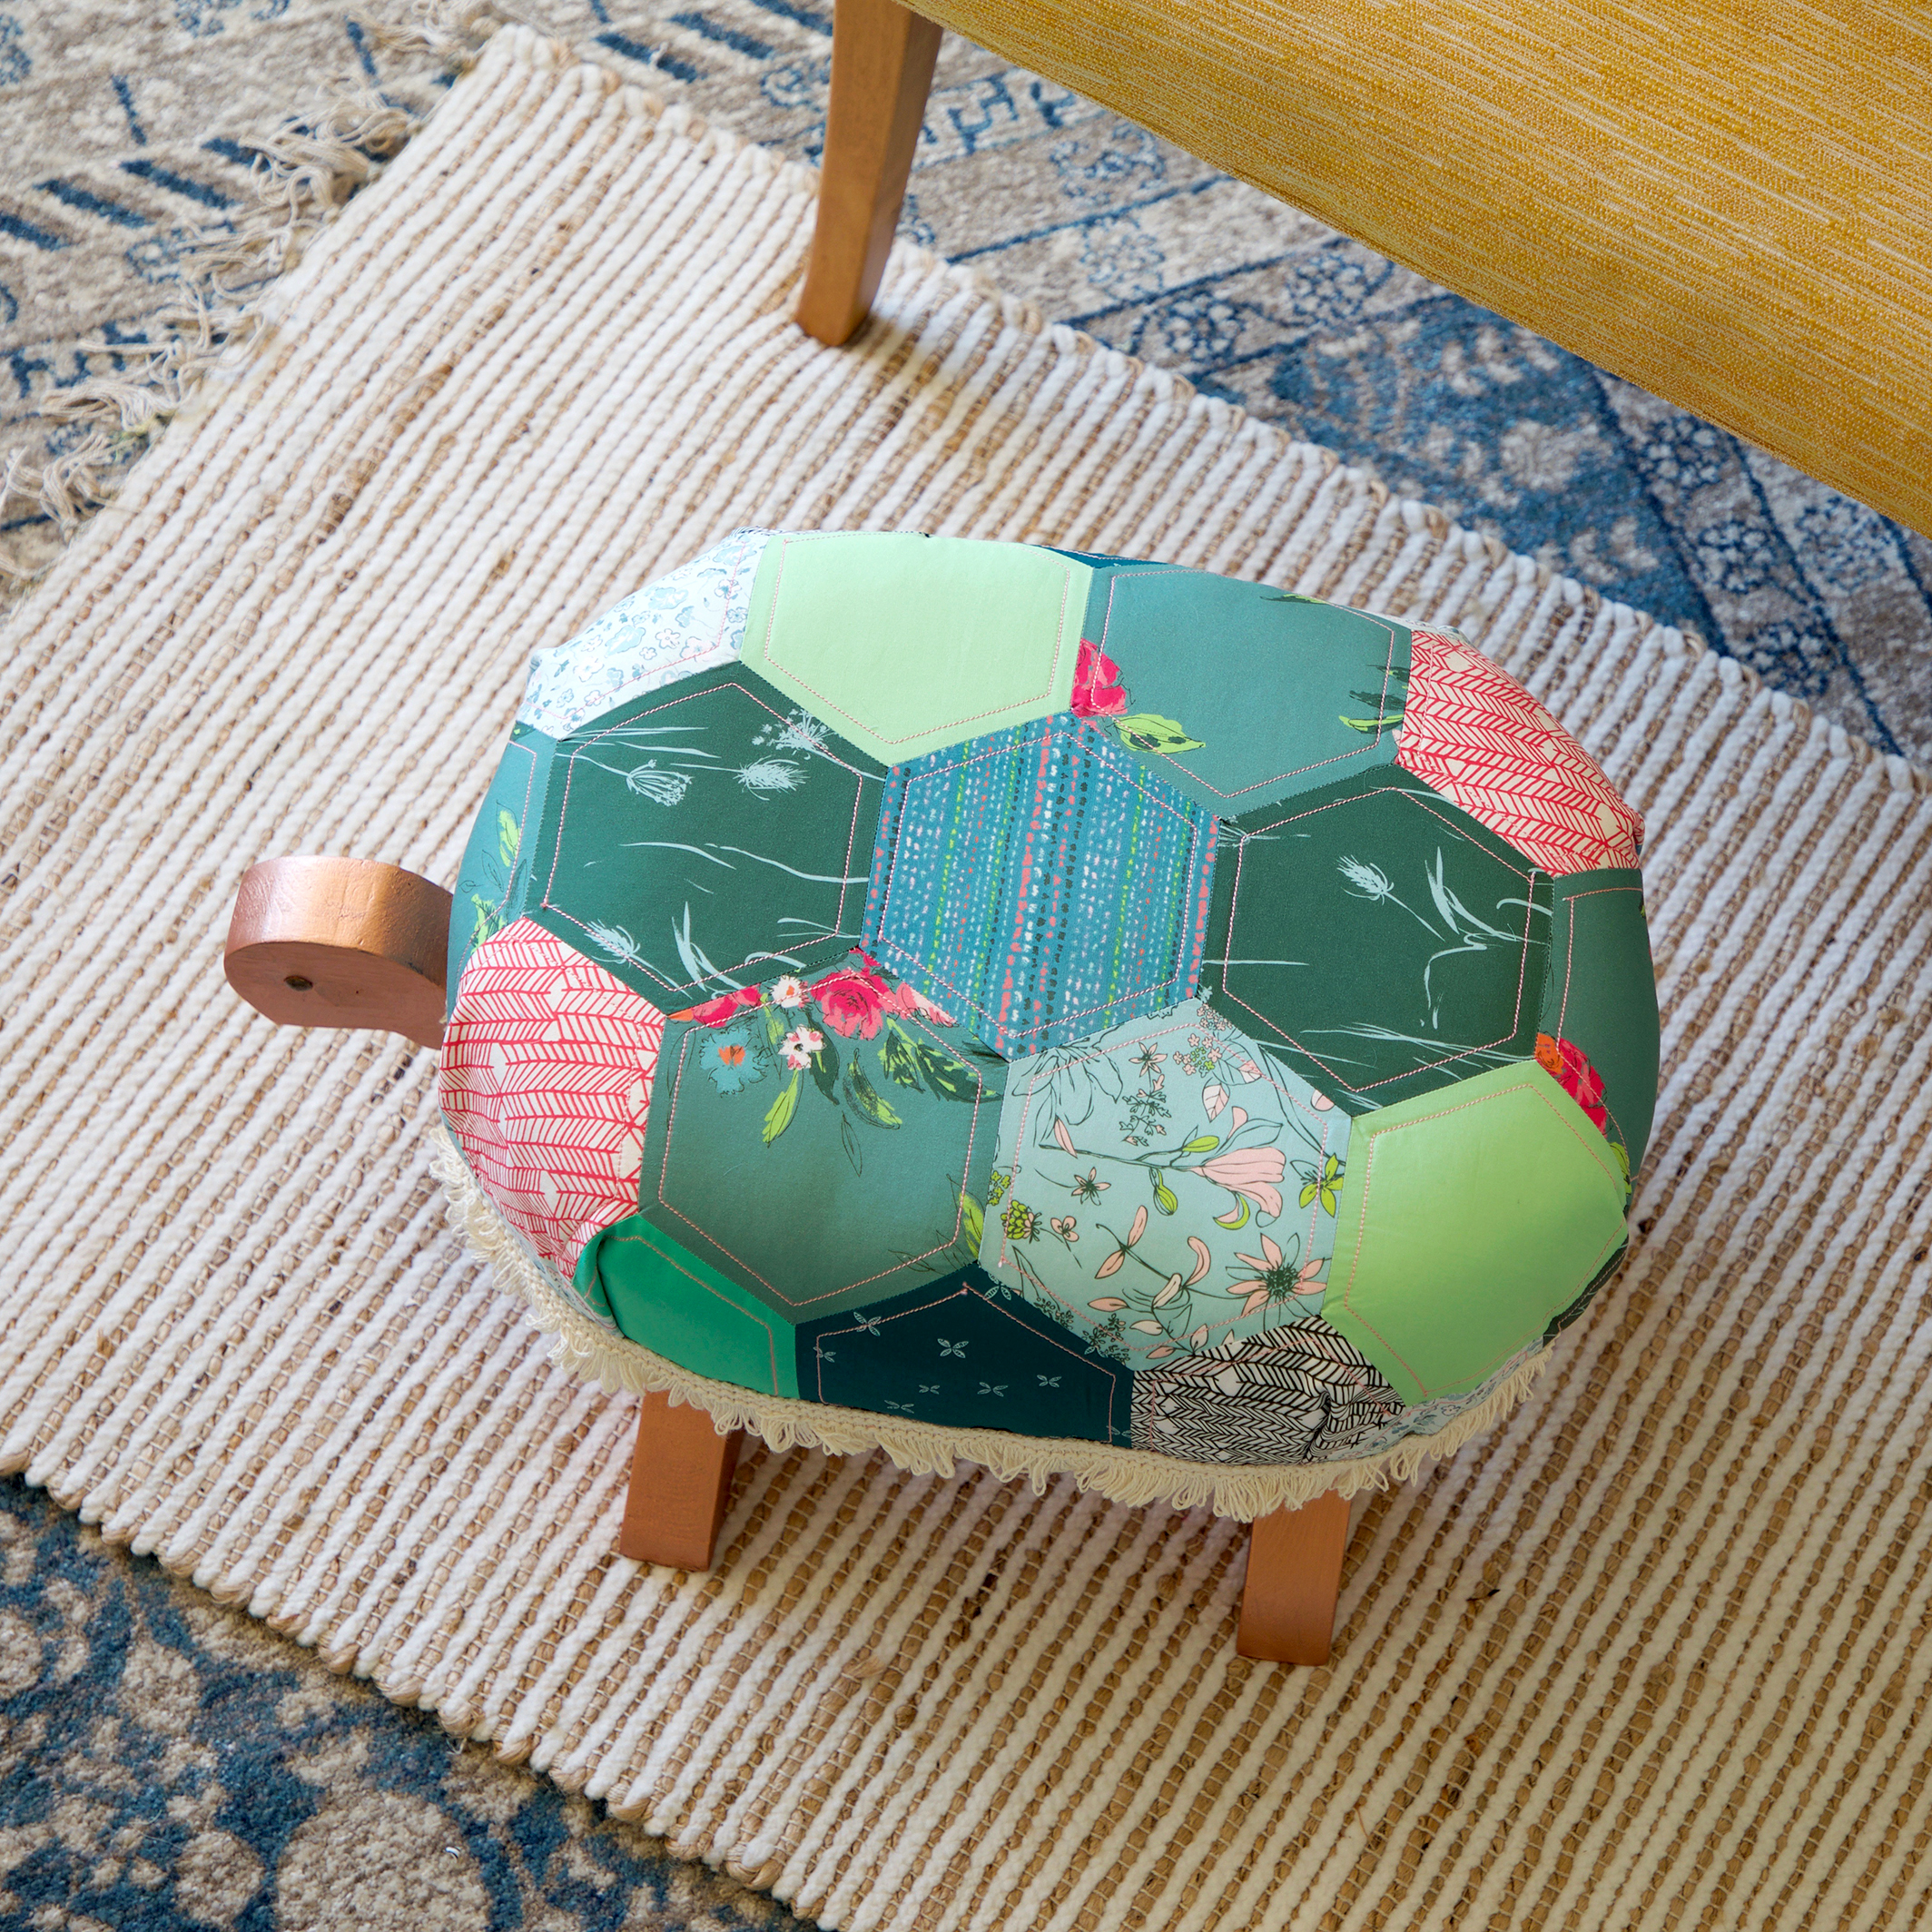
First, the Hexie Turtle, come on, how adorable is this!!!! 

Hexie Turtle 2.jpg

I picked up this homemade footstool at a garage sale. This footstool was really pretty ugly when I first saw it and actually left the garage sale without it only to think about it more and return later to still find it there. Once I thought about making a hexagon patchwork cover for the stool THEN I could see it's value! 

After taking off all the UGLY upholstery and heavy fringe, I spray painted the brown painted wood copper for a little bling. I used Red Pepper Quilts Hexagon Tutorial for how to sew hexagons together and made a large enough patchwork to cover my turtle.

A little bit of vintage fringe in a more appropriate scale for the stool and the results are nothing less than magical!

Signature Footstool 1.jpg

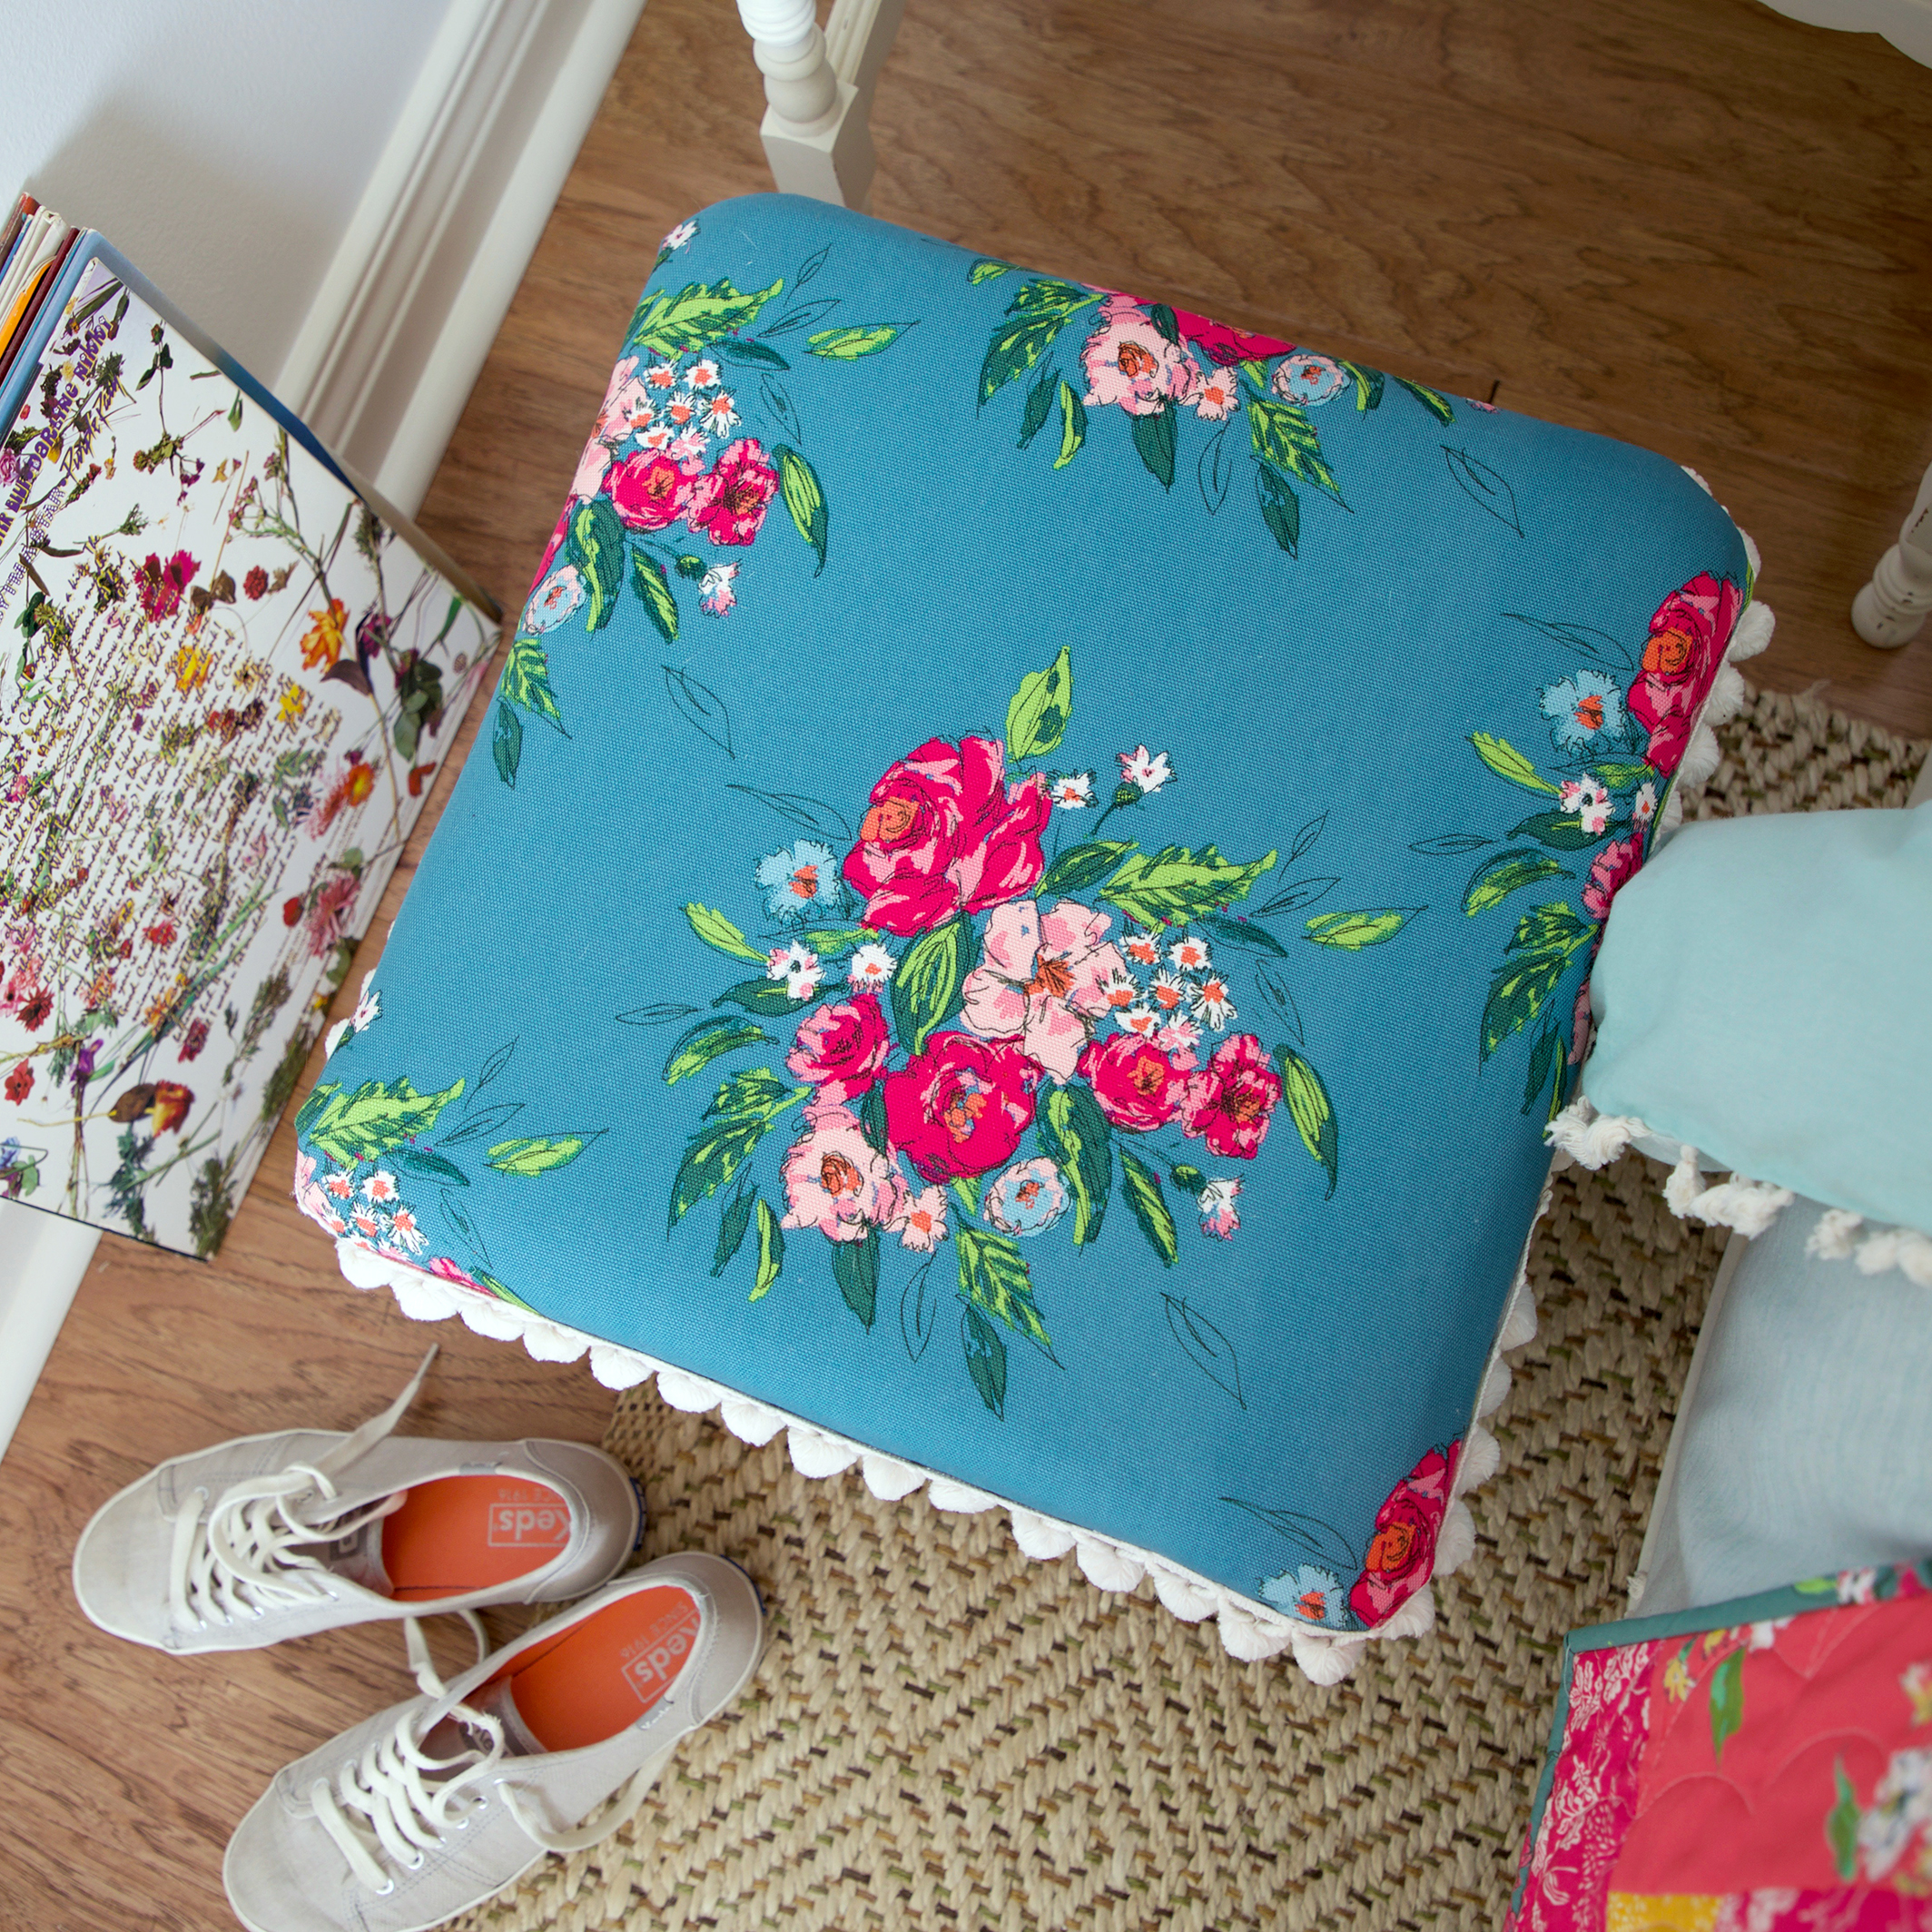
Another footstool makeover happened to a piece I already had around the house. It too is a vintage, homemade stool I picked up at a yard sale years ago. It's now looking fresh and new with it's Signature Extempore Gala canvas top and vintage pompom fringe.

Signature Fabrics Canvas footstool.jpg

Cute, huh?!!! For a tutorial on how to make the Hoop Art hanging above the chair, see my Signature Butterflies post.

Signature Fabrics Baby Room 2.jpg

You may have noticed the fun floor lamp with the Flora and Fauna Hidden fabric lamp shade? Yup, I recovered a vintage lampshade for the most adorable coordinate for this baby room. 

BG0A5570.jpg

This is my second time recovering this shade and it's even more special this time being finished in my own print. For an idea of how I made a new cover for this shade, visit the Craft Stylish tutorial.

Signature Fabrics Floor Lamp.jpg

What a great way to customize the look of a room!

Dritz Tote.jpg

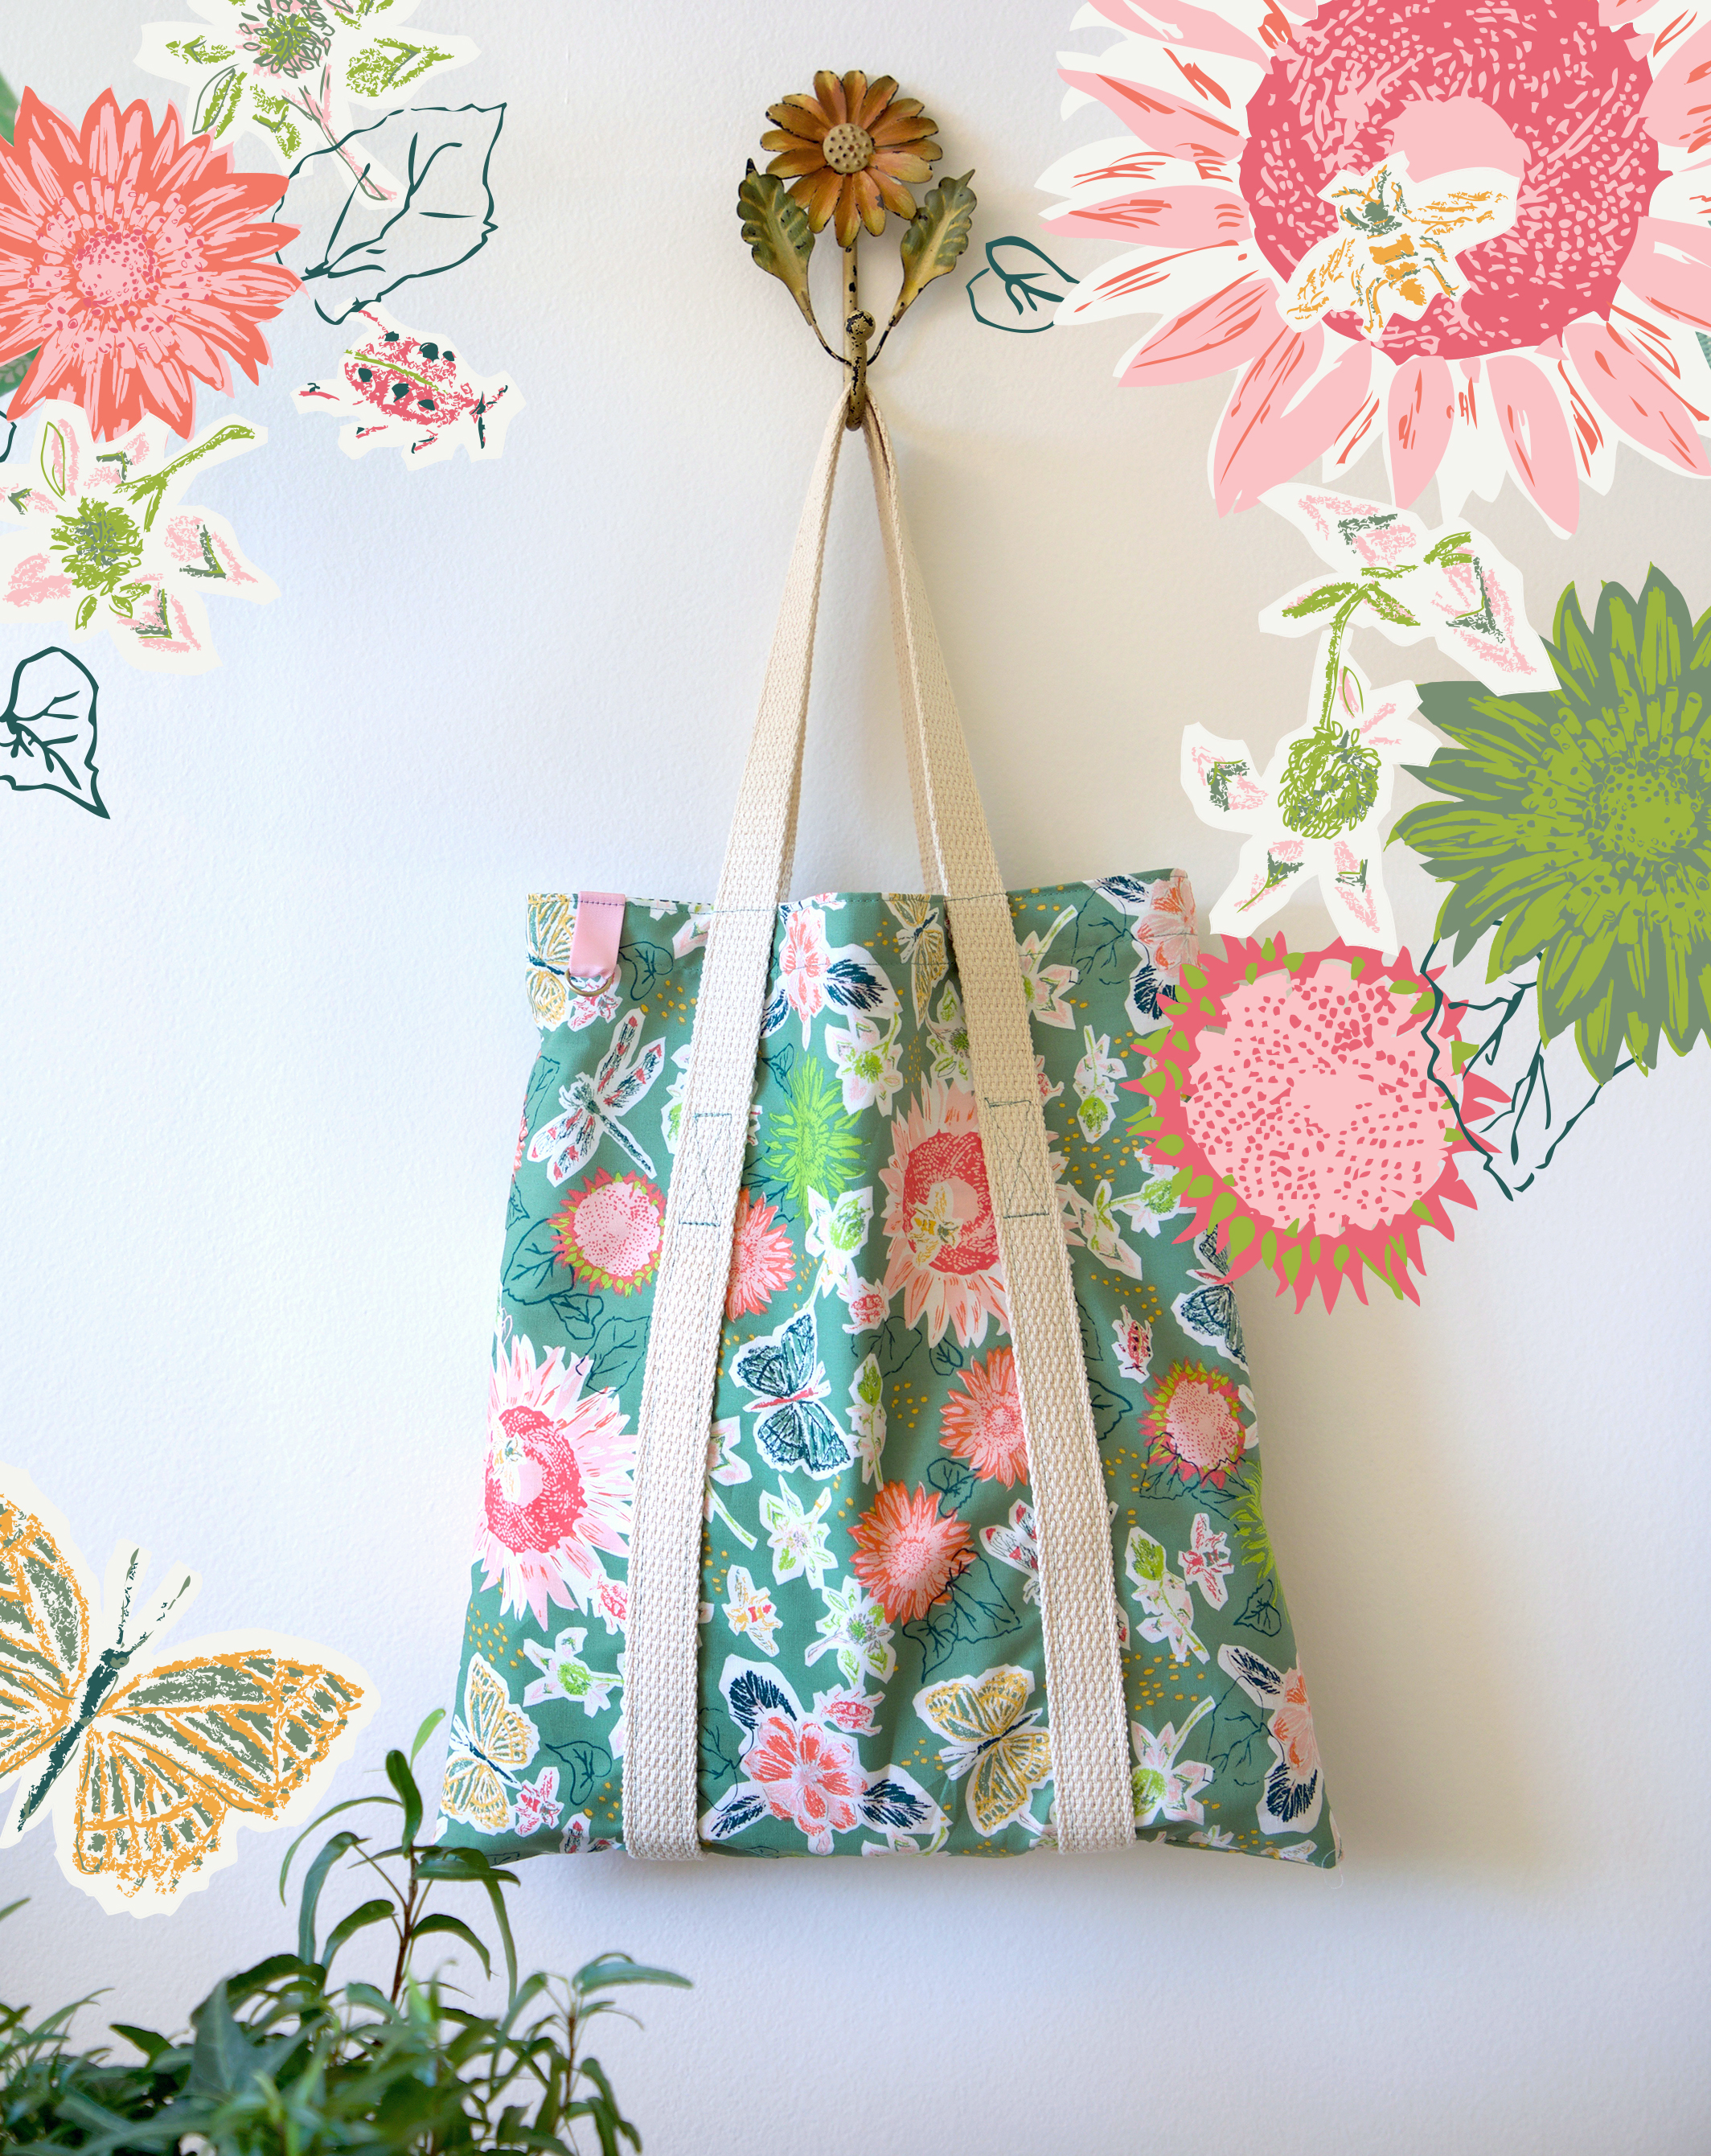
This adorable tote bag made in Small World Sprightly print from Signature is a free pattern from Dritz Sewing. My bag is based on one of 20 different ways Dritz has used a basic tote bag and jazzed it up with their incredible assortment of bag hardware and Dritz sewing accessories. 

Discover oodles of amazing projects on the Dritz blog. I'm so honored they have featured my free Bucket Bag pattern on their Make Something Dritz blog: Favorite Finds: Bucket Bag Sewing with Signature Fabrics from Sharon Holland.

I'm so pleased that Dritz and Omnigrid will both be sponsors of the My Signature Sampler sew along!

Tote and Pencil Pouch by Sharon Holland.jpg

Instead of using the canvas from my collection I sewed my tote with quilt-weight cotton. To give the bag more body I made two exterior bag shapes per the Dritz tutorial and used one for a lining which I added a big pocket before assembling into a lined bag. I simply slipped the lining, wrong sides together into the exterior, added a ribbon loop with Dritz D-ring to the upper edge and sewed the seam allowance turned-under edges to close. 

Signature Pencil Pouch.jpg

The fun coordinating Pencil Pouch is a free pattern on my Free Patterns page. It's the perfect size for supplies and fits into a 3-ring binder with the Extra-Large Eyelets from Dritz Sewing. I love their antique brass finish! For even more fun, add a tassel with the easy-to-use Tassel Cap, also from Dritz. 

Photo by Sharon Holland Best Children's Books.jpg

There's more Signature Baby's Room to share by I'll save that for next week's Part 2. 

Signature Stack 2.jpg

If you're wanting to sew with Signature fabrics ask for them at your local quilt shop or shop online. Hawthorne Threads just restocked their supply and has the full collection plus bundles available. Other favorites like Fat Quarter Shop and Needle in a Fabric Stash also carry the full line. Find these fine shops and more listings on my Fabrics page.

See you Friday when I post my next block in the My Signature Sampler and announce the next great giveaway!

Signature Look Book

Signature Look Book

Spontaneous quilt designed by AGF Studio (free pattern)!

Spontaneous quilt designed by AGF Studio (free pattern)!

It's such an exciting day when Art Gallery Fabrics publishes the Look Book for a fabric collection and even more exciting when it's my Signature fabrics!

Signature fabrics can be found at your local quilt shop (or if not, be sure to ask for them to be stocked!) and online fabric shops like the ones listed on my Fabrics page

Find sewing inspiration within the 68-page Signature Look Book filled with beautifully curated projects and images.

Image courtesy of Art Gallery Fabrics

Image courtesy of Art Gallery Fabrics

Floral summer dresses for that comfortable yet always put together look are a fashion must this year!

Discover cute bag and tote ideas and show off your Signature style!

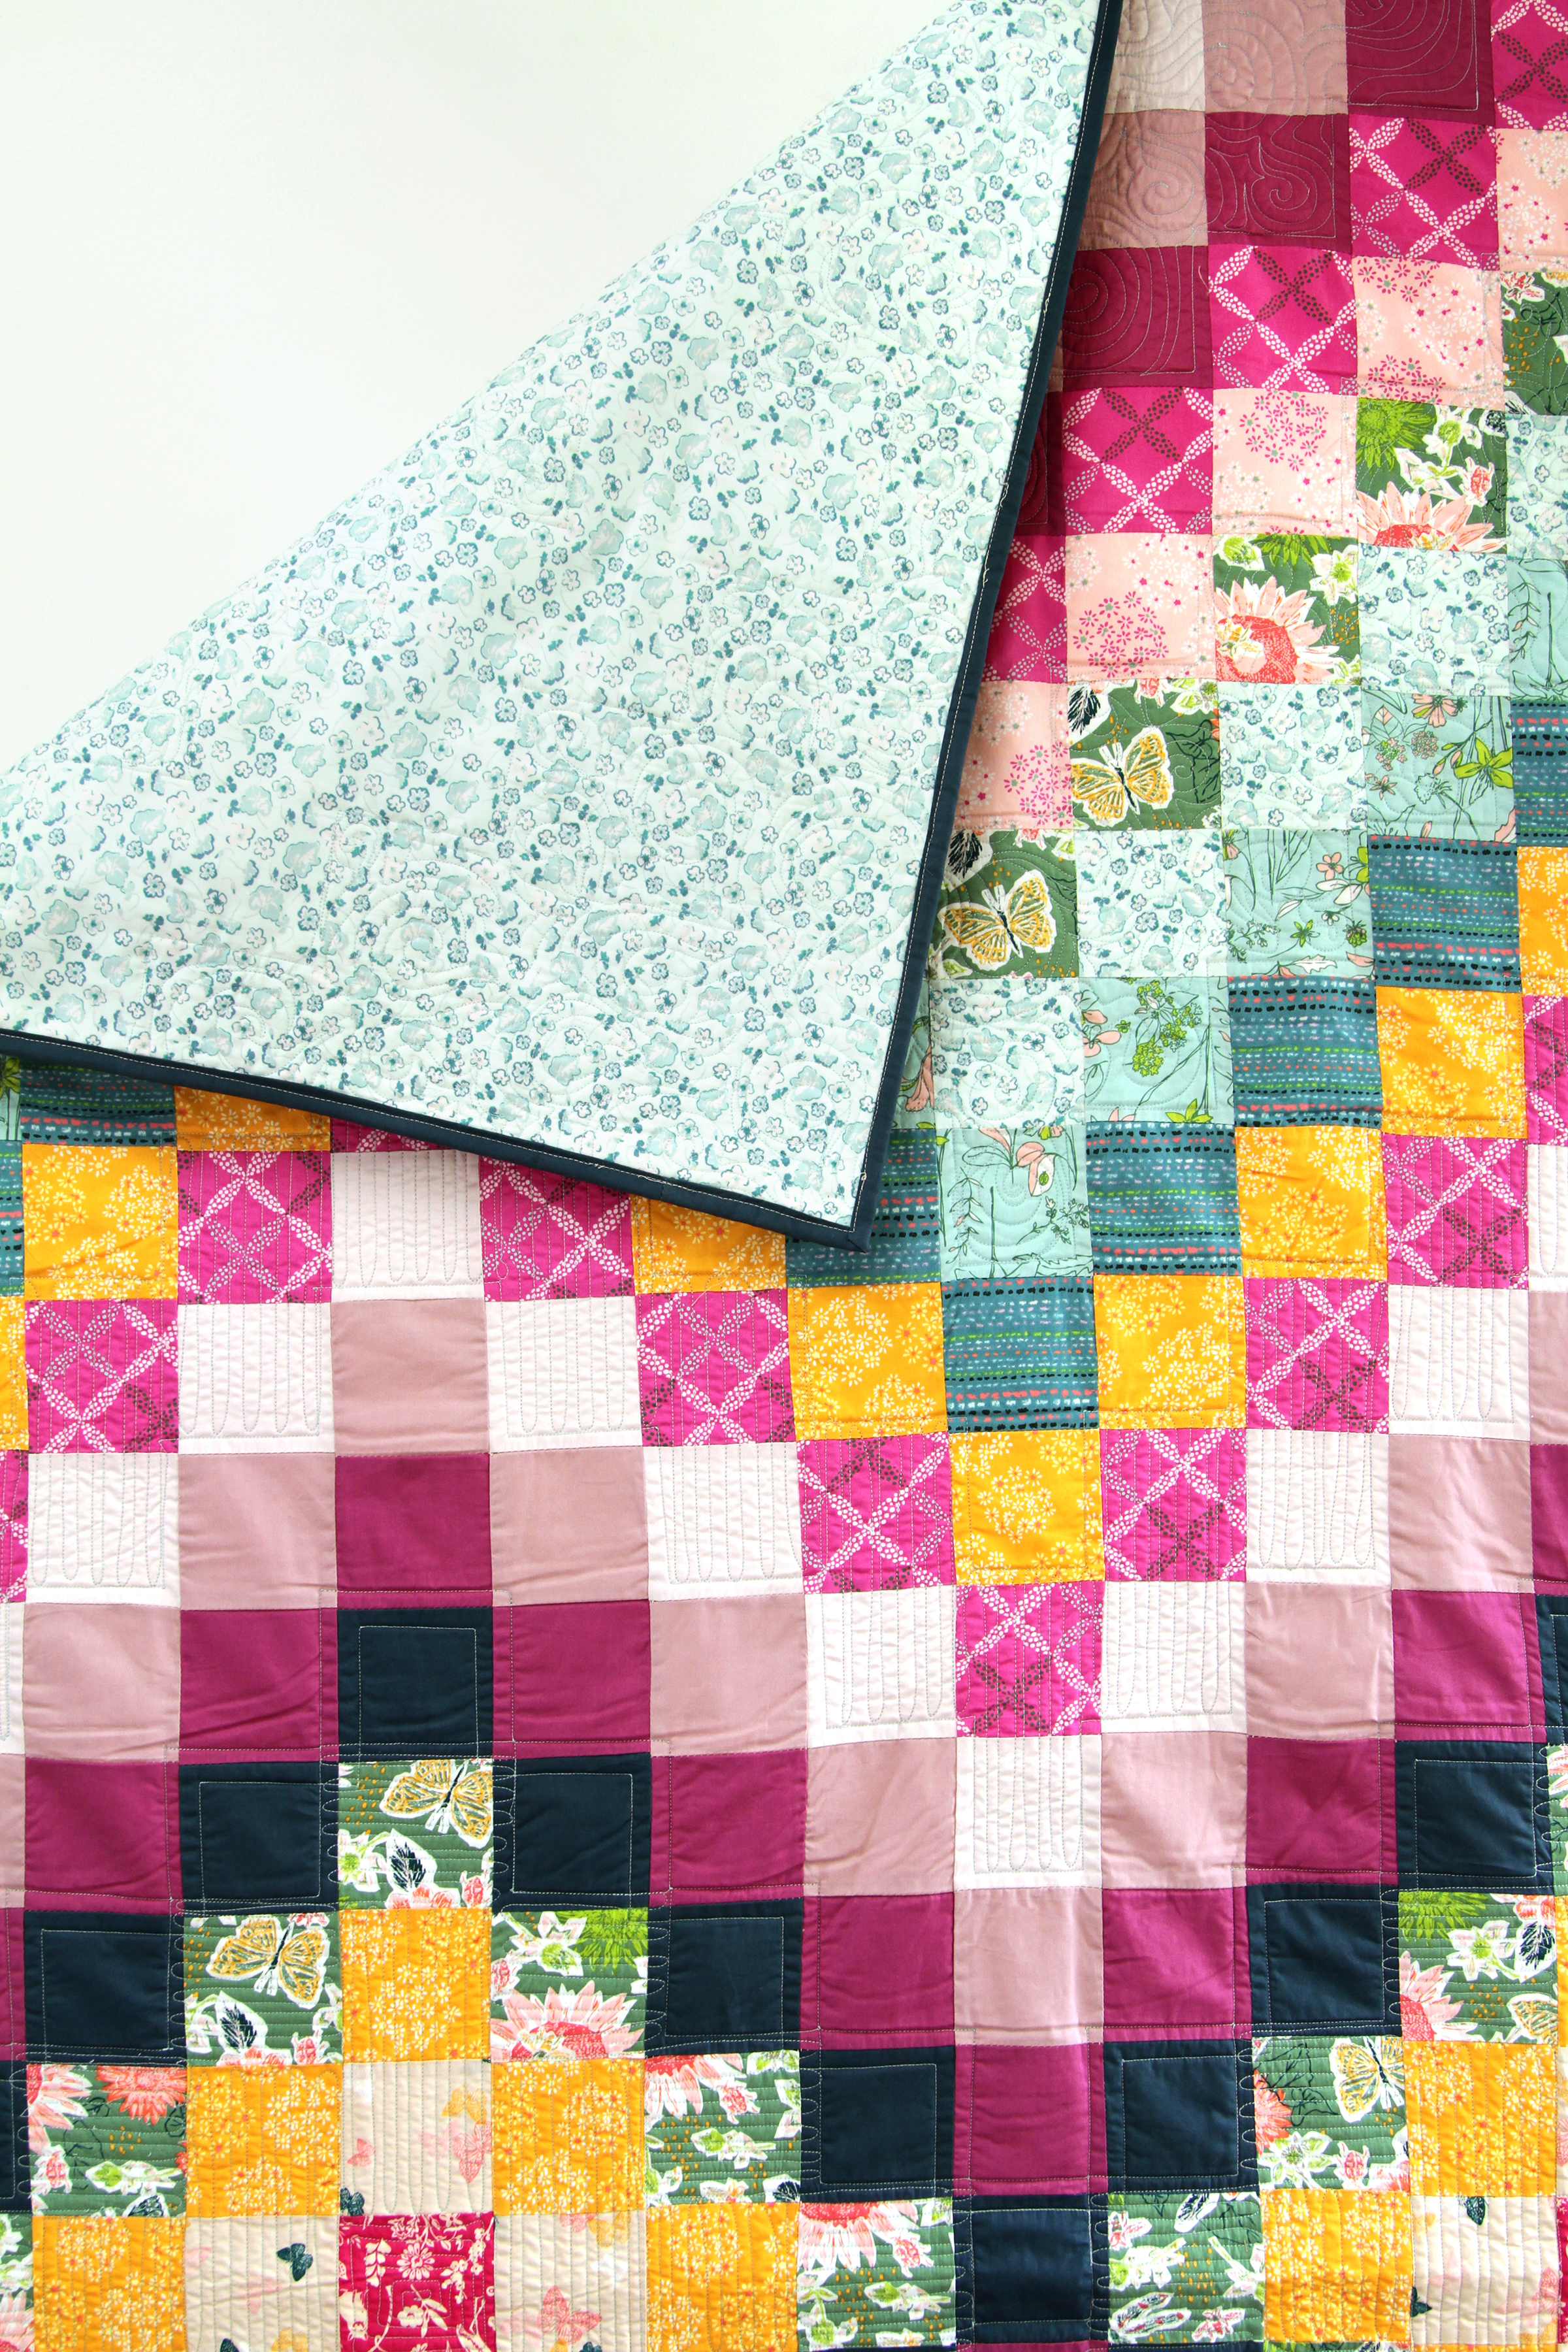
Let's not forget the quilts! Download the free Sunflower quilt I designed for this collection or the gorgeous Spontaneous quilt designed by AGF Studio. 

My Signature Sampler Graphics Sq.jpg

I've been wanting to sew a second sampler with my Signature fabrics ever since my pretty bolts arrived and have come up with an idea for a low-pressure, summer to fall sew along that will be as fun for me as it will be for you. 

Starting this Friday for 17 weeks, I will host the My Signature Sampler sew along. Every Friday will be show and tell of a block plus the weekly giveaway all in one post. More details this Friday June, 22nd. If you want to get a jump on the Instagram hashtag pool, share the above sew along graphic along with the #mysignaturesampler hashtag. Follow me on Instagram @sharonhollanddesigns for inspiration and IG giveaway information. 

For a chance to win a bundle of Signature fabrics, visit the AGF Blog and enter to win!

Star Light Quilt

Star Light Quilt

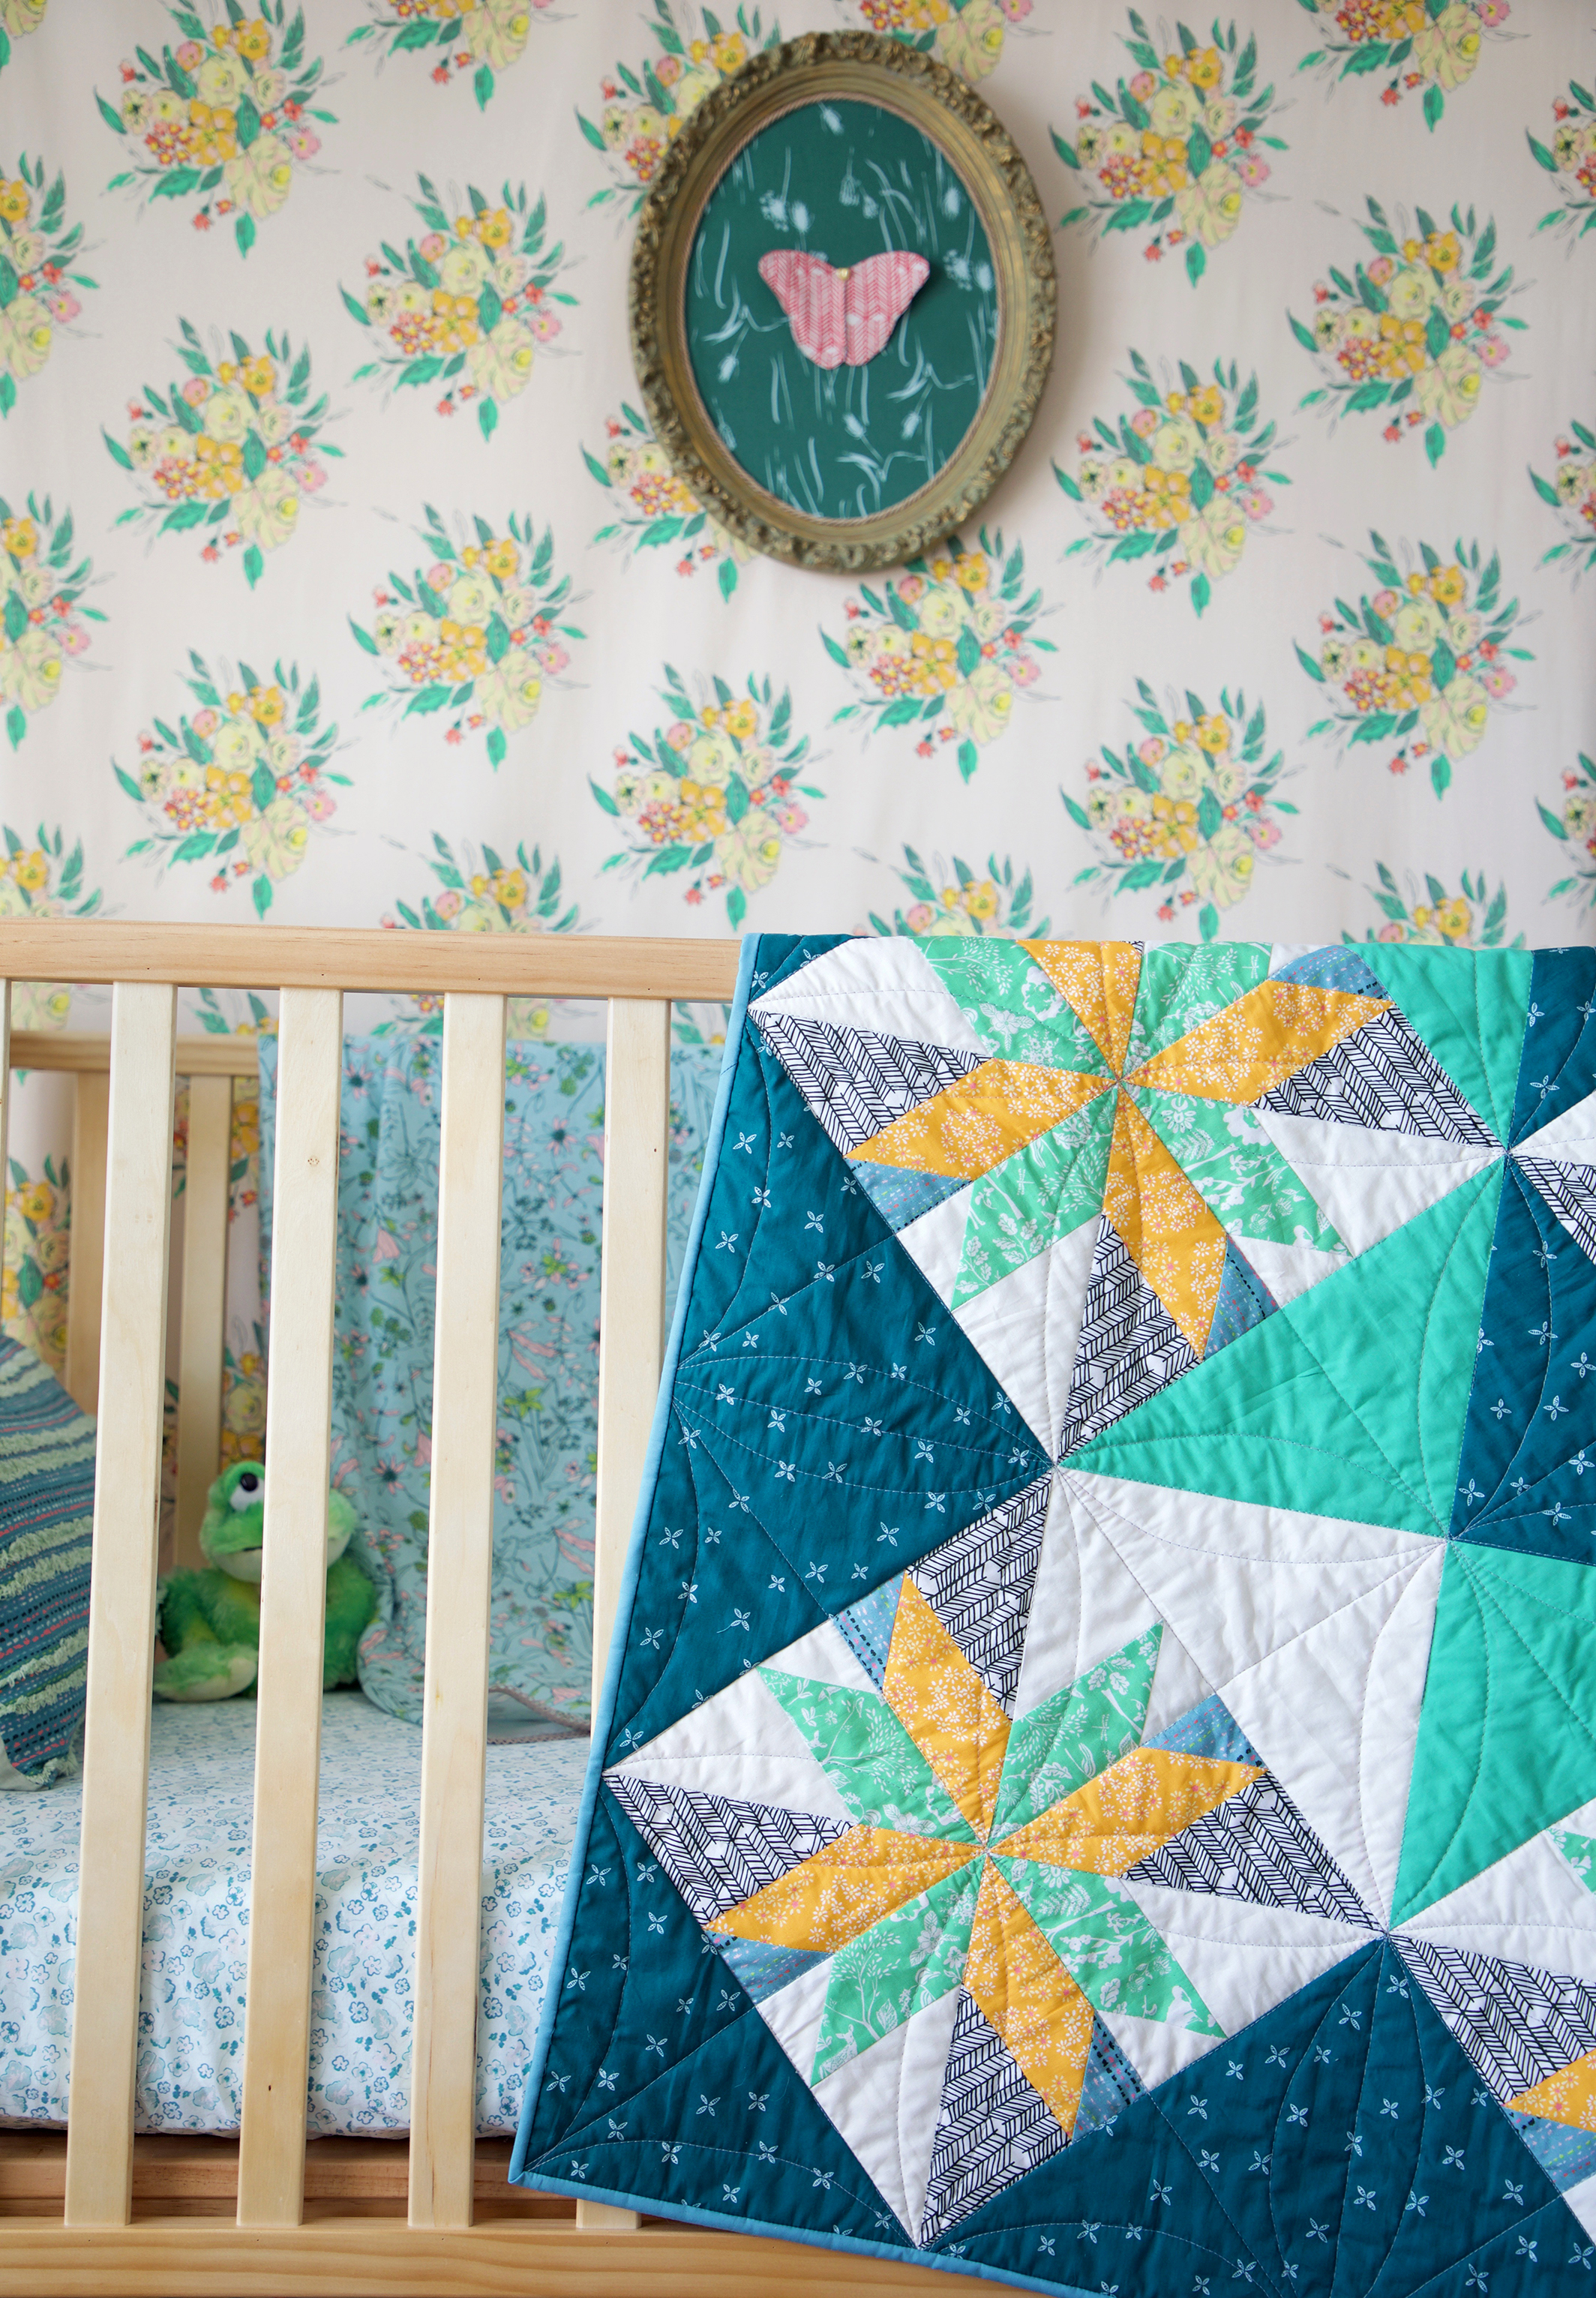
Star Light quilt on crib.jpg

The very first time I made this star block was for the Community Sampler Cactus block and knew then and there I wanted to eventually make a quilt using just this block.

When sewing for my new Art Gallery Fabrics collection called Signature I designed projects around themed rooms and one of the rooms was to be a baby room which would be the perfect look for the Star Light quilt born from the Cactus block!

Star Light sq web.jpg

This gender-neutral design is perfect for any baby and is a generous 50'' square finished size. I consider this an intermediate project but with my tutorial on piecing the star block and other tutorials of Quarter-Square Triangle Units and working with directional prints, I feel even a beginner could make this quilt with a little extra attention paid to accurate seam allowances and cutting and a care with the trickier aspects of this design.

materials-01.jpg

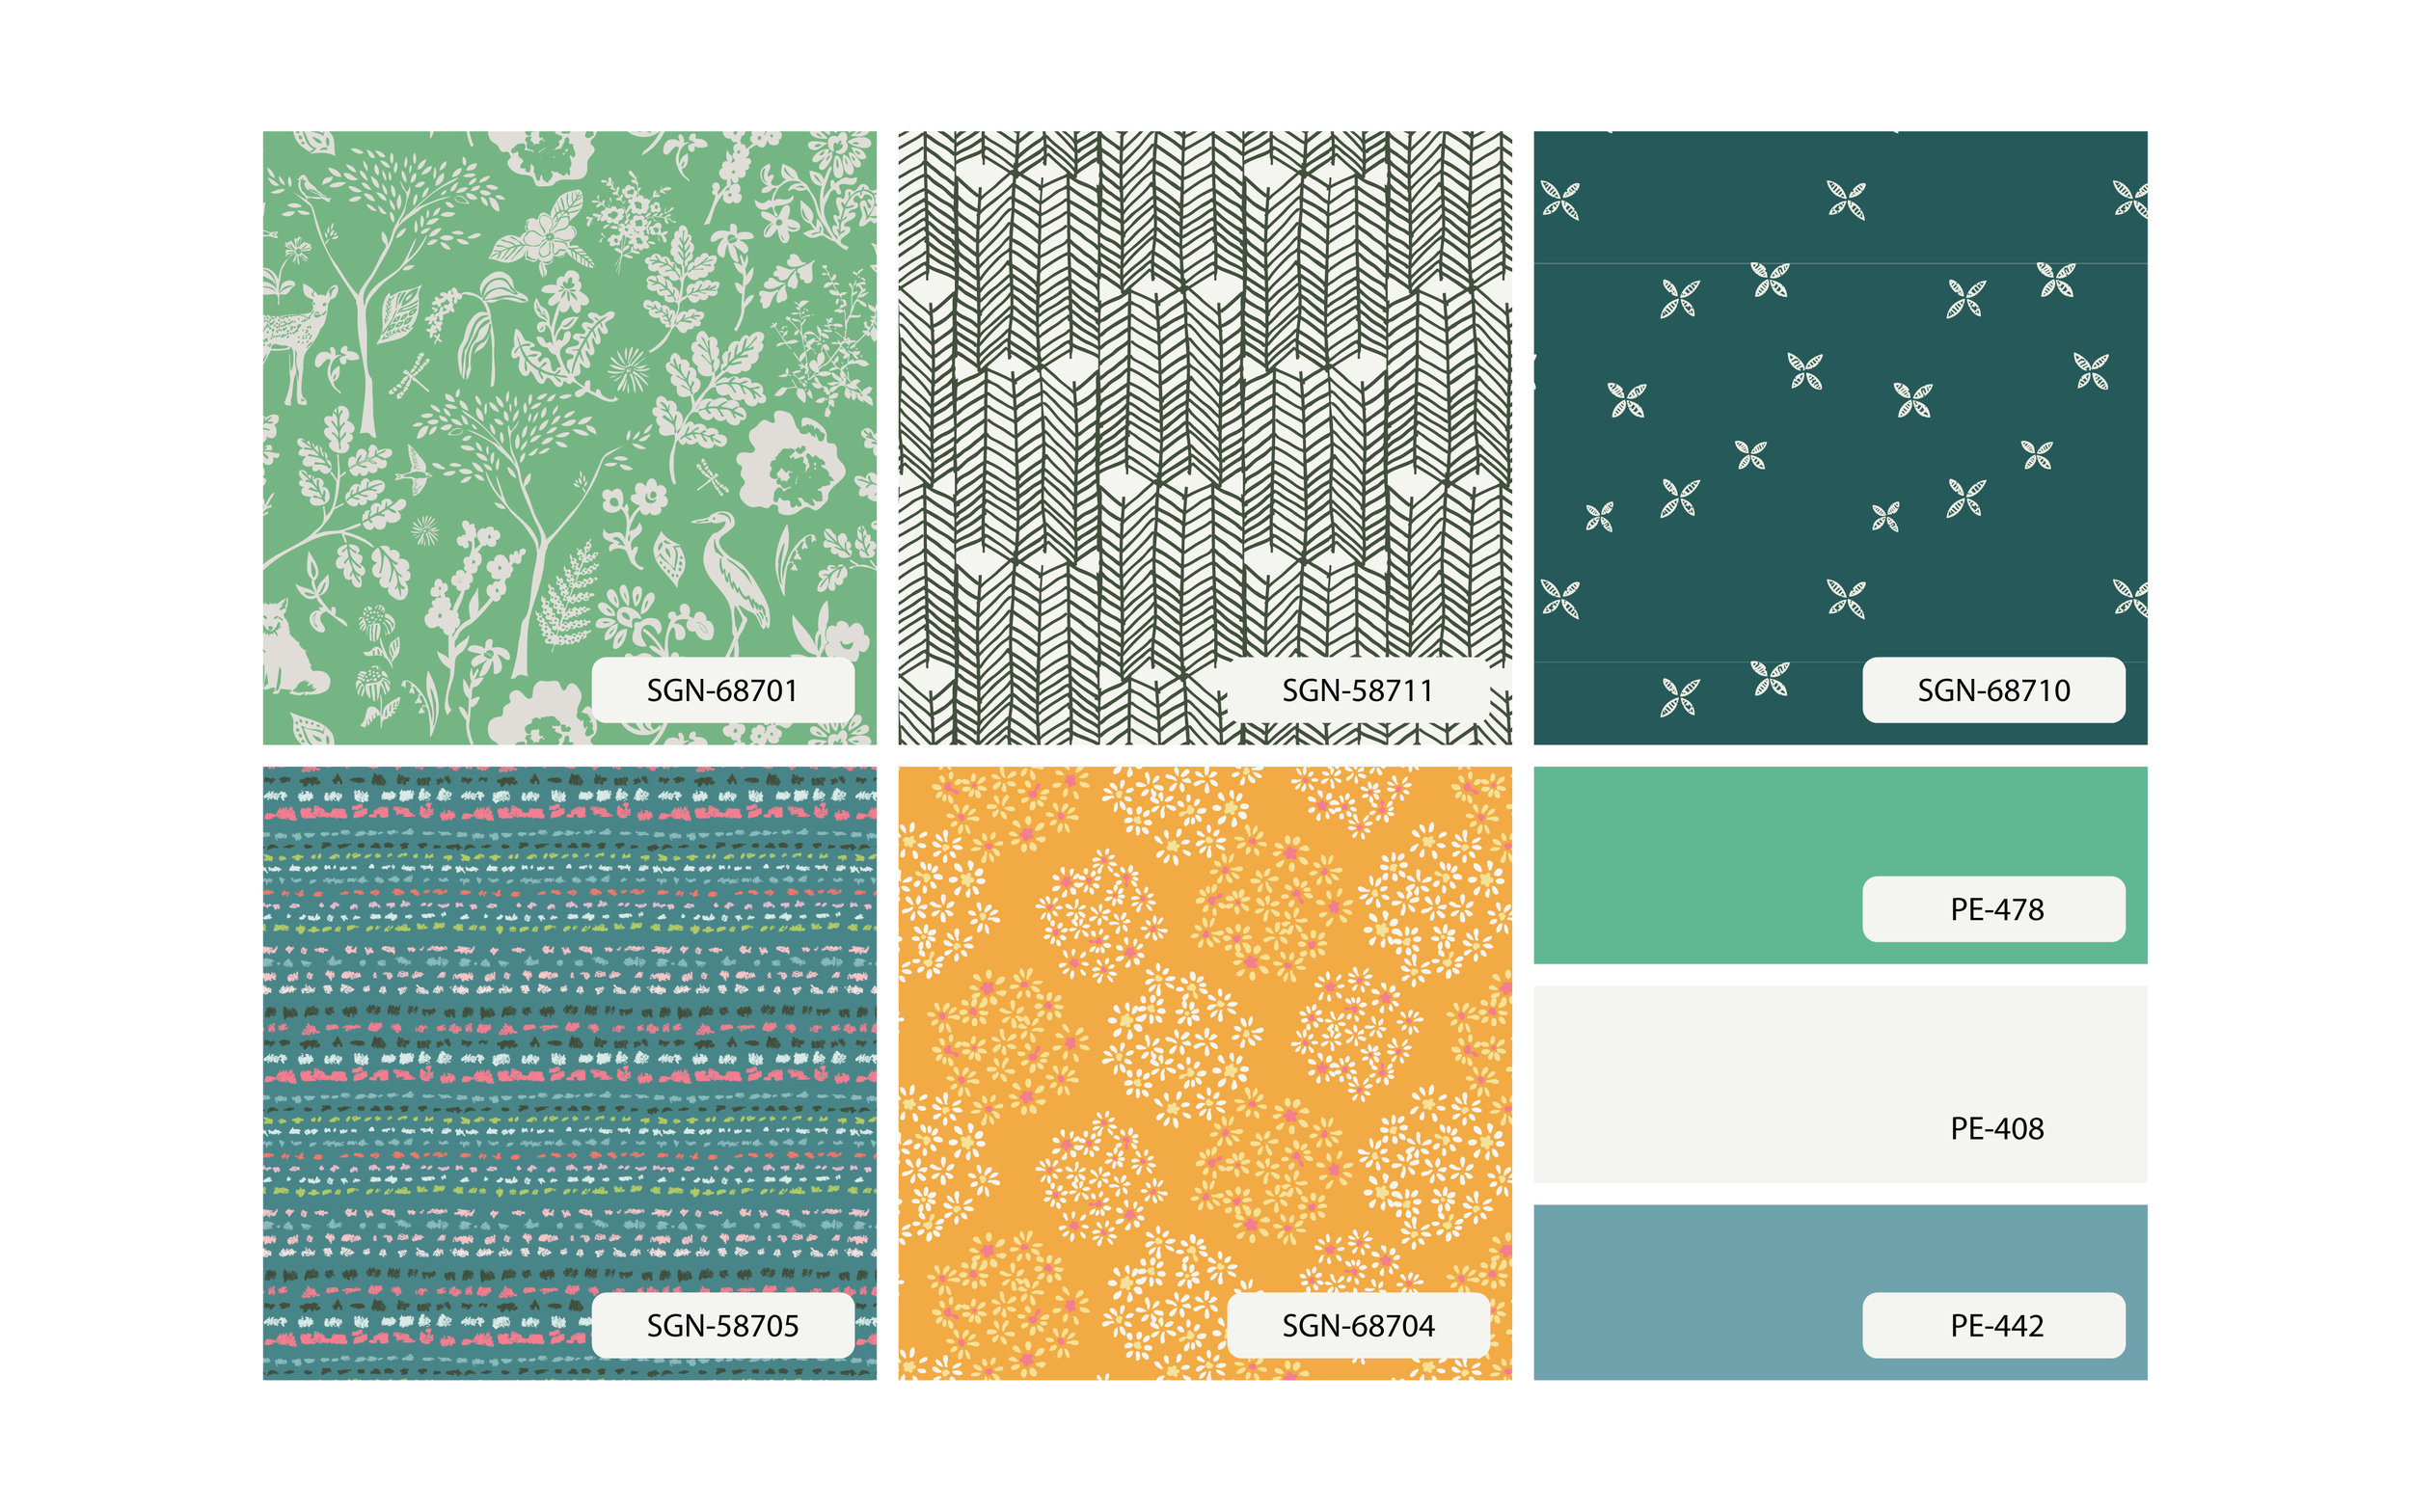
For my nature-loving baby I selected Signature prints and Pure Elements solids in a green, teal, and golden yellow palette that made me think of being outdoors on a summer's evening, chasing fireflies and looking at the stars. 

BG0A7036.jpg

This week Art Gallery Fabrics will be virtually publishing the Signature fabrics Look Book and it will be packed full of beautiful projects made with my Signature collection. To celebrate the Look Book and collection I've added this Star Light baby quilt pattern to my Free Patterns page

Download the free PDF pattern for full instructions and illustrations for piecing this large baby quilt. I've also included a Quilting Diagram for how I machine quilting my quilt. This is a nice size for quilting on a domestic machine. 

I used Hobb's Tuscany Silk Batting to fill my quilt and I love the lightweight, sumptuous drape it gives a quilt. Silk batting handles and launders just like cotton with very little shrinkage. 

Tip for machine quilting like I've done is to stitch all the stitch-in-the-ditch diagonal, vertical, and horizontal lines first then go back in and stitch the oval leaf shapes last.

banner_237.jpg

Be watching later this week for the Art Gallery Fabrics release of the Signature Look Book! If you're sewing with Signature and posting to Instagram, be sure to tag me @sharonhollanddesigns and use the hashtags #artgalleryfabrics #Signaturefabrics and #agfsignature so I don't miss any of your makes!

Signature Butterflies

Signature Butterflies

Signature Shadow Box Butterfly.jpg

When I was planning my projects for my new Signature fabrics collection for Art Gallery fabrics I created rooms and looks, then designed my sewing around what would fit into those rooms. 

One of the looks is what I'm calling the Signature Baby Room. I wanted a gender-neutral room for a baby or young child that loves nature. Using my granddaughter as my model toddler, I knew there had to be butterflies, because she LOVES butterflies!

Signature Butterflies 2.jpg

My original inspiration for making butterflies using fabric came from Kim of Go-Go Kim. Kim has a great tutorial for gluing fabric to paper to hang butterflies in shadow boxes. I wanted to make a bit sturdier butterfly with all fabric and came up with a hybrid of sorts...

Materials Needed for Making Signature Butterflies:

  • Signature Butterfly Templates
  • Fabric scraps at least 1/4'' larger around than template size
  • Heat n Bond Lite iron-on adhesive or similar product like Pellon EZ-Steam one-sided pressure sensitive fusible web (optional, see next item on list)
  • Pellon TP970 Thermolam Plus Sew-in fleece (Note: If using a fleece with an adhesive side, omit iron-on adhesive product from the line above)
  • Iron and pressing cloth
  • Coordinating thread
  • Scissors
  • Air-solvable marking tool
  • Spray paint (optional)
  • Frame or shadow box

Making Butterflies

Download the Signature Butterfly Templates and print out at actual size. Check for accuracy using the 1'' reference square on the PDF. Cut out butterfly shapes. Tip: For a more durable template, print onto card stock paper. 

IMG_6264.jpg

On the Pellon Thermolam Plus Sew-in fleece, trace around desired butterfly shapes, leaving at least 1/8'' between shapes. Note: There's no right or wrong side to sew-in fleece but if using a fleece with an adhesive side then draw on the non-adhesive side. 

Following the manufactuer's instructions, adhere the iron-on adhesive (Heat n Bond or EZ-Steam type product) to the unmarked side of the fleece. Omit if using a fleece with an adhesive backing.

My butterflies only have fabric on one side and those wishing to do the same can move onto the next step noting that my tutorial images reflect only one side with fabric. But, if you're planning on fabric backing both the front and the back of your butterflies then adhere iron-on adhesive to the marked side of the fleece as well before moving to the next step, leaving the paper backing on until ready to adhere to fabric.

IMG_6265.jpg

Cut out butterfly shapes.

IMG_6266.jpg

Following the manufacturer's instructions, fuse the adhesive side(s) of the fleece butterfly shape to the wrong side of desired fabric(s). 

IMG_6268.jpg

Cut out butterfly shape using the edge of the fleece as your guide.

IMG_6269.jpg

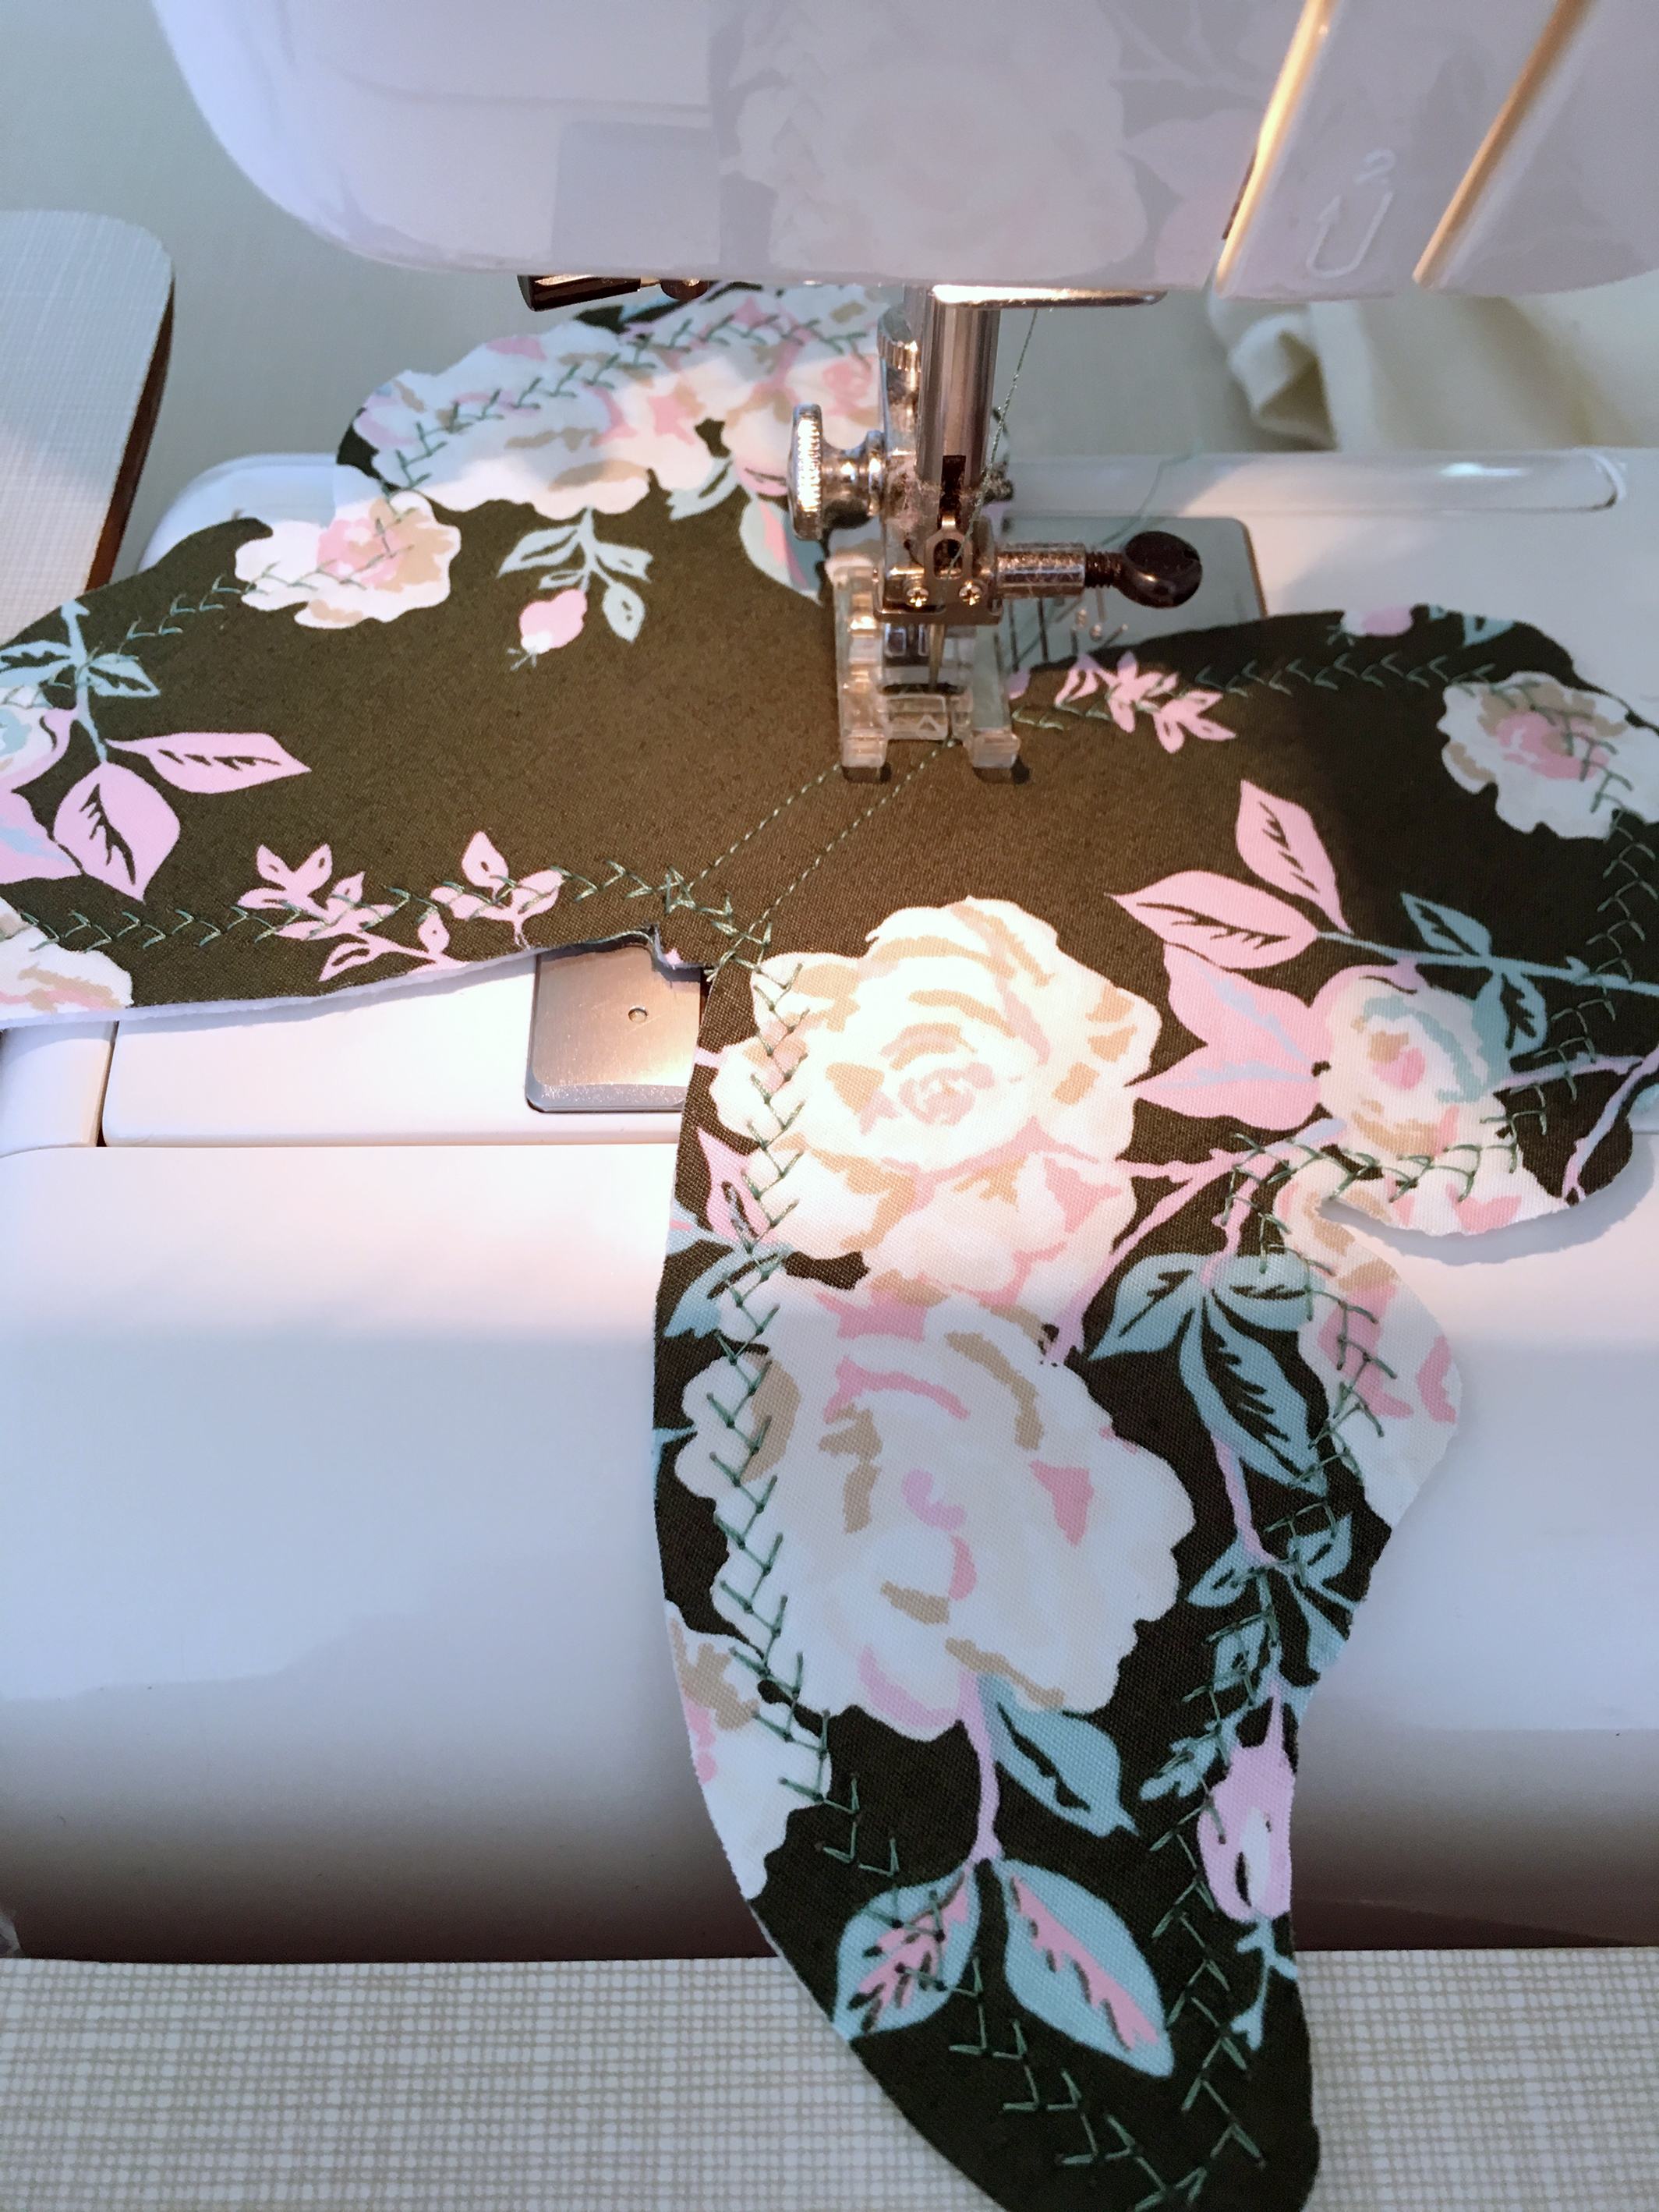
To add even more durability to your butterfly, add decorative stitches around the shape, add details like body shape, or embellish as desired. 

IMG_6270.jpg

I always love playing around with materials and thinking outside the box. Because I wanted to add a bit of bling to my butterflies and include some metallic elements I decided to try spray painting the backs. 

Using a piece of cardboard and pin to hold the butterfly in place while I sprayed it I was very pleased how the gold spray paint took on the fleece backing. It didn't change the feel of the fleece and gave a nice gold tipped edge to my creations. 

IMG_6276.jpg

After the spray paint dried, I could go back in and add more dimension to my butterfly by folding and sewing very close the the folded body edges. 

IMG_6277.jpg

Let Your Imagination Soar!

Once know this technique for fusing fabric to fleece and making butterflies, the sky's the limit to what you can create. 

Signature Butterfiles.jpg

My largest butterfly became an unique piece of art when I hand stitched it to the center of a rush placemat from Target. 

IMG_6287.jpg

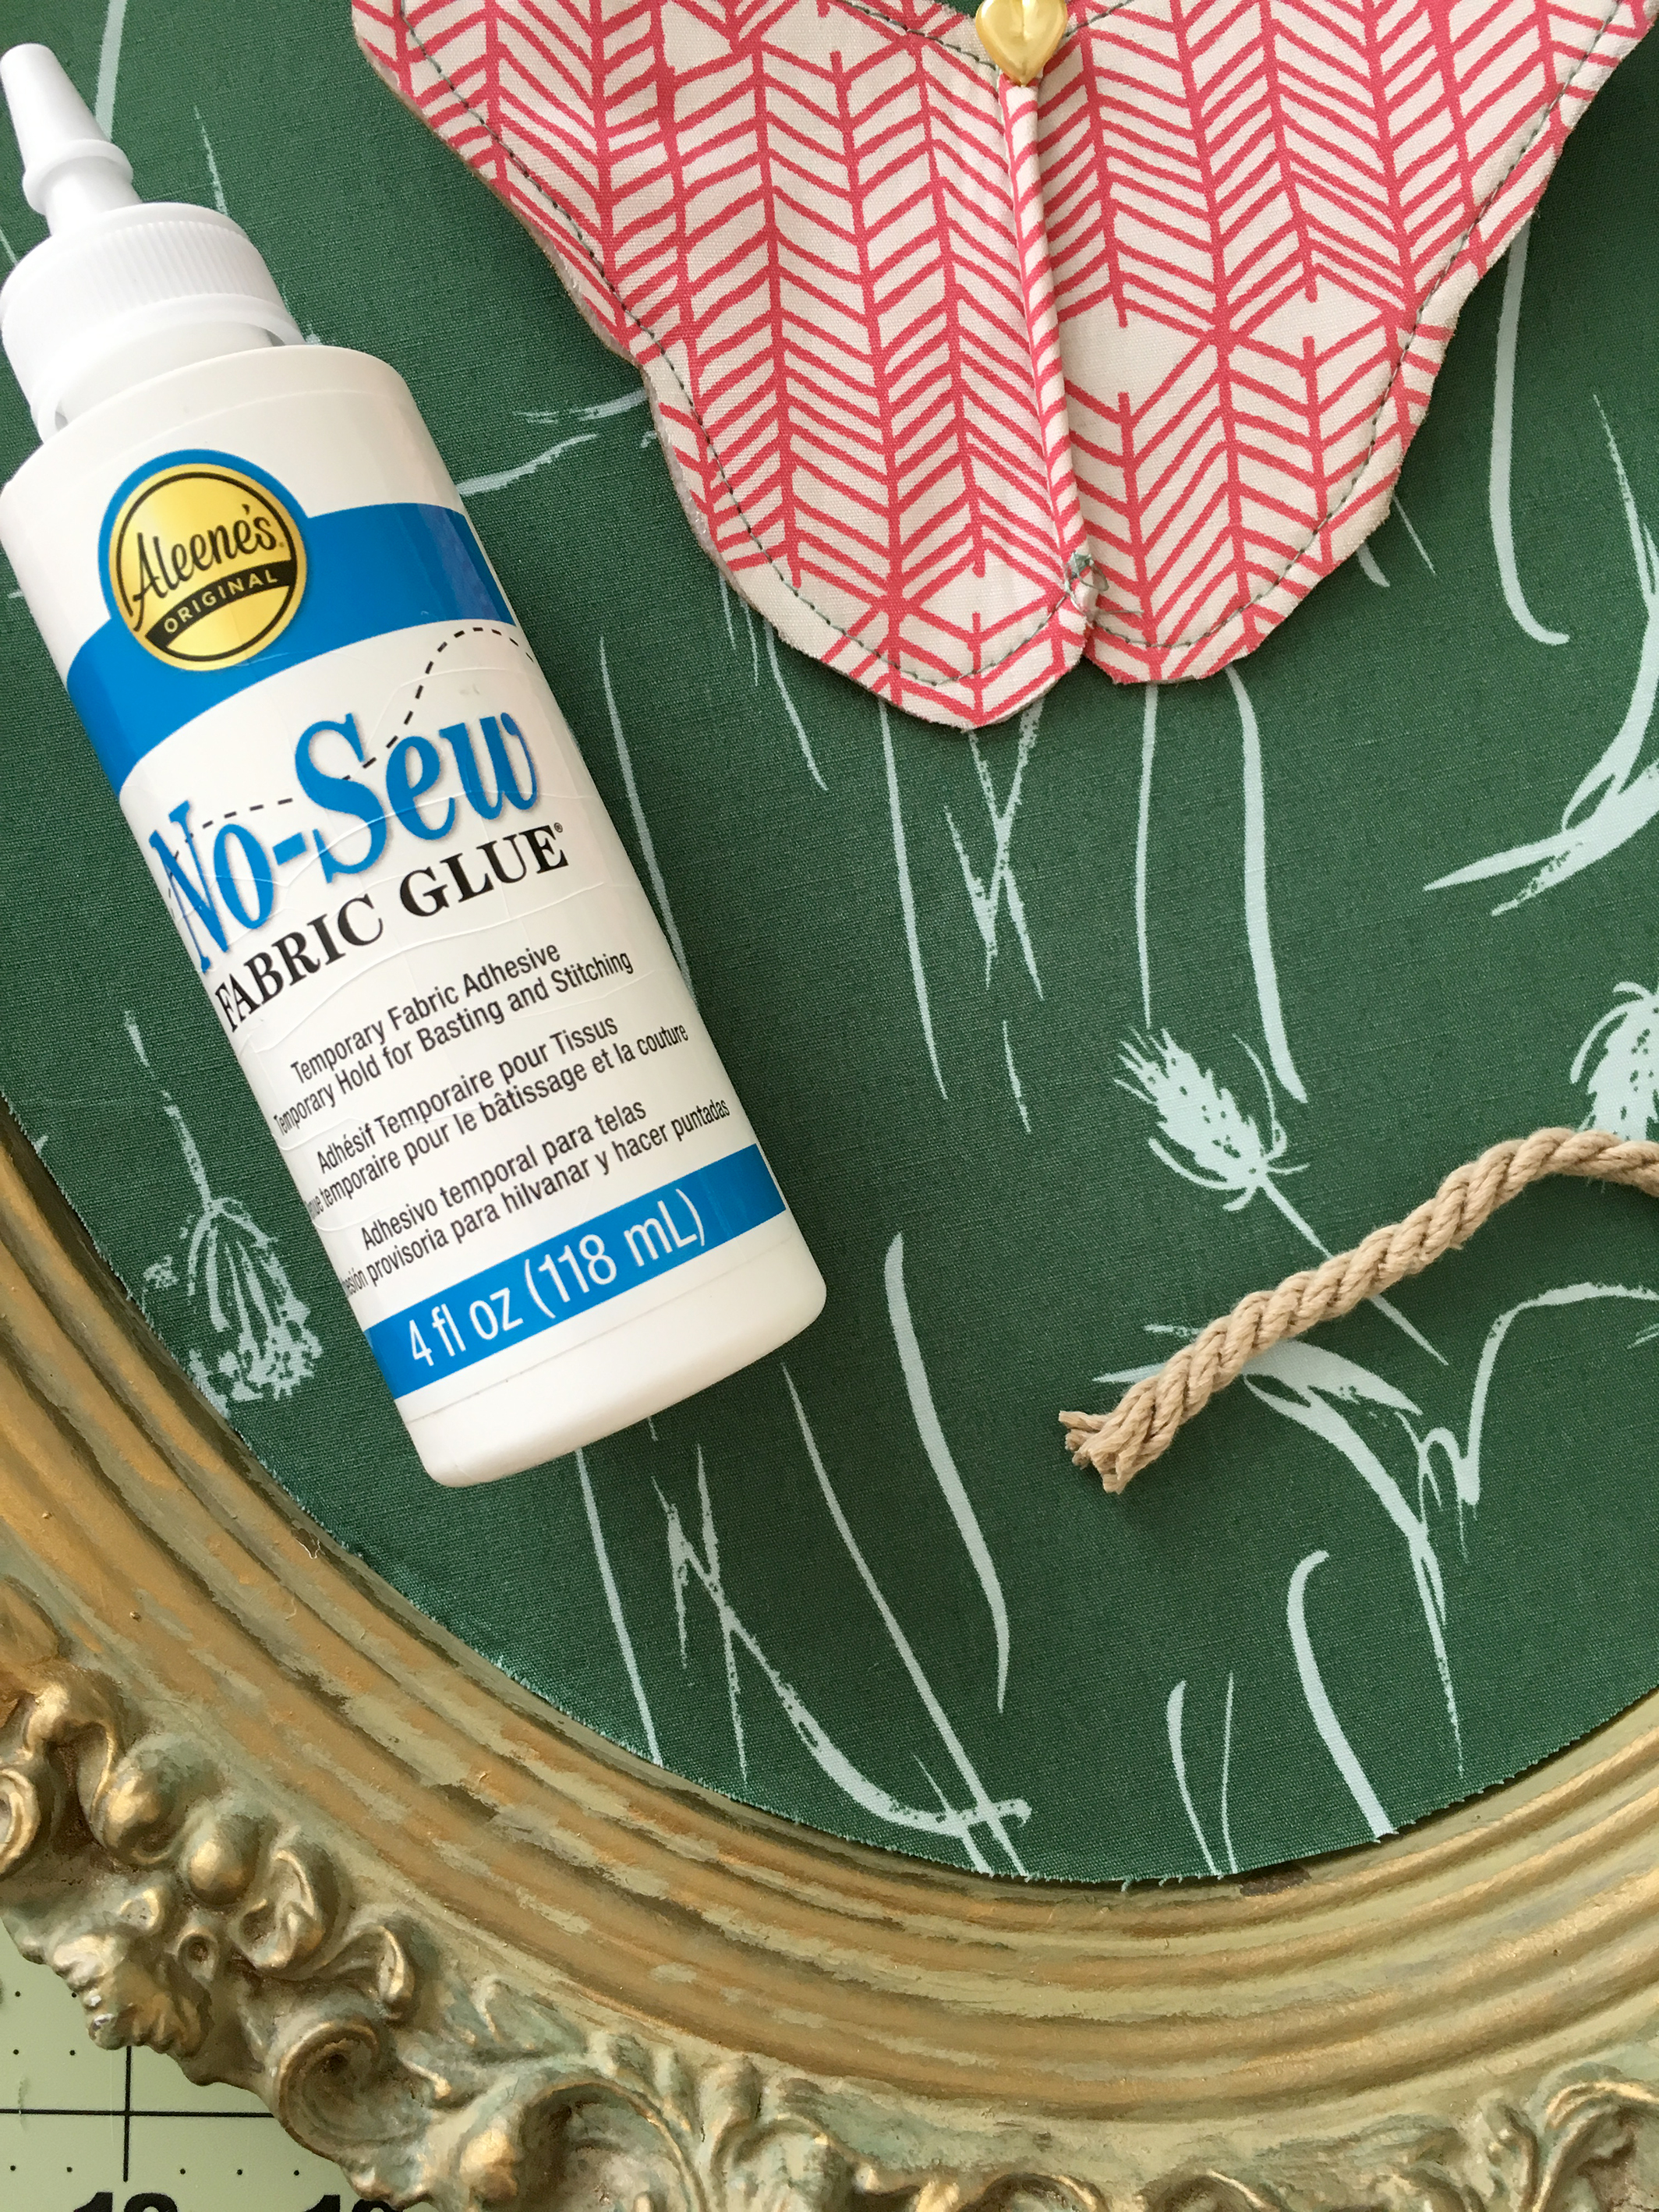
I used this technique to cover a mirror with fabric faced fleece and simply glued the fleece in place with Aleene's No-Sew Fabric Glue so it's non-permanent and can easily be removed with water in the future. 

IMG_6284.jpg

To fill the gaps between my mirror backing and the frame I used fabric glue to attach some Dritz natural-colored Twist Cord to act like decorative molding. 

Siognature Baby Room Wall Art.jpg

A 3-D butterfly was simply pinned with a decorative straight pin directly to the fabric backing. 

Signature Shadow Box.jpg

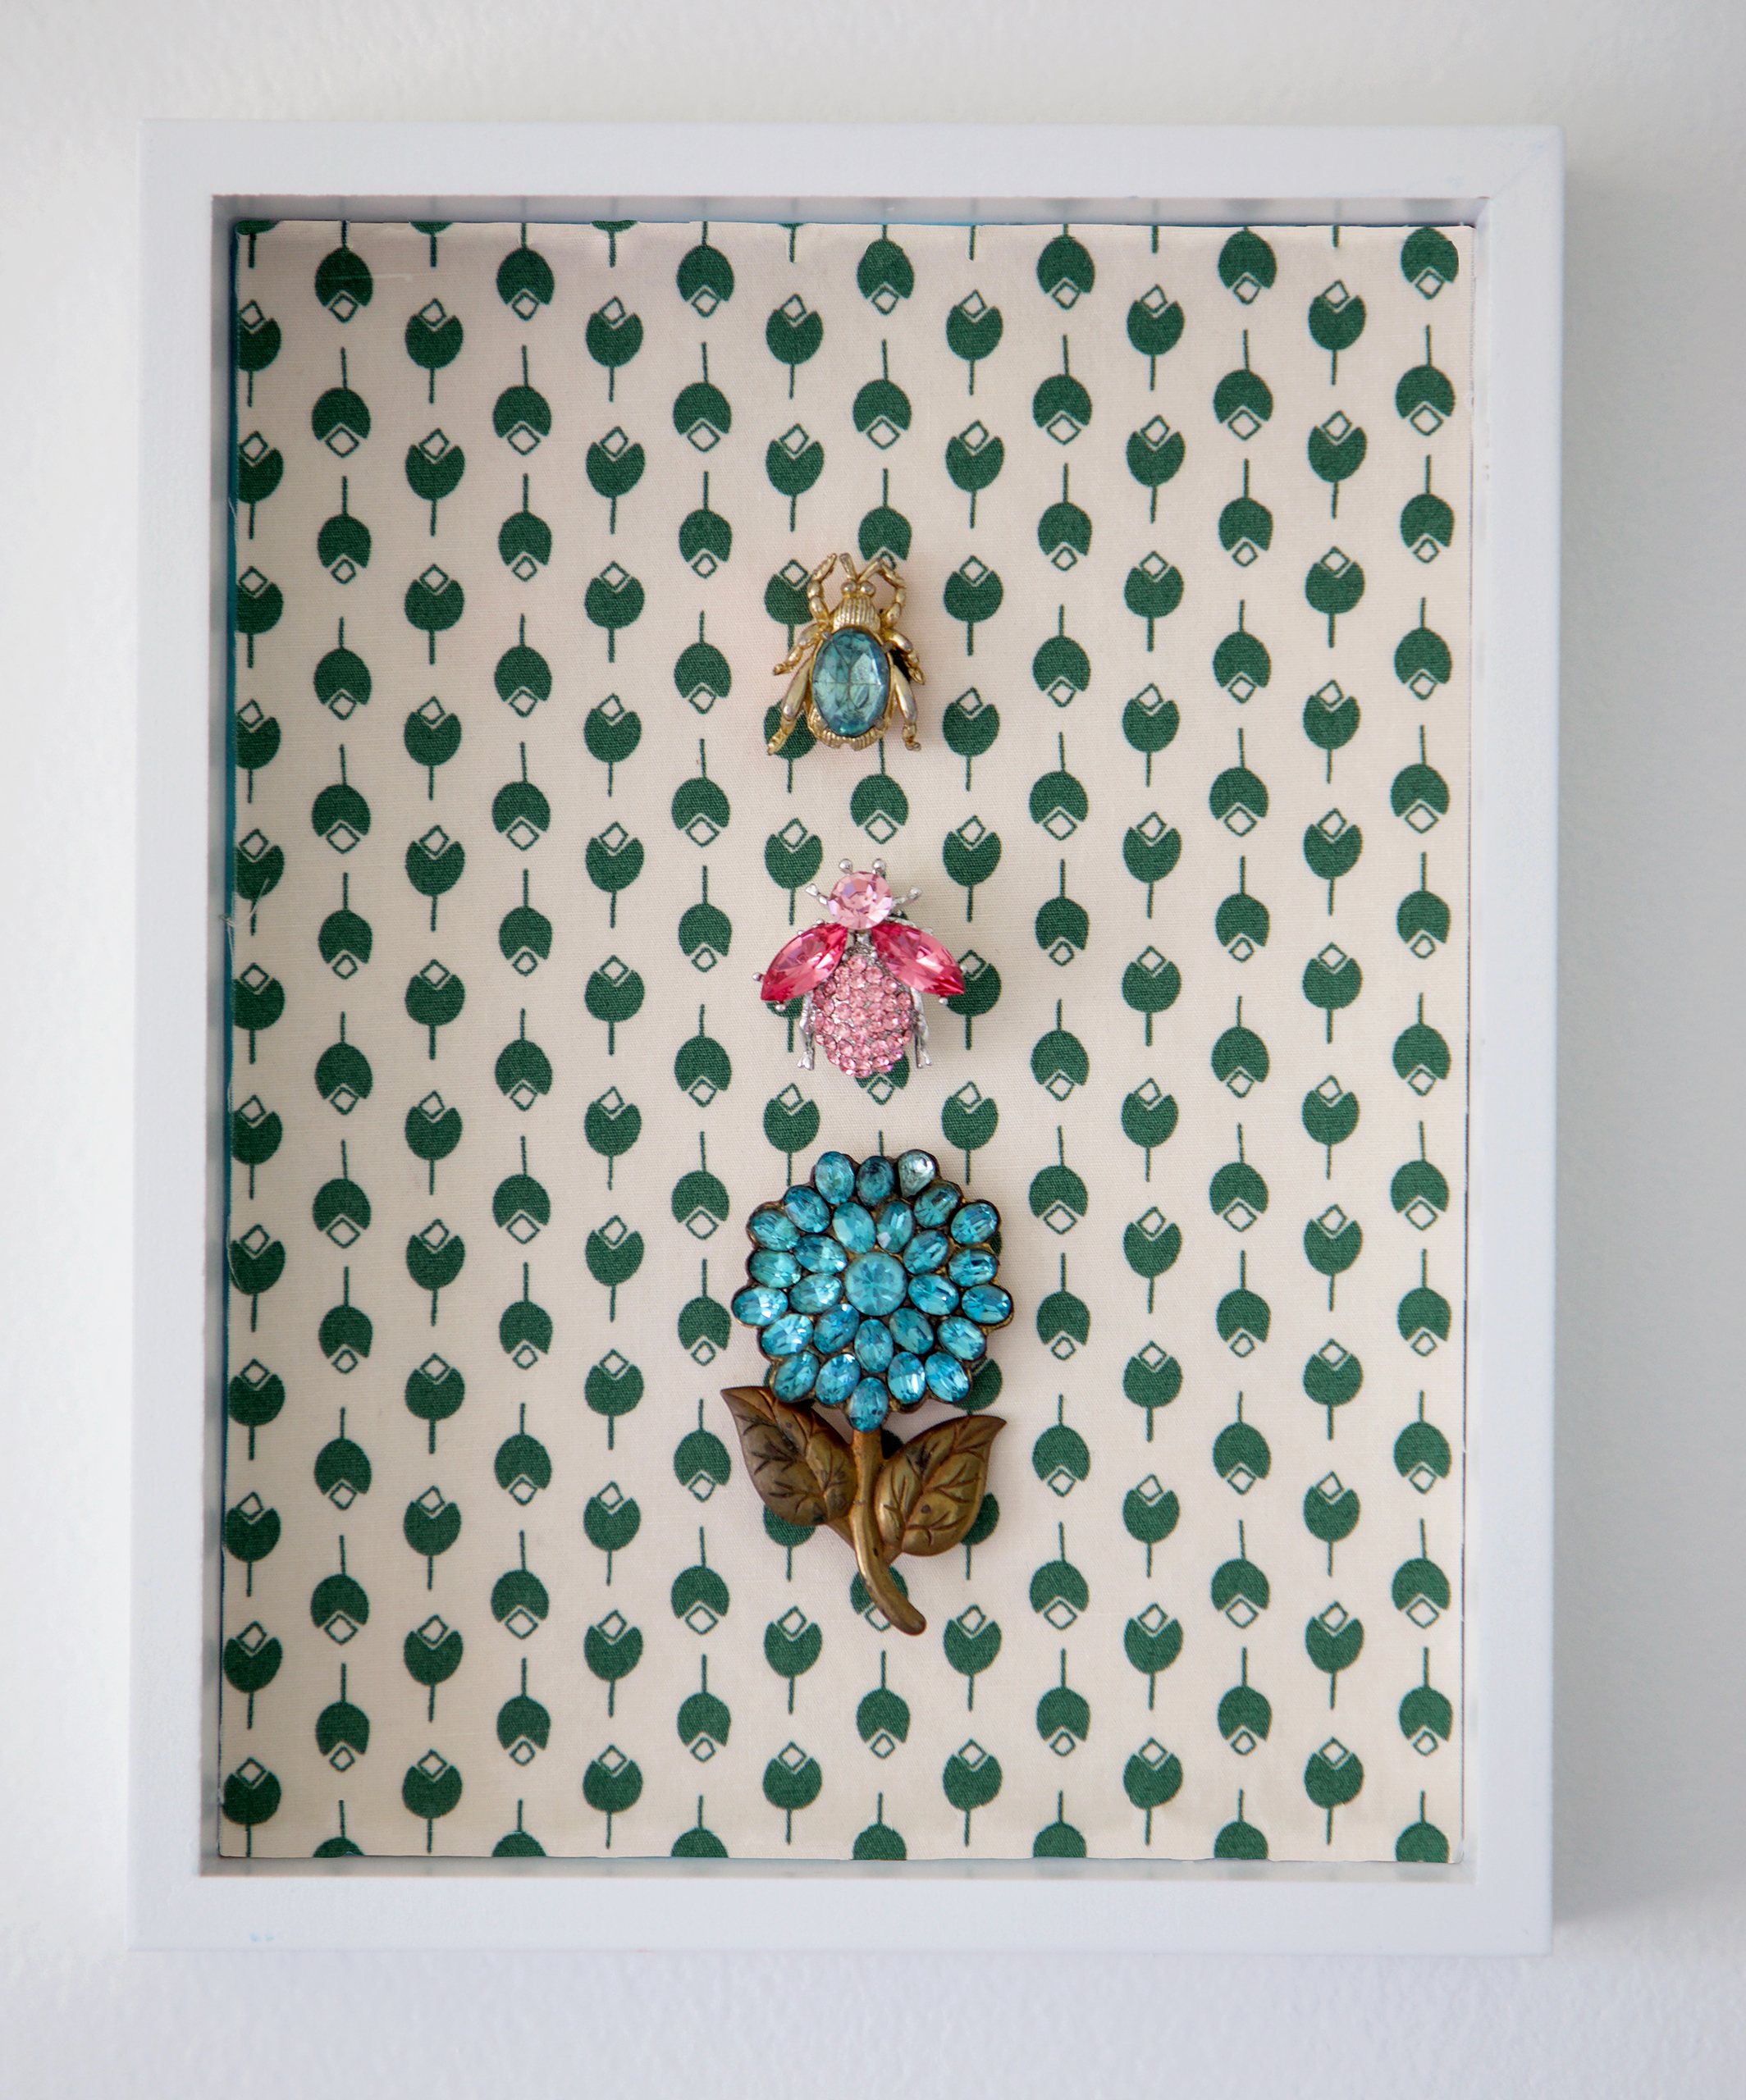
For this bejeweled shadow box I fleece backed fabric in the same technique as in the above projects and cut a backing size to fit a dollar store shadow box frame that had a saying printed on the backing. The opaque quality of the fleece blocked out the saying on the picture. Before hot gluing the fleece back fabric to the frame I pinned vintage brooches to the fabric for a one-of-a-kind, nature-inspired wall art. 

Hoop Art

Signature Needle Work.jpg

For a more traditional way to create art for your walls and bring nature inside is to use prints from my Signature and embellish them with embroidery and appliqué. For my Hoop Art I fussy cut a bouquet from my Extempore Celebration print and appliquéd a dragonfly, bee, and butterfly from the Small World Sprightly print. 

Small World Signature fabrics.jpg

Starting with an over-sized square each I sandwiched the following materials: Extempore Celebration right sides up on top, Hobb's Tuscany Silk batting in the center, and a Pure Element solid right side out on the back. I embellished the main print with embroidery and quilting stitches then added needle turn appliquéd cut outs from the Small World Sprightly print with blanket stitch edge detail. 

Once all the needle work was done, I re-stretched the art in the hoop, secured it tightly with the screw at the top, then trimmed the edge of the fabrics even with the edge of the hoop. 

Signature Wallhanging 2.jpg

I hope this gives you some new ideas for how to customize and create art for your home. So many more things can be done with these techniques--I hope you'll give it a try!