Last week Art Gallery Fabrics published the Fanciful Look Book, showing off my new blender and debut Designer Essentials collection for AGF. The 10 new colorings plus the 2 original colors from my Bookish line make for a beautiful 12-piece blender range to coordinate with my other collections and the Look Book shows you how well they mix and match with your favorite Sharon Holland prints.
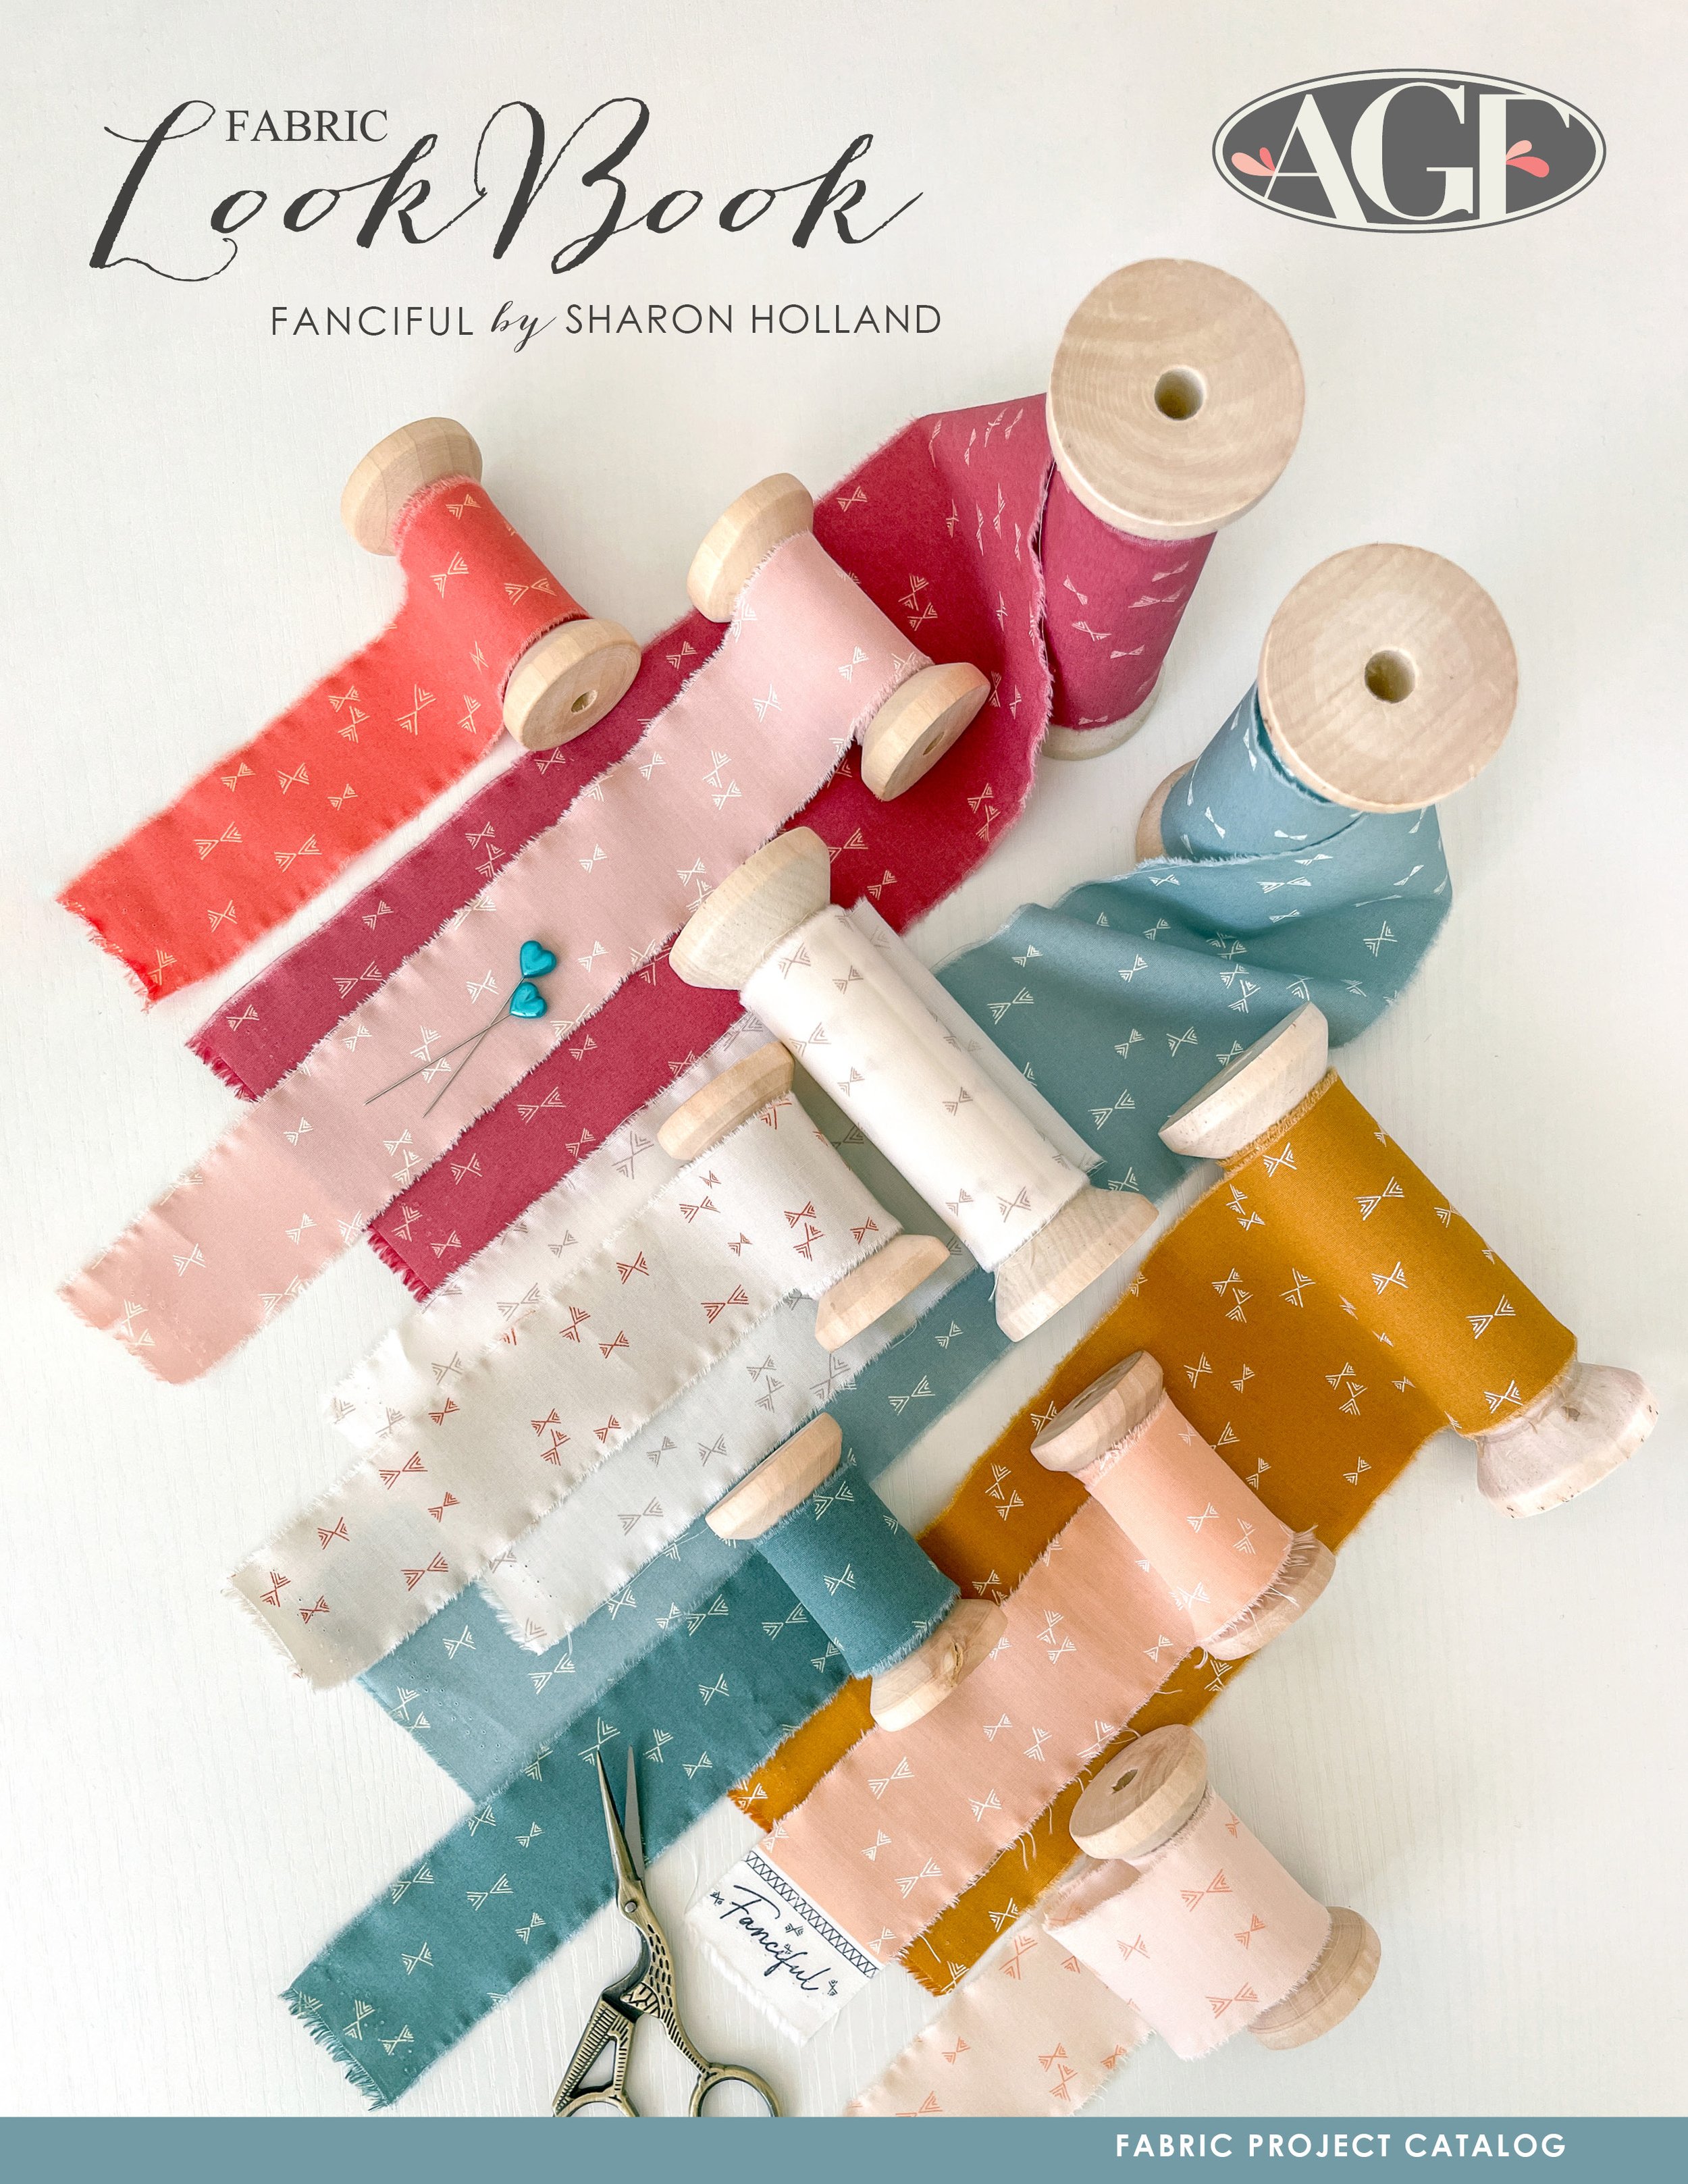
Click the Fanciful Look Book button below to view the virtual sewing catalog.
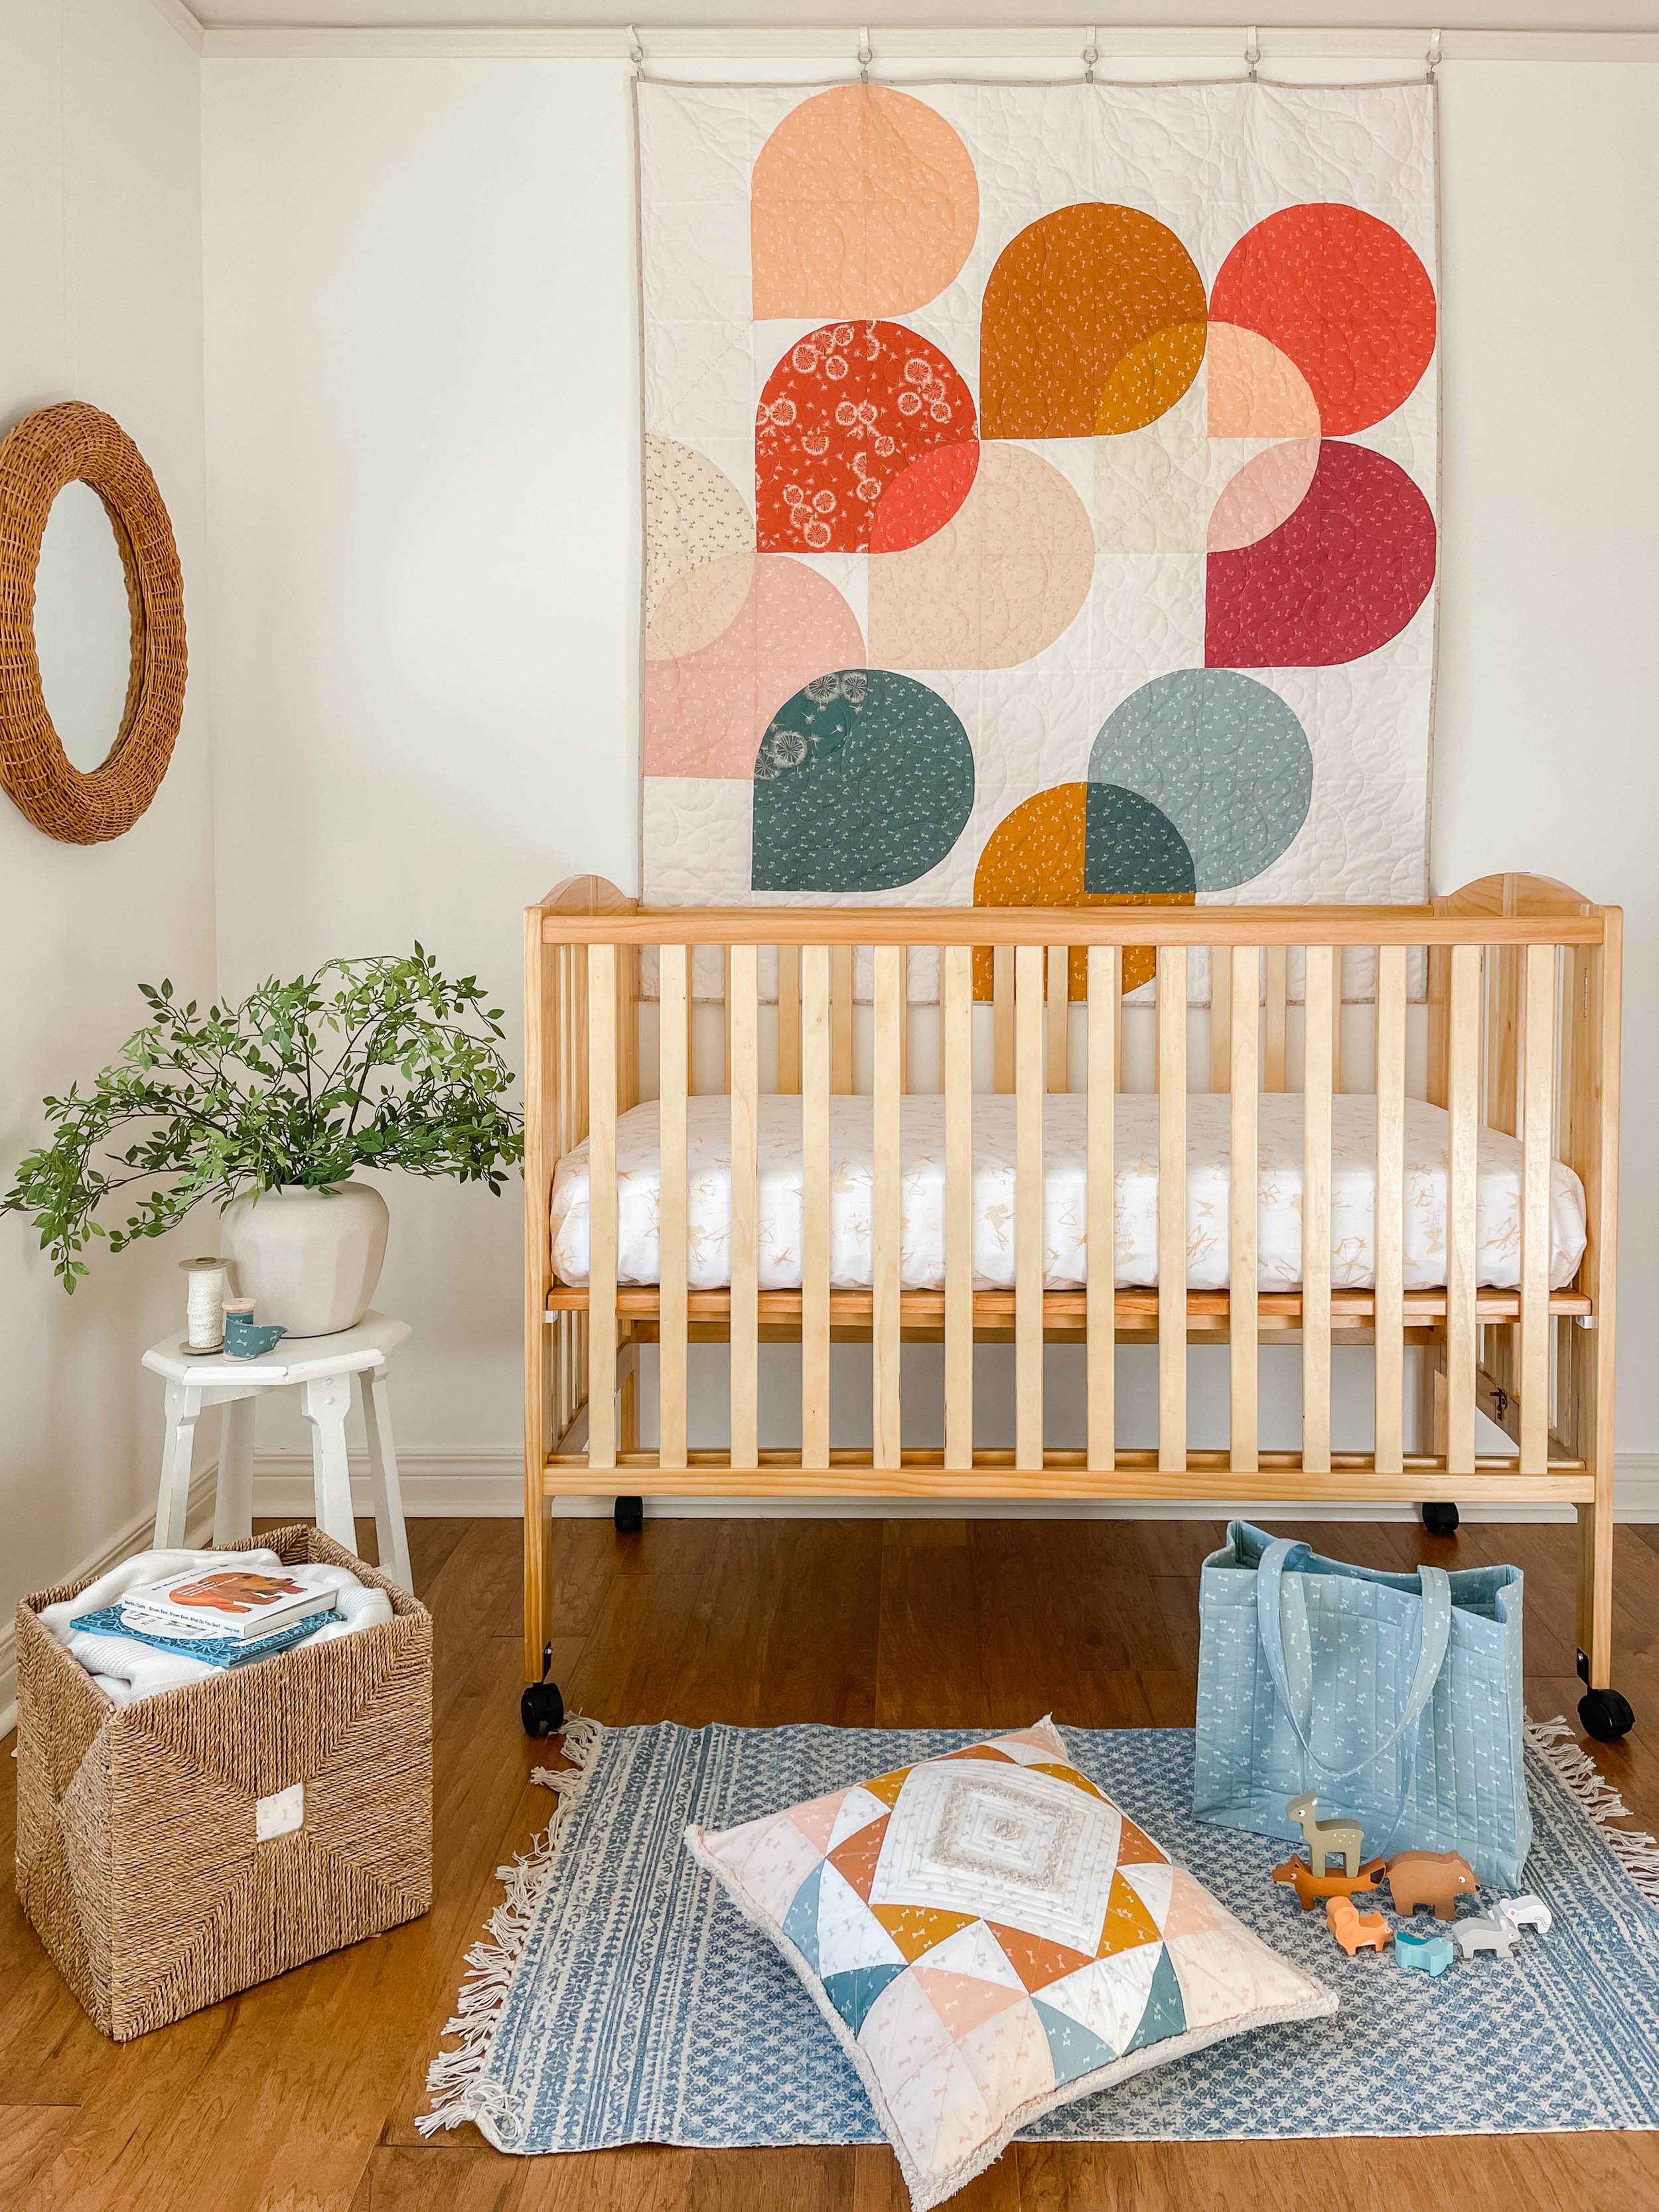
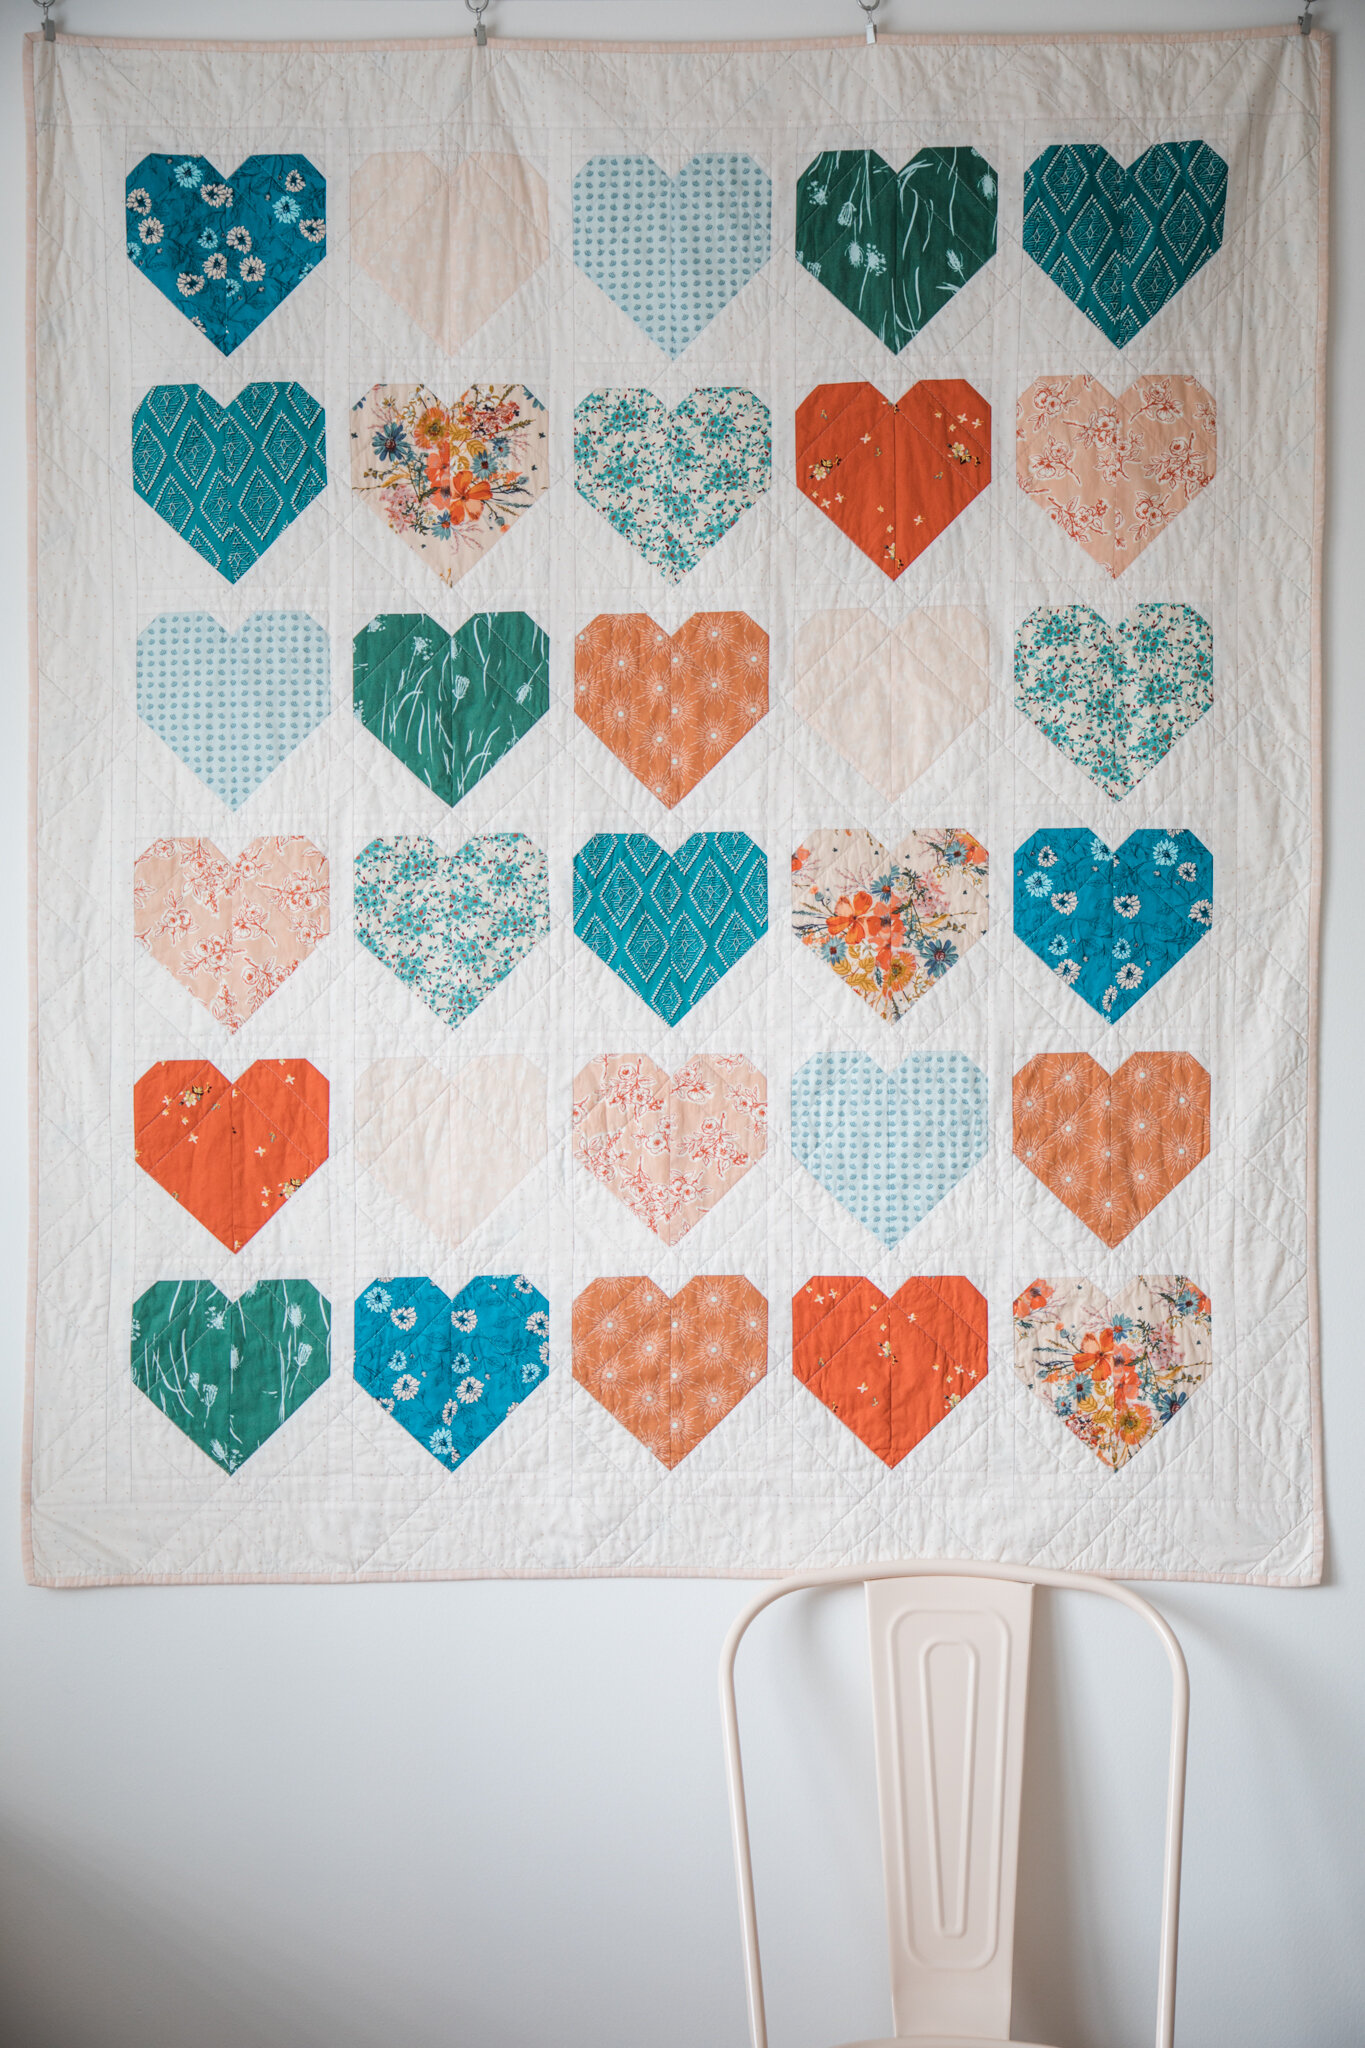
I’ve already blogged about the New Wave pillow, Scallop Bunting, and Quilted Carryall projects shown in this styled baby room photo above so this blog post will be about the Fanciful quilts.

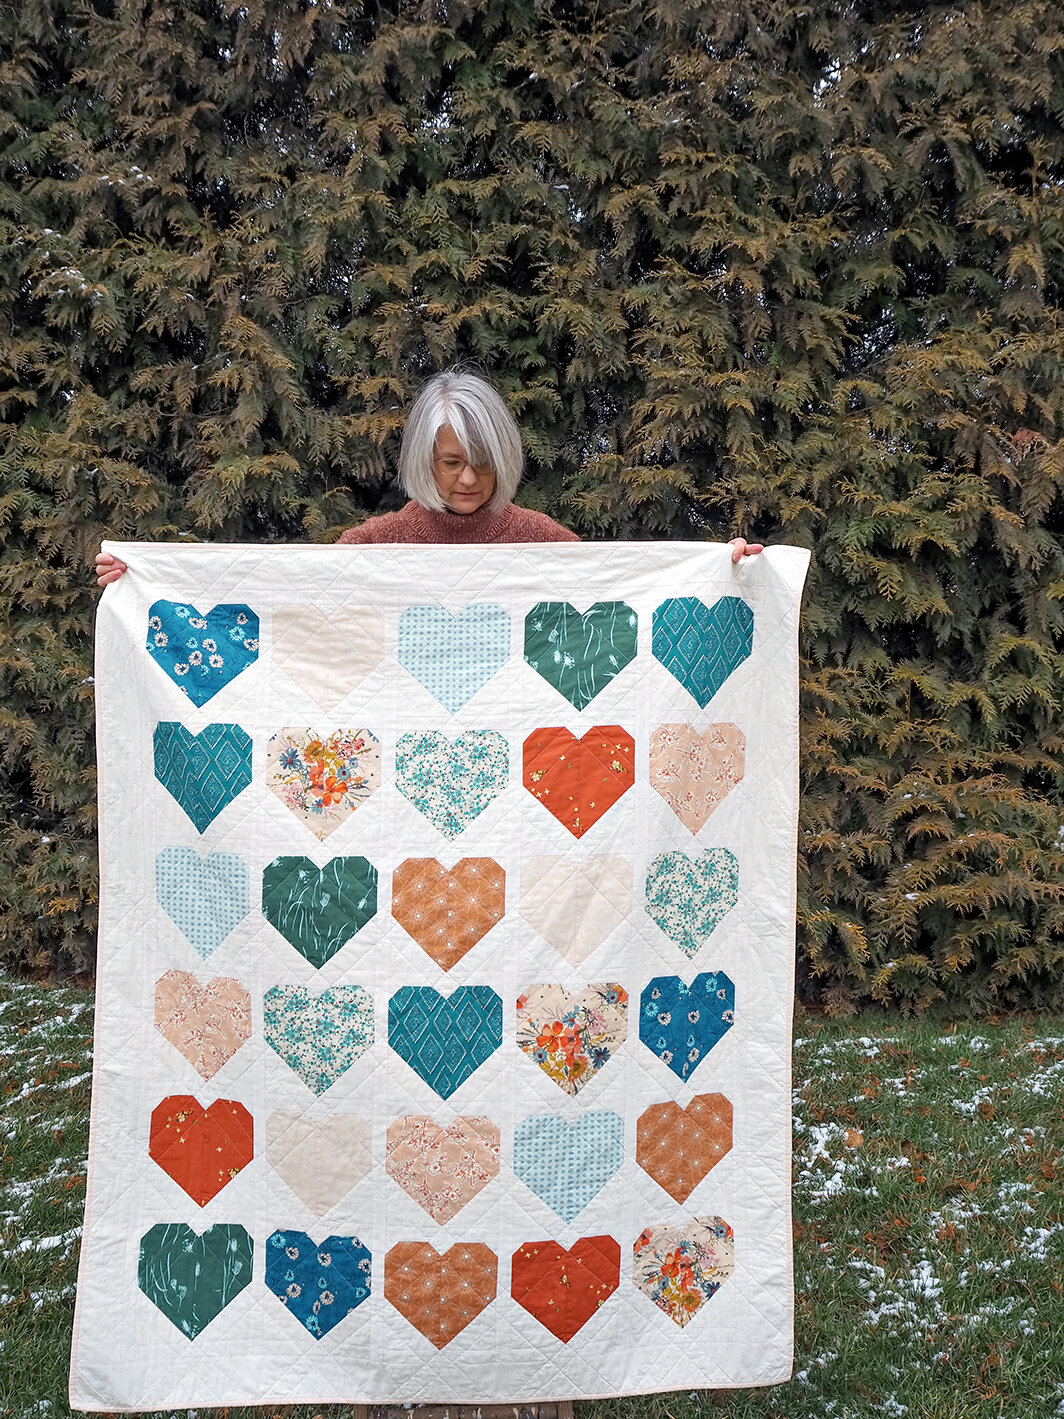
One of my all-time favorite quilts to give as a baby gift is my Hold Tight quilt. I’ve always made the Hold Tight quilt in solids in the past because of the array of colors available to achieve beautiful transition colors where the balloons overlap but as soon as the Fanciful blender collection was finalized, I knew I wanted to make this quilt with this blender collection!
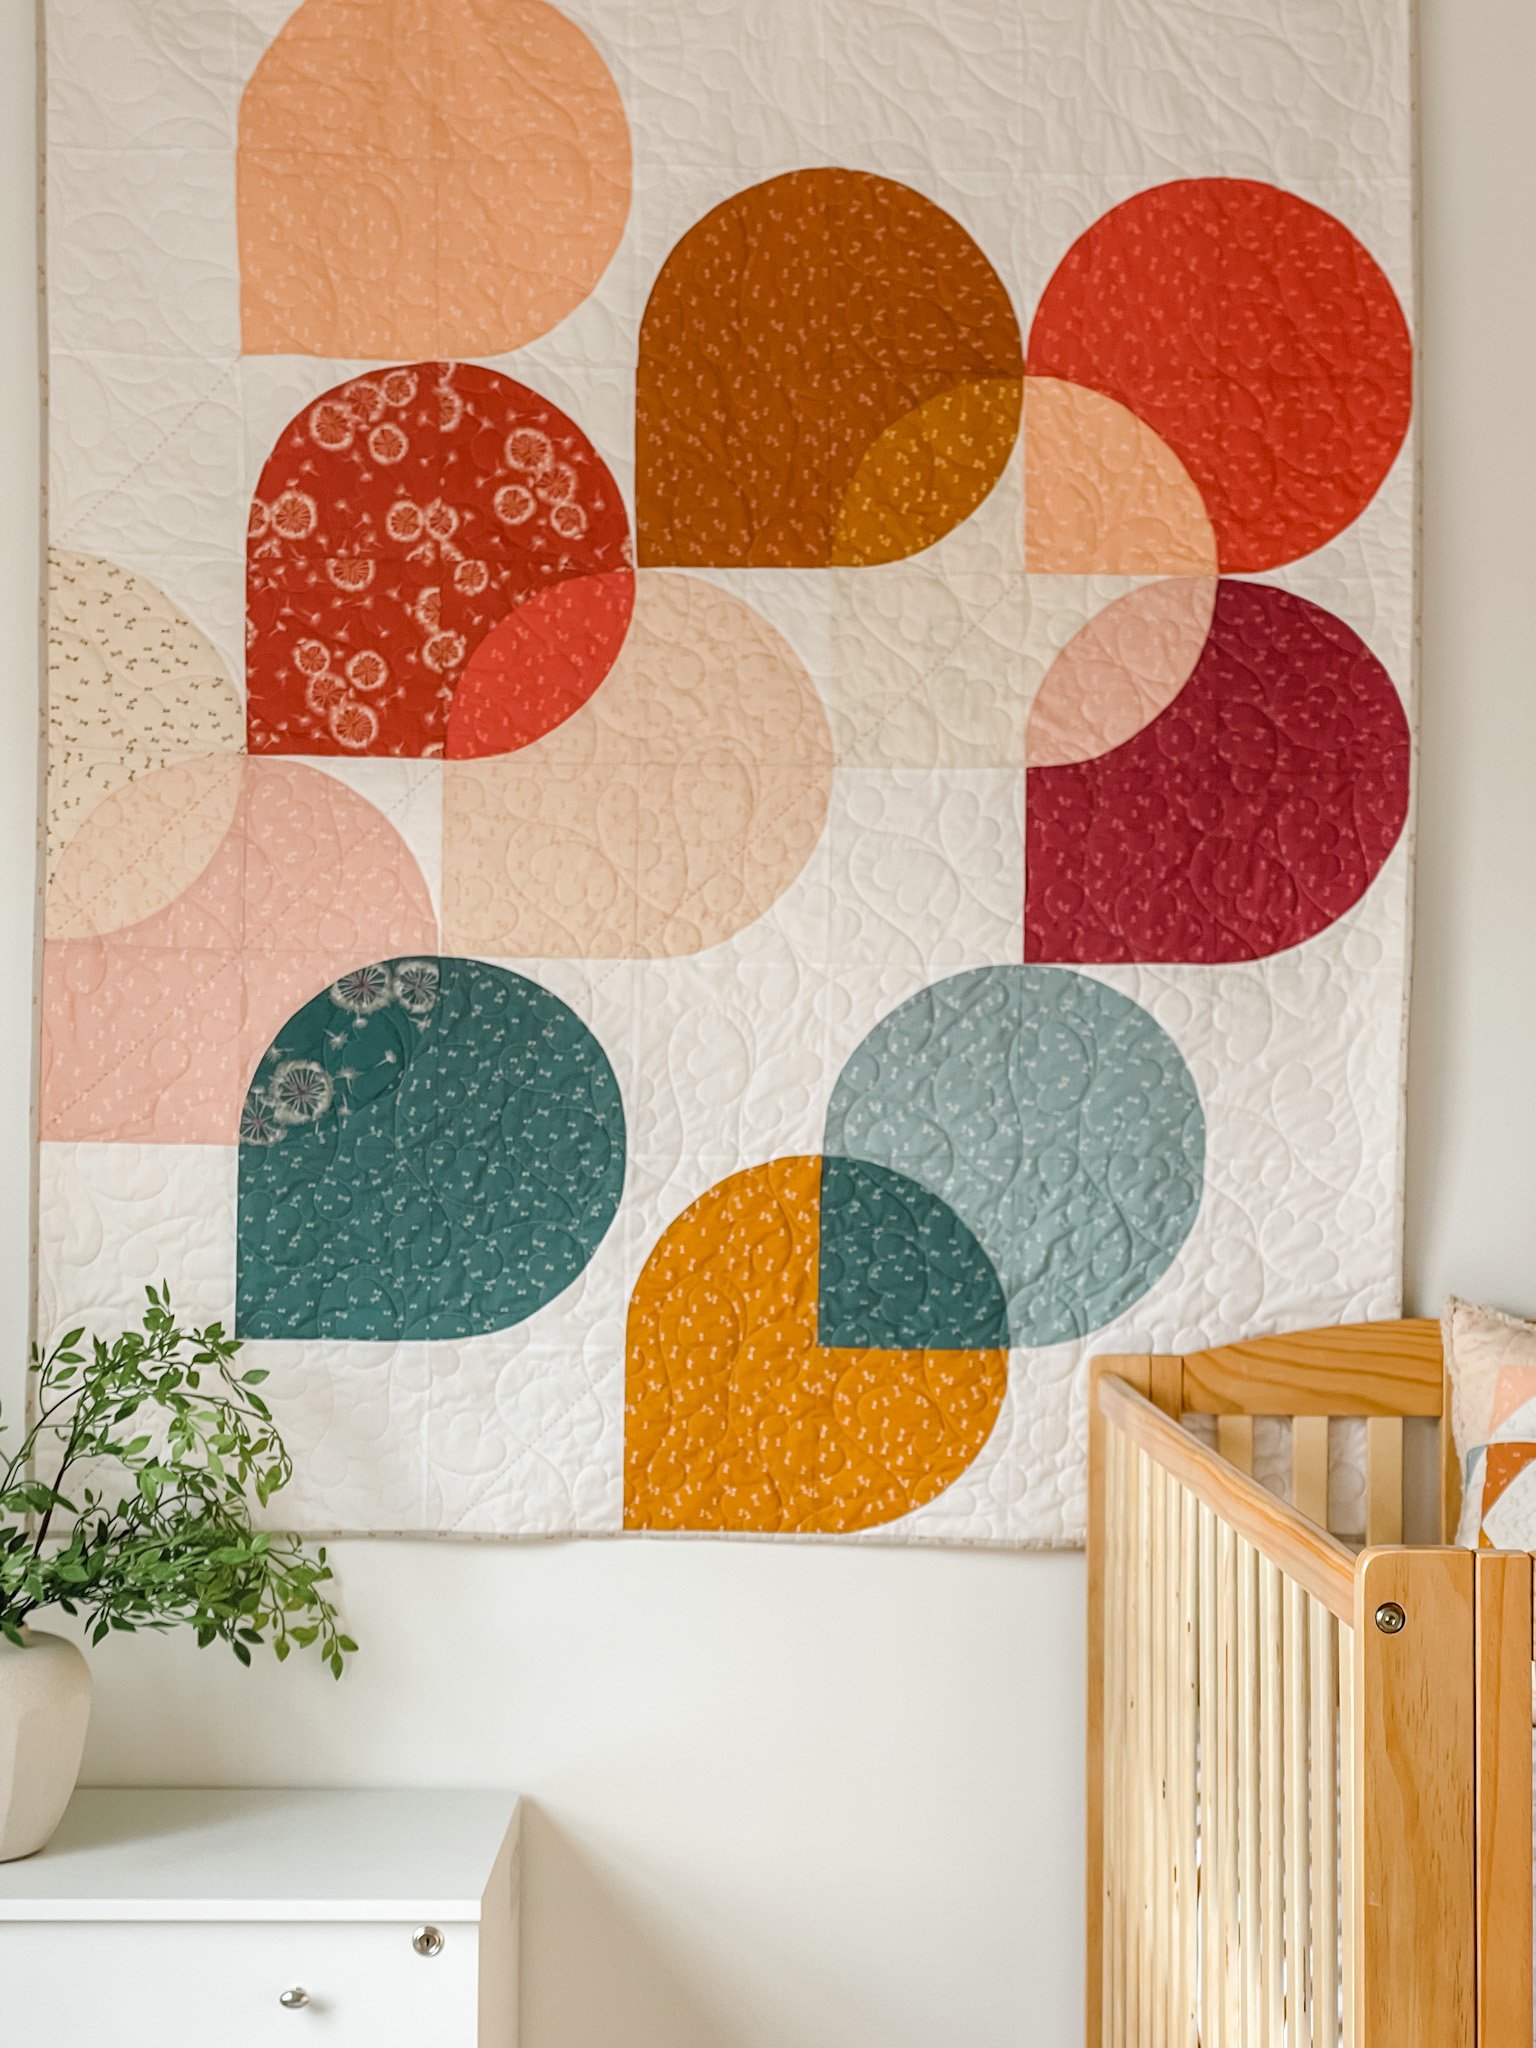

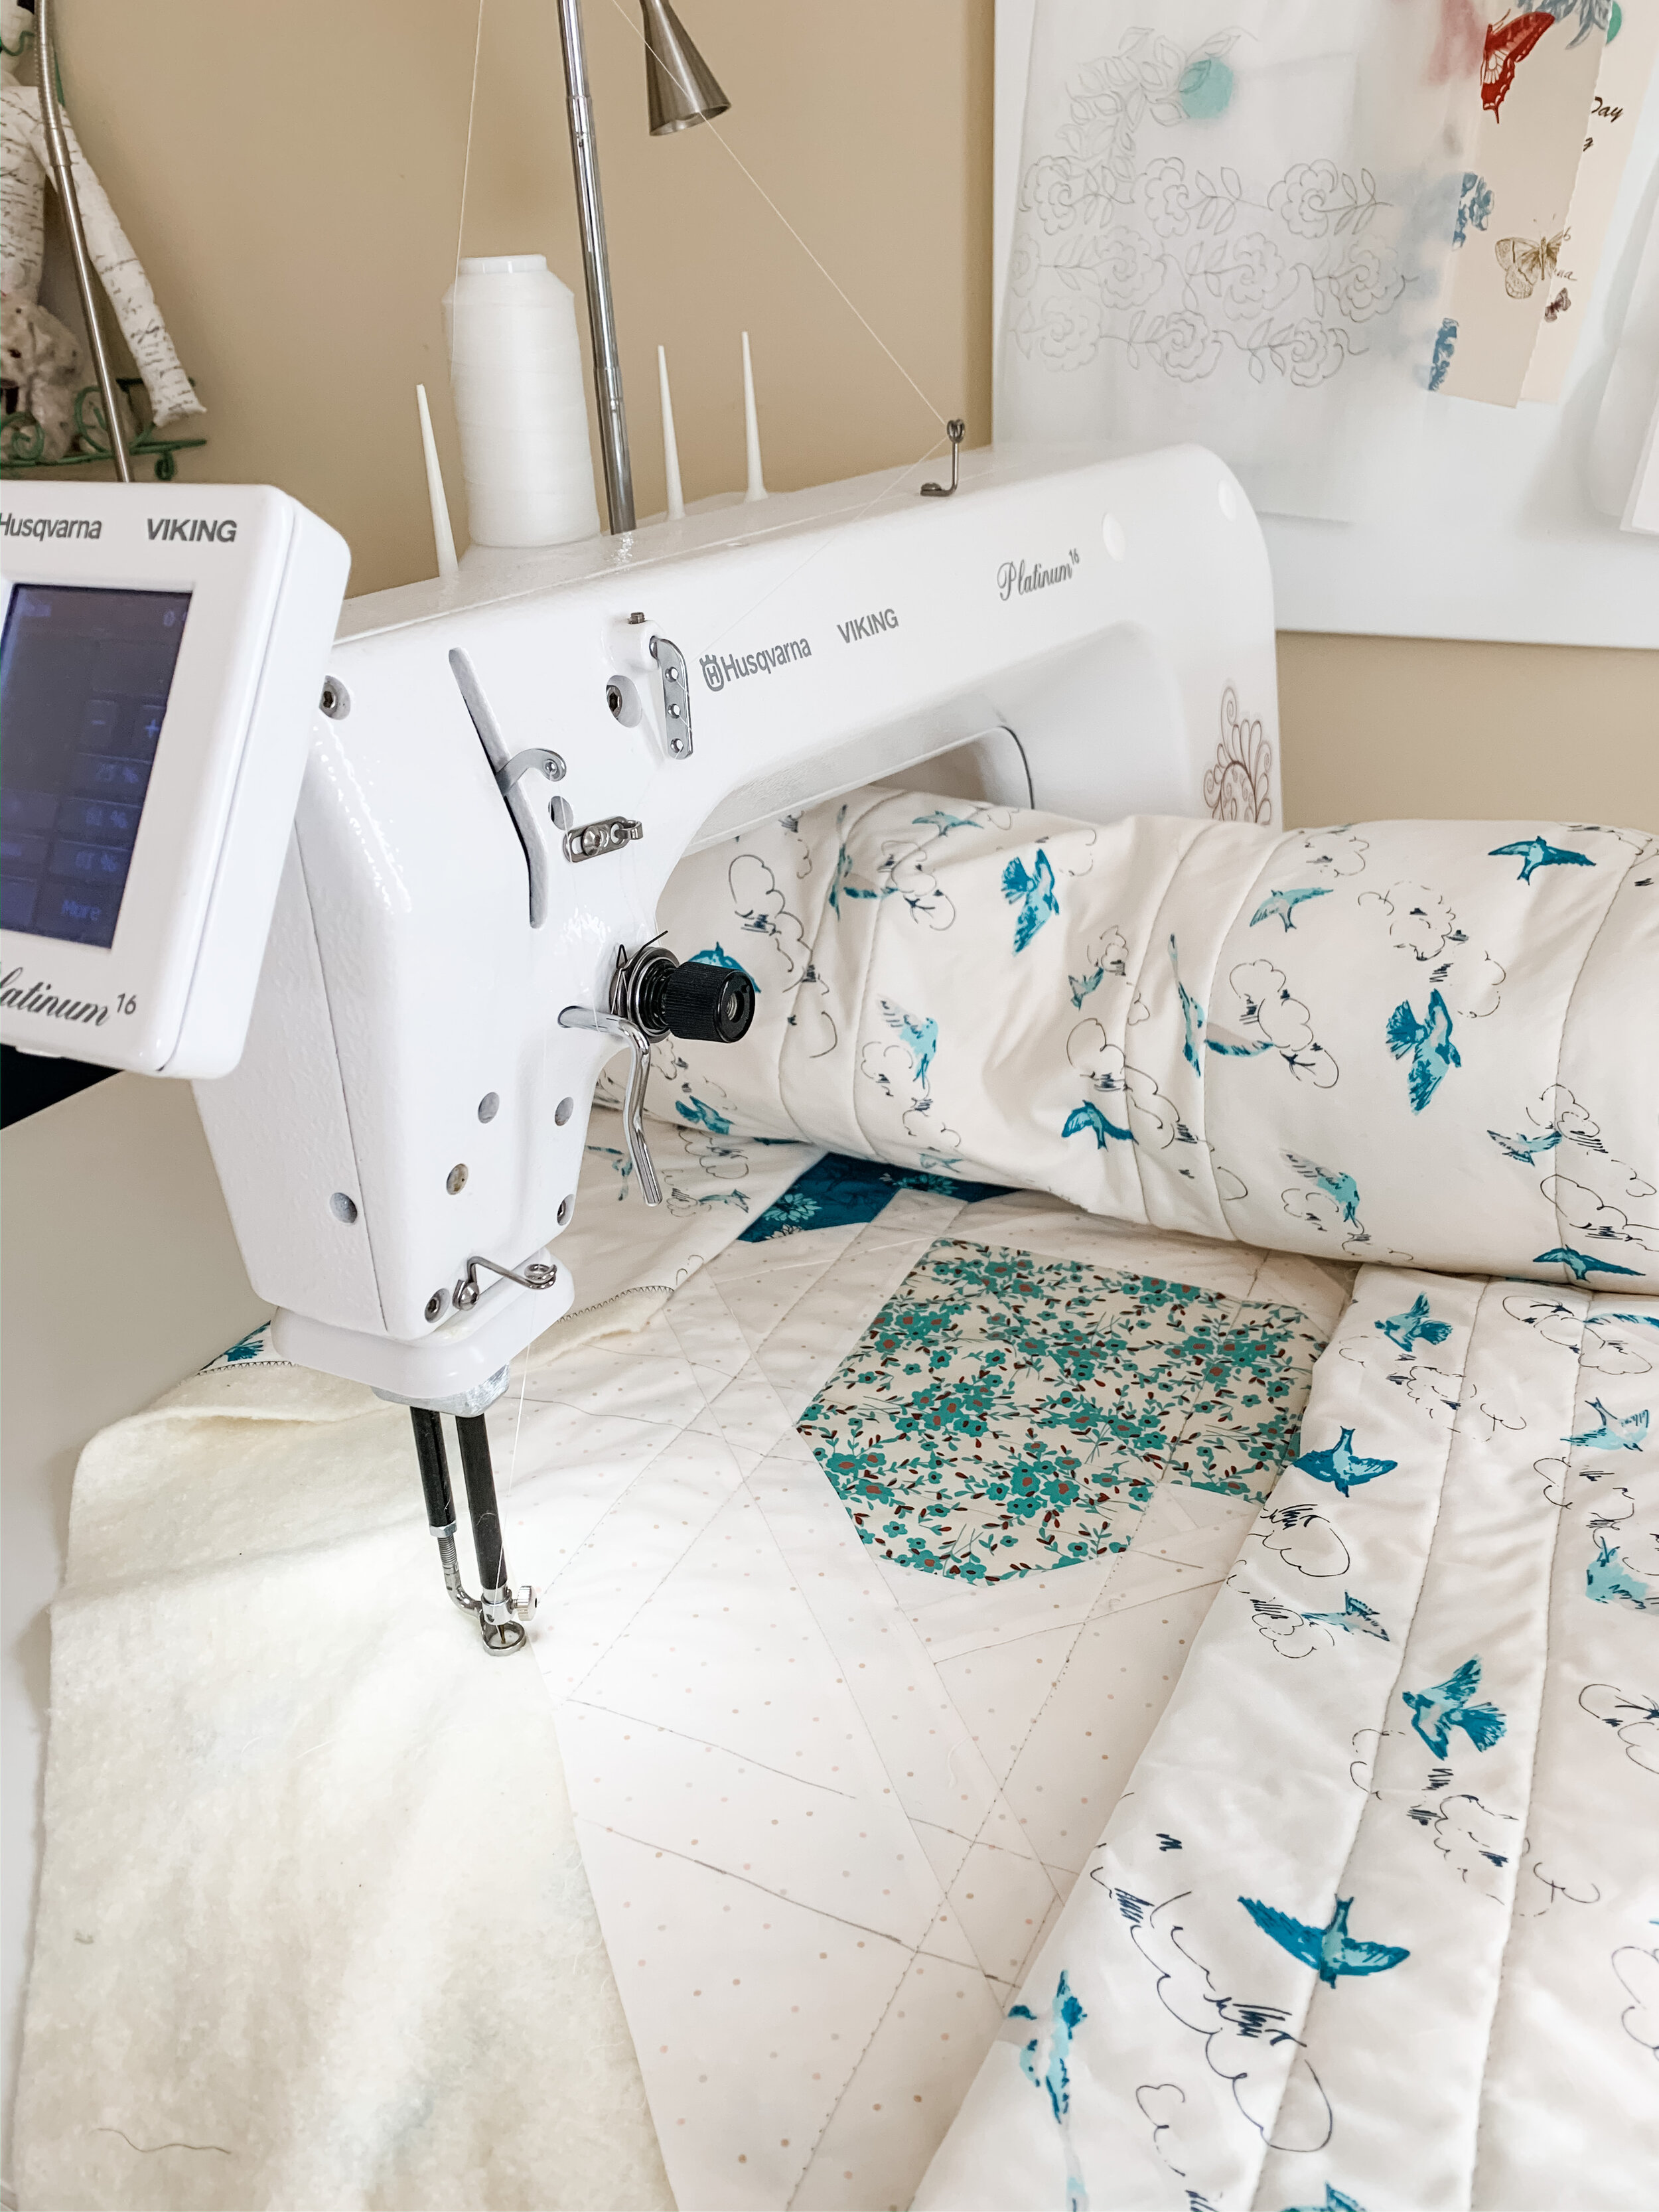
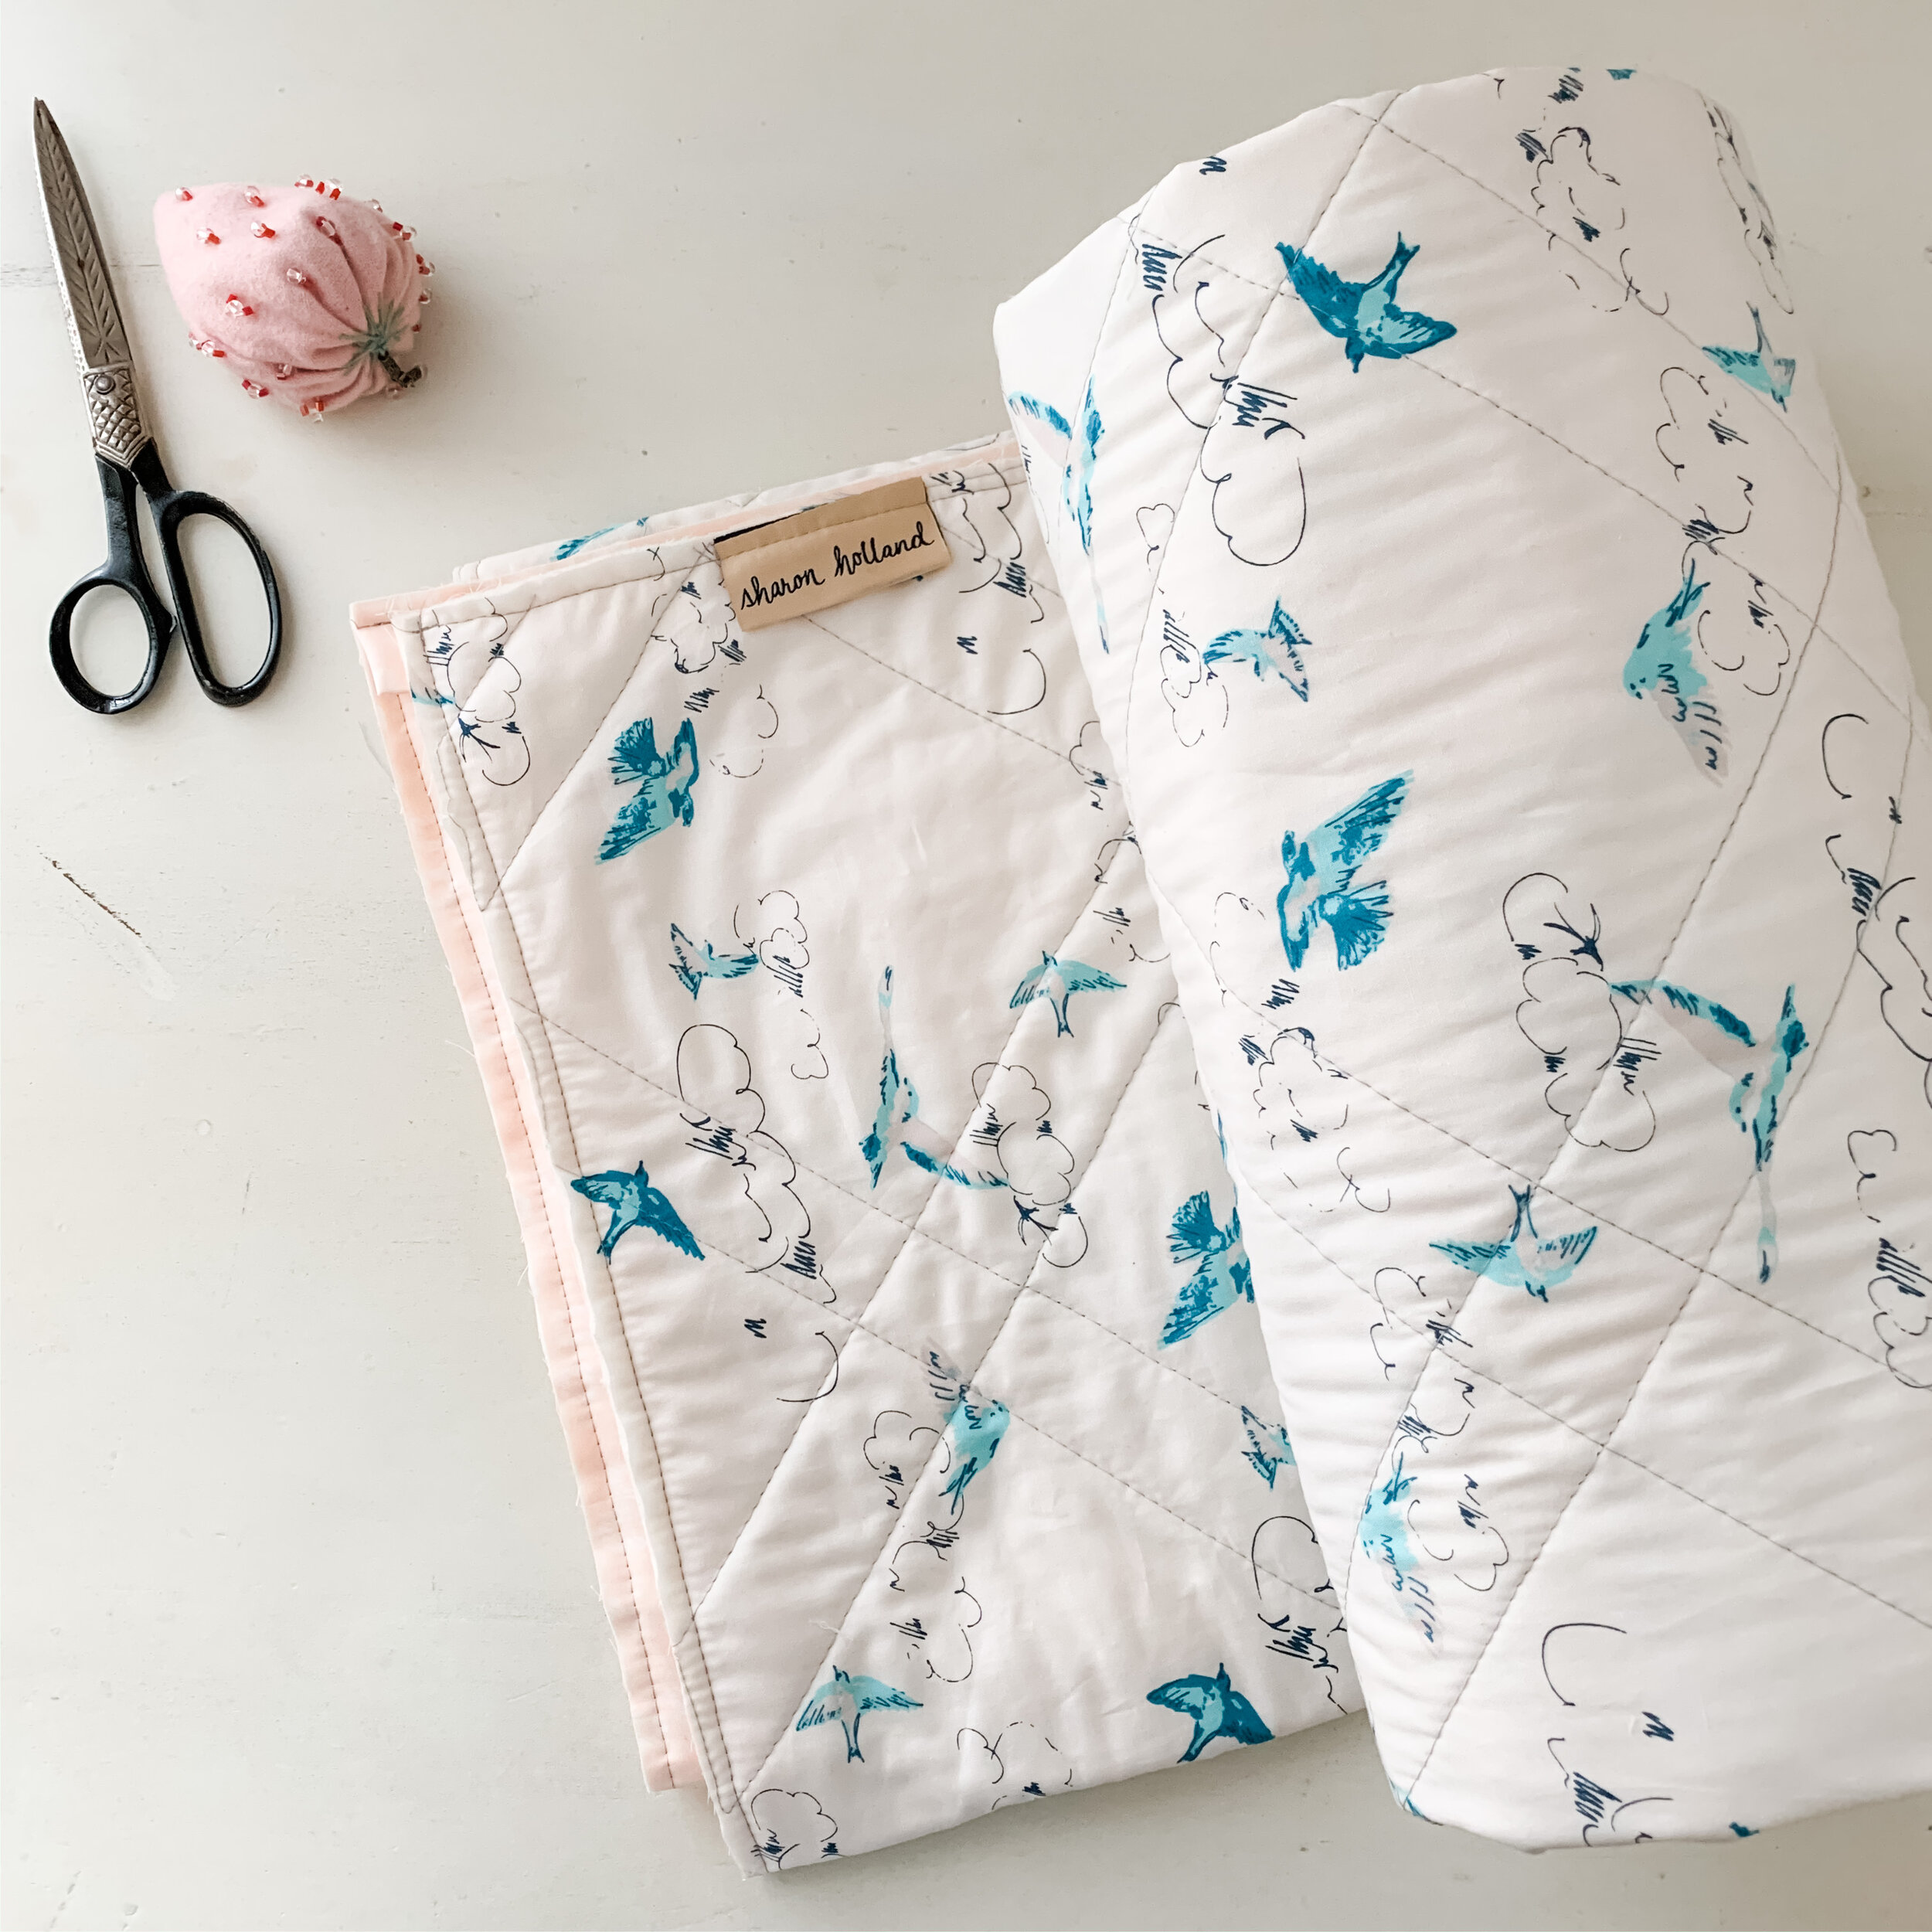
For the Fanciful version I wanted an extra lux quilt so I used Shannon Fabrics Cuddle “Minky” in white as the backing. Terri Neil of Quilting Rubies did the long arm quilting for this in a pantograph called Fanciful Flyers by Urban Elementz and I added the hand stitched quilting “strings” to the balloons after it was quilted but only stitched through the quilt top and batting so the quilting on the back of the quilt was uninterrupted.

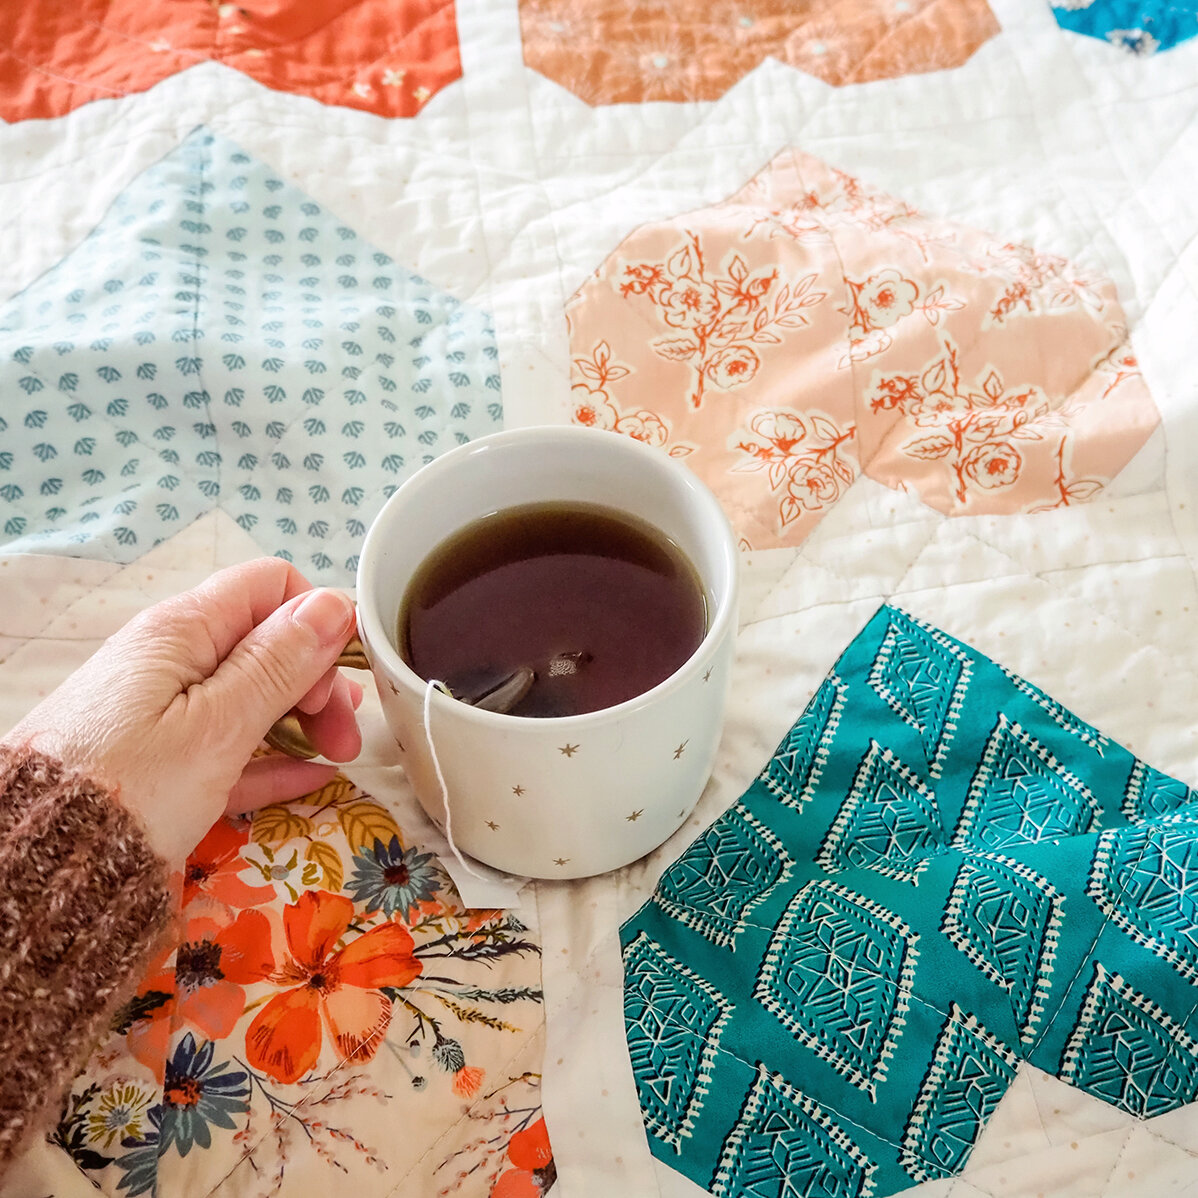
To add a little extra pop to this Hold Tight quilt, I supplemented the different blenders with my Tiny Dancer prints and I love the scale change of this additional larger print. Above is the conversion of using less number of fabrics and upping the amount of each used to a fat quarter. Construction, background, backing, and binding remain the same as in the pattern for the throw—just the number of fabrics used to make the balloon is reduced and some fabrics show up in more than one balloon in my Fanciful version, rather than the original version of fabrics only being used once per balloon.
Evergreen Quilt
Here’s a bonus project for blog readers and one you wont find in the Fanciful Look Book! The Evergreen (or also known as Hinterland) quilt is a free pattern from Art Gallery Fabrics, designed by Sam Vanderpuy.

I took some liberties with the pattern that I will share and streamlined the number of fabrics to make cutting simpler.

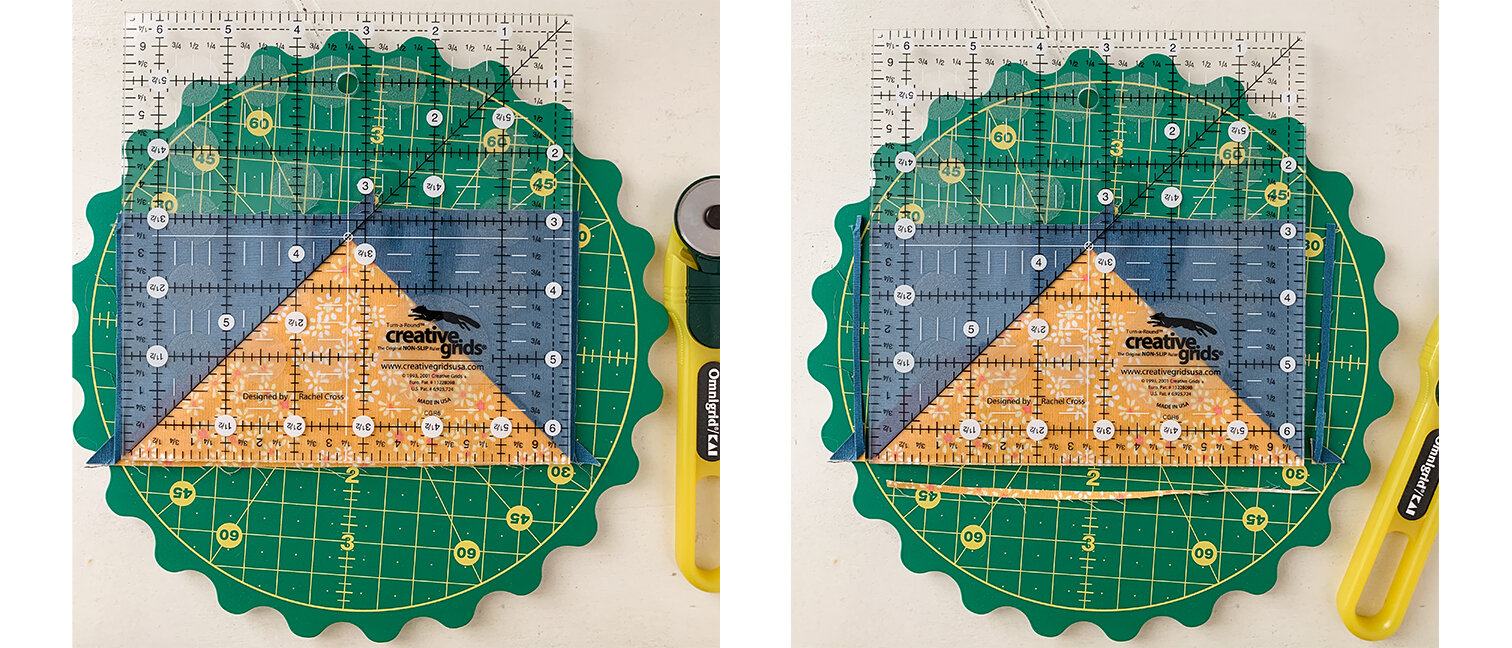
To make my version I used 1/3 yard EACH of 8 Fanciful blenders and streamlined the cutting to be almost an even distribution of the 8 colors. I also chose not to add the occasional upside down strip set triangles because I wasn’t pleased with the skinny lines not lining up perfectly so I kept the quilt to all Art Gallery Fabrics Pure Solids in Latte for the triangles and skinny strips (background).

The beautiful fan quilting was done by Terri Neil of Quilting Rubies. To give this quilt some extra fun I used Chenille-It Blooming Bias tape for the edges in white. You can learn more about how to add a chenille edge to your quilt with my video tutorial, HERE.

I love the idea of stars over the mountains and how this quilt backing of Compass Points print from my Shine On collection gives this quilt a front and back that’s equally fun and graphic!

This is certainly a quilt that will grow with baby and would also be a beautiful wall hanging as the child gets older.

Be sure to check out the Fanciful Look Book for more sewing inspiration and looks at how lovely these blender colors coordinate with prints from my past (and upcoming) fabric collections. This is the perfect way to extend your stash of Sharon Holland fabrics!

Next time on the blog…
Another baby quilt and a hack for the Quilted Carryall bag you wont want to miss!