Fabric Fringe Wallhanging

Fabric Fringe Wallhanging

Signature Fabric Wallhanging.jpg

We've all seen beautiful macrame and fringy wall art pieces in stores and on Pinterest and wished we could afford or make something like that. Well, now you can! 

Fabric Fringe Wallhanging by Sharon Holland Designs.jpg

Fabric Fringe Wallhanging Tutorial

This is a great beginner project or one to involve your kids in for a summer craft. They'll love being able to customize the look for their room!

This tutorial is based on a wallhanging that measures appoximately 36'' x 36''. See below for customizing the size of the strips. Read through all instructions before beginning.

Here's what you'll need:

  • One 3/4'' x 36'' stick or dowel rod
  • Spray paint (optional)
  • 2-3/4 - 3 yards total assorted cotton fabric
  •  Dritz Twist Cord
Signature Wallhanging Closeup.jpg

The fabrics used in my Fabric Fringe Wallhanging are from my new Signature fabrics collection for Art Gallery Fabrics. Because I wanted this wallhanging to have a more sophisticated look I spray painted my stick gold and finished all the edges of my strips so no raw edges showed.

I don't normally have wall decor like this in my house because as someone with allergies it's a dust catcher in my mind but...because all the edges on the strips are finished this hanging could be easily disassembled and laundered!

Assembly

Fabric Fringe Hanging-01.jpg

For a wallhanging the size of this sample: Cut appoximately (24) 4'' x 42'' strips. I varied the length of my strips from around 21'' long down to 6'' long. You'll need about 975'' total length of 4'' wide strips. 

Place ends of strips right sides tougher at a 90° angle and stitch on the diagonal as shown above. Keep adding varied lengths strips in the same manner to make one long strip that measures approximately 975''. Trim seam allowance to 1/4". Press seams open.

Cut Fringe Length

The stick I used is about 36'' long so that's the length my center fringe will hang down. Because we use a double length to loop the fringe over the stick, all measurements will be doubled plus an additional inch for hemming. 

Cut the following from the long strip.

  • (3) 73'' long strips
  • (4) 67'' long strips
  • (4) 61'' long strips
  • (4) 55'' long strips

NOTE: If customizing your wall hanging use the following formula to determine the cutting length for fringe. 

Customize your Fabric Fringe Wallhanging to any size stick or dowel rod by using the length of the stick (or rod) as the length of the longest fringe strips in the center of the wallhanging. Each subsequent step of the strips that create the "V" shape of the wallhanging are made in 6'' step-up increments. Note: If using a very skinny stick or rod the width of the starting strip should be narrowed to keep the fringe scale in proportion to the stick. 

  • Length of stick times 2 = Center fringe length 
  • Center fringe length plus 1'' (for hemming) = Center fringe cut length
  • Center fringe cut length minus 6'' then add 1'' (for hemming) = First step fringe cut length
  • First step fringe cut length minus 6'' then add 1'' (for hemming) = Second step fringe cut length
  • And so on for as many steps you want to add
Fabric Fringe Hanging-02.jpg

Once all lengths have been cut from the long strip it's time to finish the raw edges of the fringe. 

Fold a fringe strip lengthwise in half with wrong sides together and press. 

Open the fold then press a short end over 1/2'' to the wrong side. Repeat for the other short end. 

Press the long raw edges in toward the center fold. Refold on the center crease, encasing the raw edges. 

Sew around all four sides of the fringe close to the edge. 

In the same manner, finish the remaining fringe strips.

Fabric Fringe Wallhanging assembly.jpg

Starting from the center with the longest fringe, fold a fringe strip in half to form a loop. 

Place the loop behind the stick and bring the ends of the fringe over the stick and through the loop.

IMG_6551.jpg

Pull the ends through the loop to tighten fabric to the stick. Fluff and adjust the strip as needed to lay flat. Continue adding additional strips to either side of center working from the longest to shortest strips to create a "V" shaped wallhanging.

Fabric Fringe Hanging.jpg

Use Dritz cording in desired color to hang your creation. Simple loop and knot can be adjusted as needed for handling and easily removed. The length of cord hangin below the stick can be a design feature. Knot the ends of the cord to keep from unraveling. 

I had extra cording so I added two fringes of cording in the center of the wallhanging.

Signature Wallhanging Strips.jpg

Be as creative as you want and add other embellishments like yarn, feathers, leather strips, or ribbon to make your own decorator statement!

Improv Boho Pillow

Improv Boho Pillow

Signature Boho Pillow 3.jpg

To continuing my marathon series of home decor pillows sewn with my Signature fabrics for Art Gallery Fabrics, today I'm posting about an improv patchwork pillow.

I wanted a long, bolster-type pillow for my Soho-style bedroom photo shoot and had a 14'' x 28'' pillow form that would be just perfect. 

IMG_6096.jpg

I used prints from my Signature Foliar color way and first made the four 3-1/2'' x 6-1/2'' Flying Geese units from:

  • One 7-1/2" square Venture Forward
  • Four 4-1/8" squares Tender Arrangement

See my No-Waste Flying Geese tutorial here.

The Flying Geese units didn't quite make the 14-1/2'' width I was needing for my pillow so I added two 1-1/2'' x 6-1/2'' strips of Art Gallery Fabrics PE-411 Pink Quartz Pure Elements solids to get it up to size. 

Signature Boho pillow 2.jpg

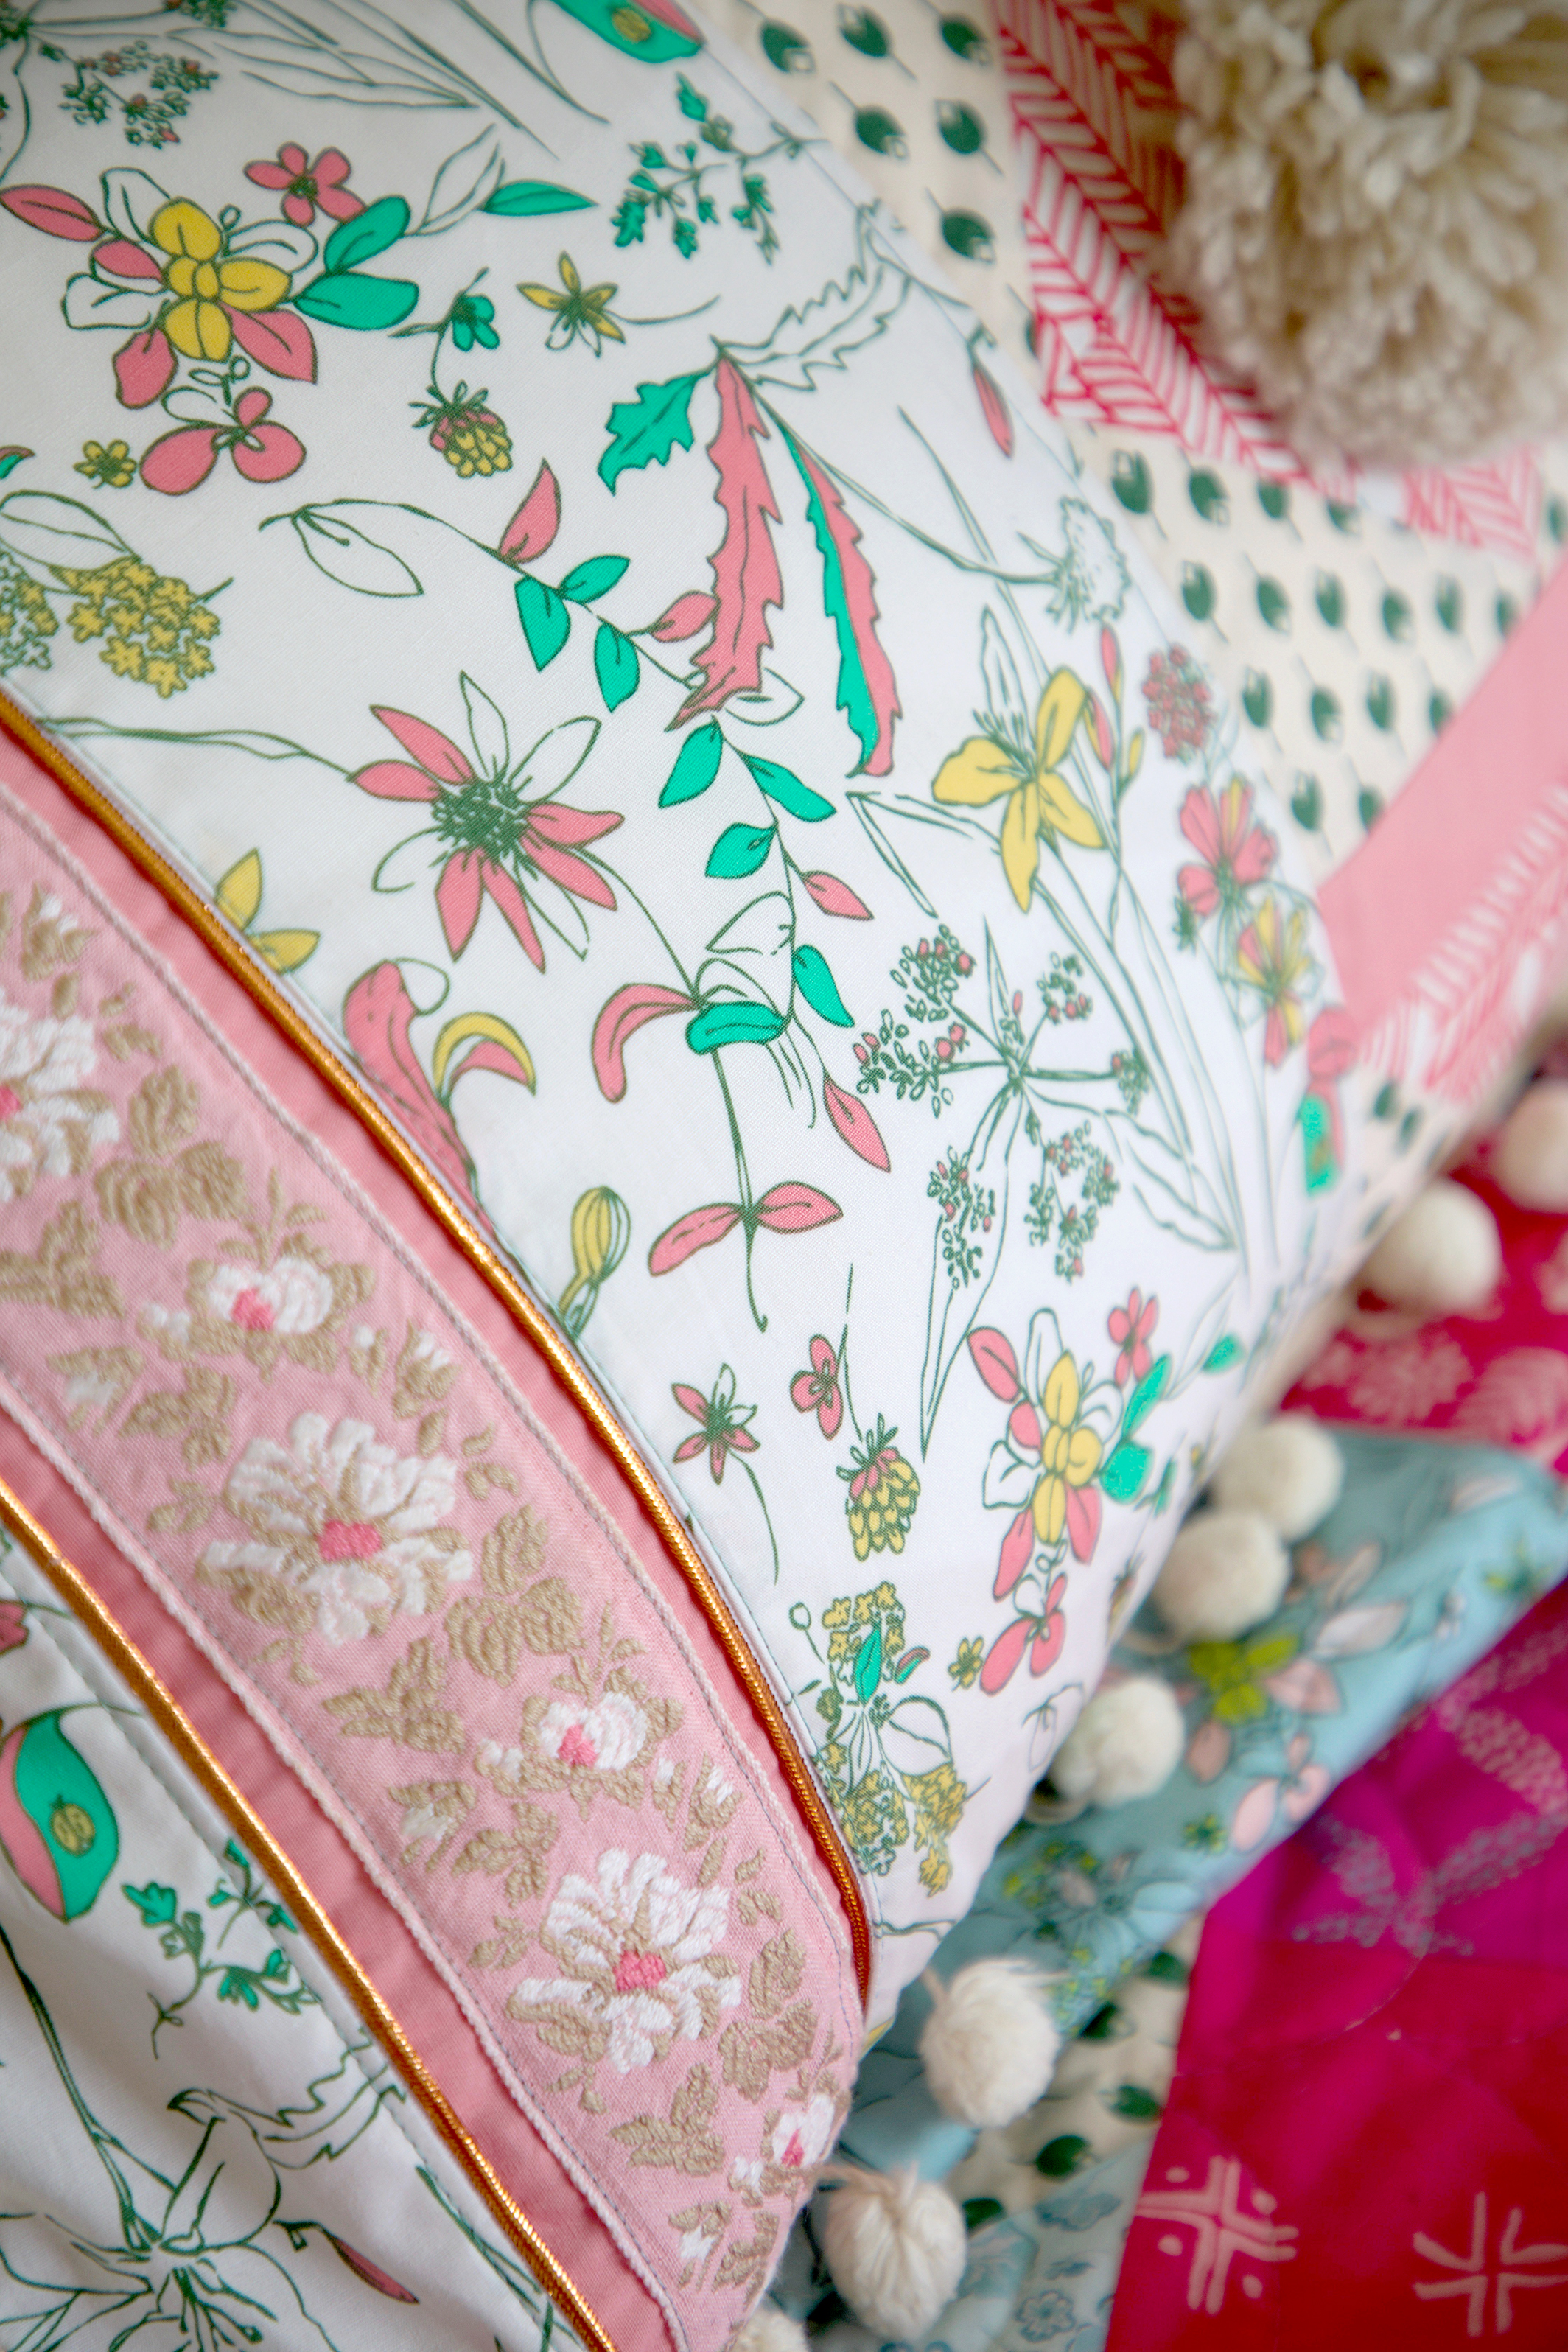
Improvising as I went, I made two 3'' x 14-1/2'' strips of vintage trim embellished Pink Quartz and cut the following of Untamed Beauty Daybreak: two 6-1/2'' x 14-1/2'' strips and two 3'' x 14-1/2'' strips. When assembling the sections I added in the vintage copper colored piping for a little bling. 

Once the pillow front was pieced I basted reclaimed vintage pompoms to the raw edge before assembling the pillow. 

Signature Boho Pillow 1.jpg

Since this pillow front only had enough seam allowance for a 1/4'' seam allowance I decided to finish the back with an envelope pillow backing. There's a terrific tutorial over at the Sew Mama Sew blog and she even has the cut sizes for the different sizes of pillows in a handy-dandy chart!

Signature Pillow 1.jpg

After my pillow was all sewn I thought it needed just one more fun element and hand sewed a giant pompom to the center of the pillow (before inserting the pillow form). 

Four Signature Pillows.jpg

Next, and final installment in this pillow series I'll be sharing how to make a Yo-yo pillow. If you've missed the first two pillow tutorials, take a look at my Chenille Pillow with Hidden Zipper and the Ruching Rose posts.


A Community Sampler Giveaway - Week #1

Community Sampler Giveaway - Week #1

MC_SH Sampler Bundle CS1.jpg

Each Friday, throughout the Community Sampler sew-along, which Maureen Cracknell and I are co-hosting, will be a Giveaway Friday. We've coordinated special giveaway prizes with our amazing participating sponsors for each and every week! If you've happened to miss the first Community Sampler posts, take a look back from the first post Sneak Peek at the 2018 Sew Along to get caught up to the present. Feel free to start sewing with us at anytime--it's never too late to join in, and it's free! 

CS Promo banner 2.jpg

The Community Sampler Sponsors

Sponsors Graphic Use-01.jpg

Lady Belle Fabric  Omnigrid   Aurifil Thread  Art Gallery Fabrics 

Hobbs Batting  Dritz  Fat Quarter Shop  Bloc-Loc

Today Maureen and I are kicking off our weekly Community Sampler Giveaway with a prize from the two of us!!!

That's right, this week we're offering the winner a 12-piece Community Garden curated bundle including six gorgeous prints from my Bountiful, Tapestry, and Sketchbook collections for Art Gallery Fabrics. These prints mix perfectly with coordinating prints from Maureen's beautiful new Love Story collection and a favorite from Nightfall also from Art Gallery Fabrics. This bundle will include a fat quarter cut of each of the 12 prints that you see here. 

MC_SH Sampler Bundle CS2.jpg

This bundle is also available exclusively at Needle in a Fabric Stash! See their online shop for more information and orders will get a bonus fat quarter free to make a baker's (or gardener's) dozen. Plus, don't forget to shop their huge selection of Art Gallery Fabrics and check out the Sharon Holland Sampler bundle with free shipping!

ENTER TO WIN!

Here's how: Since Maureen and I are taking turns hosting the Community Sampler Giveaway Fridays, this week I'm sending you to Maureen Cracknell's blog to enter!

A BIG thanks to all of you who are joining the 2018 Community Sampler sew-along and to those who enter our Giveaway!  

♡ Sharon

Community Sampler Week #1

Community Sampler Week #1

CS Promo banner 2.jpg

Today is the official start of the Community Sampler! My dear friend and Art Gallery Fabrics designer sister Maureen Cracknell and I will be co-hosting this 16-week sew along. You may remember the Sewcial Bee Sampler event we hosted last year? You can still access all the PDFs. tips, and tutorial blog posts from last years block-of-the-week sew along. Begin your adventure with the first post, Start of Something Sewcial. Many of the tips and techniques we used in the 2017 sampler will be used again for this years new sampler plus there will be some new skills to add to your growing quilt repertoire.

Week #1.jpg

Your first PDF download will be the Introduction packet. In it you'll get an overview of what to expect over the next 16 weeks (that period includes this week), a full material list, and coloring book pages so you can start planning your quilt. You'll also be getting your first look at the quilt layout. Today's post will focus on how I chose my color palette for my sampler quilt. Hopefully you'll get inspired and it will help you when you gather your supplies for next week's block release. 

Download the free Introduction PDF from my Sew Along page. To keep the Instruction download a small file size and your printing to a minimum I have left the pretty cover page off of the Introduction PDF. If you'd like to include and print out our cover, click on the image below and then you can add it to your PDF. 

Fabric Selection

Pure Elements by Art Gallery Fabrics

Pure Elements by Art Gallery Fabrics

Today's post will talk about how to get started pulling your fabrics for your sampler. With so many beautiful fabric options available it's hard to know where to begin. In the Introduction PDF I suggest you focus on pulling 5 light fabrics, 5 medium fabrics, and 5 dark fabrics to make up your total yardage needed for blocks. You can adjust and sculpt the selection as you begin sewing blocks but it's good to have a basic understanding of what fabric you'll be using from the start. Here's my process for this year's sampler quilt...

CS Layered Sharon.jpg

This year I gave myself the challenge to work in only solids for my sampler quilt. Now, that may not sound like much of a challenge to some of you but don't forget, I'm a pattern designer and it's my passion to work with prints! I've only made 3 other quilts--EVER--that were all solids. That's 3 out of hundreds so this is a challenge for me. But, disclaimer here, once my new fabric line for Art Gallery Fabrics shows up around April-May of this year, you better believe I'll be making a second quilt! I am anxious to start sewing with my new collection and it will be fun for me to make a print version of this quilt, too.

Sometimes it's hard to know where to begin when choosing fabrics for a quilt. So, to get over that hump of what colors to use, I turned to Pinterest for help. You can follow me there at ShareDesigns where I've started a Community Sampler board. For my solids inspiration, I used the beautiful images found on Pinterest to help me pick a color story. Here's the mood board I put together for color selection.

Collage by Sharon Holland of images pulled from Pinterest

Collage by Sharon Holland of images pulled from Pinterest

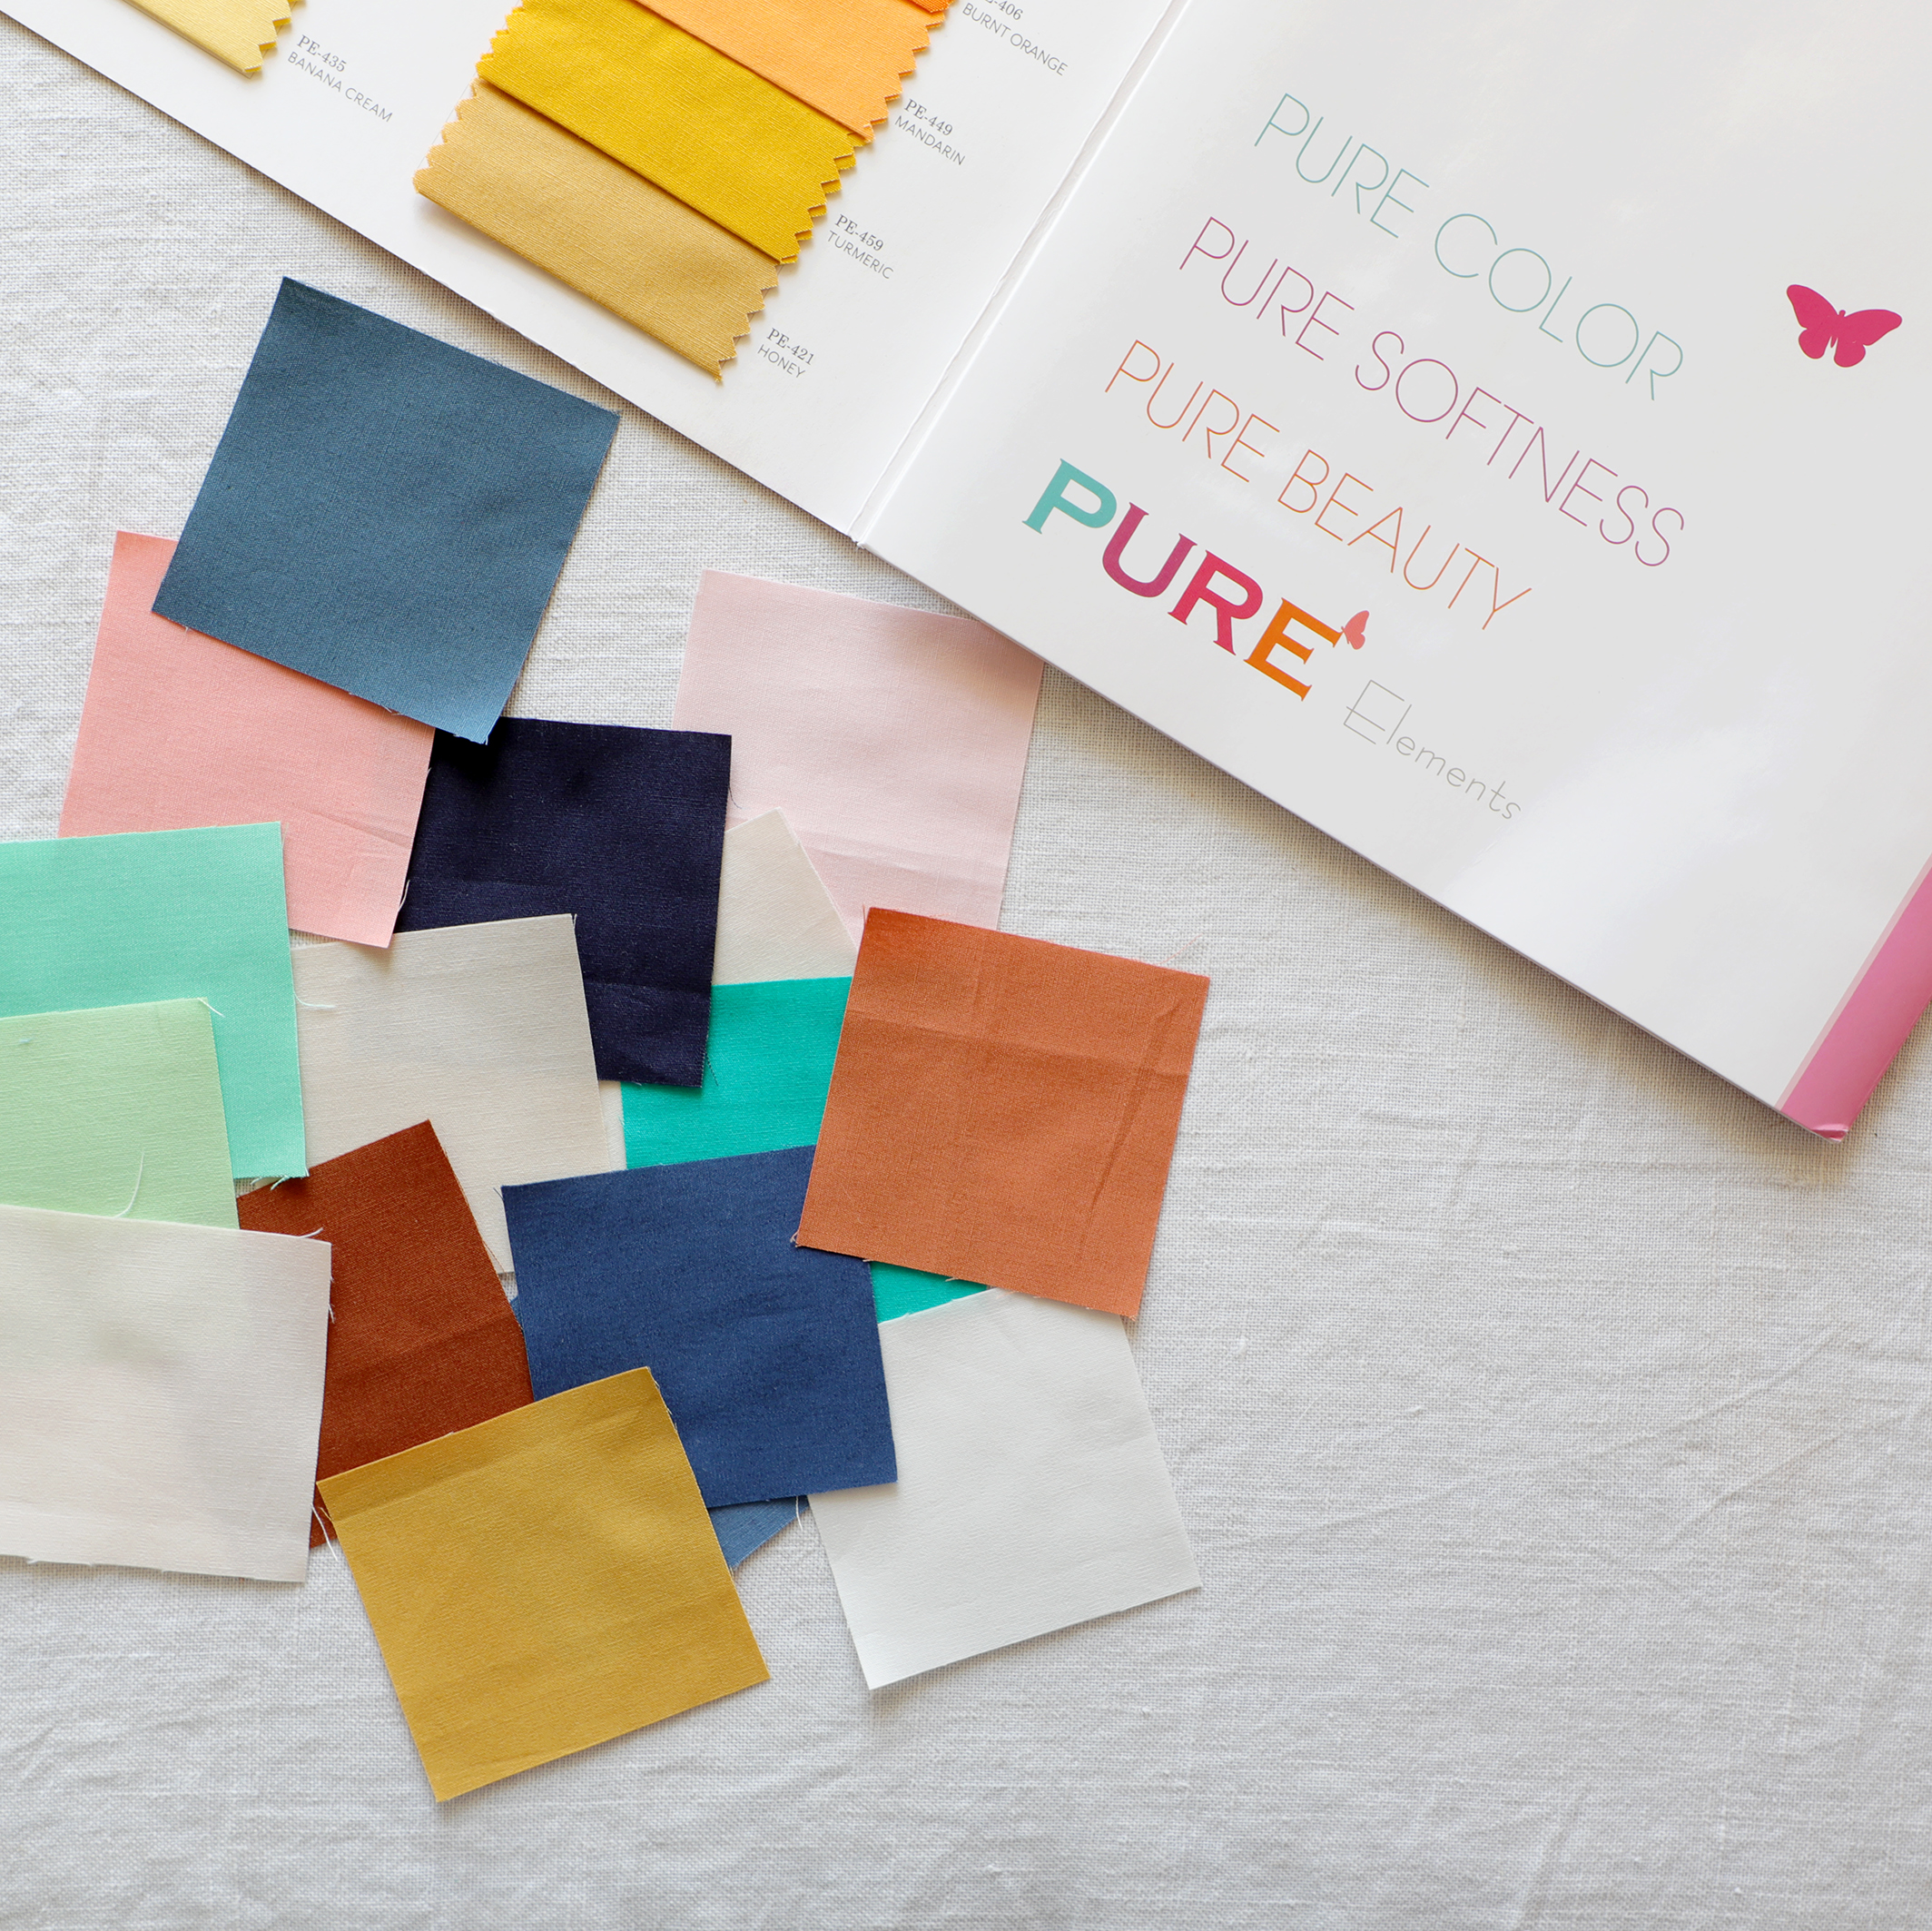
I tried not to over think things but also wanted to be receptive to incorporate new colors I wouldn't normally use. I just chose a palette that spoke to me and gave me enough colors to play with in a quilt without being overwhelming. Really, my color palette in the mood board appears rather limited but instead of selecting a ton of different colors I decided to gain variety and unity by expanding each color further with shades and tints of that color. Luckily, Art Gallery Fabrics has a wide range of gorgeous solids to choose from. I picked the core colors then added in tints and shades to build this 16-color fabric pull. Here's the result: Blush pink, peach, coral, copper, chocolate, kelly green, mint, jade, denim, navy, teal, honey, white, off-white, and cream. All these glorious solids are Art Gallery Fabrics Pure Elements (which feels like percale, btw) and below are the sku numbers of the exact palette I will be using. 

Pure Elements solids from Art Gallery Fabrics

Pure Elements solids from Art Gallery Fabrics

Even if you're not using solids but going with prints or a mix of prints and solids it can be overwhelming where to begin. Starting with a fabric collection takes all the guess work out of it for you. The designer has already done the heavy lifting and coordinated the colors, scale of prints, visual textures of busy and blender prints, light and dark fabrics, and put it all together in one beautiful range. Supplement with solids, if necessary, and let the main focus print with the most colors clue you in to what colors to add in. Many fabric collections come in two or more color ways for an emphasis on a warm or cool side of the color wheel. We each have a preference to warm or cool colors and this just helps to narrow down and get to the heart of what speaks to you. 

Fabric Selection.jpg

Maureen and I would love to see your fabric pulls and selection process. After reading this blog post, pop over to Maureen's post and see her mood board and fabric pulls for her sampler quilt. If you're on Instagram and use the hashtag #CommunitySampler when posting your sampler photos the entire Community Sampler community can see your work and inspiration. Did you know you can now follow hashtags on Instagram??? Yes, it's a fabulous new tool for not missing a single thing of what you want to connect with on IG. Every time you post to our #CommunitySampler hashtag pool (and have a public account) you're automatically entered into the weekly drawings and every post compounds--furthering your chances to win. This Friday I'll post details about the first giveaway--so start posting away! Don't have anything to post yet? Don't worry. Grab the "I'm a Community Sampler Maker" button below and post that to your IG account. Be sure to use the #CommunitySampler hashtag!

A Word About Copyright

I want to take this time to remind everyone about copyrights and what copyright infringements to avoid. I apologize up front for all the Do's and Don'ts in the following paragraphs. Unfortunately it's a necessary evil to remind everyone to respect the work of others. 

All the graphics, illustrations, photography, instructions, tutorials, logos, etc. posted on this blog and in the PDF downloads are copyrighted materials and are for your personal use only. That means they are not to be distributed in any way whatsoever without written permission by (me) Sharon Holland. Kitting and fabric bundles are allowed but direct your patrons to my website to download the PDFs. Classes are not allowed. Do not post the PDFs on your blog or distribute them. Instead, direct your readers to this site to download the PDFs where they will find the added supportive tips and tutorials from my blog posts. This is a free sew along provided by myself and Maureen Cracknell and our only compensation for the time and money we have put into hosting this event comes from readers finding our blogs. Please remember to give proper credit and direct links when blogging about the sew along. 

If you display your finished quilt in a show or competition, please credit "Sharon Holland" for the quilt design as well as reference the Community Sampler. Of course, the blocks you make are your creation and feel free to post about those--just mention the source and tag Maureen and I. Again, personal use only and not to be used for profit.

The PDFs and posts for this sew along will remain up on my site long after this event ends and all the copyright rules will apply. Thank you for being considerate and respectful of copyrights.

Community Sampler Sponsors

Don't forget that this Friday's a Giveaway Friday on the Community Sampler sew along. Maureen and I will take turns hosting a giveaway each week where one of our generous sponsors will be featured and offering amazing prizes both here on our blogs and also on Instagram. Maureen will be hosting the giveaway from her blog this Friday and you'll be instructed how to enter at that time. Until Friday, happy fabric sourcing!