My Signature Sampler Week #10

Hi everyone! Here we are at week ten of our sew along and over halfway done. All the blocks being posted to our #MySignatureSampler hashtag pool on Instagram have been phenomenal! You're such a creative and inspiring group of makers, thank you for taking part in this sew along!

If you're just joining in on the fun, take a look at my first post for this sew along and pick up the quilt layout and color book page to start planning your sampler! The My Signature Sampler is based off block instructions from the Sewcial Bee Sampler (SBS), Community Sampler (CS), AGF Quilt Block Collection (AGF), and the blocks from the Quilter's Planner 2018 magazine (QP). If you have different favorite blocks and would rather include them in your quilt, please feel free to make this sampler with your own signature-style.
If you need extra help with your patchwork or would like to learn how to control the direction of your prints in half-square triangle units and other piecing techniques, visit my Tutorials page for lots of great tutorials all in one place. Also, when making any Sewcial Bee or Community Sampler blocks you can access the original blog posts for each block and find additional tips and tutorials for piecing. If needed, just use the search bar at the top of the this page on the right and simply type in the block name.
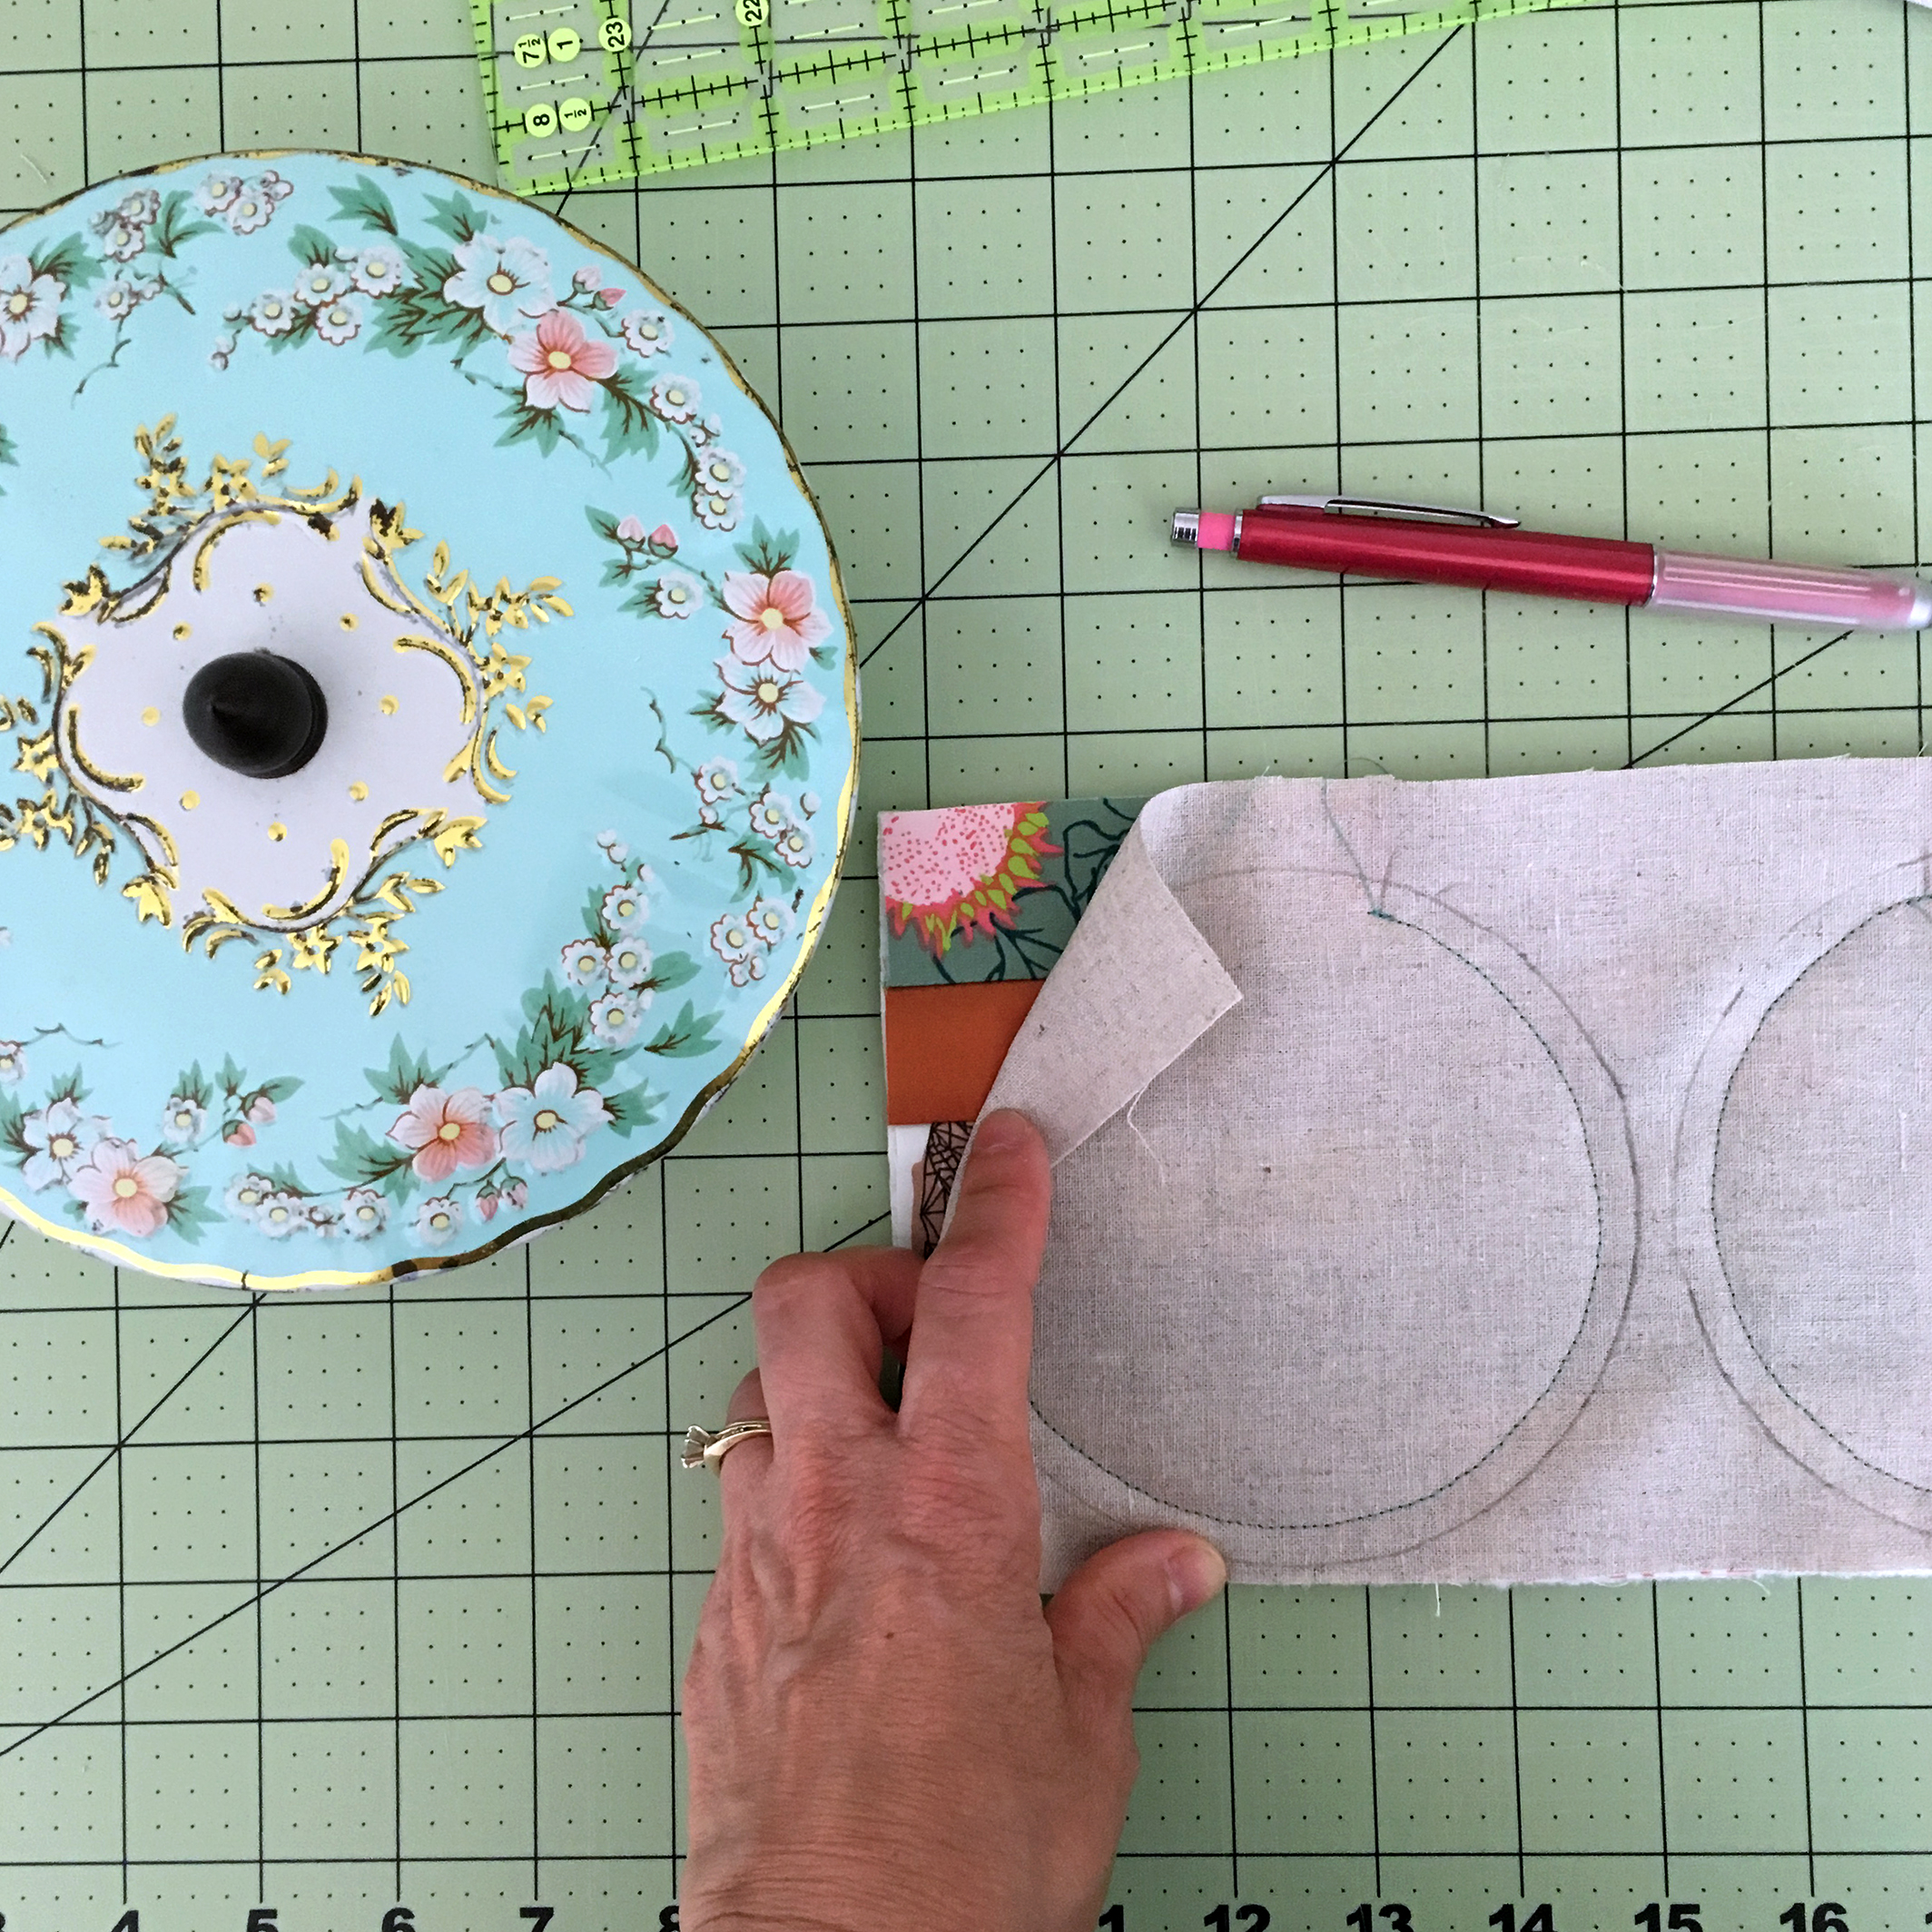
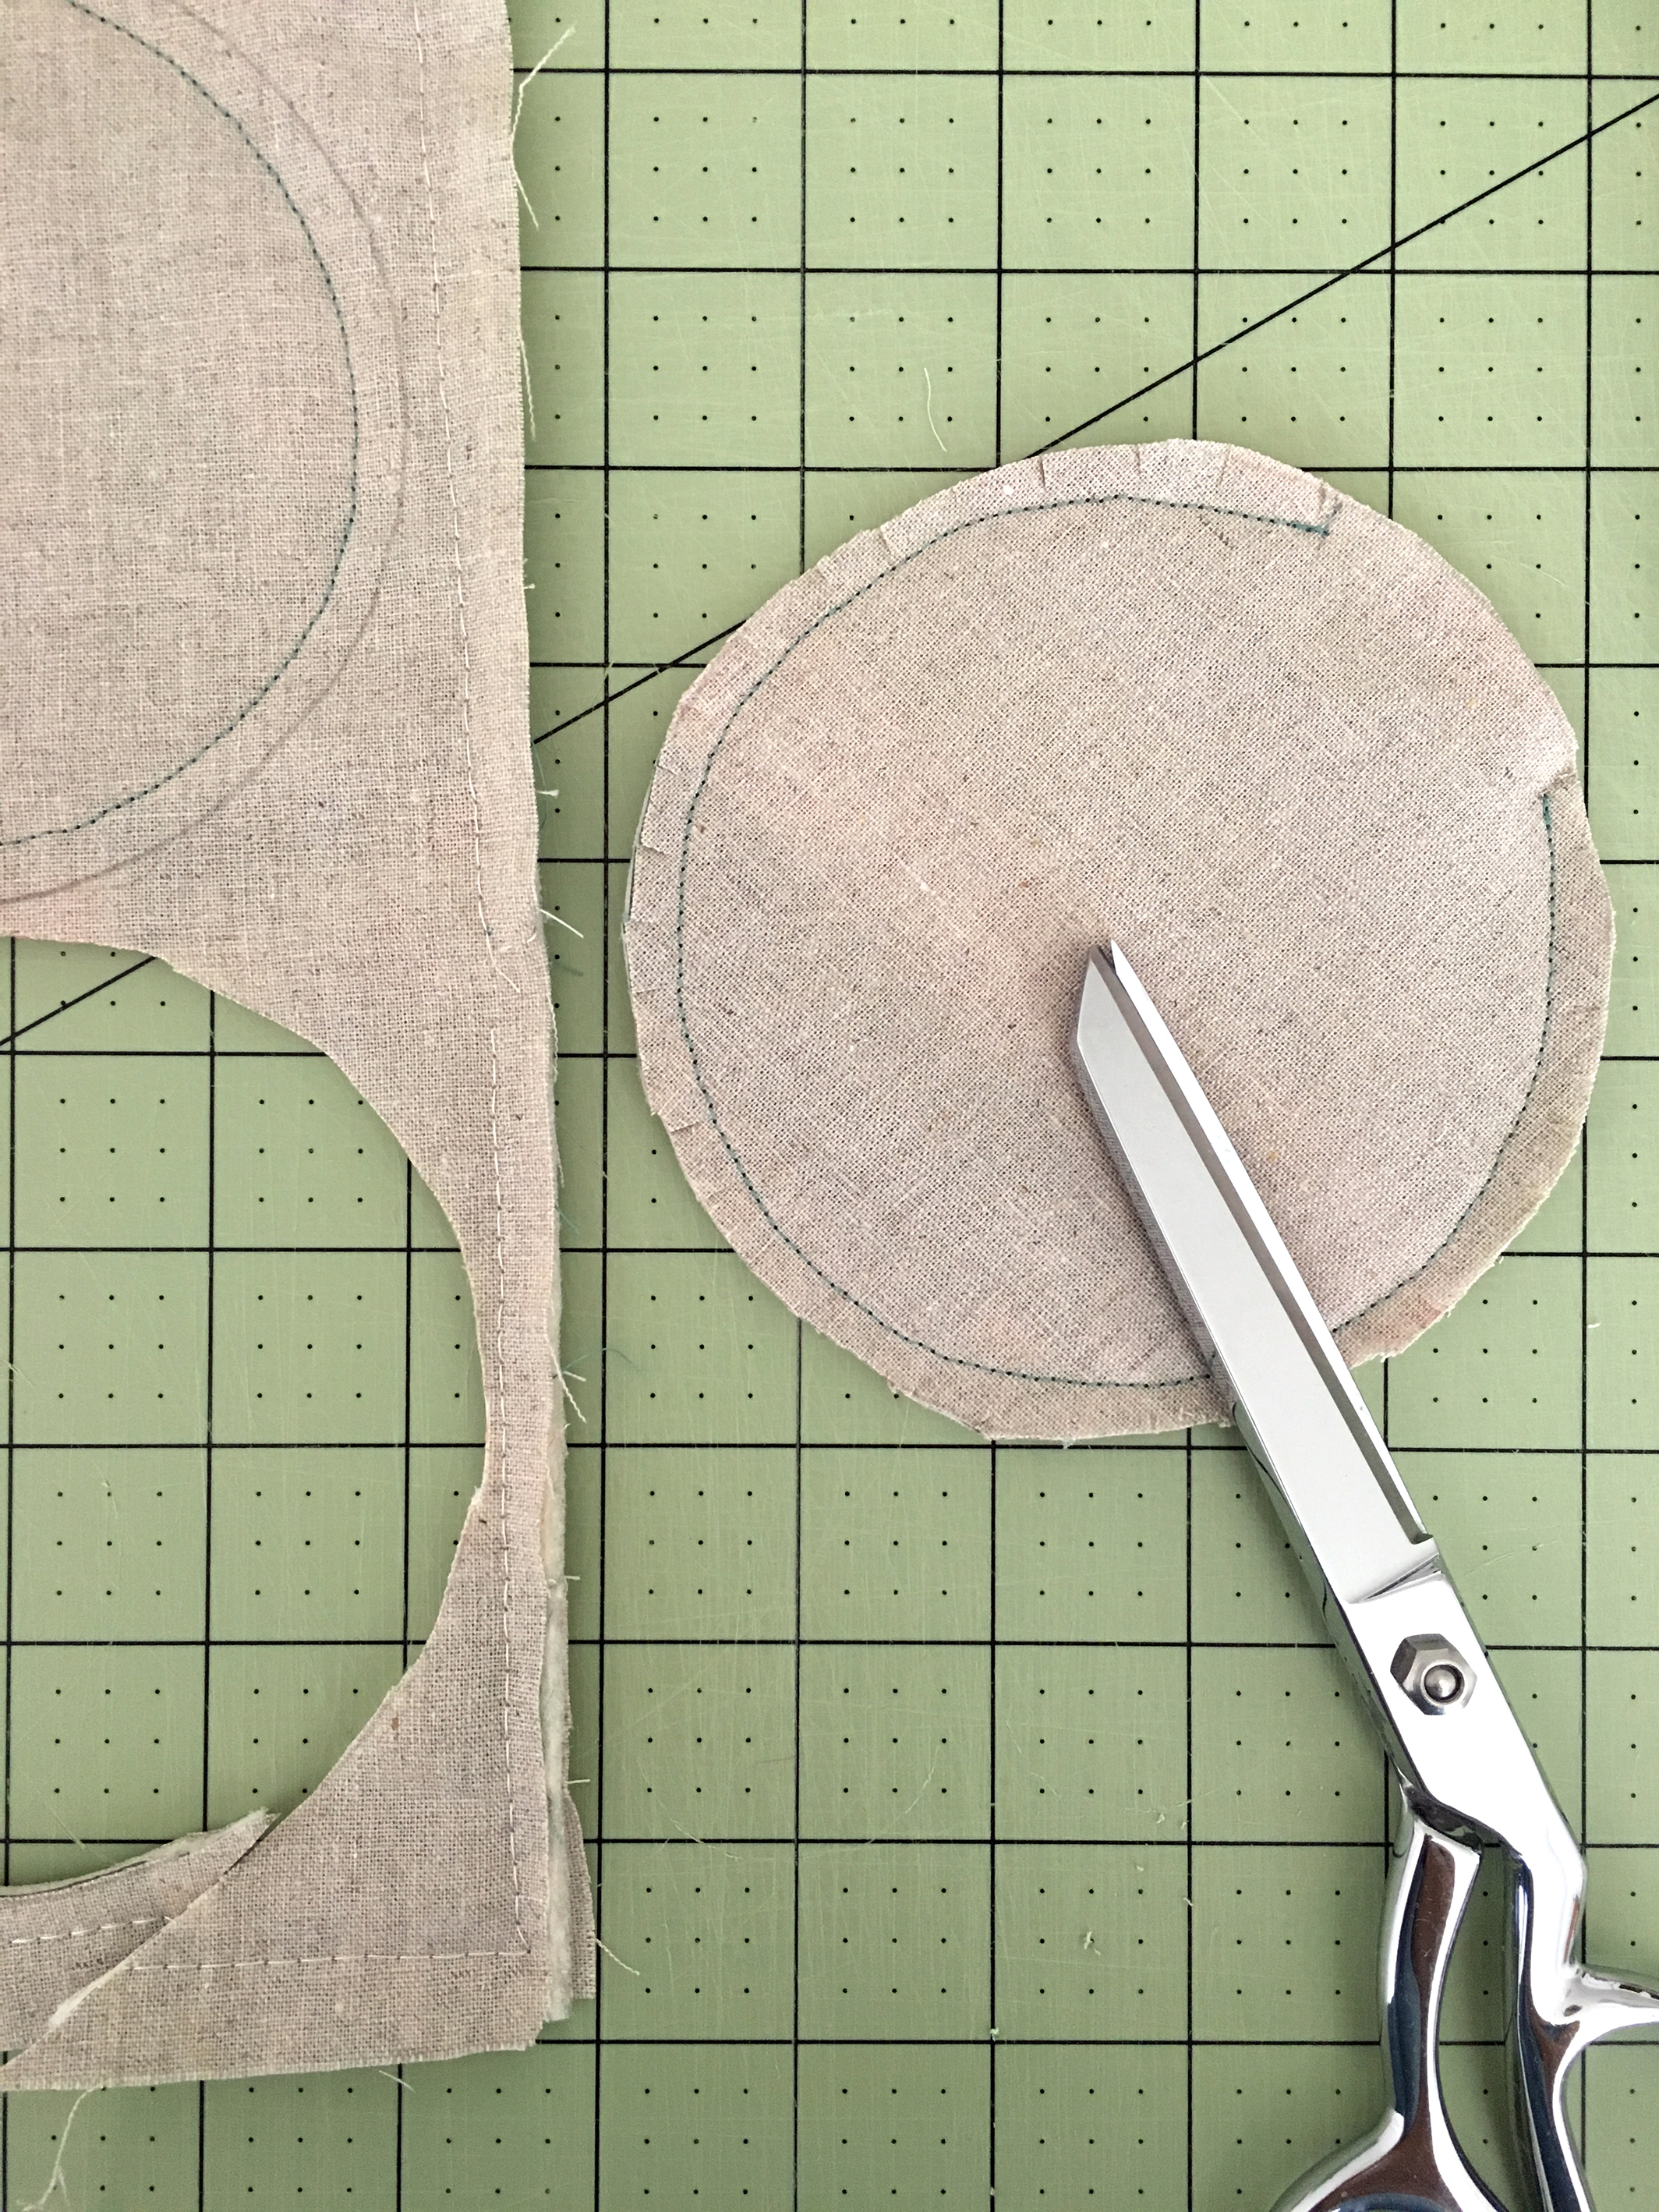
Don't forget our blocks will be set on-point so if you have a fussy cut center, cut it on-point for best results. Note: I don't recommend cutting any other pieces of the blocks (other than a center square on-point for fussy cutting) because it will create bias edges along the outside of the block and increase chances of distortion. Keep any bias edges in the center of the block.

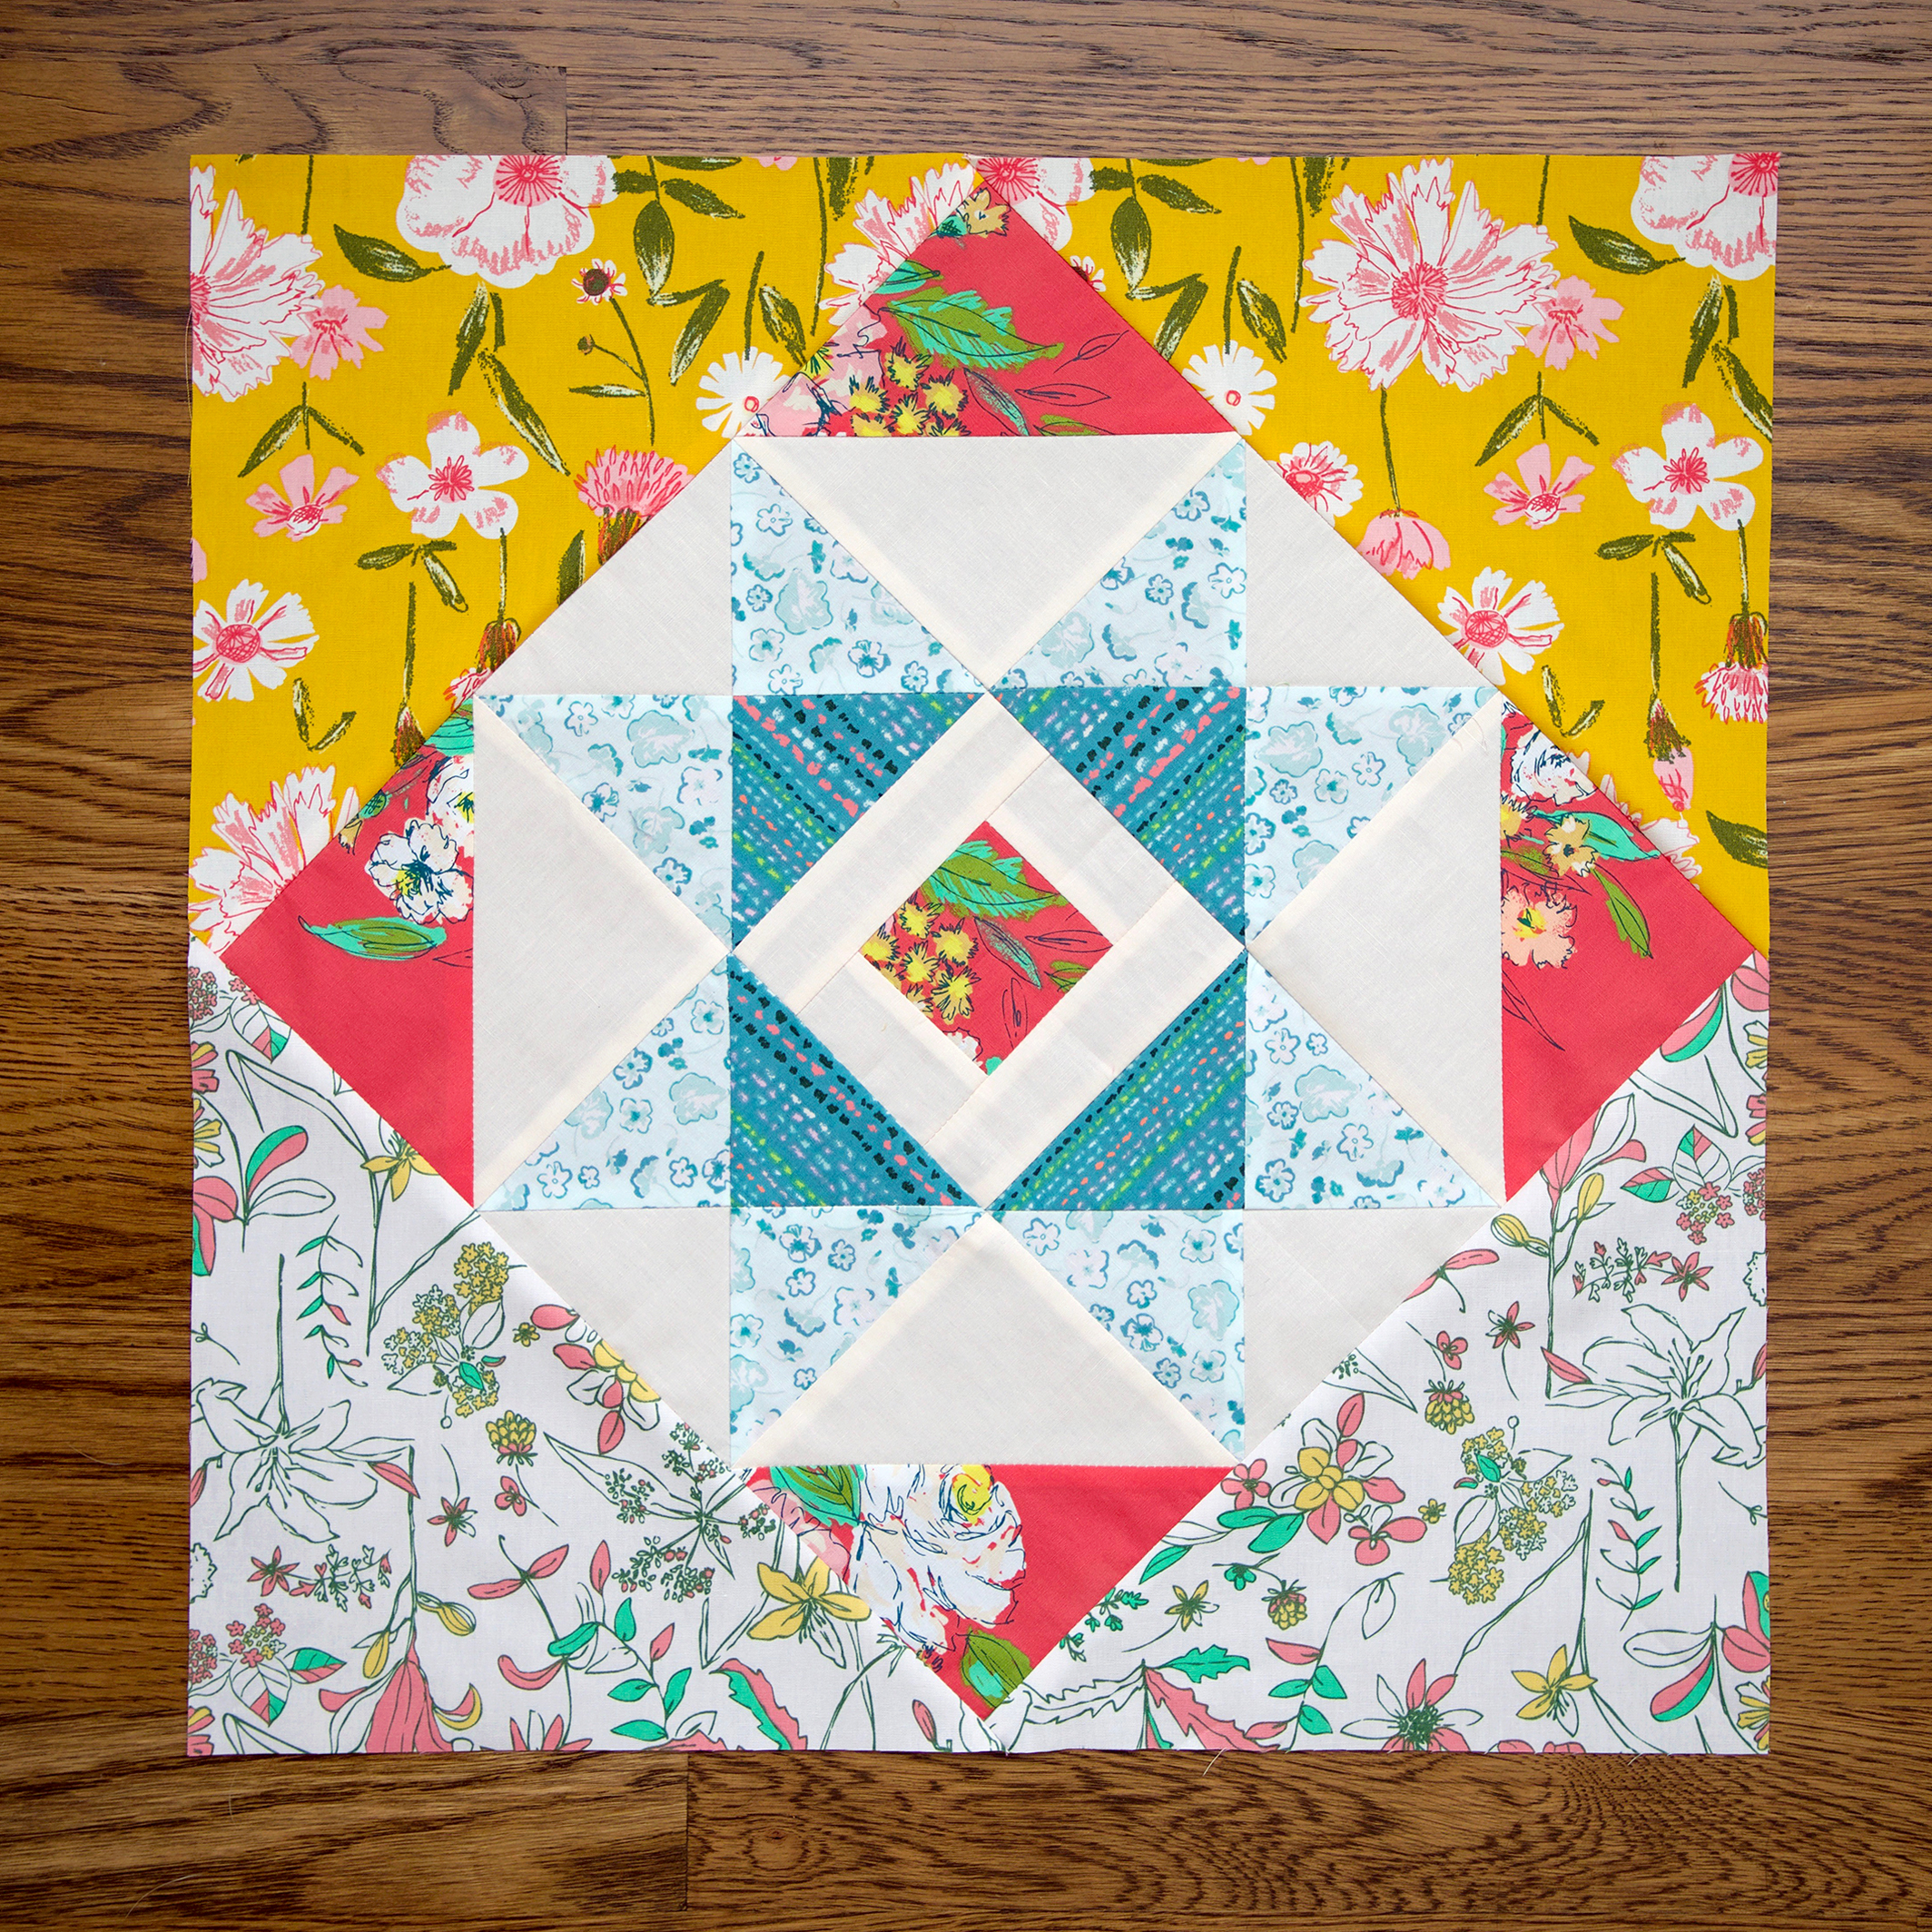
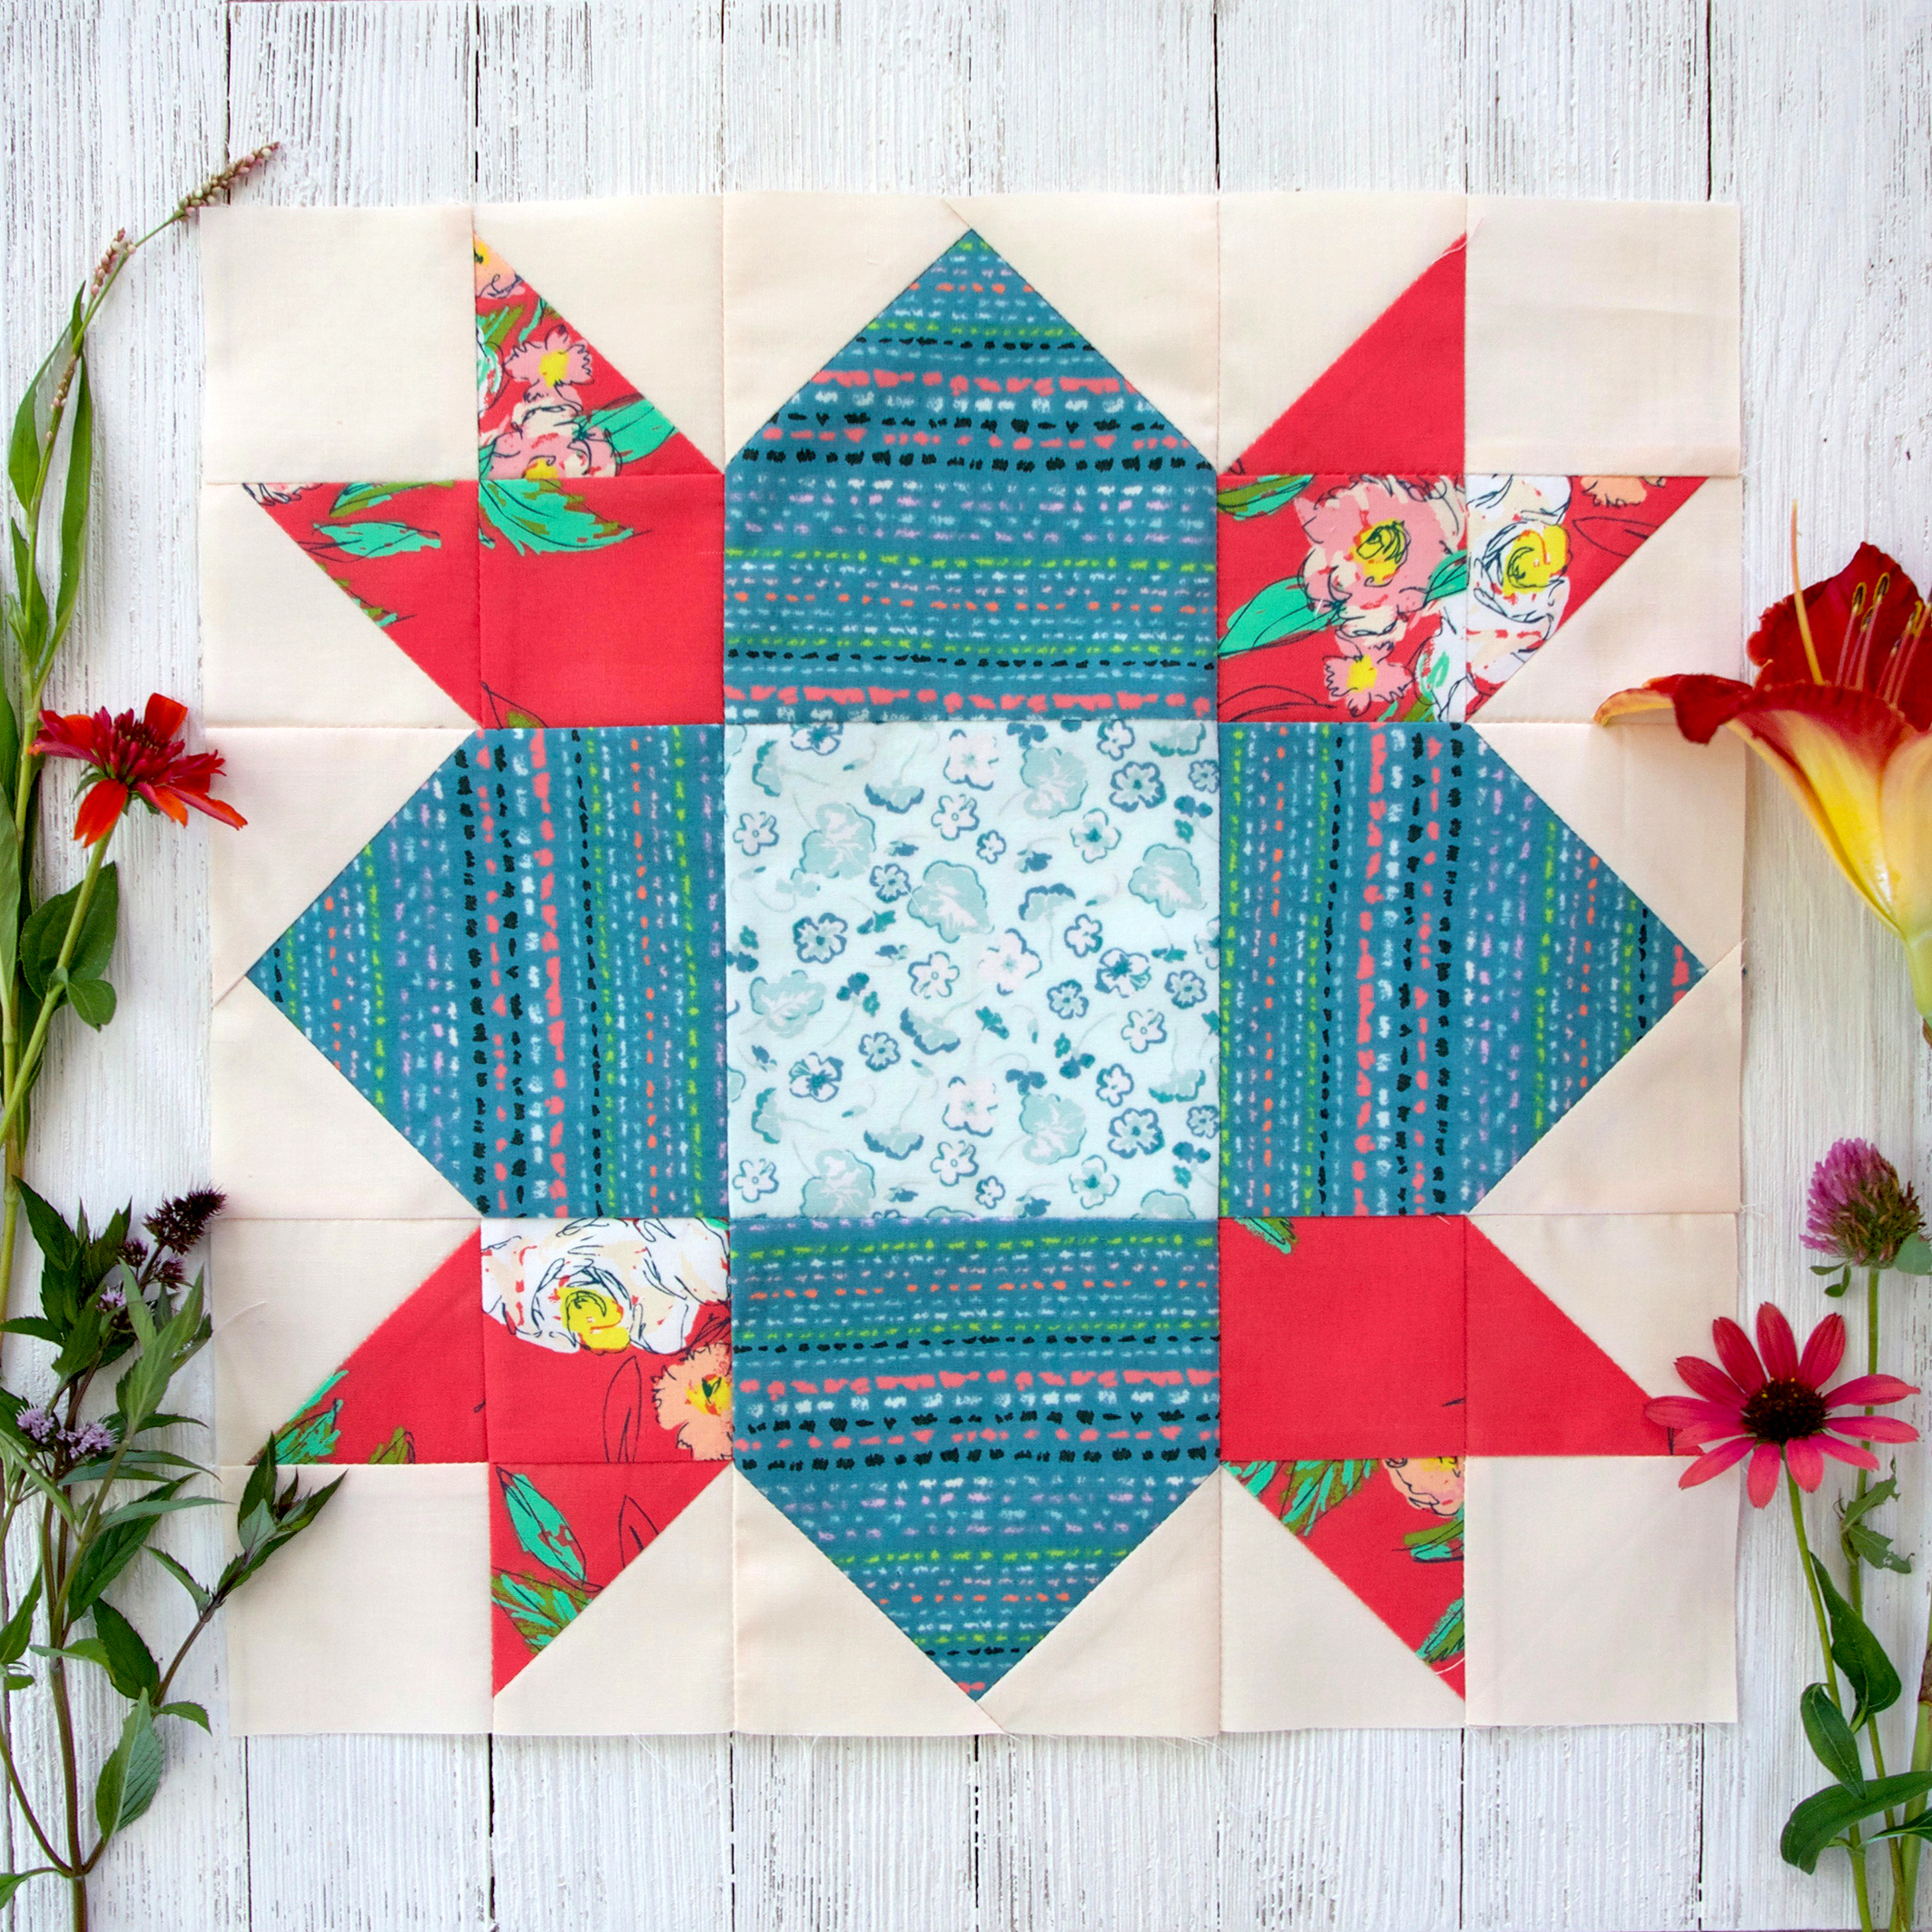
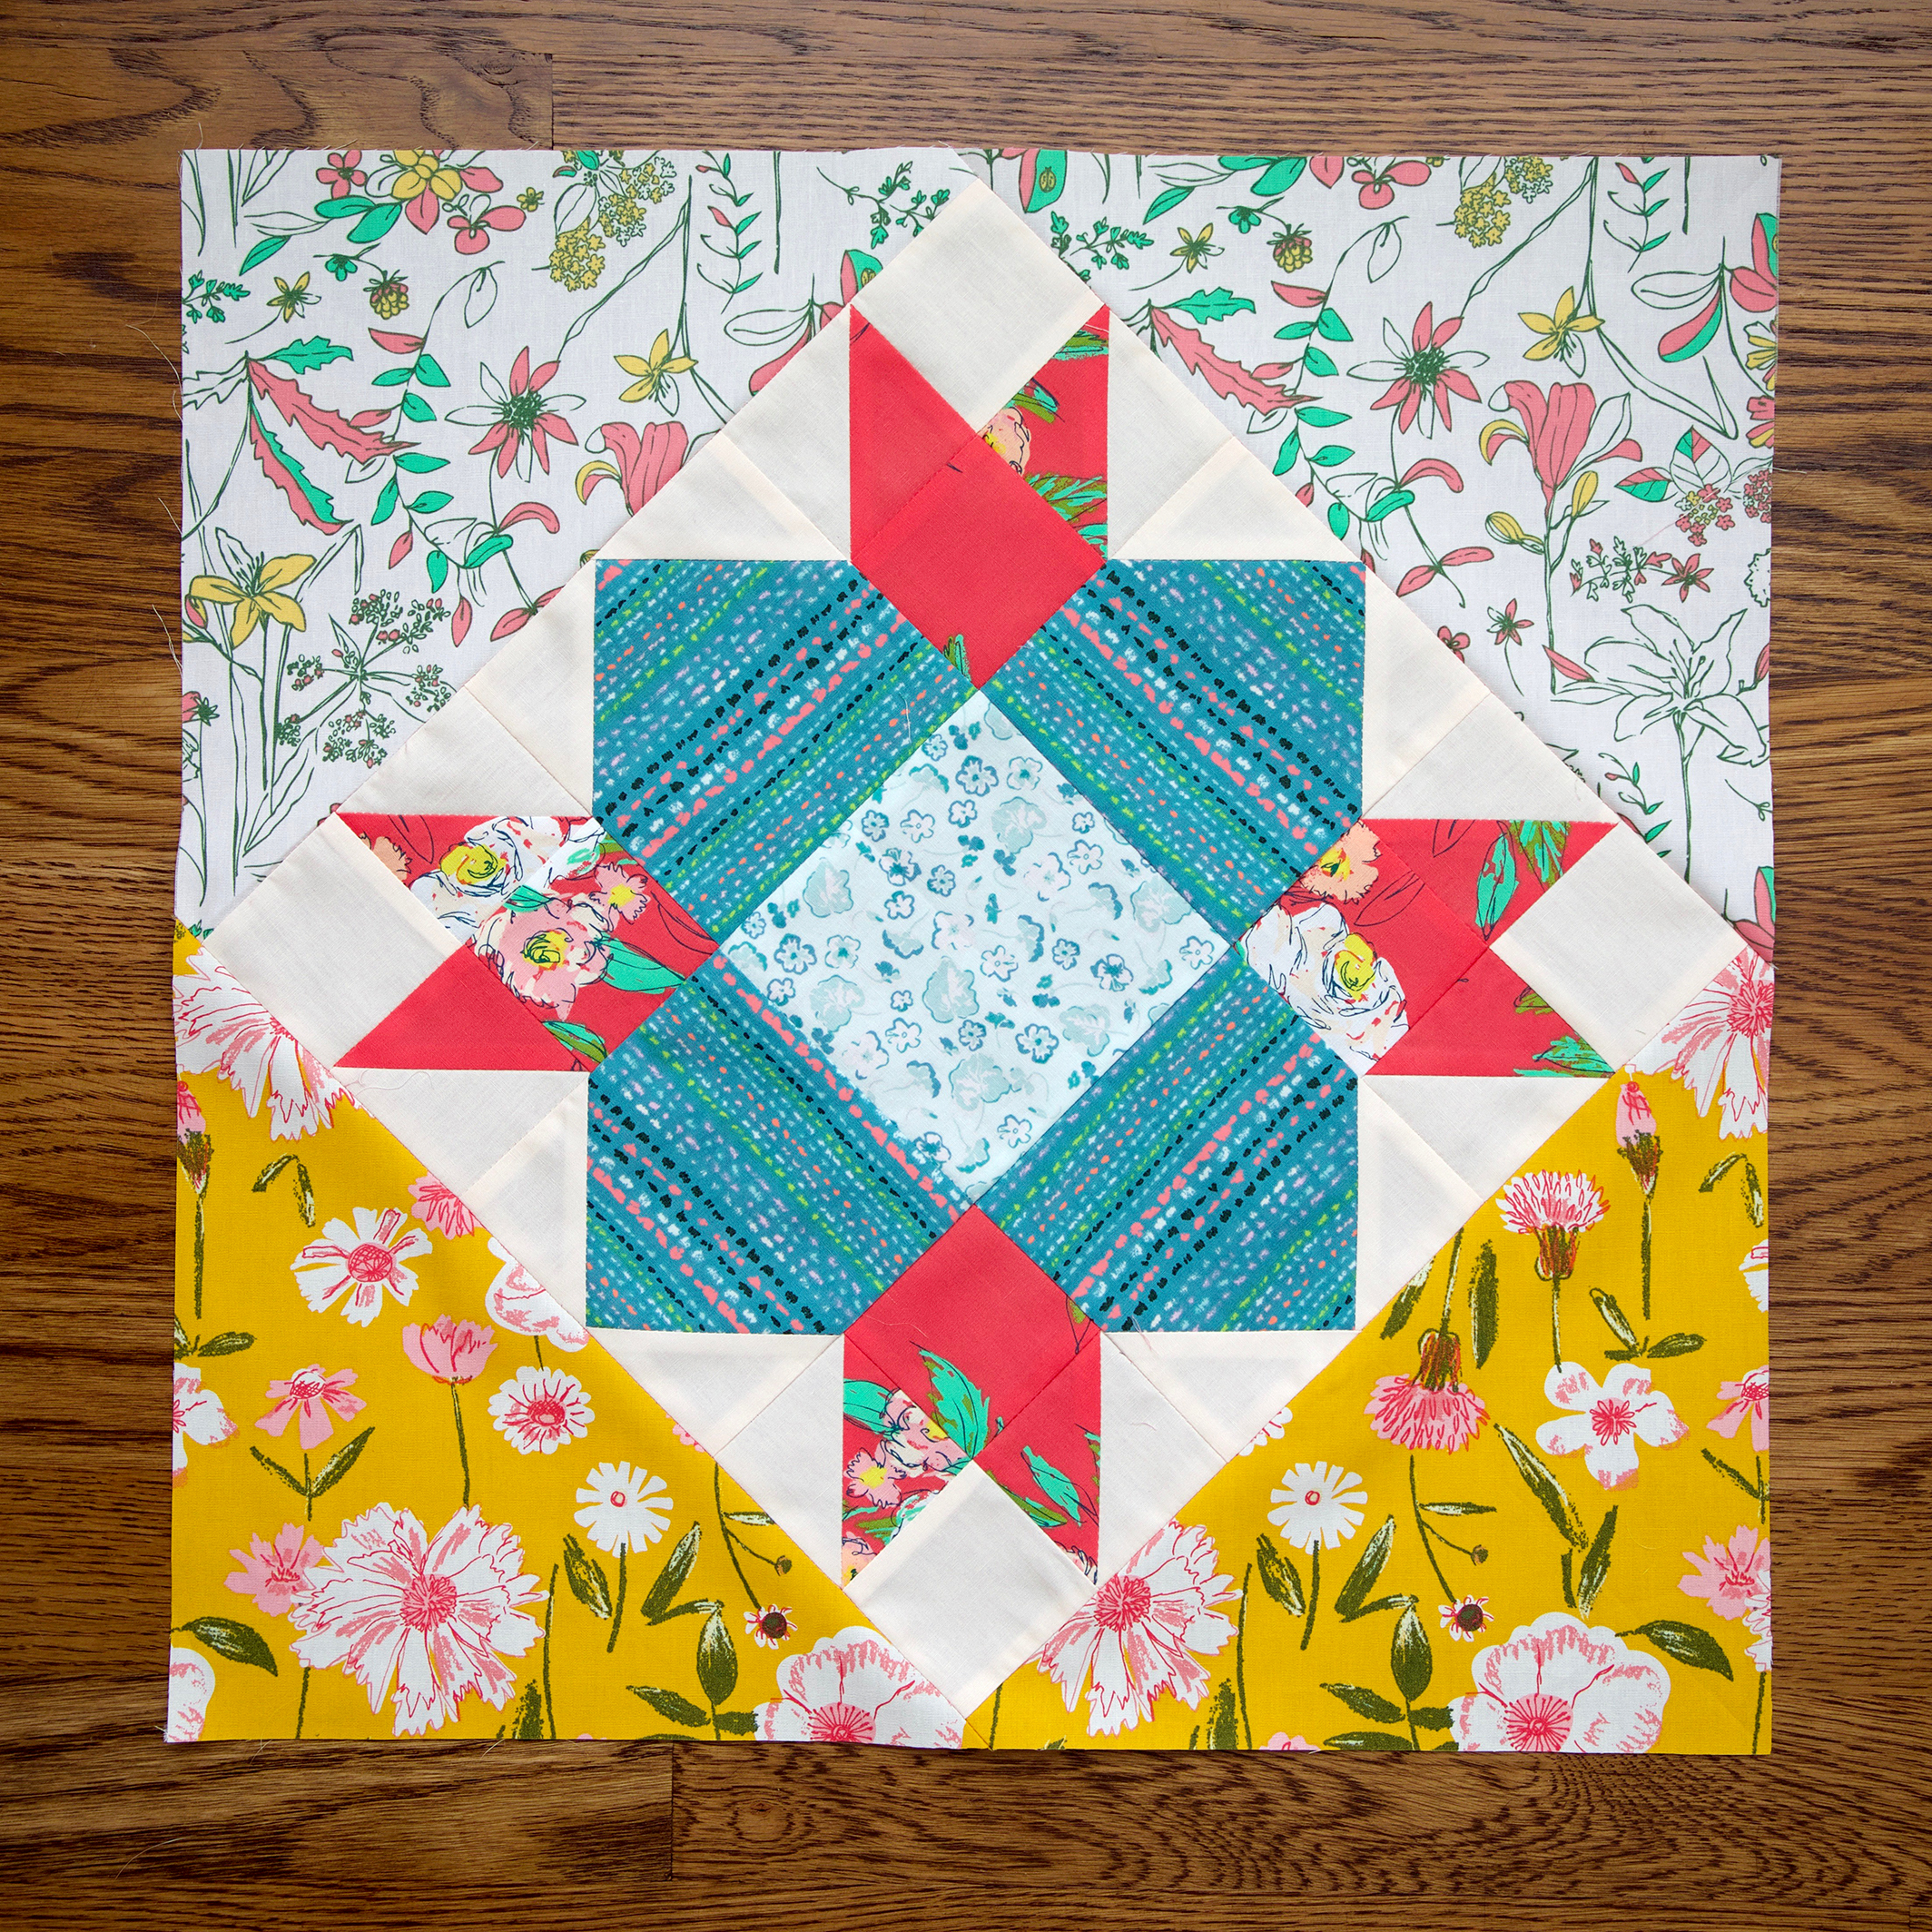
This week's block is called See Saw and is a block from the Art Gallery Fabrics Quit Block Collection. Be sure to click the Read More to expand the instructions text if you'd like to read the instructions along with the You Tube video.
Because the AGF Quilt Block Collection See Saw block finishes at an 8" square block I had to add a frame onto it to bring it up to a finished 12" square for our sampler. To get it up to size, cut:
- Two 2-1/2" x 12-1/2" strips
- Two 2-1/2" x 8-1/2" strips
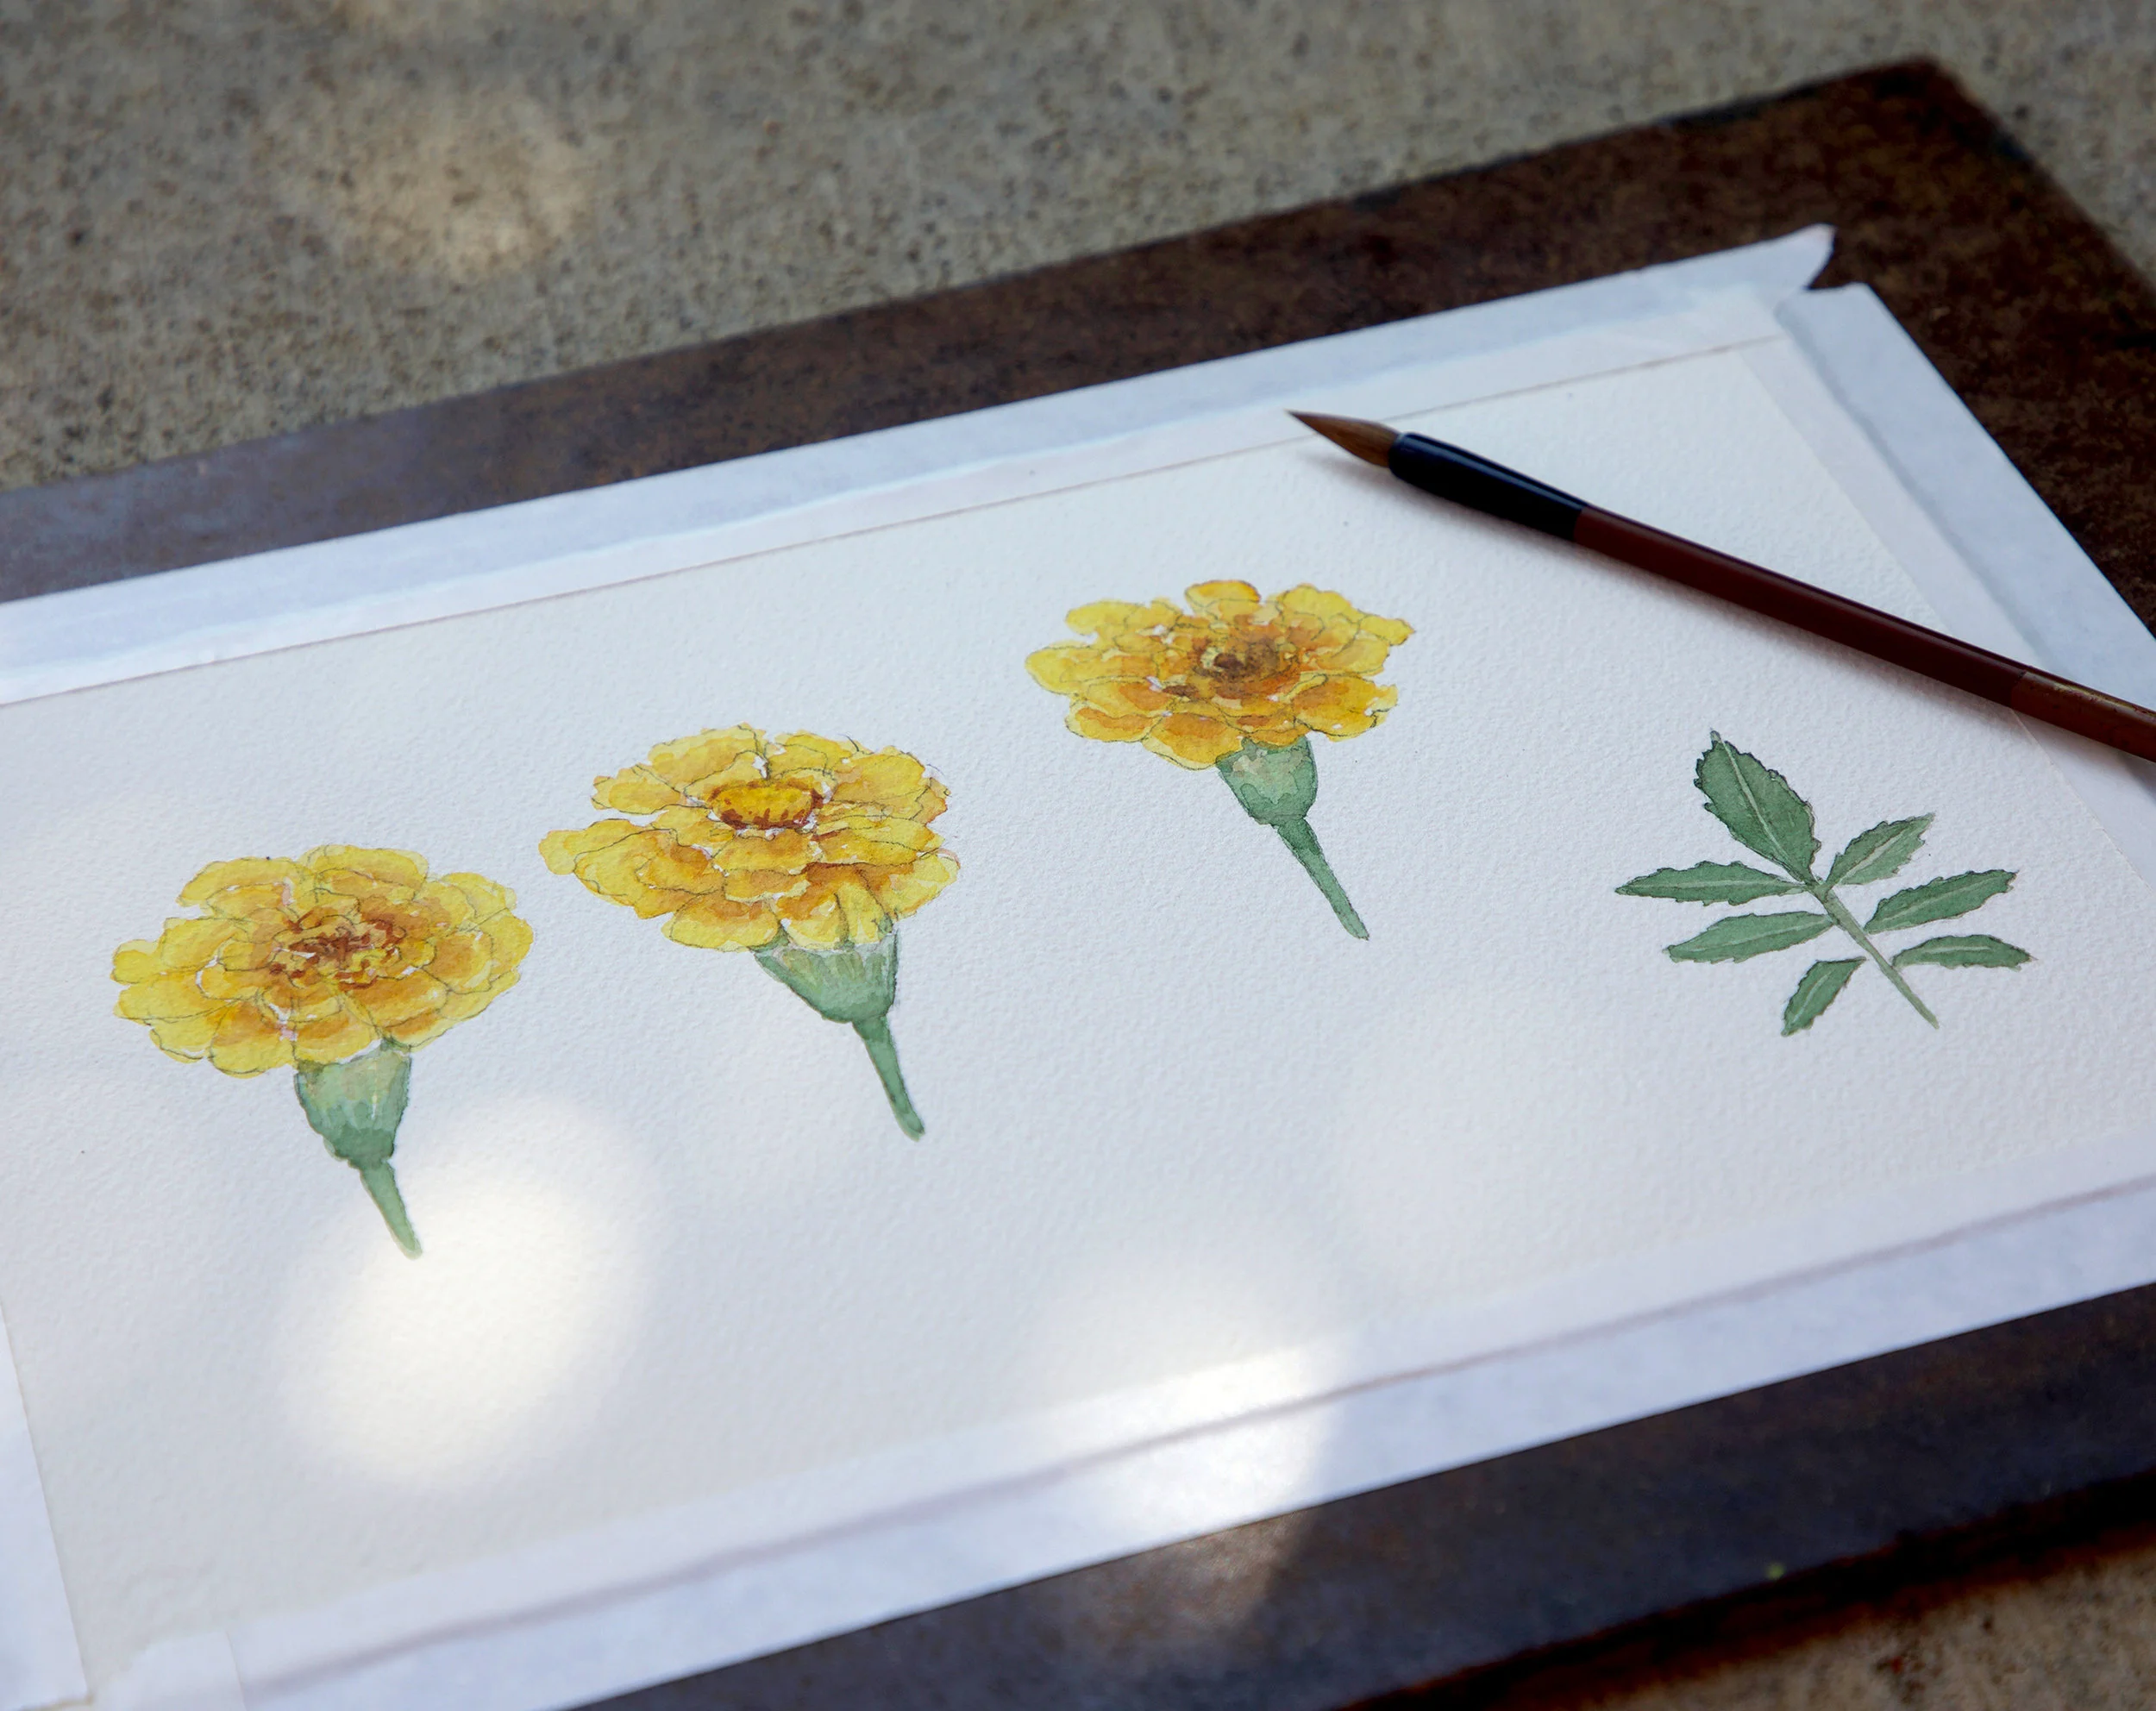
My blocks are made using Art Gallery Fabric Pure Elements for the solids together with prints from the Signature fabric collection that I designed for Art Gallery Fabrics. For stock lists of online shops that carry my Signature and other collections I've designed for AGF, visit my Fabrics page or the Where to Buy page on the Art Gallery Fabrics site.

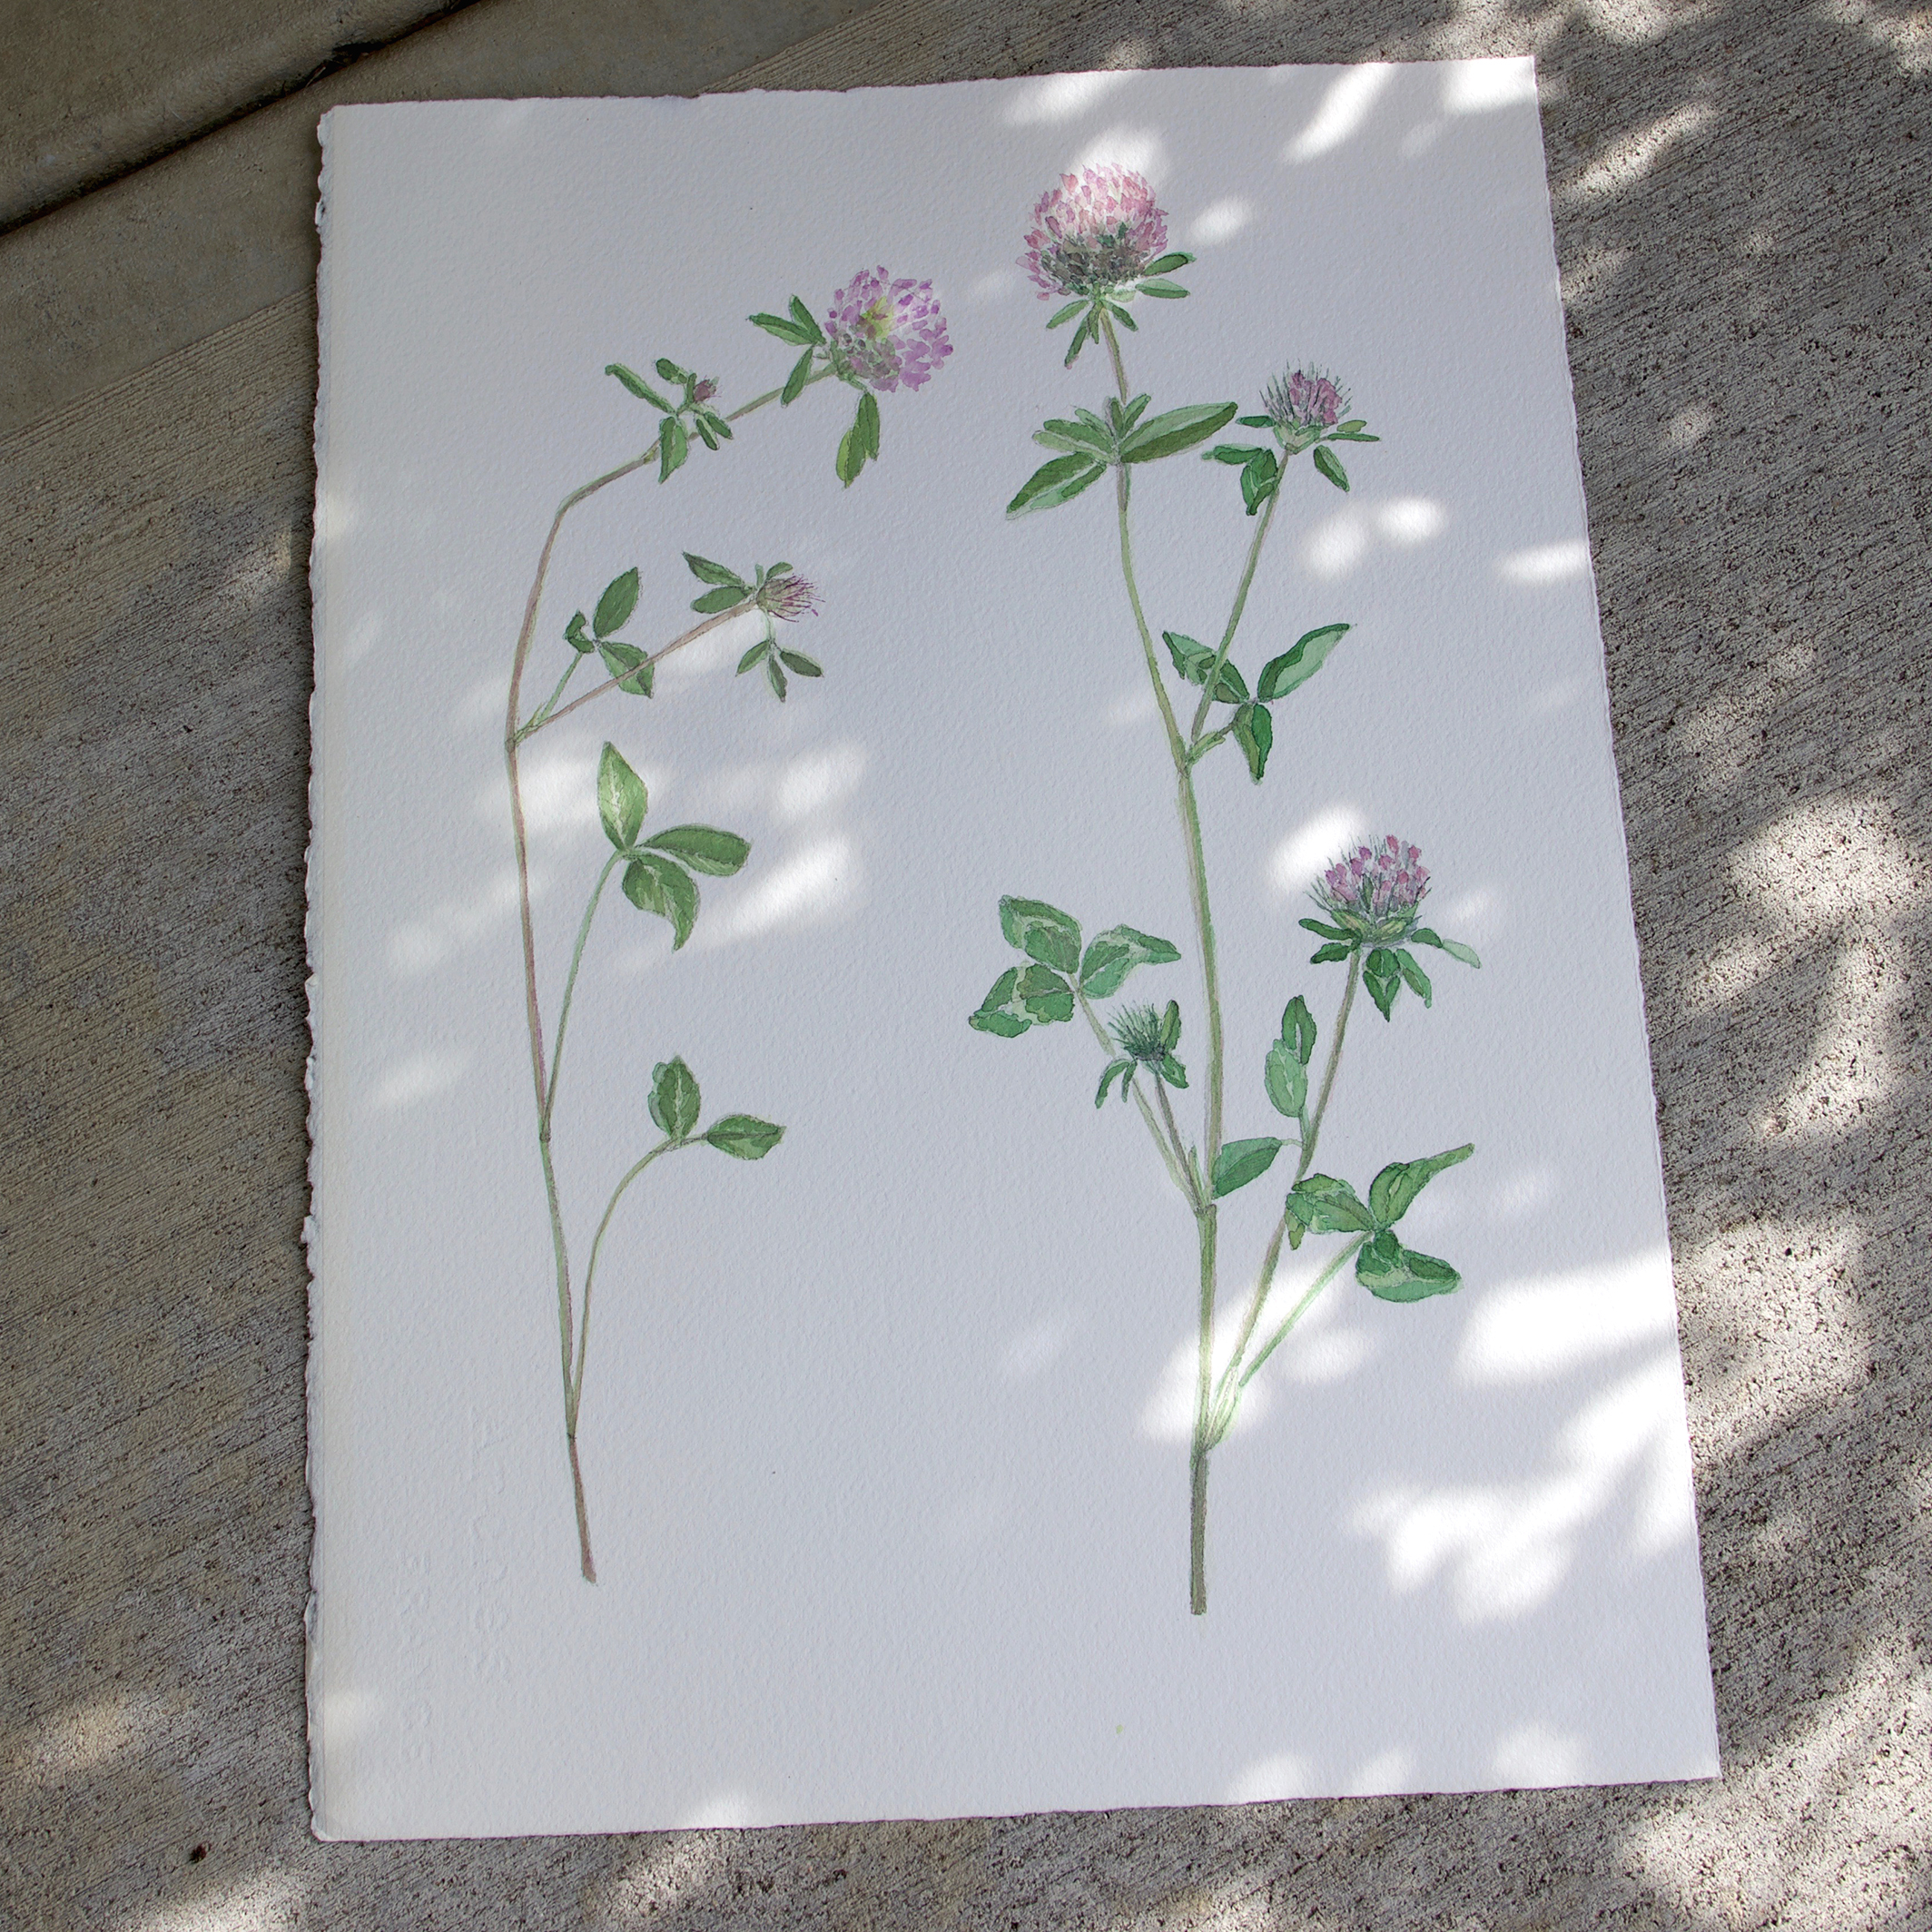
I've been adding my setting triangles to my finished blocks as I make them and have been sticking to original layout in the first week handouts. I'm using a combination of my Perennial print from Printemps Fusions and Untamed Beauty Daybreak from Signature as the background setting of my quilt but because this block will be in the middle of the quilt it only uses the Untamed Beauty print in the setting triangles.
The setting triangles are made by cutting a 9-1/2'' square on the diagonal to make two setting triangles. Be mindful of print direction, if applicable. See Community Sampler Week #13 for block setting instructions.
If you're interested in adding a chevron border to your sampler quilt, take a look at the week #6 blog post and pick up the border supplement PDF. I'll review the border option closer to the end of this sew along but just in case you wanted to sew or plan ahead, you have the information now.
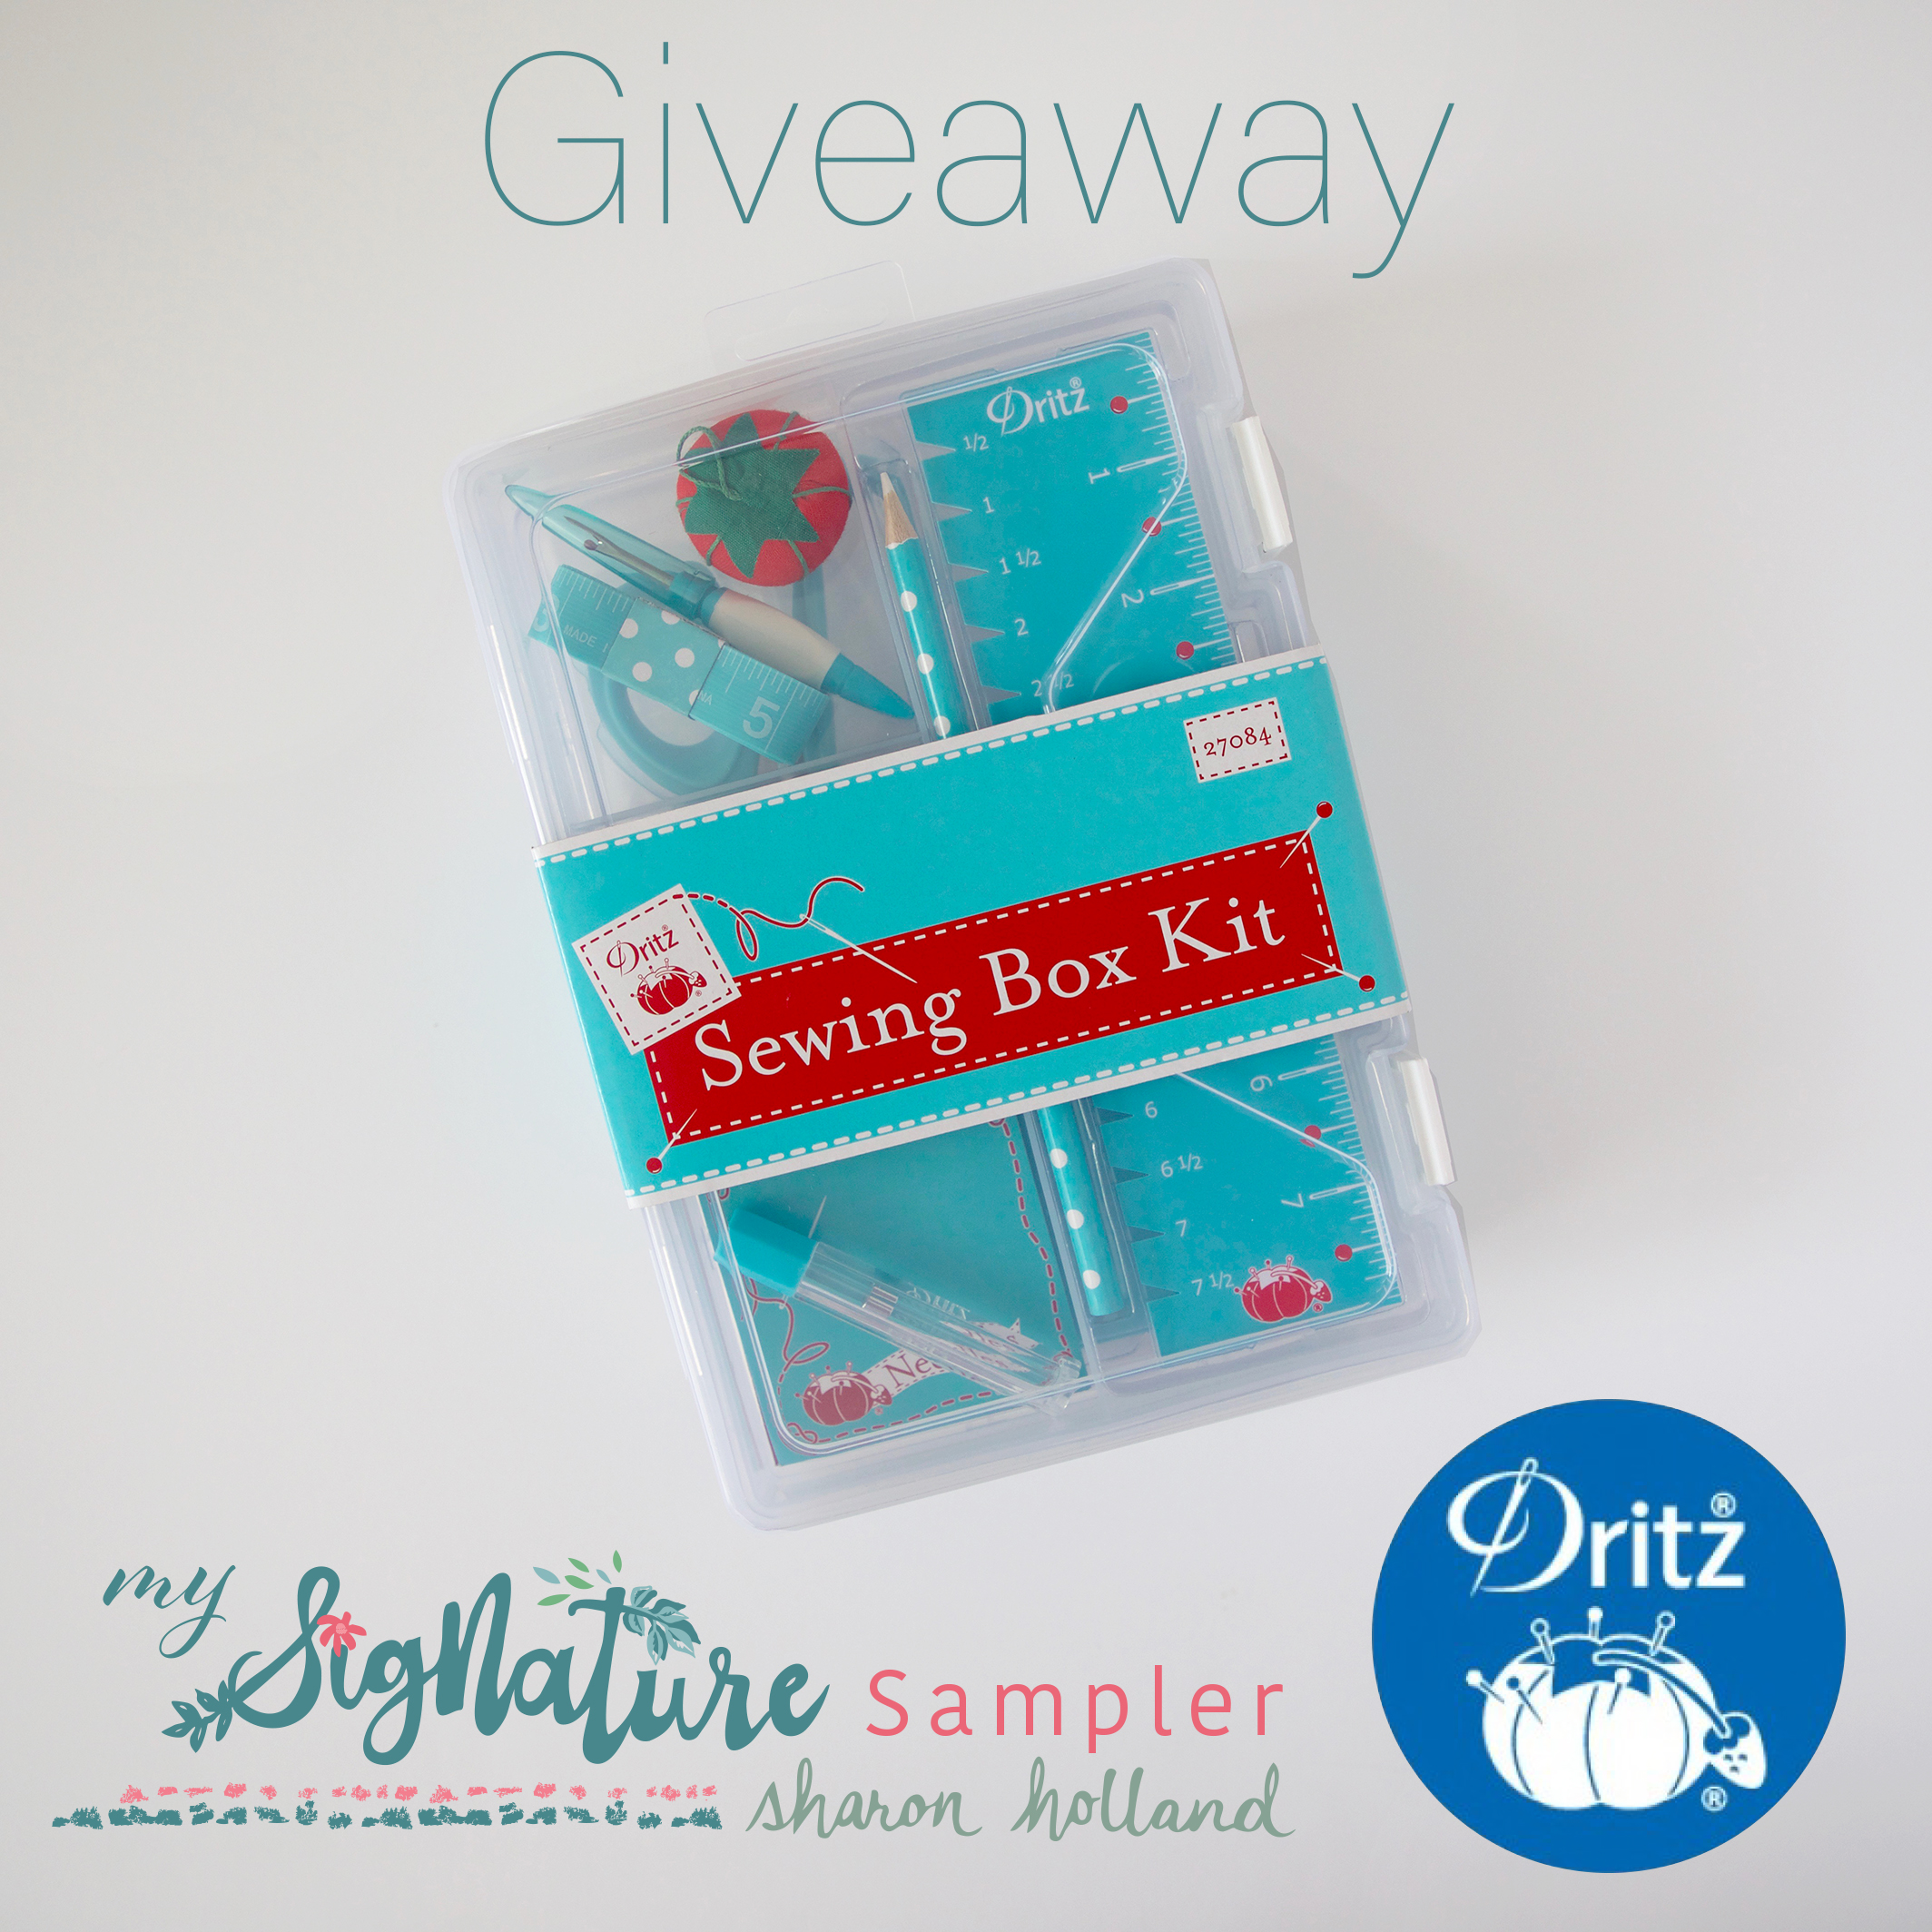
GIVEAWAY
Every Friday when I reveal a new block to My Signature Sampler, I'll also be posting the weekly giveaway. This sew along is being sponsored by the most amazing companies and have generously donated incredible prizes to share with you.
OUR SPONSORS

THIS WEEK'S GIVEAWAY SPONSOR IS: Omnigrid

Omnigrid® is a family of measuring and cutting products. When Omnigrid® tools are used together they provide quilters, sewists and DIY aficionados with unsurpassed accuracy and quality. A product concept born of the genius of Peggy and Randy Schafer, Omnigrid® products work behind the scenes allowing makers to flawlessly bring their creations to fruition. - See more at: Omnigrid!
Products * Projects and Patterns * Instagram * Pinterest
For this week's My Signature Sampler Giveaway, Ominigrid is offering an incredible prize! Both the blog and Instagram winner will receive these wonderful Omnigrid sewing/quilting products shown below! This prize will be to limited to winners within the United States only (see entry rules).

THIS PRIZE PACK INCLUDES:
The Tote Size FoldAway | 8-1/2" Fabric Scissors | Marking Ruler Trio
These fine Omnigrid products are the perfect size for travel and fit into a tote with ease, making them great for taking to workshops and sewing on the go!
Thank you Omnigrid for this generous prize!

Giveaway now closed. Congratulations to Rosemary B!
Note: This giveaway is open to US address only for this prize. If you're a "no reply" or anonymous commenter, please remember to include your email address in your comment--you can't win if I can't get a hold of you!
1. Simply leave a comment here under this post! (First comment entry).
2. Follow Omnigrid on any of their social media platforms (see links above). Just let me know that you did by making a separate comment here to record that entry. (Separate comment-second entry).
3. My followers get a third entry! If you follow me via subscribing to my posts, on Pinterest, and/or Instagram, just let me know by making a separate comment here to record that entry. (Separate comment-third entry).
4. Help spread the word!! I know that many of you already do, so I thought it would be nice to add that as another way to enter! Spread the word about the My Signature Sampler sew along on YOUR instagram, Facebook, Twitter, Pinterest by pinning any of my pretty images in this post, etc... (separate comment-fourth entry).
That’s FOUR possible entries! Enter now through Monday, August 27th! The winner will be picked at random around 4pm Eastern. I will post the name of the winner on this post once they've been notified and responded to my email.
Don't forget to enter into this same giveaway on Instagram by posting images of your sampler inspiration, sampler fabric pull, or blocks. Use the official #mysignaturesampler hashtag every time you post your My Signature Sampler makes (to a public account) and you're automatically entered into the weekly IG drawings as well! See my Instagram giveaway posts @sharonhollanddesigns for full details.
Happy sewing!
Sharon