Table Scraps
Okay, that blog post title was funny, wasn't it!!?? What did you think I was going to blog about, composting? No, silly, this post is about using up those left over fabric strips to make something beautiful for your table!
I definitely have a thing for quilted table runners--they're just fun and fast to make, plus quick for changing up the look of your table for the different seasons.
This is my second time making my Stacked Strips Table Runner. Watch my video tutorial on Instagram, HERE. Read the original blog post tutorial with instructions, HERE. I stitched this one exactly the same as the first, with 2"-wide strips but the finished size of this second runner is larger and finishes out at 18" x 84". The beauty of this pattern is you can easily customize the size to fit your table.
The fabrics used in this runner are all Art Gallery Fabrics and include prints from all six of my fabric lines. Here's the list: Pure Elements solids, AGF linen, Gossamer, Sketchbook, Coastline, Tapestry, Bountiful, Signature, and Ink Outburst from Woodland Fusions.
The other variation I made from my original pattern was to utilize Quilt As You Go (QAYG) when sewing the strips together. By doing this, not only was I assembling the runner top, but I was quilting the runner as I sewed the strips!
Using QAYG for a table runner is a great way to try this method on a small project. I used my favorite Tuscany Silk Blend batting and AGF linen for the backing to give the runner a nice weight and feel. To learn how to sew the QAYG method for quilts and other projects check out my dear friend and sister AGF designer Maureen Cracknell's QAYG Craftsy class.
This was really fun to make and since I had some strips left at the end, I decided to make some matching coasters!
My coasters finish at 4-1/2" round and I trimmed the strips to 1-1/2" wide to start with so the scale would be better proportioned. You could even start with 1" wide strips if you wanted even more fabrics in the coaster.
I used the same strip assembly method of sewing strips short ends together before trimming to the desired size and sewing together QAYG-style to a batting and backing foundation.
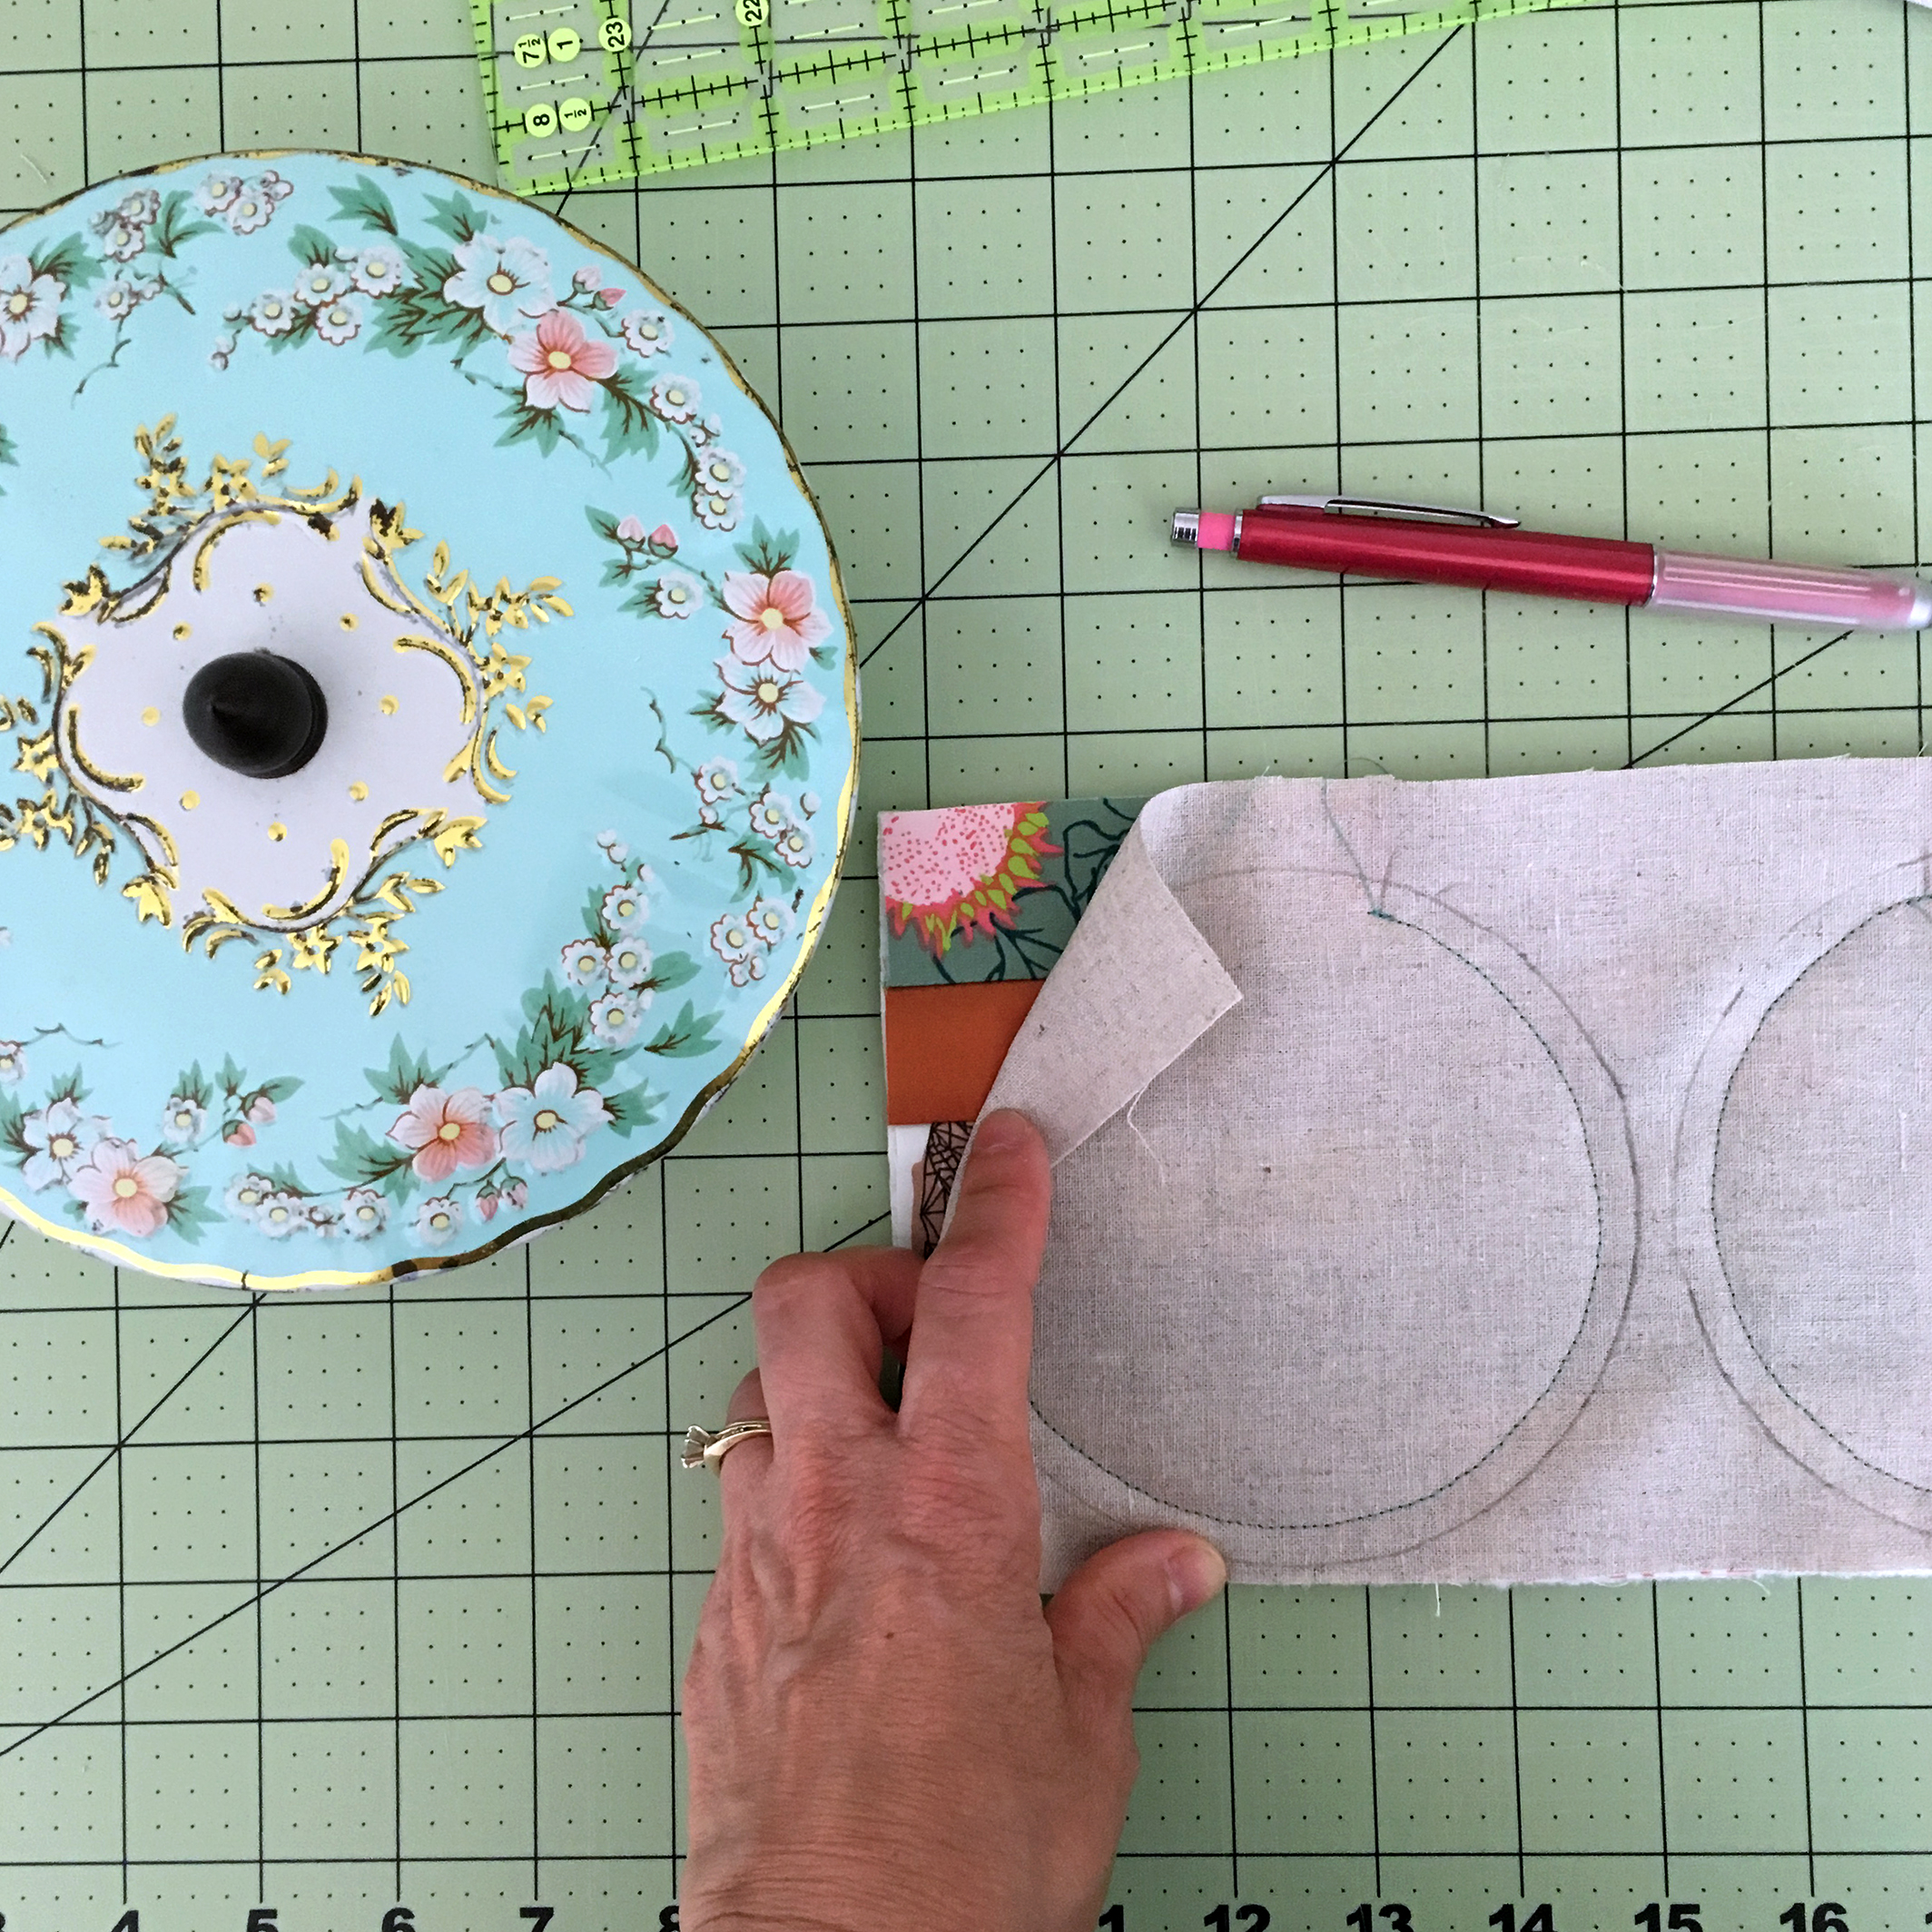
After I had the strips sewn into a large enough piece to cut out 5" circles from, I placed another piece of linen, right sides together with the QAYG piece and marked out circles with the bottom of a tin that was the right size.
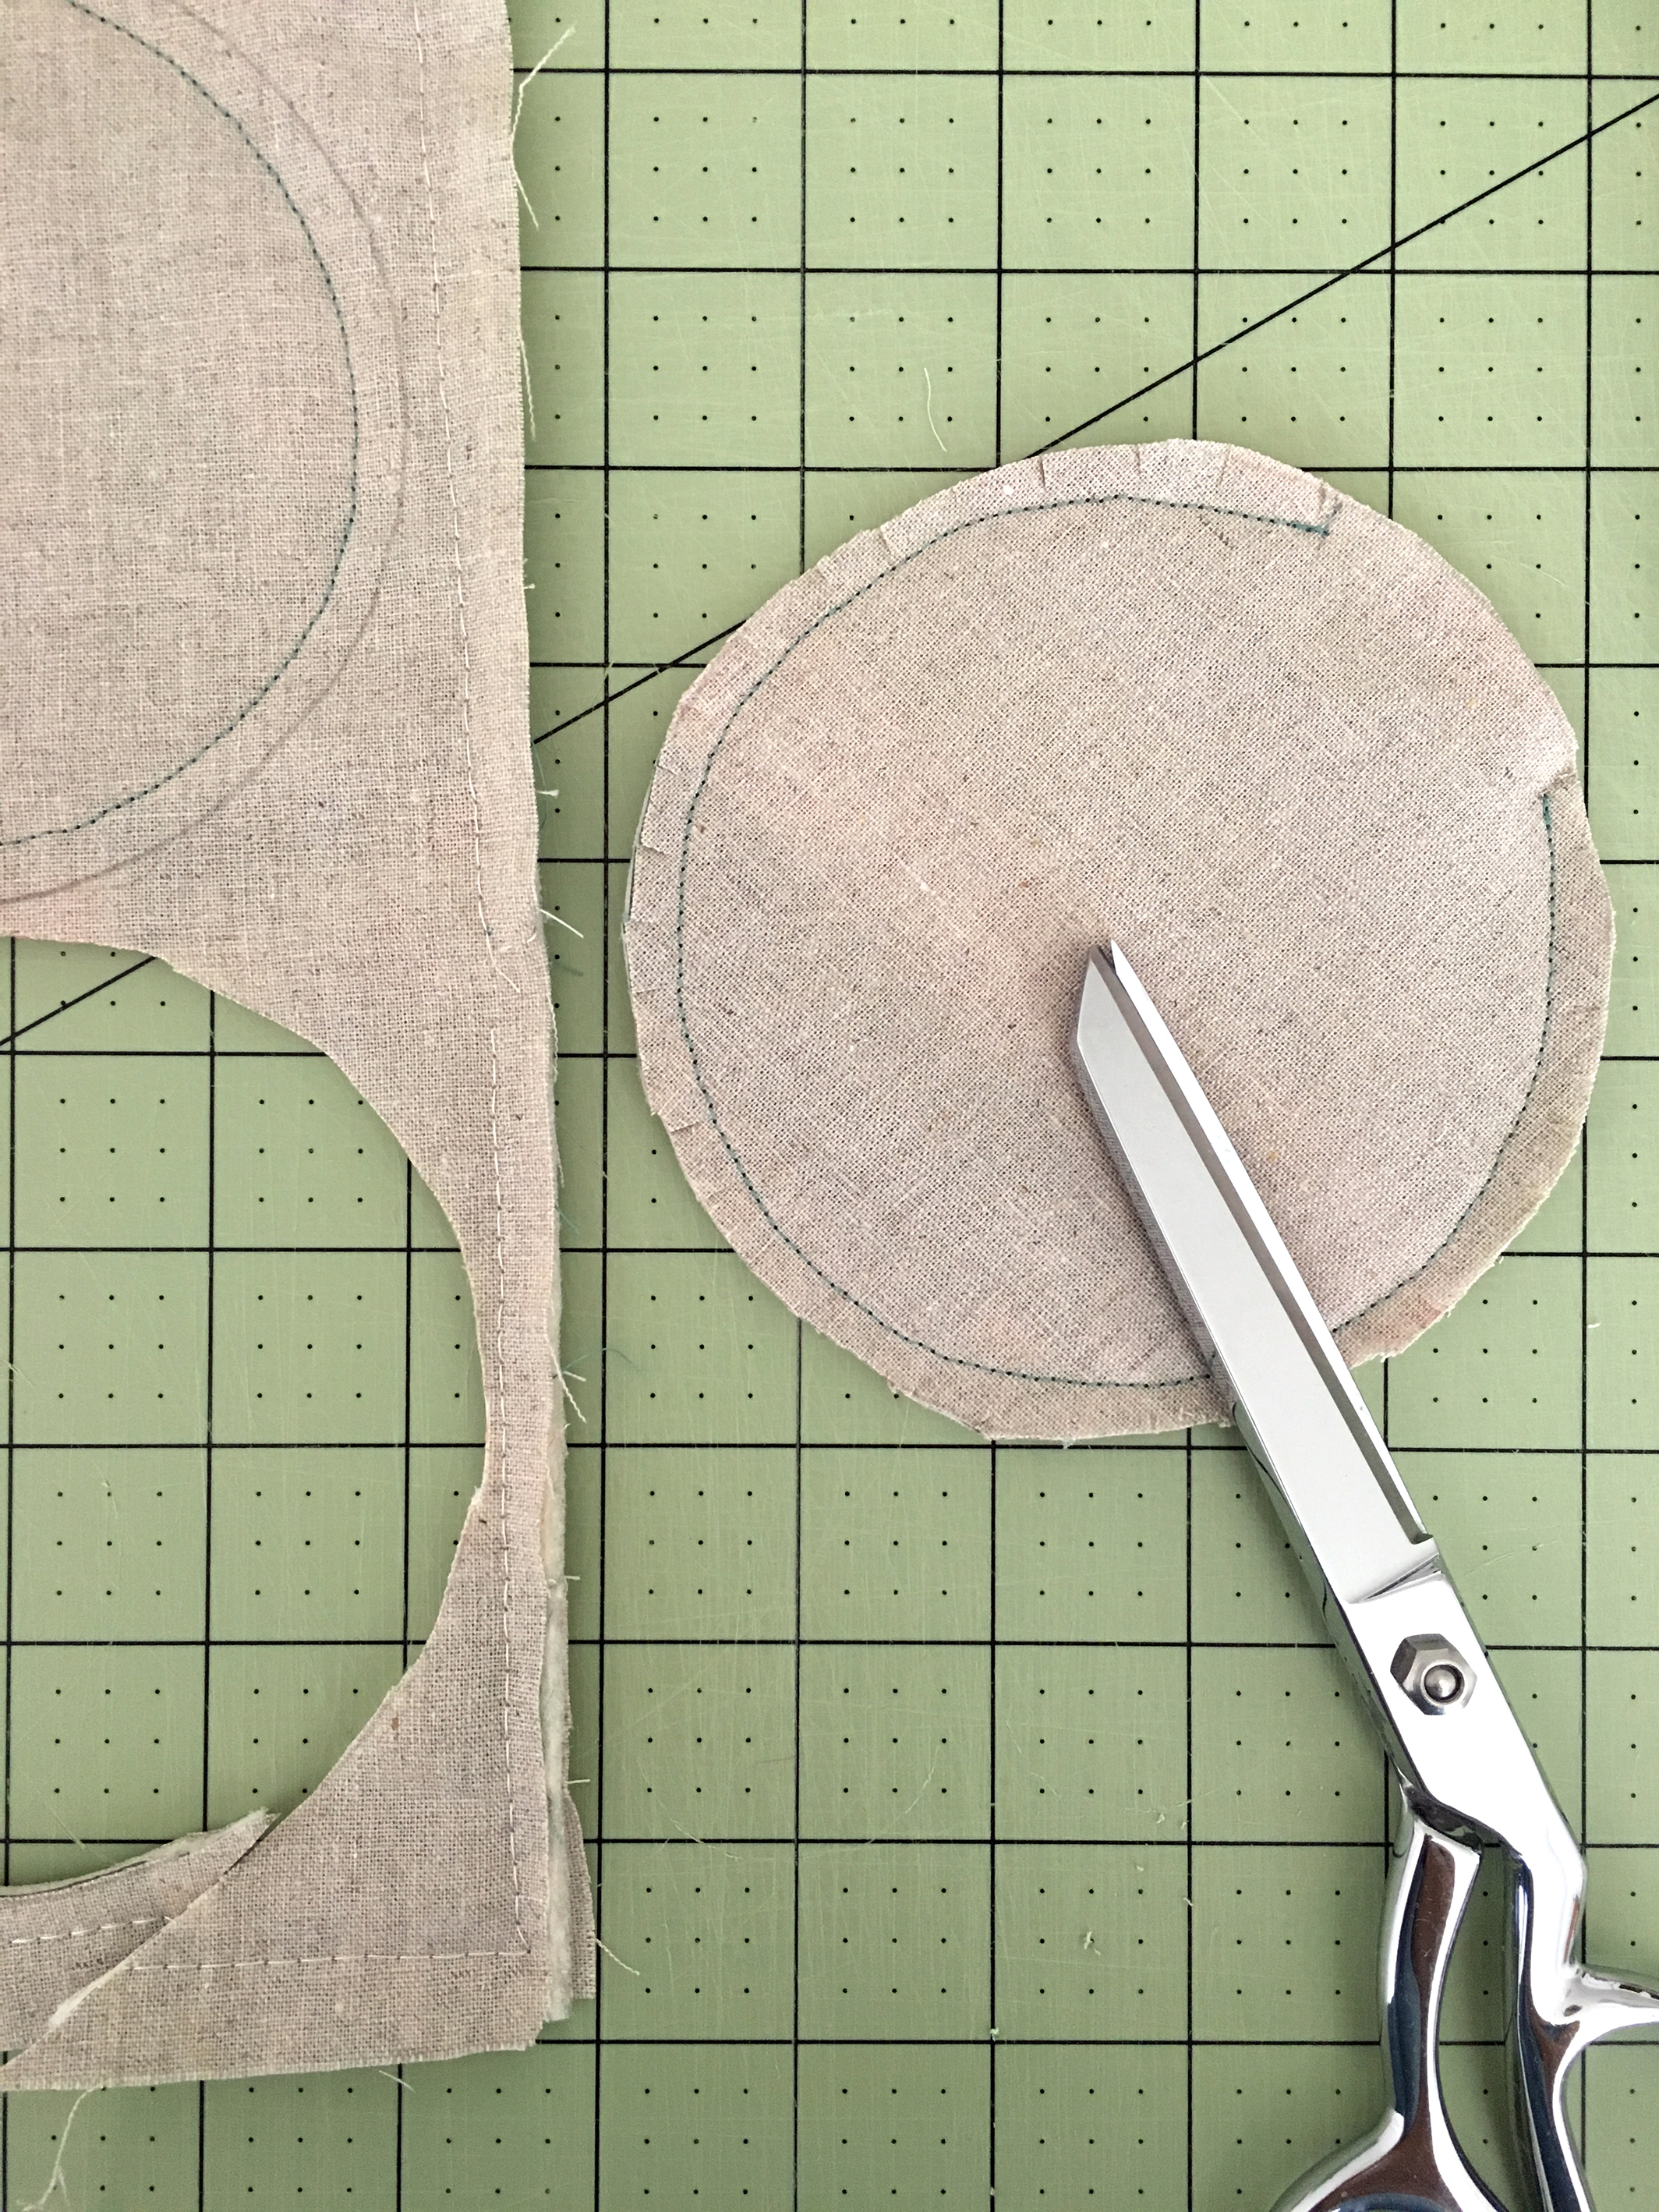
I sewed a 1/4" inside the drawn line, back stitching at beginning and end, and leaving and opening for turning.
Cut out on the drawn line. Clip curves and turn right side out through the opening. Turn opening under 1/4" and press. Blind stitch opening closed by hand.
I did not do any additional quilting or stitching to my coasters once turned. This method has four layers: patchwork top, batting, and two layers of linen.
I think next time I try this I will make some placemats. It's really very addictive and I'm sure we all have a bunch of left over fabric scraps begging to be turned into something useful and beautiful!


