Everlasting Blog Tour

I’m so excited for next week when the Everlasting Blog Tour officially begins! Thirteen incredible designers and sewists from around the globe have been busy stitching behind the scenes to make this upcoming blog tour truly remarkable.

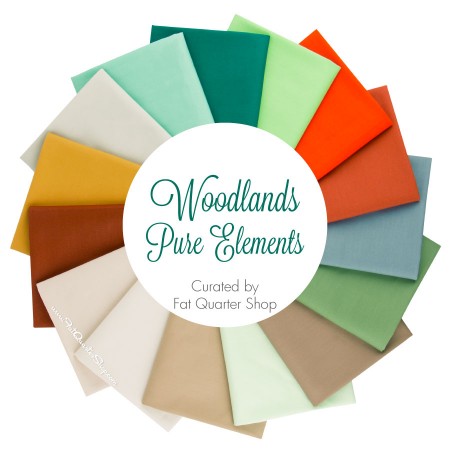
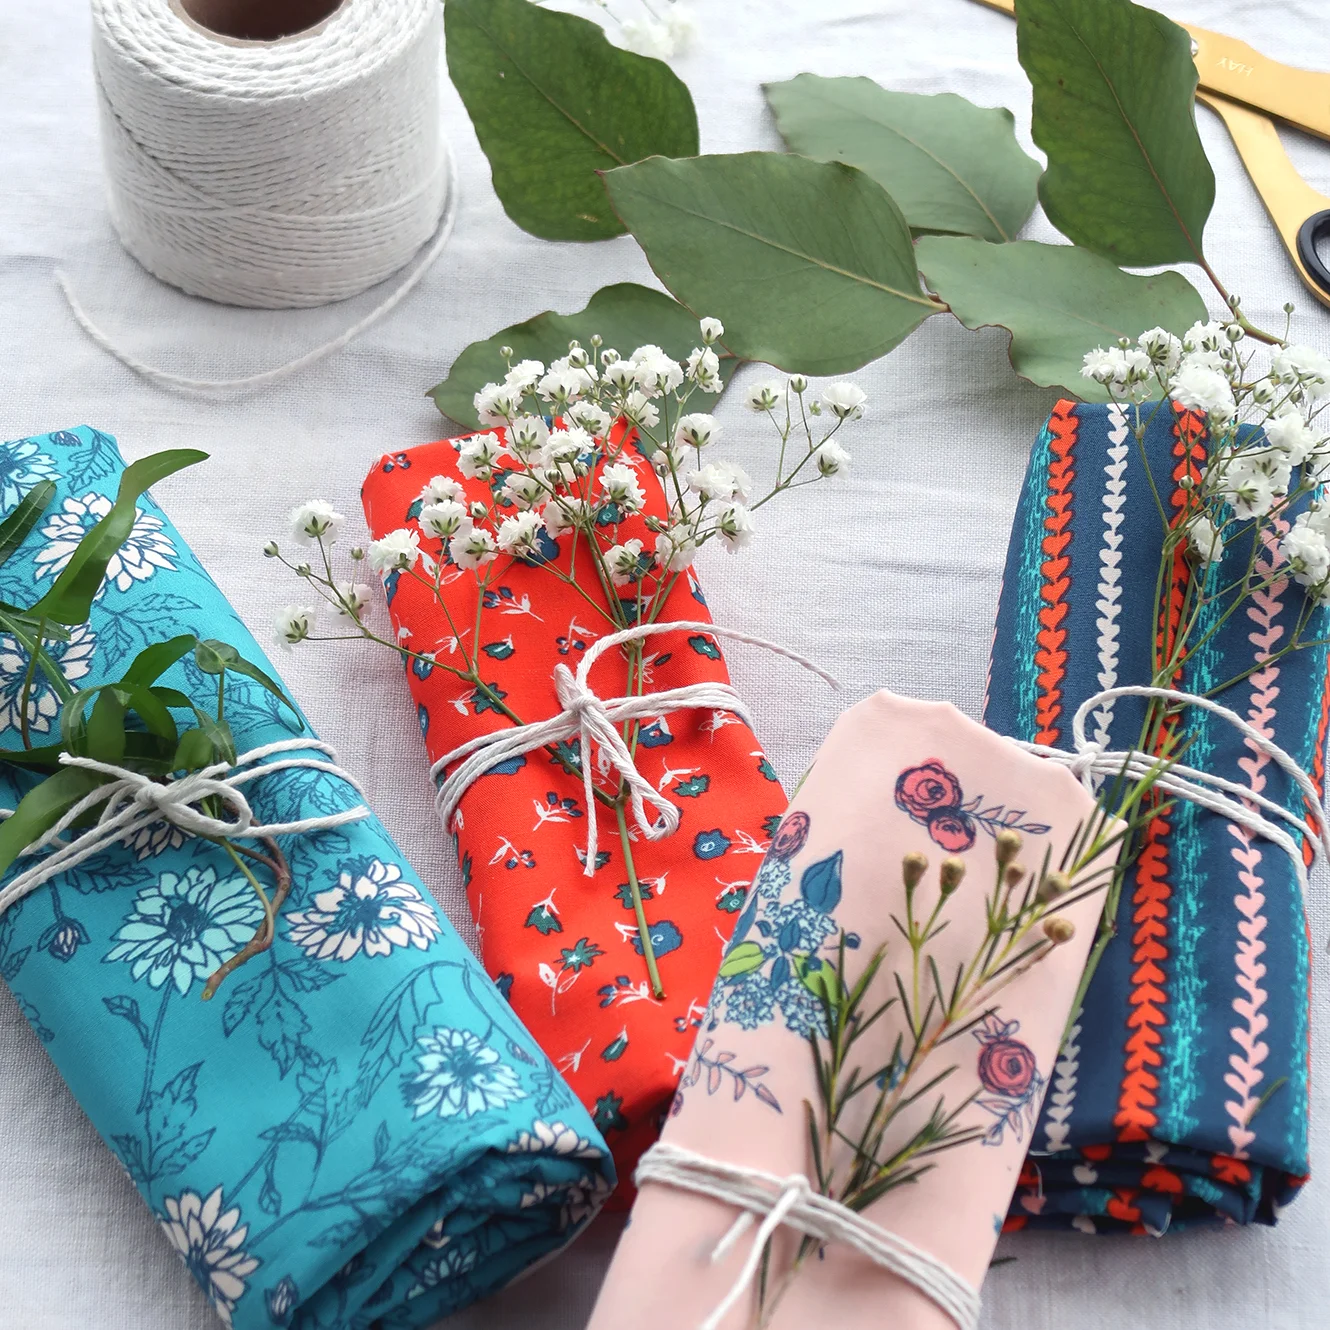
This May saw the release of Everlasting, my seventh fabric line for Art Gallery Fabrics. Romantic, summer-inspired prints make sewing easy with a classic palette of navy, red, turquoise, and blush. Everlasting has been a huge success and is available in shops everywhere. See FABRICS page for stock listings of online shops.
I knew right away I wanted this collection to have a blog tour and coordinated a list of wonderfully talented makers to share their love of stitching with all of us. Here in the States we’re enjoying summer and I know I’d love these long, lazy days to never end. So, to keep those summer vibes going, over the next three weeks you’ll find inspired sewing posts, exciting makers to follow, beautiful projects, and of course, weekly giveaways all focused around my Everlasting fabric collection—you won’t want to miss a day!
EVERLASTING BLOG TOUR SCHEDULE
Friday, July 12 - Sharon Holland
Monday, July 15 - Marija Vujcic
Tuesday, July 16 - Carolina Moore
Wednesday, July 17 - Dana Willard
Thursday, July 18 - Lisa Ruble
Friday, July 19 - Dritz Sewing
Monday, July 22 - Eleri Kerian
Tuesday, July 23 - Marisa Wilhelmi
Wednesday, July 24 - Sharon McConnell
Thursday, July 25 - Modernly Morgan
Friday, July 26 - Alexis Wright
Monday, July 29 - Priscilla Geissler
Tuesday, July 30 - Maureen Cracknell
Wednesday, July 31 - Elina Temmes

My Blog Tour Makes
You know I couldn’t host a blog tour without contributing so this pre-blog tour post is also my opportunity to share my new Everlasting makes with you.
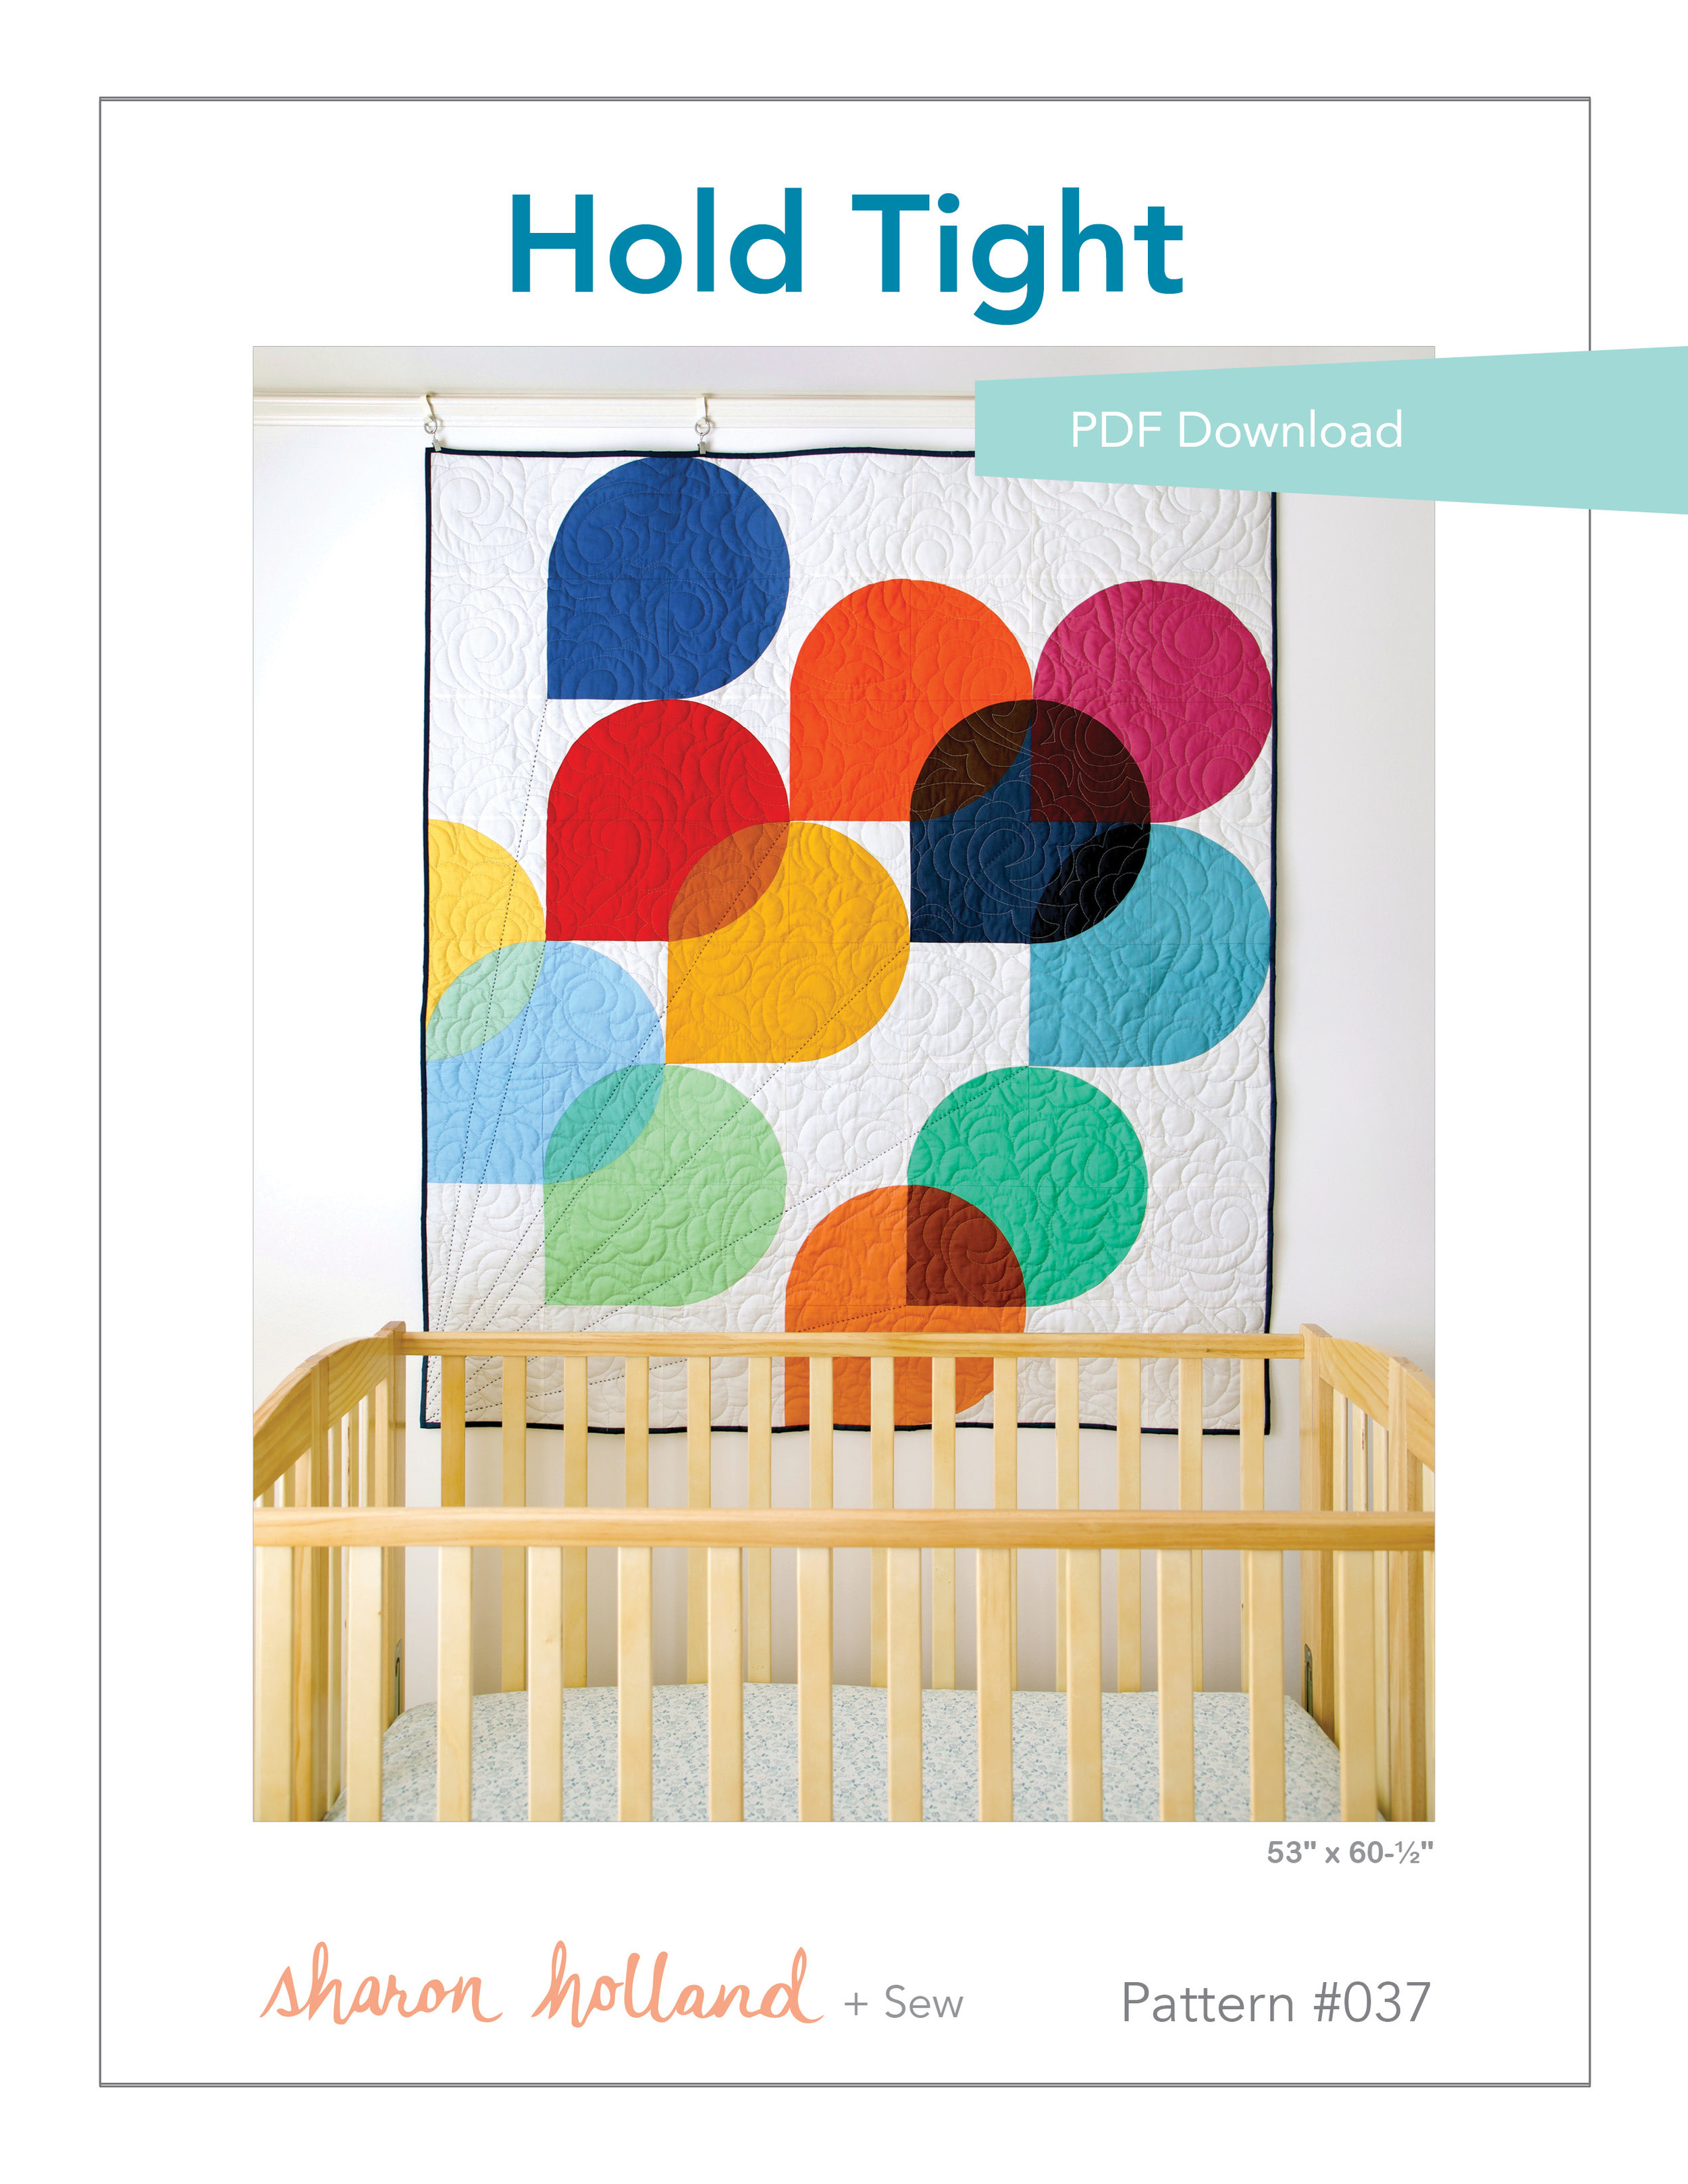
I was originally planning on making a new free quilt pattern for the tour but decided instead to make hand quilted pillows. I’ve been wanting to make a Pineapple block for ages and pillows seemed the perfect application! Also, these pillows are going to be gifted to a friend and it’s a win-win when I can make a project, blog about it, and use the finished piece as a gift!

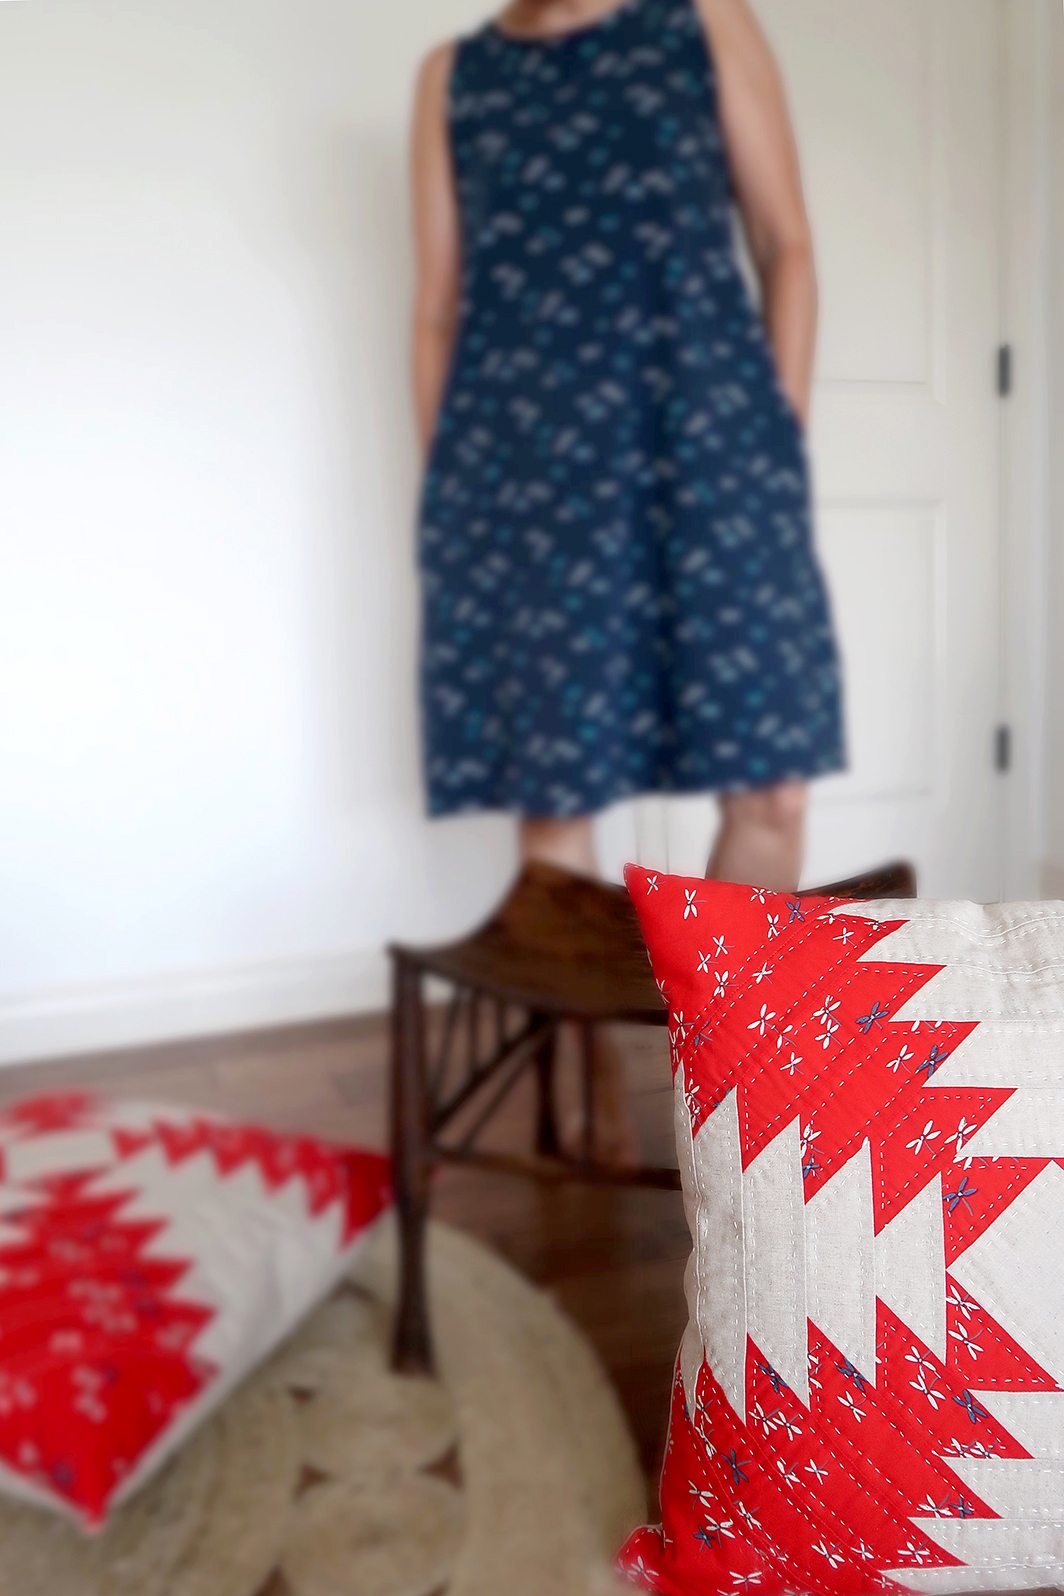
Everlasting Pineapple pillows by Sharon Holland
It was very tempting to use more than just one print from this collection but I wanted to keep these pillows very classic and slightly rustic. Red and white, or in this case natural with Art Gallery Fabrics Linen and the bold red Flutter Buds cotton print. Besides, you’ll see the rest of the prints in action during the tour from the other makers!

To get perfect Pineapple blocks I used the Bloc_Loc Pineapple Ruler and it was so easy! Simply cut strips to a desired width depending upon your ruler size. I have the 3/4’’ - 1-1/2’’-size ruler and cut according to the 1-1/2’’ size to make a 21’’ square for my pillow top. Bloc_Loc has a helpful video, cutting charts, and printable instructions.
Once the piecing was done and my block measured 21’’ (unfinished) I basted a 23’’ square of Hobb’s Tuscany Silk batting scrap to the wrong side of the blocks. I didn’t use any backing because it is intended for a pillow and not having the backing reduced the bulk for hand quilting.
I hand quilted with DMC #8 Perle Cotton thread in ecru for a more traditional look. Once both blocks were quilted I used my Hidden Zipper tutorial to add Dritz Sewing brass zippers, giving a professional finish to my pillow covers. The finished size of my pillows is 20’’ square.

24’’ Brass Upholstery Zipper by Dritz Home

With the insertion of feather pillow inserts these pillows have a high-end designer quality to them and I cannot wait till I can give them to my friend—she’s going to love them! She loves red, too!

Everlasting Pineapple Pillows by Sharon Holland
My next make to share was created because I love easy-to-wear summer dresses and had the strong desire to stitch something for myself. My daughter and I wear basically the same size and have similar tastes in clothing. In fact, our tastes are so similar that we bought the same dress, in the same print, on the same day, and we live a state away from each other. We both liked how it fit us so I had the big idea to use it as a template and try to make a knit dress with it.
Now, I don’t want to take any business away from pattern companies or Indie pattern designers. This project may actually do more to encourage you to BUY a pattern rather than make your own hack like I did because after finishing the first one I really want to make more adjustments to my pattern and try it all again. Never the less, I will quickly go over my not-so-skilled hack and let you be the judge.

I used the grid side of a roll of gift wrap as my template paper because it was wide enough to accommodate the store-bought dress (once I get my final templates I’ll transfer it to freezer paper, so it’s sturdier). With the dress inside out, I taped it down to the paper with washi tape, trying not to stretch it out of shape.
I drew the shape of the dress, adding a 1/2’’ seam allowance and marking the back and front necklines. I cut out the shape using the taller back neckline and then folded the cut out in half. Once folded I could do more cutting to mirror image the sides. After cutting the mirrored shape down the center (where it will be placed on the fold of the fabric) I went ahead and designated one side as the back (higher neckline) and the other I cut a lower neckline for the front of the dress. From paper scraps I cut out the pocket shape. For a great tutorial on sewing pockets into a garment visit Dana Willard’s Made Everyday You Tube channel.
Finally I took a piece of rope and roughly measured around the neck and arm openings to determine the length of binding needed to finish the garment openings. Use a straight ruler to determine the amount determined with the rope and add 1’’ to that total for seam allowance. Since I’m sewing with knit fabric I simply cut my binding on the straight of grain from selvage to selvage. I cut 1-3/4’’ wide strips.
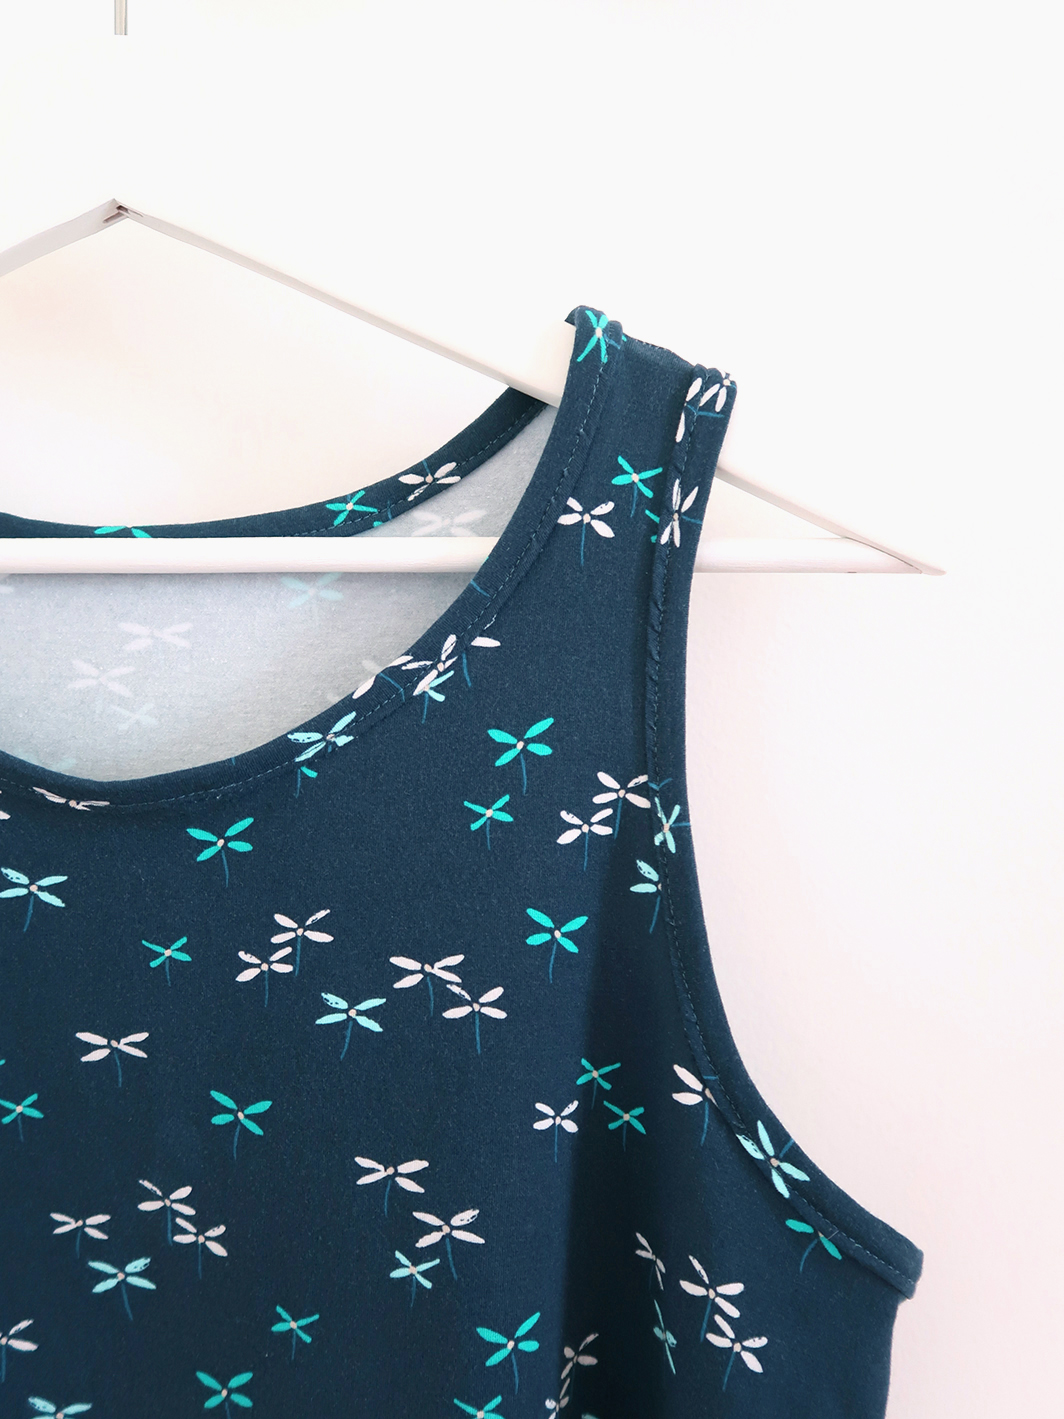
Everlasting Flutter Buds knit by Sharon Holland
Overall it wasn’t a bad first attempt and some very minor tweaks may yield just the perfect fit.
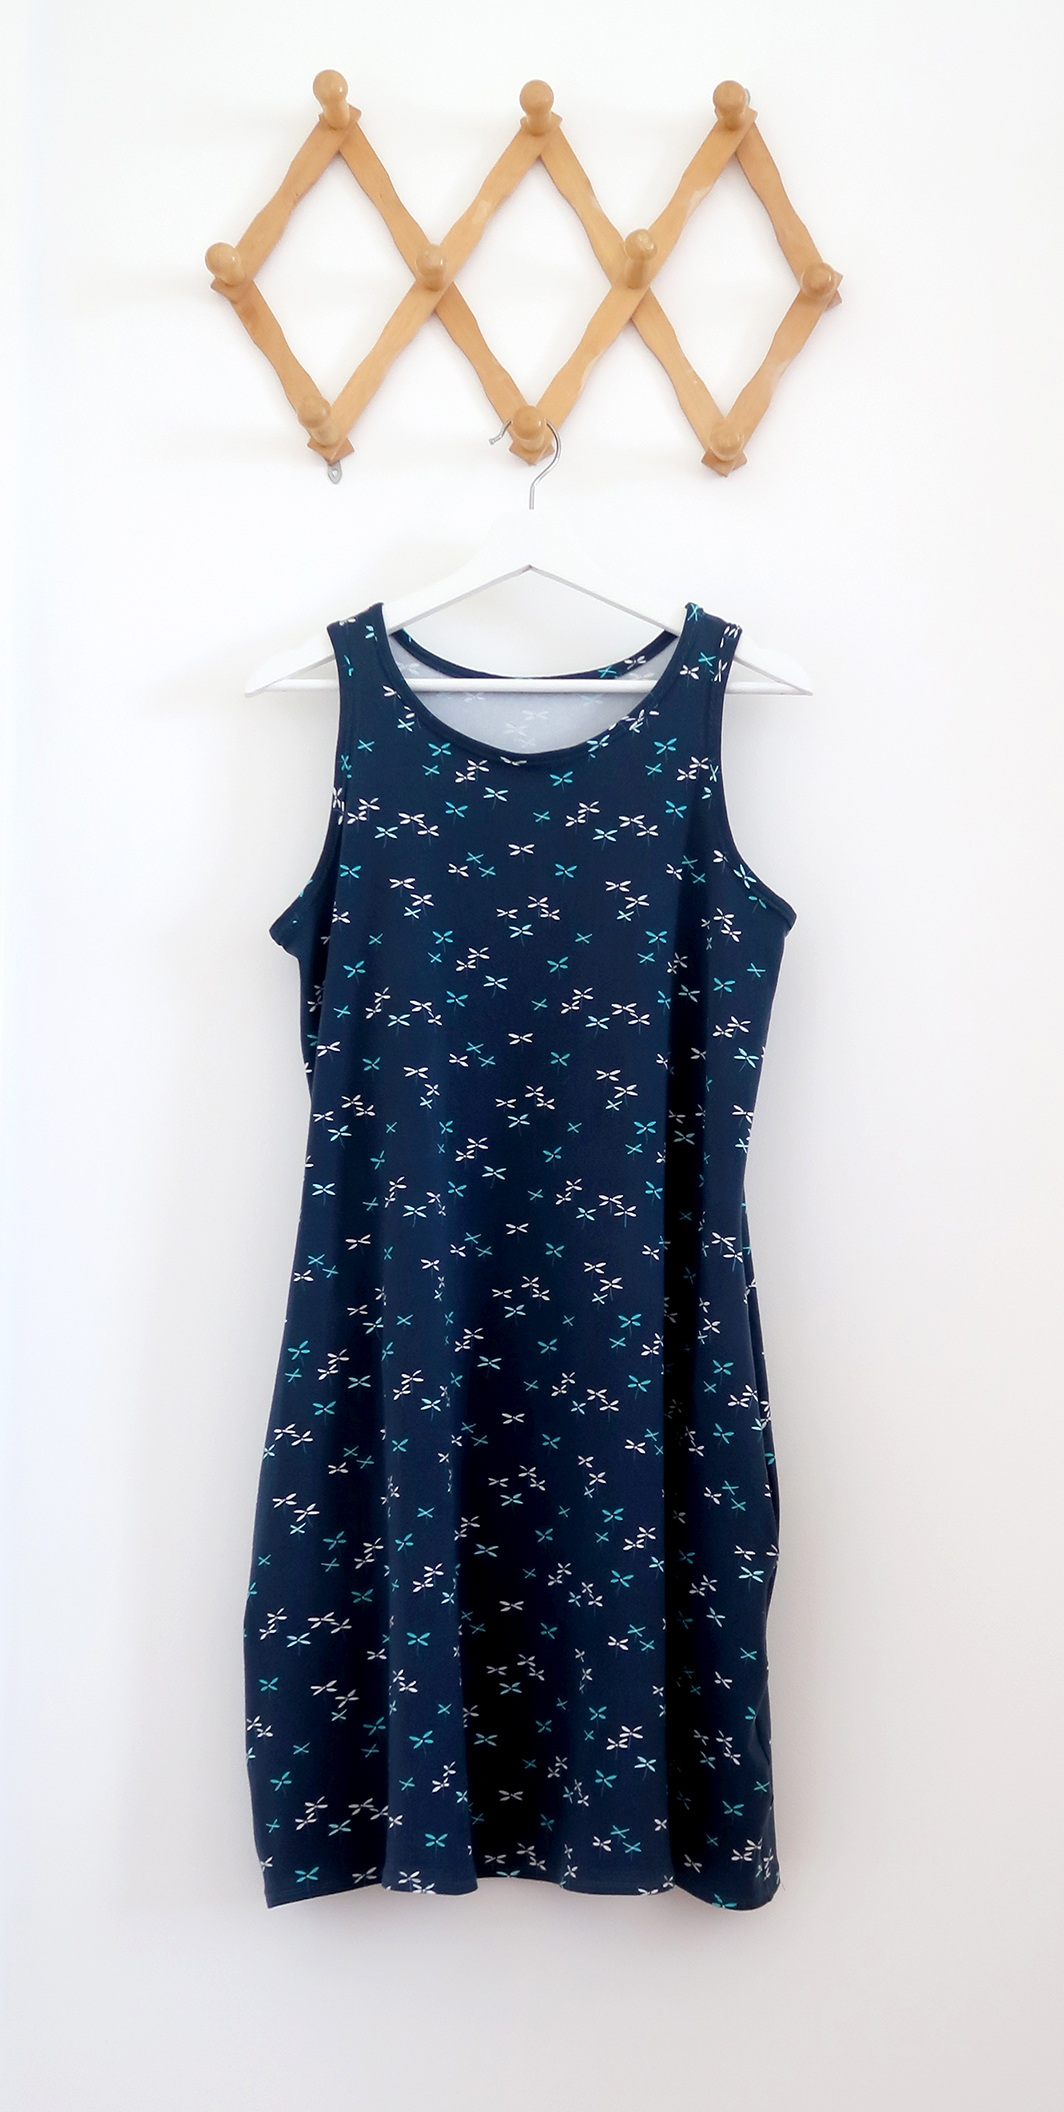
I do love this Flutter Buds print in blue knit and so does my daughter so we’ll both have one to wear this summer. I also want to make myself one in the red Cherished Wishes knit print. There’s enough unused fabric from my dress attempt that my granddaughter will be getting a summer dress(s) to match!
Everlasting by Sharon Holland for Art Gallery Fabrics
The extremely talented Marija Vujcic will be leading off the Everlasting Blog Tour on Monday, July 15th. Be sure to stop by each of the makers blogs to get the full story about their Everlasting makes and get to know these incredible women even more.
Blog Tour Giveaways!
I know you follow me on Instagram and I’ll be posting daily to keep you in the know about the tour. Each weekend I’ll have a weekly recap here on the blog and announce the special giveaway that week from one of our sponsors! Dritz Sewing, Bloc_Loc Rulers, and Fat Quarter Shop have generously offered fabulous prizes to be given away during the tour.
You’ll have two chances to win each week!
One chance is here on the blog by leaving comments on the weekly recap posts (see details coming next weekend).
The second chance is on Instagram. Starting today (Friday, July 12) if you repost any of the tour makers projects (including mine or any of the tour graphics) posted during the Everlasting Blog Tour, tag the project’s maker with their IG account, #ArtGalleryFabrics, and use the #EverlastingBlogTour hashtag on a public Instagram account and you’ll automatically be entered into all the IG giveaway drawings for this tour! Enter as many times as you’d like by reposting blog tour images—just be sure to give tour makers proper credit and tag them in your repost.
More details about giveaways, how to enter, and giveaway drawings will be announced at time of giveaways.