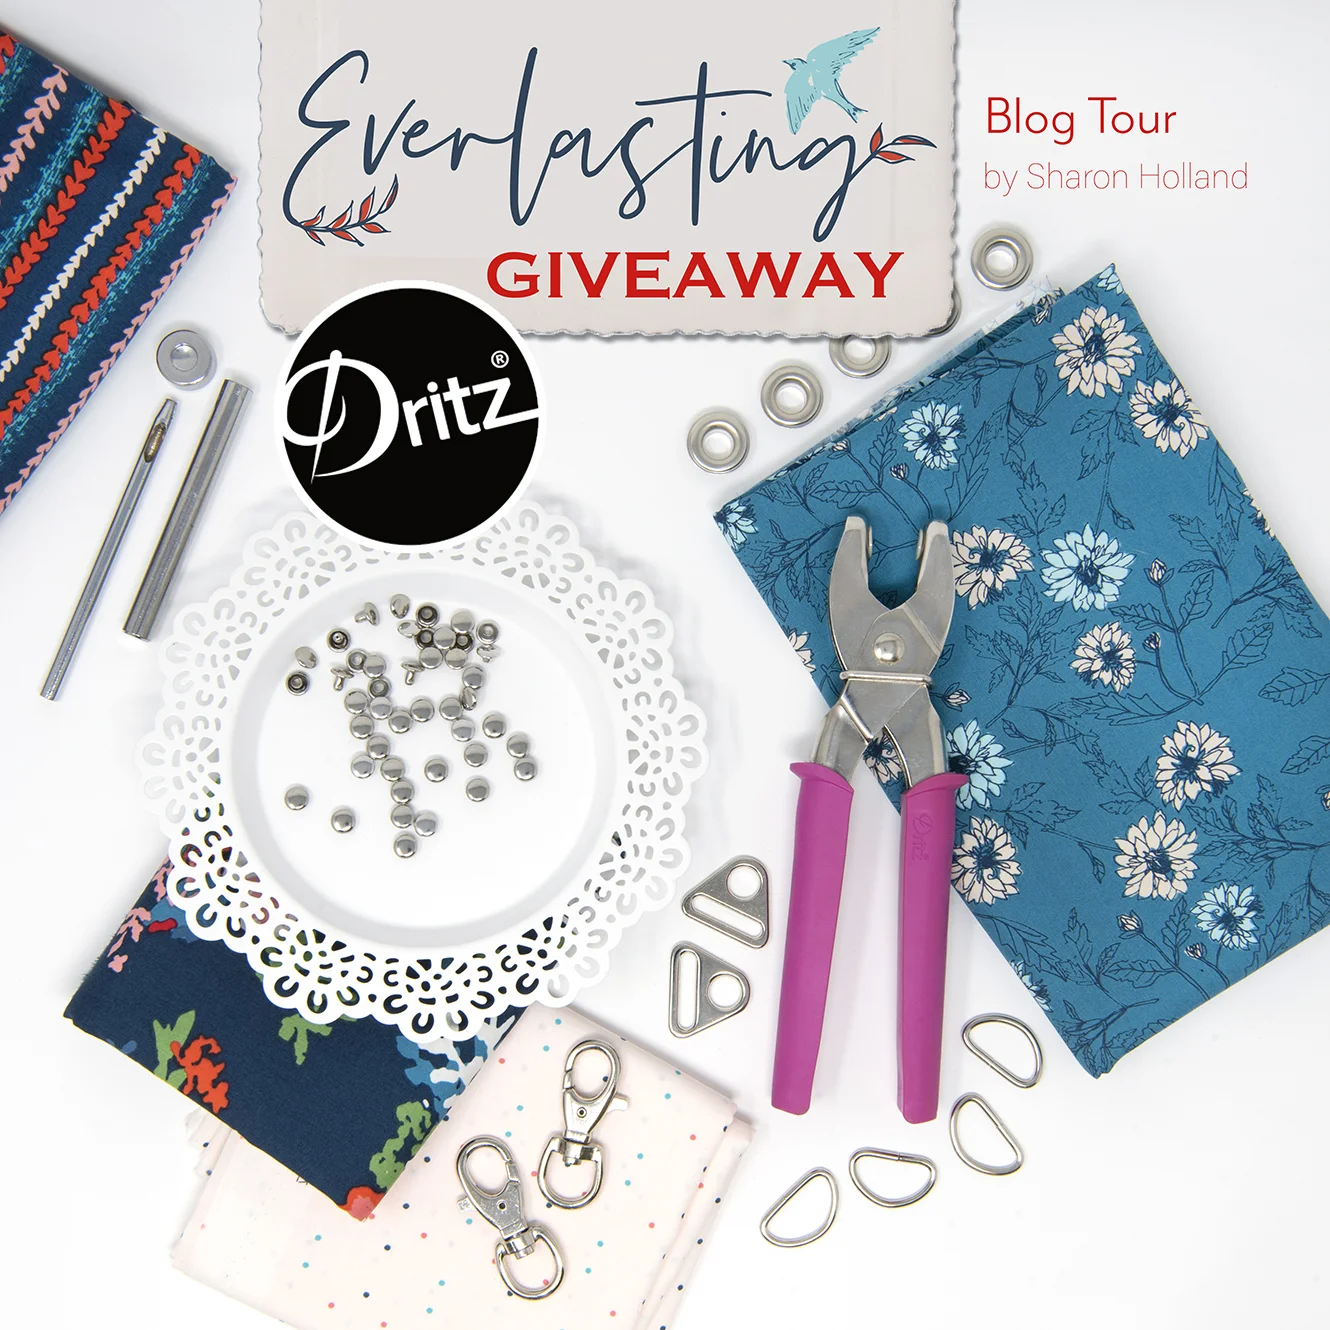
Everlasting Blog Tour - Week 1 Recap + Giveaway

It’s felt like Christmas in July this week as the Everlasting Blog Tour makers posted their tour makes. I want to give a huge thanks to everyone taking part in the tour and for the incredible gifts they’re giving all of us by sharing their talents and creativity.
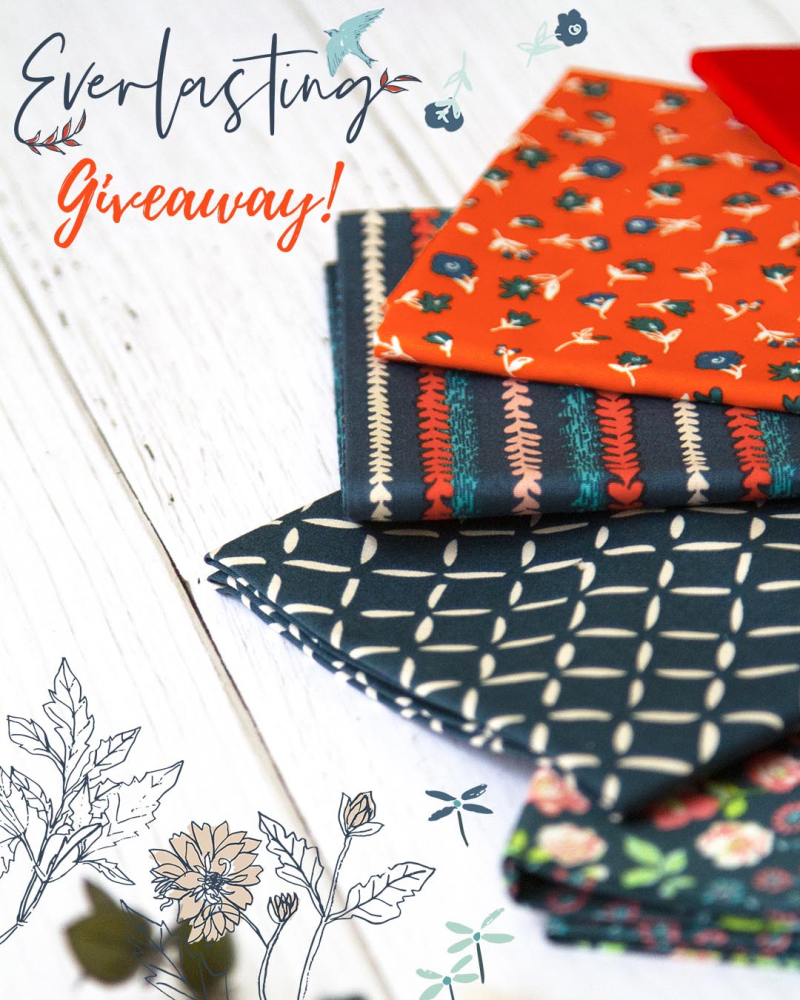
This May saw the release of Everlasting, my seventh fabric line for Art Gallery Fabrics. Romantic, summer-inspired prints make sewing easy with a classic palette of navy, red, turquoise, and blush. Everlasting has been a huge success and is available in shops everywhere. See FABRICS page for stock listings of online shops.
I knew right away I wanted this collection to have a blog tour and coordinated a list of wonderfully talented makers to share their love of stitching with all of us. Here in the States we’re enjoying summer and I know I’d love these long, lazy days to never end. So, to keep those summer vibes going, over the next three weeks you’ll find inspired sewing posts, exciting makers to follow, beautiful projects, and of course, weekly giveaways all focused around my Everlasting fabric collection—you won’t want to miss a day!
EVERLASTING BLOG TOUR SCHEDULE
Friday, July 12 - Sharon Holland
Monday, July 15 - Marija Vujcic
Tuesday, July 16 - Carolina Moore
Wednesday, July 17 - Dana Willard
Thursday, July 18 - Lisa Ruble
Friday, July 19 - Dritz Sewing
Monday, July 22 - Eleri Kerian
Tuesday, July 23 - Marisa Wilhelmi
Wednesday, July 24 - Sharon McConnell
Thursday, July 25 - Modernly Morgan
Friday, July 26 - Alexis Wright
Monday, July 29 - Priscilla Geissler
Tuesday, July 30 - Maureen Cracknell
Wednesday, July 31 - Elina Temmes

Week 1 Recap
Day 1 of the Everlasting Blog Tour started out with a bang as Marija Vujcic gave us not just one but THREE amazing sewing projects to drool over. Marija is a must-follow maker and so passionate about sewing. She can sew anything and does everything to perfection. Find tutorials for her projects along with the soon-to-be-published pattern for this amazing Everlasting Garden quilt (top left).

Everlasting Blog Tour projects by Marija Vujcic
Day 2 belonged to Carolina Moore our very own Art Gallery Fabrics Sewcialite. Carolina created a stunning improv quilt incorporating traditional English Paper-Pieced blocks by Brimfield Awalkening into a color-blocked modern strip quilt. Learn more about Carolina and see the stunning quilting on this quilt on her blog.

Everlasting Blog Tour project by Carolina Moore
Day 3 had me smiling ear to ear when Dana Willard (an Art Gallery Fabrics sister-designer) posted about her smartly-designed reversible skirt. I adore Dana and she has the best tutorials! This easy-pease skirt can be sized for any girl-young or old and a must-make for your summer sewing.

Everlasting Blog Tour project by Dana Willard
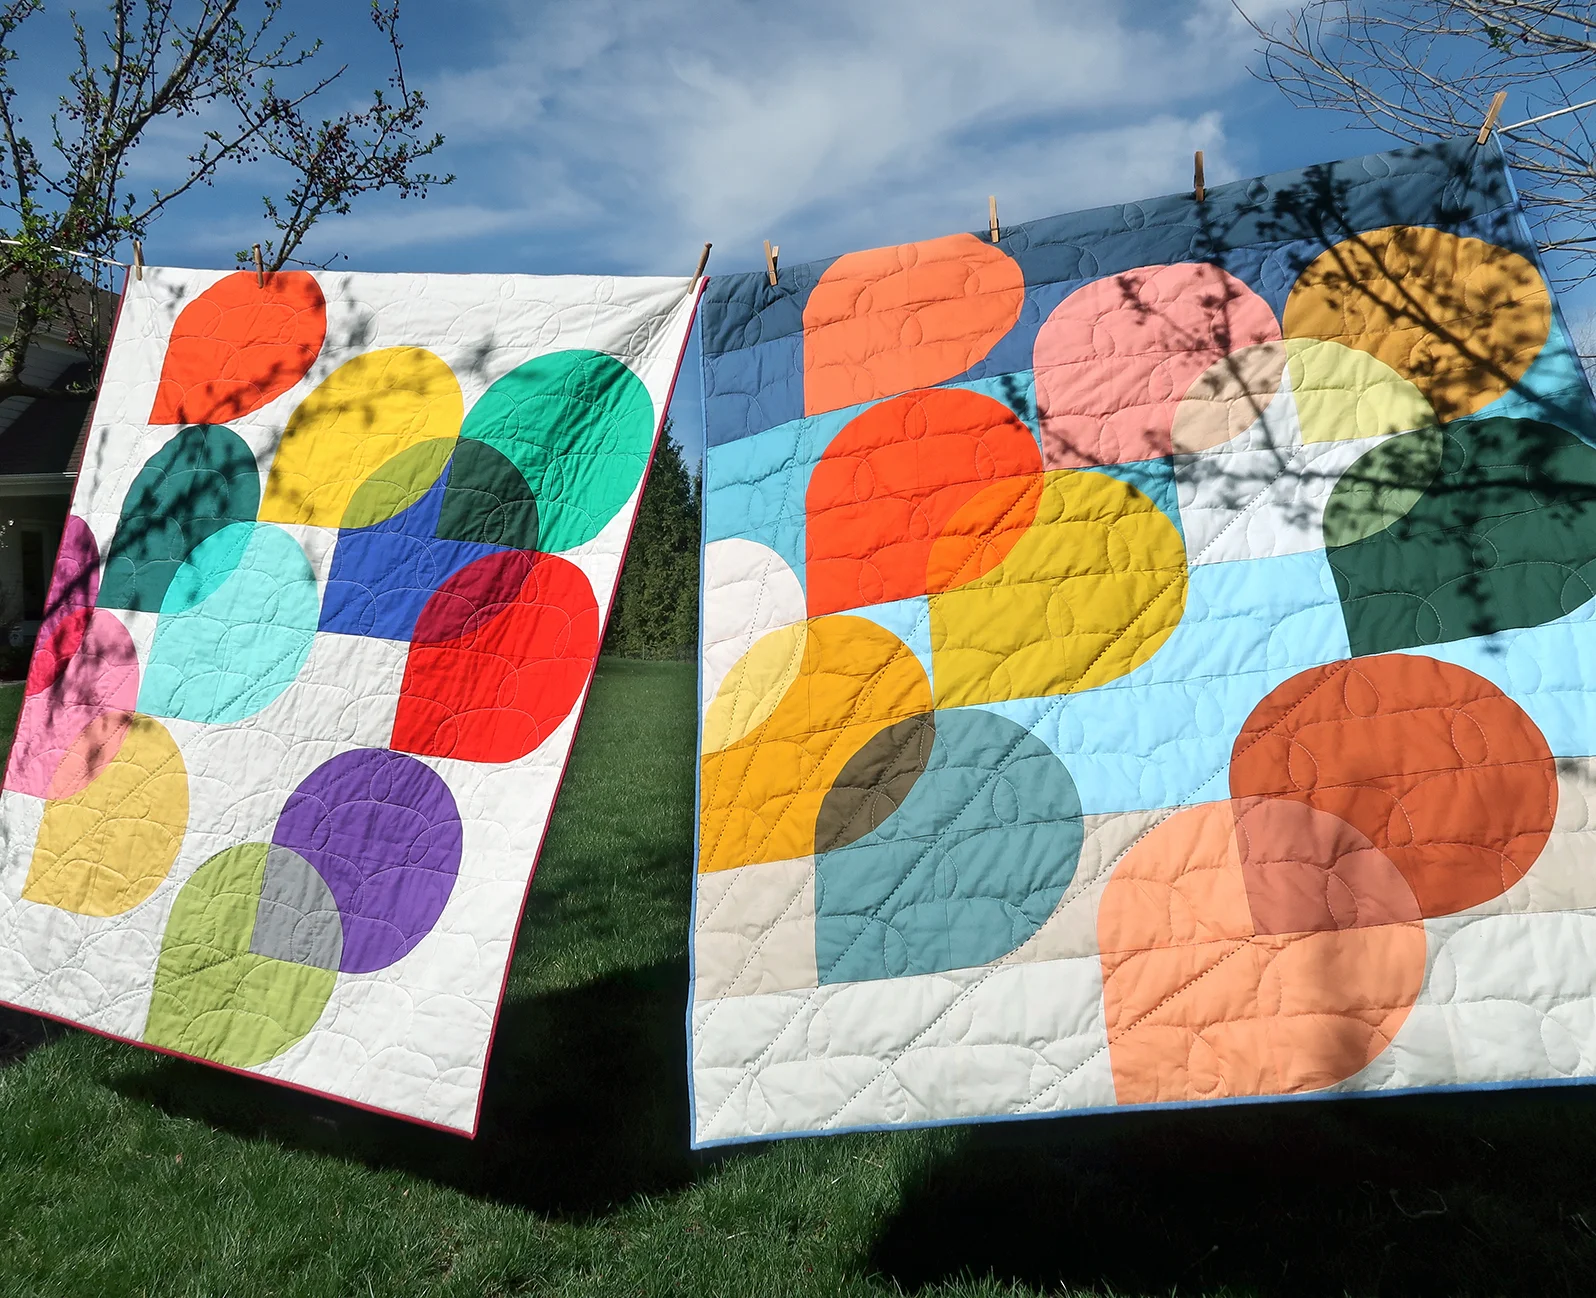
Day 4 was Lisa Ruble’s stop on this fun blog tour. Lisa and I have worked together over the years and she’s a wonderful and passionate quilter, amazing person, and extremely talented in everything she does. Definitely follow Lisa on her quilting adventures! Now through the end of the month you can get 10% this gorgeous Ribbon Weave quilt pattern that Lisa made using the blues and teal prints from Everlasting.

Everlasting Blog Tour project by Lisa Ruble
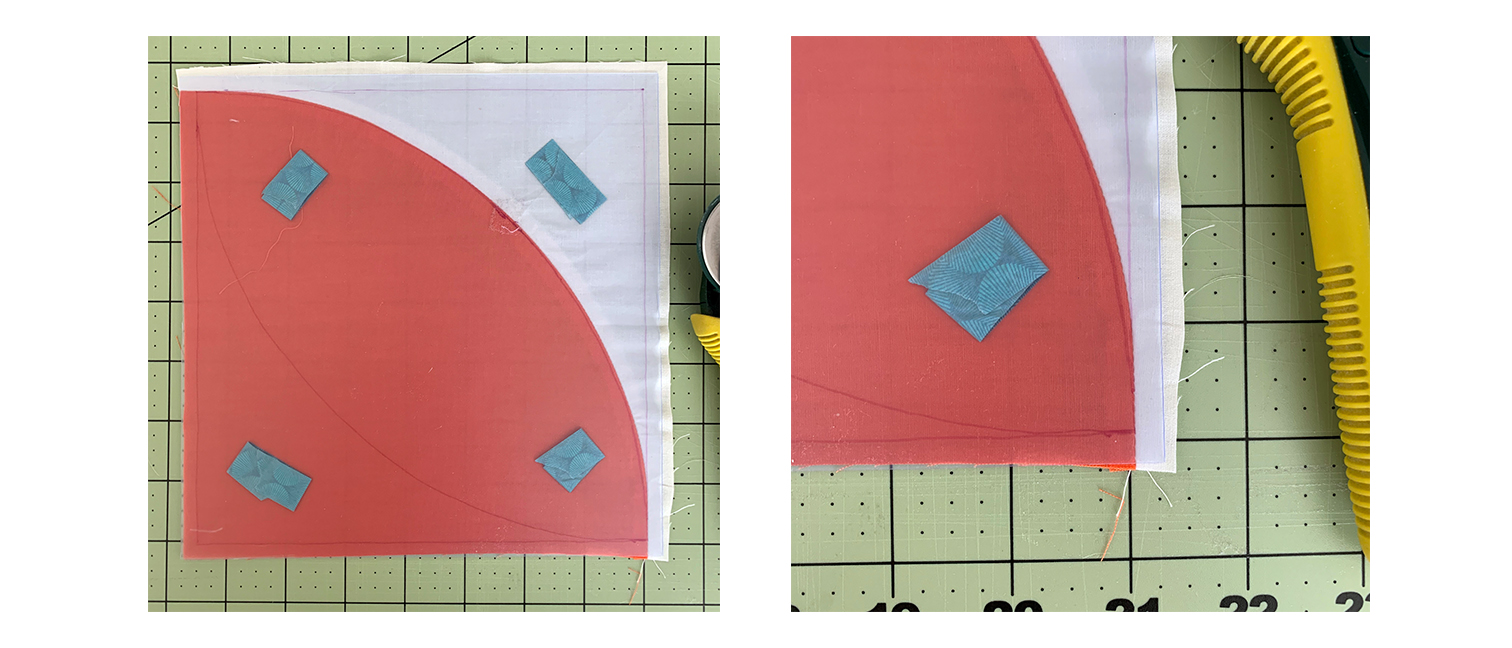
Day 5 ends the first week with one of our tour sponsors and everybody’s favorite notion company, Dritz Sewing! The super talent team of creatives at Dritz bring us the most innovative and fun projects. Their tutorials and products are easy-to-use and give your projects that professional finishing touch. Make a customizable cork banner to hang in your sewing room, office, or how about making one for those going off to college!?!? The possibilities are endless! Find all the how-to’s and make this pretty banner to display favorite things on the Dritz Make Something Blog.

Everlasting Blog Tour project by Dritz Sewing
Week 1 Giveaway Now Closed: Congratulations Lacey!
What an amazing week, right??? The only way to make it even better is to have a giveaway to keep the party hopping. The week 1 sponsored giveaway comes to you from Dritz Sewing.
The Dritz story spans nearly 100 years, and encompasses tens of thousands of creative products. What began as a family business in 1920s New York City, is today a storied brand that is recognized by DIY enthusiasts around the world. Today, Dritz embodies a heritage of quality, value and innovation. Sewists and quilters alike turn to Dritz for top-notch quilting and sewing supplies. Dritz is conveniently sold via mass merchants, independent shops and online retailers, so it’s readily available where and when you need it. - See more at: Dritz!
Products * Projects & Patterns * Instagram * Blog
To get you started on your Banner, Dritz is including the following fun hardware and notions to their giveaway package:
Double Cap Rivets Nickel 750-65
Rivet Tool 750T
Triangle Rings 738-65
D-Rings 1" 117-1-65
Swivel Hooks (2 packages) 512
Grommet Pliers 1P
Nickel Grommets 1-65
THANK YOU DRITZ FOR THIS GENEROUS PRIZE!
* Note * This giveaway is open to US residents only (sorry, international friends). If you're a "no reply" or anonymous commenter, please remember to include your email address in your comment--you can't win if I can't get a hold of you!
1. Simply leave a comment here under this post! (First comment entry).
2. Follow Dritz on their Blog and/or Instagram. Just let me know that you did by making a separate comment here to record that entry. (Separate comment - second entry).
3. My followers get a third entry! If you follow via subscribing to my posts, through Bloglovin (or other service), or on Instagram, just let me know by making a separate comment here to record that entry. (Separate comment - third entry). Note: I'm no longer on Facebook.
4. Help spread the word!! I know that many of you already do, so I thought it would be nice to add that as another way to enter! Spread the word about the Everlasting Blog Tour on YOUR instagram, facebook, tweet, pin, blog post, etc... (separate comment - fourth entry).
That’s four possible entries! Enter now through Tuesday, July 23. The winner will be picked at random around 4 pm Eastern. I’ll post the name of the winner on this blog post once they've been notified and responded to my email.
Happy sewing,
Sharon