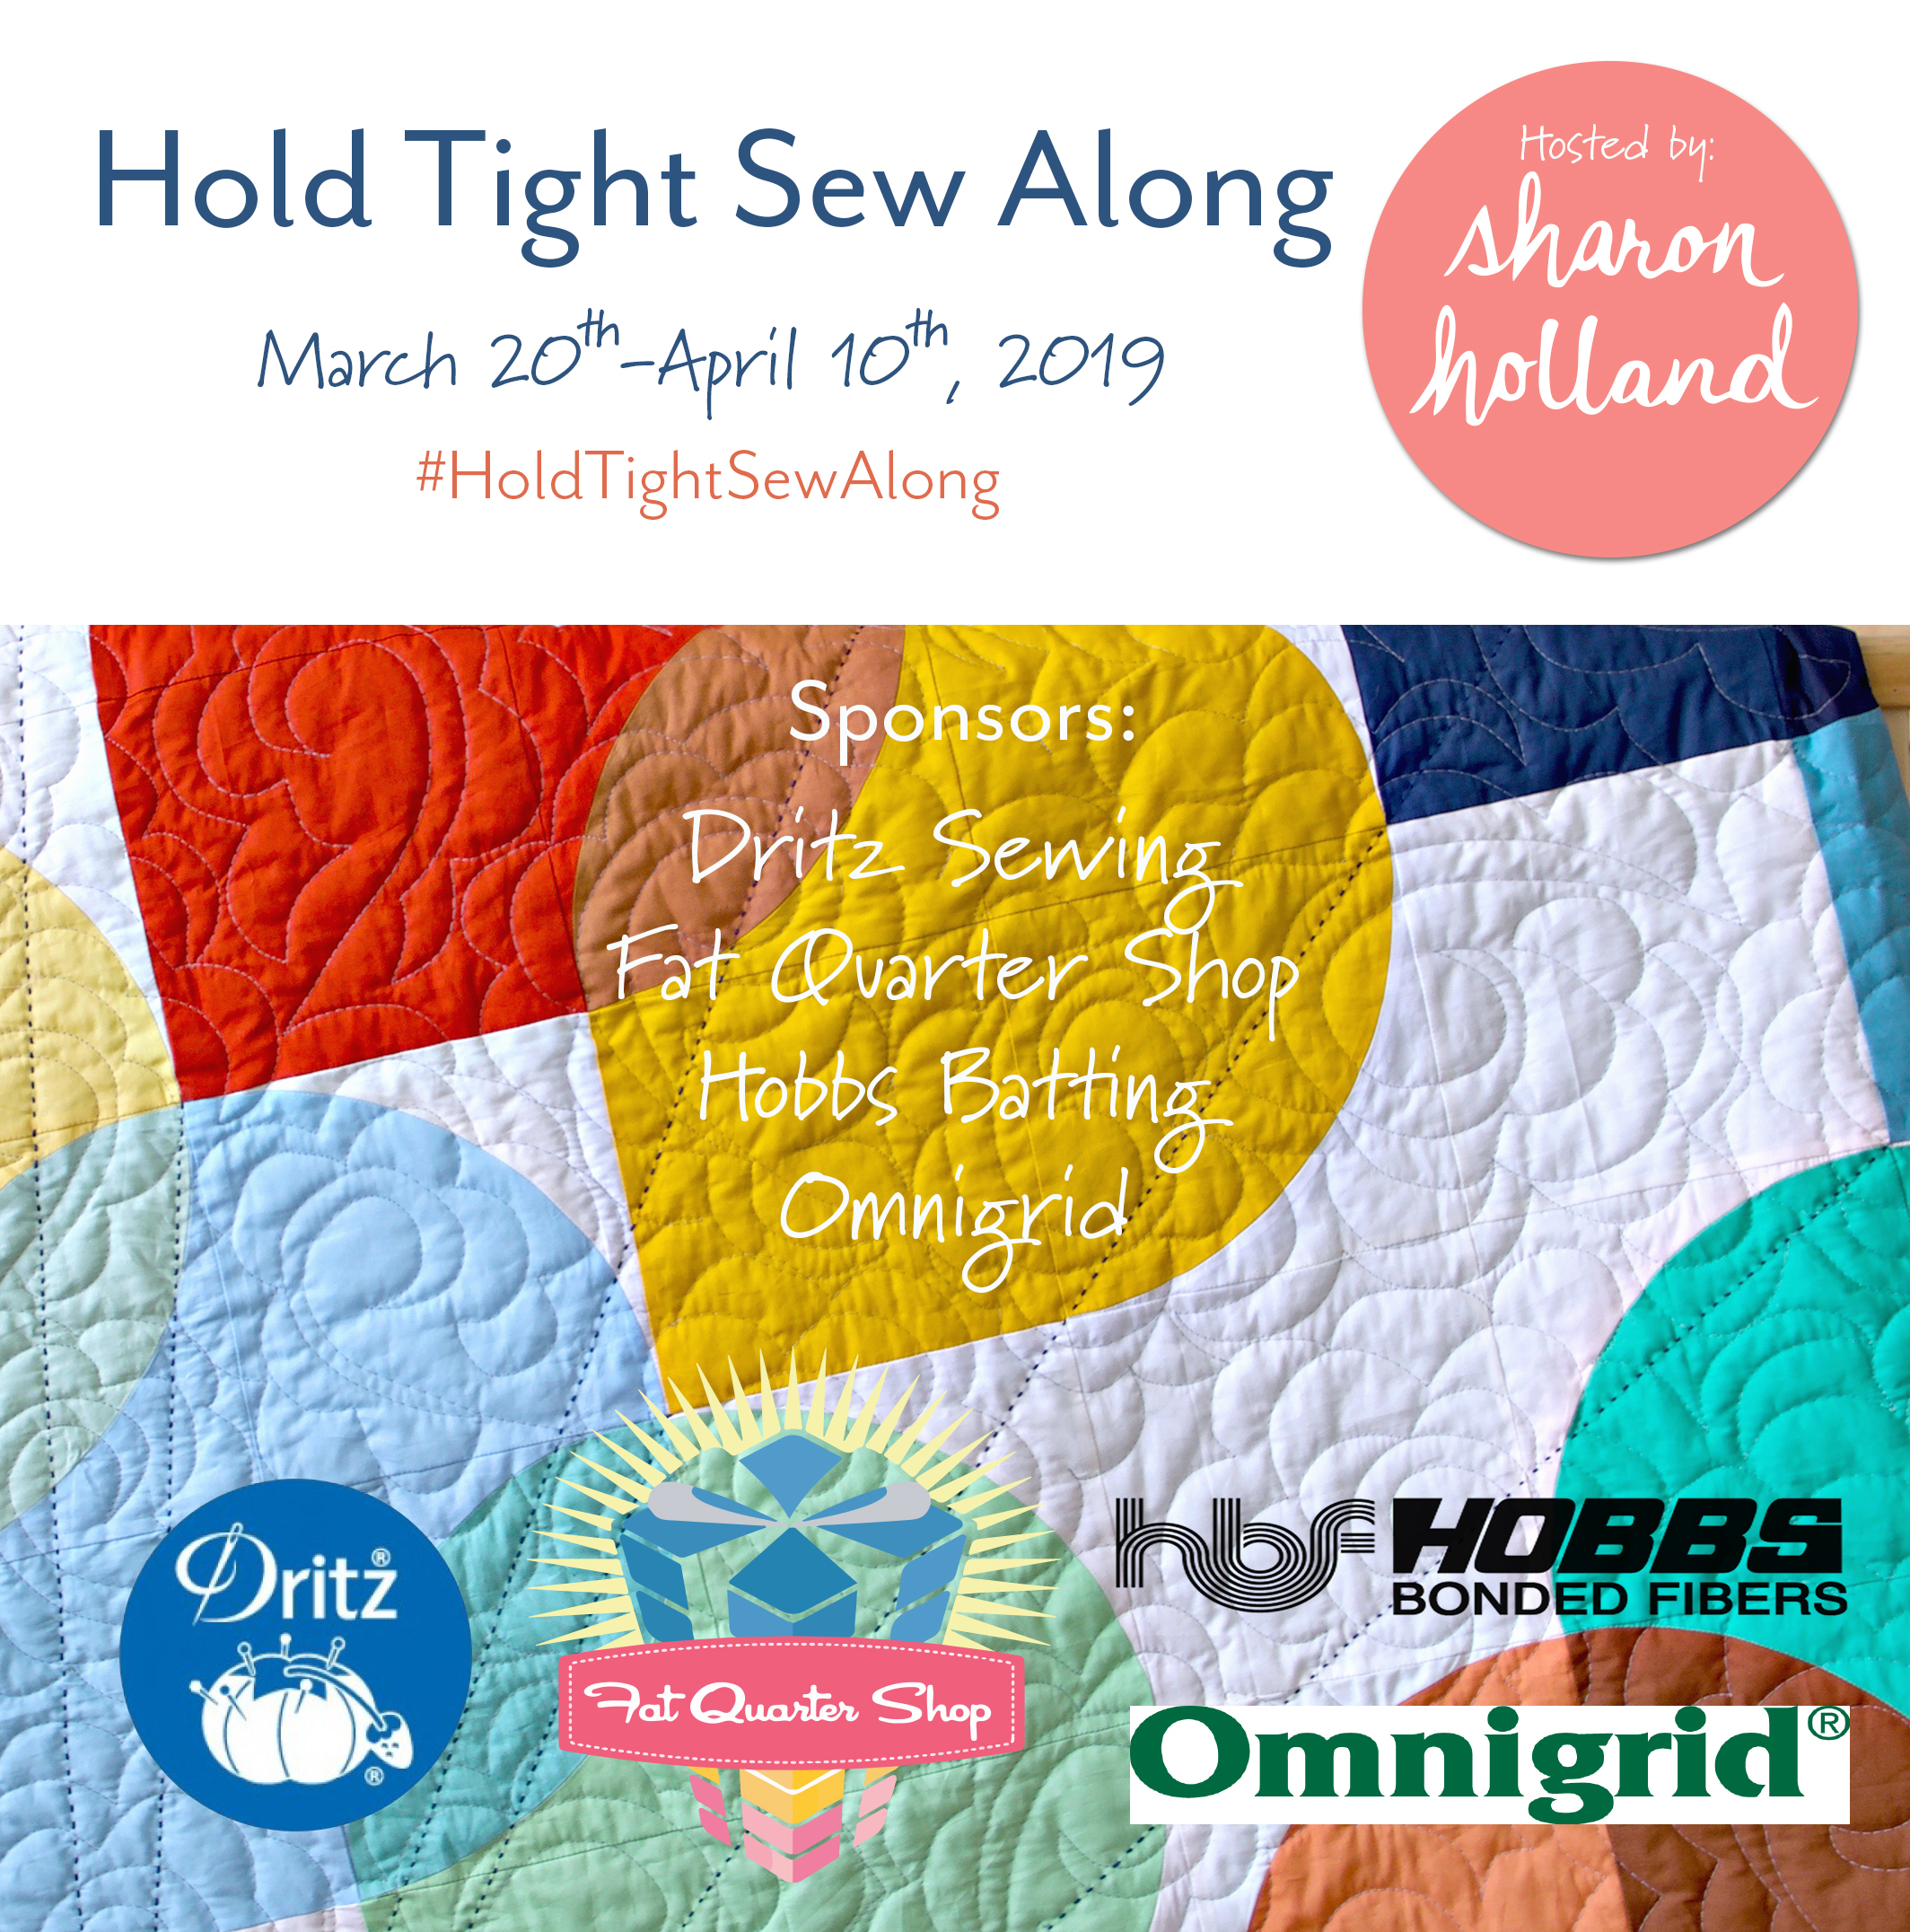
Everlasting Look Book - Part 1

The second most exciting thing to having a new fabric collection is to have Art Gallery Fabrics publish the Look Book for the collection!
Over the lasts several weeks I’ve been busy sewing projects with my new collection and photographing them in preparations for the Look Book. In this Part 1 blog post I’ll give you a more personal tour of the quilt and pillow projects I made plus the beautiful Hourglass Quilted pillows Maureen Cracknell of Maureen Cracknell Handmade stitched for this virtual magazine. Next week, in Part 2, I’ll show more of the other pretty (non-quilt) projects I made—there’s just too much for one blog post!
Quilts and Pillows
Lily Pond Quilt

Lily Pond quilt designed by Sharon Holland. Made and photographed by Art Gallery Fabrics.
Every Art Gallery Fabric collection has with it a FREE quilt pattern. The Lily Pond quilt made with Everlasting prints and AGF Pure Solids is a remake of a quilt I designed a couple years ago for International Quilt Festival magazine 2017, using Maureen Cracknell’s Soulful fabrics for Art Gallery Fabrics.
It’s amazing how fabric placement can change up the entire look of the new Lily Pond quilt (above) compared to the same design of the Celestial quilt (below).

Celestial Quilt design and made by Sharon Holland with Soulful fabrics by Maureen Cracknell for Art Gallery Fabrics

Hourglass Quilted Pillows

Hourglass Quilted Pillows by Maureen Cracknell
How perfect would these Hourglass Quilted pillows by Maureen Cracknell look with the Lily Pond quilt or the Infinity Loop quilt below!?!? Maureen has a free tutorial on her blog for how to make these beautiful pillows.
Over Memorial Day weekend Maureen’s Facebook and Instagram accounts were hacked and then deleted by the hacker. This malicious act has been devastating and erased years of Maureen’s photo memories and work achievements. I know many of you follow both Maureen and I and if you’d like to continue receiving her beautiful daily dose of sewing inspiration on Instagram please follower her on her new account @maureencracknellhandmade. She’s no longer on Facebook and may not reopen an account there. Read more about what happened to her social accounts on her pillow tutorial post.
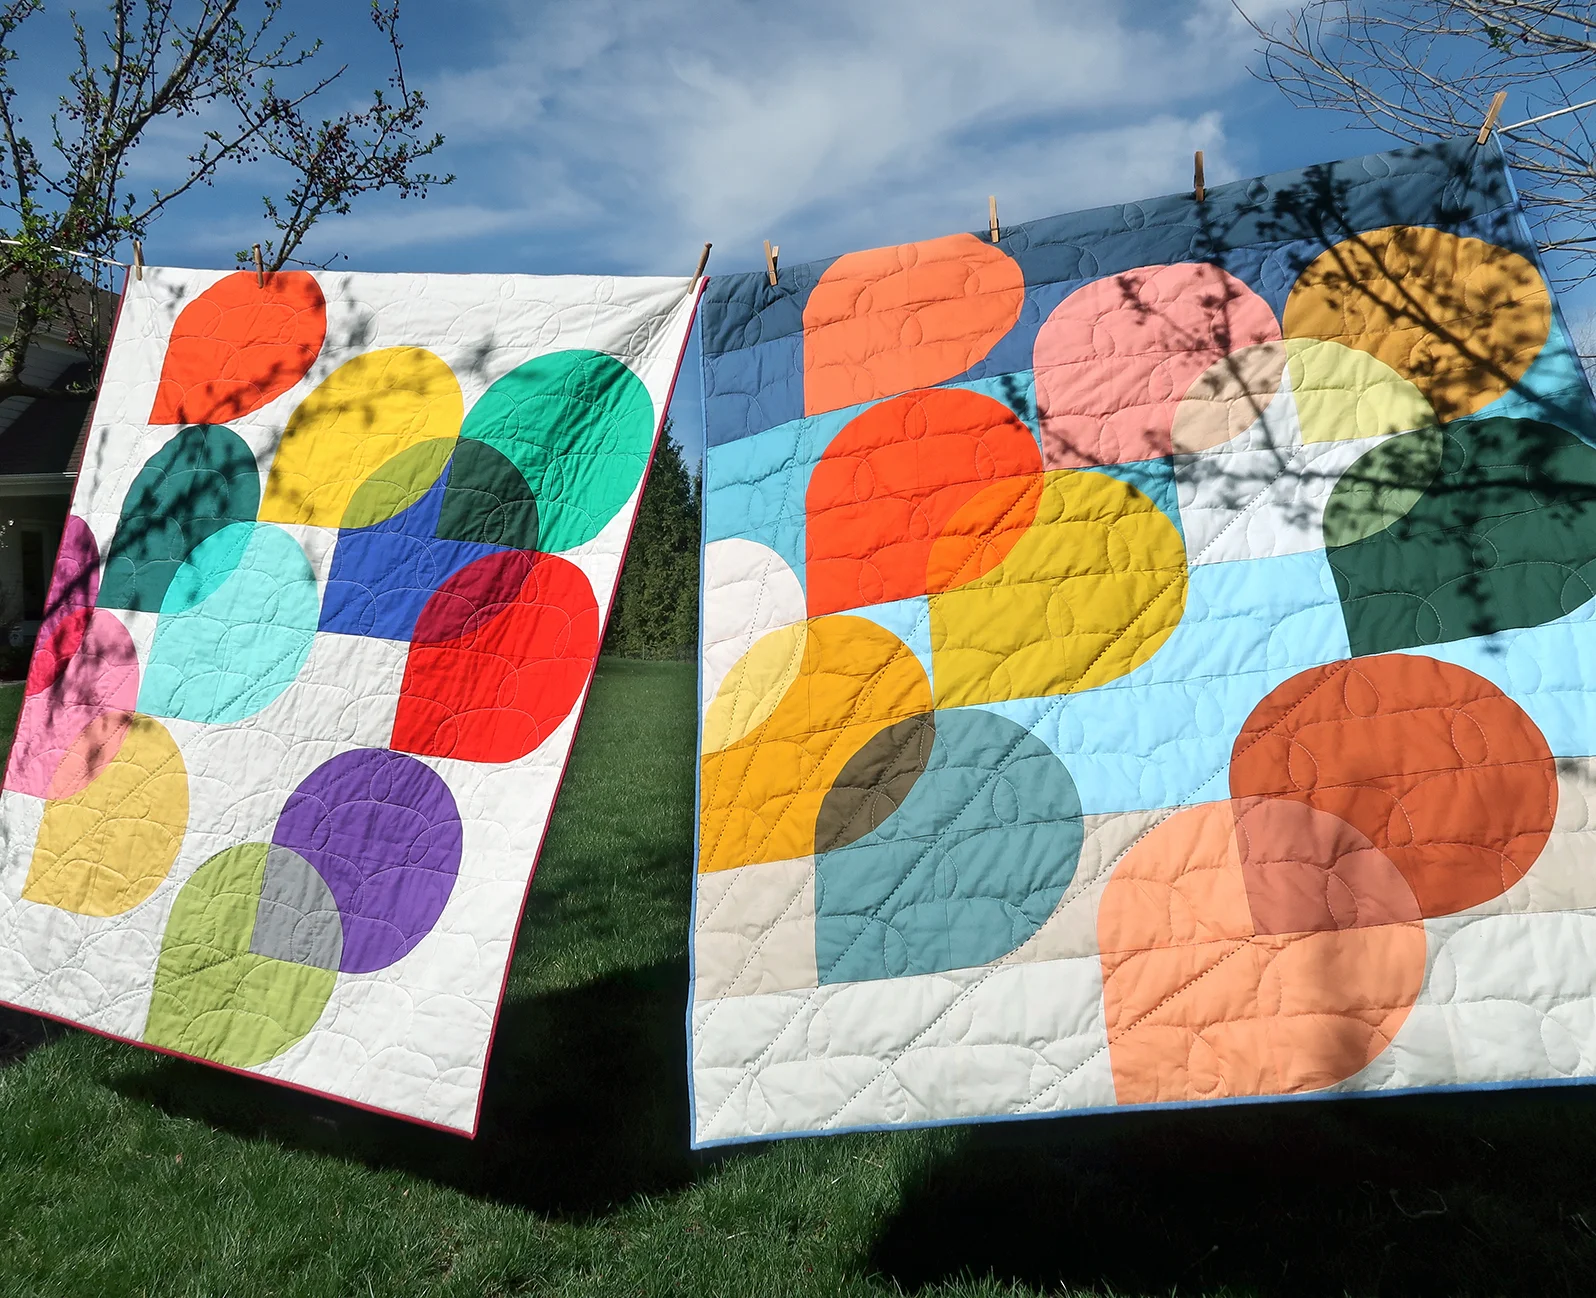
Infinity Loop Quilt

Infinity Loop Quilt designed, made, and photographed by Sharon Holland
I’ve been waiting since my first Art Gallery Fabrics collection, Gossamer to remake my Infinity Loop quilt and Everlasting was the perfect collection to use!
The Everlasting Infinity Loop quilt is filled with Hobb’s Poly-Down Batting. It’s a slightly different loft than the Hobb’s Tuscany Polyester batting I also love but equally as soft and drapey. I love that you can leave wider spacing between quilting stitches too and chose to quilt a HUGE floral motif on the loop rows and spaces between the loops.

Infinity Loop Quilt designed, made, and photographed by Sharon Holland
This intermediate to advanced level quilt pattern uses both foundation paper-piecing and traditional (curved) patchwork piecing. It’s well suited for a scrap quilt and I didn’t even preplan fabric placements—just sewed and put it together with very little fussing. The Everlasting collection has a well balanced mix of light, medium, and dark prints as well as a variety of print scales that gives a scrap quilt a flawless scrap look without being super match-matchy! Find this PDF pattern on my SHOP page.
Diamond-Cut Quilt

Diamond-Cut Quilt designed, made, and photographed by Sharon Holland
For the Everlasting Look Book I designed a new quilt pattern called Diamond-Cut for the SHOP. I’m so in love with this quilt and purposely made it very scrappy. Large Nine-Patch diamonds show off the prints and float in a background of the new Blossomed Pure Solids from Art Gallery Fabrics.

Diamond-Cut Quilt designed, made, and photographed by Sharon Holland
This is a full-size bed quilt that has a modern-vintage style and ease to it. I also used Hobb’s Poly-Down batting inside and chose a simple and quick vertical stitching to create puffy channels. I think it gives the quilt an elder-down cozy look to it. Needless to say, this is now the guest room quilt!
Reversible Pillow Cases

Reversible Pillow Case tutorial by Tidbits made by Sharon Holland
As I was styling the bed and Diamond-Cut quilt for photography I realized that if I made pillow cases it would not only save me from buying something new but also be an opportunity to show off more of my pretty Art Gallery Fabrics!

I found a great tutorial for these Reversible Pillows on the Tidbits website. I even had just enough of some beautiful trim I bought a few years ago at Quilt Market to finish the edge of these three cases. It was so handy to have reversible cases and three turned into six with a quick wardrobe change.

Everlasting by Sharon Holland
These projects in this post are by no means the end to the quilts and pillow projects you’ll find in the Everlasting Look Book, these were just mine and Maureen’s contributions. Next week I’ll blog about the other projects I made that were a fun and delightful change from quilt making. It’s always good for the mind to mix things up a bit and I learned some new sewing tricks!
Visit the AGF Creative Blog for additional Everlasting inspiration AND a chance to win a bundle of Everlasting fabrics! Hurry, the giveaway ends June 4, 2019.