
Heart Quilt Sew Along - Week 3
It’s the final week in the Heart Quilt sew along. This fast and fun sew along has been hosted by myself and Maureen Cracknell with special thanks to Allison Harris of Cluck Cluck Sew for allowing us to use her Heart Block in our quilt layout.
If you’re just joining us, you’ll want to get up to speed by reading first weeks post announcing the sew along. If you’re already making heart block or at the point to start adding the sashing and borders—check out week 2 HERE.
This last post is dedicated to turning that top into a quilt plus I’ve added an extra bonus project for all those left over half square triangles from trimming the large flippy corners off the hearts!

Quilting
Rather than reinvent the wheel, I'm directing you to the blog post for Finishing that was originally posted during the Sewcial Bee Sampler sew along. You'll find all the tutorial information for spray basting, quilting, and binding your quilt. The sizes have changed but the concept for basting, quilting, and binding your quilt are the same. As stated in that post, there are many ways to finish a quilt and I am blogging about how I finish my quilts. If you have a preferred method, please do it the way you're comfortable with. If you intend to send your top off to be professionally quilted, discuss with your long-arm quilter how they'd like you to prepare your quilt top and backing for being quilted.
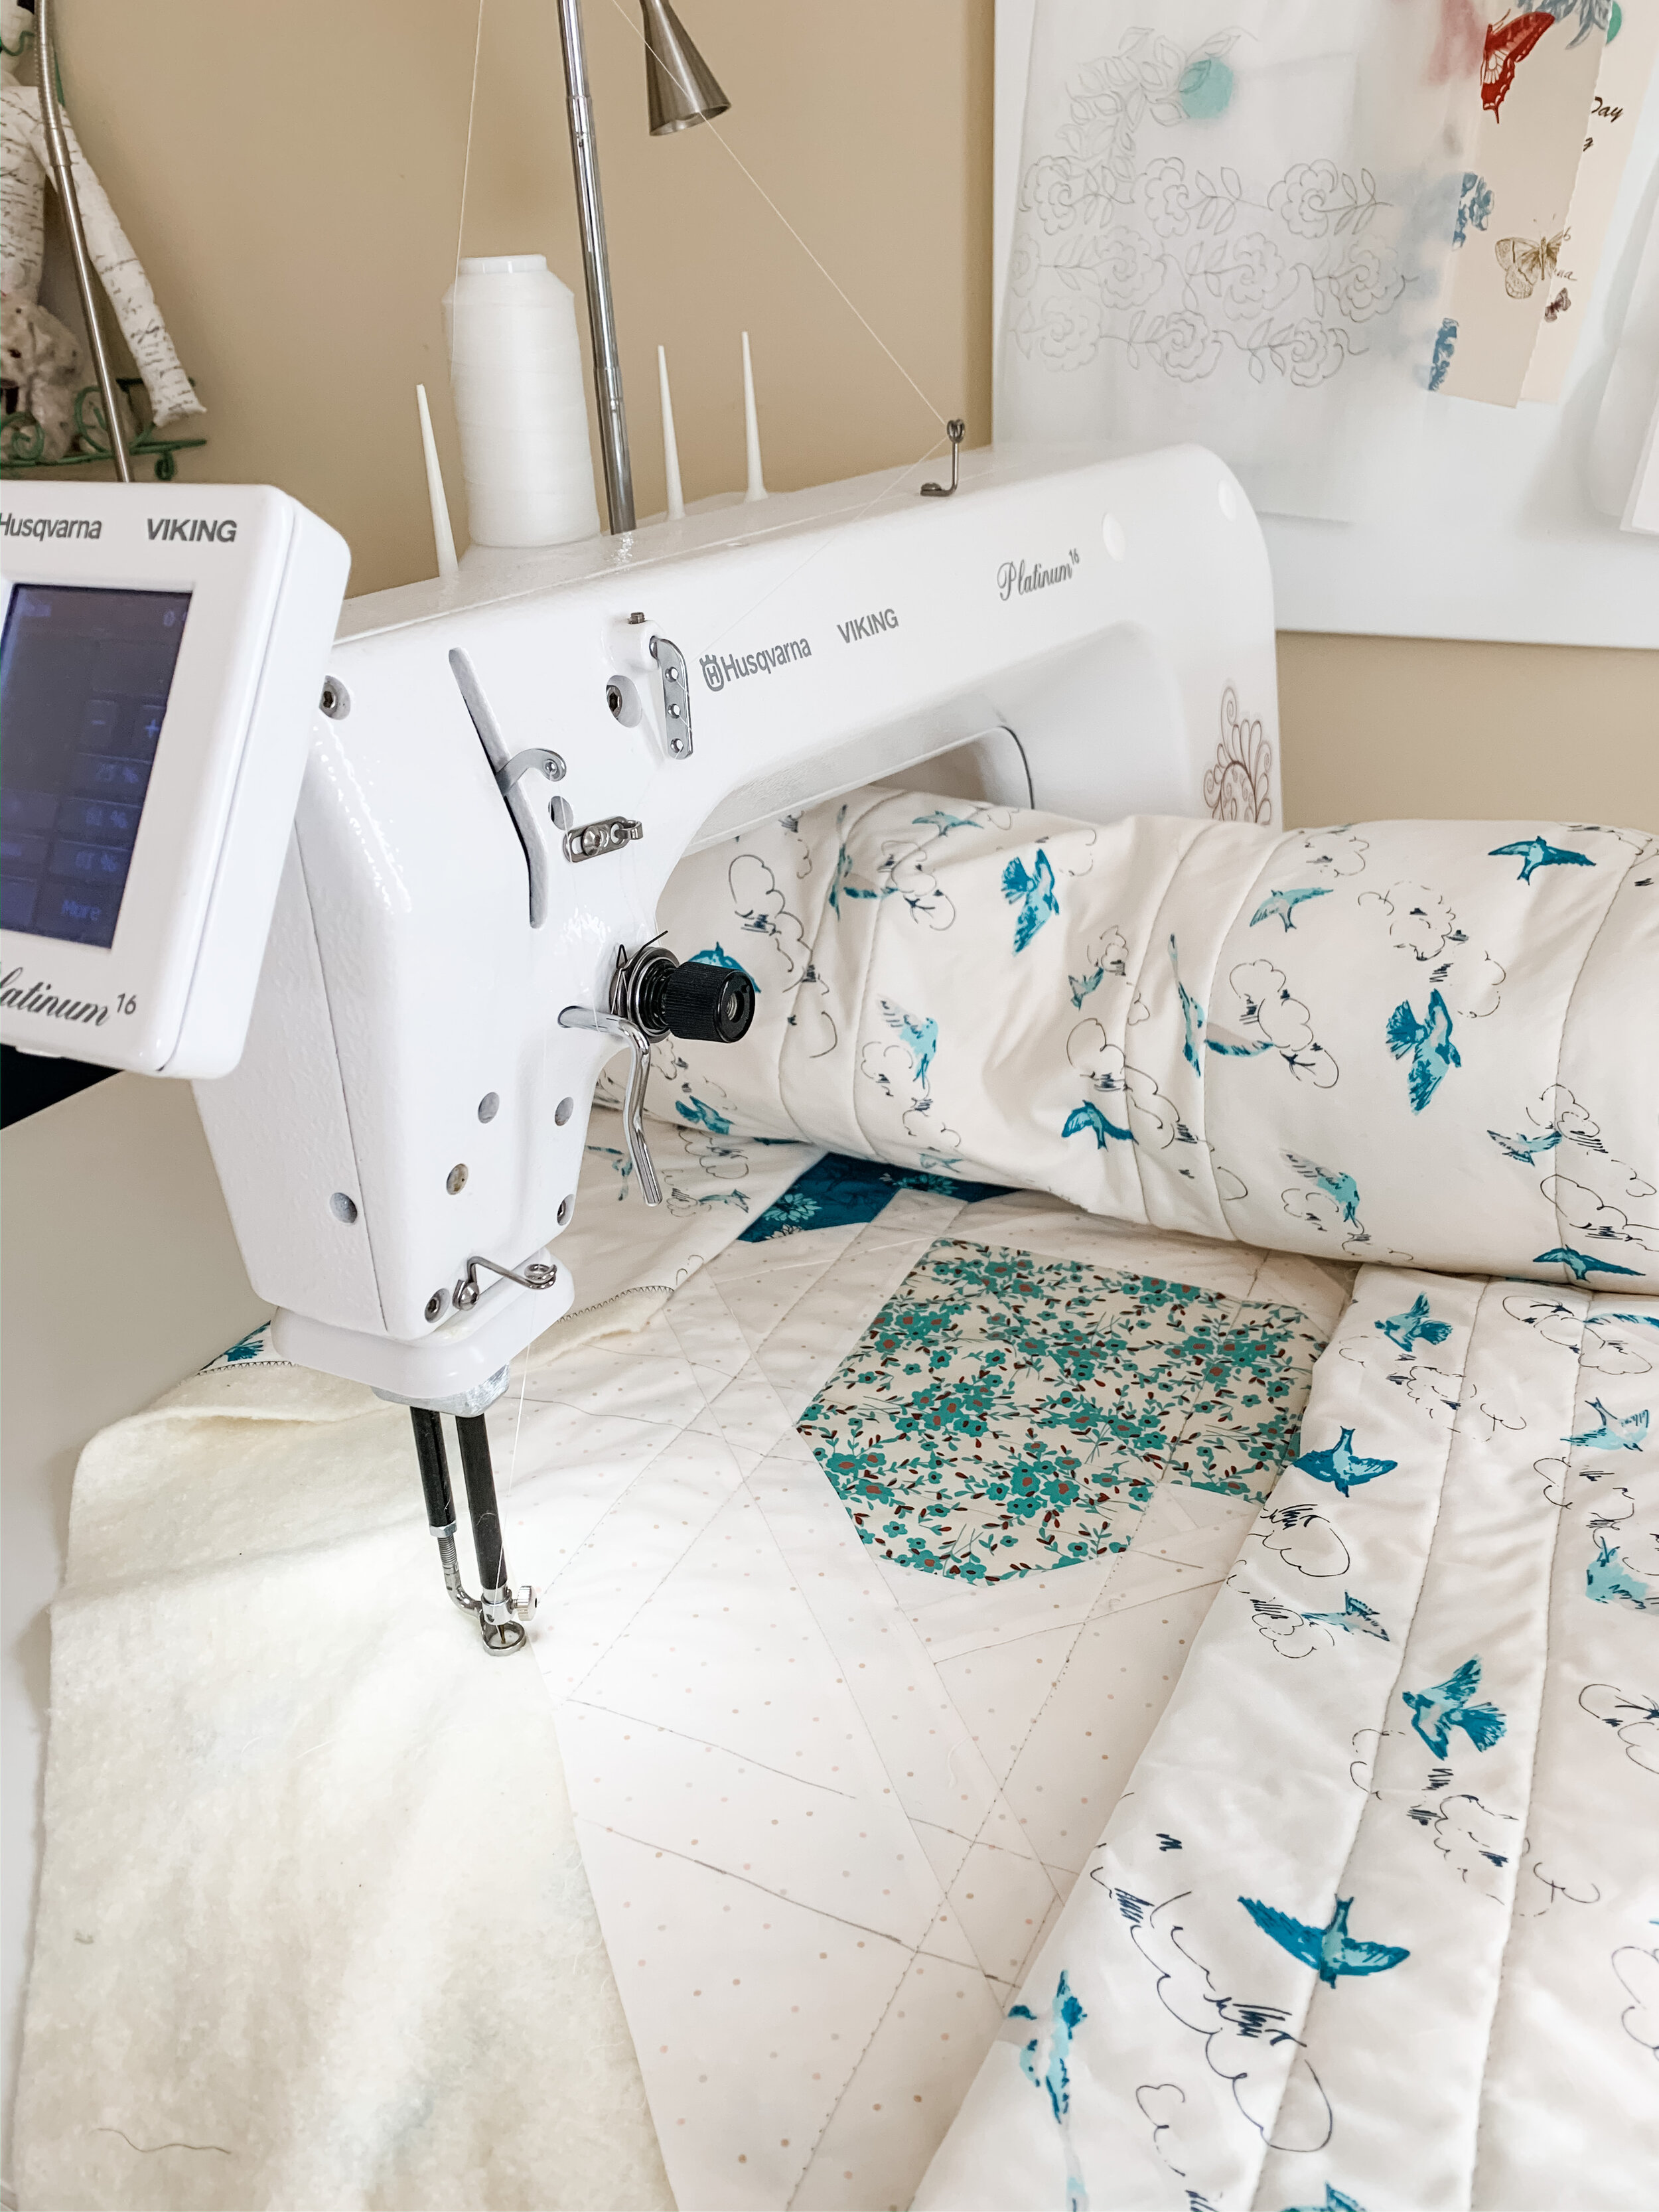
I'm not a professional quilter by any means. I get by and call my quilting style "organic" because it's not perfect and lines are not straight. I love the human touch that non-perfect quilting adds to my quilts. I used my mid-arm Viking Platinum 16 for quilting my top. The quilting guide lines were marked out ahead of time and the quilting went really fast after that to just follow the diagonal lines as shown below in the quilting diagram.

Quilting diagram
I used my favorite Hobb’s Tuscany Silk batting inside my quilt and love how light and drapey it is—especially for handling and maneuvering when quilting.
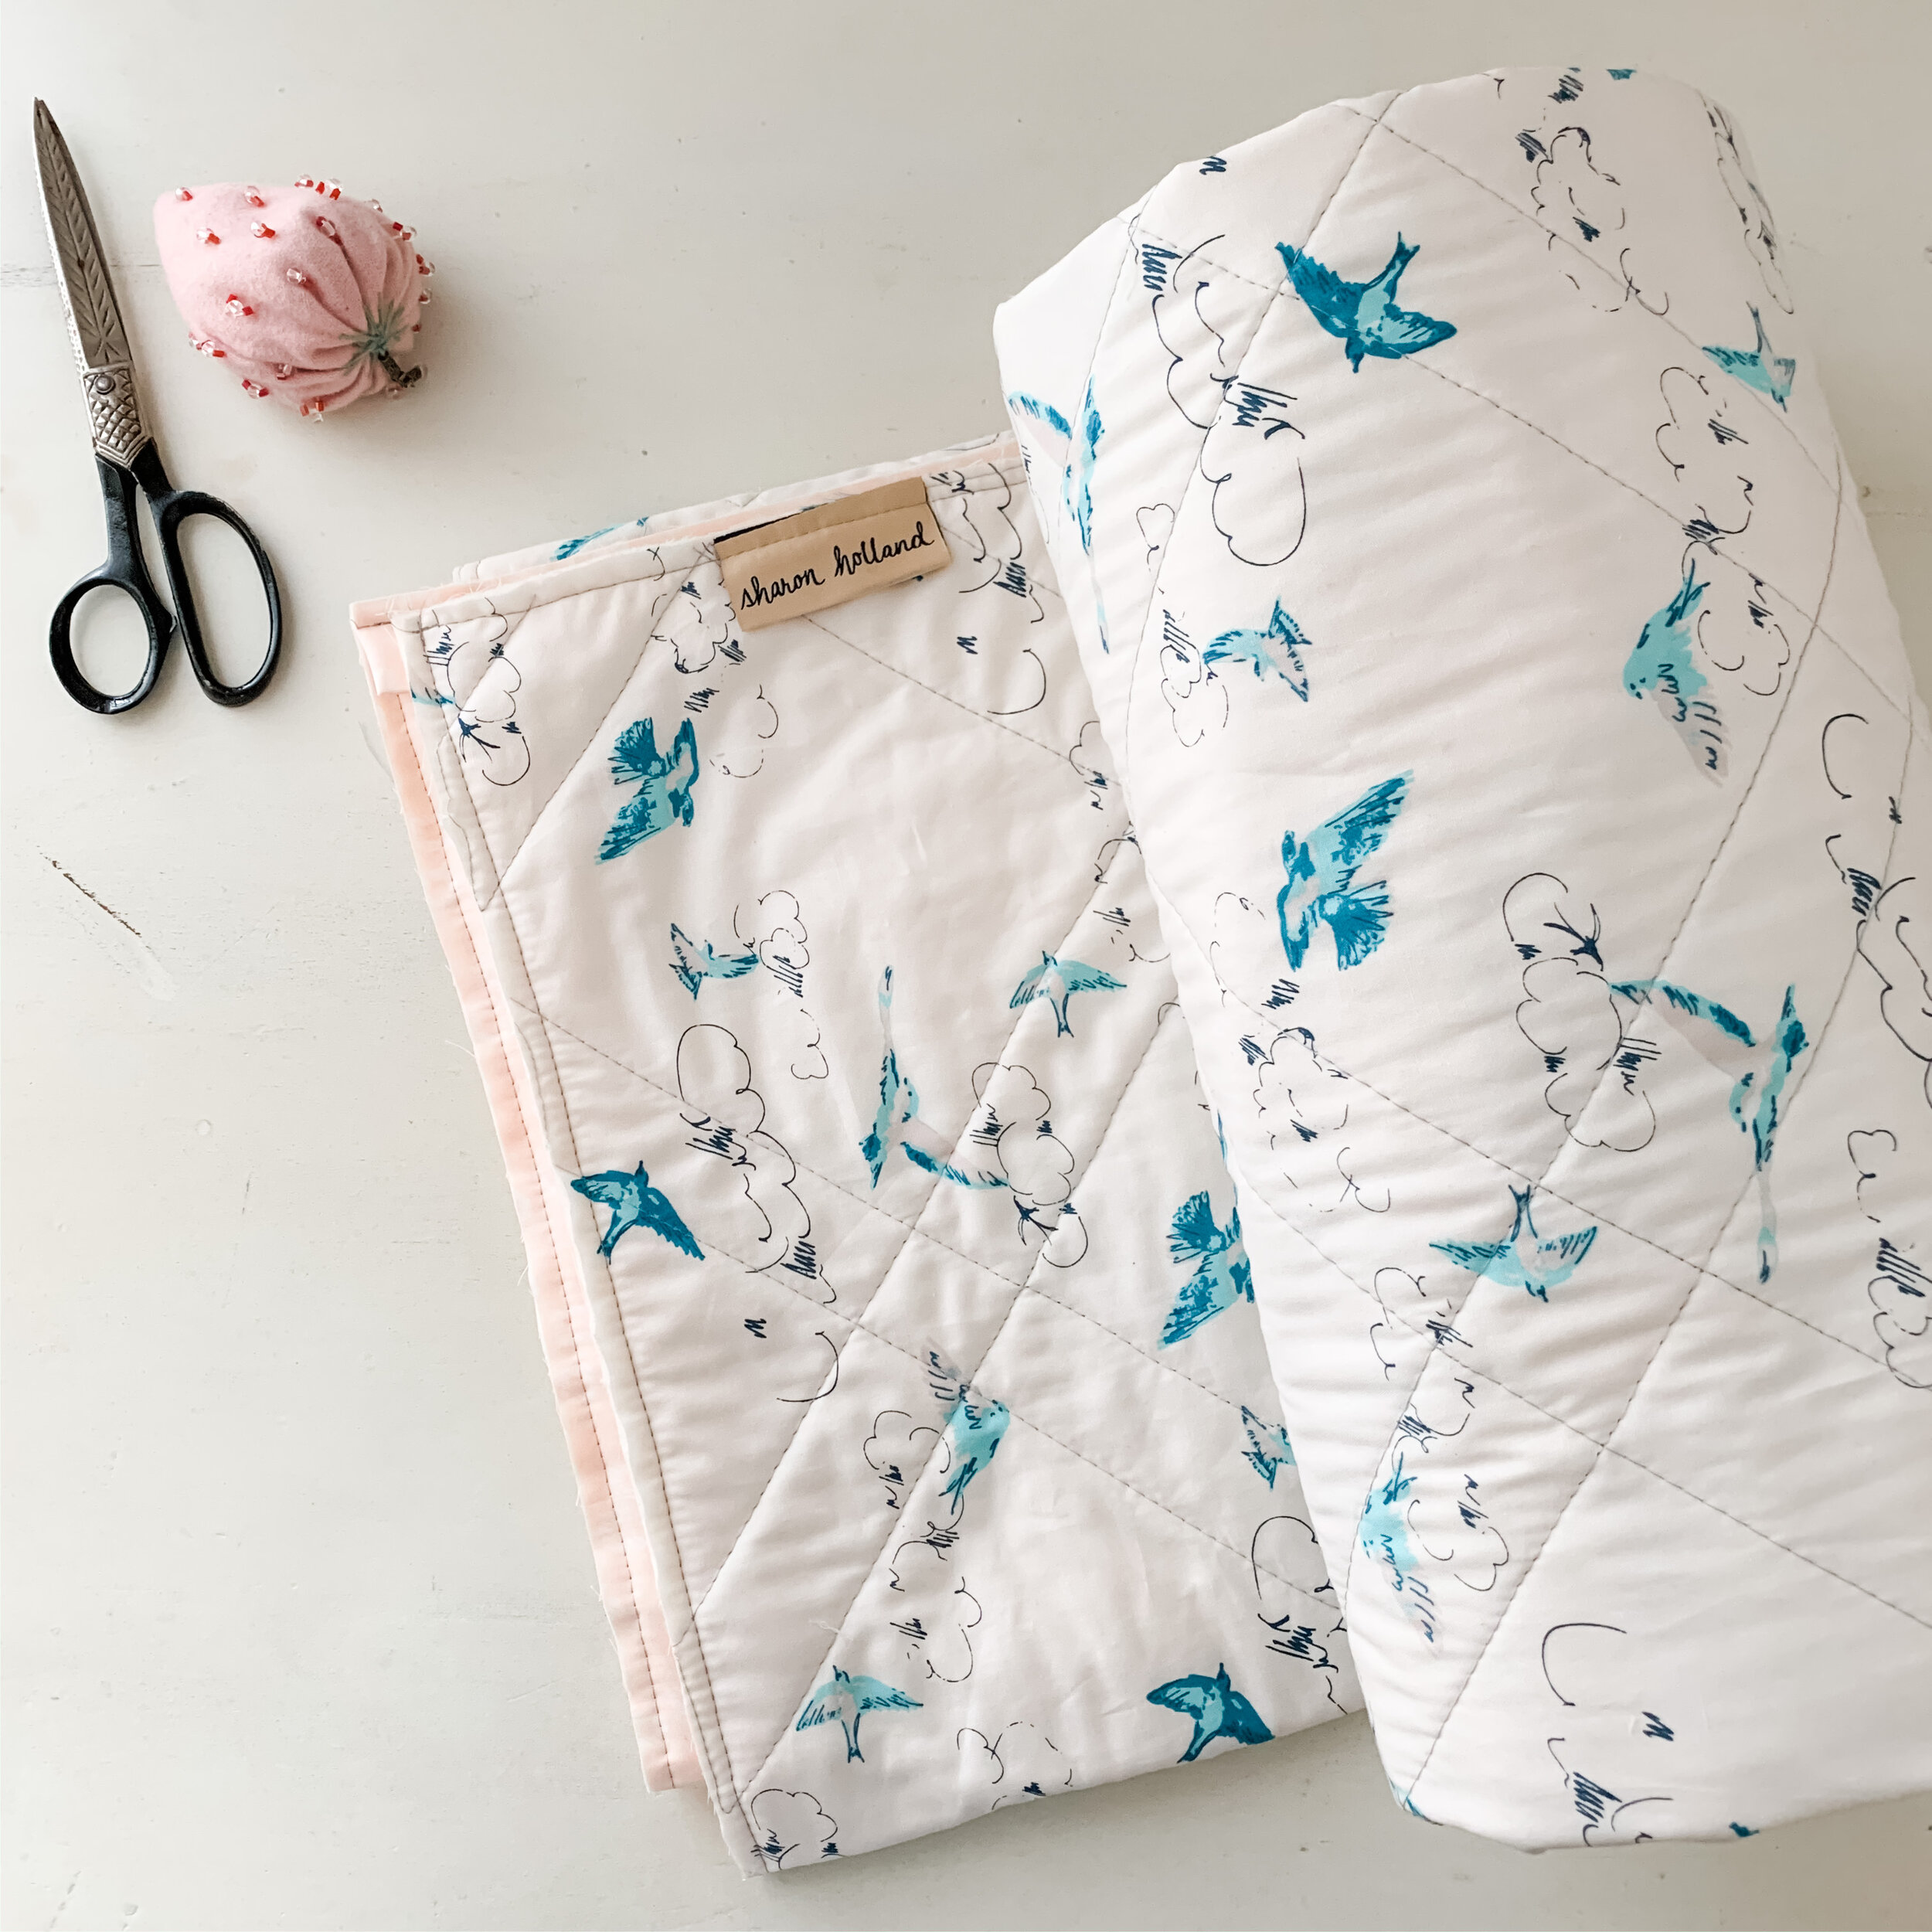
The backing on my quilt is from my Everlasting fabric collection for Art Gallery Fabrics and is called Summer’s Dance. For the binding I used Woodblock Ballerina that was also used for hearts.

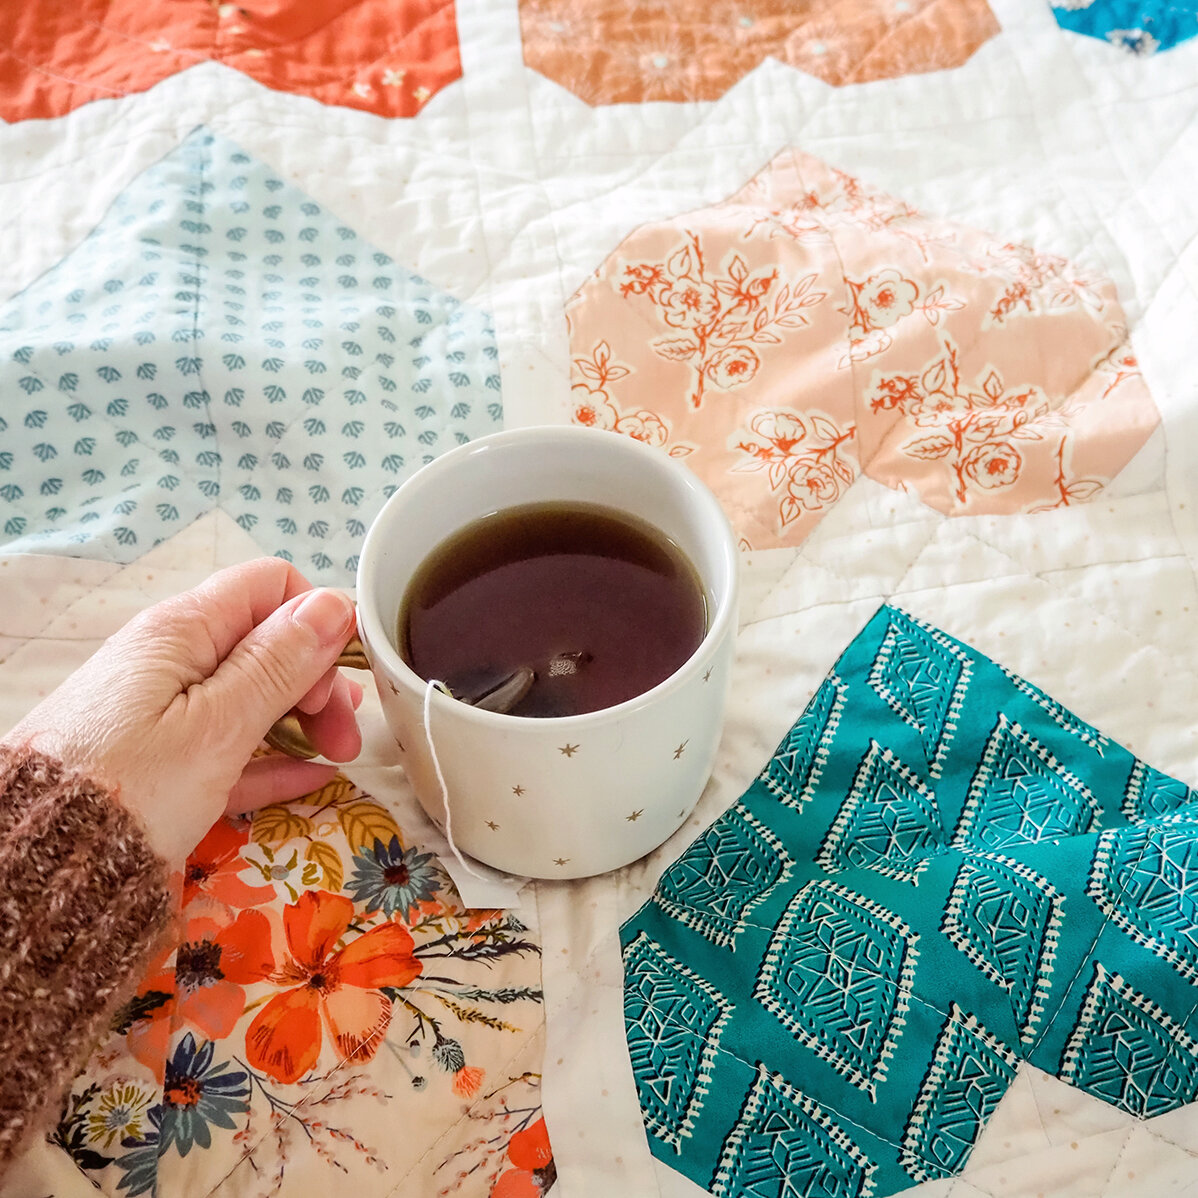
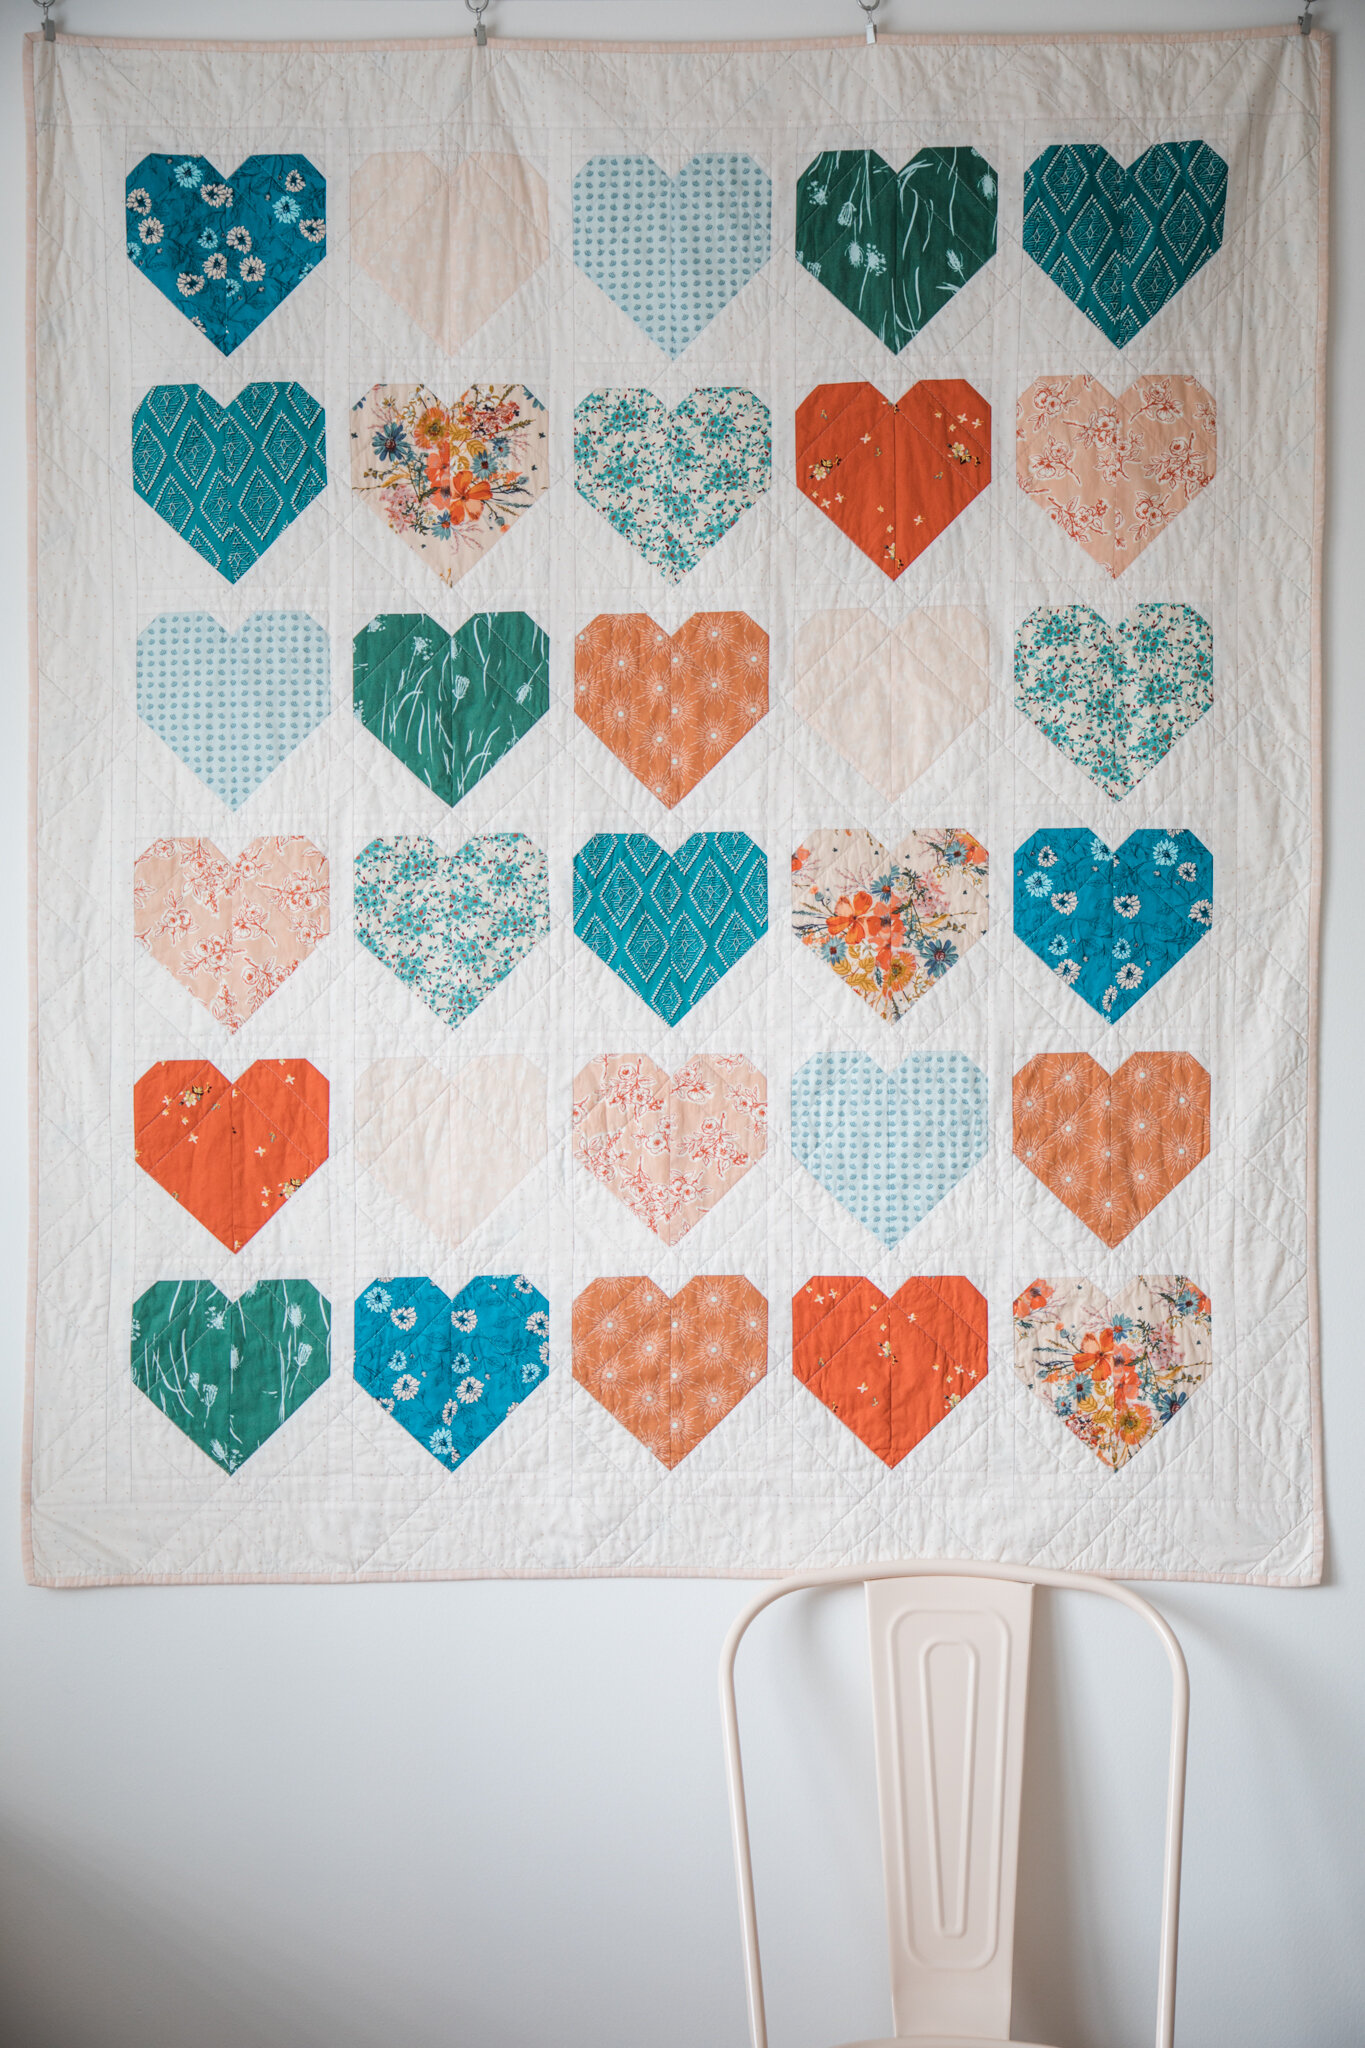
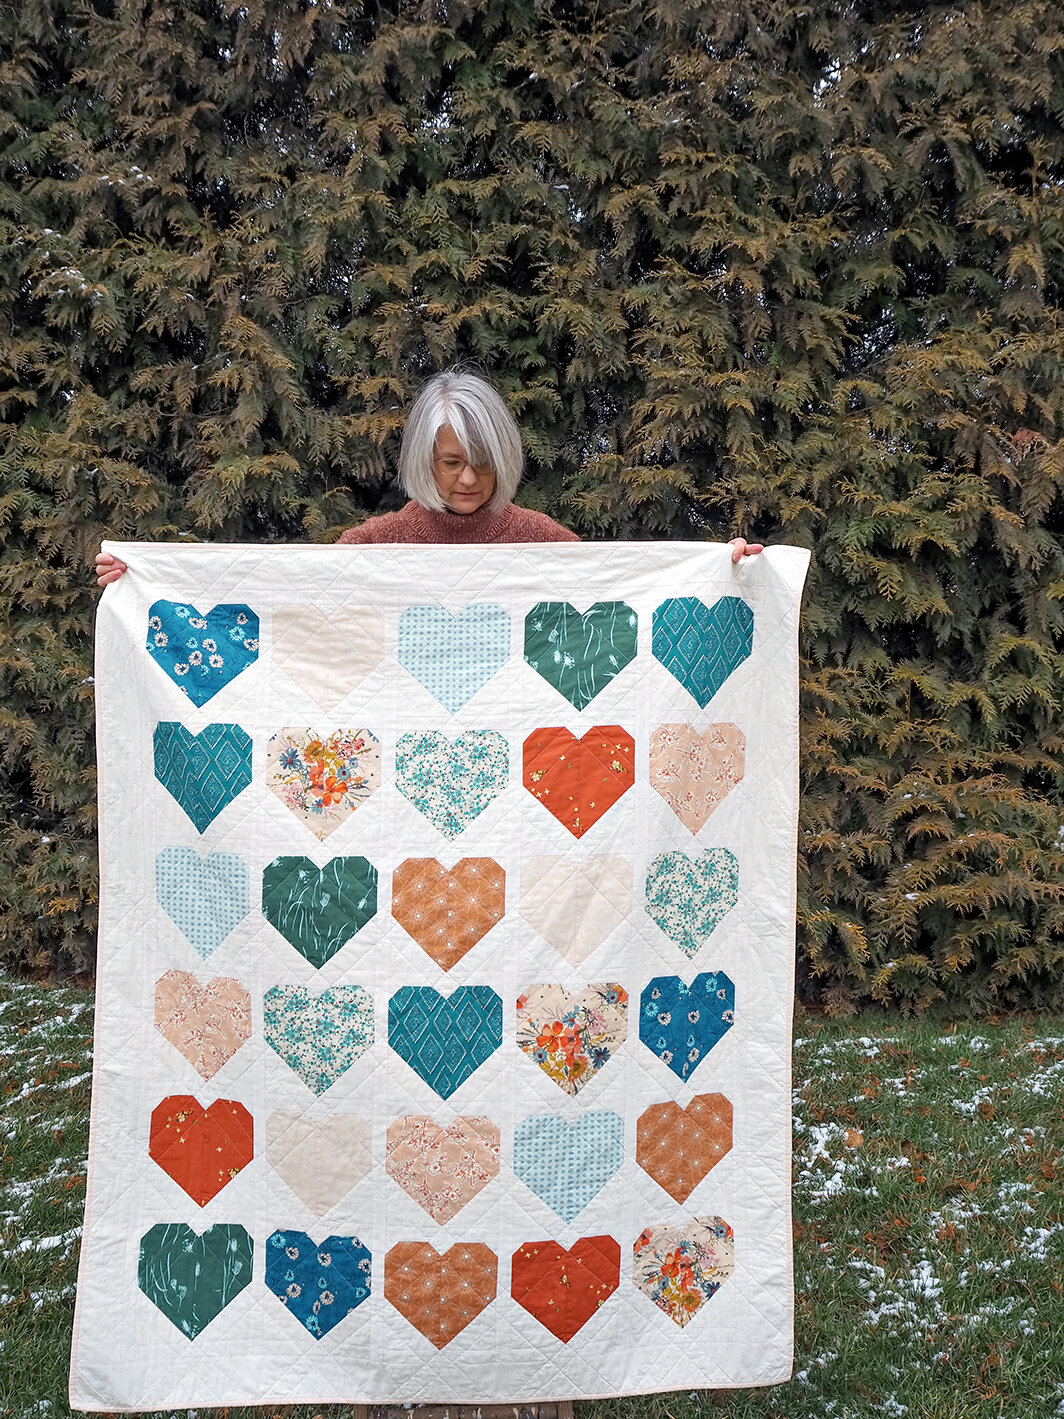
Here’s another look at the prints that went into my quilt. My Heart quilt’s stitched from a curated mix of fabrics from Art Gallery Fabrics Ballerina Fusion (a recolored mix of AGF designer prints), my Spirited, Everlasting, Signature, and Maureen’s Enchanted Voyage and Mystical Land collections.
My non-traditional Valentine colors remind me of sugared gum drops and candy. I’m crazy over this color palette and went with my heart when I did my fabric pull.
One of the biggest challenges of photographing quilts this time of year is the gloomy, cold weather. I had some grand plans for how to photograph this out doors but the wind didn’t cooperate. It started to rain shortly after we got these shots…

Be sure to check out Maureen’s blog to see her finished quilt top and bonus project from left over HSTs all made using a mix of Amy Sinabaldi’s MayFair and the new Foresta Fusion collection. Quilt kits for Maureen’s quilt are available at Lady Belle Fabric.

Photo and Heart quilt by Maureen Cracknell
Bonus Project
Since I finished my quilt by Sunday I could’ve easily stopped there, written this blog post and moved on to the other projects stacking up on my desk but no—that’s too easy!

Remember in my Instagram Stories videos where I told you to hold onto those large half square triangle (HST) waste pieces???

I turned mine into this fun pillow! As a bonus, I’ll share with you how to make one (or more) for yourself!
The beauty of this type of project is that it can be customized to any size you want. I happened to have an extra rectangular pillow I wasn’t using anywhere in the house so I used it as my pillow form. It measures around 14’’ x 26’’ and is probably not a standard size.

I trimmed 36 HSTs to 3-1/2’’ square using my Bloc_Loc Ruler then arranged them into a design. I would’ve loved if the design was symmetrical but no such luck in this improv piece using scraps. I don’t really notice it now that the pillow is done.
I added 2’’-wide strips to the top and bottom to get it all up to the size I needed.

I’ve done a few projects on this blog where I’ve incorporated Chenille-it Blooming Bias and I can’t tell you enough how much I love this added texture—especially to pillows!

After stitching quilting lines to outline the chevron shapes 1/4’’ inside the seam allowances I added the 3/8 inch-wide Chenille-it to my pillow top. Stitching the blooming bias down not only adheres the product but also works as quilting.

I added two echo rows of chenille to the background areas. To read about how to stitch and then bloom the chenille, read more on my Chenille Pillow with Hidden Zipper post/tutorial. Plus, to see the gorgeous decorator pillows I made more recently with my Spirited Trail Marker print and Chenille-it, read HERE.
For more Chenille-it projects, here’s a fun You Tube video!

Personally I love a zipper closure on a pillow. Especially in a case like this where I’m using an existing pillow as the pillow form and like to switch out or clean the pillow covers regularly. You’ll find my go-to method for adding a hidden zipper on a pillow HERE. It’s insanely easy to do!

Now, not only do I have a heart quilt to snuggle under this Valentine’s Day but I have a coordinating pillow to go along with it!

Maureen and I want to thank you for sewing along with us and sharing your progress of your blocks to Instagram. We love seeing your work and encourage you to follow along, share, and tag when you post. Use the sew along hashtag of #agfLOVEquilt and be sure to tag @sharonhollanddesigns @maureencracknell and @cluckclucksew so we can see your progress! If you’re sewing with Art Gallery Fabrics don’t forget to tag them too as they love to see what Makers are making with @artgalleryfabrics !
Happy Valentine’s Day!
I am an Amazon Associate site and earn from qualifying purchases on the products I’ve linked below. The helpful products selected are the same or similar to materials used to make the project(s) in this blog post or related items I think you may enjoy.