Sweet Home Quilt Along - Week 4

Sweet Home Quilt Along - Week 4

Sweet Home Quilt Assembly-4.jpg

Welcome to the fourth week of the Sweet Home Quilt along hosted by (me) Sharon Holland, Maureen Cracknell, and Jennifer Jones. It’s been fun to connect with the Sweet Home quilt makers on our Instagram community and here on our blogs. The quilts being made are so adorable—see what I mean when you search the #SweetHomeQAL hashtag on Instagram.

Sweet Home Weeks Graphic 4.jpg

If you’re just joining us you’ll probably want to pop over to the Sweet Home Quilt Along - Week 1 post to get caught up. You can purchase the Sweet Home quilt pattern from my SHOP here.

If you’ve been following along since the start then you should be ready to begin sewing the Corner Squares and adding sashing to the blocks to assemble into a quilt top.

Sweet Home QAL Schedule.jpg

The quilt along will run six weeks total and we’ll cover a different aspect of piecing or finishing for that week. Some of you are working ahead and that’s wonderful—it’ll give you more time for the quilting and finishing portion. This quilt along is very relaxed. If you feel like completing the top in a week—go for it! But, if you’re a beginner and want more instruction along the way—we have that too in the form of LIVE and recorded Instagram tutorials over on my IGTV channel on Instagram. I’ve recorded step by step tutorials for you to access on my @sharonhollanddesigns IGTV channel on Instagram and so far the Sweet Home Quilt series covers fabric selection, Log Cabin block, and Bungalow block construction. I didn’t add any new videos this week because the Corner Squares are assembled in the same manner as previous sections of the house blocks.

Corner Squares and Sashing

Sweet Home Quilt Assembly-5.jpg

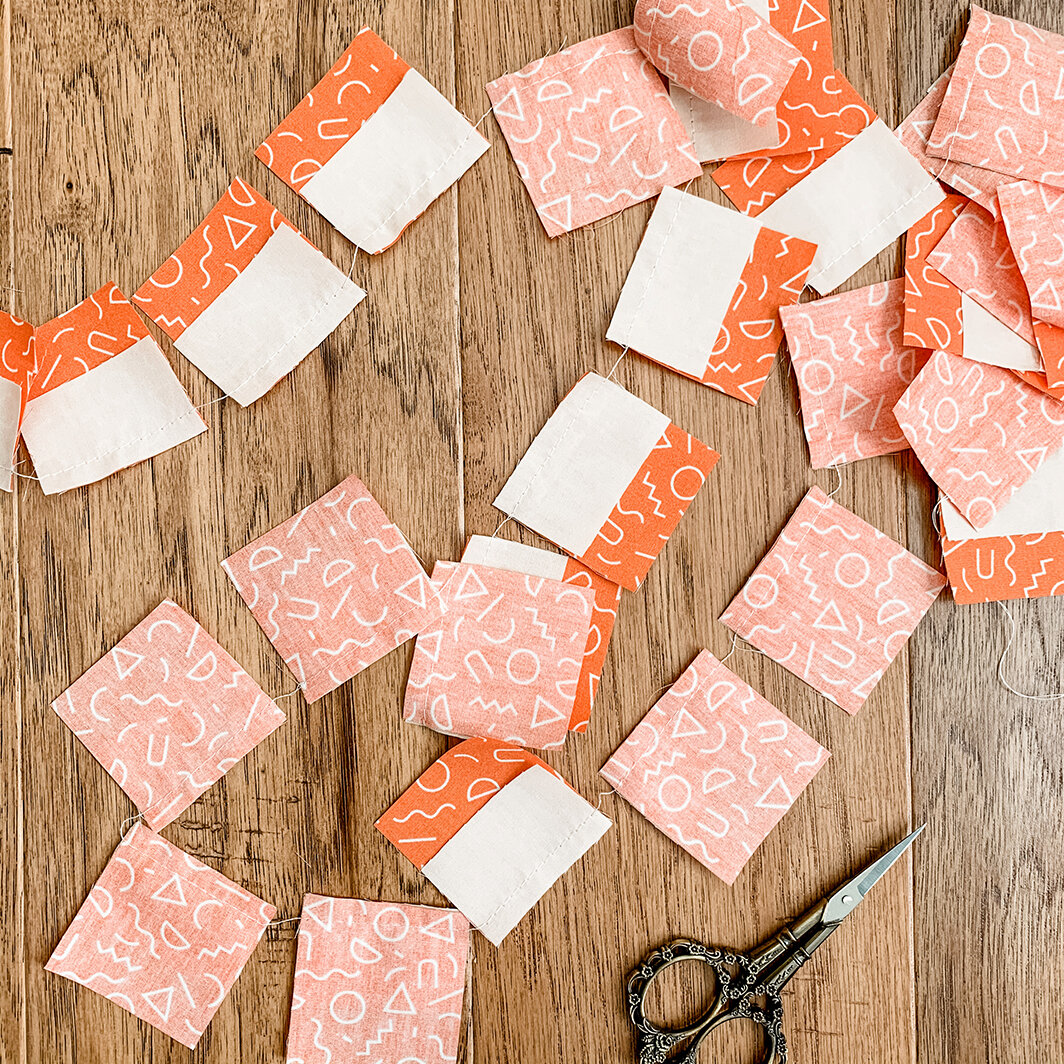
The Corner Squares assemble fast and are stitched just like the Log Cabin centers and the window sections of the Bungalow blocks with two short pieces placed on opposite sides of a center square and then adding two longer pieces on the remaining sides.

Sweet Home QAL Corner Squares.jpeg

I encourage you to chain piece the Corner Squares, adding one side at a time to all pieces without clipping the thread until that task is finished. If you want to wait and clip the threads once both opposite sides are attached that also works great to keep all your pieces from getting misplaced.

Once the Corner Squares are done you’re ready to start assembling the quilt top!

Sweet Home Quilt Assembly-2.jpg

Pattern Typo

In the cutting instructions for the background I had you cut out X number of 14’’ long (vertical) sashing strips. This is correct and if you did that in the original cutting you’ll probably miss the typo in Assembly like I and hundreds of other have up until now.

Steps 2 and 3 in Assembly tell you to use 14-1/2’’ long vertical sashing and that’s the typo. By default I added in the 1/2’’ we normally associate with unfinished block sizes. This should read 14’’ and the strips you cut earlier will fit like a charm to your blocks that will finish out at 9’’ x 13-1/3’’ when all sewn into a top.

I’ve corrected the PDF so you may or may not have the 2.0 version. If you have the original version you may want to make a note in your PDF print out of the change for the next time you make this quilt.

Sweet Home Quilt Assembly-3.jpg

When adding the sashing, I work in horizontal rows like illustrated in the patterns and press my seams toward the sashing on all rows. This will make assembly easy as the seams will nest in place as you match and pin seams in the rows.

IMG_0130.jpeg

Note to keep all your Corner Squares oriented with the small pieces running up and down and the long sides on the sides to keep a consistency of block orientation throughout the quilt.

Sweet Home Quilt Assembly-1.jpg

Next week we’ll be blogging about turning your top into a quilt with batting, backing, quilting, and a binding finish.

I’m enjoying seeing your postings to Instagram and following along on your progress—you’re all are doing amazing and beautiful work on your Sweet Home quilts—there’s even some finished quilts showing up!

Sweet Home QAL Sponsors.jpg

Don’t forget that this Friday will be a new Friday Giveaway with fabulous prizes from our sponsors. Be following along on Instagram as all the giveaways will be held on that platform and winners will be randomly drawn the following Monday from the #SweetHomeQAL hashtag pool. The quilt along members that post their progress photos to public account on Instagram and use the hashtag #SweetHomeQAL will automatically be entered into every Sweet Home Quilt Along drawing! It’s that easy to enter, so enter often to up your chances!

And, while you’re on Instagram, take a look at the #SweetHomeQAL hashtag on Instagram and see what the other QAL Makers are using in their quilts—it’s an amazing resource not only to see fabrics but to make new friends!

I am an Amazon Associate site and earn from qualifying purchases on the products I’ve linked below. The helpful products selected are the same or similar to materials used to make the project(s) in this blog post or related items I think you may enjoy.

Heart Quilt Sew Along - Week 3

Heart Quilt Sew Along - Week 3

Sharon Holland Heart Quilt Cozy SQ.jpg

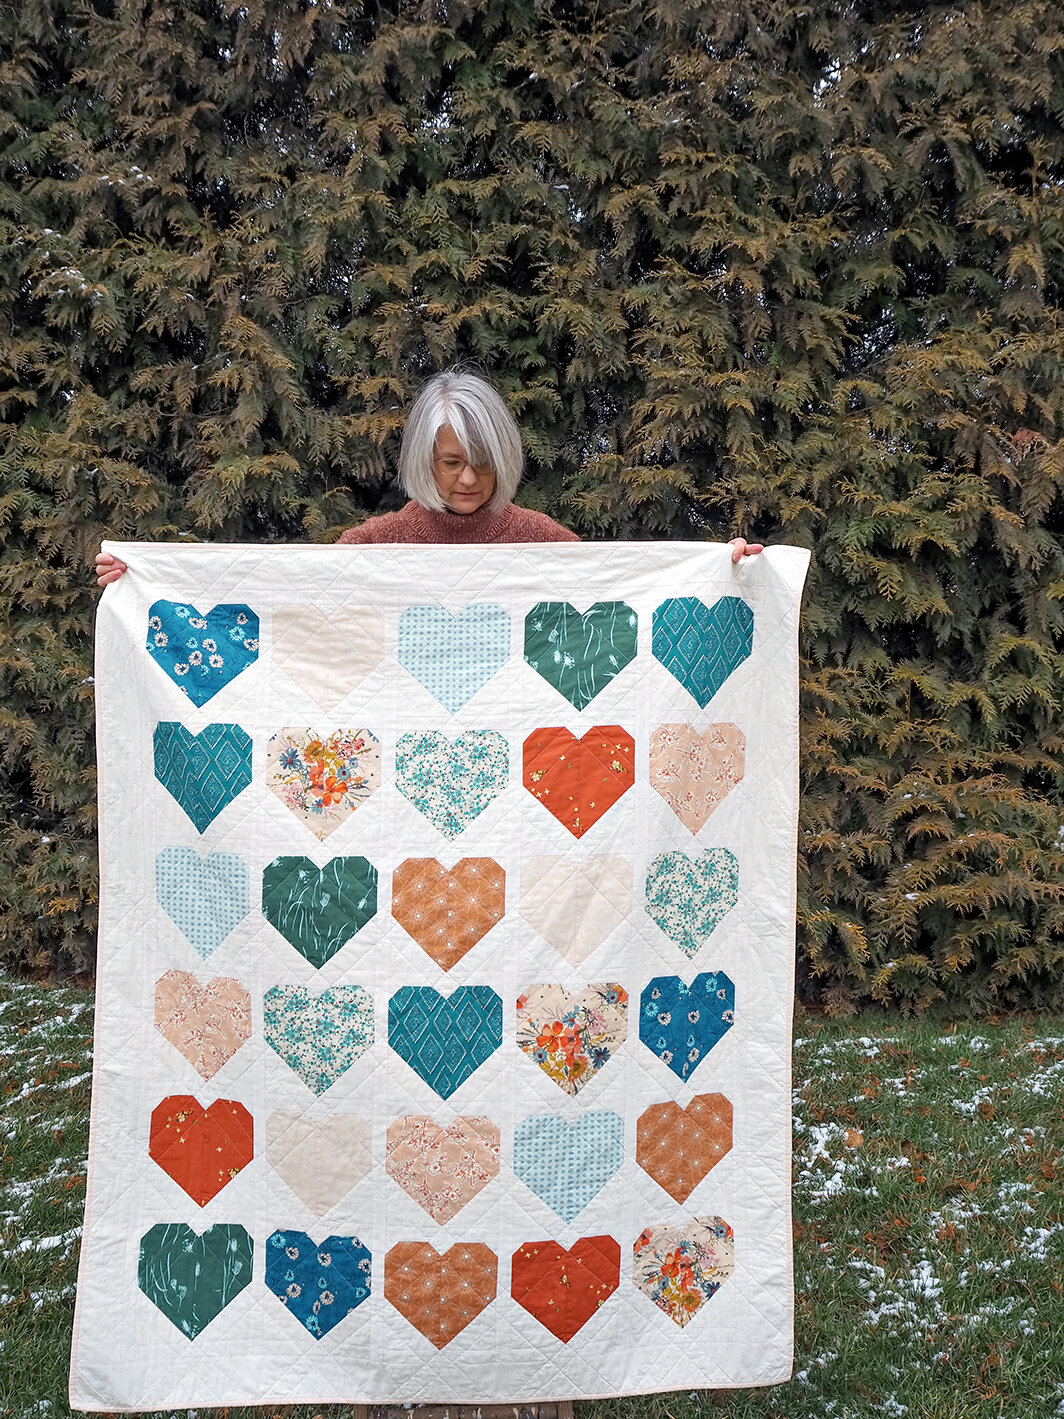
It’s the final week in the Heart Quilt sew along. This fast and fun sew along has been hosted by myself and Maureen Cracknell with special thanks to Allison Harris of Cluck Cluck Sew for allowing us to use her Heart Block in our quilt layout.

If you’re just joining us, you’ll want to get up to speed by reading first weeks post announcing the sew along. If you’re already making heart block or at the point to start adding the sashing and borders—check out week 2 HERE.

This last post is dedicated to turning that top into a quilt plus I’ve added an extra bonus project for all those left over half square triangles from trimming the large flippy corners off the hearts!

Sharon Holland Heart Quilt Finished-5.jpg

Quilting

Rather than reinvent the wheel, I'm directing you to the blog post for Finishing that was originally posted during the Sewcial Bee Sampler sew along. You'll find all the tutorial information for spray basting, quilting, and binding your quilt. The sizes have changed but the concept for basting, quilting, and binding your quilt are the same. As stated in that post, there are many ways to finish a quilt and I am blogging about how I finish my quilts. If you have a preferred method, please do it the way you're comfortable with. If you intend to send your top off to be professionally quilted, discuss with your long-arm quilter how they'd like you to prepare your quilt top and backing for being quilted. 

IMG_6074.jpeg

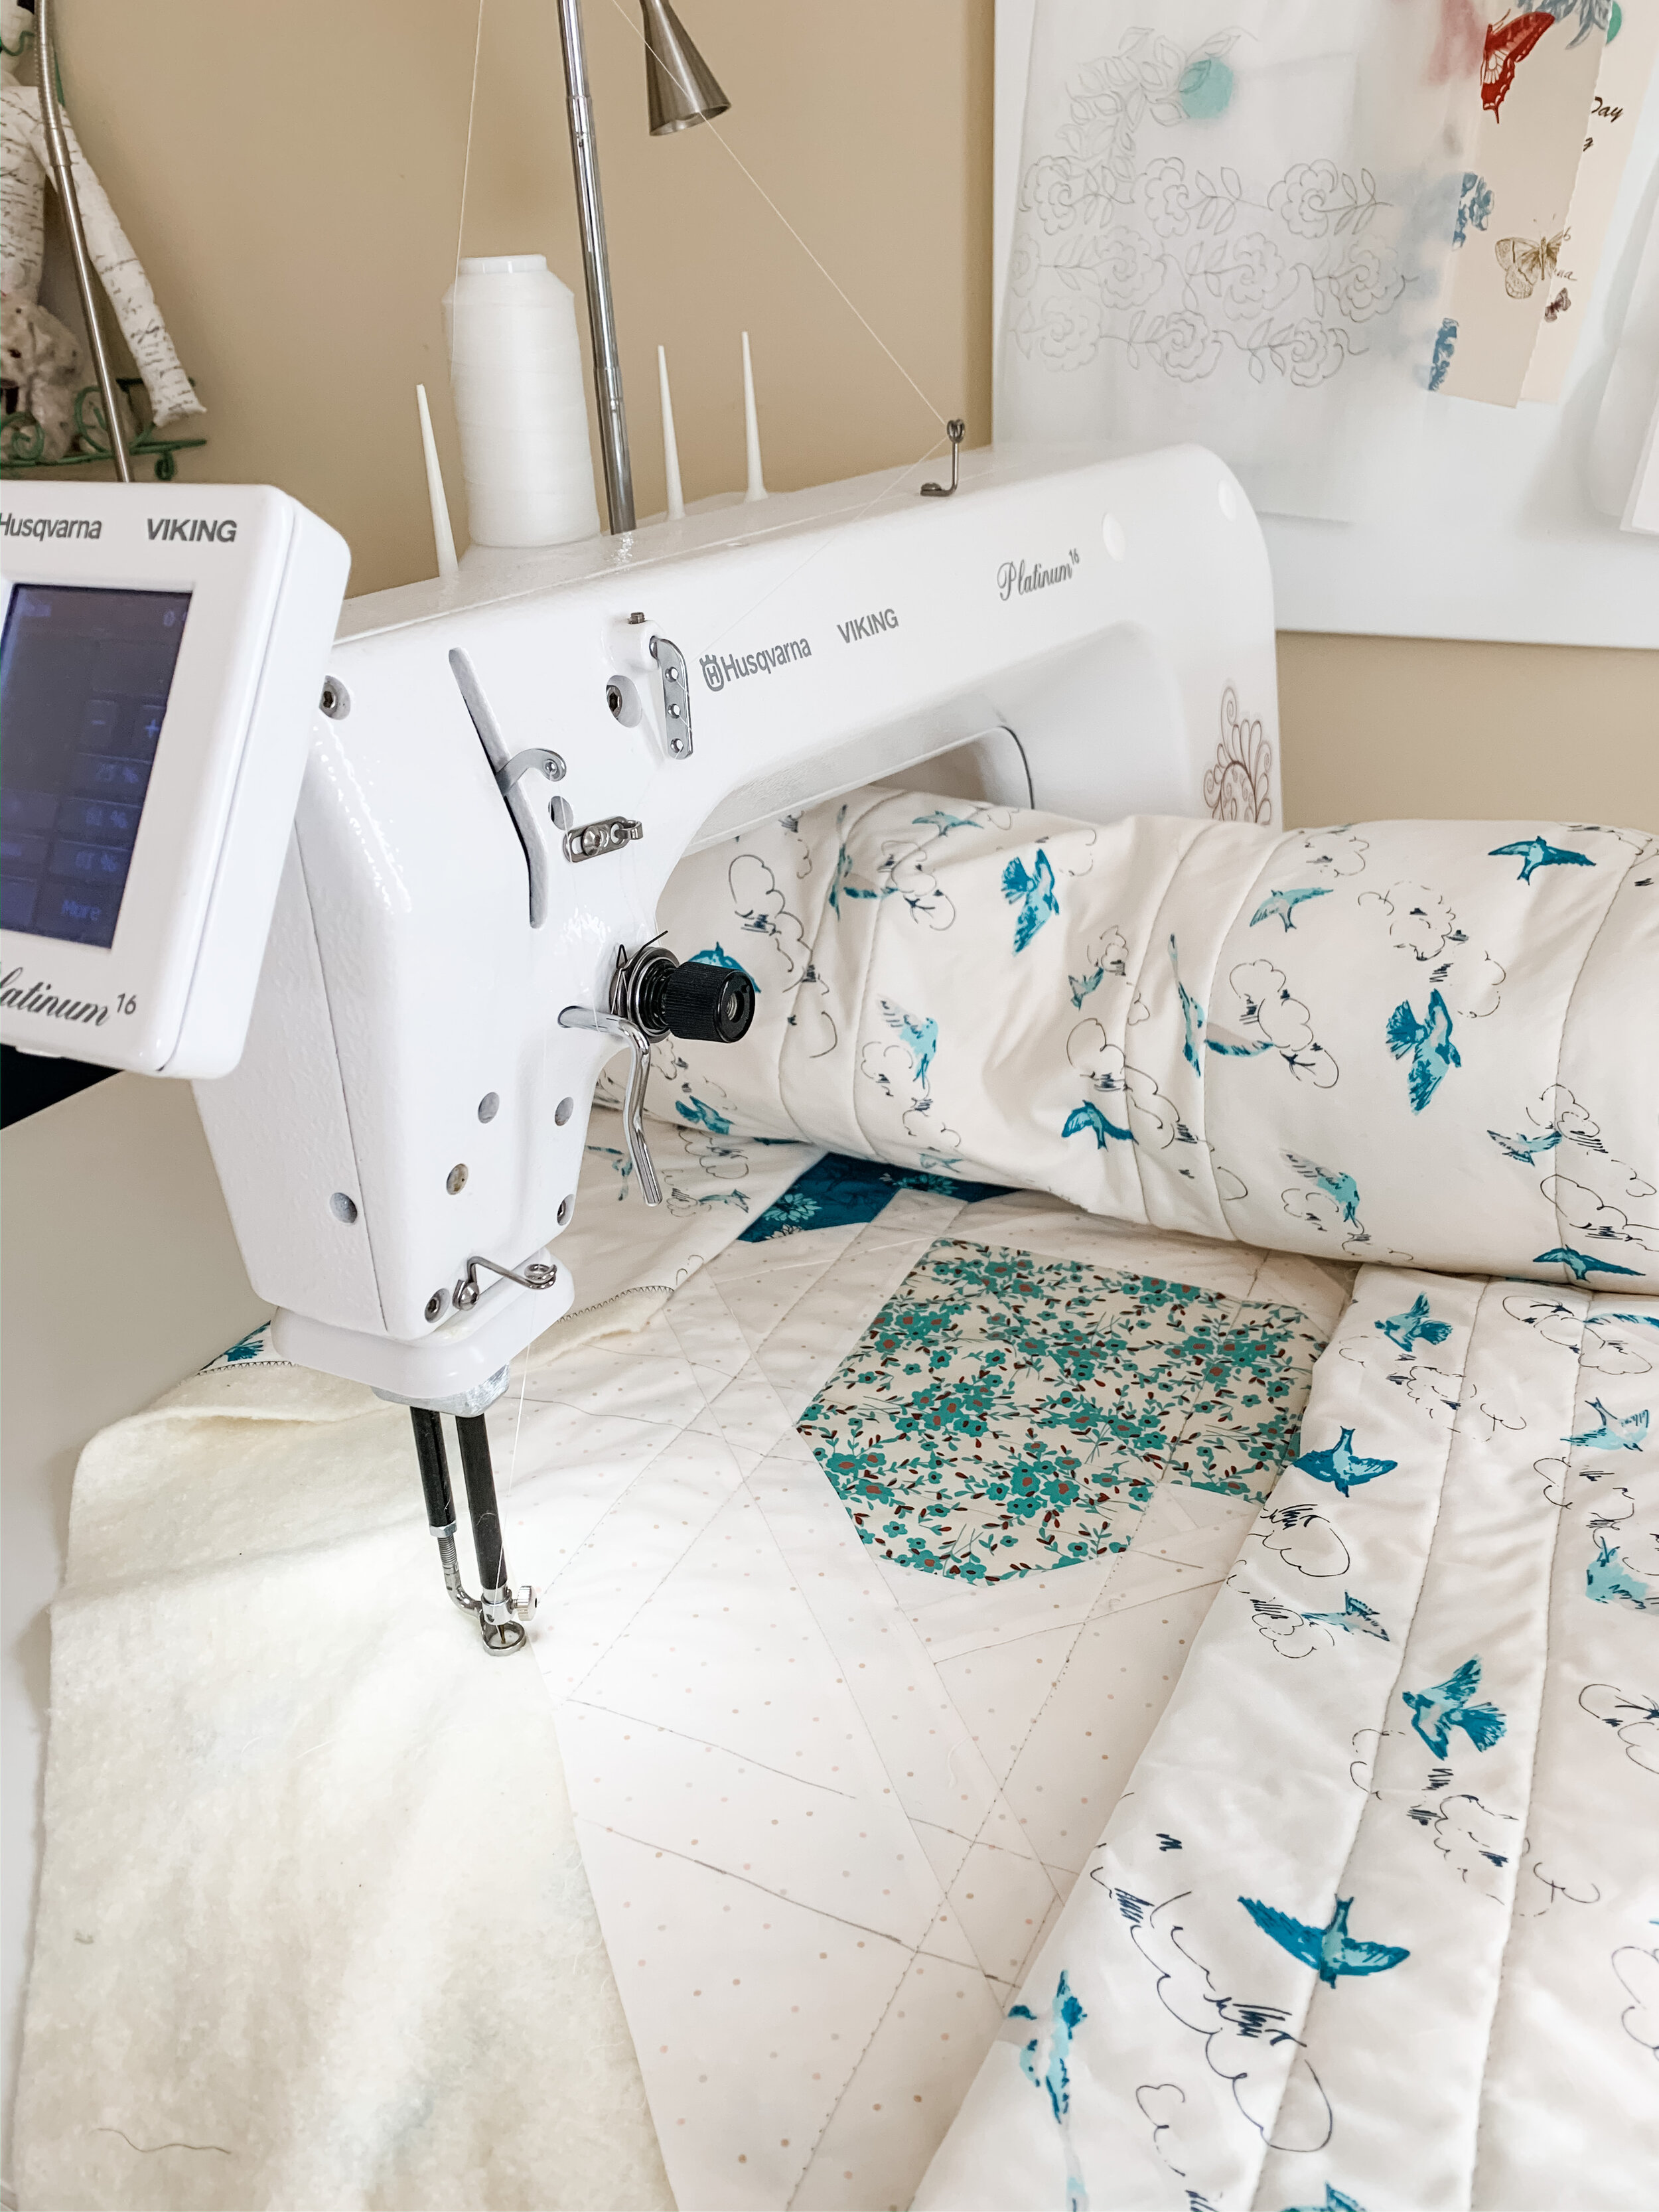
I'm not a professional quilter by any means. I get by and call my quilting style "organic" because it's not perfect and lines are not straight. I love the human touch that non-perfect quilting adds to my quilts. I used my mid-arm Viking Platinum 16 for quilting my top. The quilting guide lines were marked out ahead of time and the quilting went really fast after that to just follow the diagonal lines as shown below in the quilting diagram.

Quilting diagram

Quilting diagram

I used my favorite Hobb’s Tuscany Silk batting inside my quilt and love how light and drapey it is—especially for handling and maneuvering when quilting.

IMG_6137.jpeg

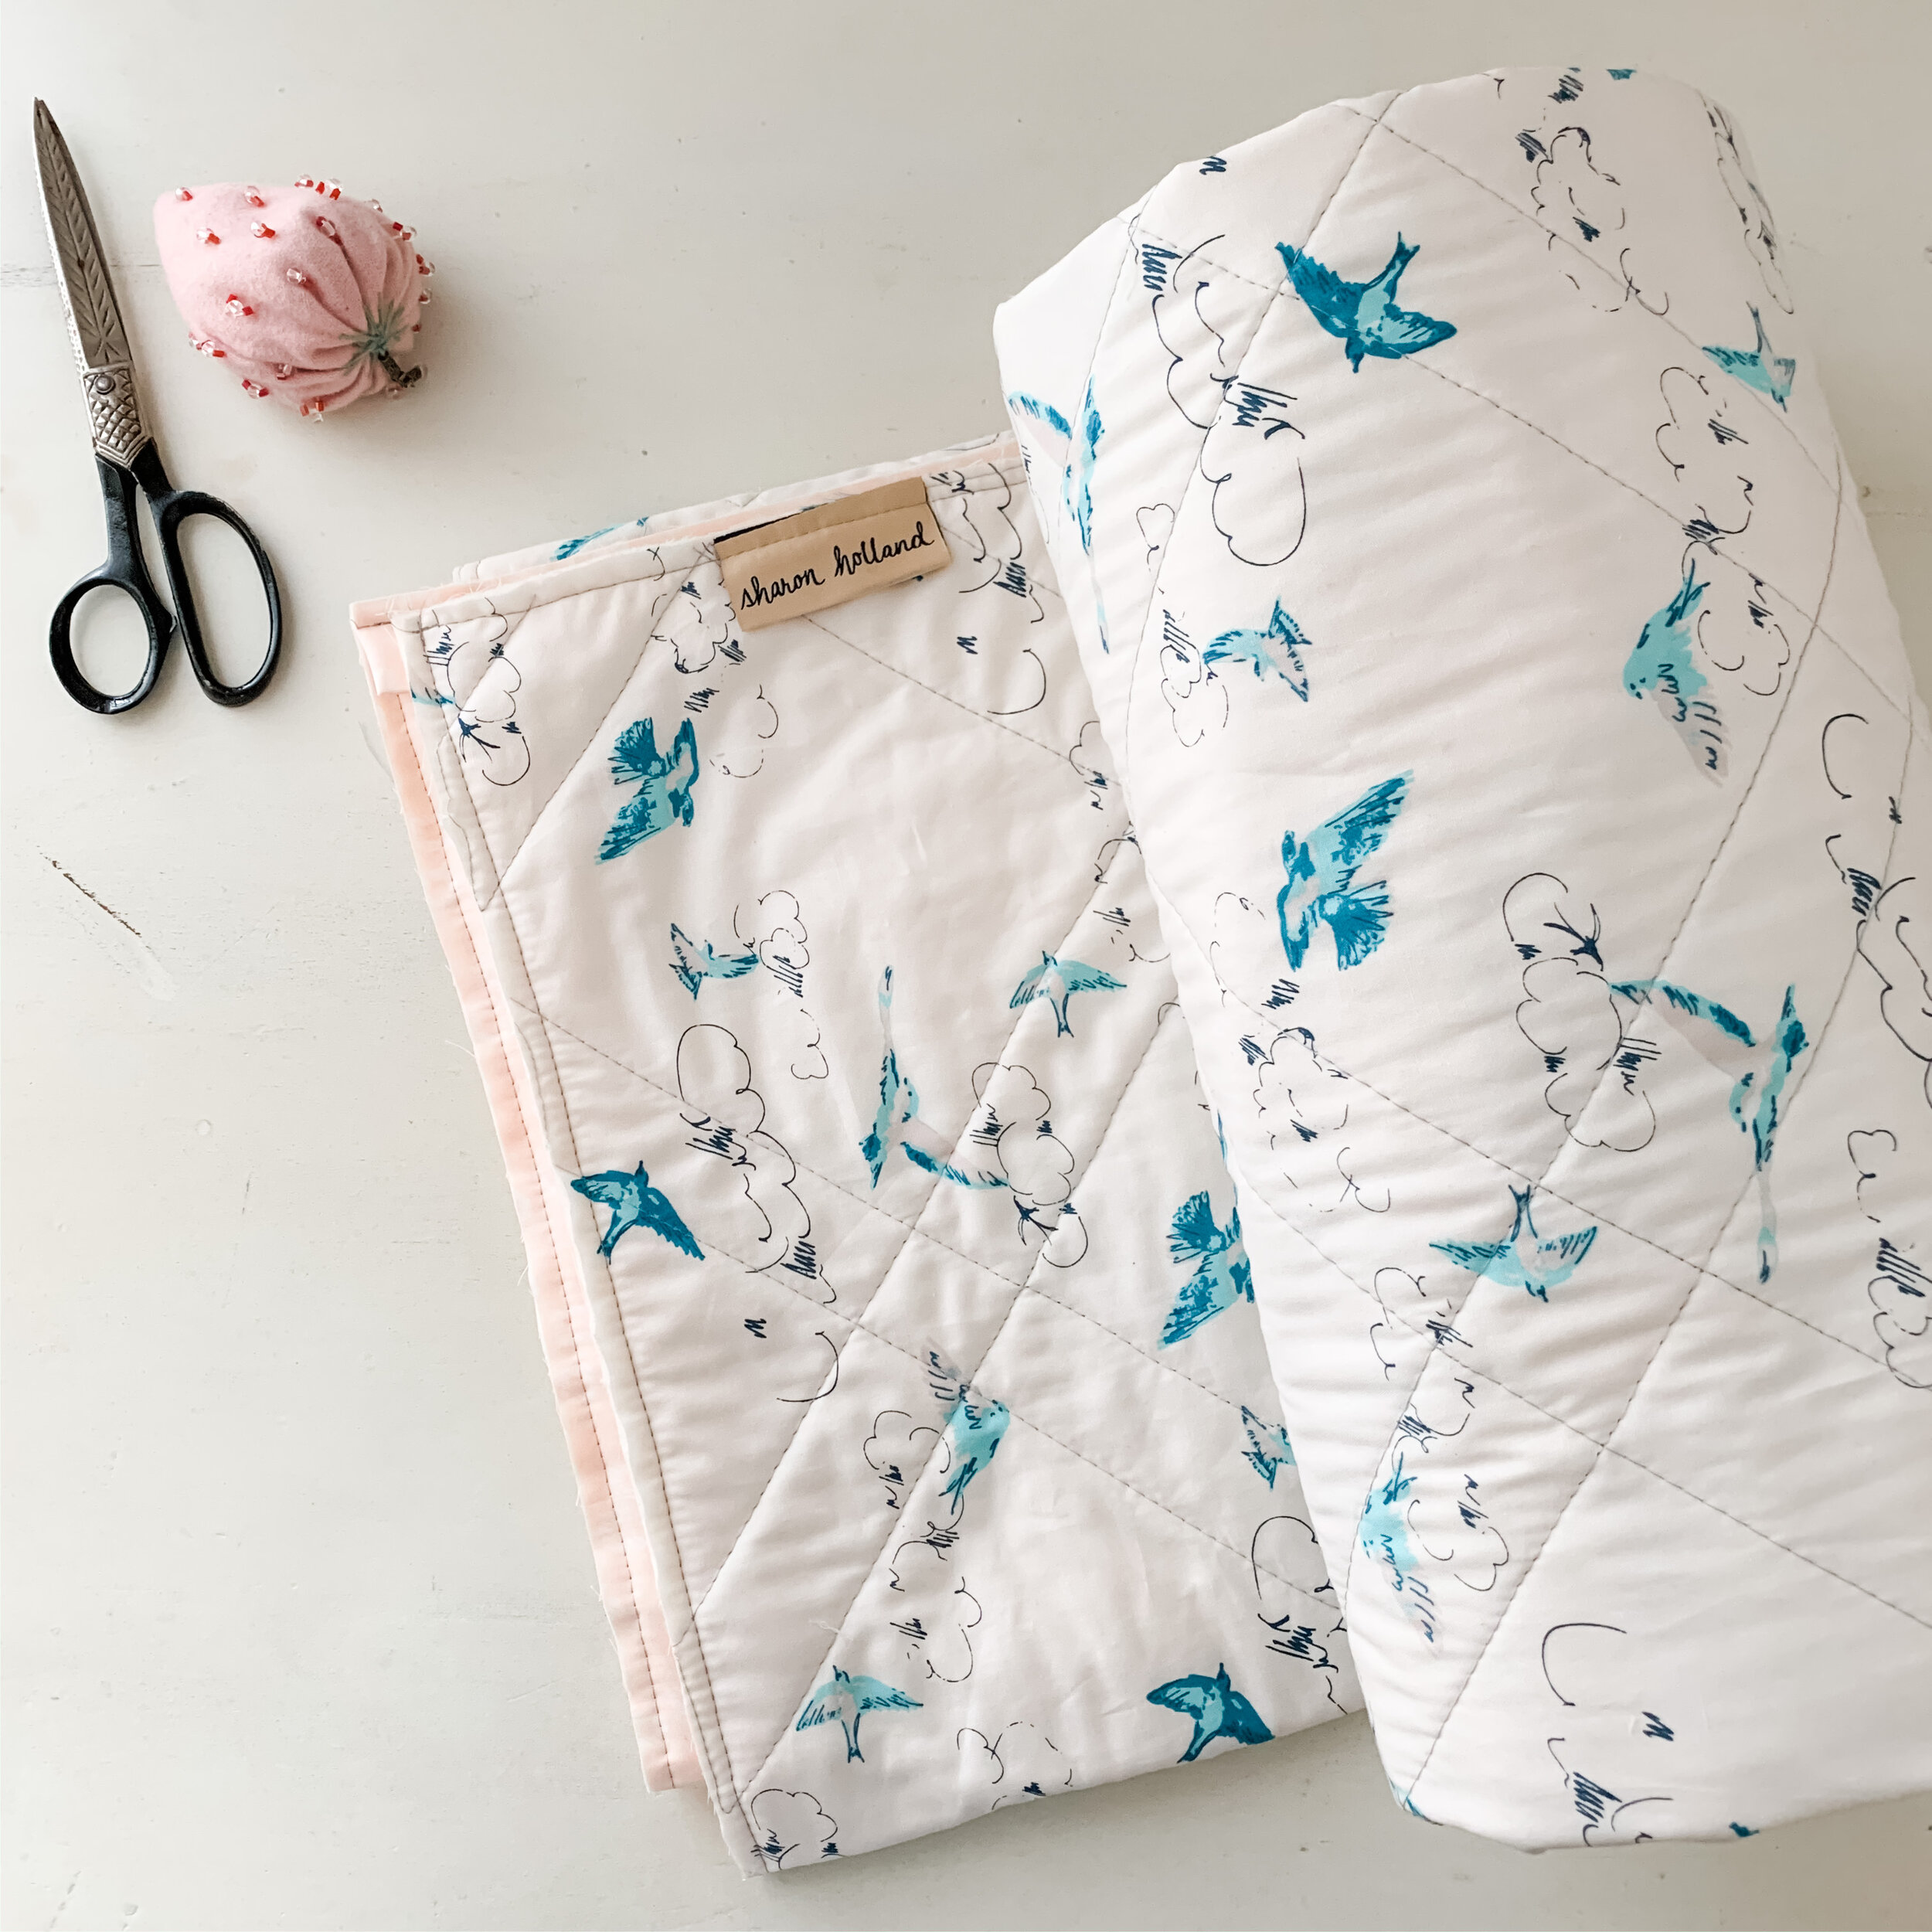
The backing on my quilt is from my Everlasting fabric collection for Art Gallery Fabrics and is called Summer’s Dance. For the binding I used Woodblock Ballerina that was also used for hearts.

Sugared Hearts Material List 2.jpg

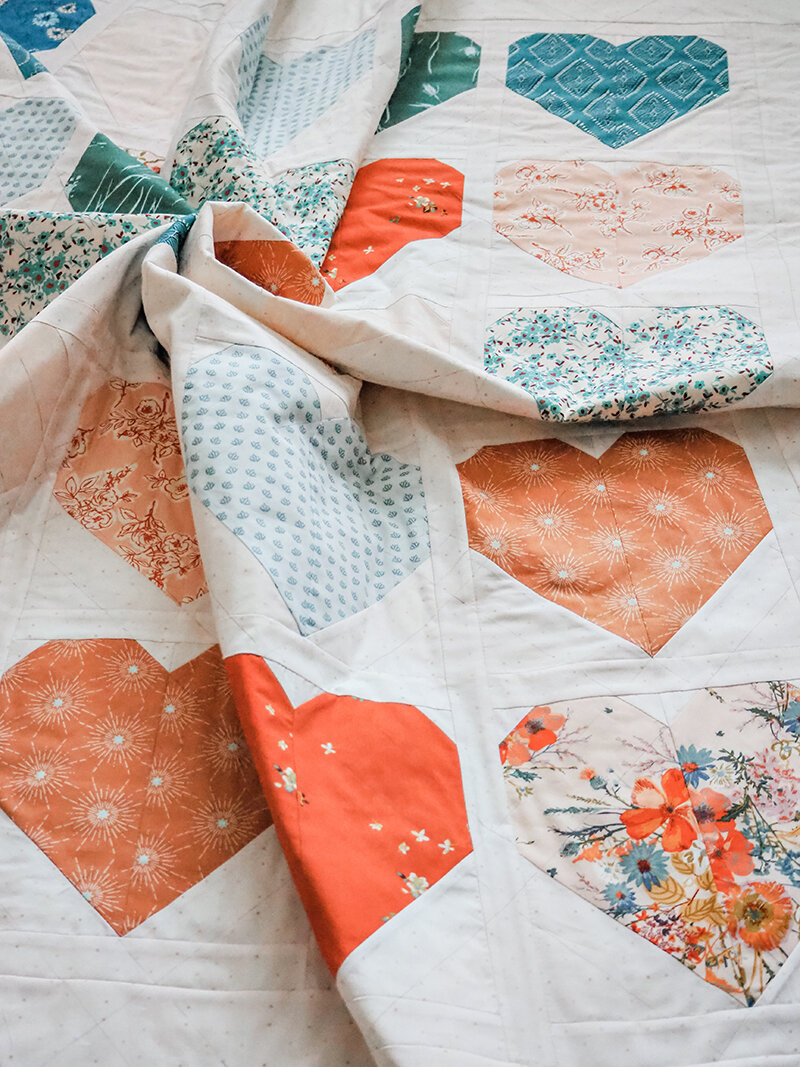
Here’s another look at the prints that went into my quilt. My Heart quilt’s stitched from a curated mix of fabrics from Art Gallery Fabrics Ballerina Fusion (a recolored mix of AGF designer prints), my Spirited, Everlasting, Signature, and Maureen’s Enchanted Voyage and Mystical Land collections.

My non-traditional Valentine colors remind me of sugared gum drops and candy. I’m crazy over this color palette and went with my heart when I did my fabric pull.

Sharon Holland Finished Heart Quilt-1.jpg

One of the biggest challenges of photographing quilts this time of year is the gloomy, cold weather. I had some grand plans for how to photograph this out doors but the wind didn’t cooperate. It started to rain shortly after we got these shots…

Heart Quilt Sharon Holland-1.jpg
 
Heart Quilt Sharon Holland-2.jpg

Be sure to check out Maureen’s blog to see her finished quilt top and bonus project from left over HSTs all made using a mix of Amy Sinabaldi’s MayFair and the new Foresta Fusion collection. Quilt kits for Maureen’s quilt are available at Lady Belle Fabric.

Photo and Heart quilt by Maureen Cracknell

Photo and Heart quilt by Maureen Cracknell

Bonus Project

Since I finished my quilt by Sunday I could’ve easily stopped there, written this blog post and moved on to the other projects stacking up on my desk but no—that’s too easy!

Pillow from HSTs-7.jpg

Remember in my Instagram Stories videos where I told you to hold onto those large half square triangle (HST) waste pieces???

Sharon Holland Finished Heart Quilt-2.jpg

I turned mine into this fun pillow! As a bonus, I’ll share with you how to make one (or more) for yourself!

The beauty of this type of project is that it can be customized to any size you want. I happened to have an extra rectangular pillow I wasn’t using anywhere in the house so I used it as my pillow form. It measures around 14’’ x 26’’ and is probably not a standard size.

Pillow from HSTs-5.jpg

I trimmed 36 HSTs to 3-1/2’’ square using my Bloc_Loc Ruler then arranged them into a design. I would’ve loved if the design was symmetrical but no such luck in this improv piece using scraps. I don’t really notice it now that the pillow is done.

I added 2’’-wide strips to the top and bottom to get it all up to the size I needed.

HST pillow  Chenille-it quilting.jpg

I’ve done a few projects on this blog where I’ve incorporated Chenille-it Blooming Bias and I can’t tell you enough how much I love this added texture—especially to pillows!

Pillow from HSTs-3.jpg

After stitching quilting lines to outline the chevron shapes 1/4’’ inside the seam allowances I added the 3/8 inch-wide Chenille-it to my pillow top. Stitching the blooming bias down not only adheres the product but also works as quilting.

Pillow from HSTs-2.jpg

I added two echo rows of chenille to the background areas. To read about how to stitch and then bloom the chenille, read more on my Chenille Pillow with Hidden Zipper post/tutorial. Plus, to see the gorgeous decorator pillows I made more recently with my Spirited Trail Marker print and Chenille-it, read HERE.

For more Chenille-it projects, here’s a fun You Tube video!

HST pillow.jpg

Personally I love a zipper closure on a pillow. Especially in a case like this where I’m using an existing pillow as the pillow form and like to switch out or clean the pillow covers regularly. You’ll find my go-to method for adding a hidden zipper on a pillow HERE. It’s insanely easy to do!

Sharon Holland Heart Quilt Finished-3.jpg

Now, not only do I have a heart quilt to snuggle under this Valentine’s Day but I have a coordinating pillow to go along with it!

Sharon Holland Heart Quilt Finished-1.jpg

Maureen and I want to thank you for sewing along with us and sharing your progress of your blocks to Instagram. We love seeing your work and encourage you to follow along, share, and tag when you post. Use the sew along hashtag of #agfLOVEquilt and be sure to tag @sharonhollanddesigns @maureencracknell and @cluckclucksew so we can see your progress! If you’re sewing with Art Gallery Fabrics don’t forget to tag them too as they love to see what Makers are making with @artgalleryfabrics !

Happy Valentine’s Day!

I am an Amazon Associate site and earn from qualifying purchases on the products I’ve linked below. The helpful products selected are the same or similar to materials used to make the project(s) in this blog post or related items I think you may enjoy.

Heart Quilt Sew Along - Week 2

Heart Quilt Sew Along - Week 2

Sharon Holland Spirited fabric Hearts .jpg

Welcome back for the second week of the Heart Quilt sew along hosted by myself and Maureen Cracknell! If you’re just joining us, you’ll want to get up to speed by reading last weeks post announcing the sew along. If you’re already making heart block or at the point to start adding the sashing and borders—this post is all about getting that top pieced!

Heart Quilt Graphics D-01.jpg

The design for the heart block comes from Allison Harris of Cluck Cluck Sew. For this sew along we have Allison’s permission to use her block and we’ve selected and designed a quilt using an 8” square block, sashing, and border layout to make a 52’’ x 61’’ throw-size quilt. You’ll find a free download for our quilt layout, coloring sheet, and fabric requirements on the Sew Along page.

You may want to design a different layout for your heart blocks or follow Allison’s quilt tutorial from her site—Feel free to be creative! This is a casual sew along and perfect as a customizable project! Just be aware that the material list and cutting information on our sew along handout may not work if you’re changing the block size and layout. These sew along blog post support the sew along PDF handout.

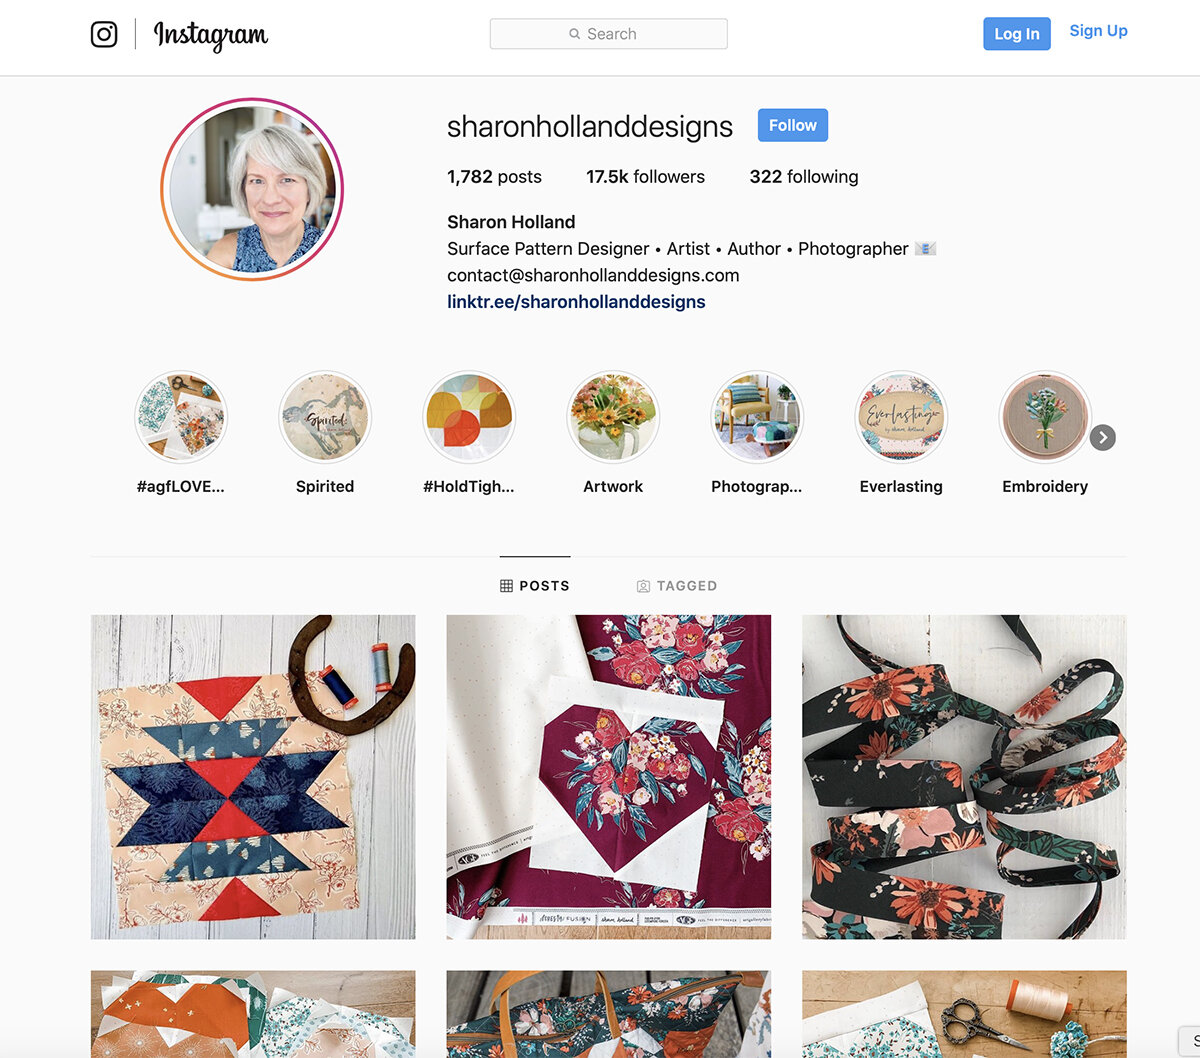
We’ve not included piecing instructions in our free download because the Heart Block tutorial at Cluck Cluck Sew will cover what you’ll need to know about making the heart blocks. However, I’m adding some quick tips and tricks on cutting and piecing in the form of videos to my Stories on Instagram. You’ll also find these same videos archived in my Highlights under the #agfLOVEquilt circle.

Sharon Holland Designs Instagram Feed

Sharon Holland Designs Instagram Feed

Be sure to follow along with Maureen on her Instagram page as she makes two heart quilts using new Art Gallery Fabrics from Amy Sinabaldi’s MayFair and the new Foresta Fusion collections.

Find quilt kits and bundles for the fabrics used in Maureen’s quilt at Lady Belle Fabric.

Maureen Cracknell Instagram Feed

Maureen Cracknell Instagram Feed

Adding Sashing and Borders

Once all your blocks are pieced it’s time to add the sashing and borders to complete the quilt top.

I’ve not given any instructions in the PDF for adding the sashing and borders other than material lists and cutting information. This blog post and supplemental Stories videos on my Instagram feed will be the pattern support and tutorial for piecing together the quilt top.

Heart Quilt Assembly Diagram

Heart Quilt Assembly Diagram

Start by adding one 1-1/2” x 8-1/2” horizontal sashing strip to all 30 blocks. Note that I’ve added the horizontal sashing to the tops of the block to hold the tiny flipped corners down for easier assembly.

Arrange your single-sashed blocks into 5 vertical rows of 6 blocks each. Add the last 5 horizontal sashes to the bottom 5 blocks.

Join the sashed blocks into five vertical block rows of six blocks each as shown on the above Quilt Assembly Diagram.

Adding Sashing on Heart Quilt-3.jpg

Now it’s time to add the long vertical sashing between the block rows. Here’s where you’ll use those (9) 1-1/2” x 42” strips held in reserve. We’ll be sewing those reserve strips into one long strip and then sub cutting them to make the vertical sashing needed for the top.

You can, of course, simply sew the long strips right sides together on the short ends to get the desired sashing lengths but I have a nicer way to make your sashing and here’s how I prefer to do it:

Make One Long Strip

  1. Place (2) 1-1/2” x 42” strips right sides together at right angles. Sew with a diagonal seam as shown in the illustration below.

  2. Continue adding strips in the same manner to make one long strip.

  3. Trim seams to 1/4” and press seams open.

Making long strips with diagonal seams-01.jpg

By creating a diagonal seam you will make a stronger seam because of its longer surface area and the seam will be less noticeable on the quilt. Pressing the seams open helps the seam to lay nice and flat.

Cut Sashing to Size

  1. Measure the vertical block rows and average those number to determine the vertical sashing length. Note: If you’ve sewn your blocks true-to-size up to this point your vertical sashing rows size will measure 55-1/2’’ long but everybody sews differently so measure first to check the size you’ll need for your quilt.

  2. Cut 6 strips from the long strip to your measurement. Tip: Cutting from one continuous strip helps to stagger where the seams will land on the quilt and give a nicer overall appearance.

  3. Sew the vertical sashing strips alternately with the block rows.

Adding Sashing on Heart Quilt-2.jpg

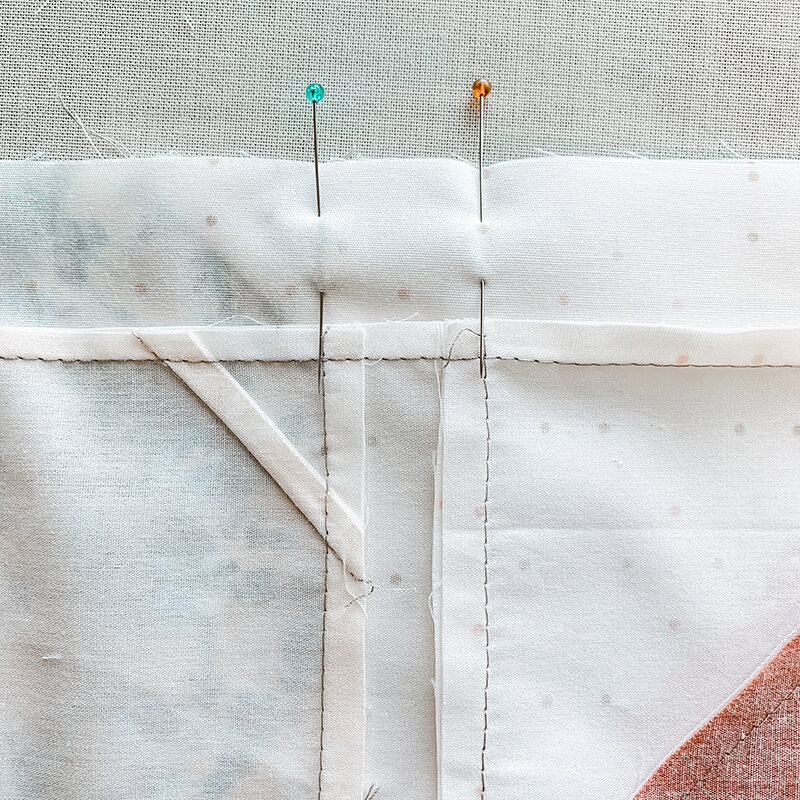
Tip: When attaching sashing to your vertical block rows, use the previous block rows to help keep everything lined up. Notice how I’ve pinned at the horizontal sashing seam line and lined up those seams with the sashing of the row next to it.

Pressing is your friend! Press every step of the way when assembling your quilt top for better results.

Adding Sashing on Heart Quilt-1.jpg

Adding Borders

  1. In the same manner as making the vertical sashing, sew the (6) 3-1/2” x 42” strips together to make one long strip.

  2. Measure the two sides of the quilt and average those numbers. Cut 2 strips to this size. Note: If you’ve sewn your top true-to-size up to this point your vertical border (for the sides) will measure 55-1/2’’ long but everybody sews differently so measure first to check the size you’ll need for your quilt.

  3. Stitch to the sides of the quilt.

  4. Measure the top and bottom of the quilt including the border. Average those numbers and cut 2 strips to this measurement. Sew to the top and bottom of the quilt. Note: If you’ve sewn your top true-to-size up to this point your horizontal border (for the top and bottom) will measure 52-1/2’’ long but everybody sews differently so measure first to check the size you’ll need for your quilt.

Sharon Holland Heart Quilt.jpg

Congratulations, you just completed your Heart Quilt top!!!! Next Wednesday we’ll go over how to make the quilt sandwich, quilt with a quilting diagram of how I will quilt my top, and binding of your quilt along with the full reveals of our quilts.

Meanwhile, both Maureen and I’ll be posting our progress on Instagram and we encourage you to follow along and share your fabric pull and block progress as well. When posting your quilt to Instagram use the sew along hashtag of #agfLOVEquilt and be sure to tag @sharonhollanddesigns @maureencracknell and @cluckclucksew so we can see your progress! If you’re sewing with Art Gallery Fabrics don’t forget to tag them too as they love to see what Makers are making with @artgalleryfabrics !

I am an Amazon Associate site and earn from qualifying purchases on the products I’ve linked below. The helpful products selected are the same or similar to materials used to make the project(s) in this blog post or related items I think you may enjoy.

Spirited Look Book - The Sundries

Spirited Look Book - The Sundries

Spirited banner 2.jpg

Today’s post is Part 3 of a closer look at the projects I made for the Spirited Look Book by Art Gallery Fabrics.

Spirited is my newest fabric collection for Art Gallery Fabrics and with every new collection, AGF publishes a virtual magazine showing you beautiful ways to sew with the fabrics. I contributed a lot of sewing projects to the Spirited Look Book and my three part blog series gives you more images and project information beyond the virtual pages. I’ve split up my blog post coverage into categories: Week 1 was all about The Quilts. Week 2 was about The Garments and this week, The Sundries (or everything else).

Spirited by Sharon Holland

Spirited by Sharon Holland

Spirited quilting cottons, knits, and rayons are shipping to quilt shops everywhere. I’ve started a stock lists of online shops for this collection on my FABRICS page and will continue to add links as more shops get their listings up. If your local quilt shop hasn’t ordered it yet, let them know you’d like to sew with these prints and feel the AGF difference for yourself at your favorite shop.

The Sundries

Chenille and Diamond Fleck pillows by Sharon Holland

Chenille and Diamond Fleck pillows by Sharon Holland

On November 21, I blogged about these fun Chenille Pillows. I love them so much and would like to make more pillows on this order maybe using the Embellished Threads and Horizon Mirage prints from the collection. The possibilities are endless with how you can use chenille to jazz up fabrics.

Extra Edited Chenille Pillows-4 webjpg.jpg

Read further on how to make the Chenille Pillow project HERE.

Extra Edited Photos-26 web.jpg

The Diamond Fleck pillow is an adaptation of the Diamond Fleck table runner (free) project by Art Gallery Fabrics. I followed the piecing directions from the pattern but scaled down the size of the blocks to better fit the size of my pillow form.

Diamond Fleck Pillow-2 web.jpg

Simple straight-line quilting on the batting-backed patchwork pillow top adds some visual and tactile texture. I used my Hidden Zipper tutorial for a professional pillow finish that can be easily removed for laundering.

Spirited collection by Sharon Holland

Spirited collection by Sharon Holland

Any of the prints in this collection would be amazing in a pillow to spice up your home. I love that Art Gallery Fabrics has 99 Pure Solids to select from and that so many of them coordinate beautifully with this collection.

Burda Style Softie Horse

Burda Style Softie Horse

Long time ago, when my kids were little I used to sew quite a bit and make stuffed animals and dolls for them to play with. I was thrilled to find this Burda Style softie horse pattern and make a horsey for my granddaughter. I’ll have an Amazon affiliate link for the pattern at the end of this post.

Horse Softie-20 web.jpg

I used the Embellished Threads Deep print from Spirited for the body and accents of Bright Star Washed and AGF Smooth Denim in Nectarine Sunrise. This was a super-fun sewing project and will delight any horse lover young or old.

Duffle Bag -09 web.jpg

I really stretched my sewing muscles this collection with a wide variety of makes. Another rewarding project is the Weekender Bag by Delia Creates. This is a free pattern that I modified to have a patchwork exterior. Again, I followed the instructions to the letter but instead of making the exterior panels from a solid cut of fabric, I improv-pieced to get the material up to size. Before assembly I cross hatch machine quilted the pieced panels for extra awesomeness and to make the fabric thicker because I used quilting cotton rather than home decor canvas.

Weekender Bag pattern by Delia Creates

Weekender Bag pattern by Delia Creates

I used leather for the handles and I’ll put my Amazon (affiliate) link for what I bought at the end of this post along with the source for the lovely by-the-yard zippers.

Duffle Bag Interior-3 web.jpg

The tutorial by Delia Creates included two interior pocket options. I like them both so I added two pockets: One large patch pocket and a large zipper pocket for the stuff you don’t want loose in the roomy bag.

Duffle Bag Interior-1 web.jpg

This bag is the perfect carry-on size. My daughter is now the proud owner of it so I will need to make another one for myself!

Drawstring Bag pattern by Made Everyday

Drawstring Bag pattern by Made Everyday

The drawstring bags weren’t a project in the Spirited Look Book but rather something I’ve sewn afterwards. I wanted something large enough to hold Christmas gifts that would be more practical than gift wrap and love how fabrics from my past collections coordinate with my new Spirited line. The top left, white and green print along with the bottom left green print are both from my Signature collection and really play well with Spirited!

The free tutorial for these bags comes from Dana Willard of Made Everyday. Dana has a fun video to walk you through the steps to make these useful bags. These drawstring bags would be a great addition to a Weekender Bag to pack sundries and laundry!
Handy Baskets by Sharon Holland

Handy Baskets by Sharon Holland

You remember the free Handy Baskets pattern I released prior to the Look Book? If you missed that post, read more about it HERE. I’ve made an update to the original PDF download as I had omitted an important cutting step. If you re-download the PDF it has been amended or you can jot down the cutting information addition to a PDF you’ve already printed out. The addition is highlighted in bold print below:

PREP

From the cork:

Cut three 18'' x 8-½'' (directional) strips for lining then cut into three 8-½'' x 16'' strips (for three baskets).

Handy Basket Reversible web.jpg

Using cork as the lining gives these baskets a sturdy shape that wipes up easily. The construction of these bags makes them fully reversible, as well!

Apple Season Coasters by Sharon Holland

Apple Season Coasters by Sharon Holland

One of my most popular free projects has been these Apple Season Coasters. I couldn’t resist remaking them for the Spirited Look Book because the prints and colors of this collection are so yummy and perfect for the holidays. Stitching up a set of coasters as a hostess or teacher gift is a quick project for you gift giving list.

Spirited table scape by Sharon Holland

Spirited table scape by Sharon Holland

Christmas and get togethers are just around the corner. I’m basically ready but this weekend will be full-on baking and house cleaning. I’ll leave you with just a few pretty pictures of my house and decorations.

I don’t go all out and in fact this is the first time in I think 7 years that I pulled out the tree to decorate. I do more of a winter garden theme and do love the extra light and joy it brings to the house on the shortest daylight hours of the year.

Tree 2019 2.jpg

Wishing you all the best for 2020!

Sharon Holland Woodland Tree.jpg

I am an Amazon Associate site and earn from qualifying purchases on the products I’ve linked below. The helpful products selected are the same or similar to materials used to make the project(s) in this blog post. Thank you!