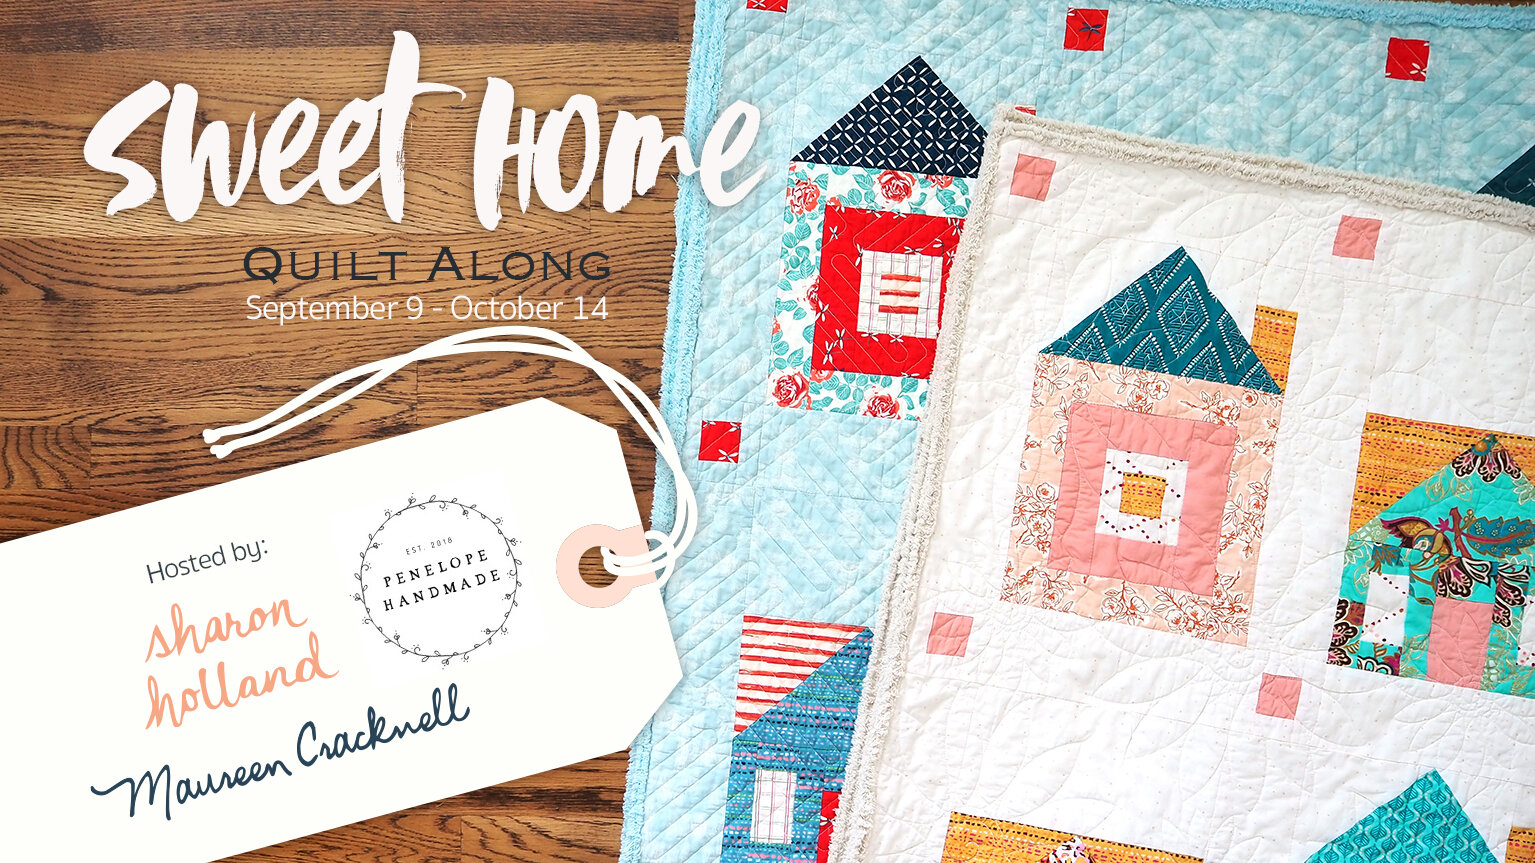
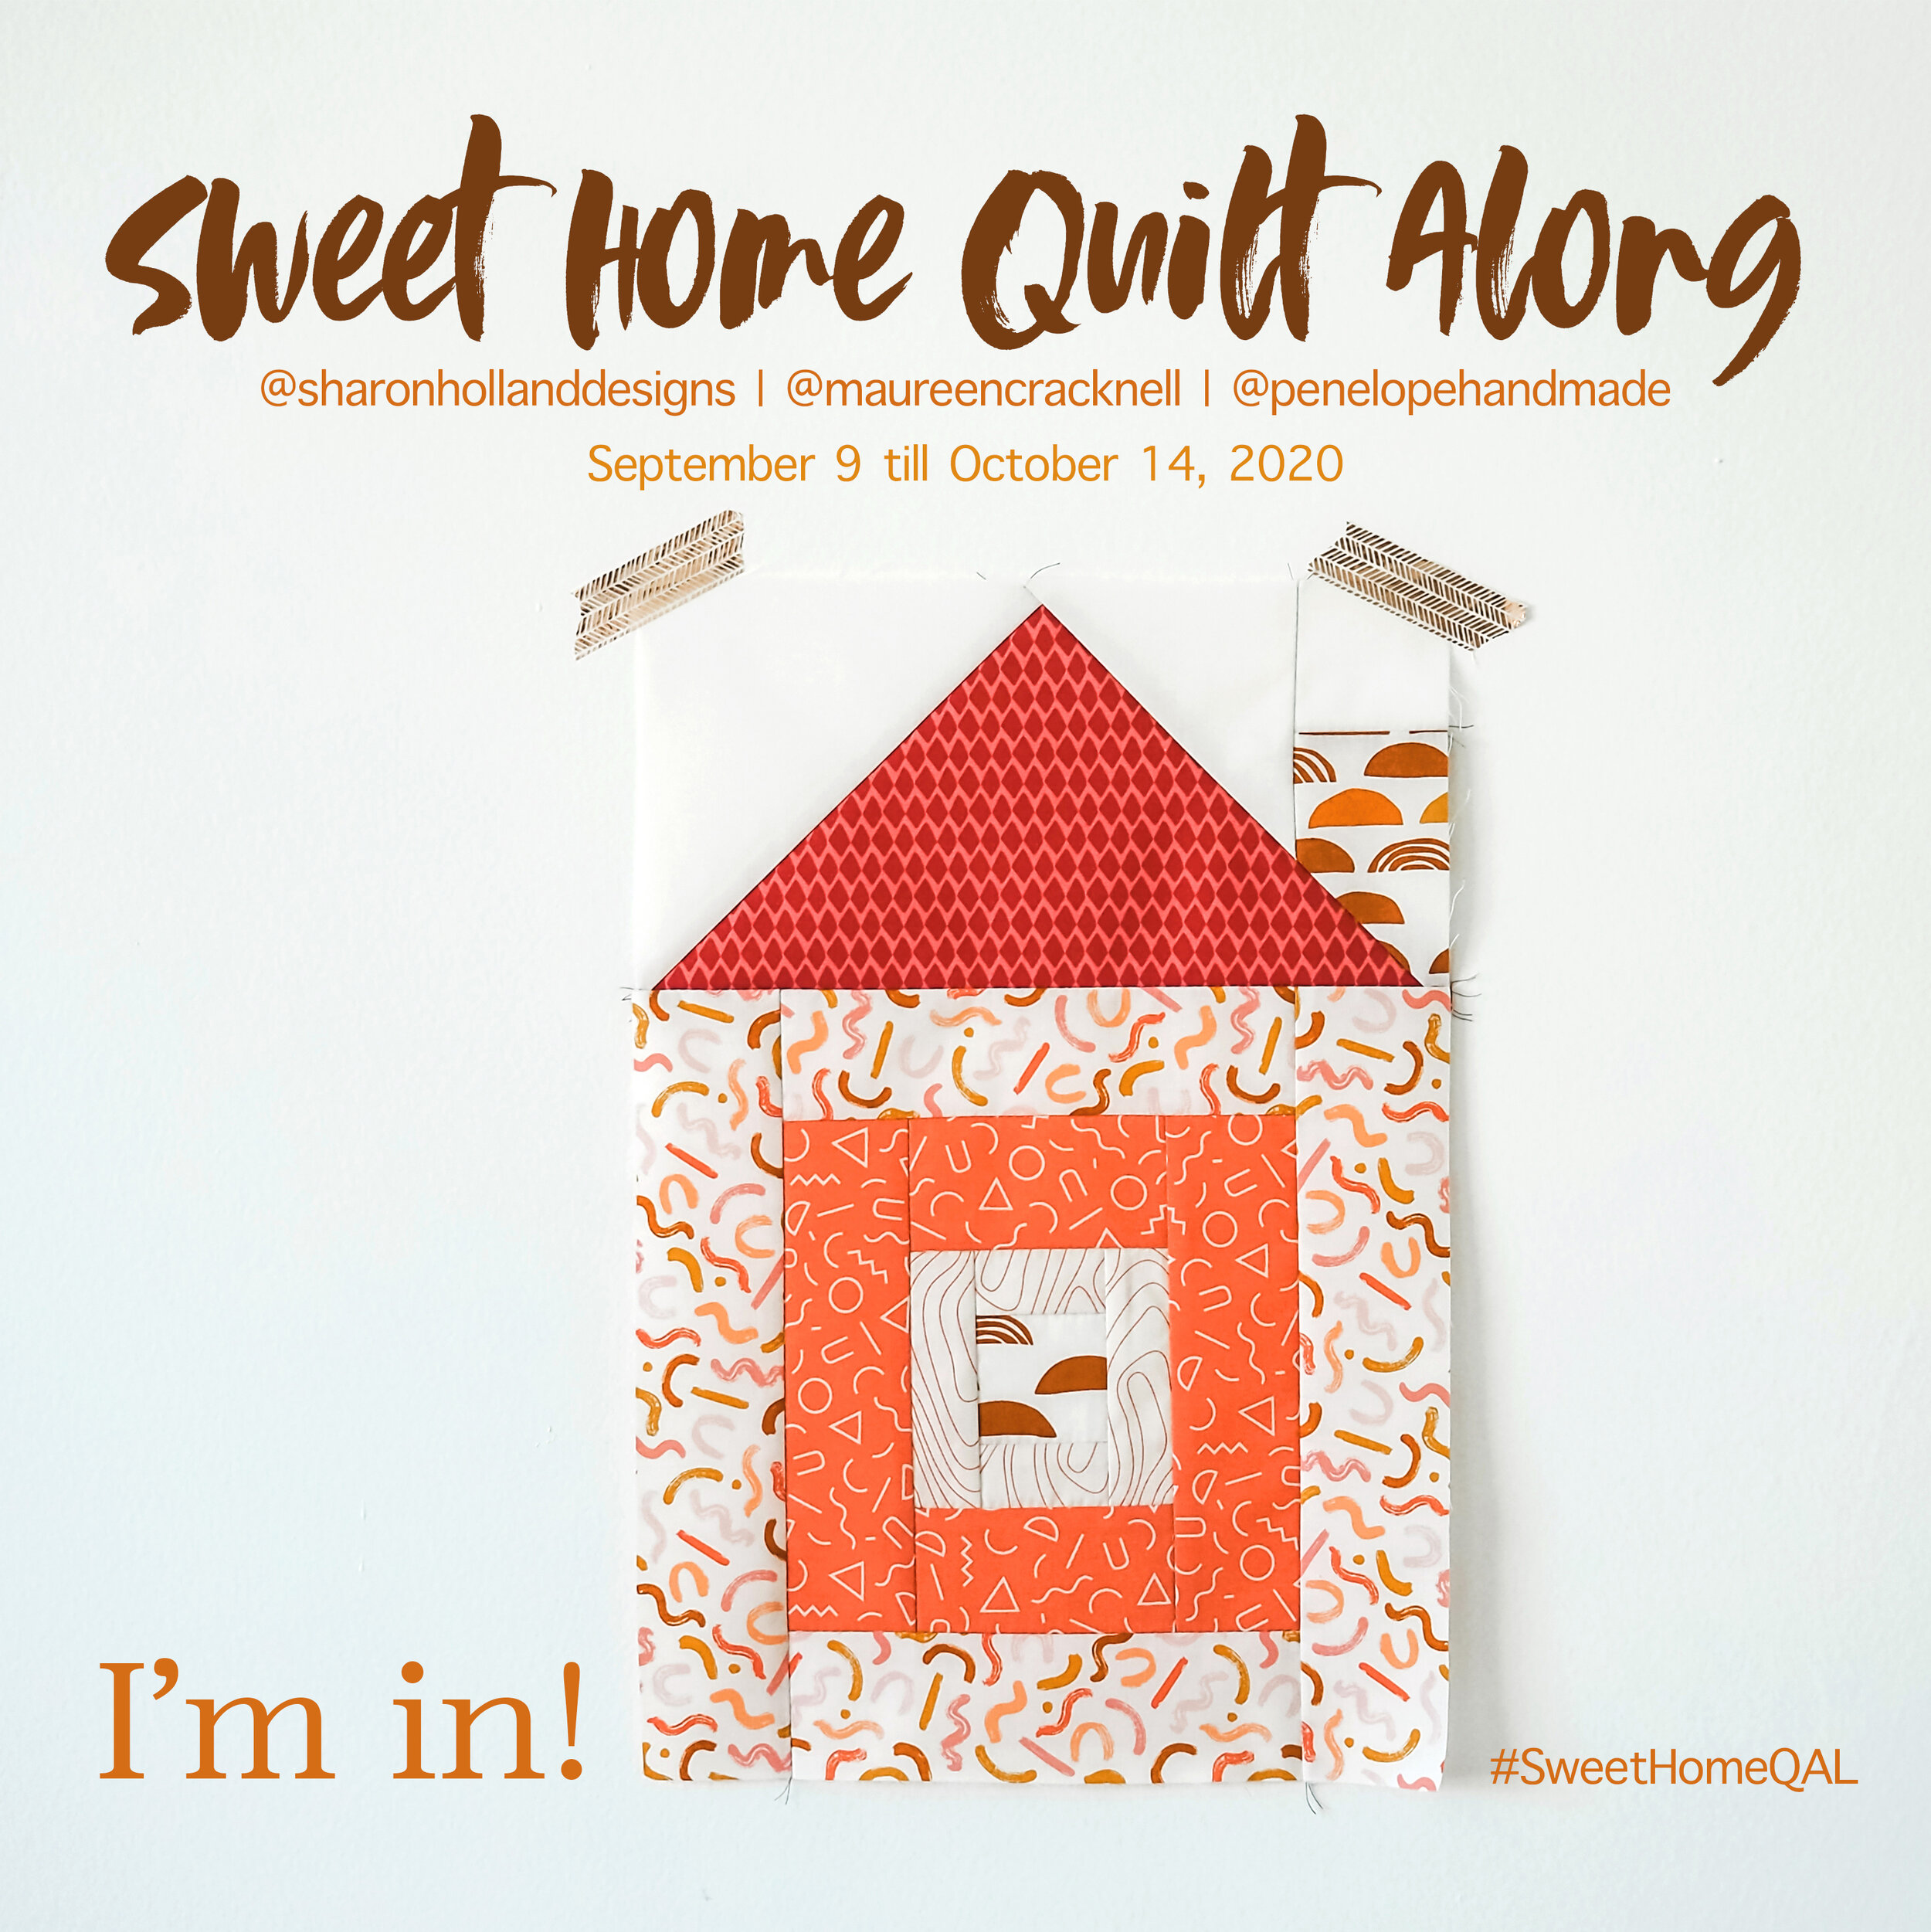
Sweet Home Quilt Along

Have you heard the good news?!?! There’s going to be a Sweet Home quilt along!
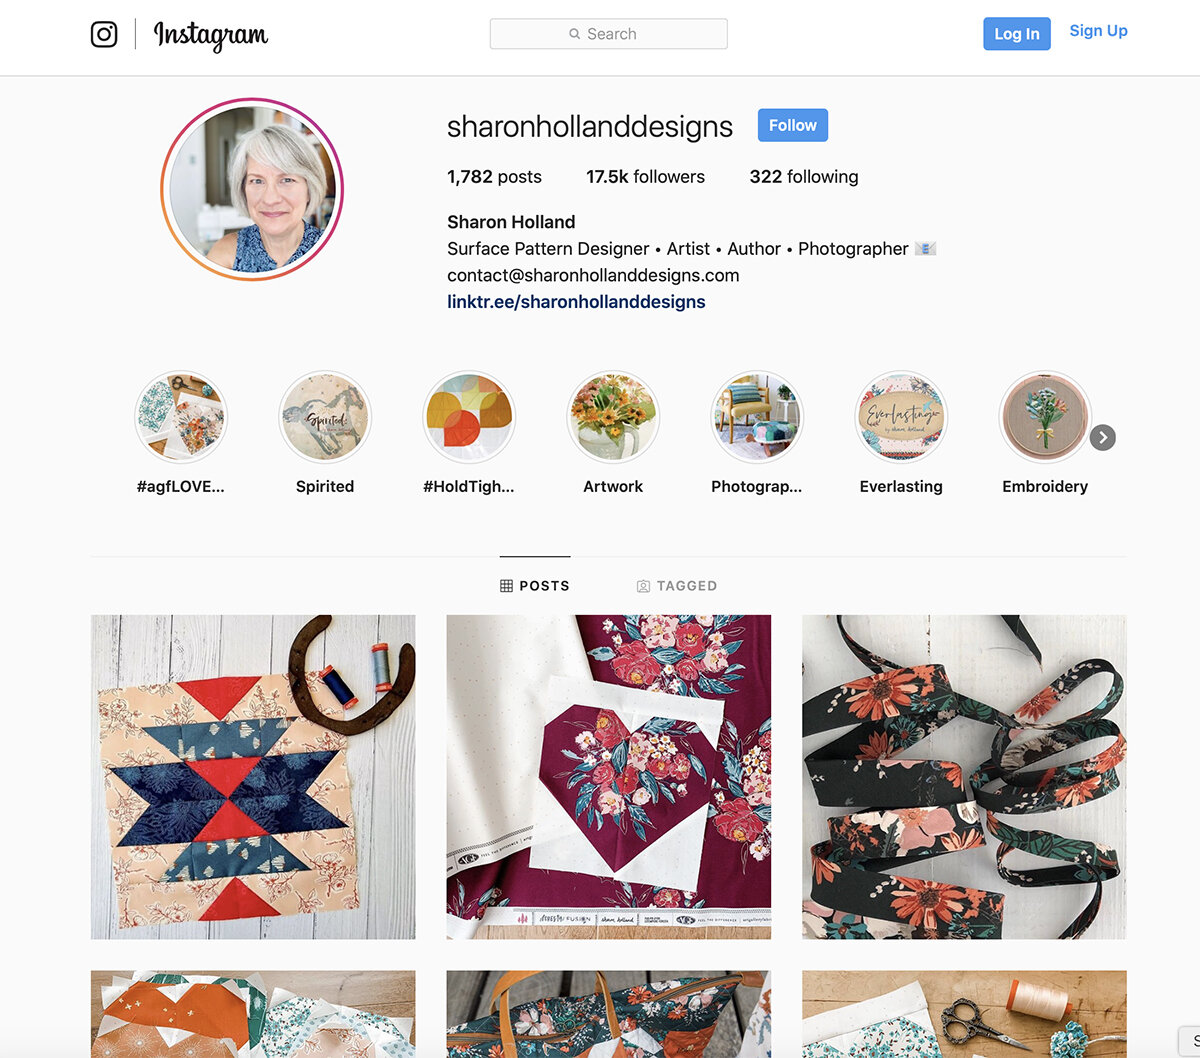
Yes, that’s right, I’ll be cohosting the Sweet Home Quilt Along with my good friend Maureen Cracknell and new friend Jennifer Jones. The fun starts September 9th, right here on the blog and over on Instagram.
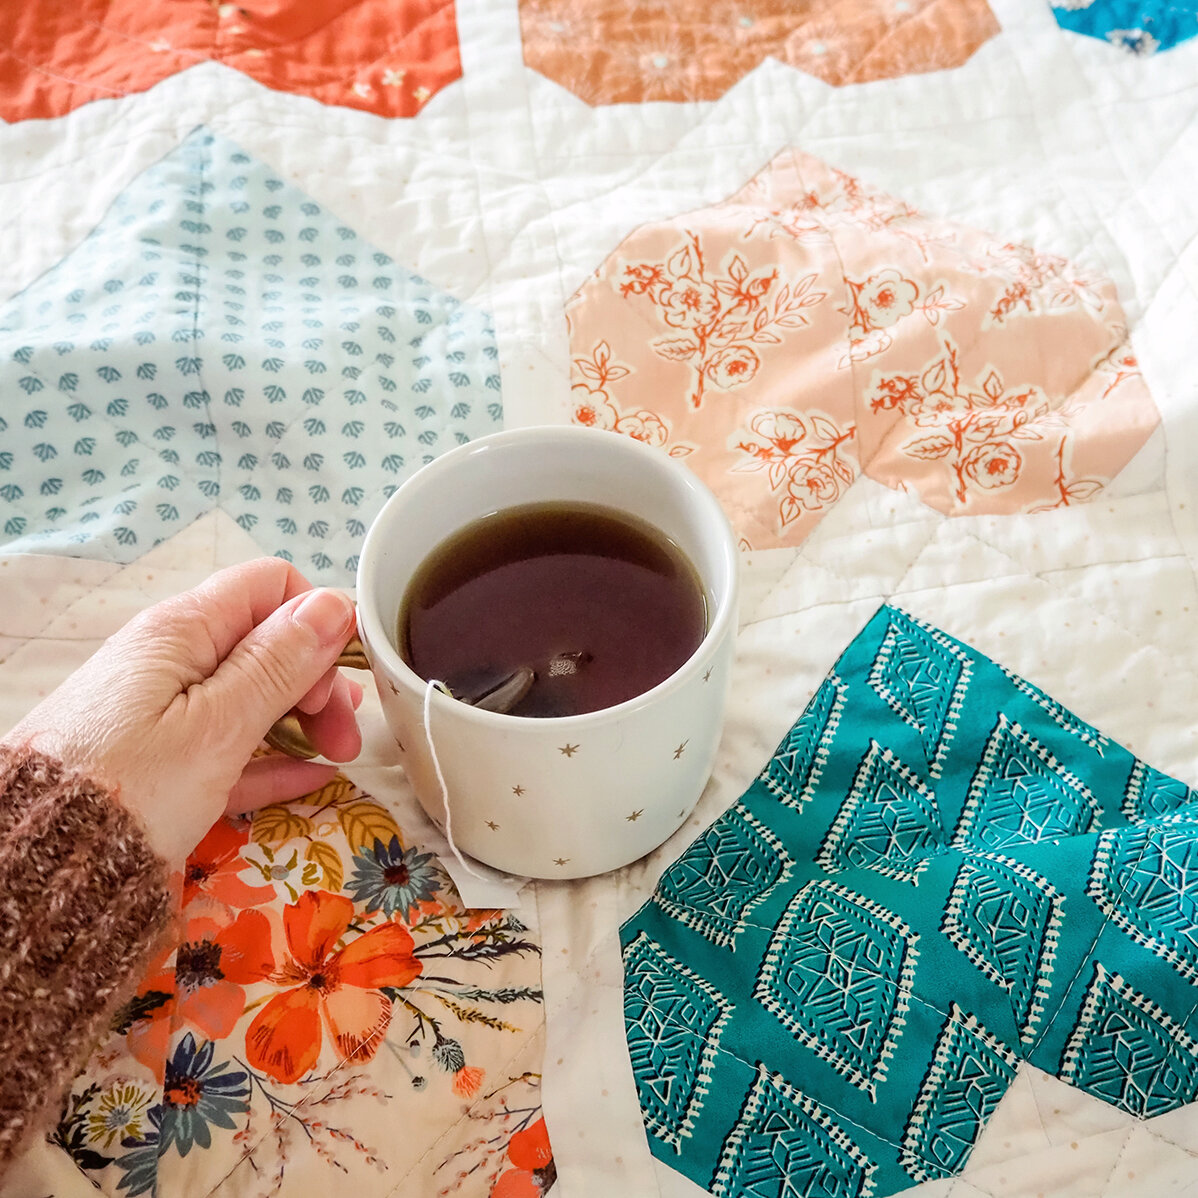
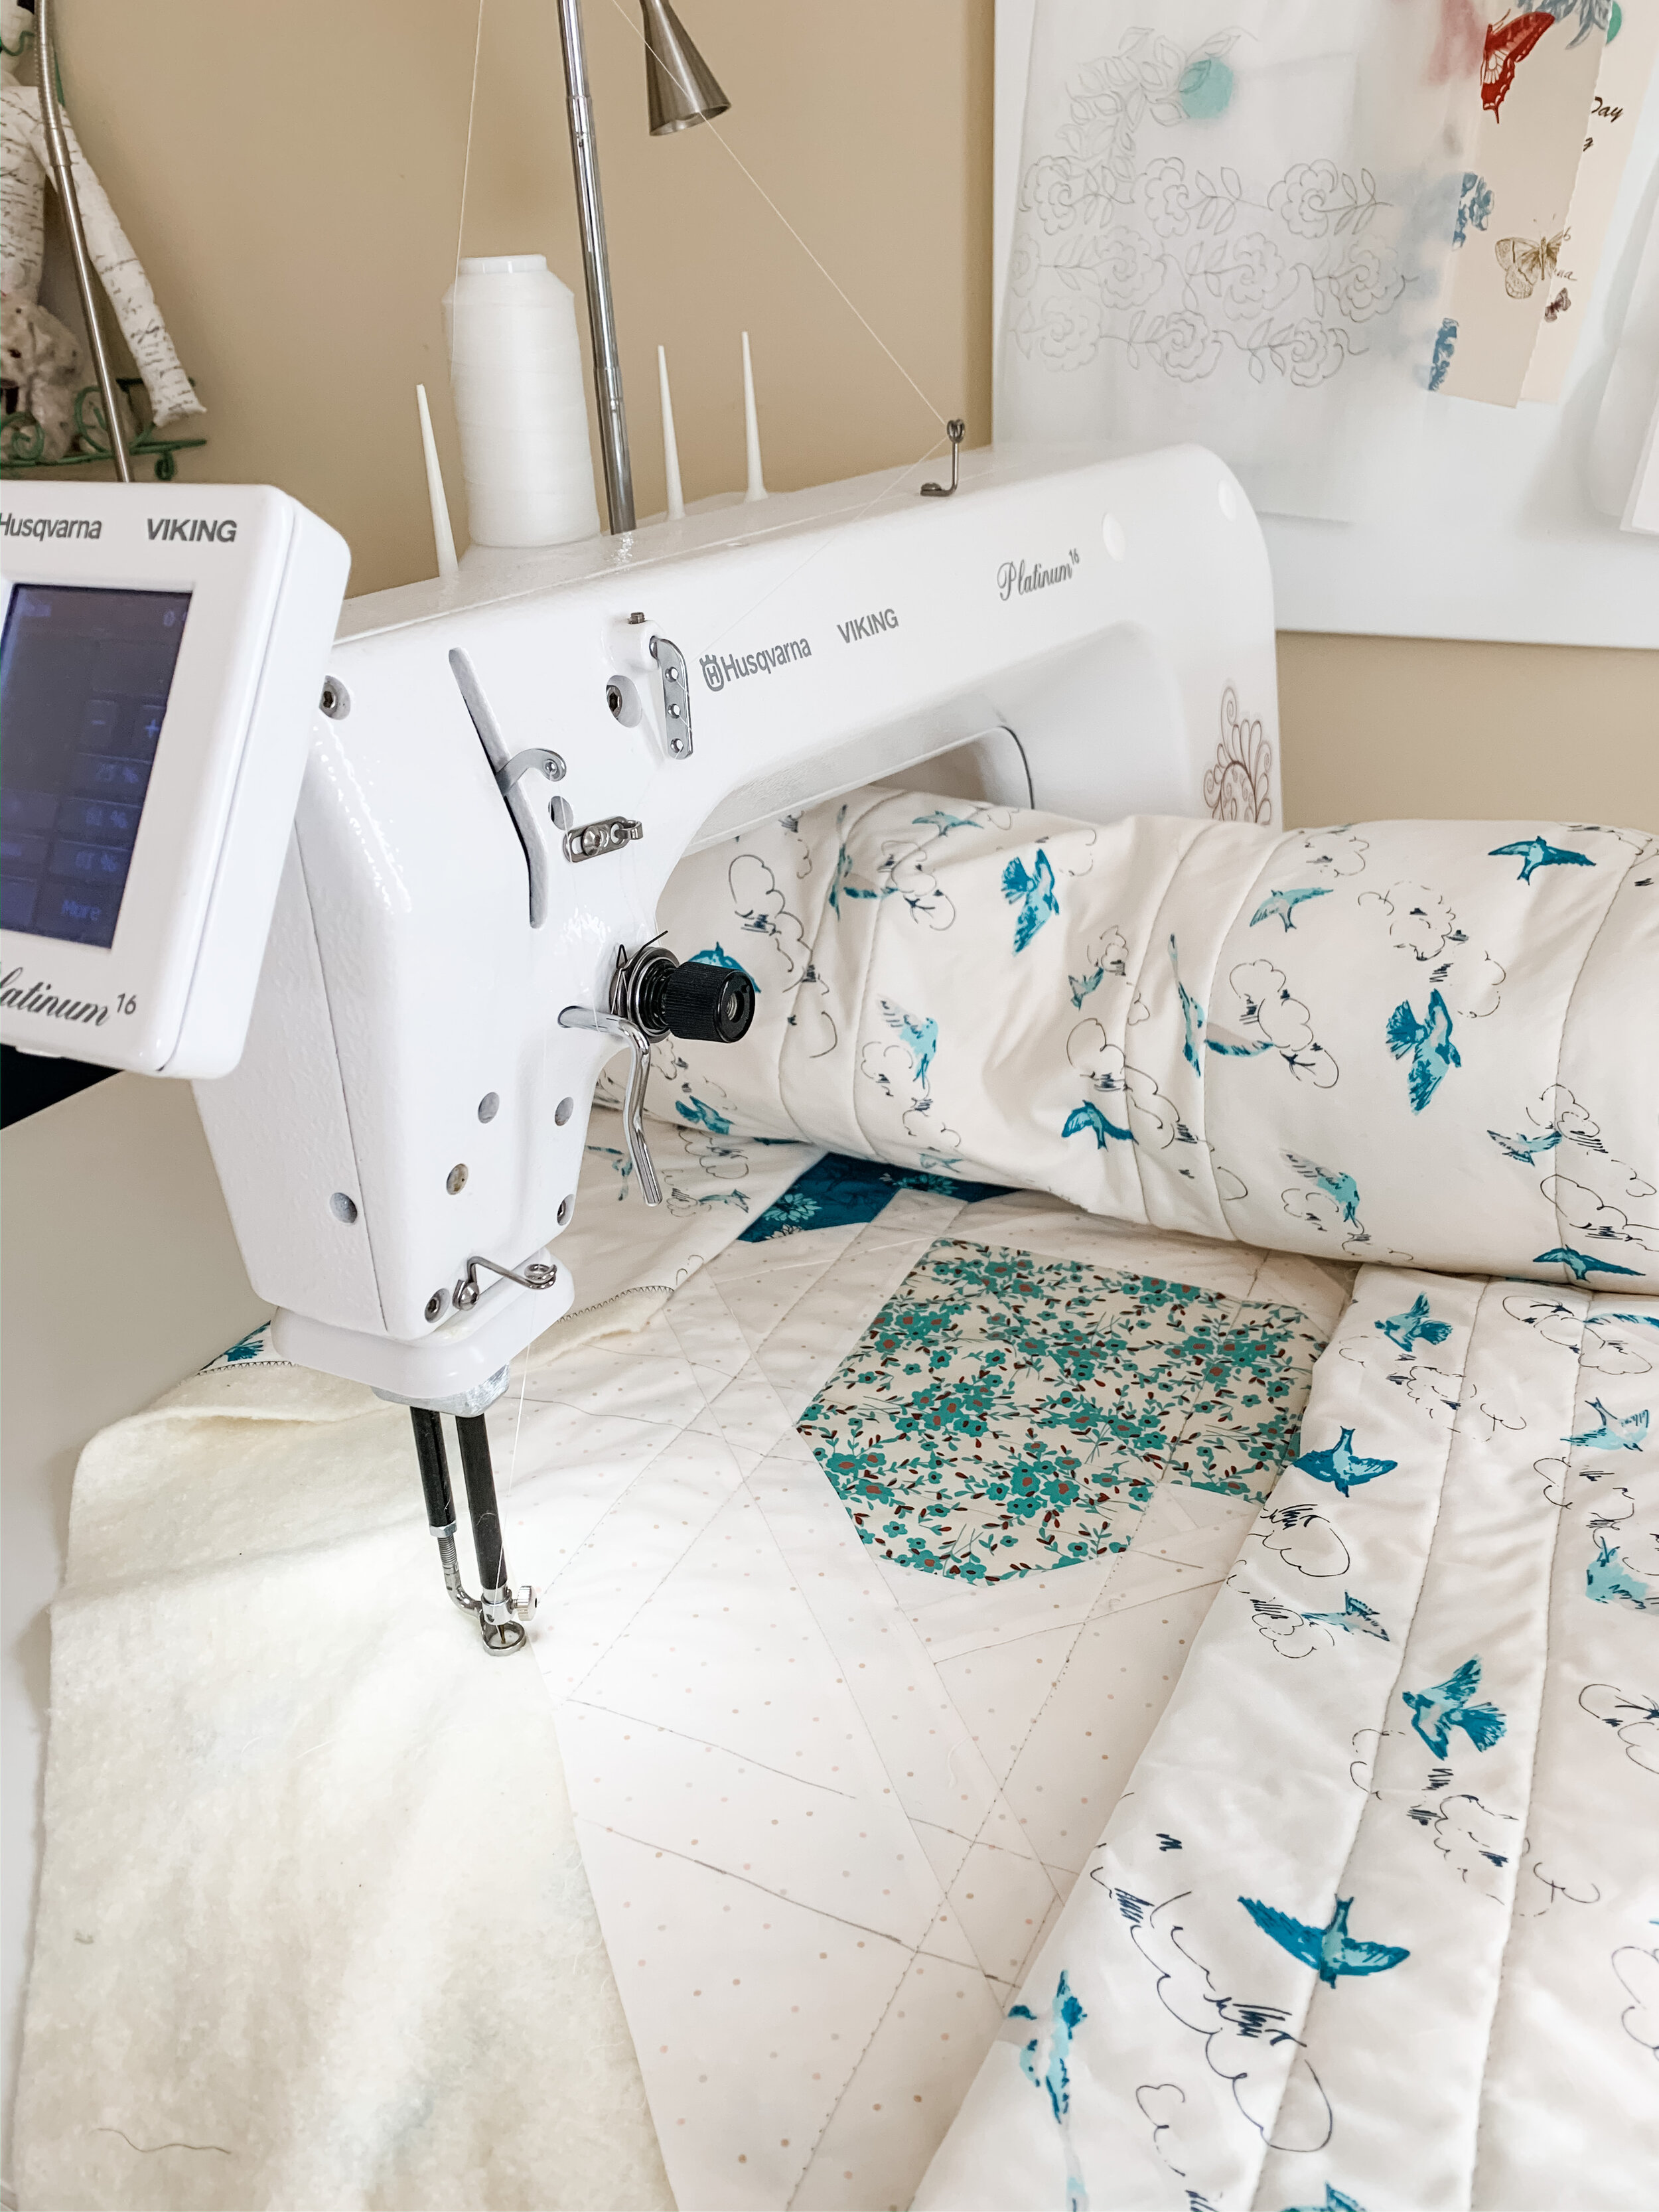
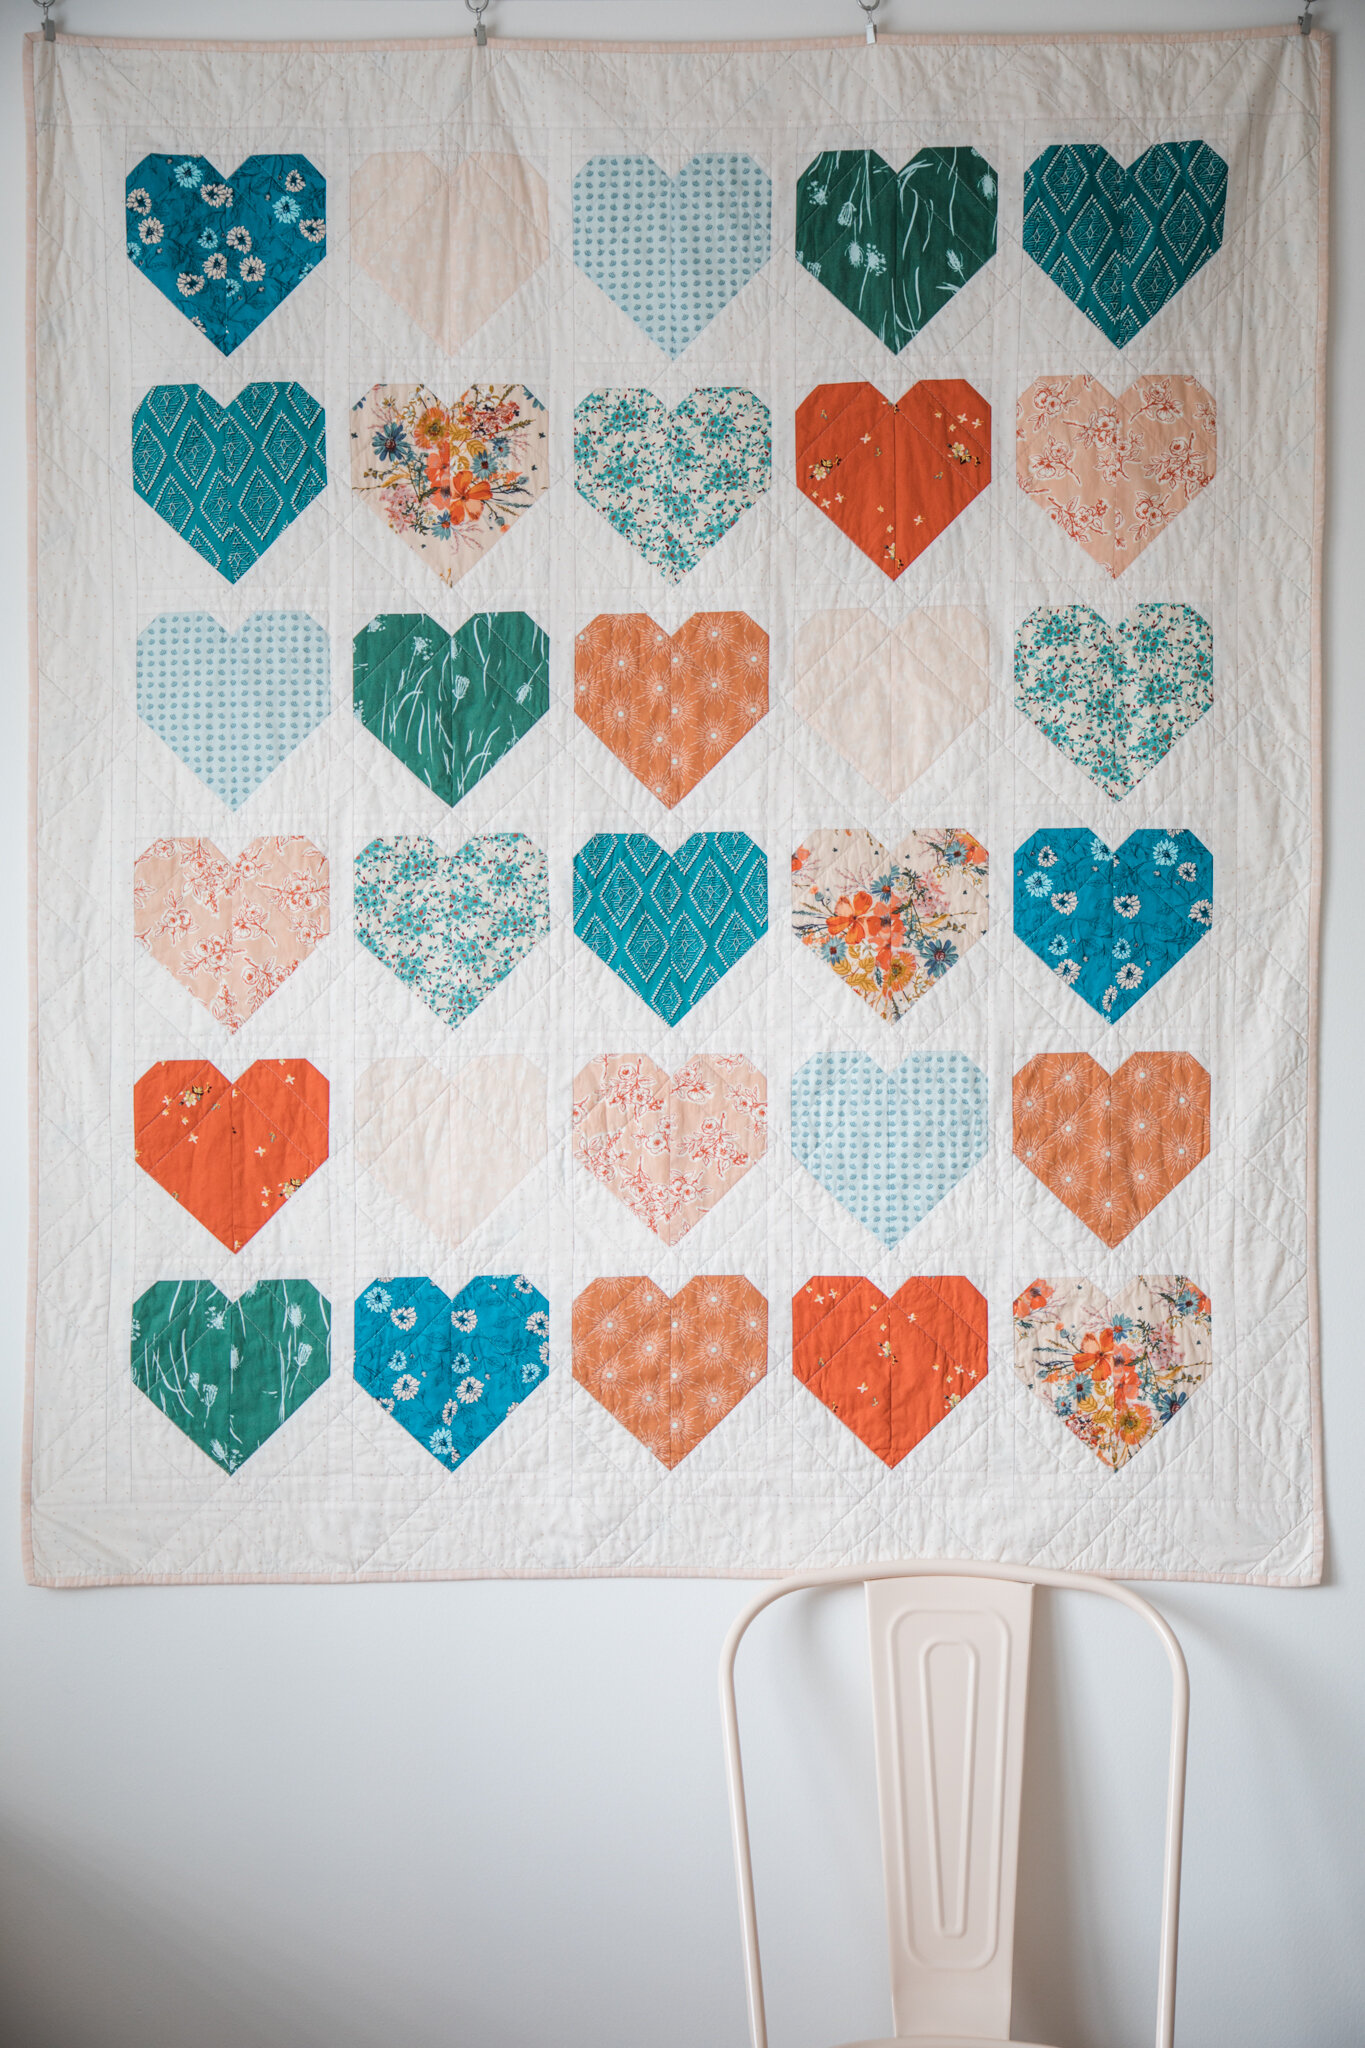
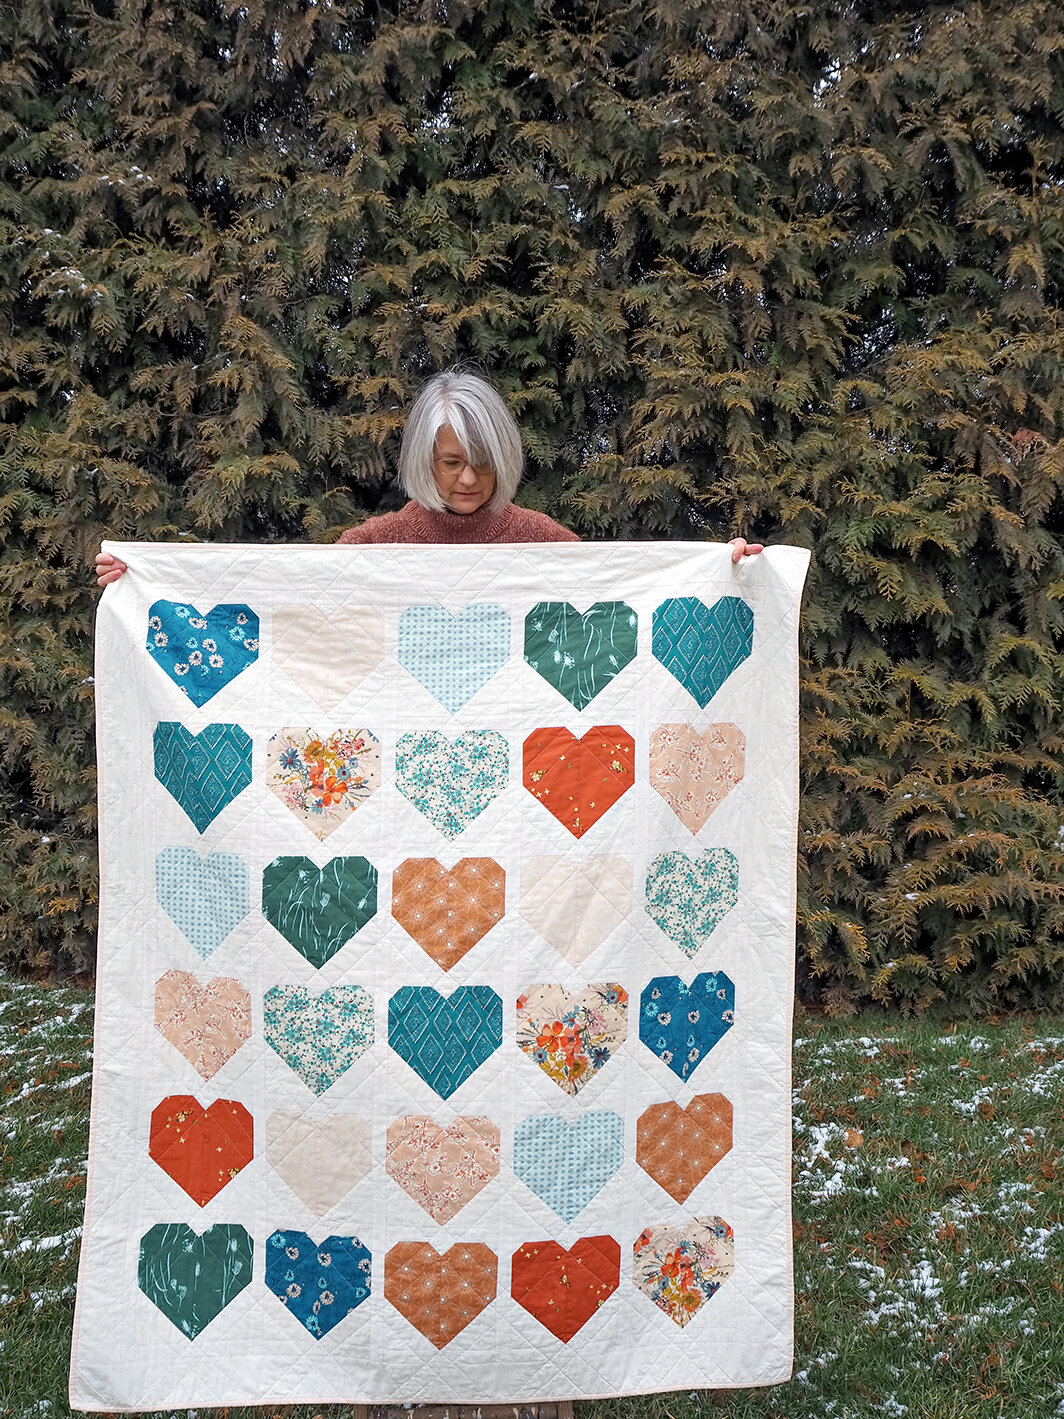
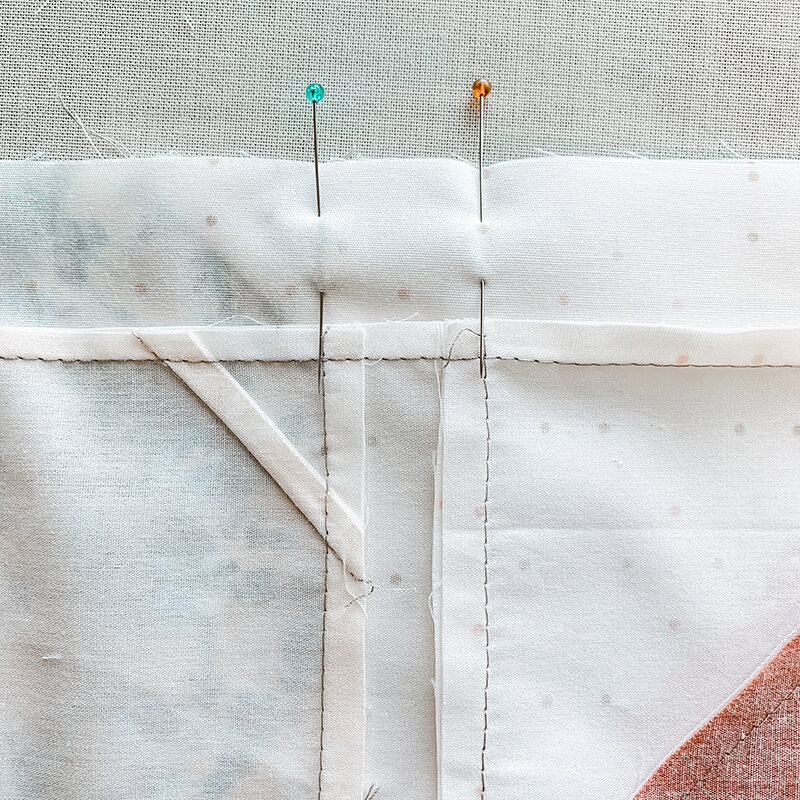
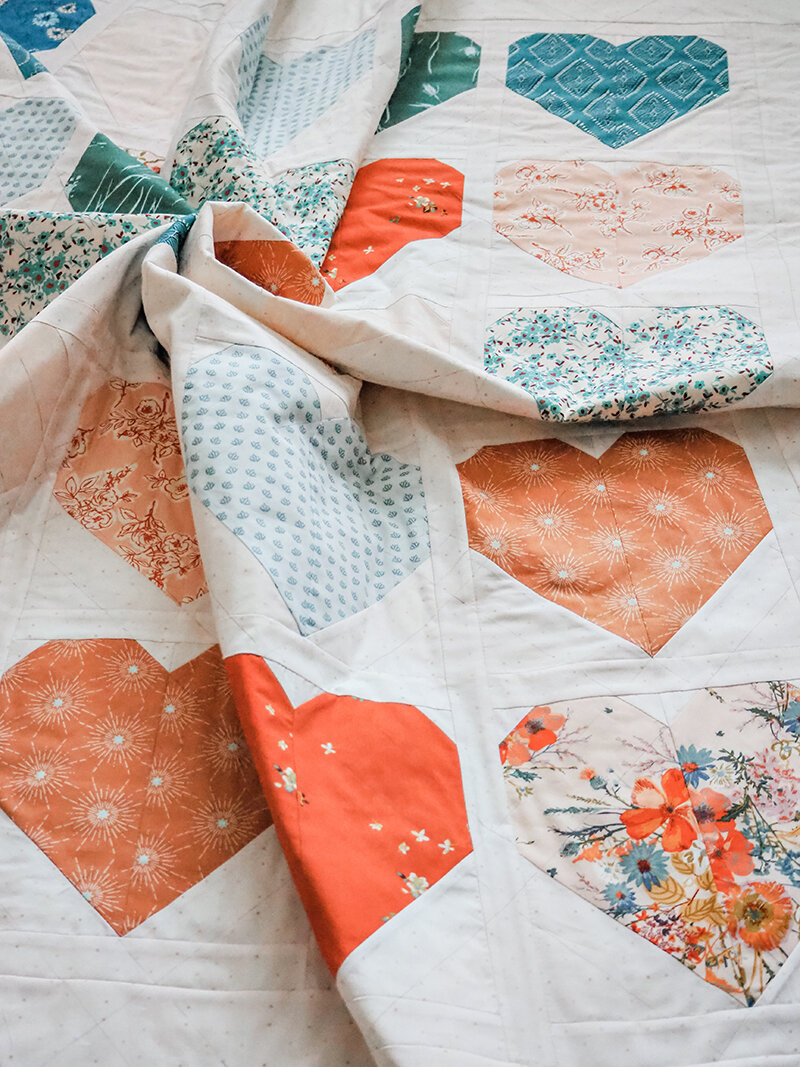
This quilt couldn’t be anymore symbolic of 2020 and is so much fun to piece you won’t mind staying home one bit! The quilt along is a six week event where we break down and construct our house blocks, sashing, assembly, and quilting into manageable weekly bite sizes. Of course, I’ll have tutorials for you with video tips and tricks to make your Sweet Home blocks as happy as they can be.
Purchase your Sweet Home pattern in my SHOP and gets started gathering your fabrics so you don’t miss one minute of the fun!
To make it even easier for you to get started and source your fabrics we’ve collaborated with the following fine quilt shops to bring you Sweet Home quilt kits that can be delivered right to your door!
Click on the images below to go directly to the kit pages!

Sweet & Spooky Sweet Home kit from Lady Belle Fabric

Sweet Home quilt kit from Lady Belle Fabric

Cozy & Joyful Sweet Home kit from Lady Belle Fabric

Terra Kotta Sweet Home kit from Fat Quarter Shop

Starry Night Sweet Home kit from Lamb and Loom
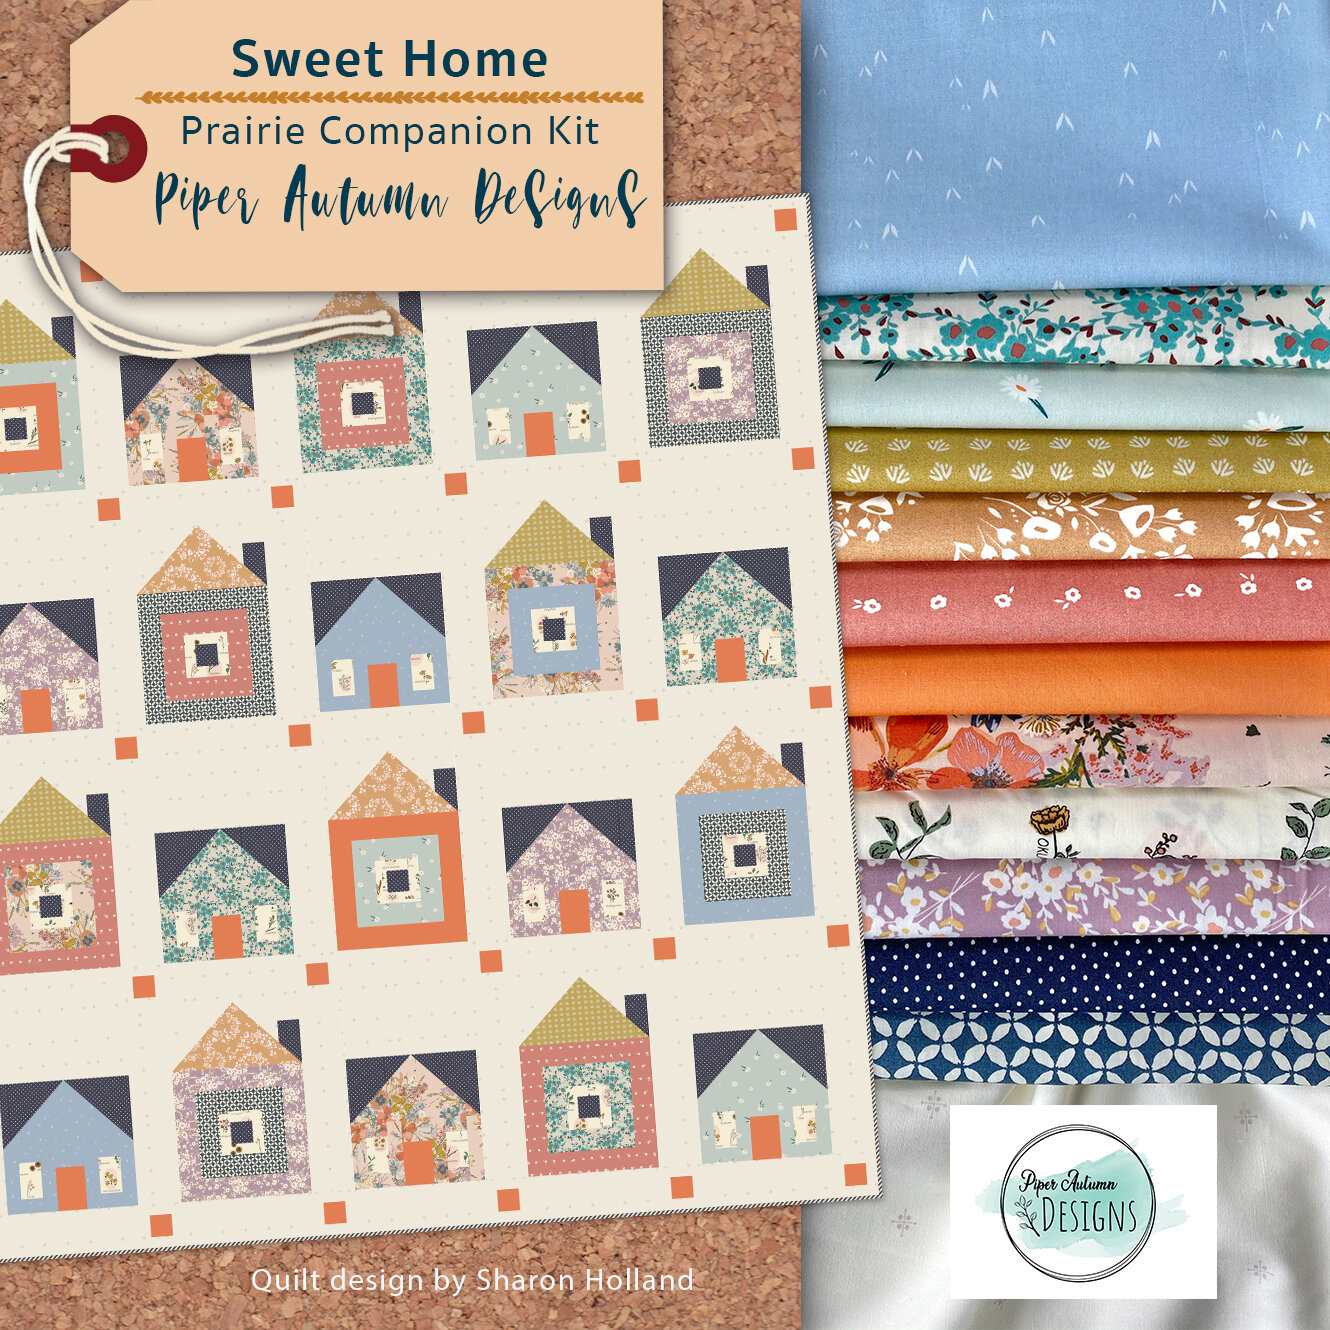
Prairie Companion Sweet Home kit from Piper Autumn Designs
Prairie Companion Sweet Home kit from Piper Autumn Designs with backing HERE.

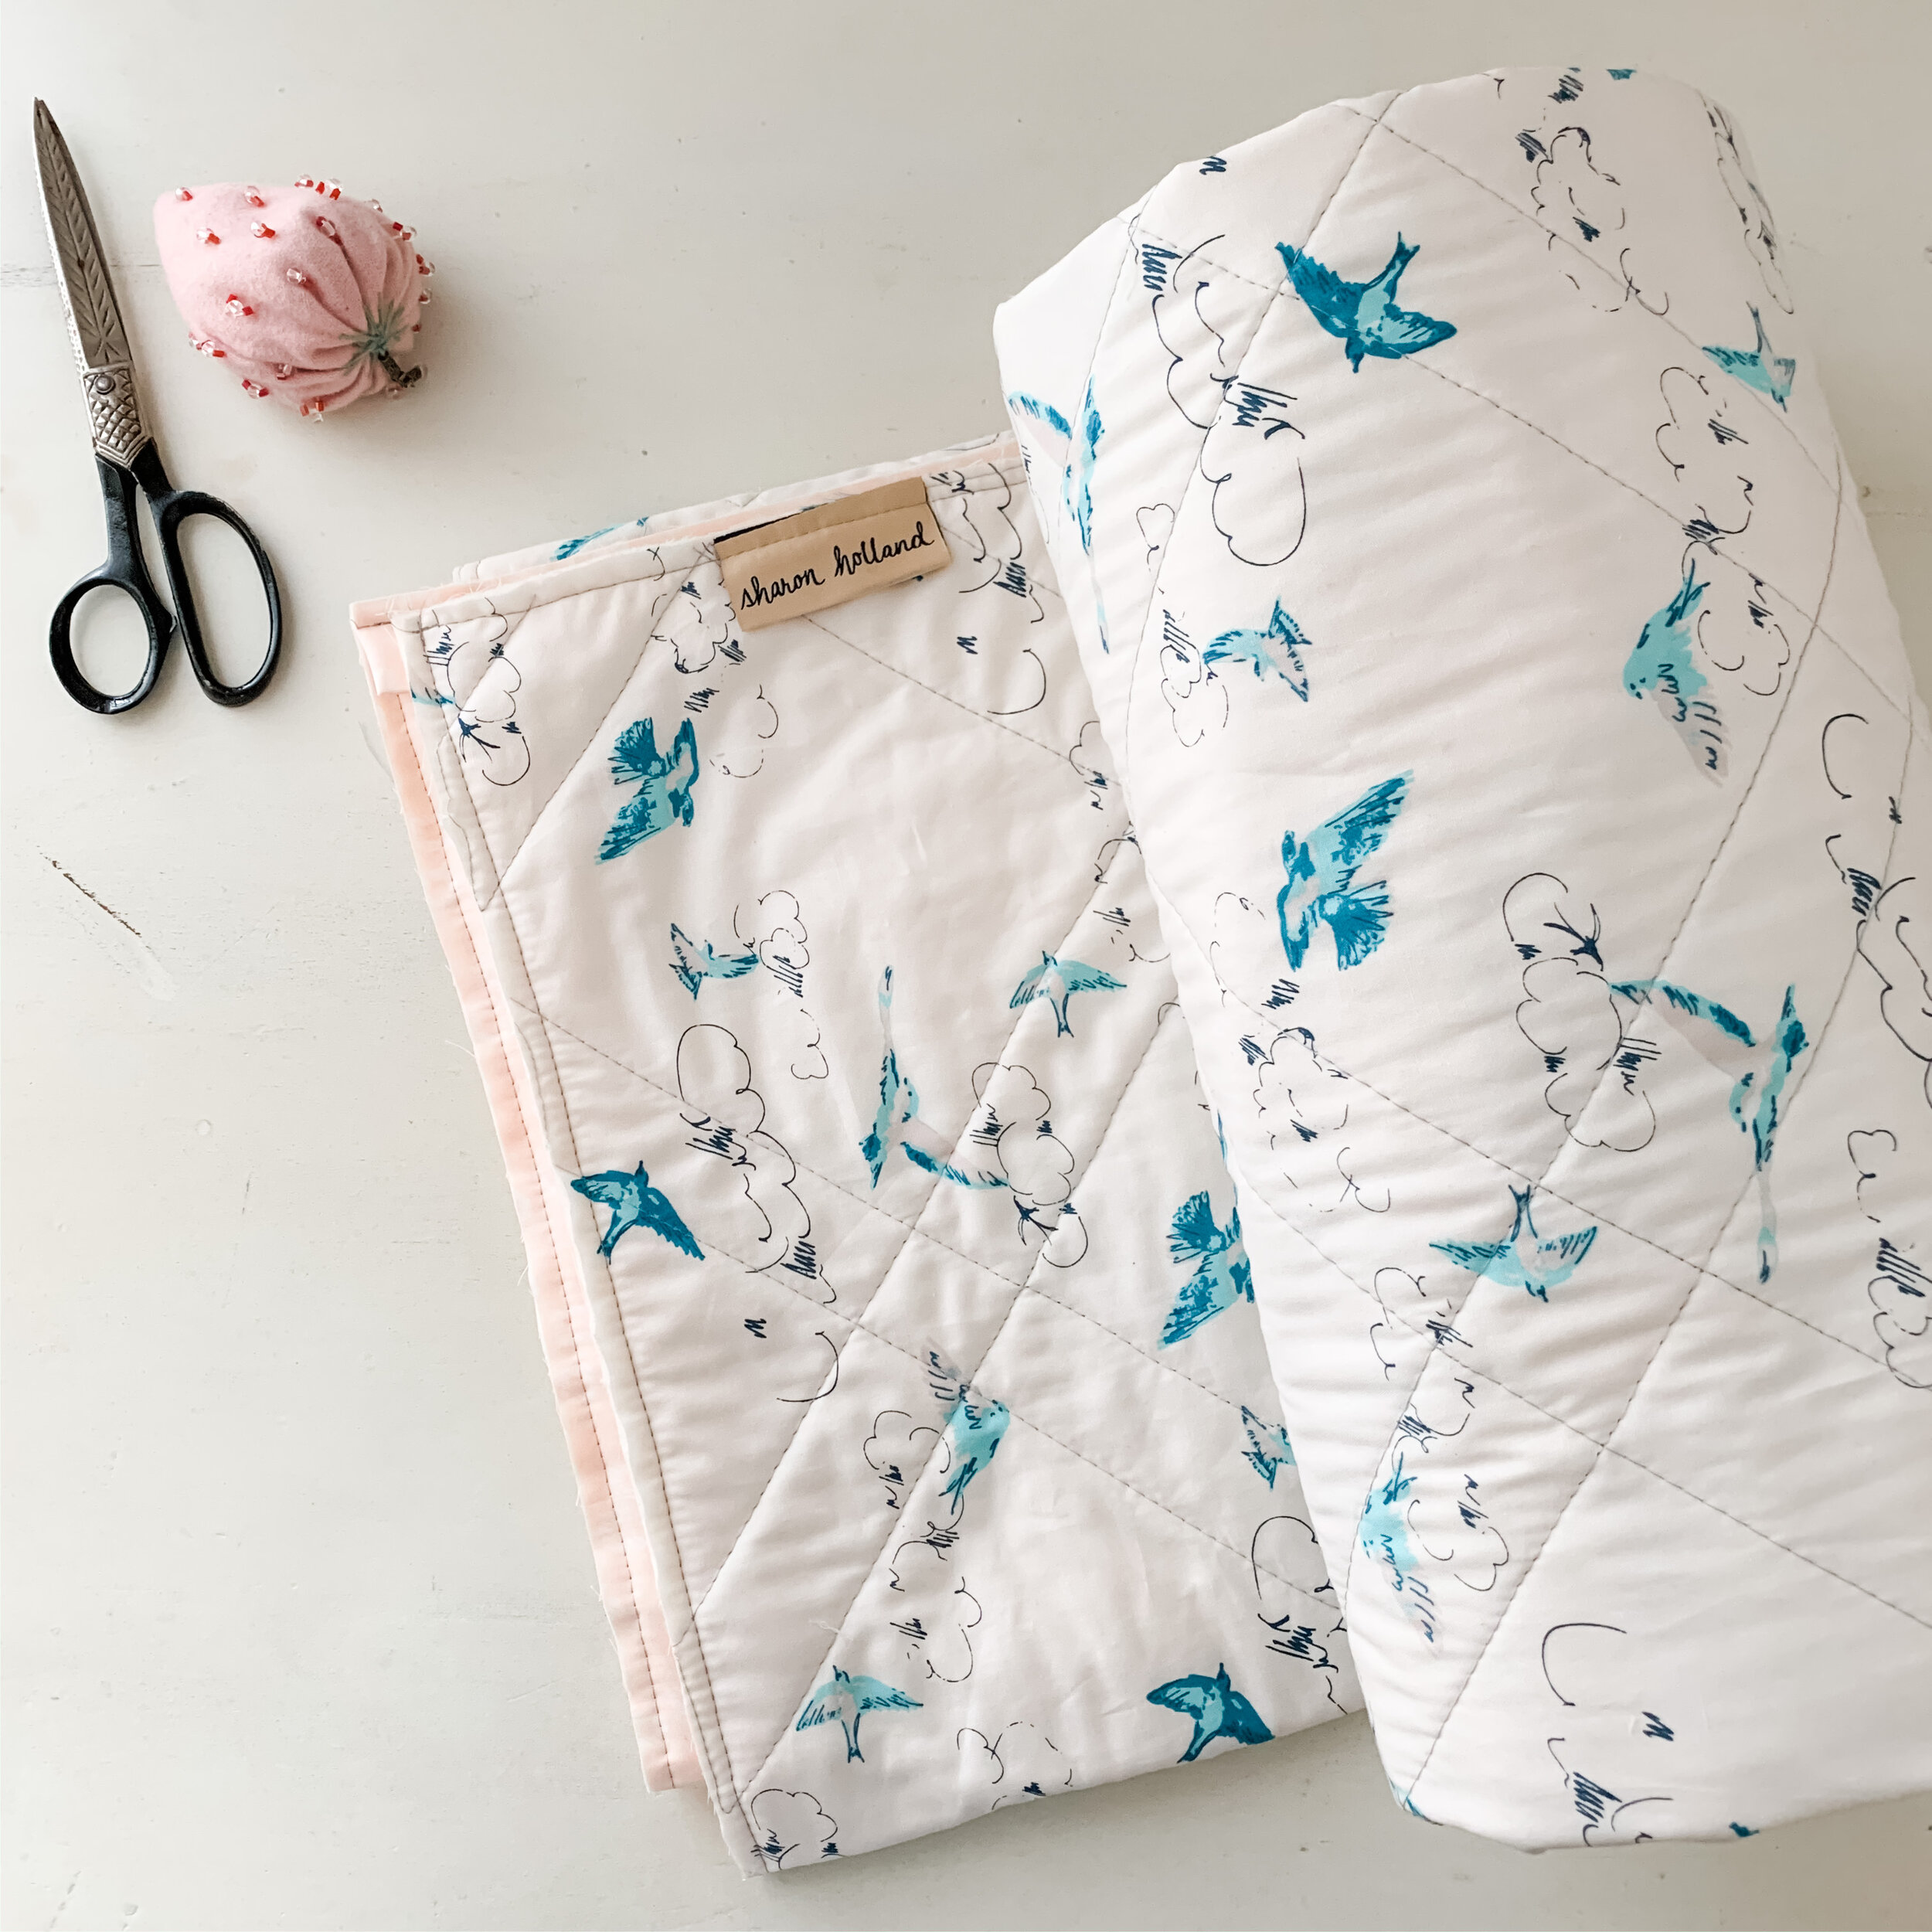
If you’d like to read more about this quilt (I’ve made two so far) check out the pattern release post Home, Sweet Home (Quilt) and the Sweet Home & Faux Chenille posts.
We’ve got some wonderful sponsors lined up for this quilt along event and there’ll be giveaway prizes each week during the QAL. The giveaways will be held on Instagram and each host will take turns hosting the giveaway on their Instagram account. Be sure to be following me @sharonhollanddesigns, Maureen @maureencracknell, and Jennifer @penelopehandmade for all the details of each giveaway.
See you back here on September 9th as I post more about the Sweet Home Quilt Along.